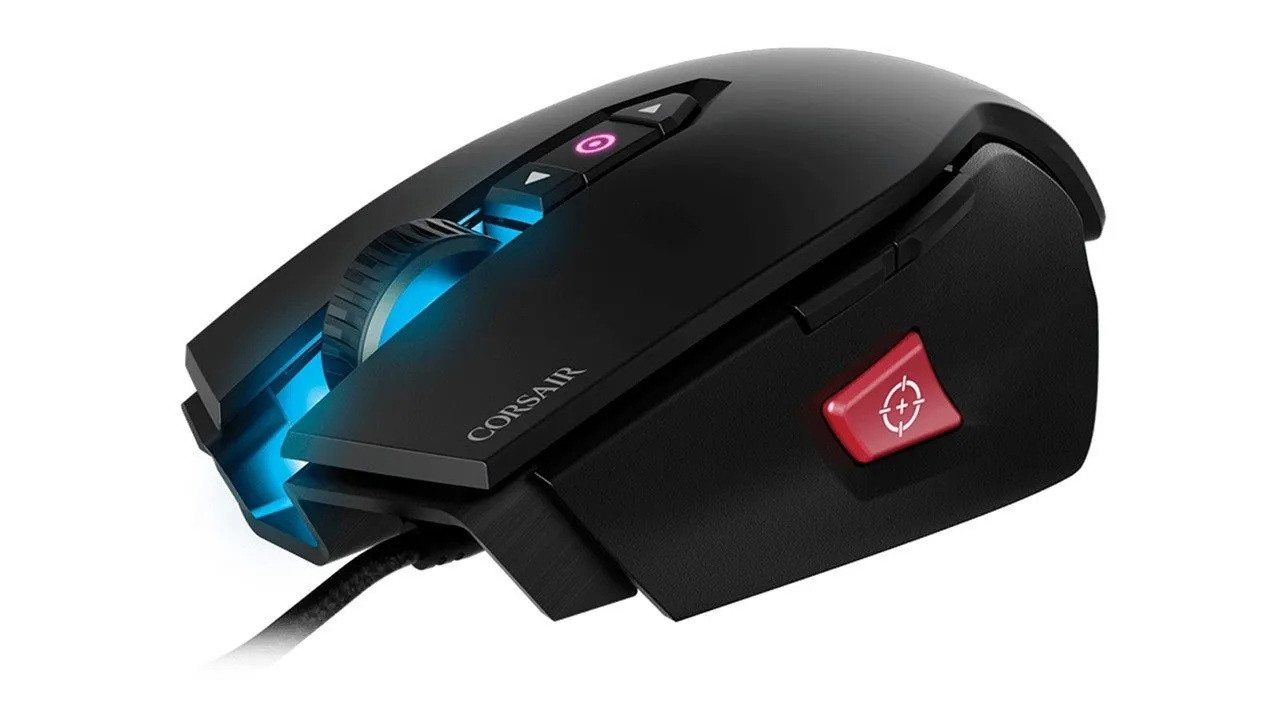
Say goodbye to this little guy. Recently, my boss bought a soldering iron for the district so that I can practice and hopefully repair some things and get some experience with it. In my dumb decisions, I chose to bring in my old mouse that had a bad double click issue in hopes to somehow fix it or do something.
This wouldn't be a big deal but I have absolutely no experience in mice, I never really had a reason to open one up.. until now! Let's hope this works out, I have no clue what I'm doing.
To begin, I took out the weights from the bottom and looked around for some screws to figure out how to take it down part by part. To be honest, it didn't work out too well as there were minimal screws and my assumption of that ended in some broken mounts. Nothing that will affect me too much but going slow and being careful should have been more of a priority it seems.
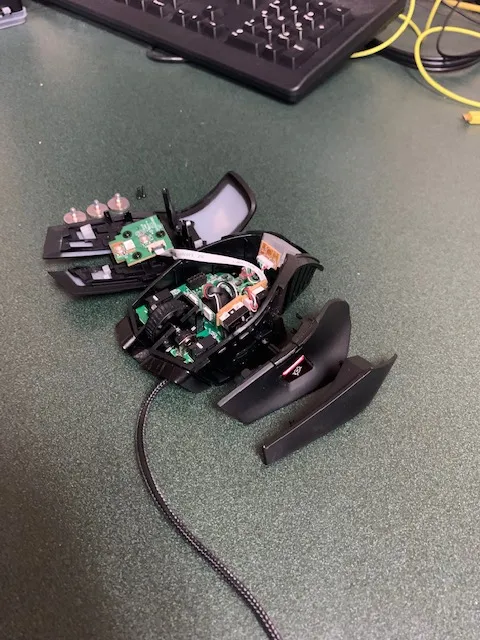
Skipping to the good part, I dissembled the main big pieces that kept the precious tech goods inside. The picture above is the final product but I want to explain that process a bit more.
I was decently surprised at what I saw inside, I did not expect so many little daughter boards connecting and how "modular" everything was.
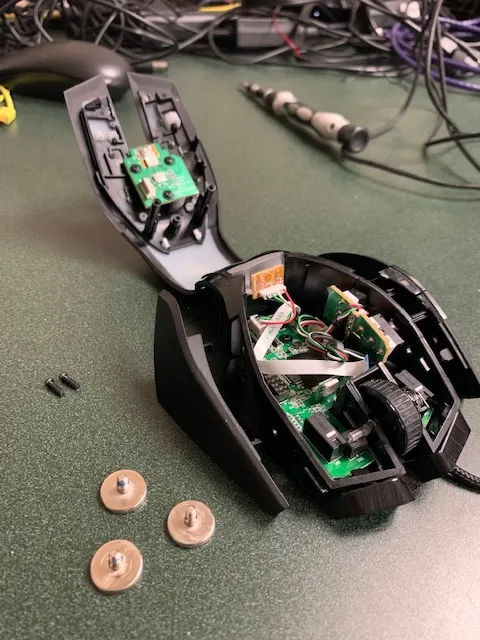
After getting the edges and the top peeled off, this is what the inside looks like. (barring the unconnected ribbon cable) Getting a view like this, I can understand how the mouse works more accurately and how each component works together to make the gaming mice we are accustomed to.
At this point, I had gotten a good idea of what I wanted to do if possible. My goal at the end of the day was to somehow get these micro switches off so that I can restore the mouse to its' former glory.
I began to go on google and search for some information on this and what exactly I might face to get this done, and exactly what the switches looked like as I didn't really know.
From what I saw online, Kalih GM 4.0's are some are the best for feel and durability? I am not sure if that is the case or a biased review but it's nice to see that they are pretty cheap. (about $10 for 4 switches as of current) Since this mouse has multiple extra buttons, I have more switches to replace but I don't necessarily need to right now as they are not fully used.
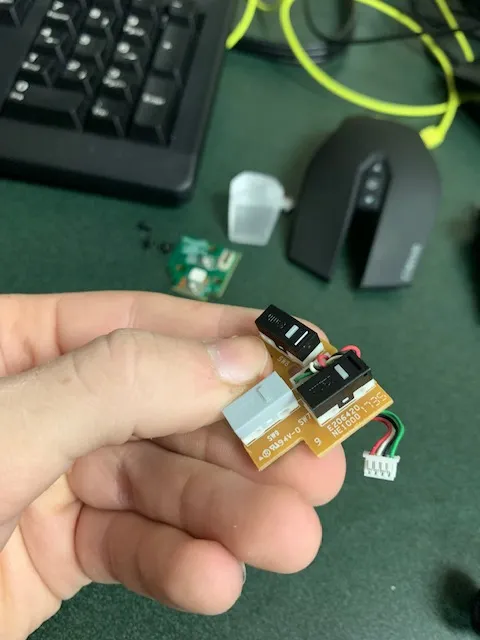
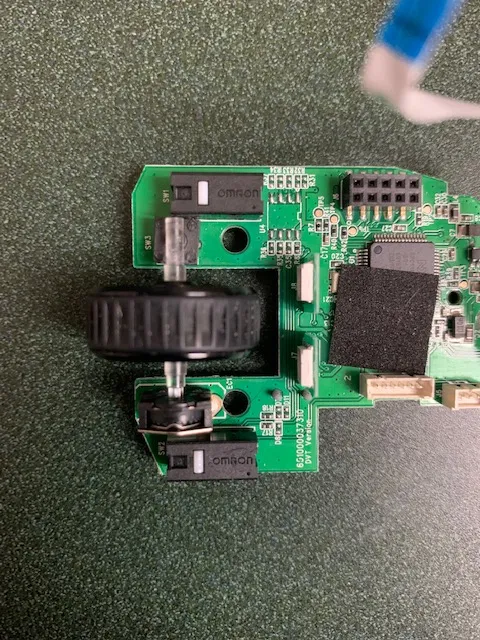
See these boxes? These are what give us the click in mice, that's crazy to me! Like, I knew it would be a small mechanism but it is all encapsulated in this rectangle. It is good to see different brands and versions on this mouse as I can kind of try them all out and see what gives me the feel I'm looking for. I am not positive, but I assume the different colors that are on the switch differentiate the variation of model like Cherry MX switches are color designated. At the time, I liked the Omron switches, but they just seem to die so often. (this could be me and big meaty hands though)
The soldering iron that we have is a small pen that can go up to 400C, I thought that this would be more than enough to melt the solder but it ended up not being enough. I sat and tried every variation possible to get these suckers off but to no avail. Don't mind the picture showing 300C, I tried that temperature first but I had nothing for it.
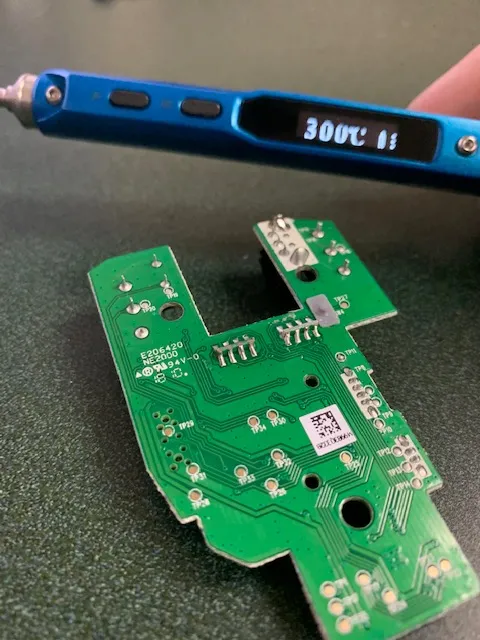
I am super sad, I was really hyped for this to work. It's okay though, I will either try on another old mouse that I have to see if I can get those switches off, or I will buy my own soldering iron and hopefully it will get hot enough to get them off. All in all, it was a good experience and I was happy to do it, if you have a trash mouse that isn't doing anything worth while, take it apart. You never know what you might learn on that ride.
Thanks for reading!
Until next time...