Windows 11 TPM 2.0 And Secure Boot Requirements.
With the release of Windows 11 on the 5th of October 2021 Microsoft has mandated the use of Secure Boot capable UEFI firmware and TPM 2.0 hardware functionality. Although Microsoft pushed extensively for both the use and widescale implementation of these features in an effort to increase the security of the Windows 11 platform this move had undoubtably cased myriad of issues and controversies. Mainly the official lack of support for first generation AMD Ryzen CPU’s and issues for users dual booting operating systems.
The first iteration of AMD’s Ryzen platform debut on March 2nd 2017, while considered an older platform in breakneck and ever advancing world semiconductors; The platform is still considered modern and capable in the eyes of many users despite lacking official hardware support for Windows 11. This is primarily due to the absence of integrated TPM 2.0 functionality on the chipset and absence of discrete TPM 2.0 modules on early AM4 motherboards. TPM 2.0 functionality is provided through the use of either a discrete TPM 2.0 module which is built into a motherboard or is available as an addon chip; Integrated TPM 2.0 functionality is built into many contemporary CPU’s.
Thankfully these issues can be remedied by bypassing Windows 11’s upgrade requirement checks and can be performed through the use command line arguments and freely available software.
In order to install Windows 11 onto an otherwise unsupported system perform the following actions;
Prerequisites
- Hard Drive For Backup Up Files (Recommended)
- USB Flash Drive With A Minimum Of 8GB Of Free Space
- Windows 11 Disk Image (ISO)
- Rufus
Procedure
Navigate To Windows Search.

Type Command Prompt.
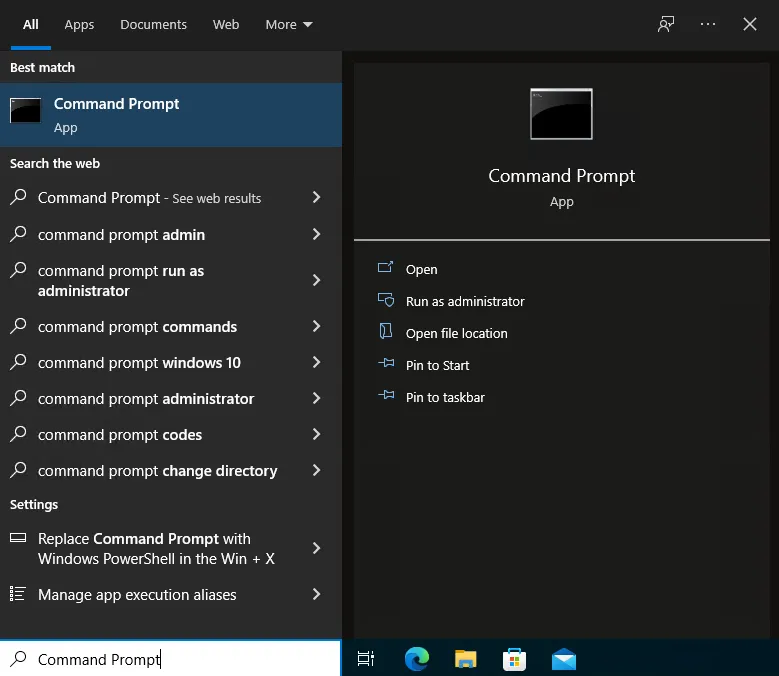
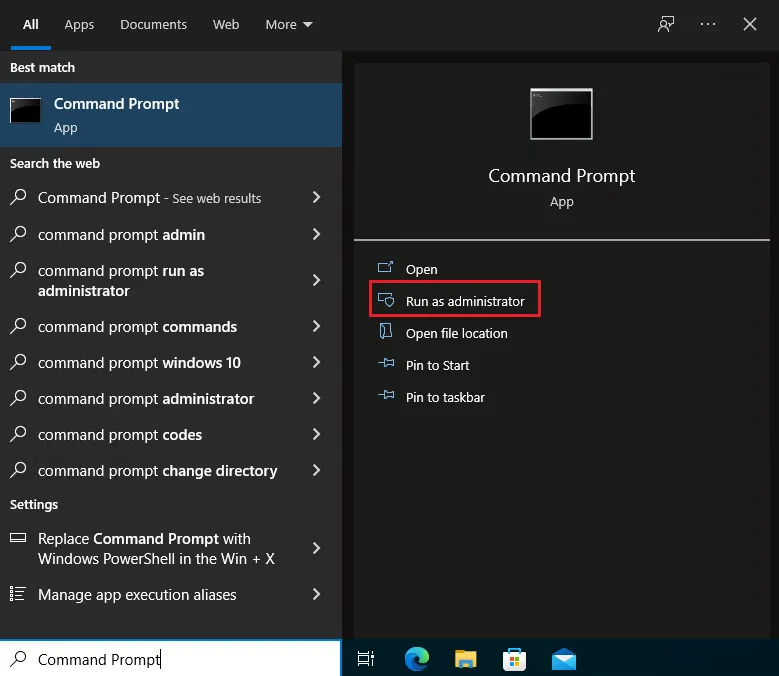
Select Run As Administrator.
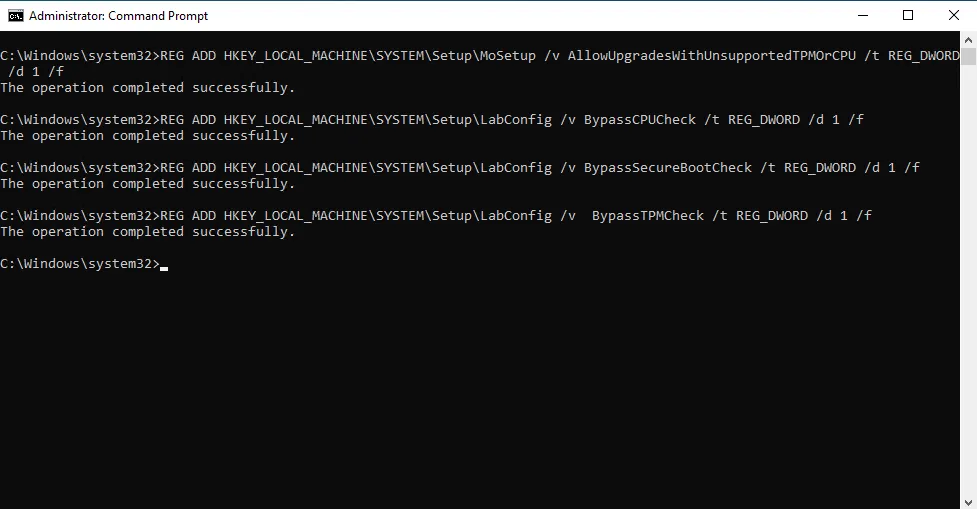
Copy And Paste The Following Commands, Press Enter.
REG ADD HKEY_LOCAL_MACHINE\SYSTEM\Setup\MoSetup /v AllowUpgradesWithUnsupportedTPMOrCPU /t REG_DWORD /d 1 /f
REG ADD HKEY_LOCAL_MACHINE\SYSTEM\Setup\LabConfig /v BypassCPUCheck /t REG_DWORD /d 1 /f
REG ADD HKEY_LOCAL_MACHINE\SYSTEM\Setup\LabConfig /v BypassSecureBootCheck /t REG_DWORD /d 1 /f
REG ADD HKEY_LOCAL_MACHINE\SYSTEM\Setup\LabConfig /v BypassTPMCheck /t REG_DWORD /d 1 /f
Insert Your USB Flash Drive.
Navigate To Downloads.
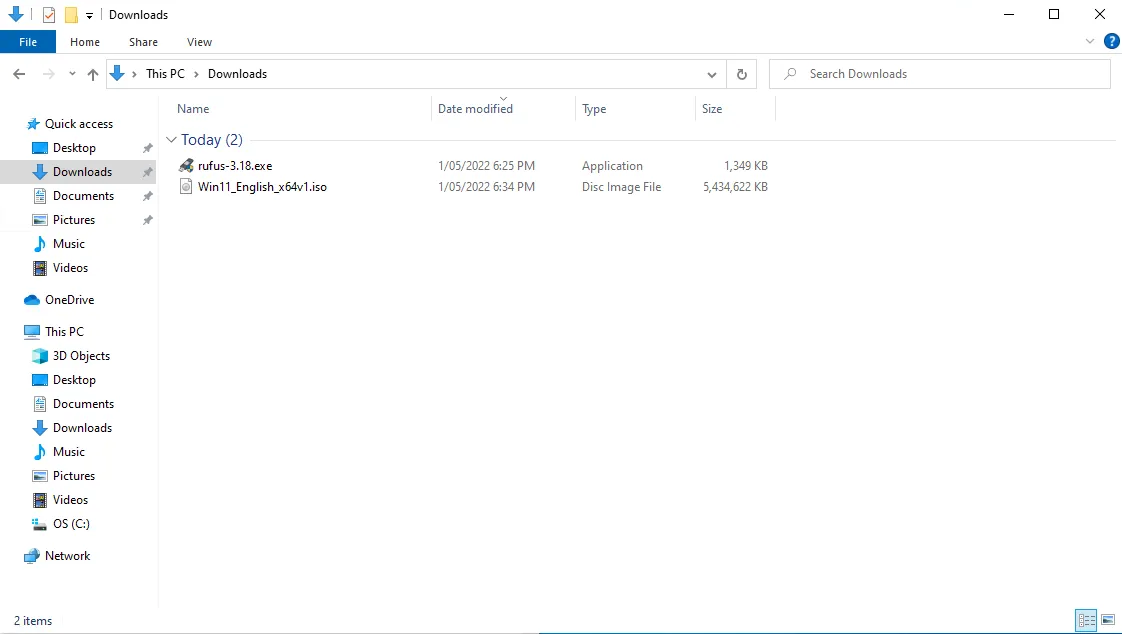
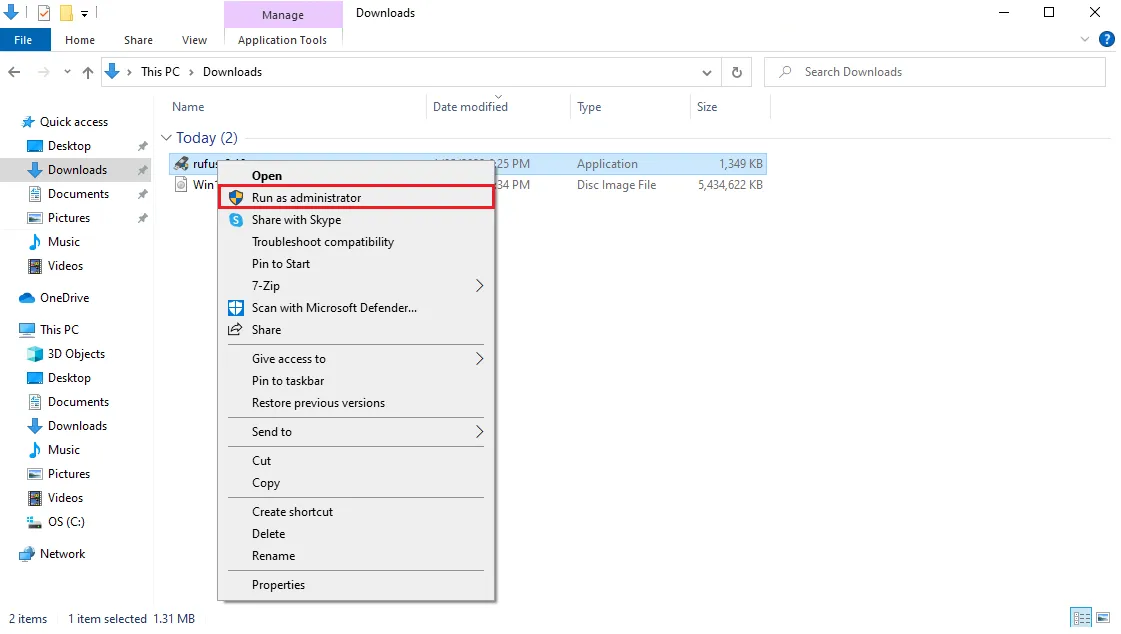
Open Rufus As Administrator.
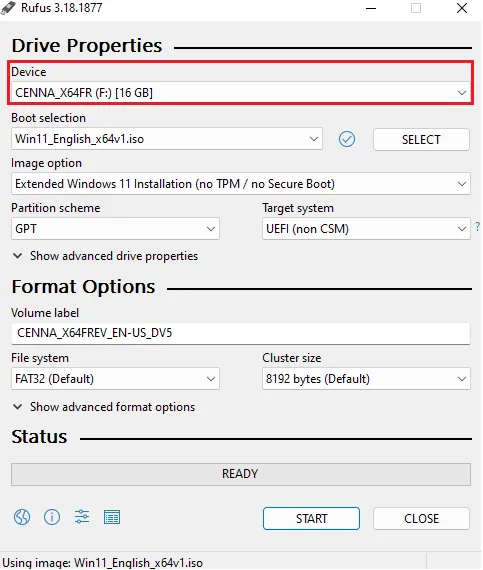
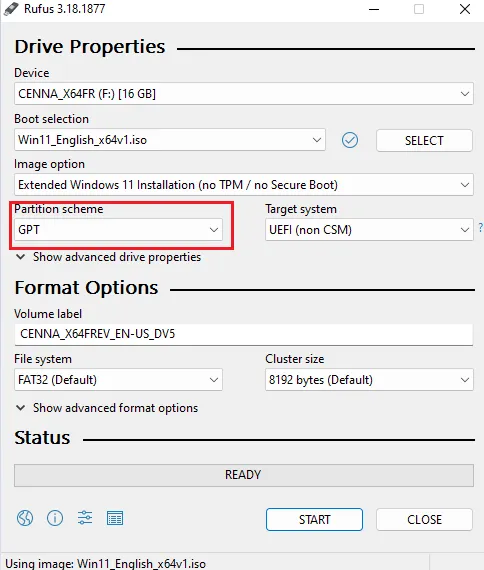
Within Rufus Select The USB Flash Drive.
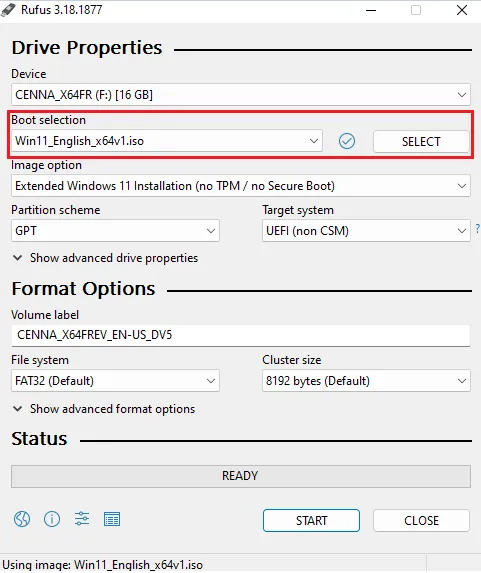
Click Select And Navigate To The Windows 11 ISO.
For Image Option Select Extended Windows 11 Installation (No TPM/Secure Boot).

Select GPT As The Partition Scheme.
If Your Windows 10 Installation Is Using A MBR Partition Scheme Then You Will Need To Perform A Fresh Reinstall Of Windows 11 And Configure Your System To Boot Into UEFI Mode
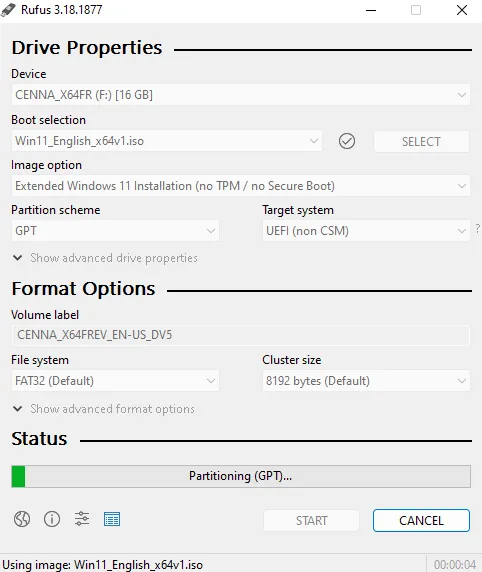
Click Start And Wait For The Process To Complete.
Note This Will Format The USB Drive Deleting All Files
Reboot The System So The Registry Changes Can Take Effect.
Navigate To The USB Drive Within File Explorer.
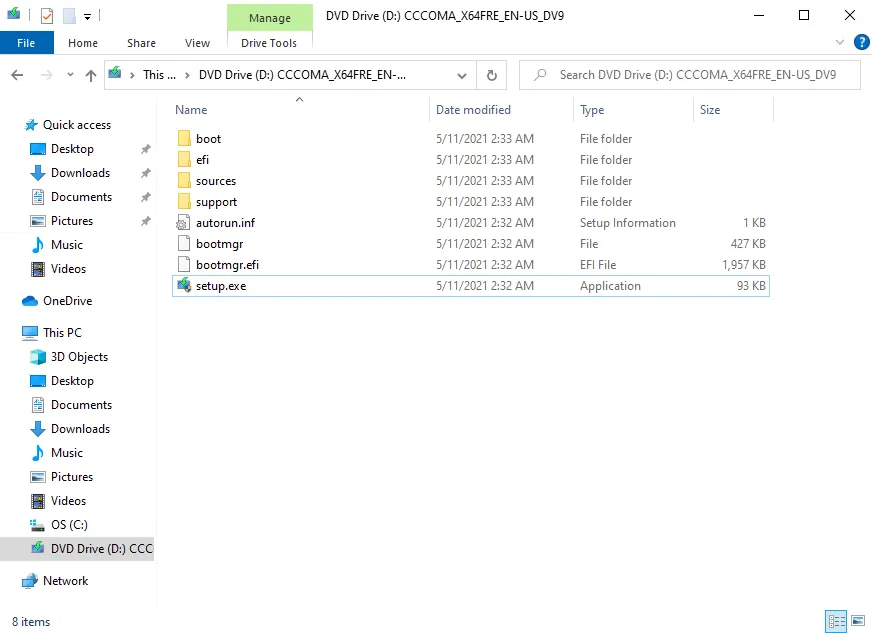
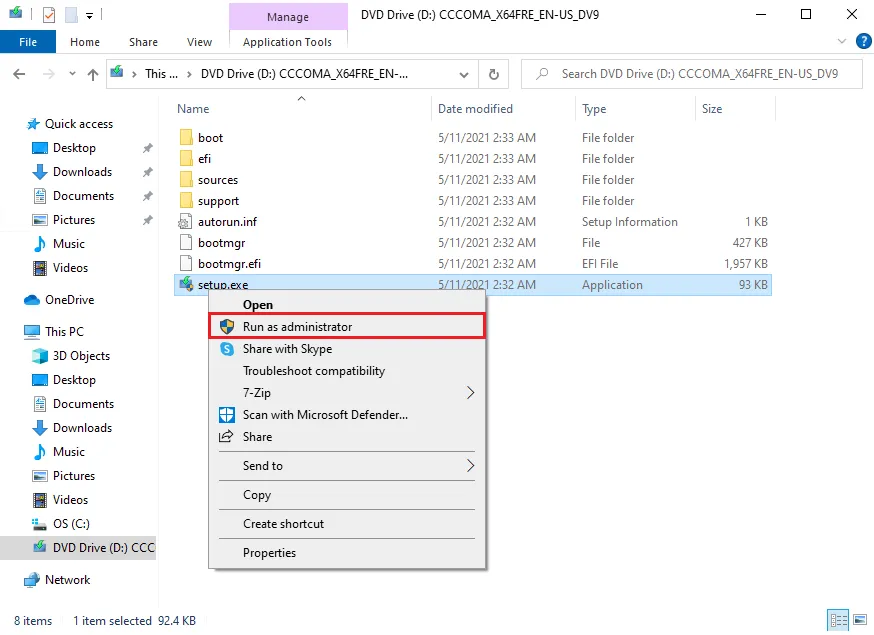
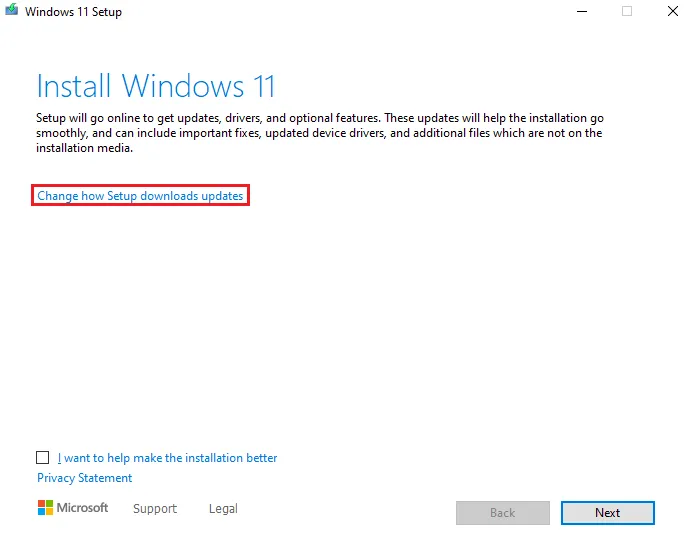
Run setup.exe As Administrator.
Select Change How Setup Downloads Updates.
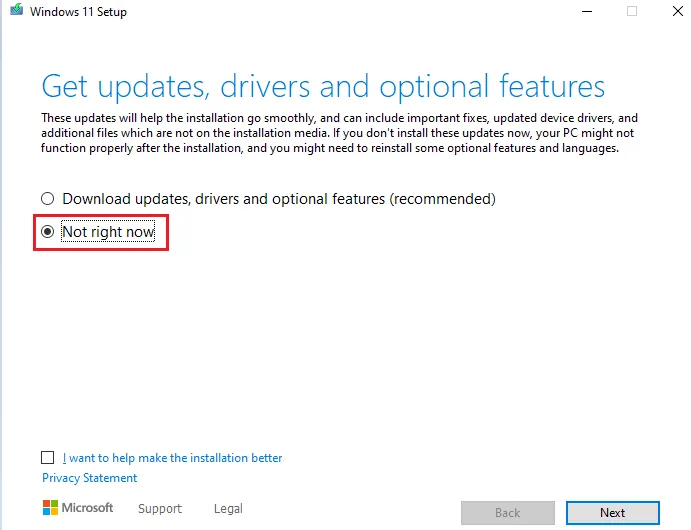
Select Not Right Now.
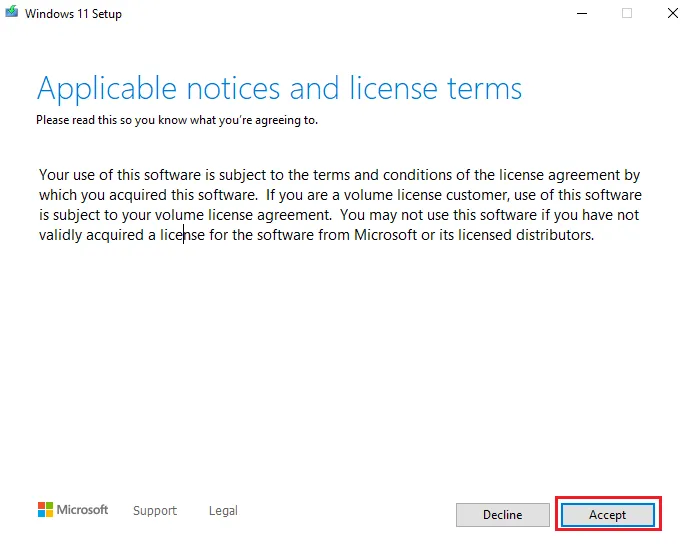
Accept The License Agreement.
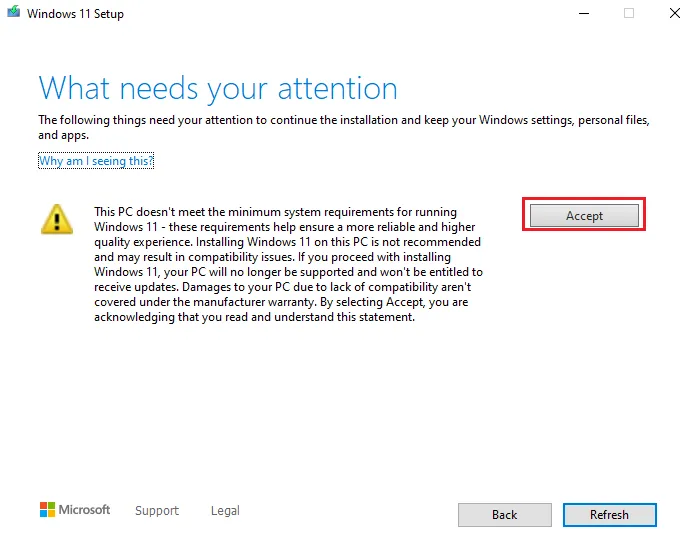
Accept The Installation Terms.
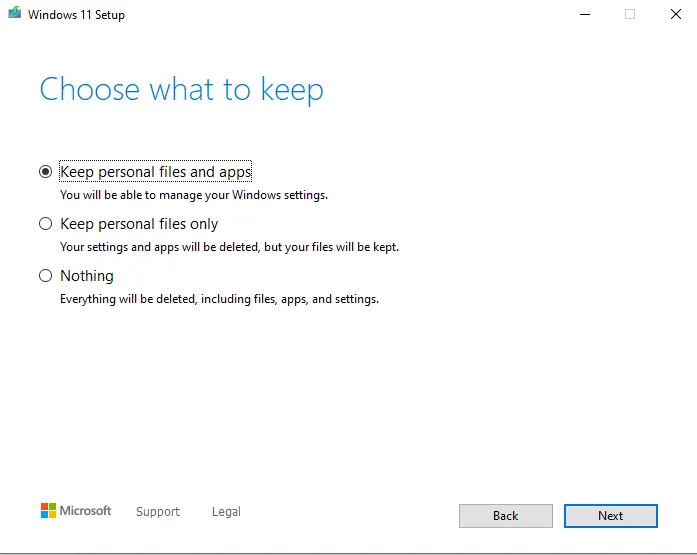
Choose What To Keep.
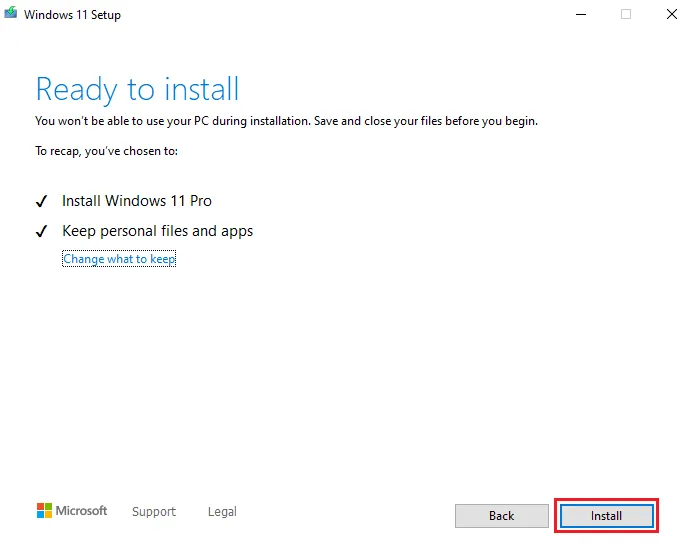
Click Install.
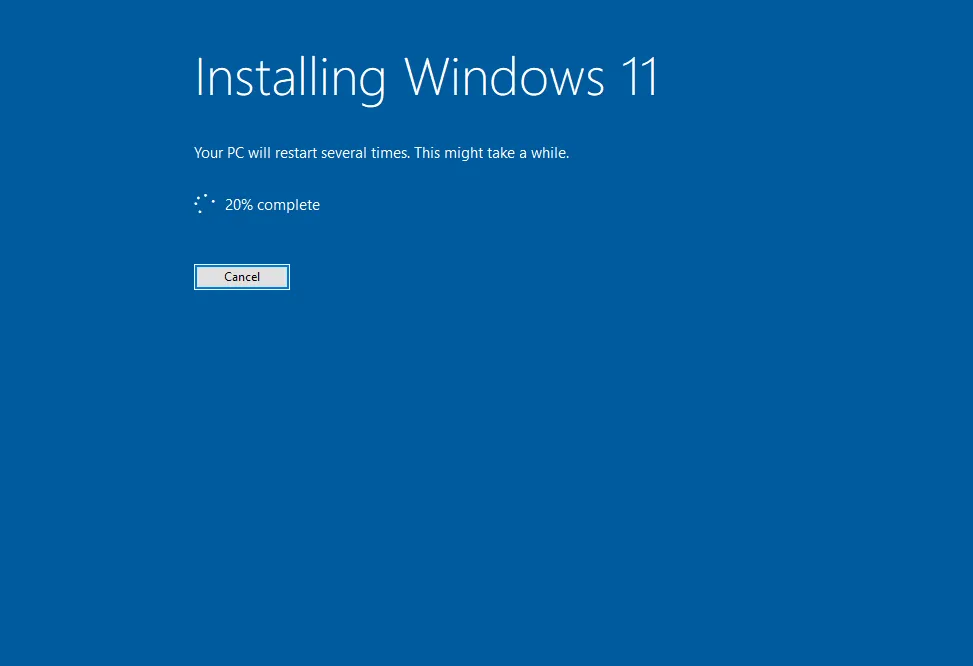
Follow Any Windows 11 Installer Prompts And Wait For Install To Complete.
If You Encounter Any Issues With Installing Windows 11 Please Feel Free To Reach Out To Me In The Comments Below.