In my previous post, I showed the entire Raspberry Pi circuit, including the power supply, Pi, MOSFET Switch Board & the Relay board.
Today I'll show close up pics of the Power Supply and the Pi. I'm in the process of drawing up a schematic diagram of the MOSFET Switch Board that I'll post tomorrow.
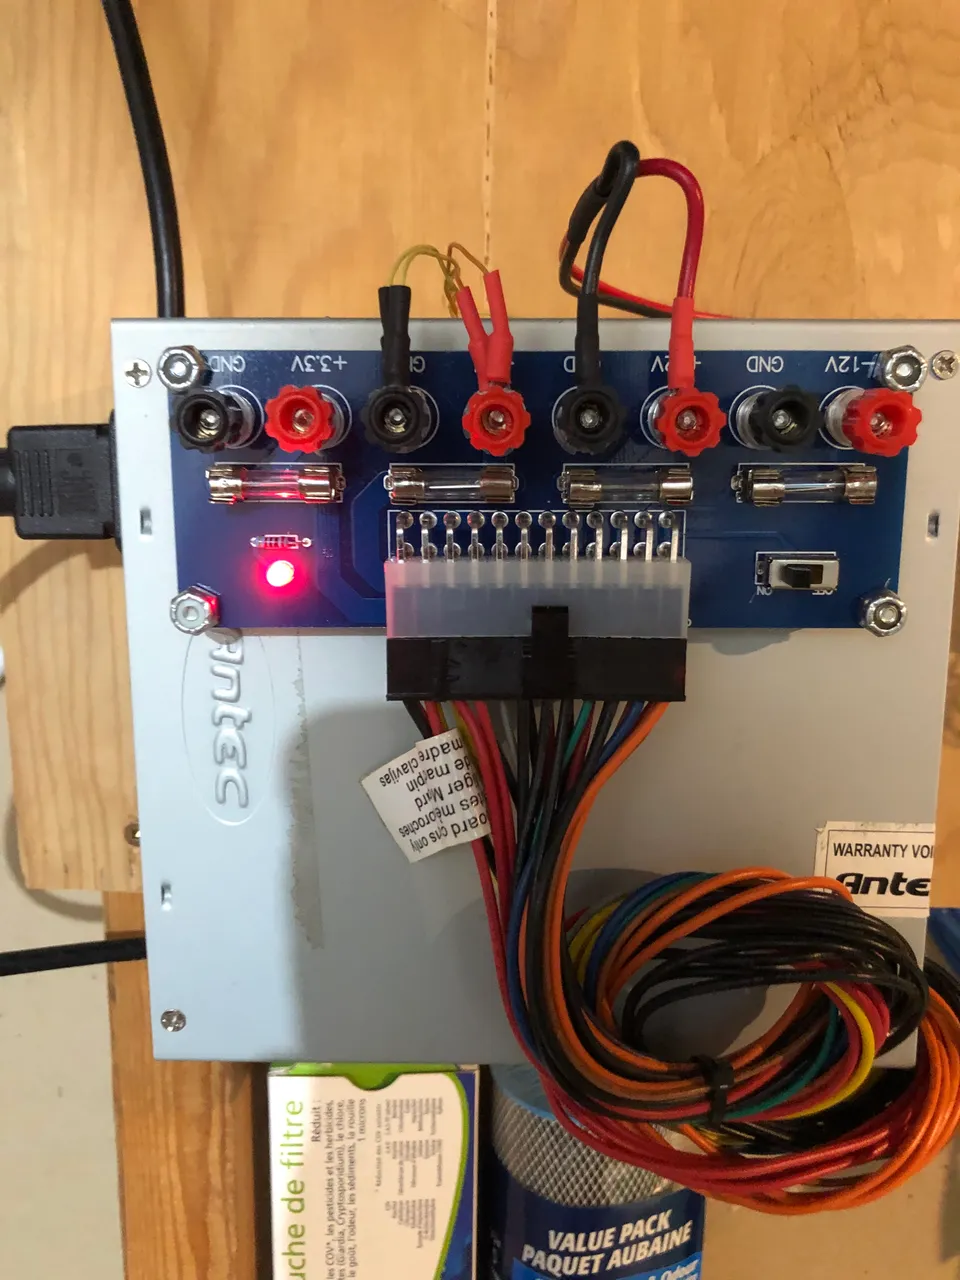
I ordered these adapter boards from ebay.ca and they work great to allow you to plug in an old PC power supply and protect the outputs with fuses. I took the cover off the power supply and drilled 4 holes to mount the board securely, making sure to mount it high enough from the metal cover of the power supply so that nothing will short out. While I had the cover off, I also removed the additional wires that originally fed the hard drives and other peripherals in the computer. I downsized the fuse for the 5V supply to 3A since it only feeds the Pi and the relay board. I left the 5A fuse in the +12V supply and as you can see am not using the 3.3V or -12V outputs.

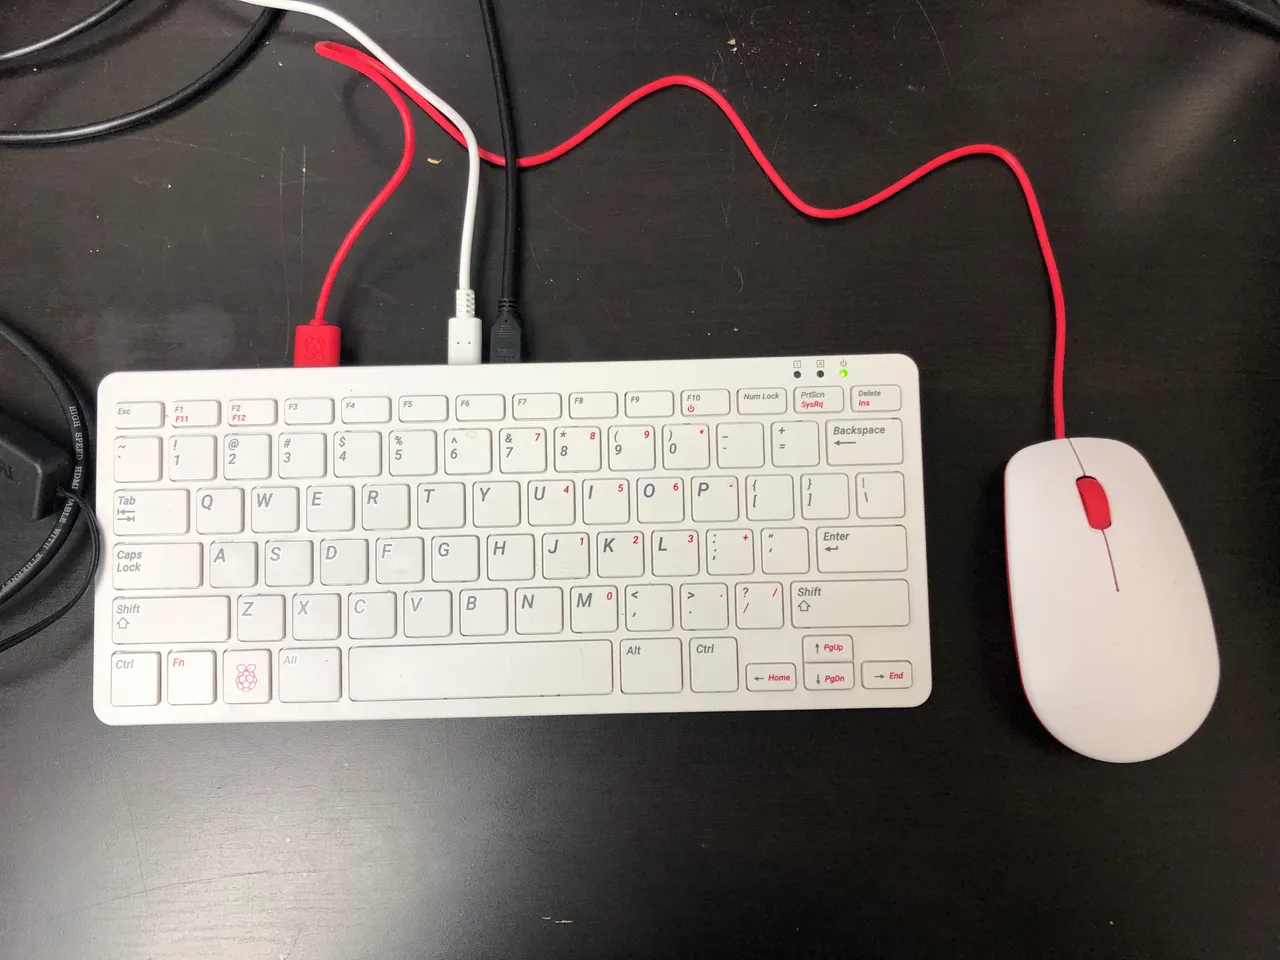
I purchase my Pi's from the Canadian Distributor (https://buyapi.ca) and they have a great case that can be mounted easily and the pi clips in and out very quickly. It is also high enough for me to use the GPIO plug and still put the cover on. As you can see, I'm a "Thrifty" (read cheap!) builder and use a lot of recycled CAT5 cable as my wiring method in many of my projects. The 24Gauge solid core cables can be a little tricky to work with, but as long as there isn't much flexing involved, or high current demands, they work great!
Here is a pic of my Pi400 that I gave myself for Christmas (grin)! I was planning on using it to make all of these posts, but I am having issue with uploading my jpegs to the StemGeeks site. I get a "Image Upload: Error: 400" error when using the Pi400 (Raspbian O/S, using native chrome browser with Hive Keychain plugin). Using the same method on my iMac works great. So if anyone can point me in the right direction to troubleshoot the error message, I'd love to use the Pi400 for all of my posting!
Thanks for viewing,
Robin