Happy Weekend Everyone!
Once in a while our children ask us to do some mechanic chores and that was what happened this Saturday morning because yesterday Friday afternoon the interior of the rear tire of my son's bicycle exploded. When he saw it he cried and hugged me. He said, let's buy a new bicycle. But I said, we are not going to buy a new bicycle, there is another bicycle where we can swap the tires, I said.
So, originally, the plan is to swap the rear tire, but when I am about to do it I figured that it will be quicker just to lower the seat of the other bicycle so that my son's feet can reach the ground.
This is the bicycle of my son, noticed the rim of the rear tire? It was deformed by the explosion
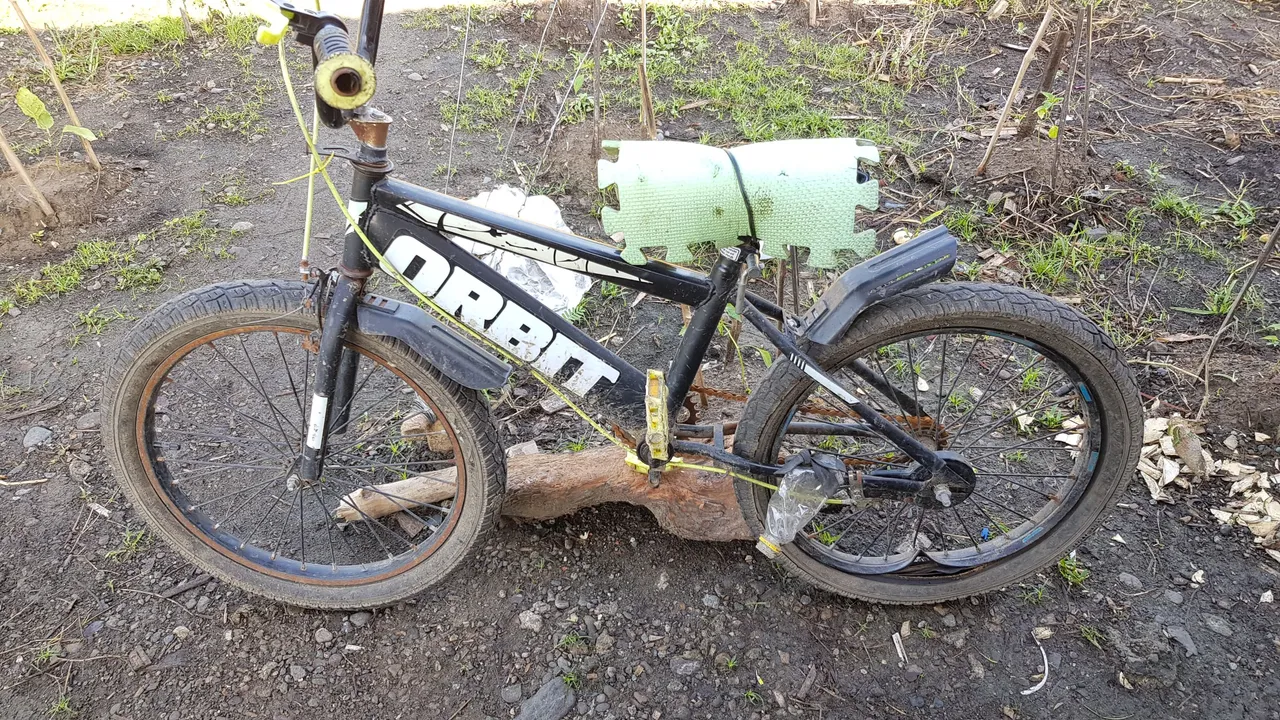
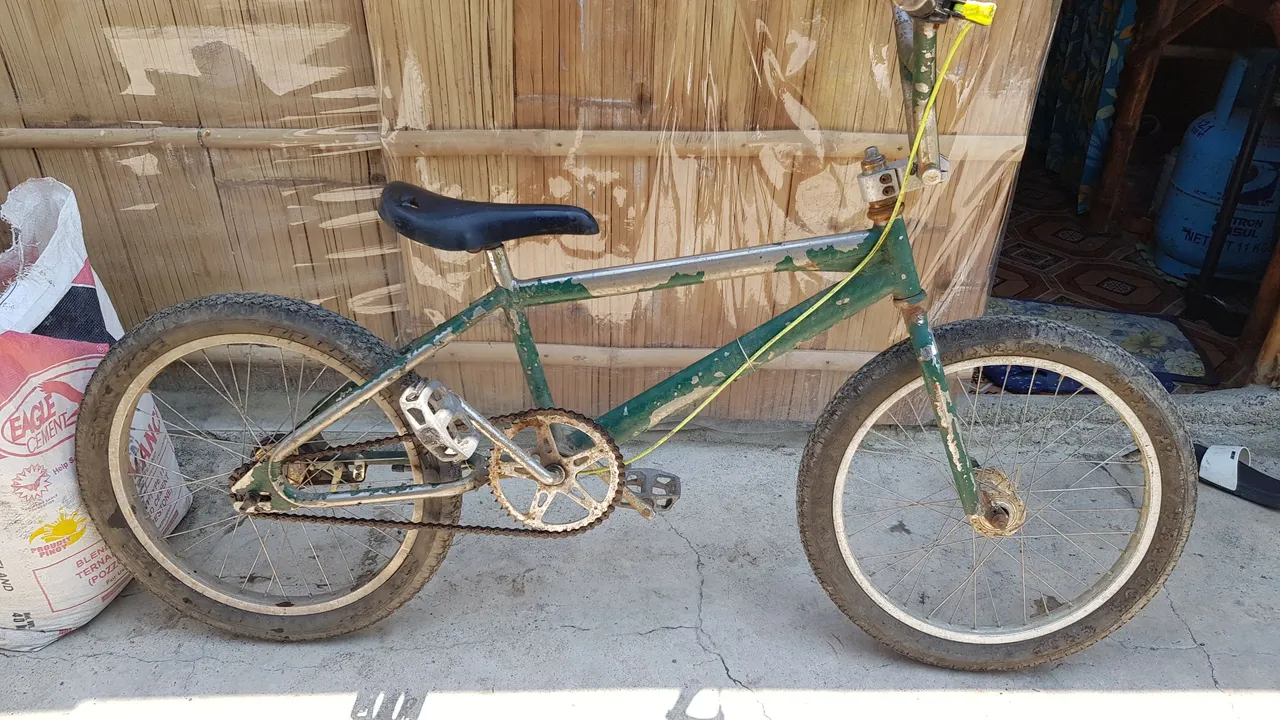
Here is the other bicycle that I planned to get the rear tire that I am going to swap on my son's bicycle I already removed the seat

Lowering the seat
While I am trying to lower the seat of the other bicycle I noticed that the metal holding the seat is very hard to adjust. I tried to use a hammer to loosen it a bit so that I can adjust it but to no avail (see gif below).
So, I did an old-school technique in lowering the seat of the other bicycle. I borrowed a metal saw from one of my relatives to cut the metal holding the seat (see gif below).

After cutting the metal I tried to install the seat that I removed earlier so that my son could try it out and see if the elevation of the seat will let his feet reach the ground.
After installing the seat I tightened it up using a wrench.
And since the tire is deflated because of the long time that it has not been used I have to inflate it and then I will have my son try it out.
Mix and Match
After my son tried it out I noticed that the seat is still quite high for my son to comfortably reach the ground with his feet, so, I cut the metal one more time.
After I have done with the cutting, I thought that I have to transfer the brakes of my son to the other bicycle. And the chore goes long, instead of just lowering the seat, more work needs to be done.
In transferring the rear brakes I have to loosen two nuts on the rear wheel (see gif below).
Unscrewing the screws of the brake cover (see gif below).
Removing the brake cover (see gif below).
Installing the brake cover to the rear wheel of the other bicycle's tire (see gif below).
And finally, installing the break is done, after putting back the rear tire the installation of the brake lever and brake cable follows

And here it is now, it is done after lowering the seat and transferring the rear brake. I also lubricated the chains a little bit.
That is all for now guys, catch you up with the next one. Wishing you all safety, good health, and abundance.