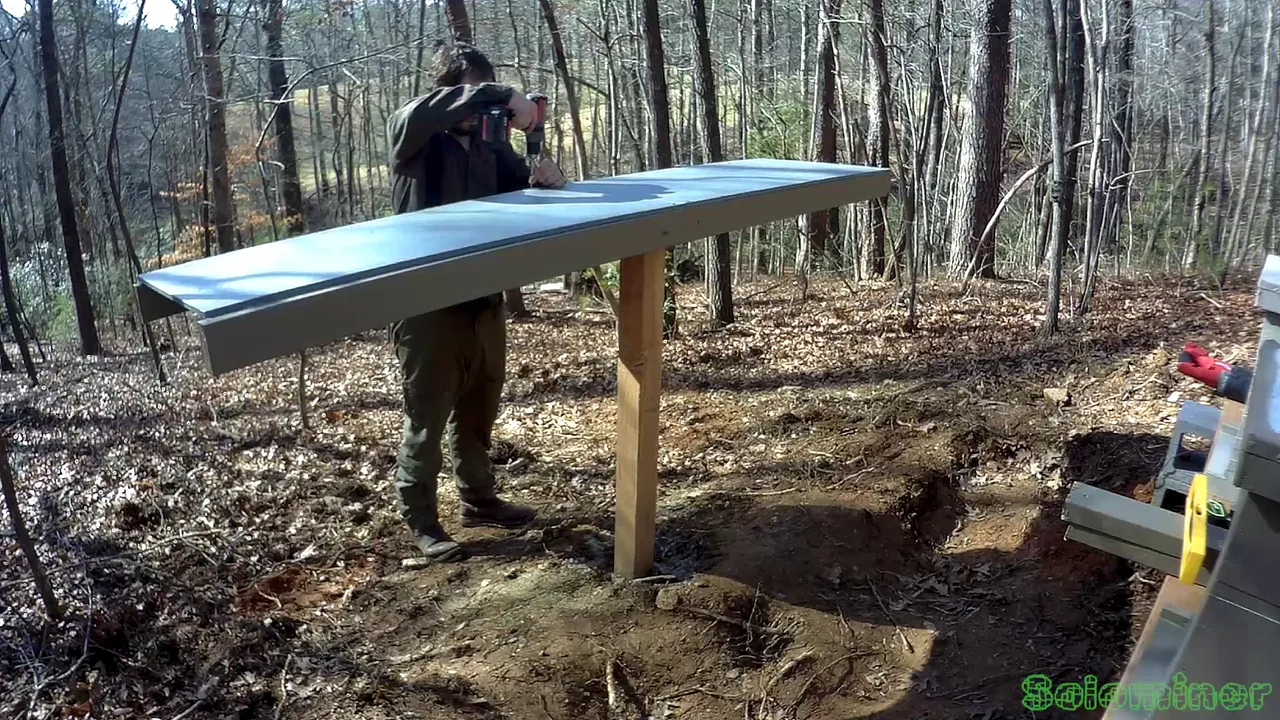
At this point in the build I have the stands set up and its time to add the bee hives and finish the workbench. Using a sawzall, a level, and my screw driver I make some changes to the design of my work bench and then get to installing the table top. The workbench will give me a place to have tools set up when working on the hives. And if I ever need to move a frame I can move it to the table, will help with doing video of them and to take pictures. Since this spot I picked is out in the woods having a place to set things will be a nice addition.
Link to part 1:
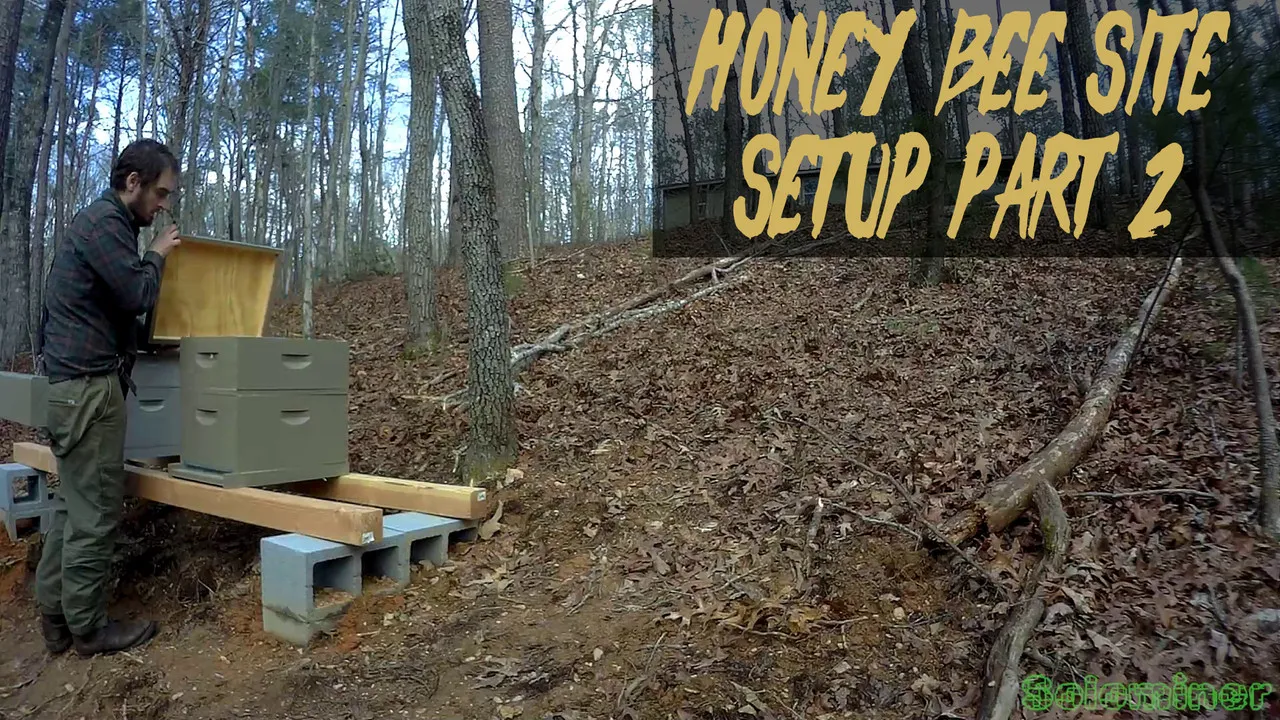
First I carry down my beehives, right now they have no bees in them. Last I checked I should be getting them in early April, seems the frost has pushed forward the date where I will be getting them. None the less I carry down my hives and set them up outdoors to await the packages of bees.
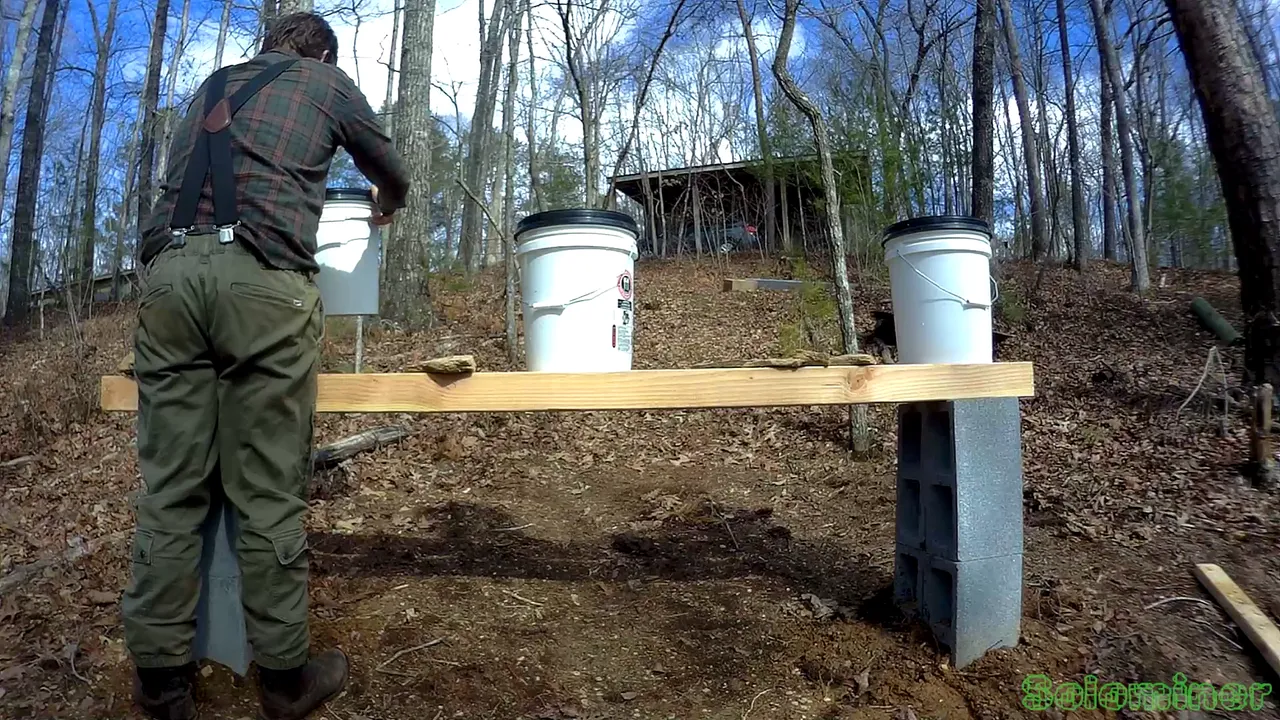
I decide to flip over my sugar water feeders since they are empty right now and I do not want rain water trying to collect inside with the holes I put in them. I was worried rain would get in, then freeze and crack the plastic but it appears that did not happen so I am glad. I just flipped them over until I get the bees.
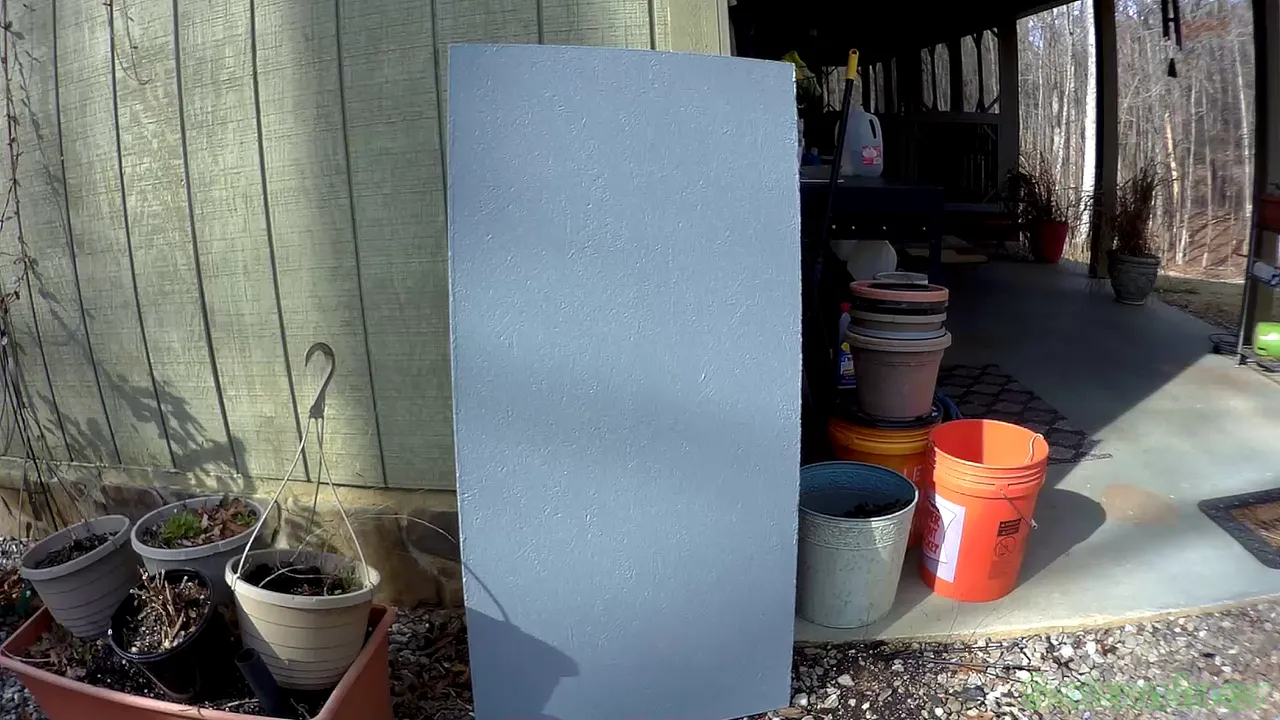
The table tops are two feet by four feet, I used plywood which I then applied many layers of outdoor plant on. Hopefully they will hold up for many years outdoors by painting them as much as I could. Two of these boards will complete my two foot by eight foot table.
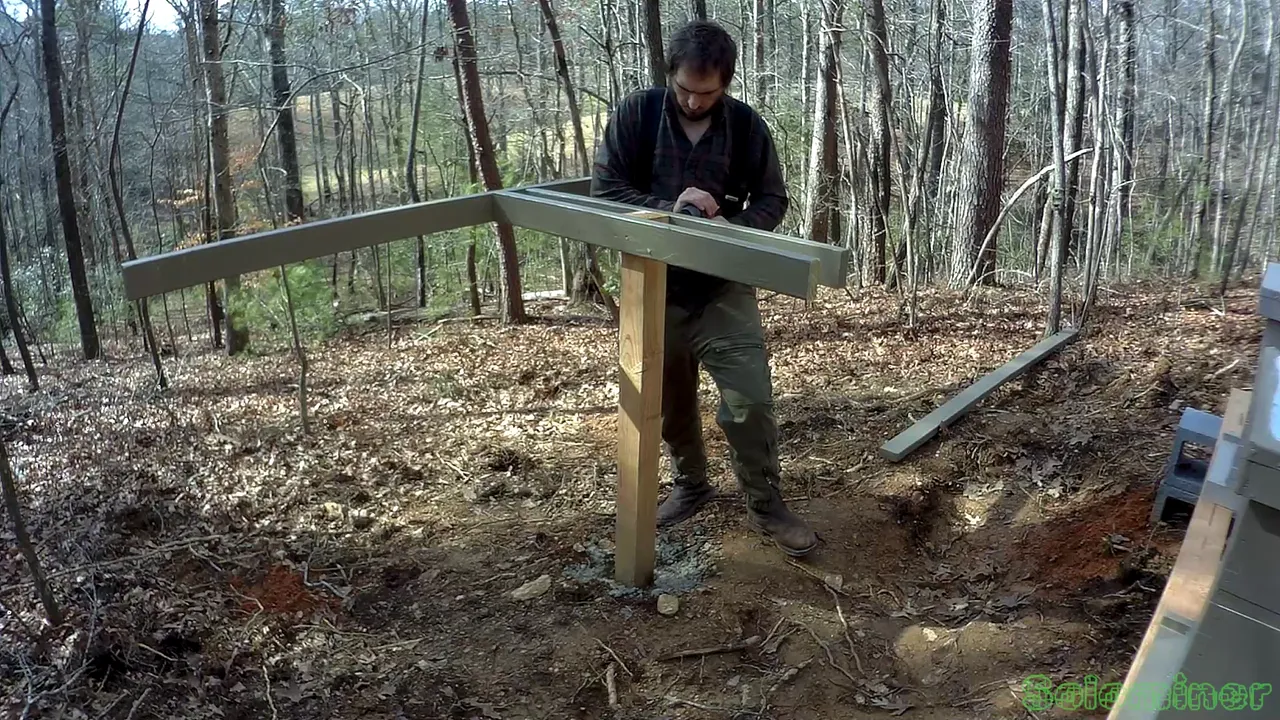
In the last part of this video I build the table frame, but realized it was way too big for what I needed. So I removed the 2x4s and cut them down to fit the table top.
I probably should have taken it apart piece by piece but I didnt and had some troubles moving it around..lol
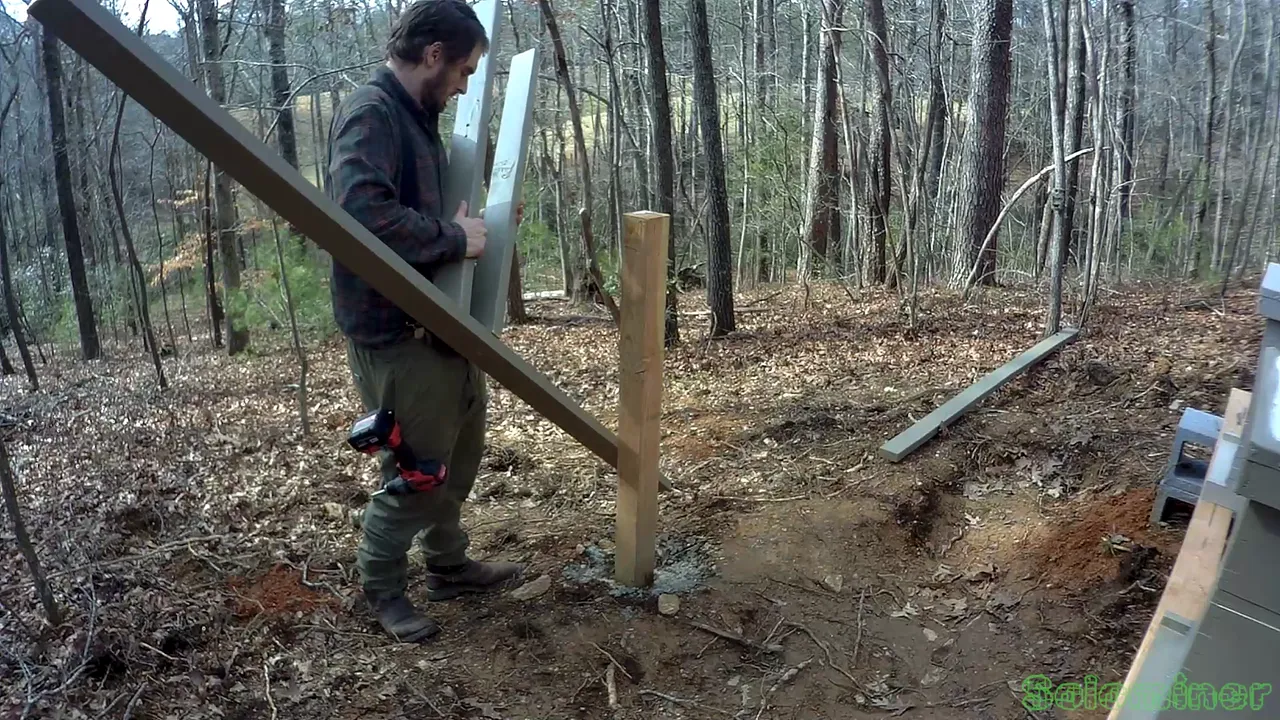
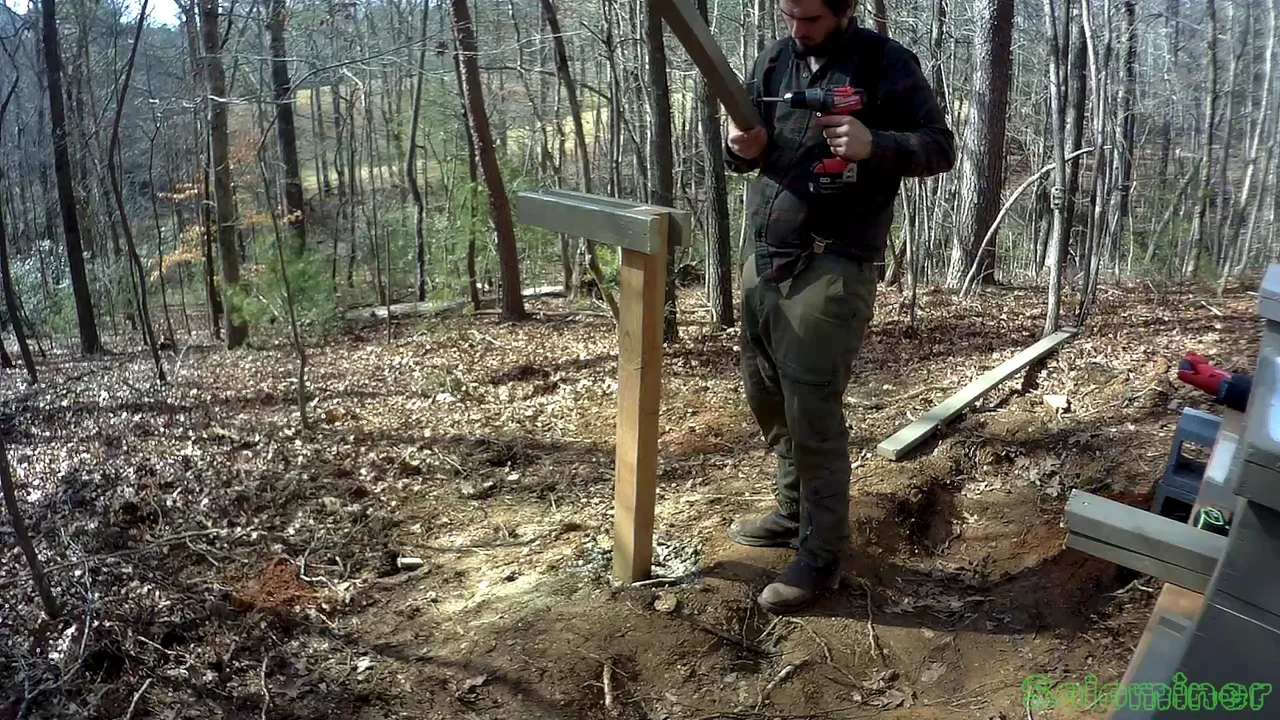
After disassembling it on the ground I placed the 2x4s back on the pole and screwed them into place, but offset this time as I will be cutting them shortly.
Measuring how much 2x4 I wanted to keep on the pole I mark it and then prepare to cut the remainder off with my sawzall.
Using my reciprocating saw made quick work of the job, I cut the first 2x4 and then moved onto the second one.
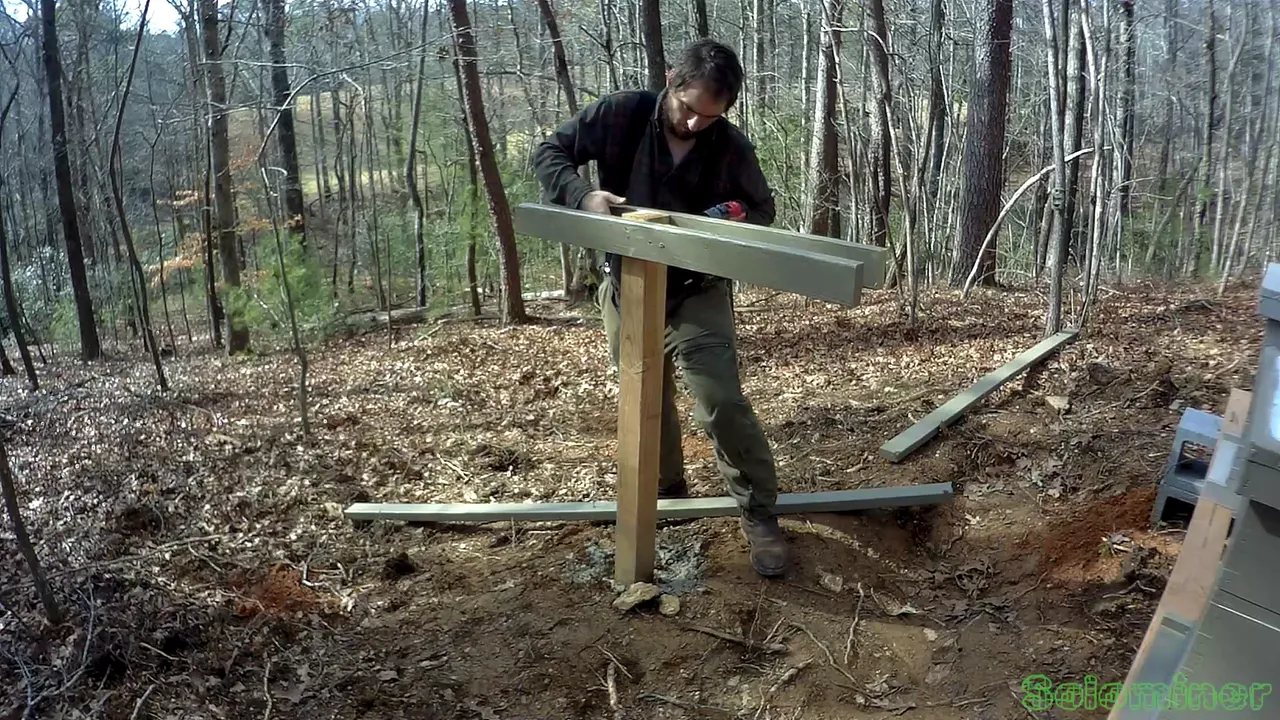
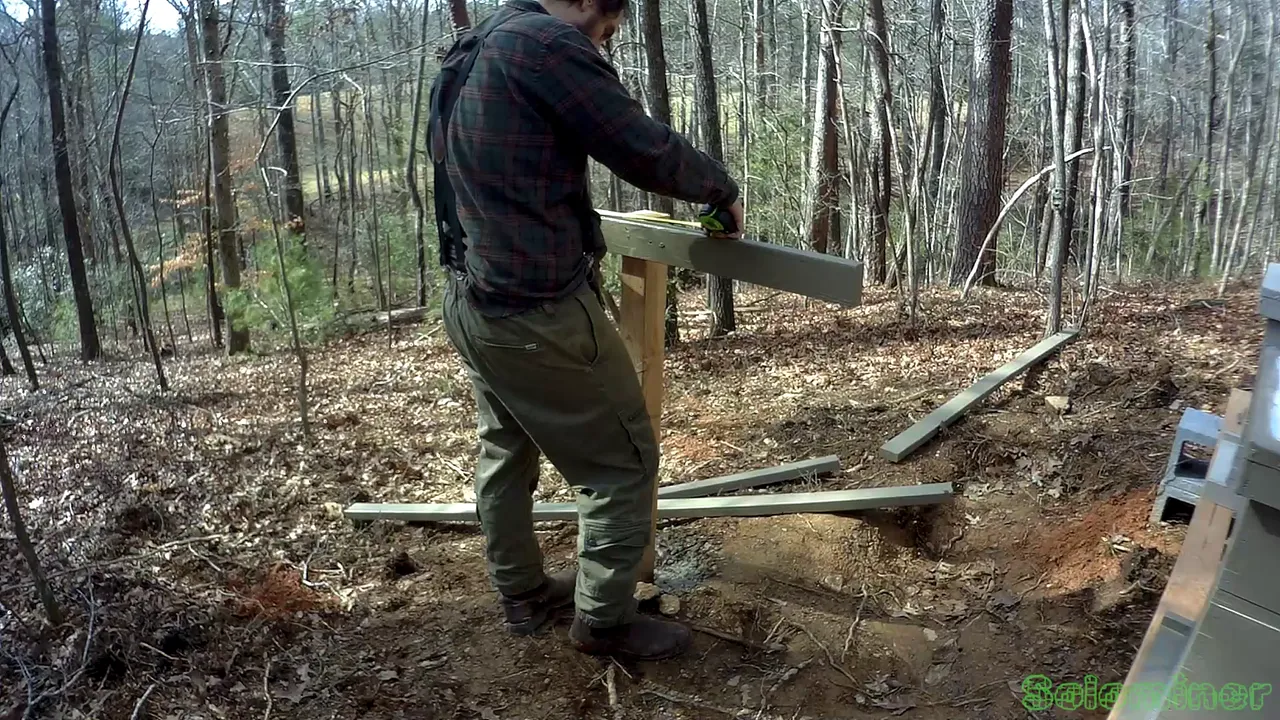
Once the 2x4s were cut I proceeded to install the eight foot 2x4s that will be the framing for the table top.
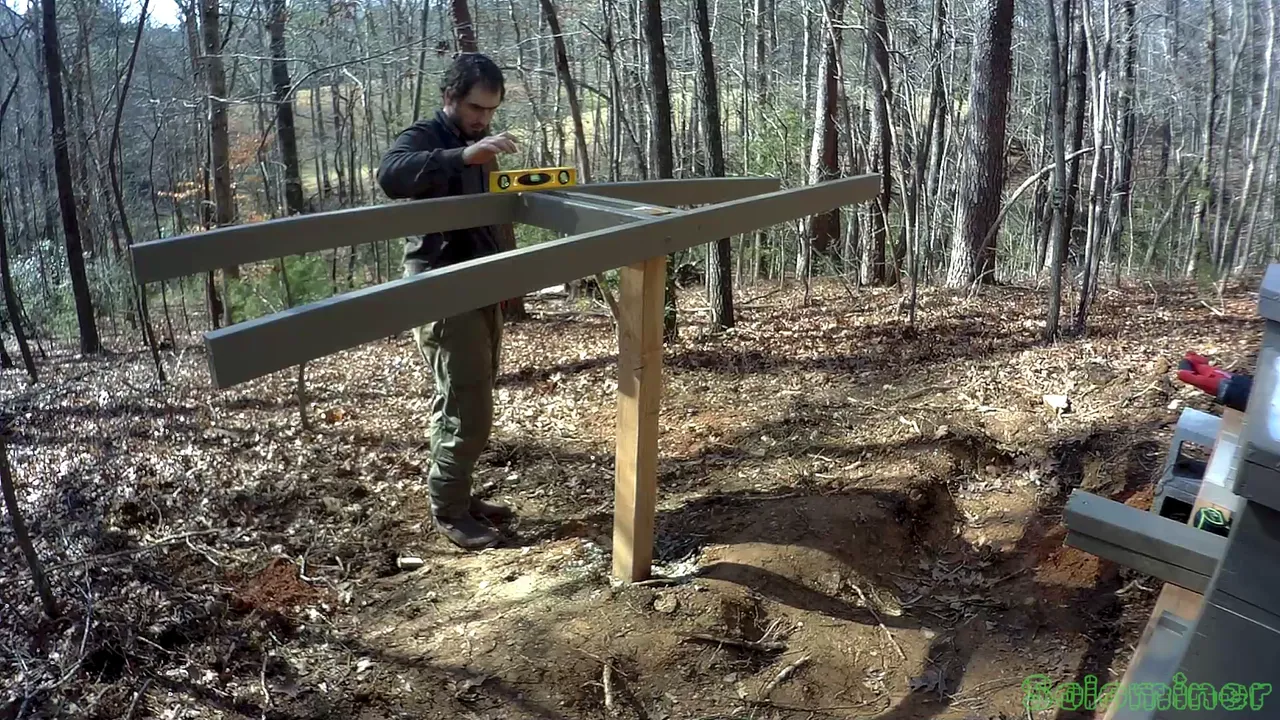
Checking how level it is after putting one screw in, then tilting it until I find it level.
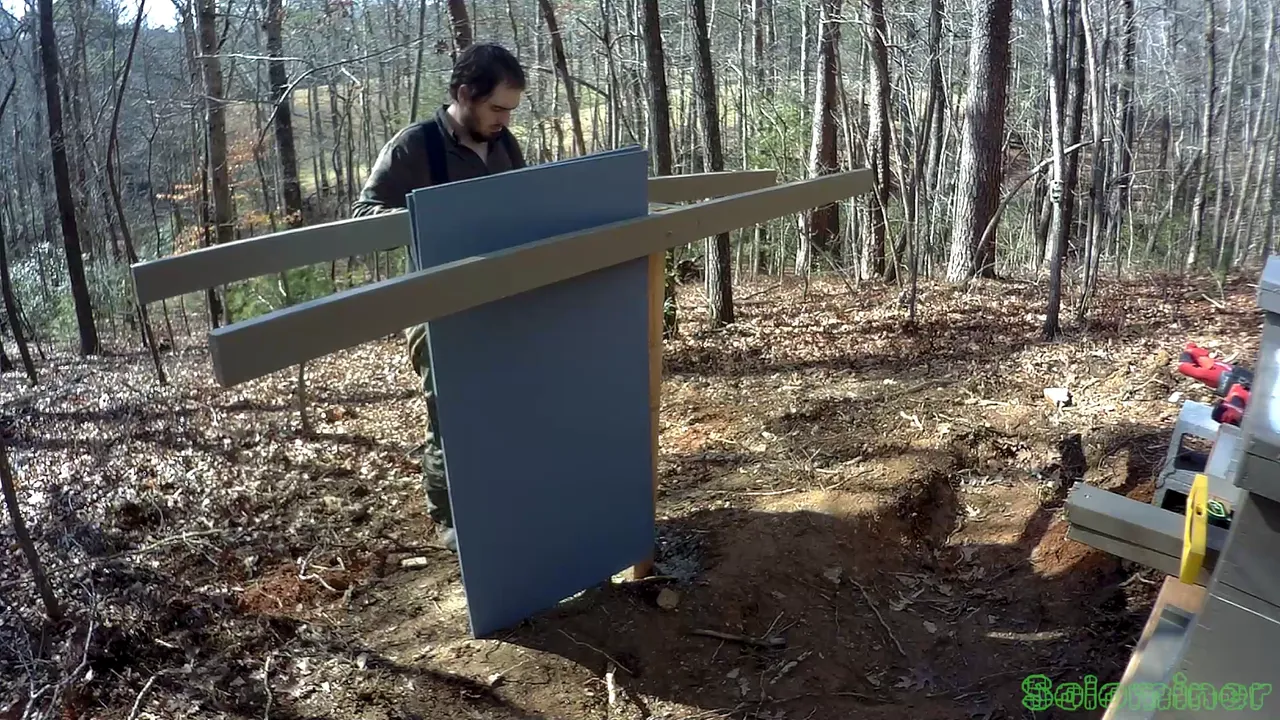
Brought the two 2x4 foot boards down and got them ready to install on the 2x4 frames.

Setting both on the table took some skill, had to balance them as the long 2x4s made it a little wobbly until I put both on.
Once I started screwing in the table, it shored everything and made the table rigid. I placed about six screws into the table to hold it all in place.
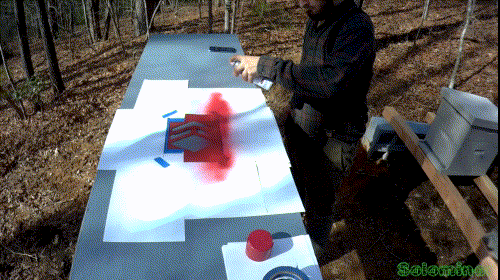
Next was to add some my Hive stencil to the table top, I did over spray a little, thought I had enough paper to cover. Its okay its just a little bit.
Removing the over spray paper and the stencil reveals the Hive logo in its regal red color.
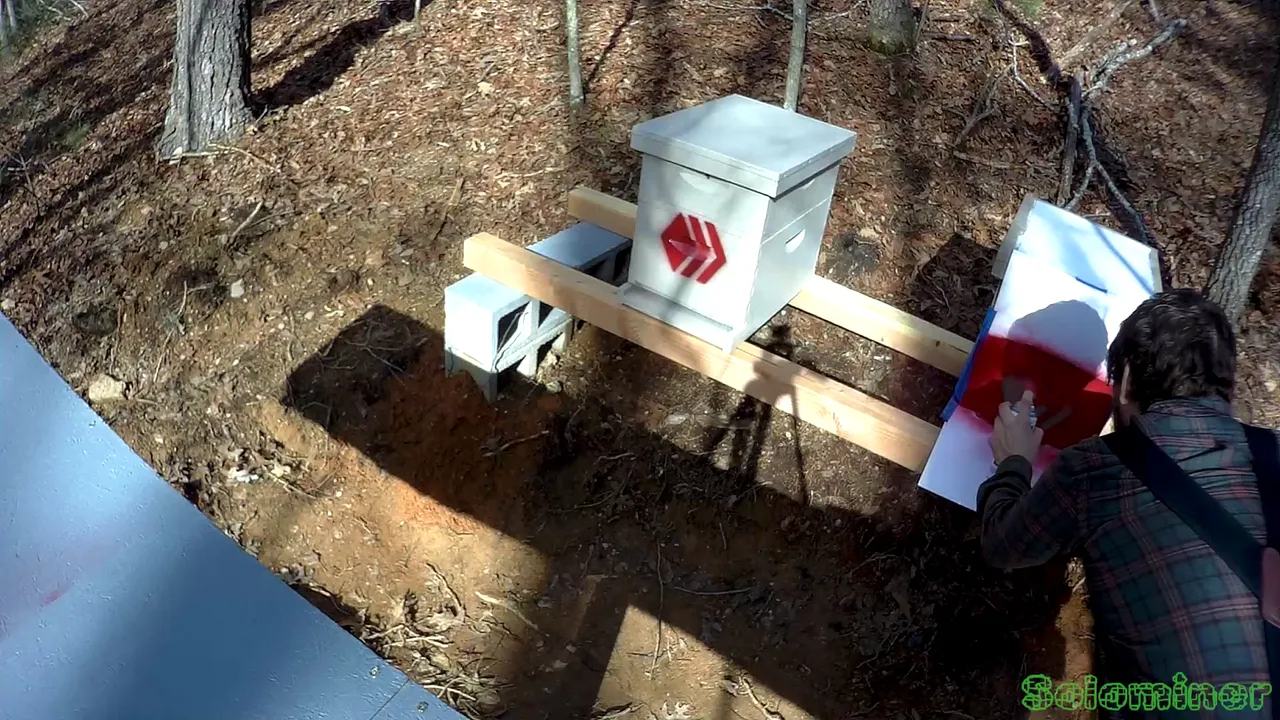
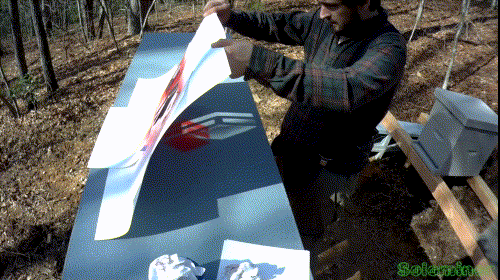
I move on to applying the stencil to the beehives.
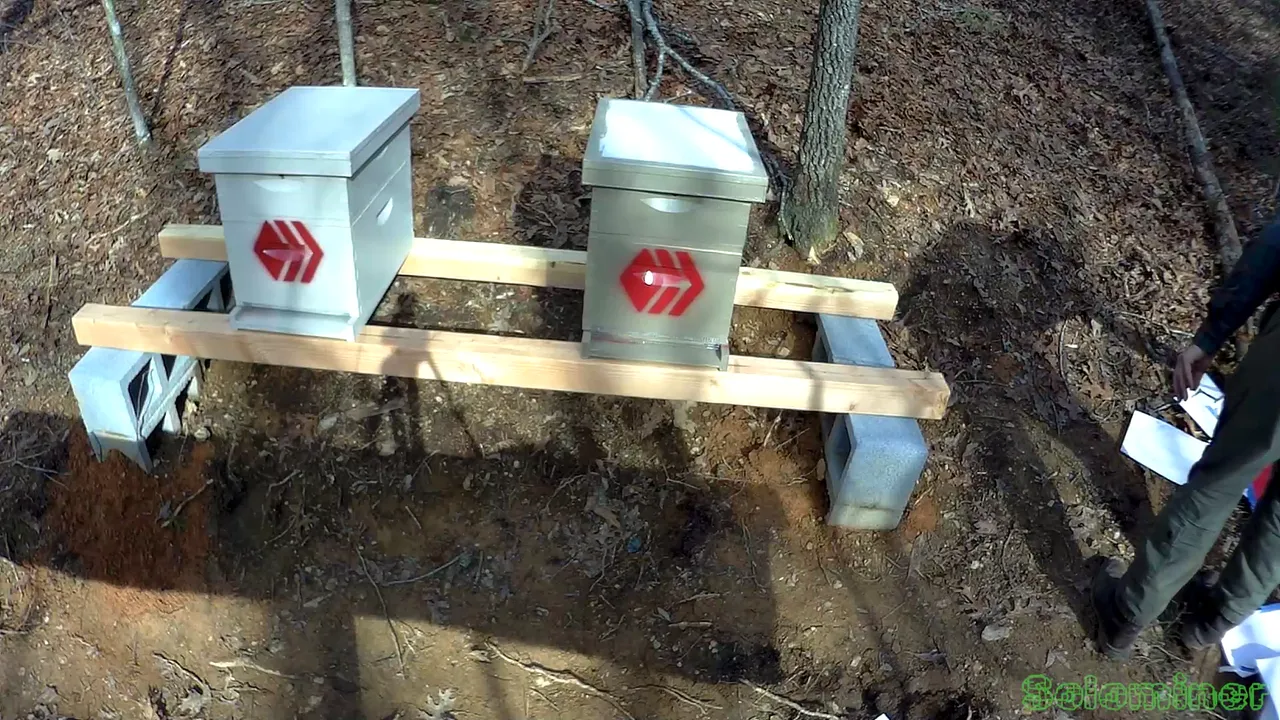
They came out great! Was worried the stencil was going to be too big but it was perfect.
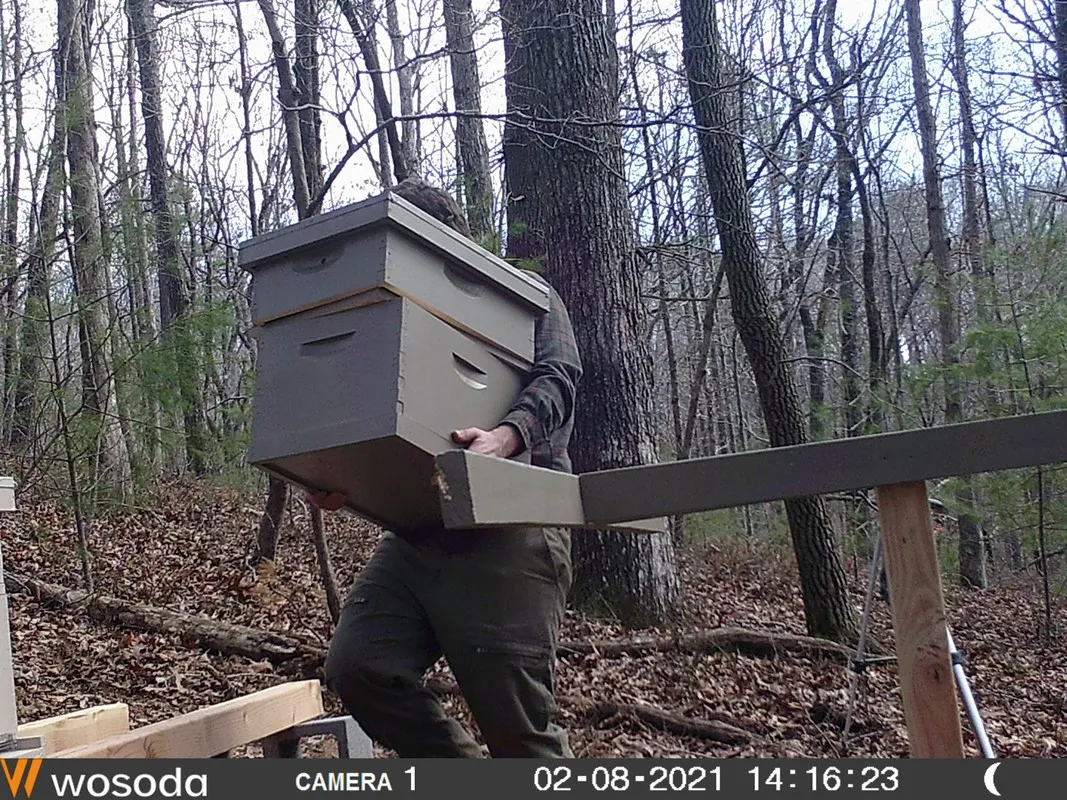
Bonus trailcam photos:
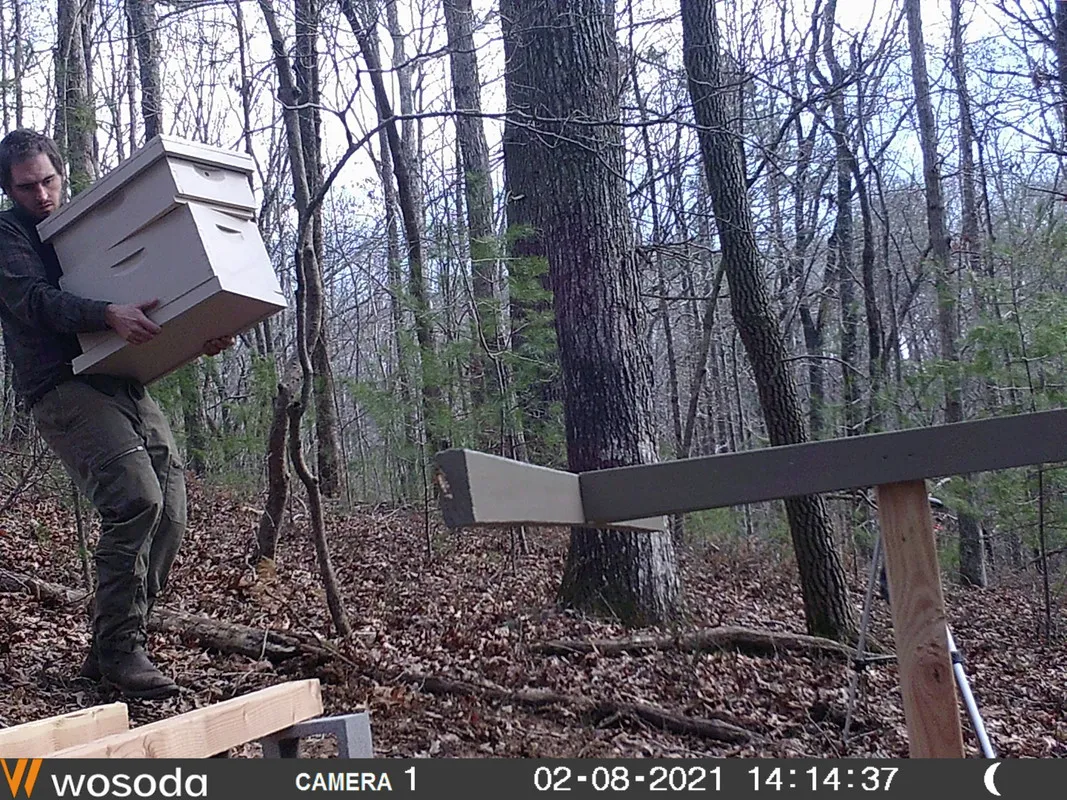
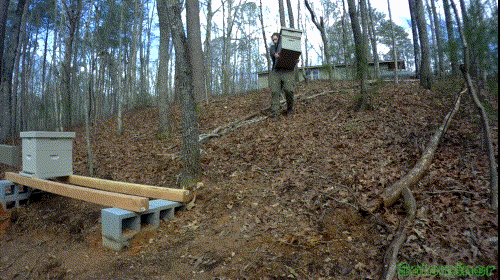
I forgot I had my trailcam set up watching over my beehive site. And it captured me carrying down my hives.
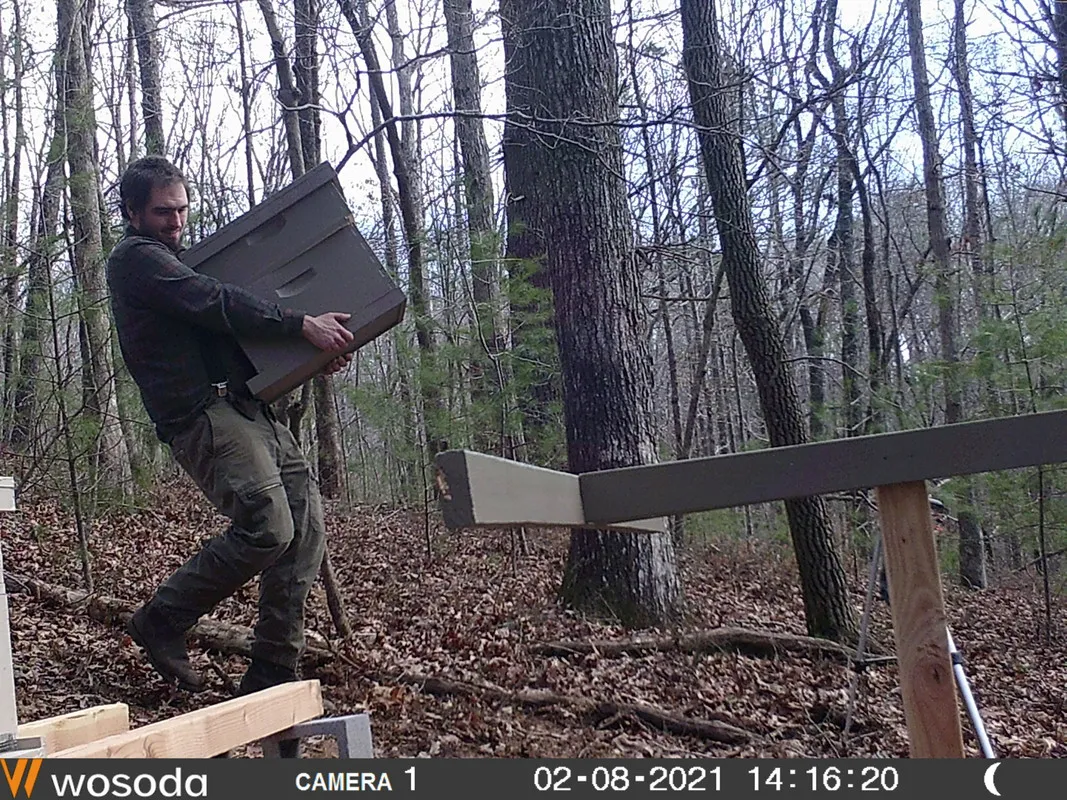
Was trying to be careful not to drop anything or side down the hill.. lots of leaves were on this hill and made it easy to slip. Luckily I did not.
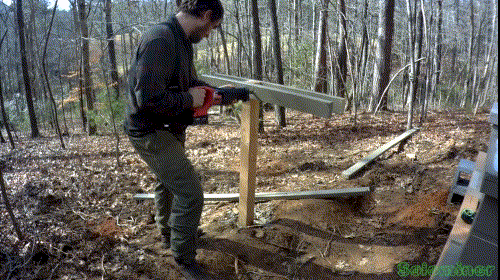
This was from before trimming down my table frame so it stuck out alot more. One of the reasons I trimmed it down is it was too close to the hives and would make it hard to work by them.
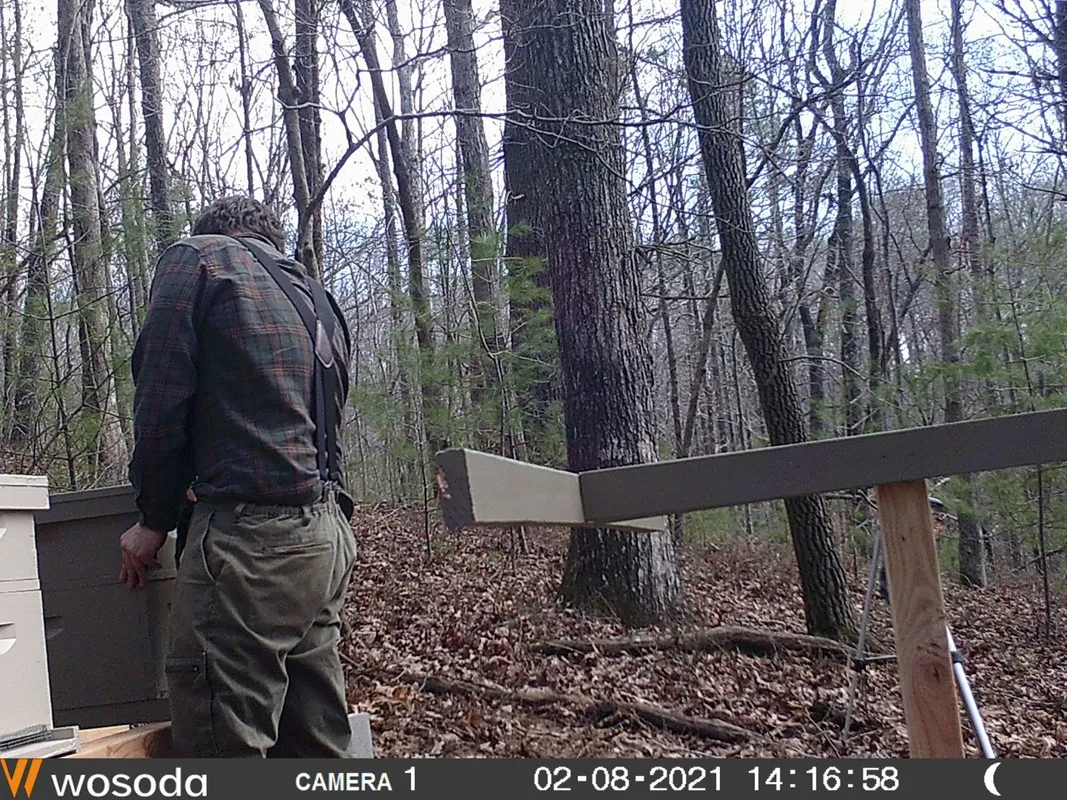
Getting the hive all set up and ready for the bees. I make sure the hives are slightly higher in the back so water does not pool in them when it rains.
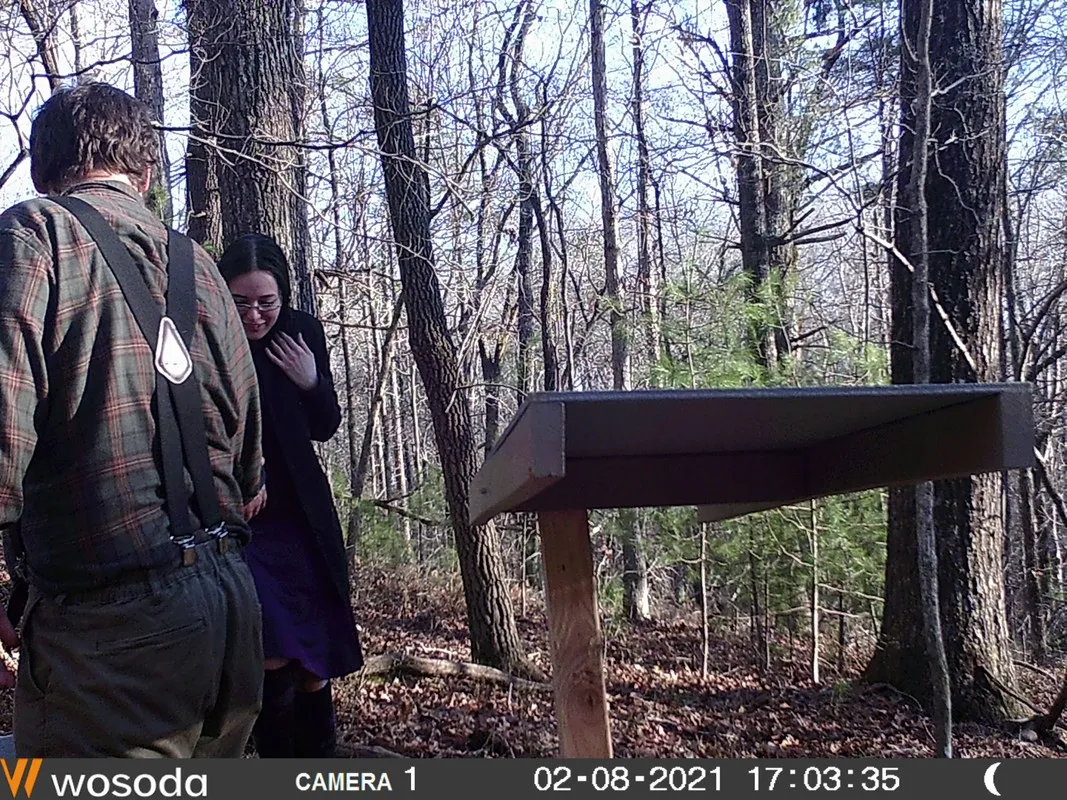
@activate.alpha came out to check out my work on the hives. She liked it but where I set them up is kind of hard to get to.
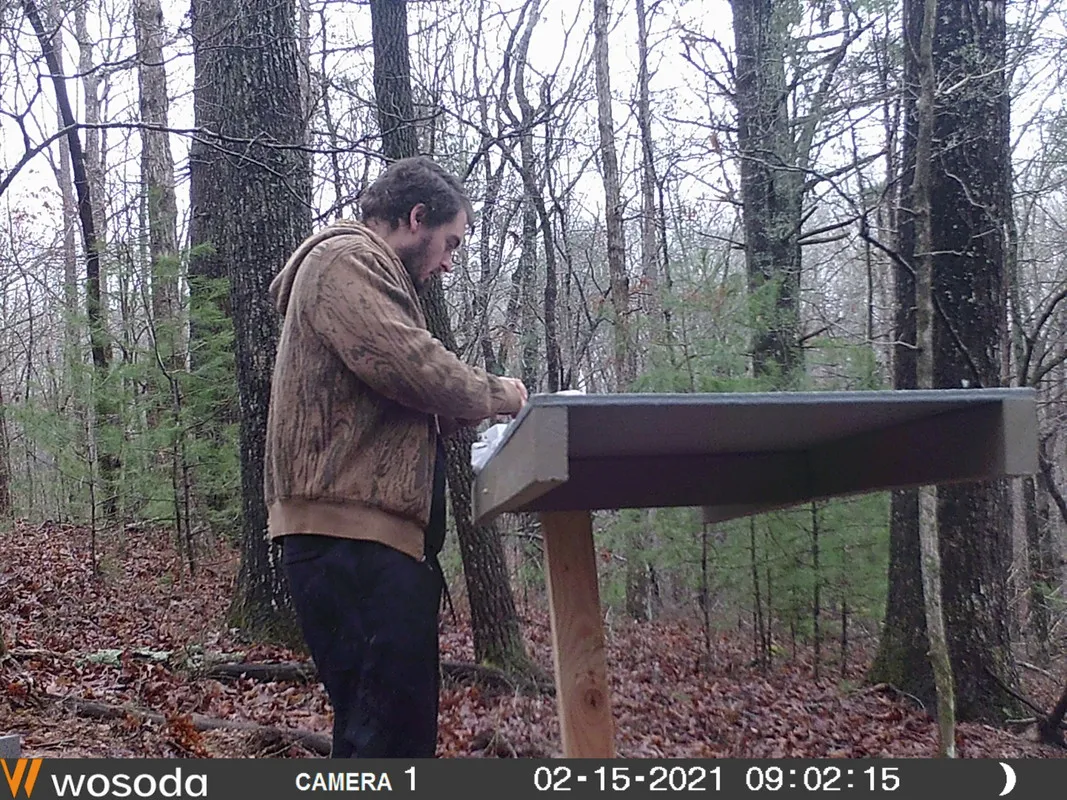
Using my table for the first time, loving having a work bench by the hives. Should make working on them alot easier.
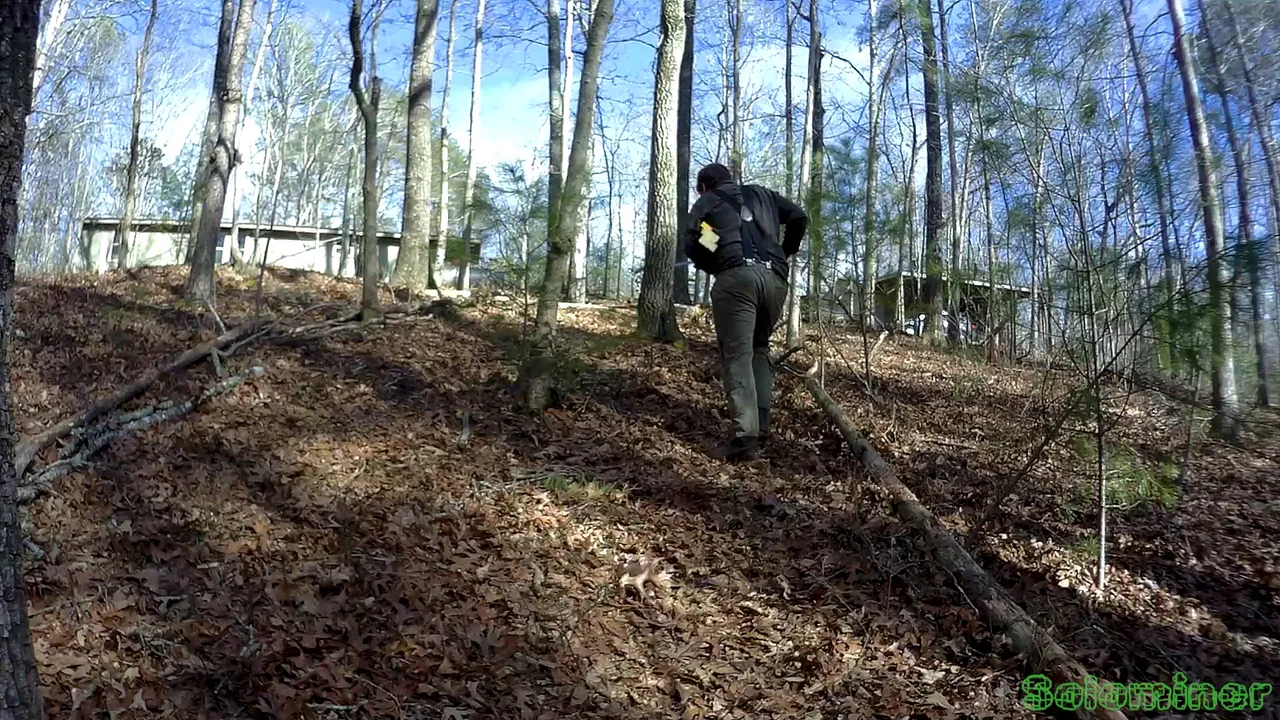
Finally I carry all my tools, screws and extra cuttings of wood back up the hill. Its a good workout, haha! Now all I need is to carry my packages of bees down the hill and install them in less than a month.
LBRY Video Link
Addresses below to help me buy better camera equipment and support me to travel to locations to do photo and video and overall great blogs in new places.
| Coin | Address |
|---|---|
 BTC: BTC: | bc1qhfmvd2gywg4fvrgy2kkkkyqta0g86whkt7j8r7 |
 LTC: LTC: | ltc1qdyzm5cwgt8e2373prx67yye6y9ewk0l8jf3ys9 |
 DASH: DASH: | XkSqR5DxQL3wy4kNbjqDbgbMYNih3a7ZcM |
 ETH: ETH: | 0x045f409dAe14338669730078201888636B047DC3 |
 DOGE: DOGE: | DSoekC21AKSZHAcV9vqR8yYefrh8XcX92Z |
 ZEN: ZEN: | znW9mh62WDSCeBXxnVLCETMx59Ho446HJgq |