This is my second attempt at a realistic digital portrait. If you would like to check out my first attempt HERE is the link.
Again, the reference is from Pinterest.
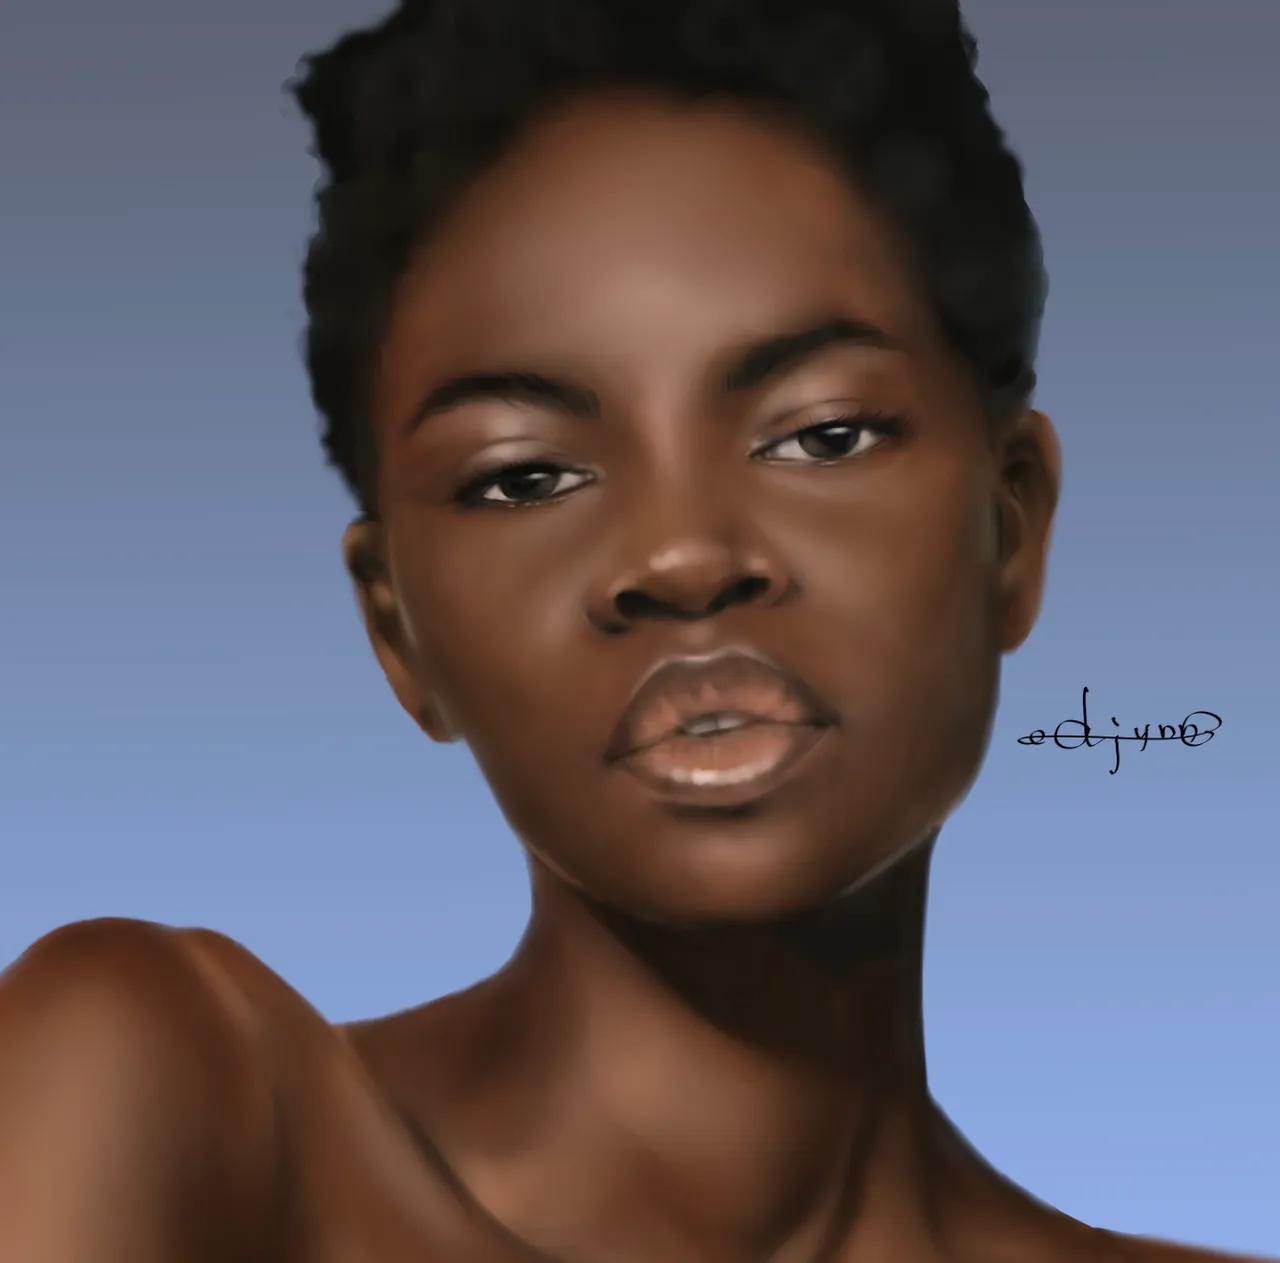
I have to say my completed artwork looks a bit different from the reference. It’s really hard to make it look like the reference! Her eyes are looking in a different direction and the shape of the face is not quite right. I really like how it turned out though so I didn’t fix it.
今回もまたリアル人物画に挑戦です。初トライの記事はこちら へどうぞ。
参考にした写真は、今回もPinterestよりお借りしました。
仕上がりが参考にしたモデルさんと少々違います。似せるの本当に難しいんですよ!視線が違いますし、輪郭も微妙に違います。けれど、これはこれでいい感じだなと思ったので敢えて直しませんでした。
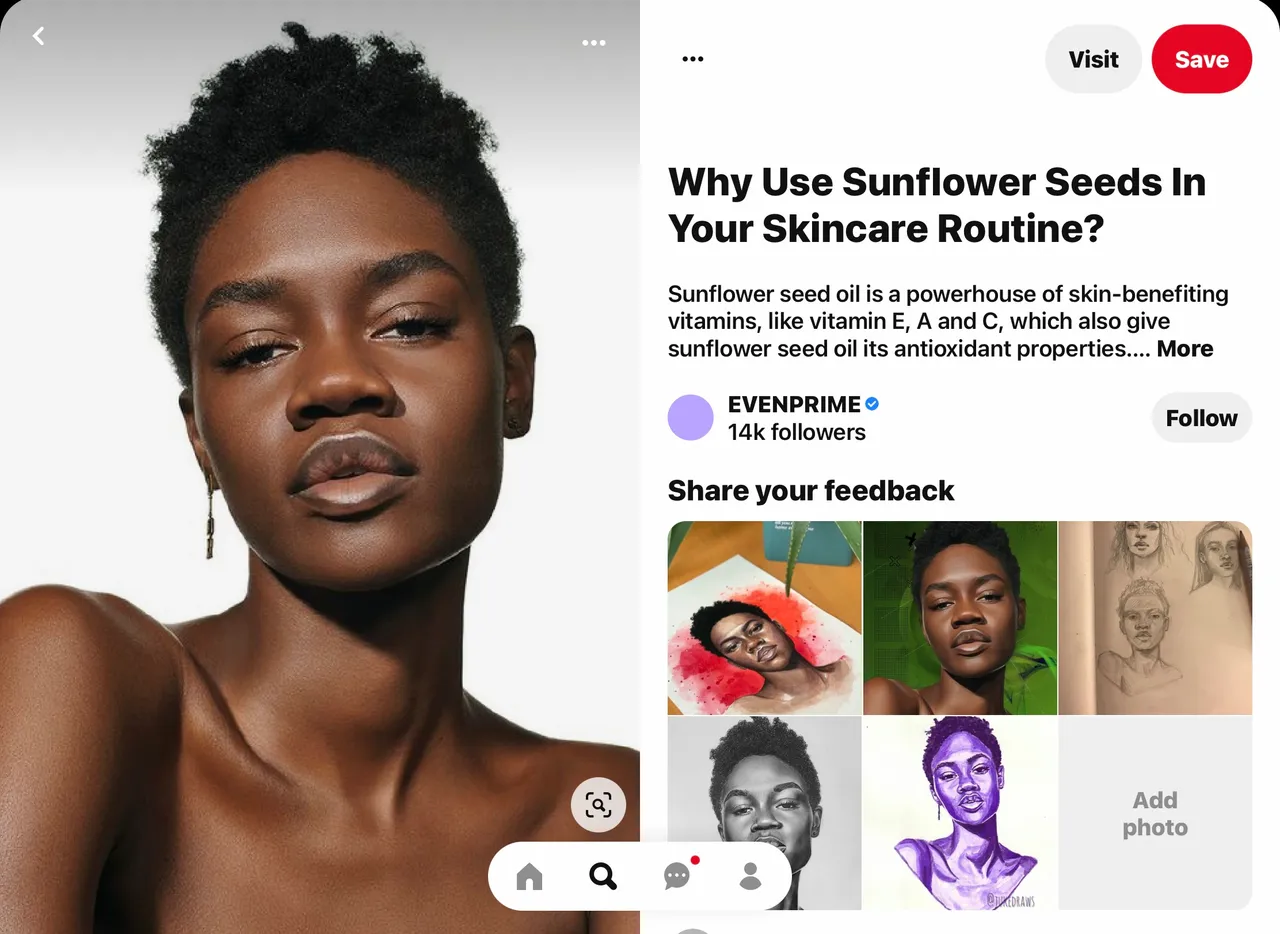
SOURCE OF REFERENCE
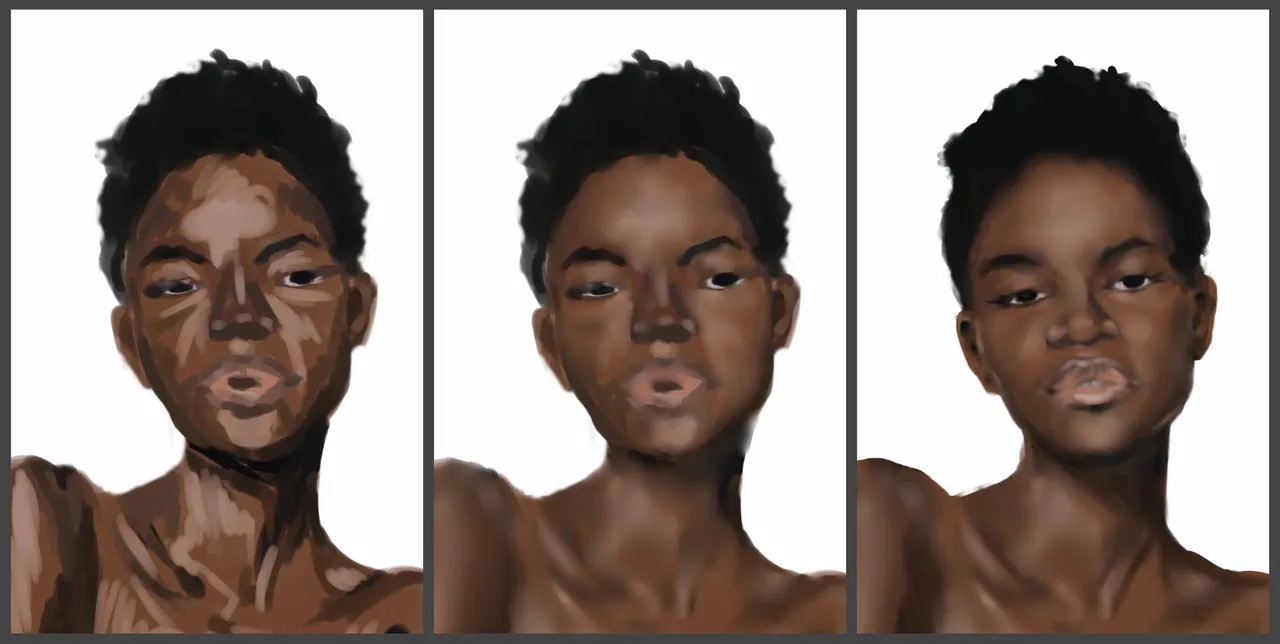
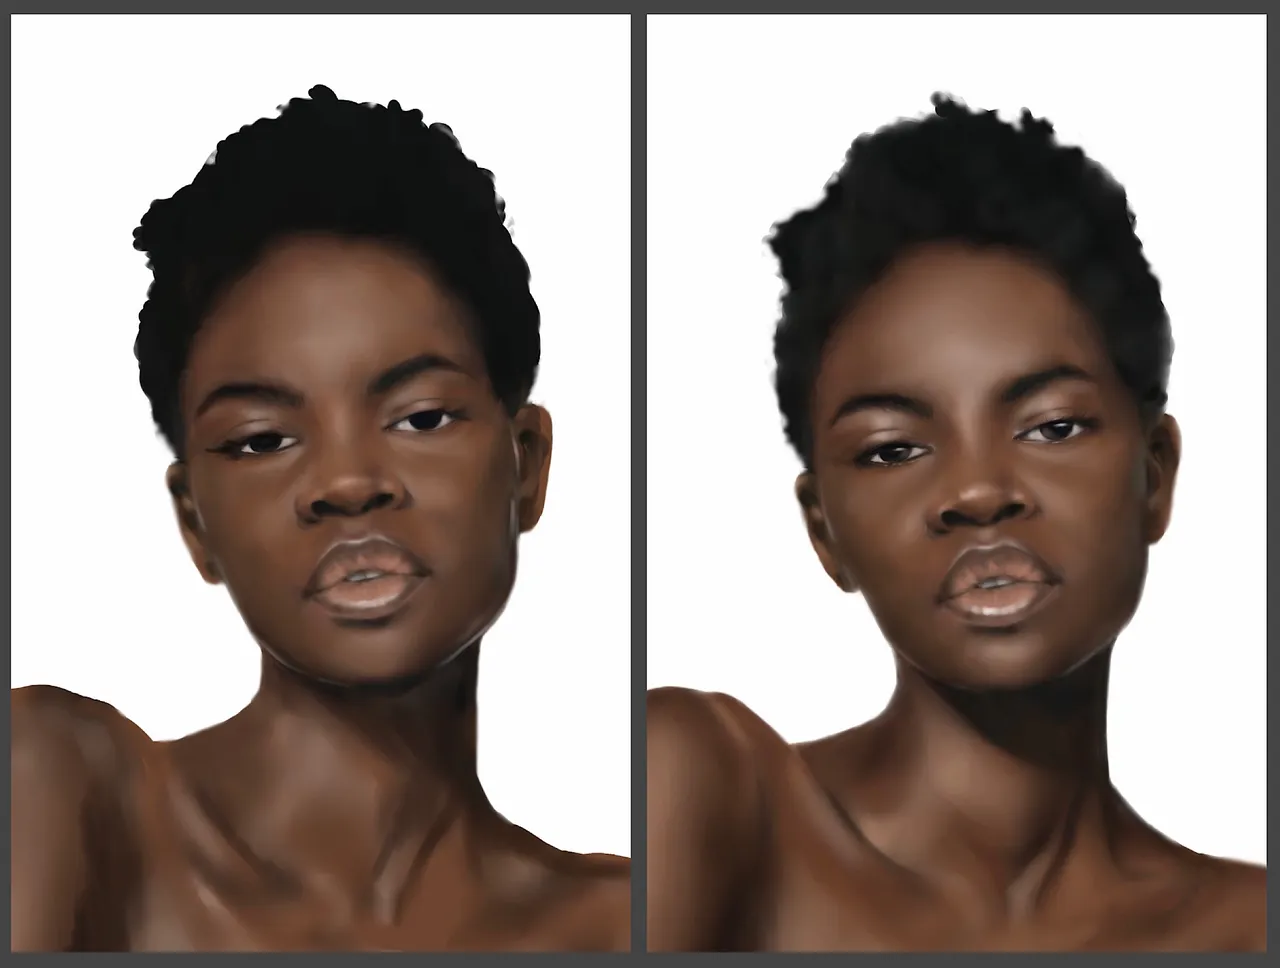
Here is the process (left to right)
I learned that making a more detailed sketch makes the process easier later so I spent more time on my sketch this time.
It really helped. I only blended the colour on the photo in the centre. I was able to start adding details right away. Although, I think I can still spend more time on the sketch.
描いている過程をどうぞ(左 → 右)
ちゃんとスケッチを描いた方が後で楽だと分かったので、今回は前よりもスケッチに時間をかけました。
本当に楽でした。
写真1枚目から2枚目は色をブレンドしただけです。すぐにディテールを入れられる状態でしたが、もう少し時間をかけてもいい感じです。
The lasso tool was very useful this time as well but I didn’t have to use it as much.
自由選択ツールは今回も使いましたが、今までよりは少なくて済みました。
I added warmth to the skin by using the multiply layer setting, added a background this time and the realistic digital portrait is completed.
I hope you like it.
少し血色をよくするために乗算レイヤーを使って明るい色をのせました。
今回は背景にも色を入れて、リアル人物画の出来上がりです。
また頑張ります。

Tools used: iPad, Apple Pencil, Clip Studio, a reference from Pinterest
画材:iPad、アップルペン、Clip Studio、Pinterestより写真参考