¡Hola a todos por acá! Hoy quiero compartir con ustedes este lindo dibujo que hice, contarles un poco de qué me estaba imaginando cuando lo dibujaba y por supuesto, mostrarles el proceso, así que ¡Empecemos!
English Version
Hello everyone over here! Today I want to share with you this nice drawing I made, tell you a little bit about what I was imagining when I was drawing it and of course, show you the process, so let's get started!
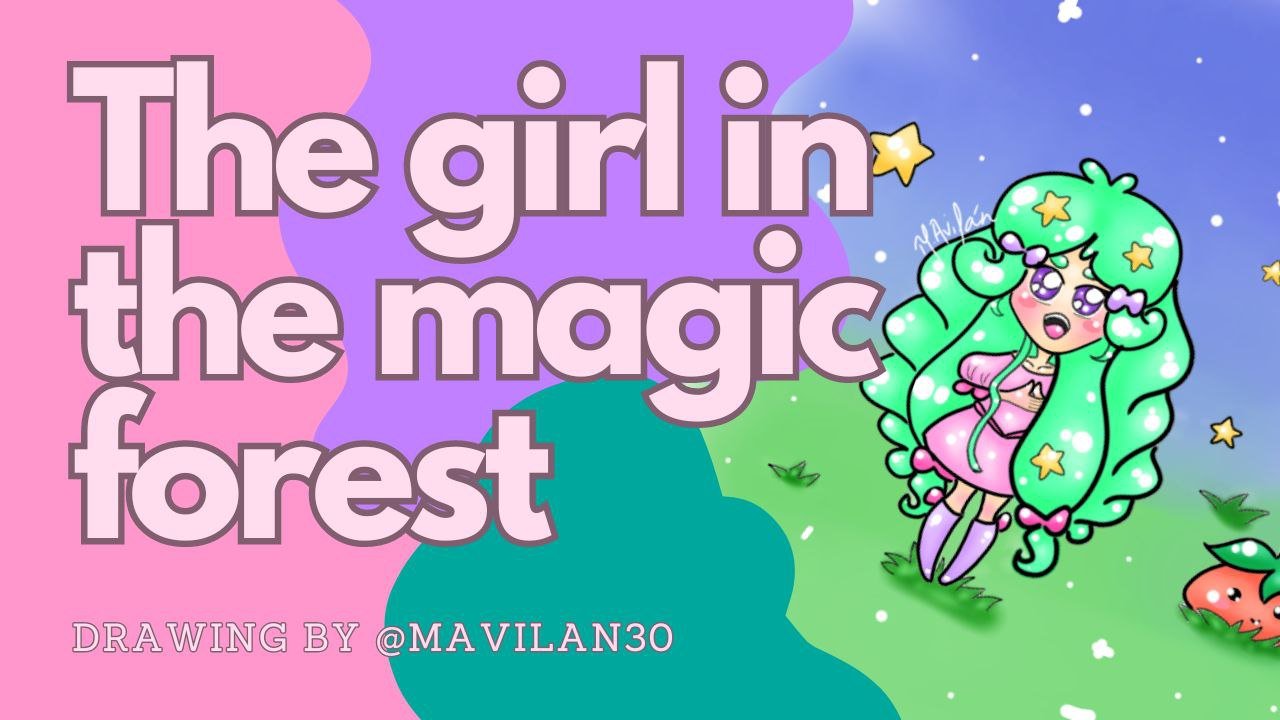
Imagen creada por mí en Canva / Image created by me in Canva
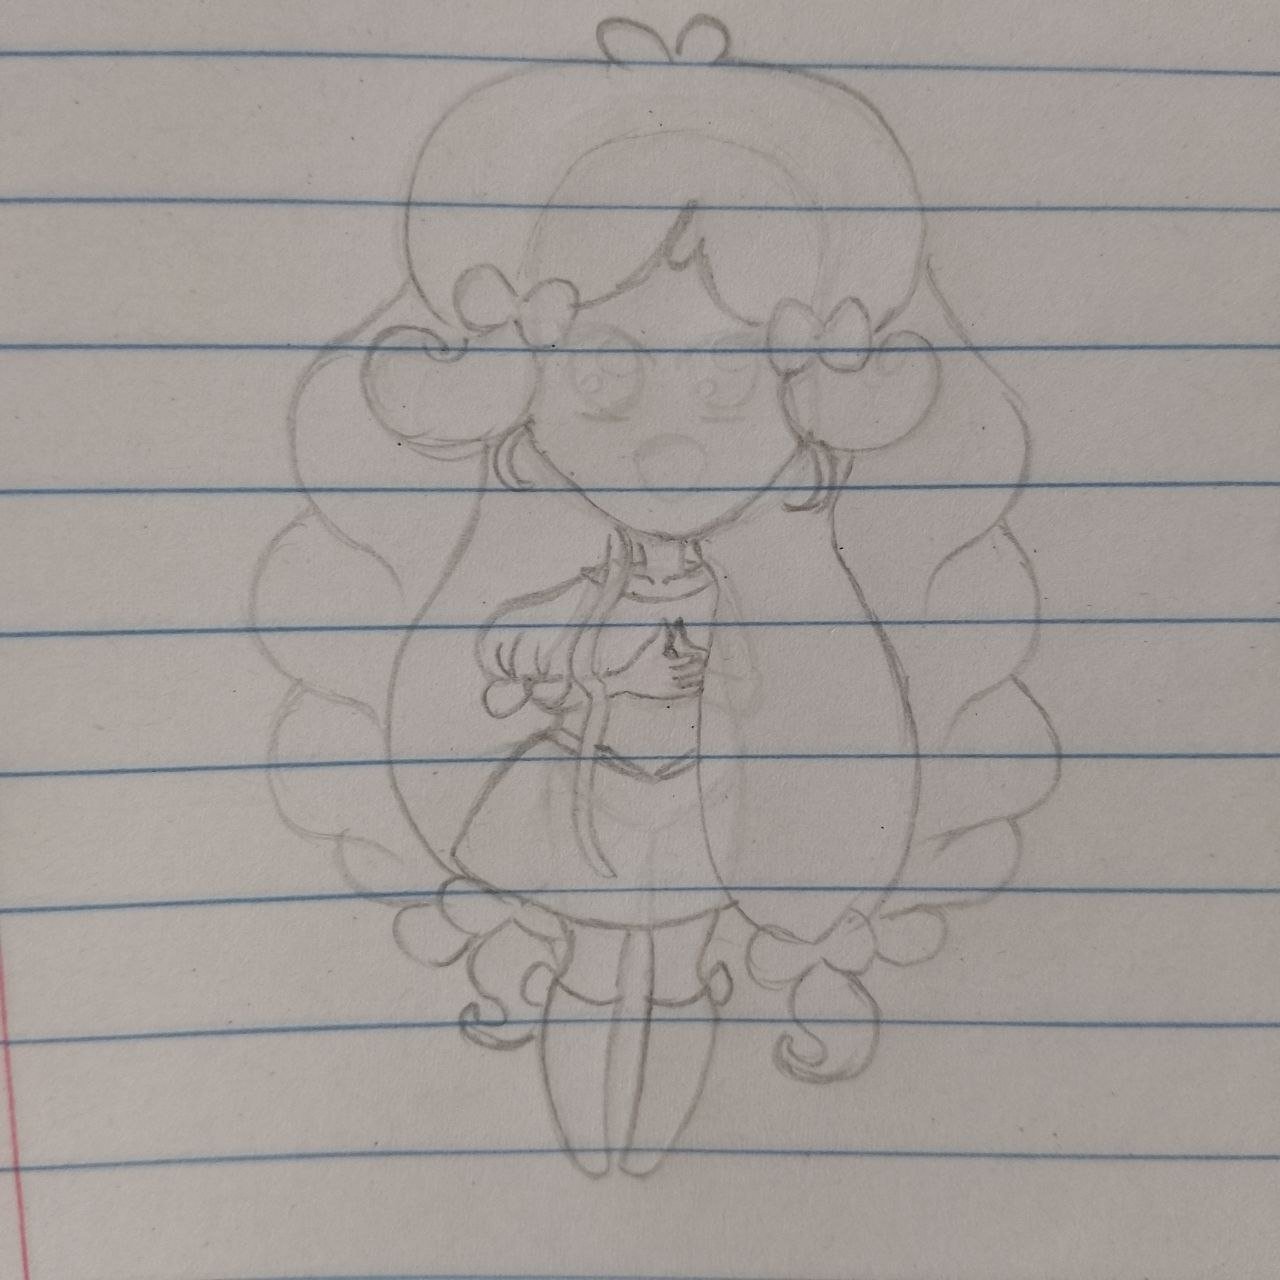
Lo primero que voy a contarles es que dibujo desde mi celular, por lo que, cuando haré figuras muy detalladas, prefiero iniciar con un boceto en técnica tradicional, así, tengo mayor manejo de las proporciones y el espacio, por lo tanto, todo inicia en una hoja de mi confiable cuaderno y dos lápices de grafito, uno más claro y otro un poco más oscuro. Me imaginaba una temática de bosque mágico, así que se me ocurrió esta linda chica de cabellera larguísima y recogida entre trenzas y lazos que observa maravillada como el bosque, en una noche especial, se fusiona con el cielo, descienden las estrellas y las pequeñas criaturas del bosque toman vida.
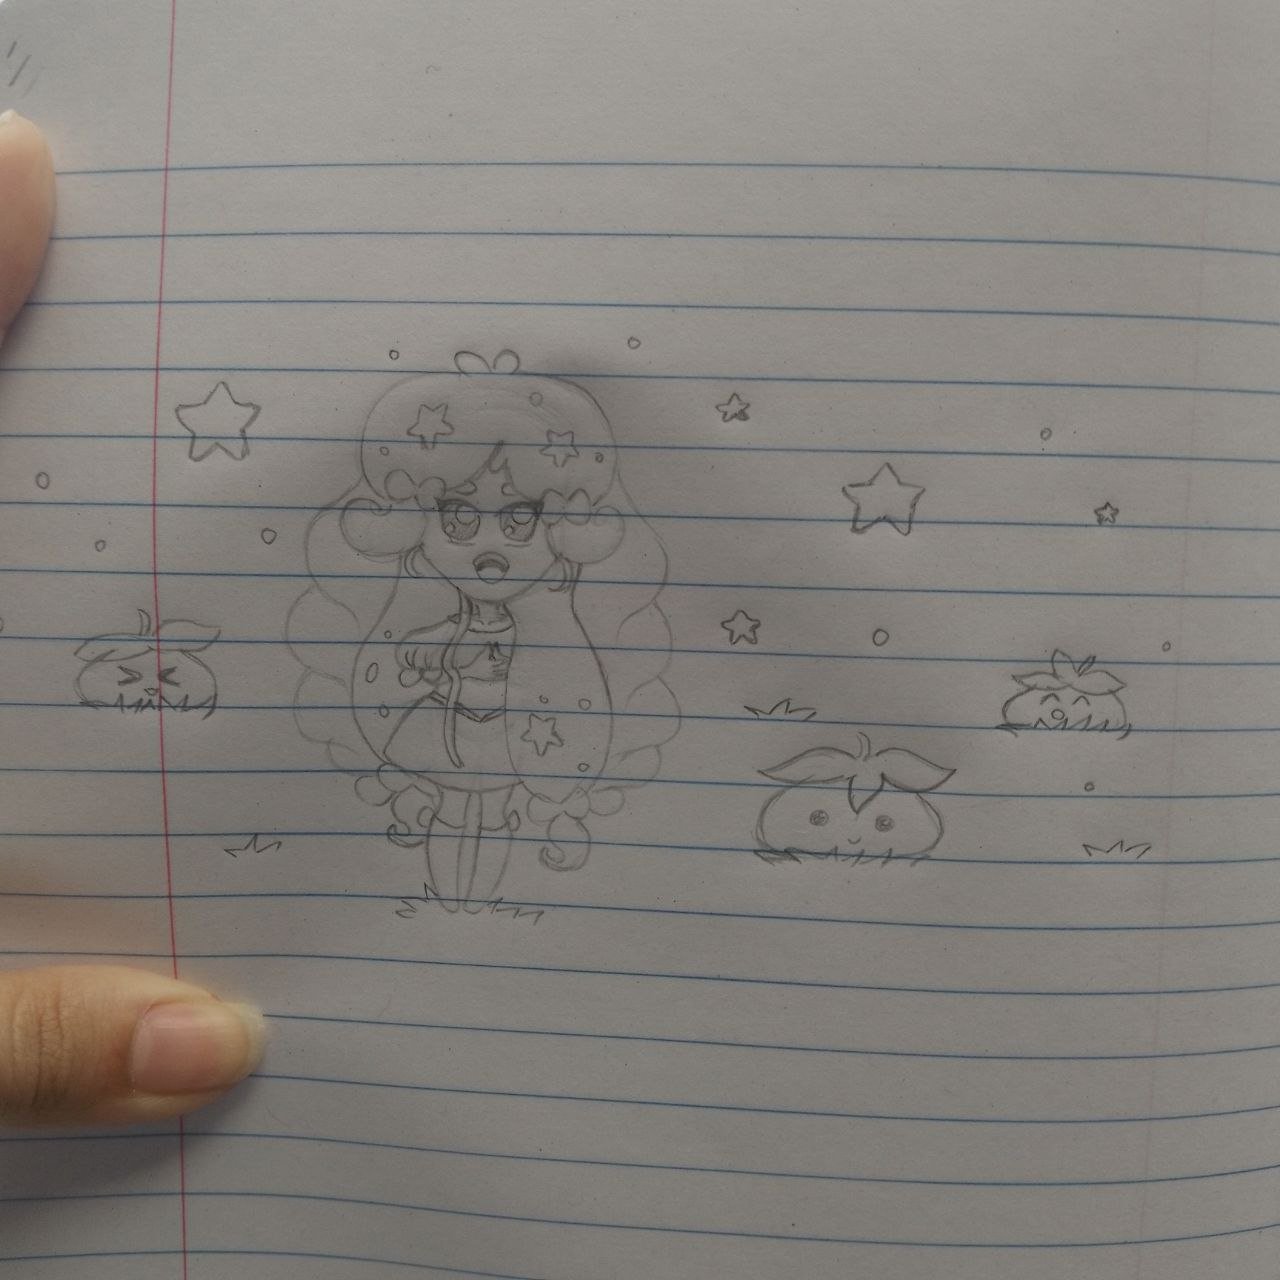
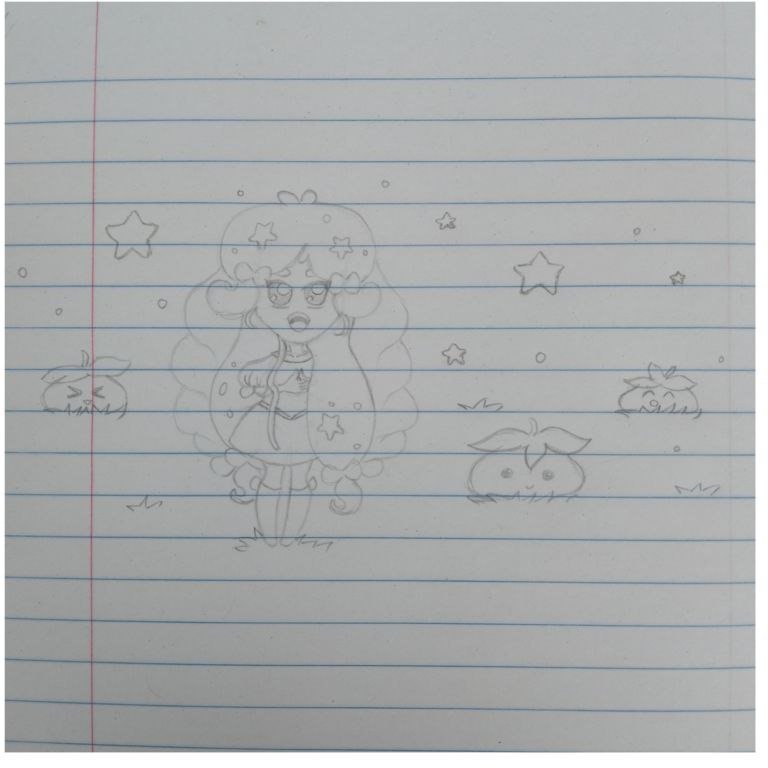
Tomé mi lápiz más claro y tracé lo que sería la base de mi chica, unas formas que definirían dónde irían su cabeza y su cuerpo, así como su posición. Posterior a ello, con el lápiz más oscuro, hice las líneas definidas, agregué detalles, como su cabello, ropa, rostro, manos, entre otros. También agregué los frutos mágicos del bosque y las estrellas flotantes. Listo esto, es hora de pasar a lo digital, por lo que le tomé una foto a mi dibujo con la mejor iluminación posible, abrí el programa que utilizo, que es Ibis Paint e inserté allí la foto que tomé.
English Version
The first thing I'm going to tell you is that I draw from my cell phone, so when I make very detailed figures, I prefer to start with a sketch in traditional technique, so I have more control of the proportions and space, therefore, everything starts on a sheet of my trusty notebook and two graphite pencils, one lighter and the other a little darker. I imagined a magical forest theme, so I came up with this pretty girl with very long hair gathered in braids and bows who watches in wonder as the forest, on a special night, merges with the sky, the stars descend and the little creatures of the forest come to life.
I took my lightest pencil and traced what would be the base of my girl, some shapes that would define where her head and body would go, as well as her position. After that, with the darker pencil, I made the defined lines, added details, such as her hair, clothes, face, hands, among others. I also added the magical fruits of the forest and the floating stars. Once this was done, it was time to go digital, so I took a picture of my drawing with the best possible lighting, opened the program I use, which is Ibis Paint and inserted the picture I took there.
 |  |  |  |
|---|
Ya con la foto dentro del programa, la ajusté un poco para que todo quedara del tamaño que me era conveniente y agregué una nueva capa, esta sería la del line art. Para ello, empleé un pincel tipo pluma en color negro y di inicio a los trazos usando mi dedo para seguir las líneas que ya estaban hechas a grafito.
English Version
Once the photo was inside the program, I adjusted it a little so that everything was the size that was convenient for me and added a new layer, this would be the line art layer. For this, I used a black feather brush and started the strokes using my finger to follow the lines that were already made with graphite.
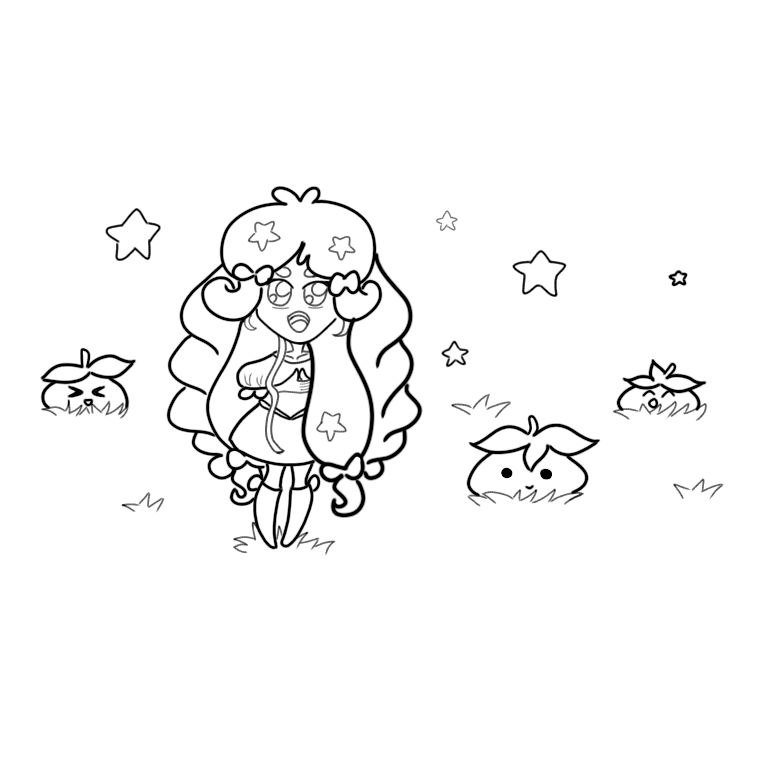
Line Art
Terminada esta capa, creé una nueva en modo multiplicar, en esta, he agregado los colores base, lo hice utilizando la herramienta de relleno, esa que es como un botecito de pintura. Luego que pinté todas las áreas grandes, hice zoom en los distintos sectores del dibujo para asegurarme de que las zonas más pequeñas, como por ejemplo, las puntas del césped o el centro estrecho de los lazos, también estuvieran coloreados y si no era así, entonces aplicaba de nuevo la herramienta de relleno siendo cuidadosa de pulsar justo en el área deseada.
English Version
Once I finished this layer, I created a new one in multiply mode, in this one, I added the base colors, I did it using the fill tool, the one that is like a little pot of paint. After I painted all the large areas, I zoomed into the different sectors of the drawing to make sure that the smaller areas, such as the tips of the grass or the narrow center of the ribbons, were also colored and if they were not, then I applied the fill tool again being careful to click right on the desired area.
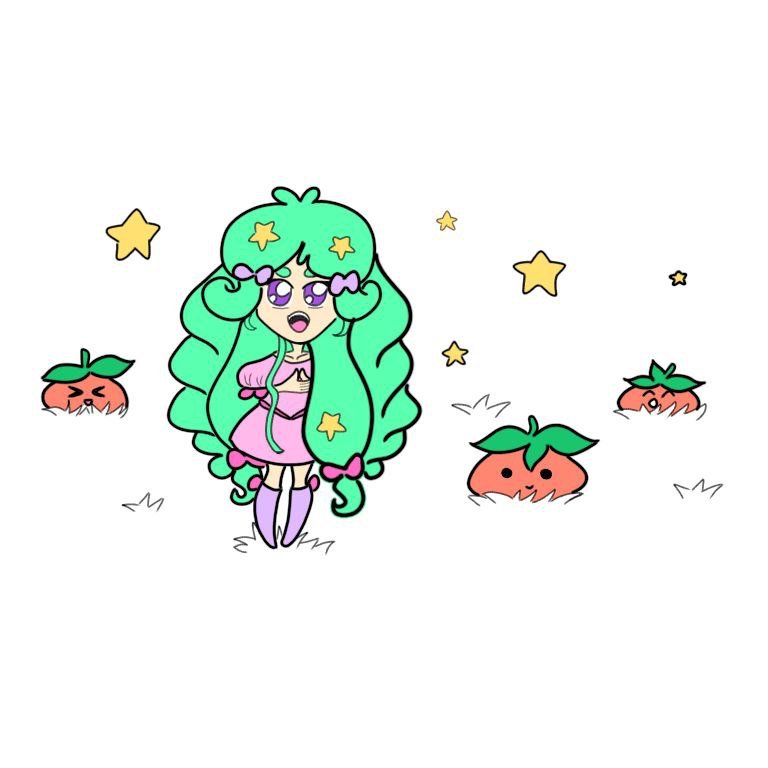
Colores base / Base colors
Ya estando listo los colores base, seleccioné el área alrededor de los dibujos con la herramienta de selección (la varita mágica) y pinté de verde los detalles de la grama con el pincel tipo acuarela.
English Version
Once the base colors were ready, I selected the area around the drawings with the selection tool (the magic wand) and painted the details of the grass green with the watercolor brush.
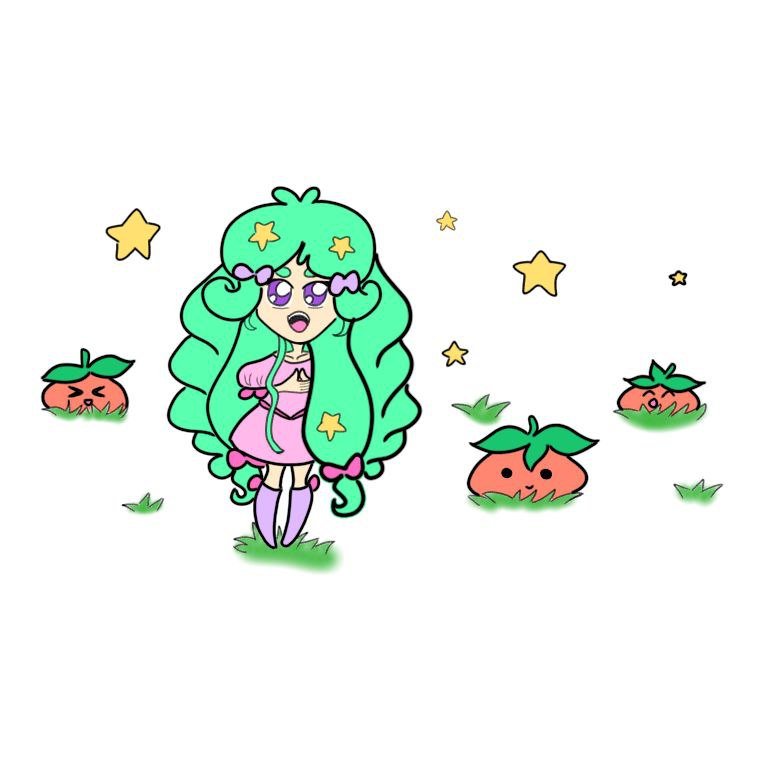
Detalle de la grama / Detail of the grass
Es momento de aplicar las sombras, por lo que creé una nueva capa en modo multiplicar y una vez más usé la herramienta de selección para cada sección en la que quería agregar sombras, que hice con el pincel tipo aerógrafo con los mismos colores que la base, que por la propiedad de multiplicación, quedaba más oscuro. Sin embargo, con colores muy claros como el de la piel, tomé un color un poco más oscuro que el de base para que así se formara una sombra más visible.
English Version
It's time to apply the shadows, so I created a new layer in multiply mode and once again used the selection tool for each section where I wanted to add shadows, which I did with the airbrush with the same colors as the base, which because of the multiplication property, was darker. However, with very light colors such as the skin, I took a color a little darker than the base color so that a more visible shadow was formed.
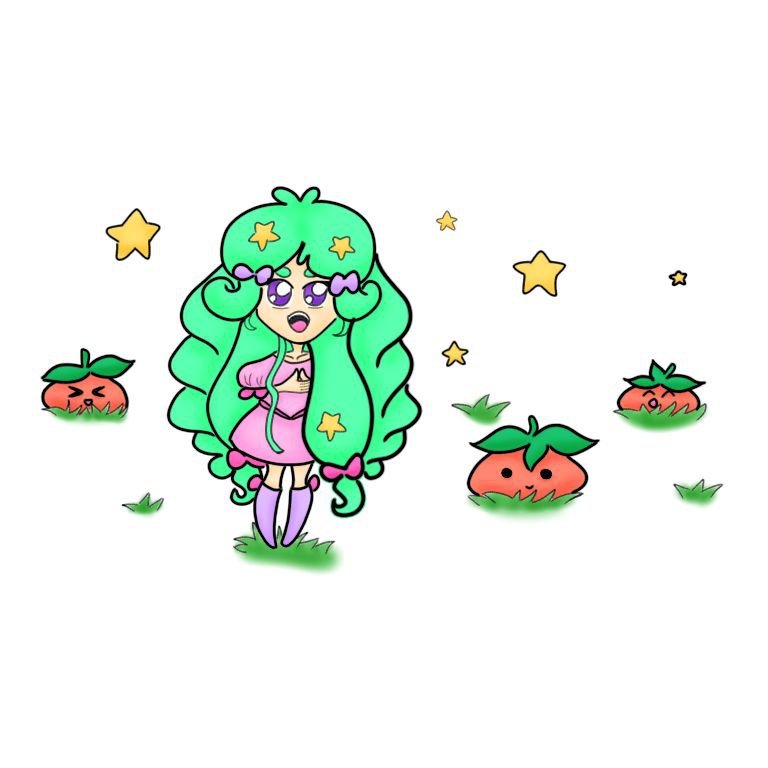
Sombras / Shadows
Para las luces, se necesita una capa en modo normal y con el mismo pincel tipo aerógrafo, se toman colores más claros que los de la base y el proceso es similar al de las sombras. Con esto, ya el dibujo muestra más profundidad, tiene dimensiones y no se ve todo plano y aburrido.
English Version
For the lights, you need a layer in normal mode and with the same airbrush, you take lighter colors than the base and the process is similar to the shadows. With this, the drawing shows more depth, has dimensions and does not look all flat and boring.

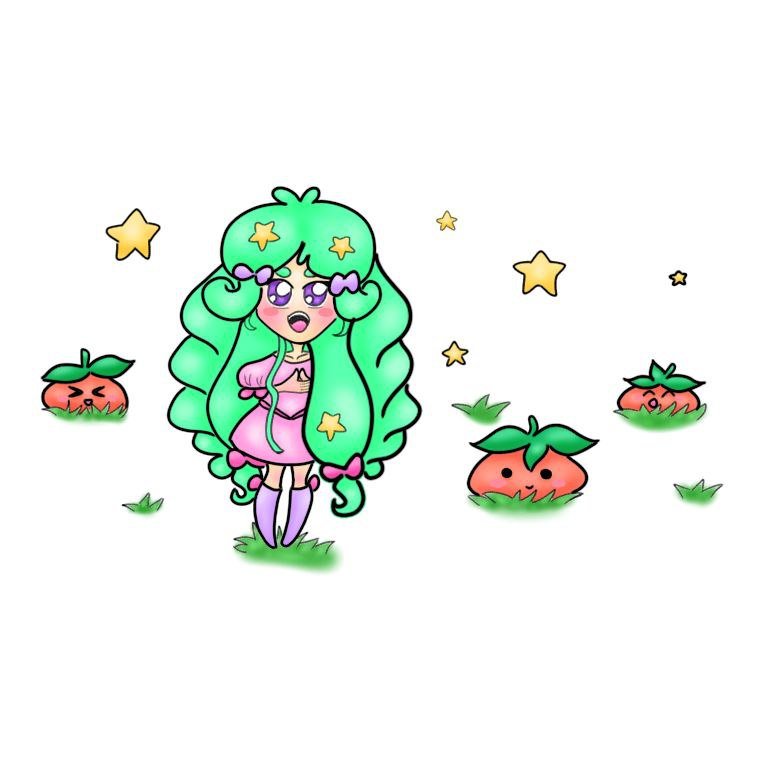
Luces / Lights
¡Es la hora del rubor! Y es que no me imagino alguno de mis dibujos sin el detalle del rosa en las mejillas y otras partes como las manitos y las rodillas. Las frutas también tienen algo de rubor. En el caso de nuestra interesante chica, con el pincel aerógrafo le coloqué el rubor y además, agregué óvalos rosados con el pincel rotulador en sus mejillas, igual que con las frutas.
English Version
It's blush time! I can't imagine any of my drawings without the detail of pink on the cheeks and other parts such as the hands and knees. Fruits also have some blush. In the case of our interesting girl, with the airbrush I put the blush and also added pink ovals with the marker brush on her cheeks, just like with the fruits.
Rubor / Blush
Es momento del fondo, para esta tarea he creado una capa debajo de la capa del line art, por lo tanto, también está debajo de todas las capas del color. Una vez más seleccioné el área vacía alrededor de los dibujos, pero primero, apagué todas las capas de color. Una vez seleccionado, con el pincel tipo acuarela en un tamaño bastante ancho, pasé el color del cielo nocturno y luego con un verde, fusioné con el suelo. Lo bueno de este pincel es que mezcla los colores que se tocan, por lo que da este bonito efecto de continuidad. Y para perfeccionar el fondo, usé la herramienta de suavizar en los bordes con el line art para que no hubiese discontinuidades.
English Version
It's time for the background, for this task I created a layer below the line art layer, therefore, it is also below all the color layers. Once again I selected the empty area around the drawings, but first, I turned off all the color layers. Once selected, with the watercolor type brush in a fairly wide size, I passed the color of the night sky and then with a green, I merged with the ground. The nice thing about this brush is that it blends the colors that are touching, so it gives this nice continuity effect. And to perfect the background, I used the smoothing tool on the edges with the line art so that there were no discontinuities.
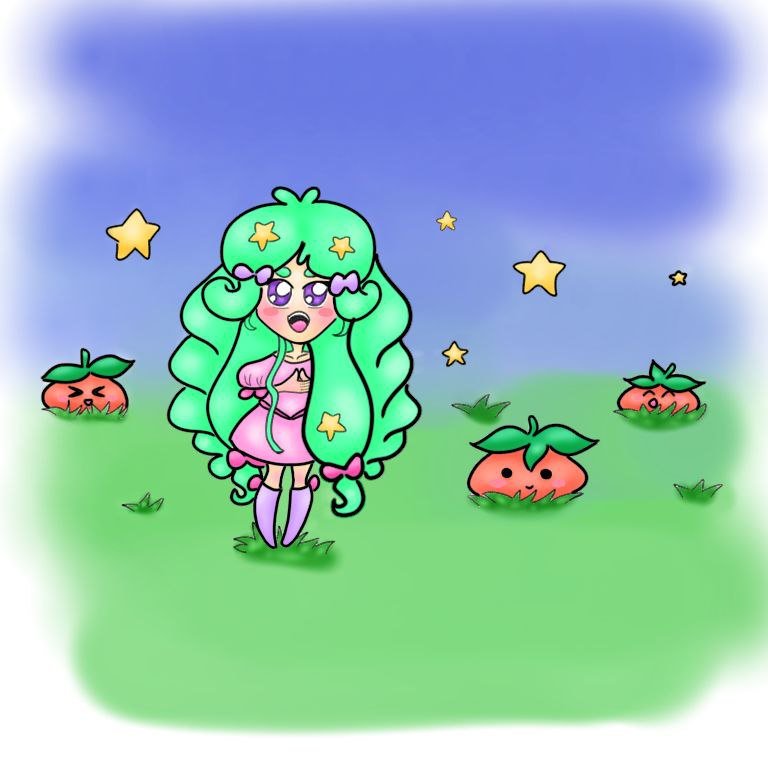
Fondo / Background
Y ahora sí, mi parte favorita, cuando siento que todo cobra vida, lo que yo llamo el “blanco mágico”, los toques de blanco que ven por todas partes, en los personajes, el cielo, el suelo, me parece que hacen que todo se vea siempre más dinámico y más bonito. Y claro, mi firma no podía faltar.
English Version
And now, my favorite part, when I feel that everything comes to life, what I call the "magic white", the touches of white that you see everywhere, in the characters, the sky, the ground, it seems to me that everything always looks more dynamic and more beautiful. And of course, my signature could not be missing.
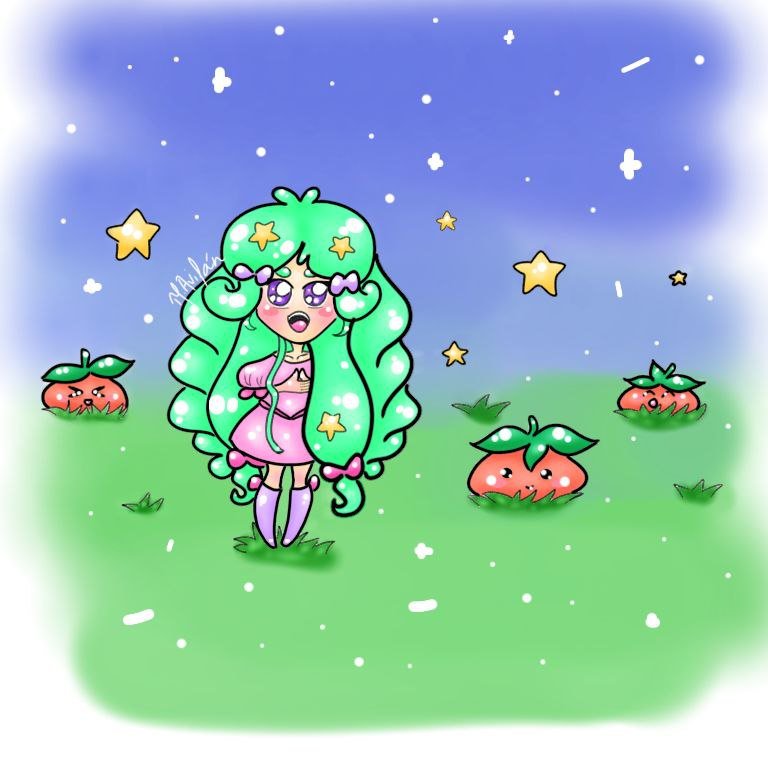
El blanco mágico / Magic white
Fotografías propias, tomadas con mi Tecno Spark 10C.
Dibujo creado por mí en Ibis Paint X.
Traducido al inglés con DeepL.
English Version
Own photographs, taken with my Tecno Spark 10C.
Drawing created by me in Ibis Paint X.
Translated to English with DeepL.
 Banner hecho por mí en Canva / Banner made by me in Canva