
Español
Hola querida familia de hive, en esta oportunidad les traigo un nuevo y fabuloso paso a paso, donde les mostrare como elaborar un hermoso cuadro de flor de loto, y a quien no le fascinan estás hermosas y exóticas flores con sus intensos colores tan preciosos, pues a mí me encantan, así que, acompáñenme en este divertido trayecto, y se sorprenderán de lo fácil y sencillo que es este proyecto y el resultado mágico que obtendrán.
English
Hello dear hive family, this time I bring you a new and fabulous step by step, where I will show you how to make a beautiful lotus flower painting, and who is not fascinated by these beautiful and exotic flowers with their intense colors so precious, because I love them, so join me on this fun journey, and you will be amazed at how easy and simple this project is and the magical result they will get.
¿Qué están esperando?
Gracias a esta técnica podrán crear su propio cuadro de flor de loto, ideal y perfecto para decorar nuestras paredes de una manera económica y original. Antes de comenzar no olvidemos lavarnos nuestras manos.
What are they waiting for?
Thanks to this technique they will be able to create their own lotus flower painting, ideal and perfect to decorate our walls in an economic and original way. Before we start, let's not forget to wash our hands.

[Materiales | Materials]
Para hacer este hermoso cuadro necesitaremos:
- Moldes.
- Foami o goma eva.
- Cartón.
- Lamina de cartón.
- Pincel.
- Pinturas.
- Tijera.
- Pegamento o silicón liquido.
To make this beautiful painting will need:
- Molds.
- Foamy or EVA foam.
- Cardboard.
- Cardboard sheet.
- Brush.
- Paintings.
- Scissors.
- Glue or liquid silicone.
Procedimiento (paso a paso)
Process (step by step)
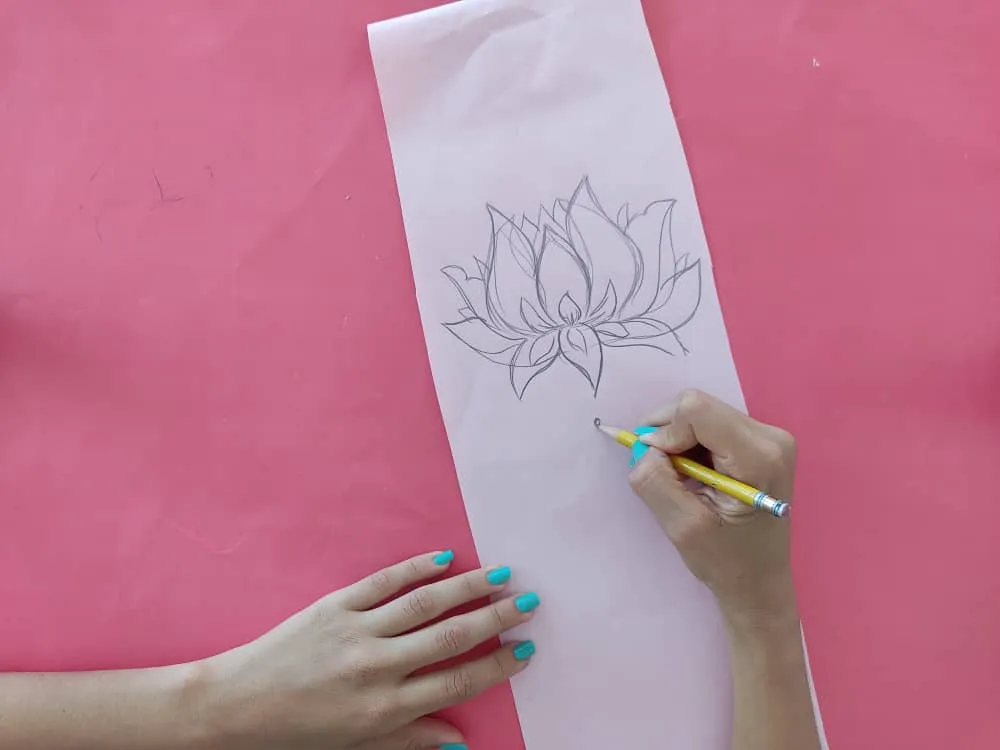
Primero dejamos volar nuestra imaginación y dibujamos preciosas flores de loto del los tamaños y formas que mas deseemos, y manteniendo su forma tan peculiar para que no pierda la escénica de un flor de loto.
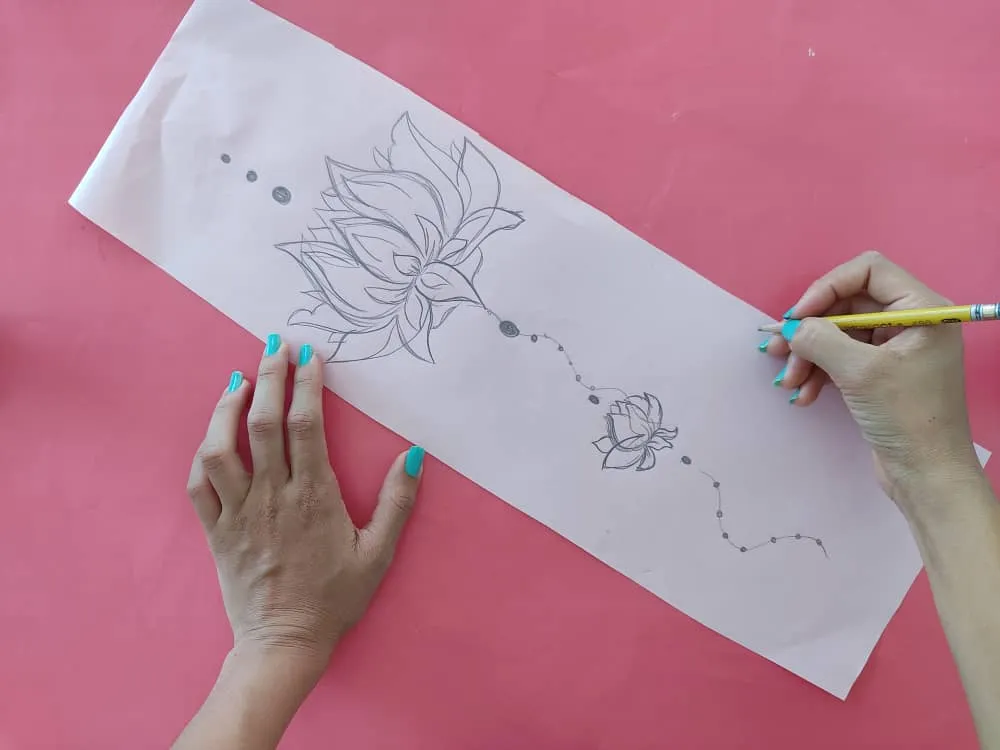
First, we let our imagination run wild and we draw beautiful lotus flowers in the sizes and shapes that we desire the most and keeping their peculiar shape so that they do not lose the scenery of a lotus flower.
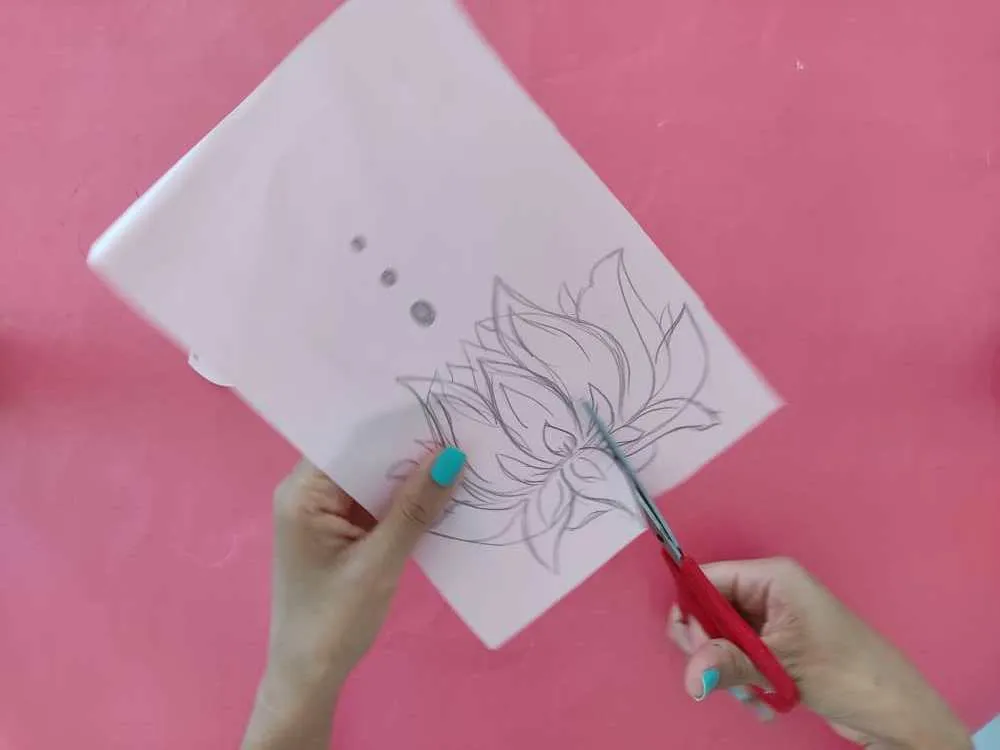
Una vez que hayamos diseñado nuestras lindas flores, recortamos cuidadosamente estás figuras, separando los pétalos de la parte inferior de las flores.
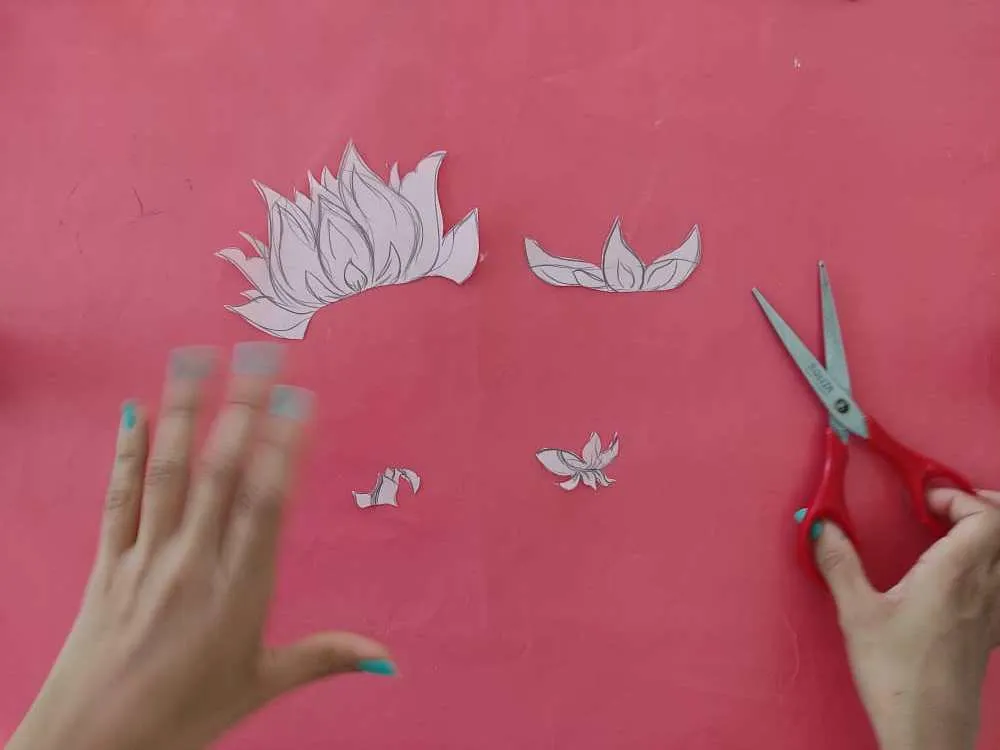
Once we have designed our pretty flowers, we carefully cut out these figures, separating the petals from the bottom of the flowers.

Ahora transferimos las figuras al foami de colores que más nos guste, en mi caso decidí utilizar colores azul, verde y color piel, y pues para darles una forma más reales a estas lindas flores, elaboramos adicionalmente el pétalo central de cada una de ellas.
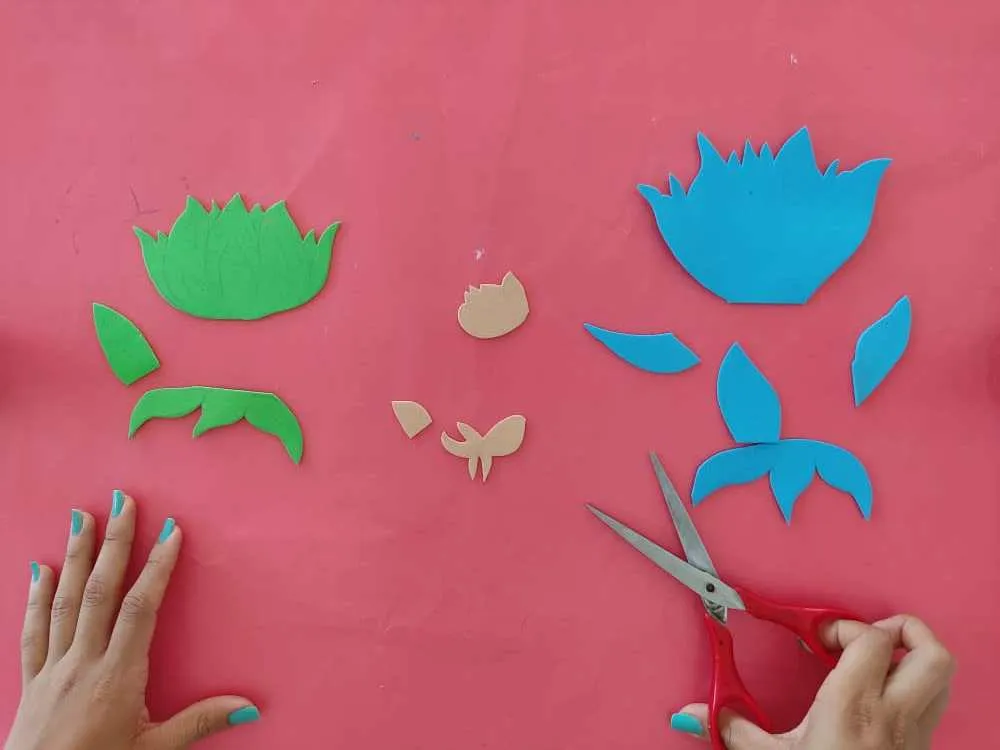
Now we transfer the figures to the foamy of colors that we like the most, in my case, I decided to use blue, green and skin color, and then to give a more realistic shape to these beautiful flowers, we additionally elaborate the central petal of each one of them.
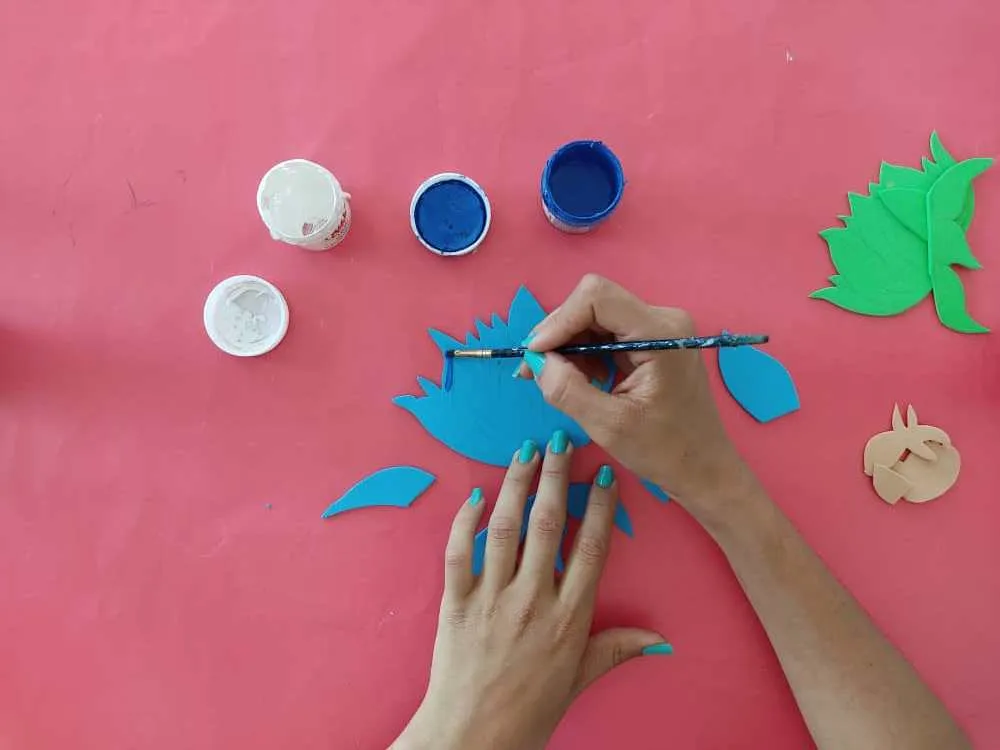
Luego, le damos un poco de amor y alegría a nuestras flores aplicando un poco de pintura con la ayuda de un pincel, y dejando que, nuestra imaginación se encargue de darle una belleza auténtica a estas preciosas flores de loto.
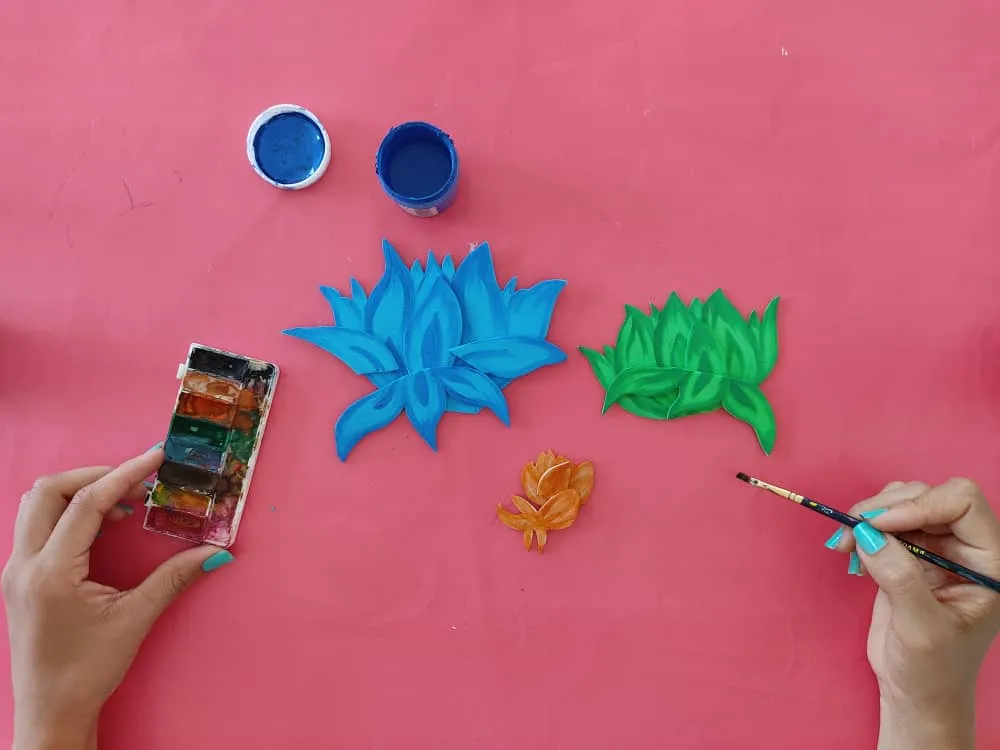
Then, we give a little love and joy to our flowers by applying a little paint with the help of a brush and letting our imagination take care of giving authentic beauty to these precious lotus flowers.
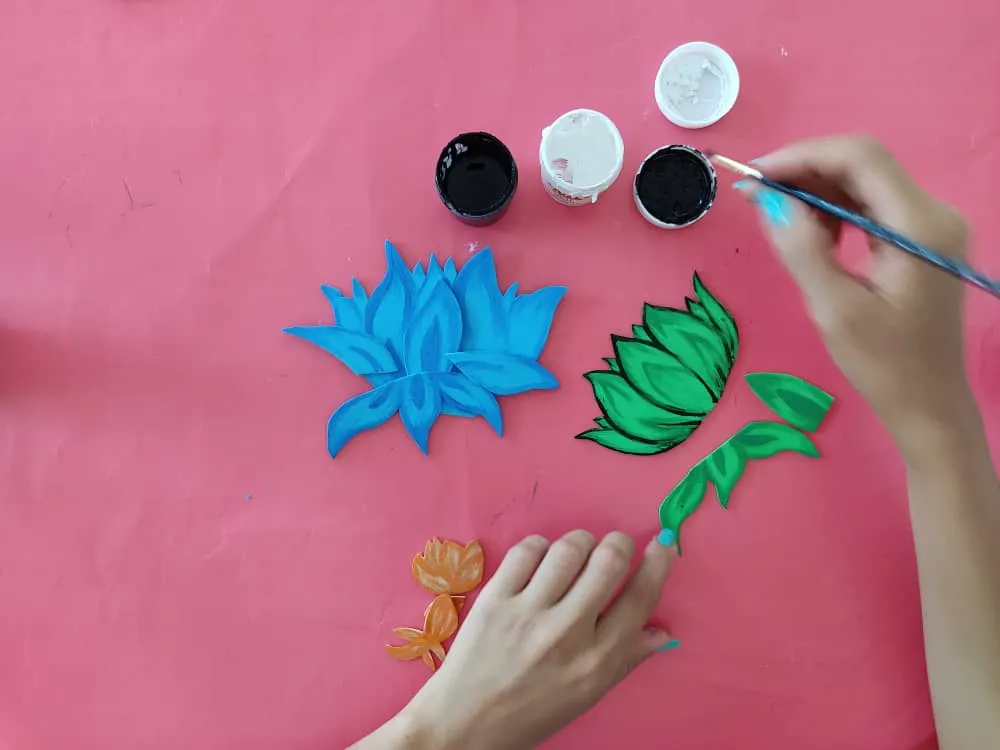
Seguidamente, marcamos los bordes de la flores con pintura negra y un pincel fino, y luego unos toque de luz con pintura blanca.
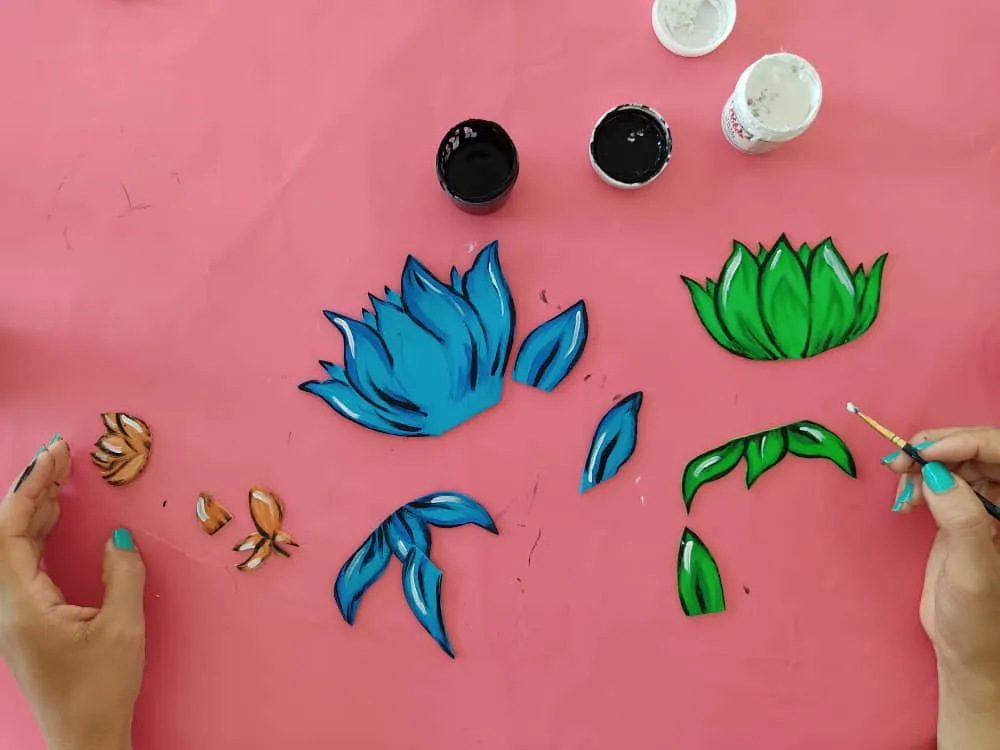
Next, we mark the edges of the flowers with black paint and a fine brush, and then a touch of light with white paint.
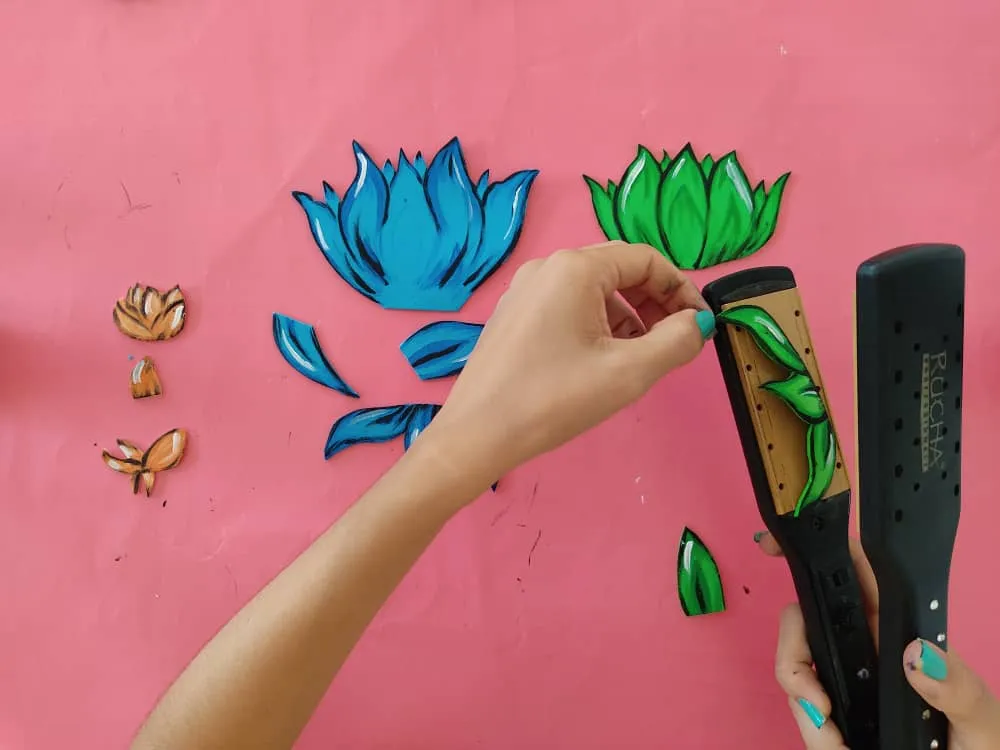
Ahora, aplicamos la técnica del termoformado a nuestras flores de foami con la ayuda de plancha una plancha para cabellos, abultamos los pétalos sobresalientes y miren que increíbles lucen nuestras flores cuando aplicamos esta técnica tan práctica.
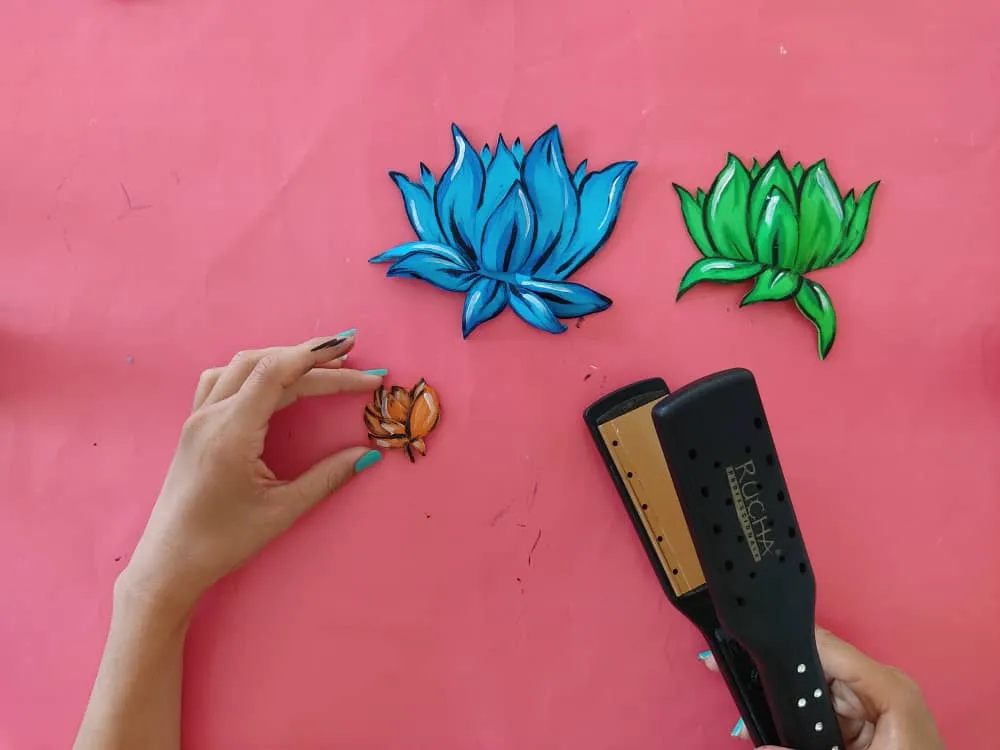
Now, we apply the thermoforming technique to our foamy flowers with the help of a hair straightener, we bulge the protruding petals and see how incredible our flowers look when we apply this very practical technique.
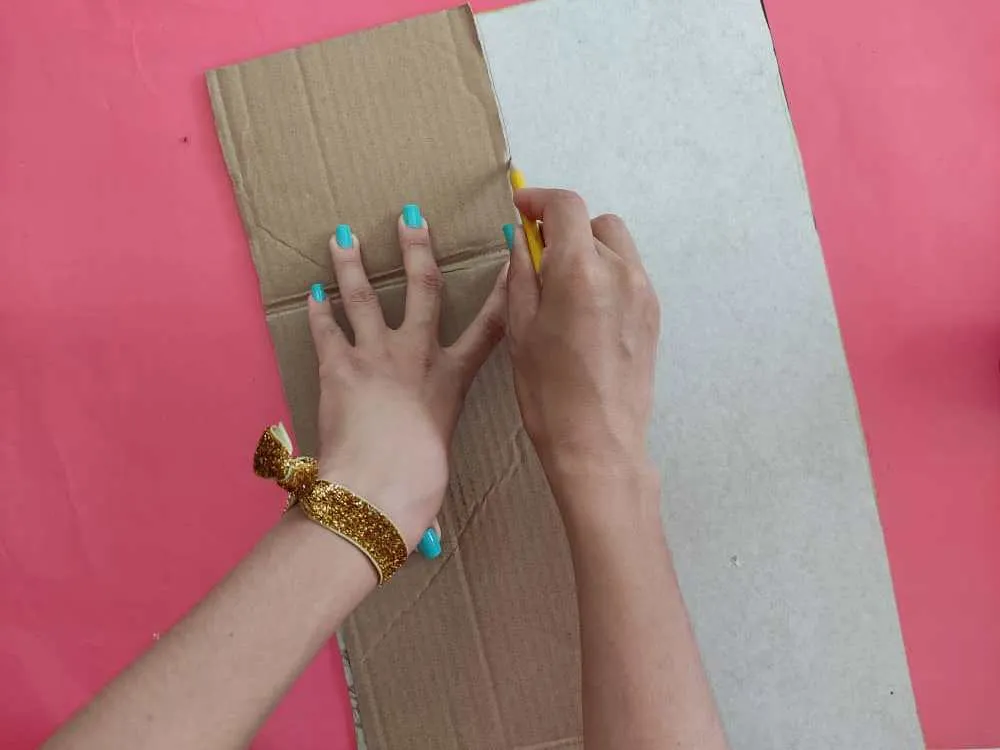
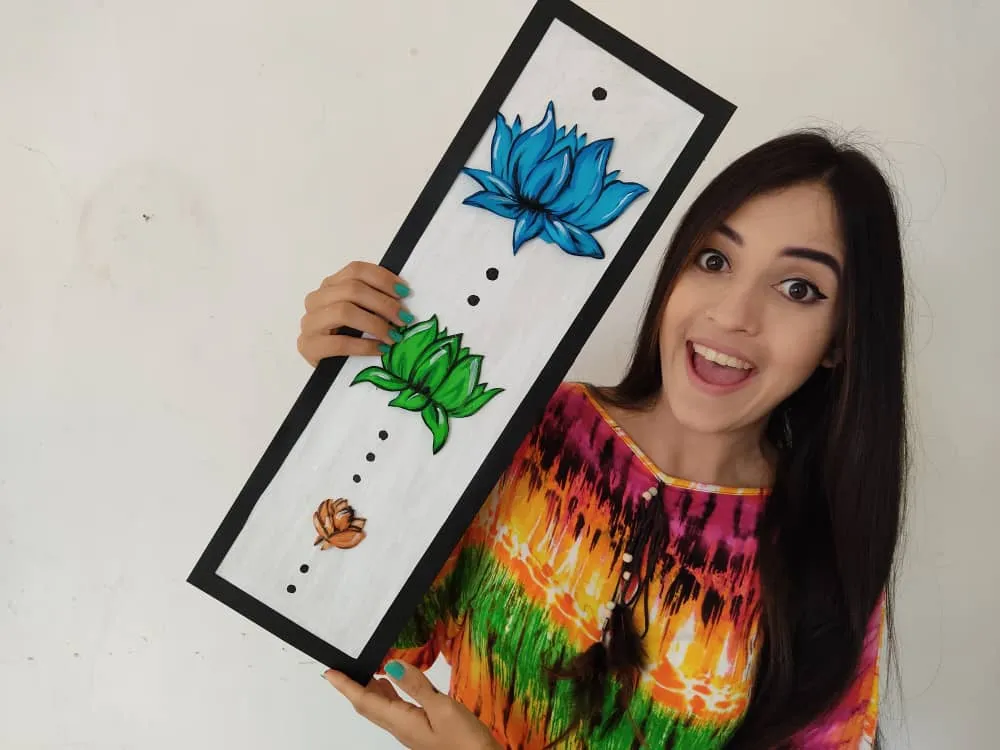
Luego, elaboramos la base de aproximadamente 14 x 50cm, con una lámina de cartón. Y la pintamos de color blanco, recuerden que podemos jugar con los tonos y pintarla del color que deseen, pues de negro estoy segura que quedaría muy bien, pero en este caso opte por pintarla de blanco. Dejamos secar por unos minutos…
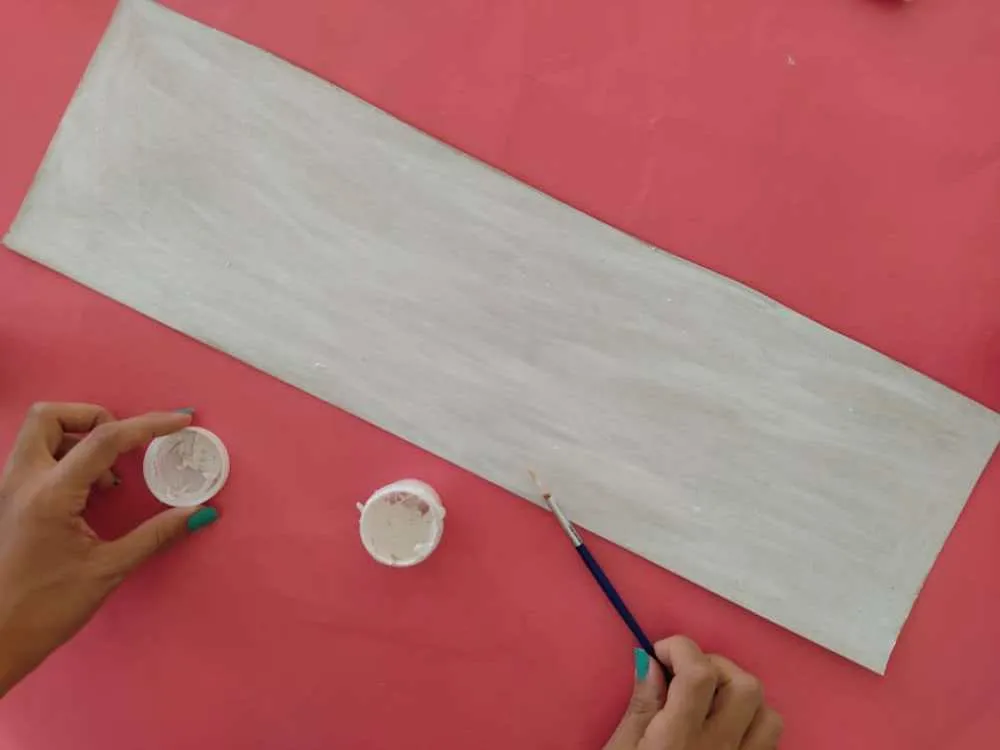
Then, we make the base of approximately 14 x 50cm, with a cardboard sheet. And we paint it white, remember that we can play with the tones and paint it in the color you want, because I'm sure it would look very good in black, but in this case, choose to paint it white. Let it dry for a few minutes ...
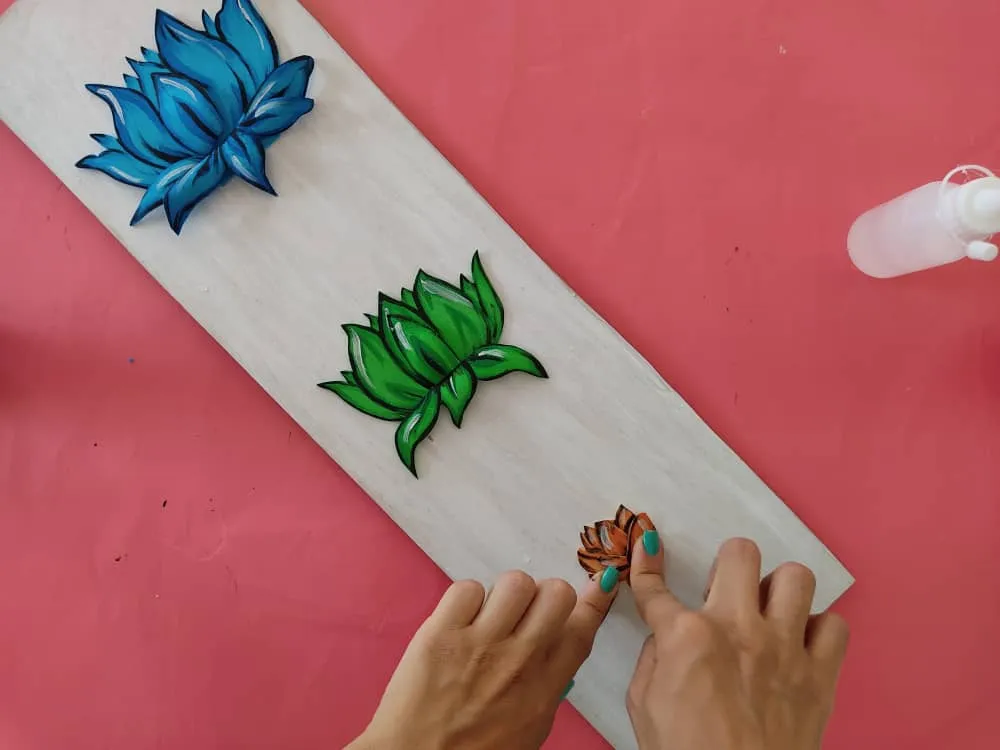
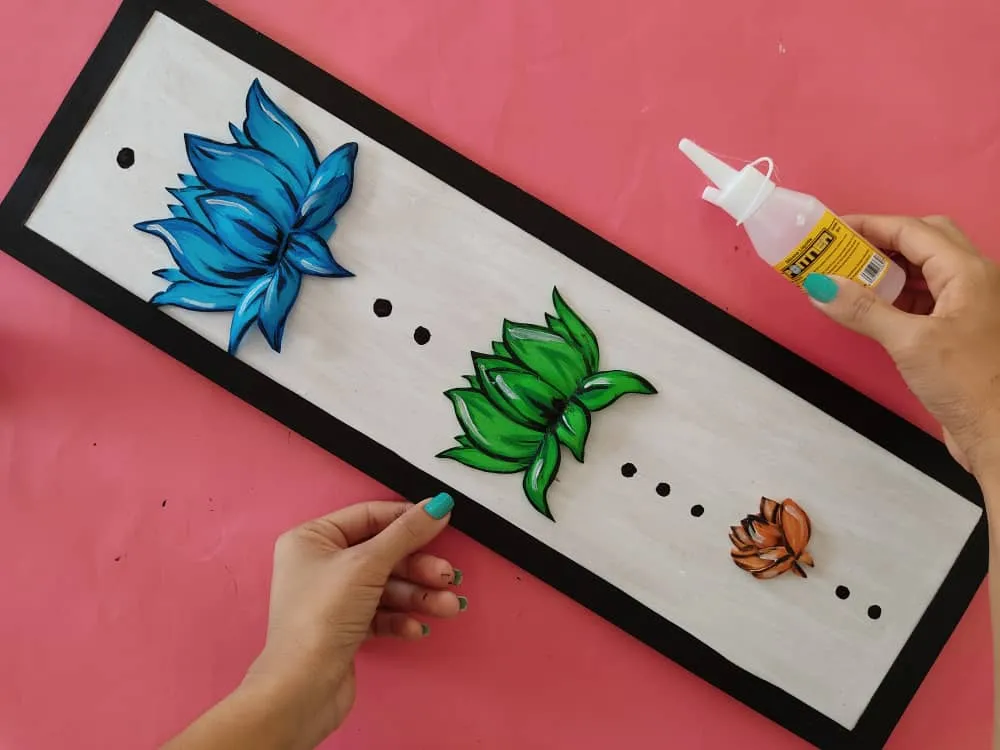
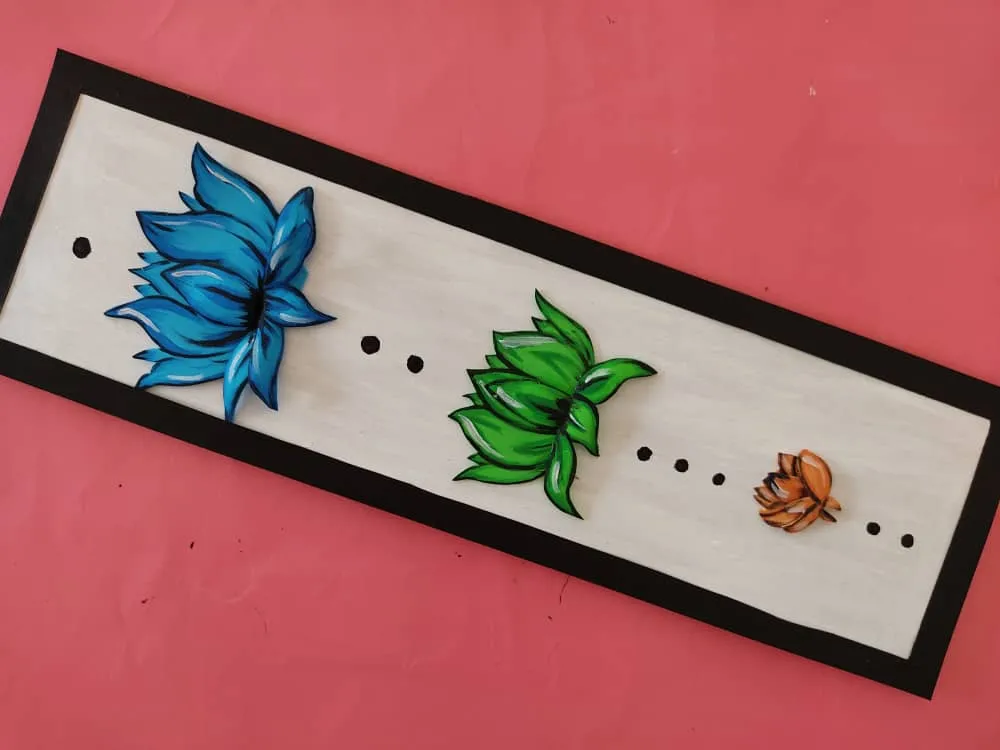
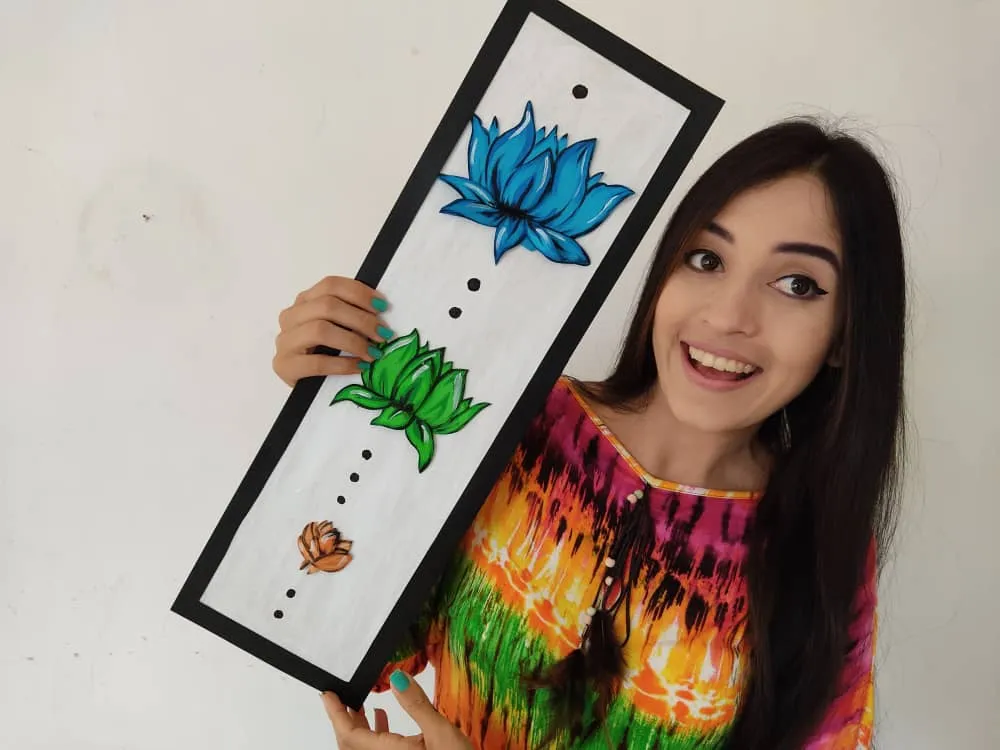
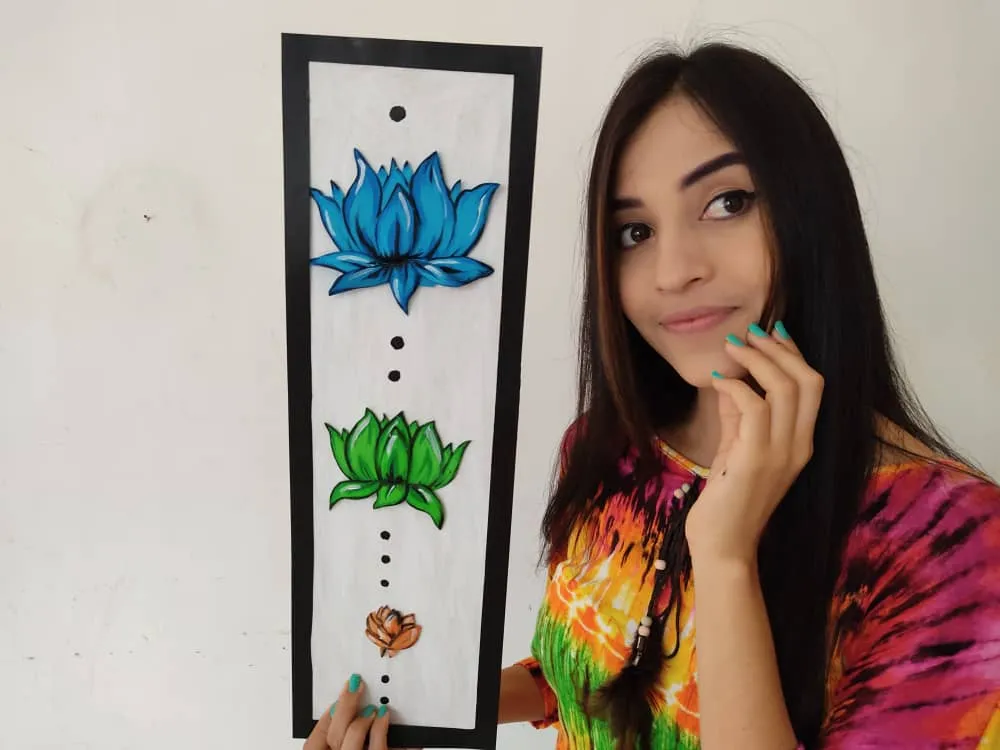
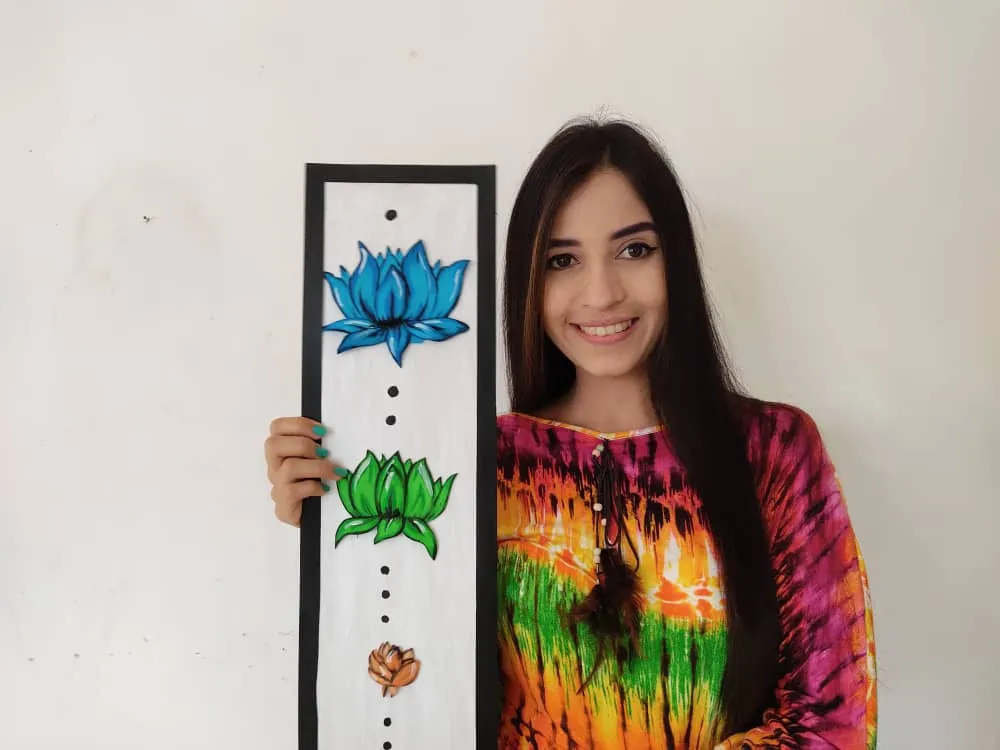
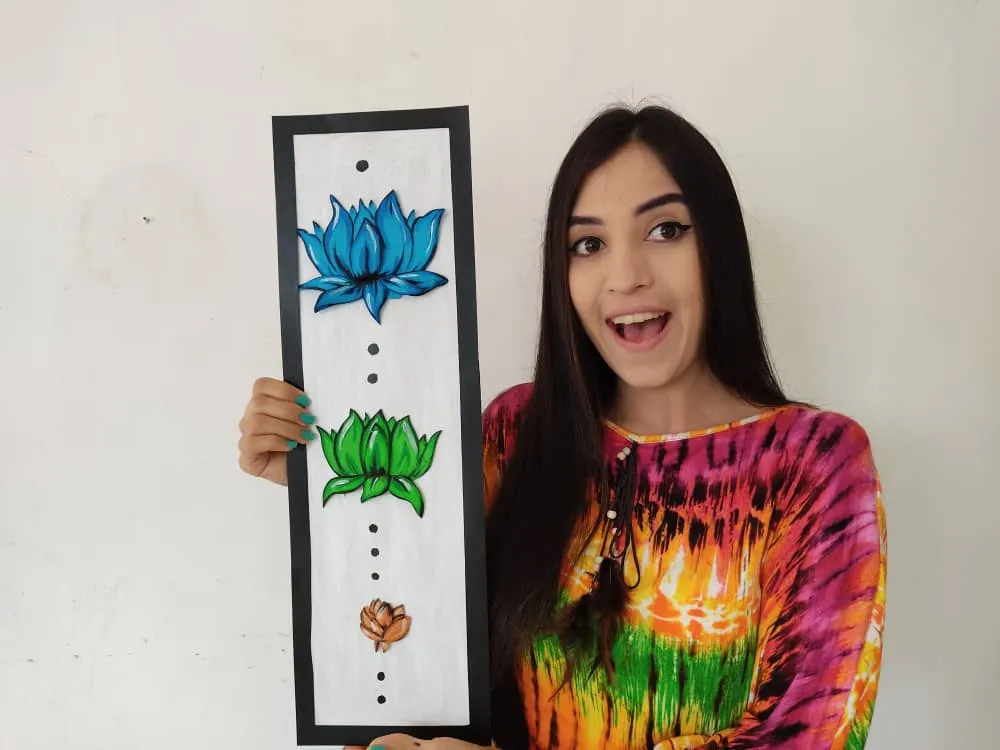
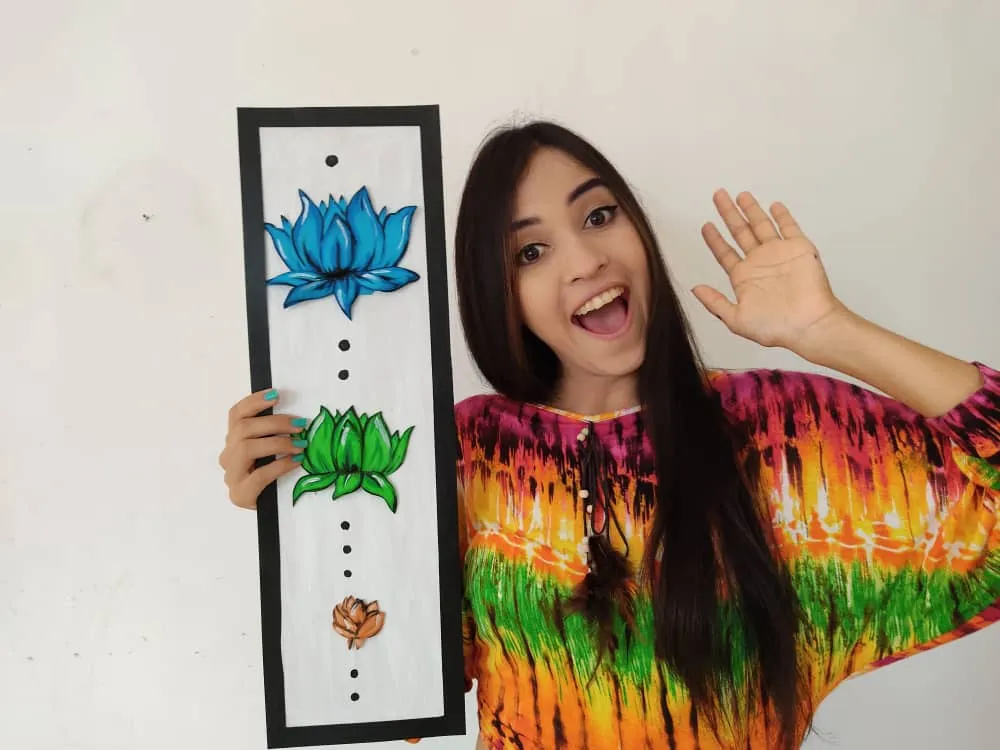
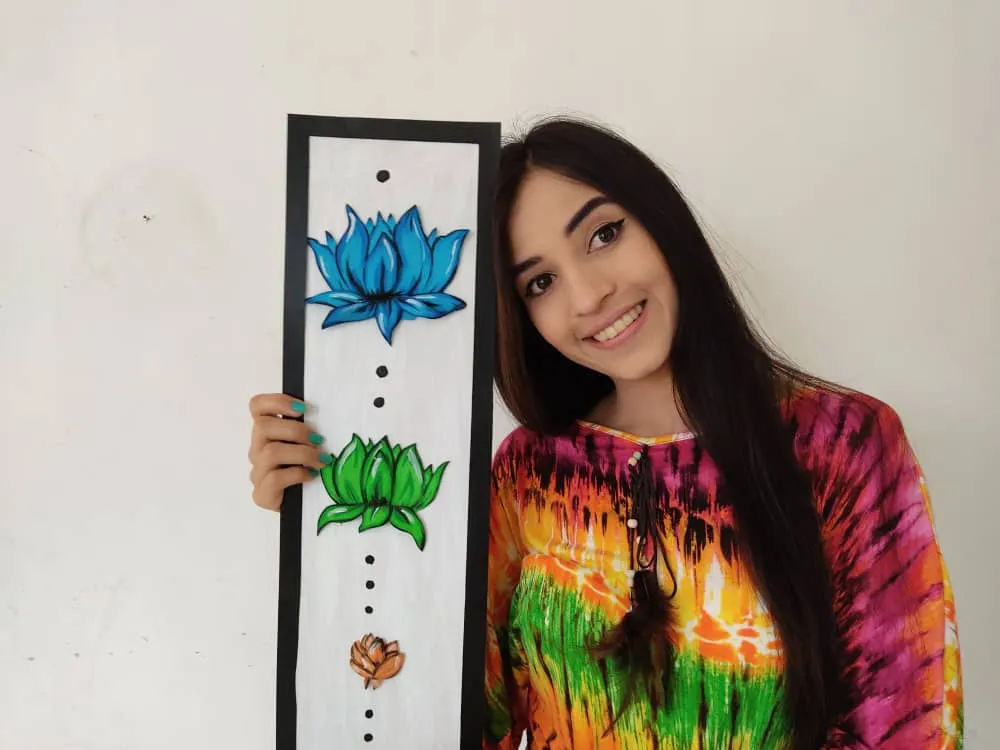
Ahora, comenzamos a decorar nuestro cuadro pegando las flores de loto, dejando volar nuestra imaginación, al final decidí pintar unos pequeños puntos negros entre ellas.
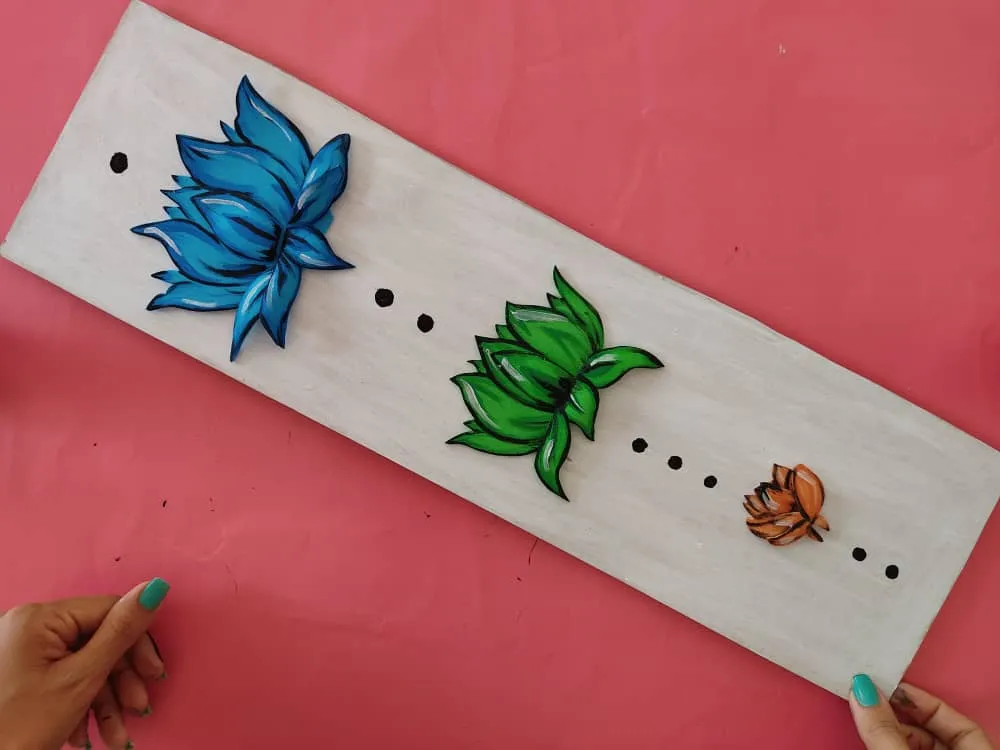
Now, we begin to decorate our painting by gluing the lotus flowers, letting our imagination run wild, in the end, I decided to paint some small black dots between them.
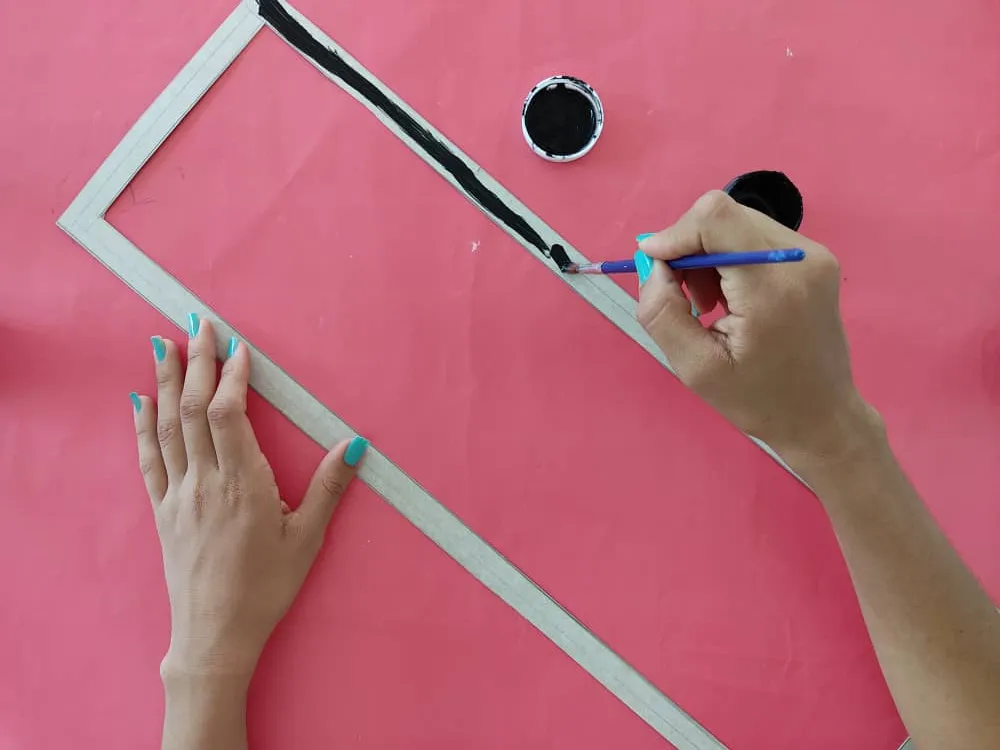
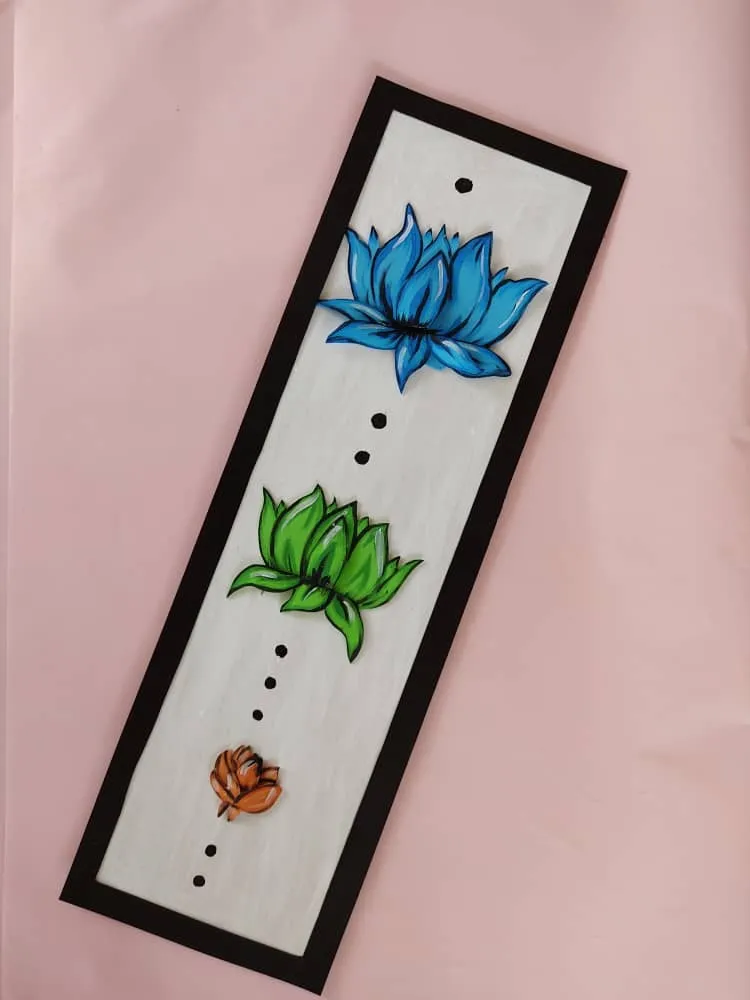
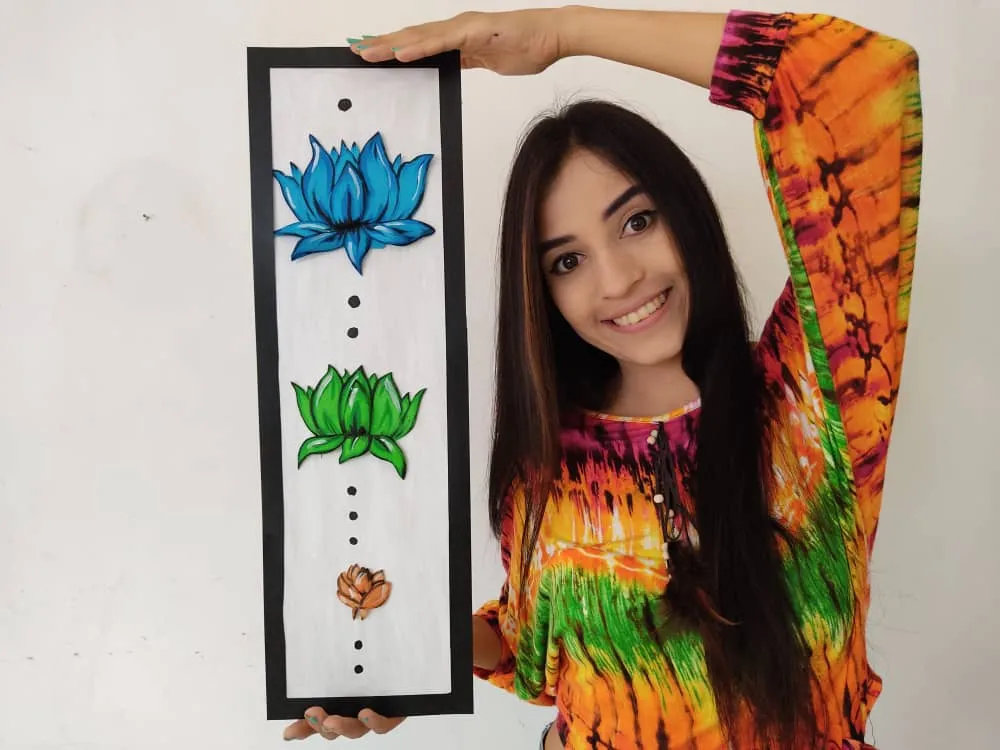
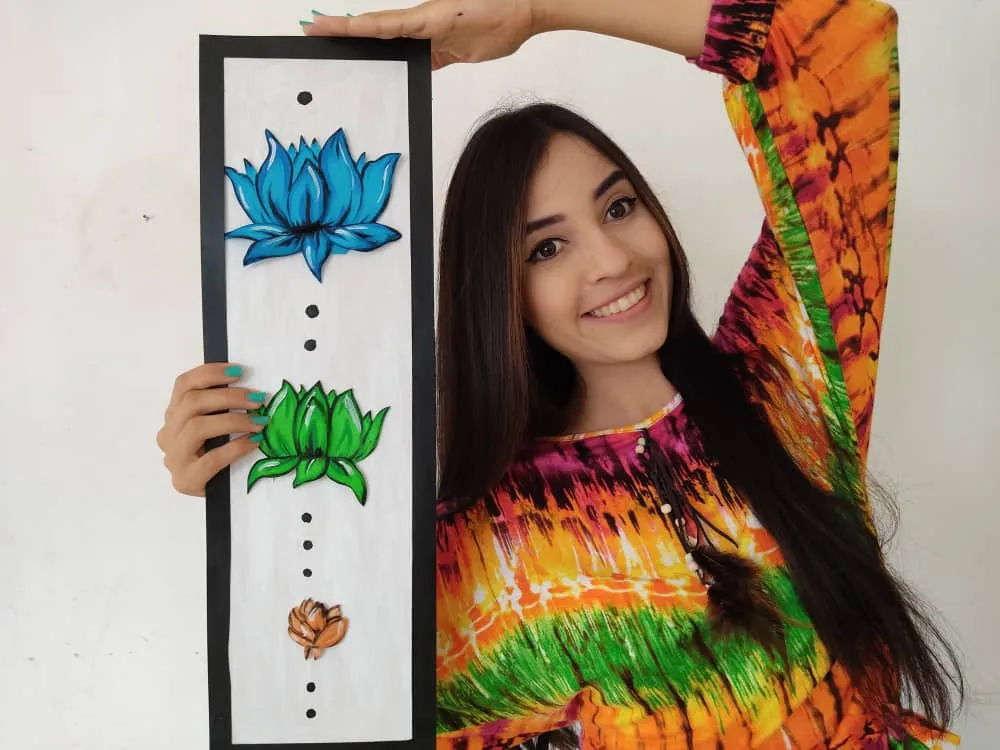
Luego, fabricamos un marco súper genial utilizando una técnica distinta a las anteriores, “ojo” esto es si contamos con material suficiente, marcamos en la cartulina y recortamos cuidadosamente sin separar las tiras. Y seguidamente, pintamos el marco del color que más nos guste, en este caso yo decidí pintarlo de negro, para que luzca muy elegante y a la vez hermoso, y finalmente lo pegamos al cuadro.
Then, we make a super cool frame using a different technique than the previous ones, "eye" this is if we have enough material, we mark on the cardboard and cut carefully without separating the strips. And then, we painted the frame in the color that we like the most, in this case, I decided to paint it black, so that it looks very elegant and at the same time beautiful, and finally, we glued it to the painting.
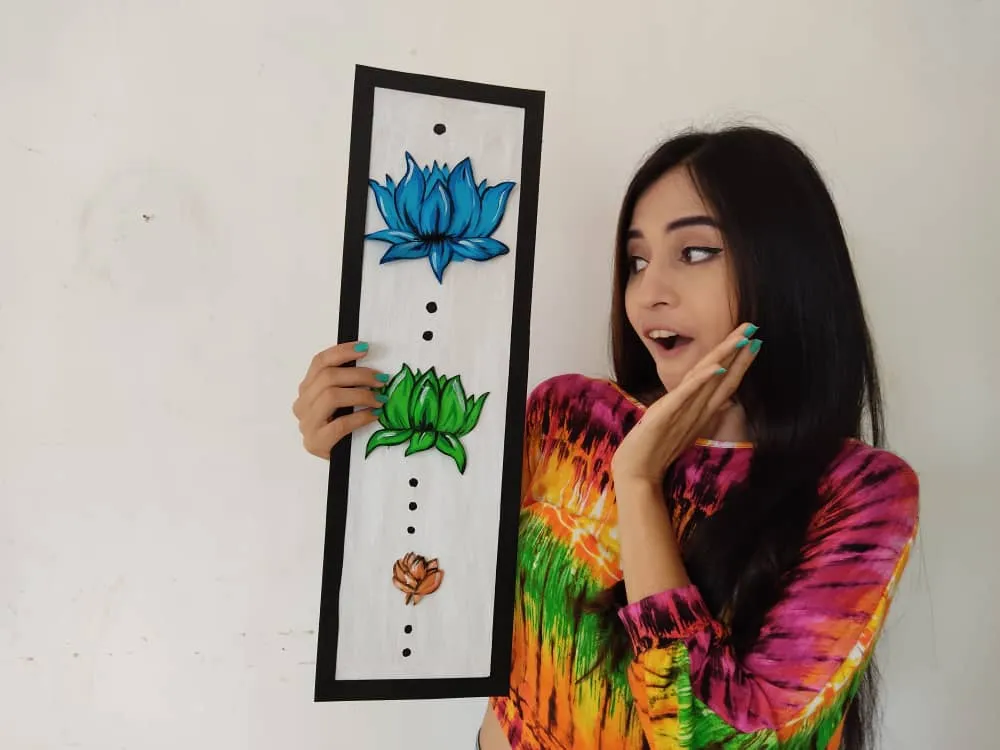
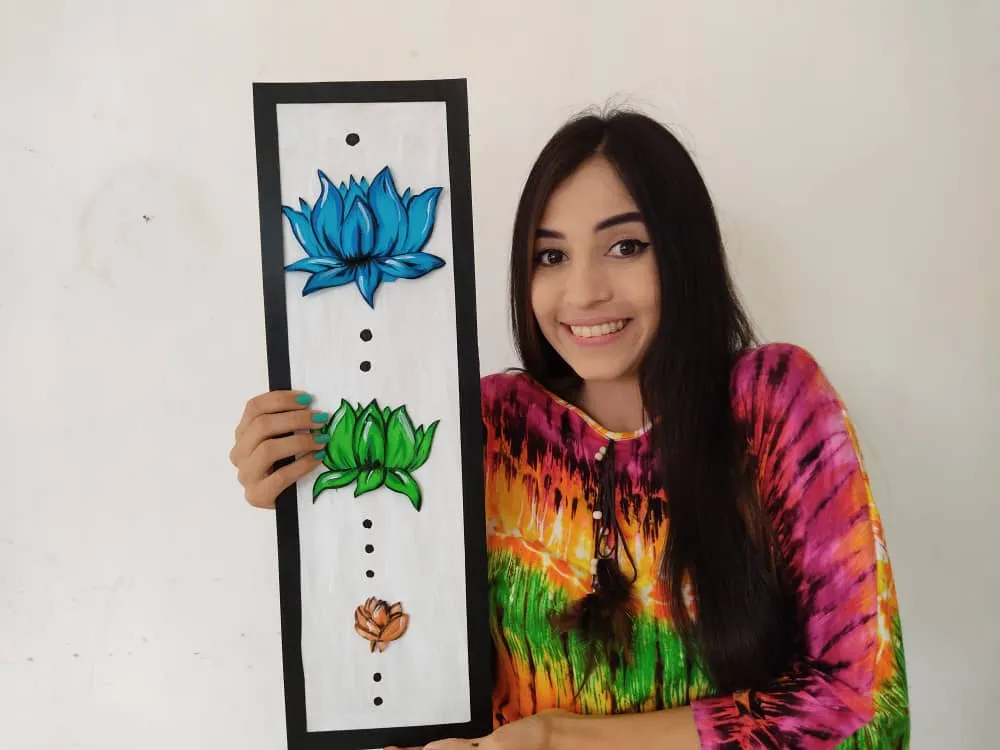
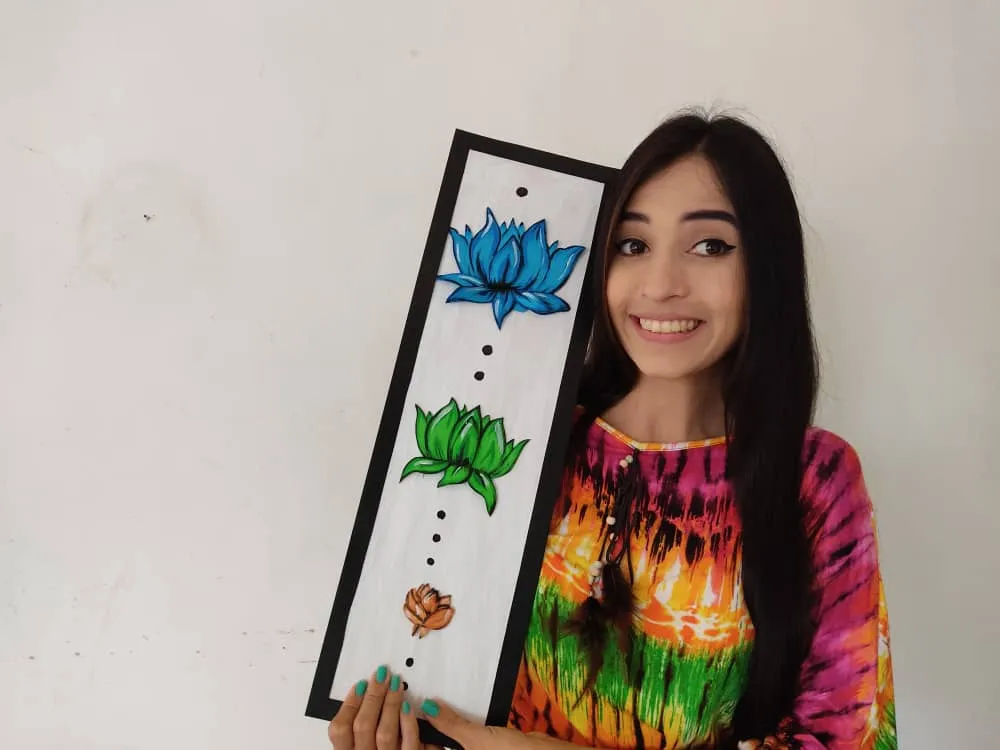
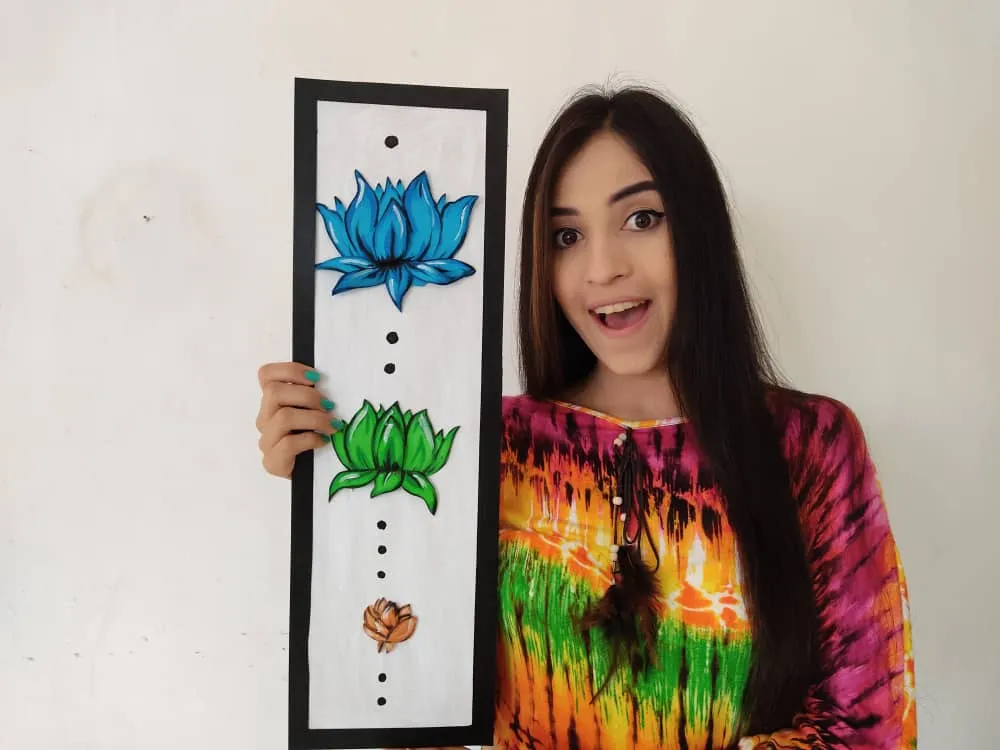
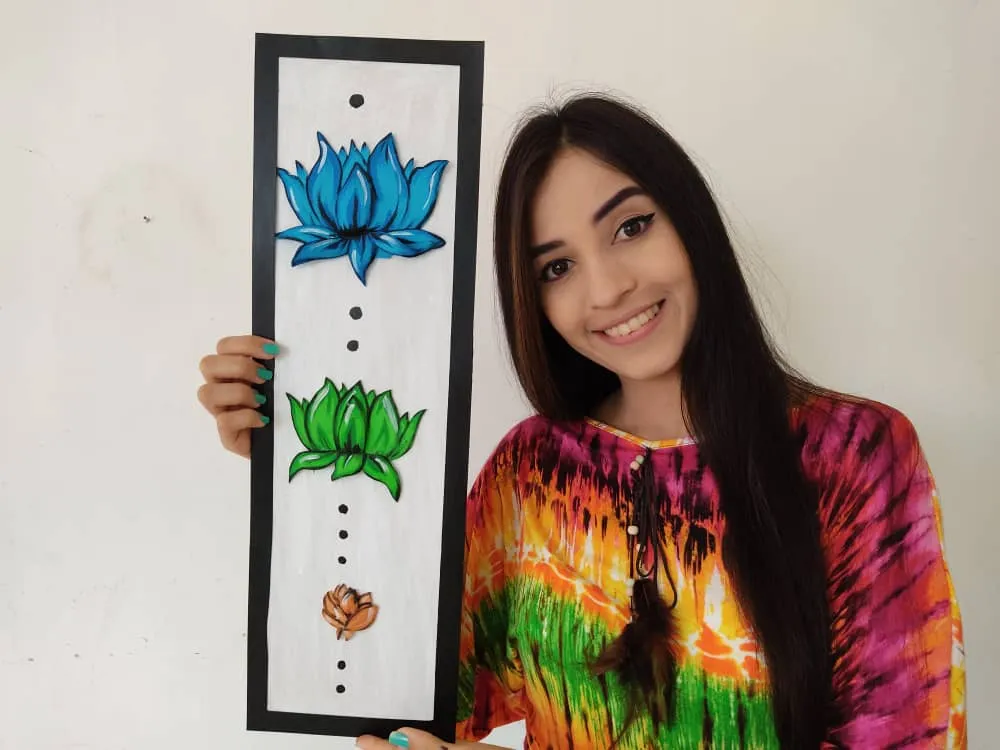
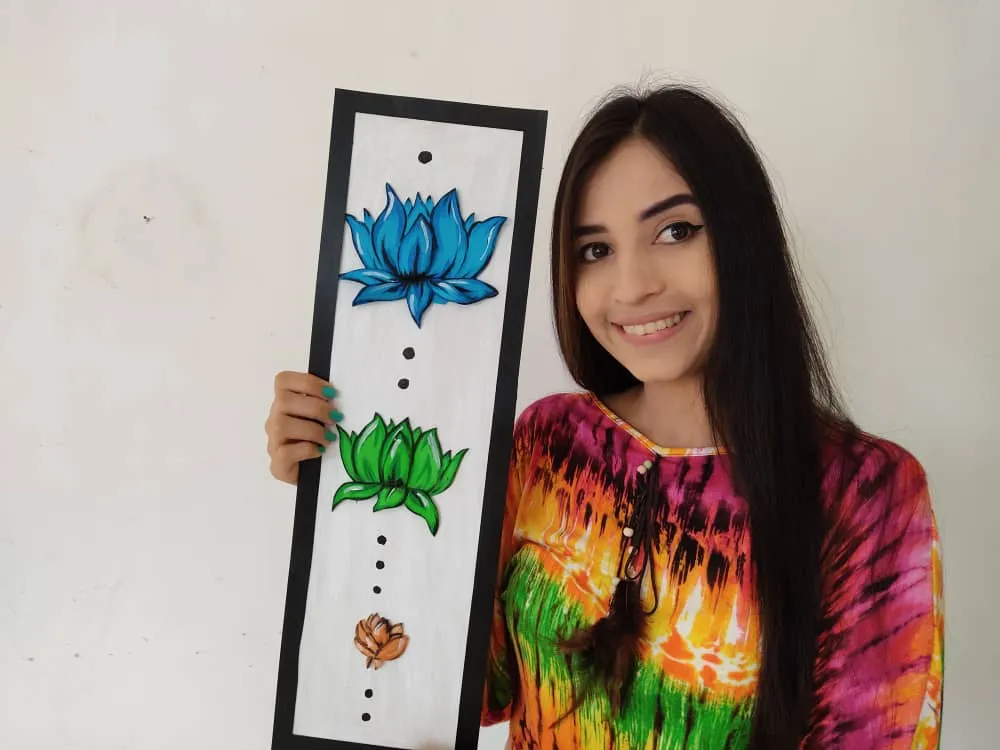
Gracias por acompañarme y espero que lo hayan disfrutado. ❤️
Thanks for joining and I hope you enjoyed it.❤️


Clic para ver trabajos anteriores | Click to see previous works