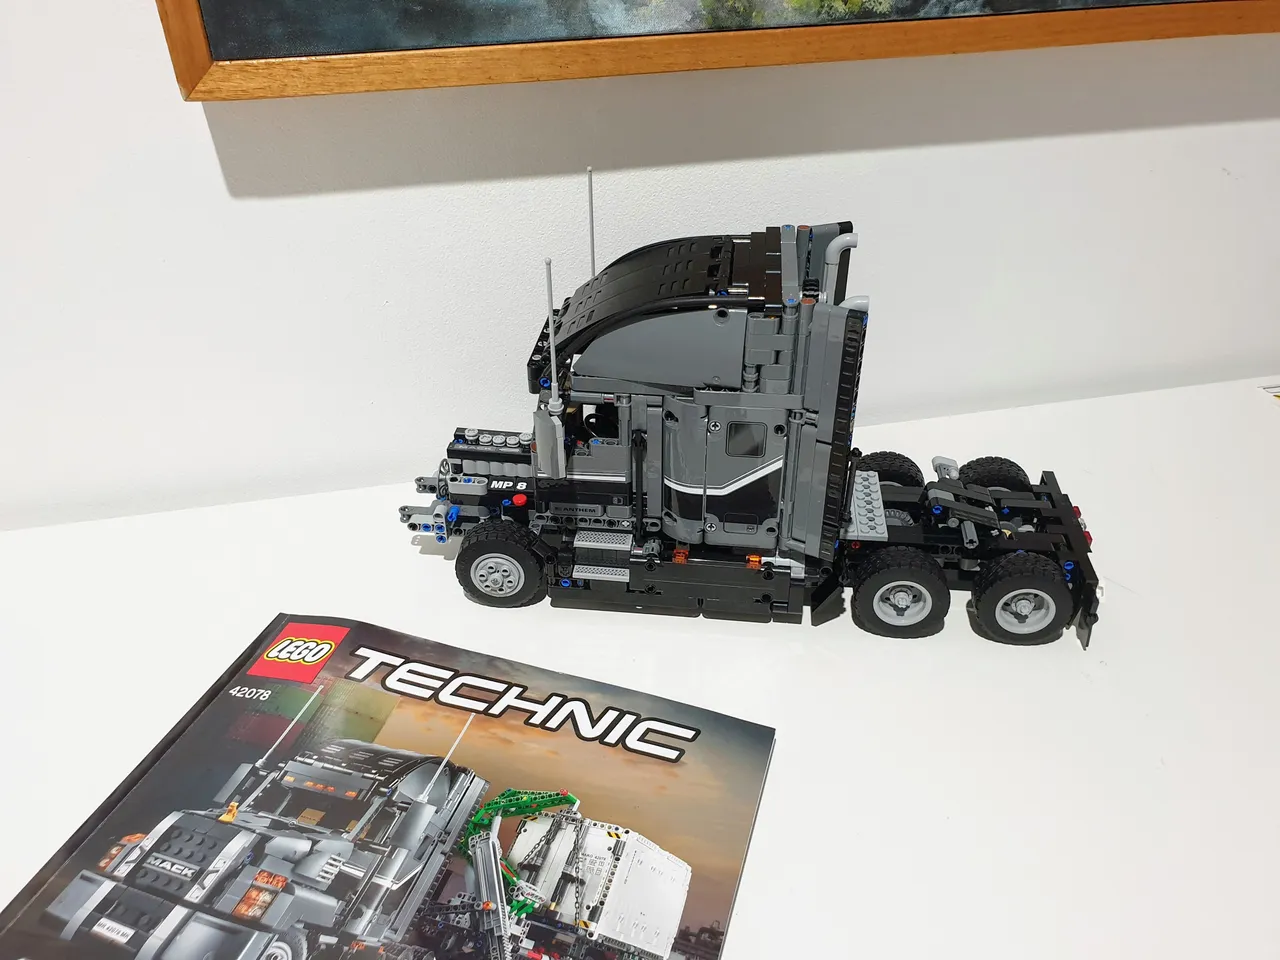
You know what time it is y'all...Yep, it's Mack Anthem Lego update time! That's right folks, it's that time of the week when uncle-G-dog unveils the latest stage of Lego construction and this time the Mack truck is really starting to take shape.
Above you can see the completed stage three and below...The stages of the stage; The stage three stages I mean. Ah hell, why don't we just fly into it huh?
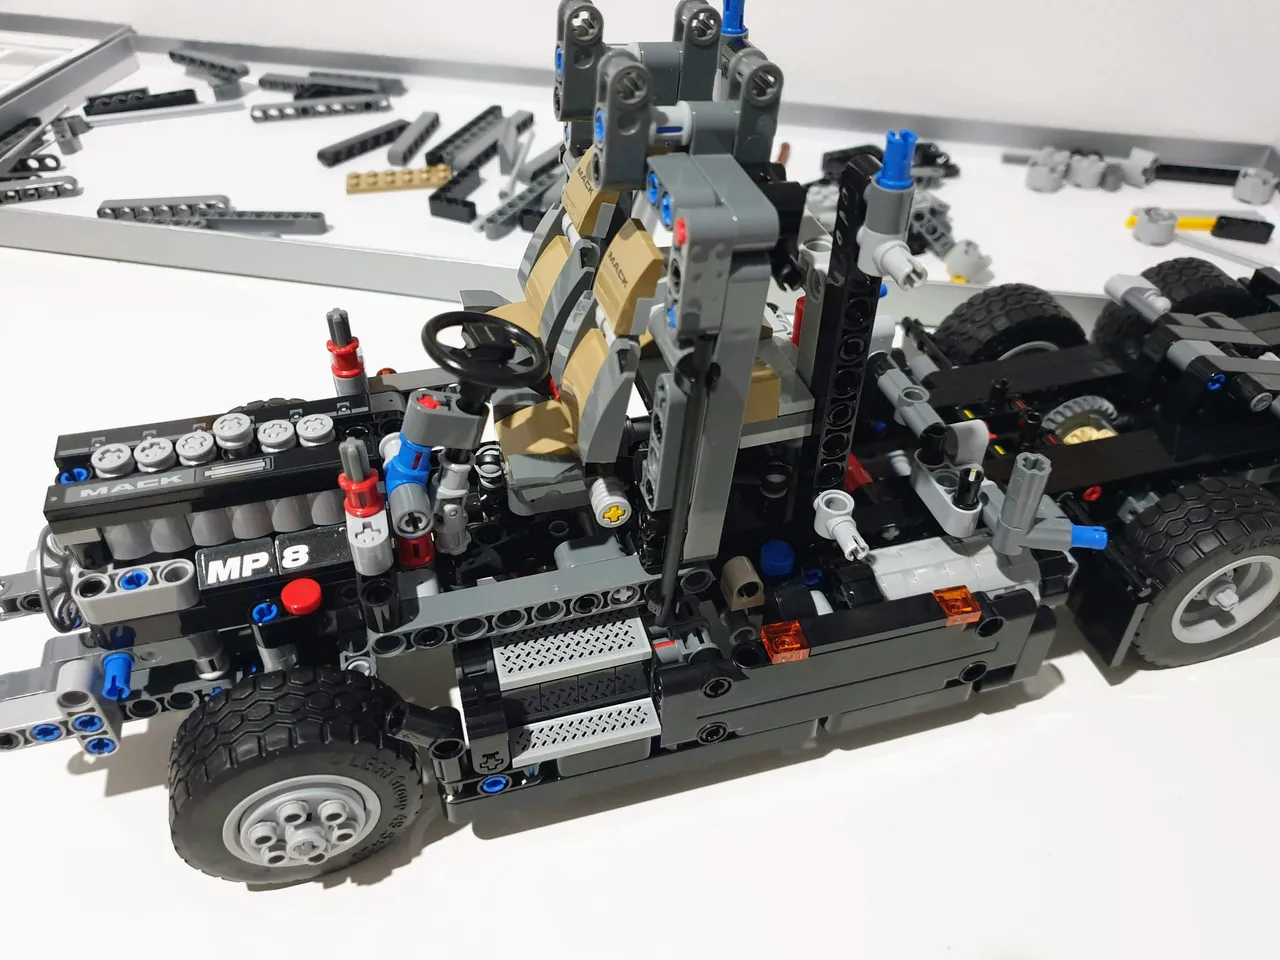
Above shows the first part of stage three coming together. Stage three is basically the cab-section of the truck including the sleeper plus fuel tanks, running boards and completes the steering. Here you see the framework begin to take shape plus the steps into the cabin and fuel tanks behind the running boards.
Above you can see the back wall of the cabin fitted plus the sleeper cab coming together. Within the sleeper cab is part of the steering mechanism that permits the model to be steered by the operator once completed.

Above you can see the steering mechanism that connects all the way down to the front steering axle and eventually the wheels. It's a fairly complex set of cogs, shafts and universal joints but it works perfectly. It all terminates outside of the cab at the back and the operator steers using a small wheel that I will show you later.
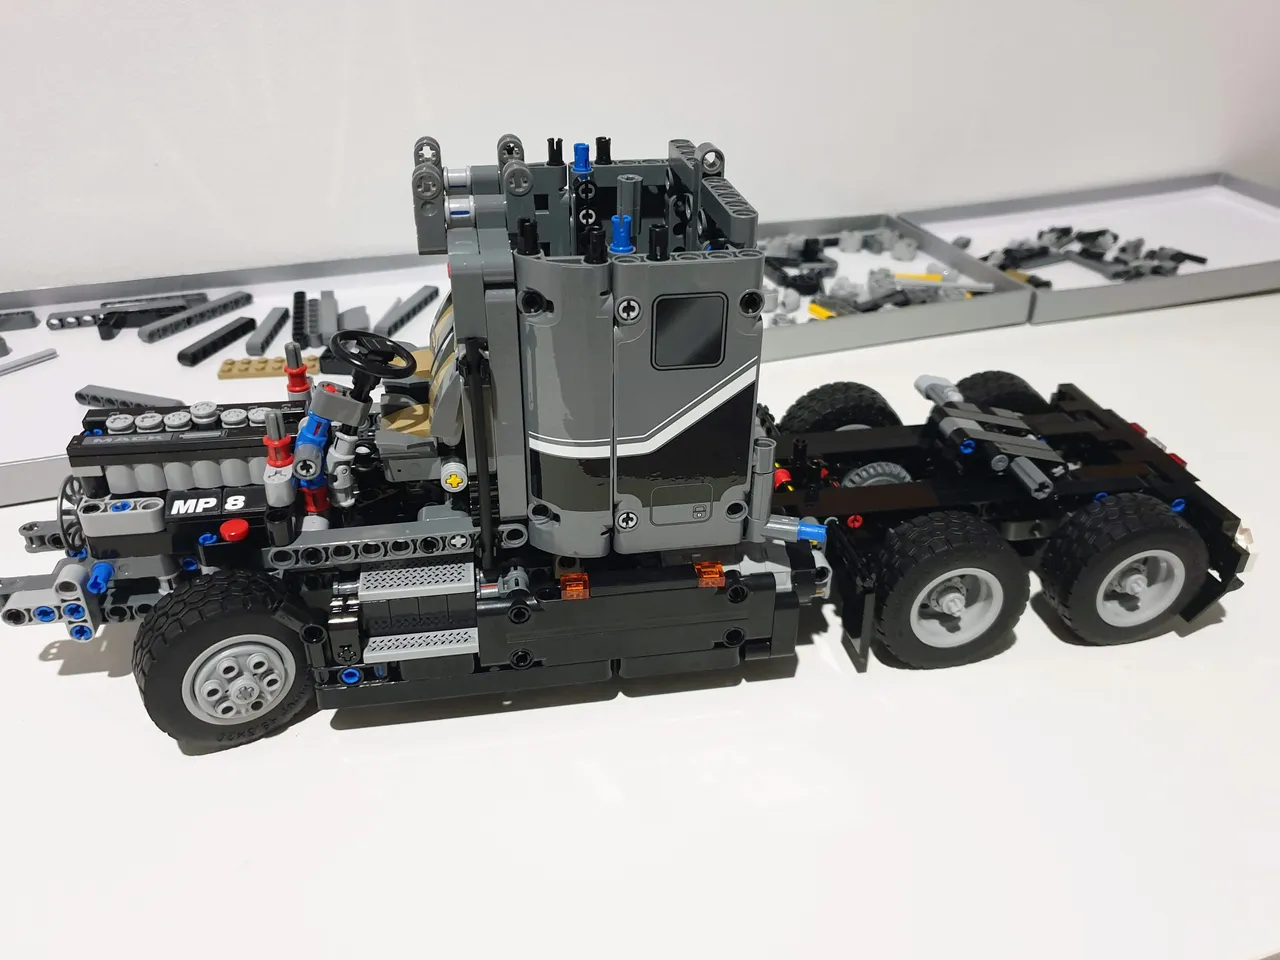
Above the doors and drivers cab starts to come together. In a post a few days ago I came across some trouble as I placed two small parts in the wrong hole within the chassis...Missed the correct one by one hole. This entire section had to be pulled apart so I could move those two parts or else the dash panel couldn't have been fitted. I was quite frustrated as you can imagine.
With Lego builds quite often one has to place parts in early on for use in the future and in my case this is what had happened here. I got it all sorted after some swearing and tantrum-throwing though. (Not really, just the swearing.)
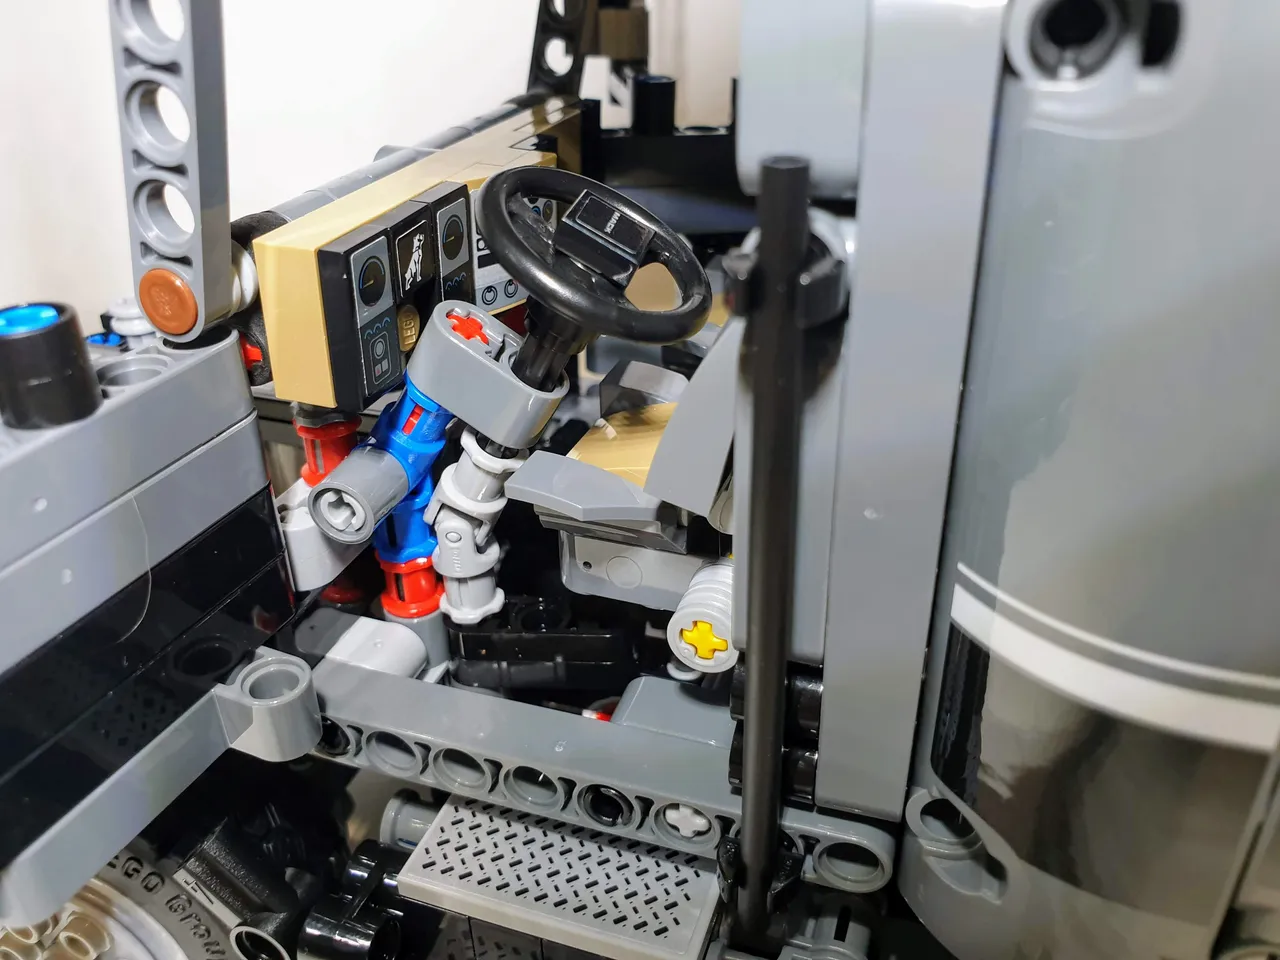
Above is the drivers side of the cabin. Note the instrument panel with all the little dials on it. That section is actually attached to the window and overhead lights as one assembly which is the section I couldn't fit due to my earlier mistake. All good now though.
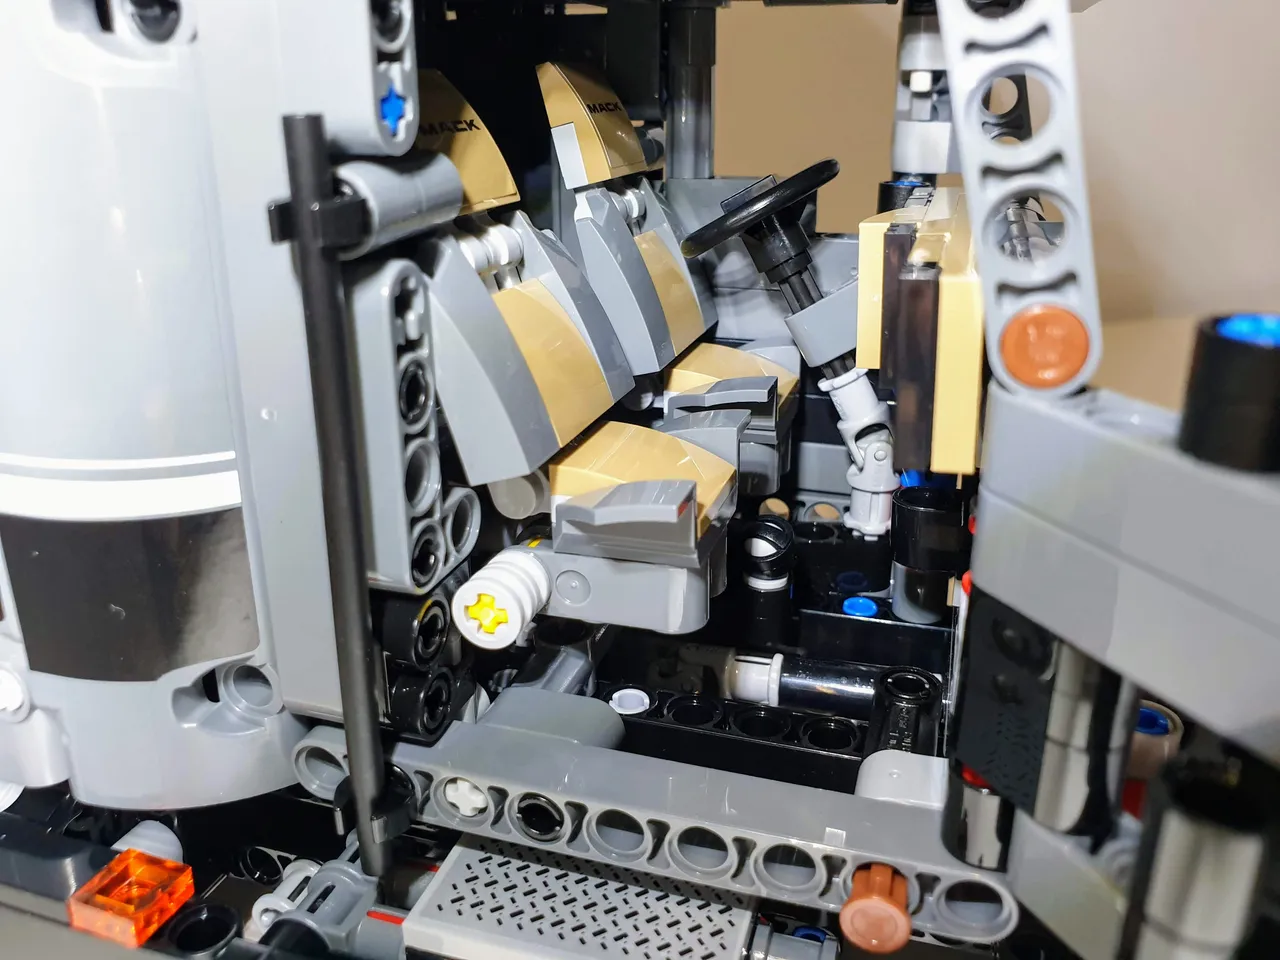
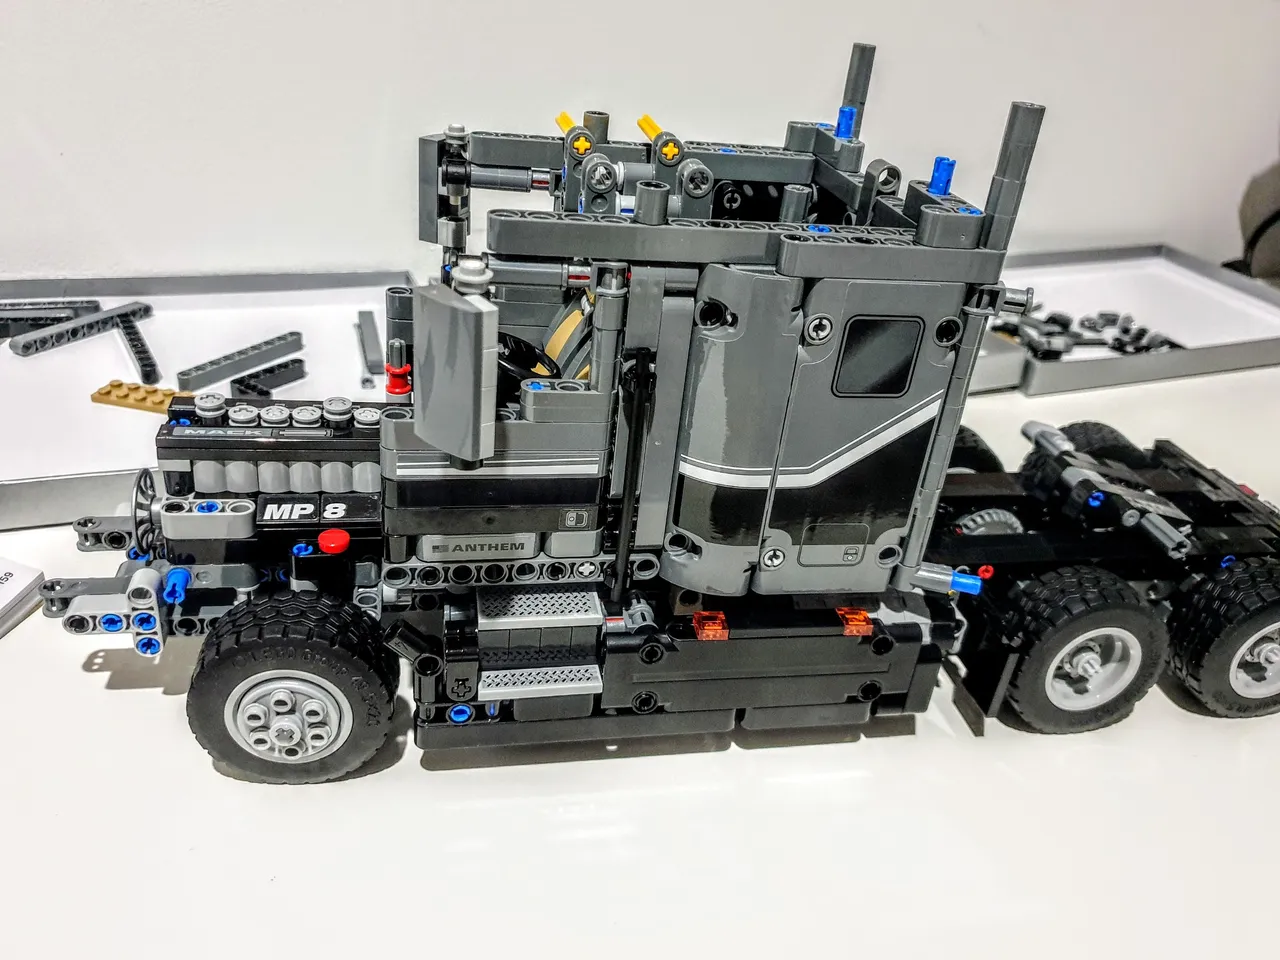
Above you can see the passenger side of the cabin. In the sleeper-cab there's a bed that matches the seat trim of the front two seats but it's impossible to photograph once the roof is on. And speaking of roofs...
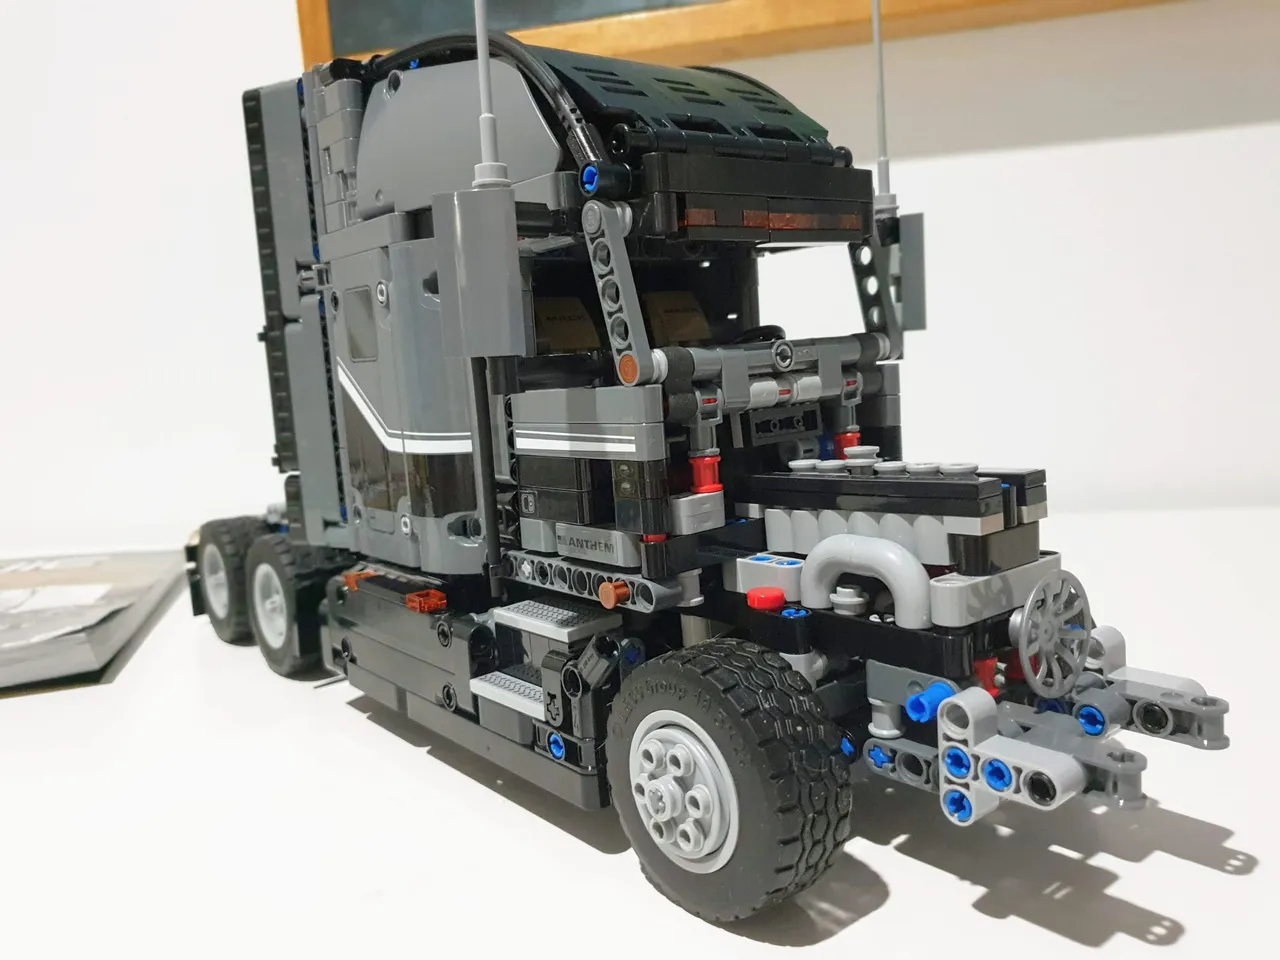
Here's stage three completed above. The doors open, side mirrors adjust and as stated earlier the front steer-wheels actually work. That engine works also, the pistons are operated by a cam shaft. As the rear wheels turn the pistons go up and down in a particular firing order. The fuel tanks sit behind the black running boards on each side of the truck but you can't see them as the running boards hide them.
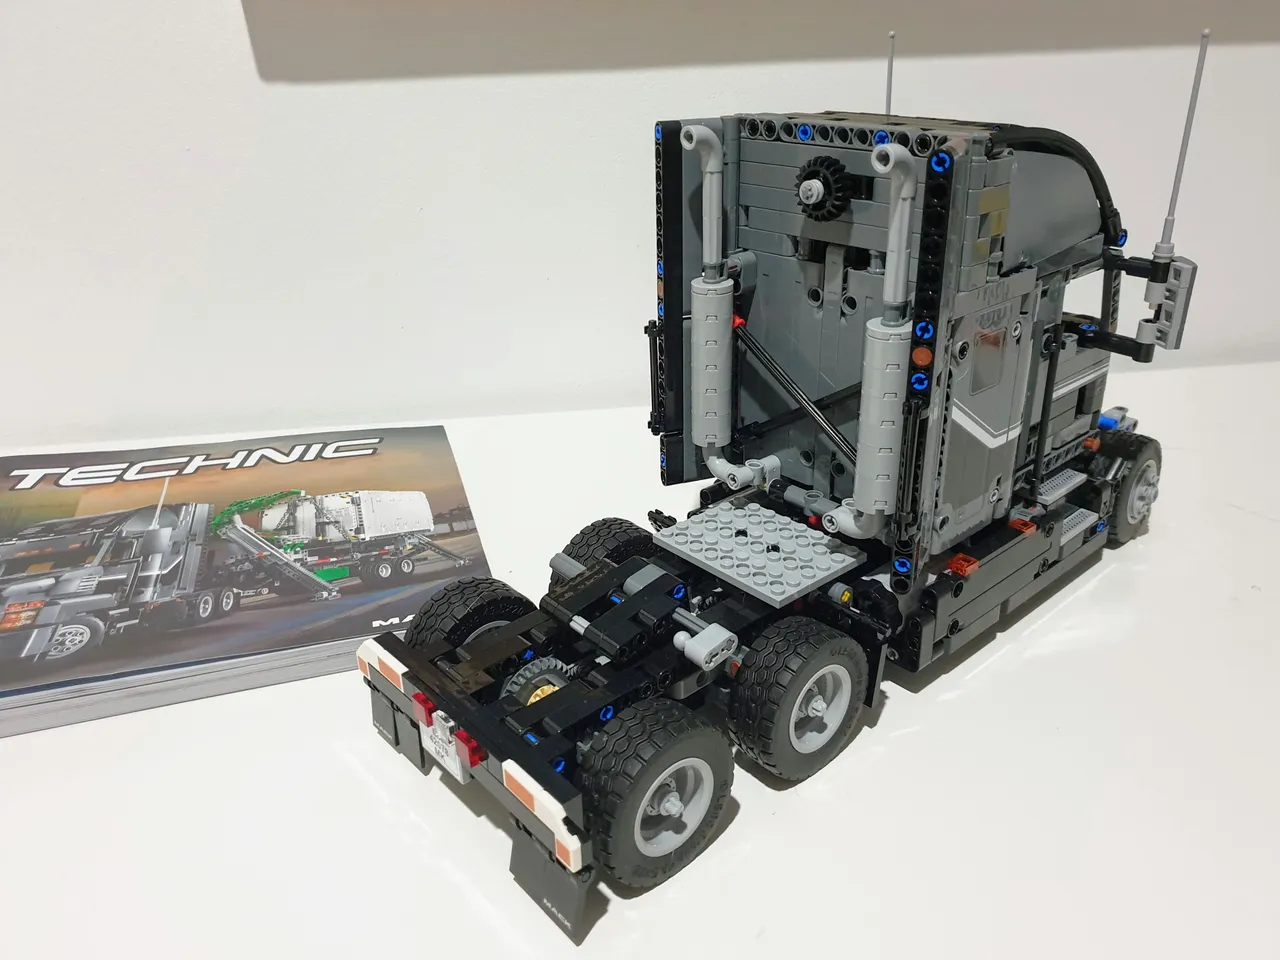
This last shot above shows the prime mover from the rear. See that little black cog in the centre of the back wall panel? That's the steering mechanism that leads off into the cab and then down to the front axle to permit me to operate the steering of the prime mover.
The next stage, stage four, completes the prime mover by adding the front engine hood and bumper bar sections. The hood will tilt forward giving access to the engine bay as would the actual truck.
From there work begins on the trailer and its load which is stages five and six. But that's down the track a ways.
So, I hope this episode of my Mack Anthem build got your juices flowing...Actually, if it did I don't need to know as it's none of my business...But I am here to answer any comments or questions you leave. You should know by now that it's your commenting and engagement that I thrive on so come on, let me have it. 😁
Tomorrow isn't promised - Design and create your ideal life, don't live it by default
An original post written by a human
Discord: galenkp#9209 🇦🇺