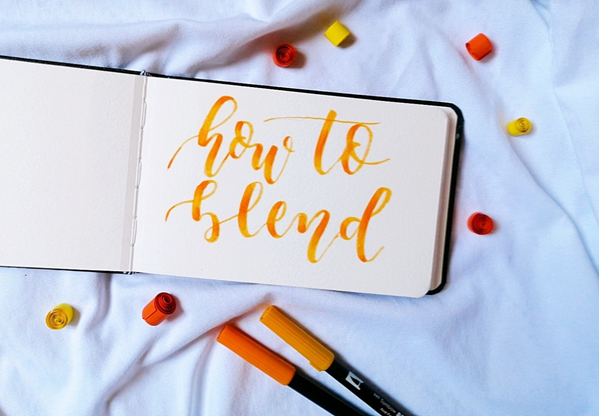
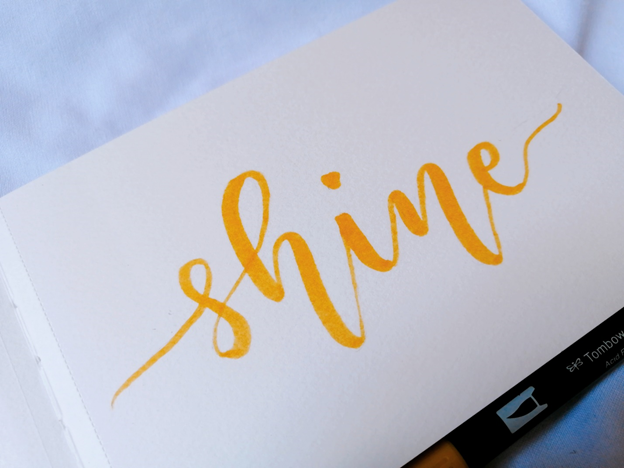
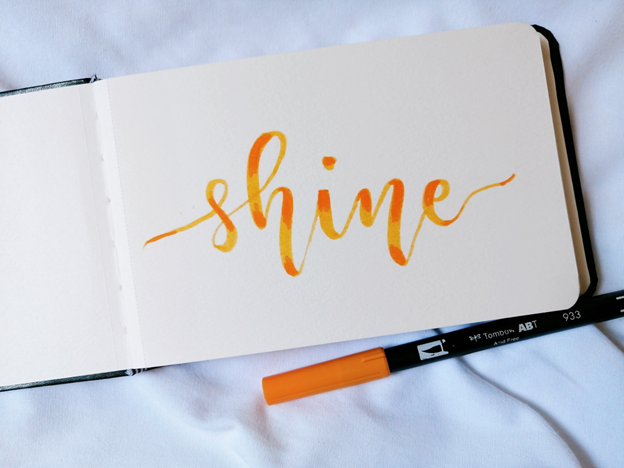
Hi there lovely reader! Today is a post about beginner’s guide to lettering blending. Blending is a good technique to learn in order to give the letters the effect of dimension. For this particular work, we are going to write the word, “shine” which is very fitting since that’s what we want to make the letters look like-to shine.
To start with here are the materials to use:
•Watercolor pad
•Paint Brush
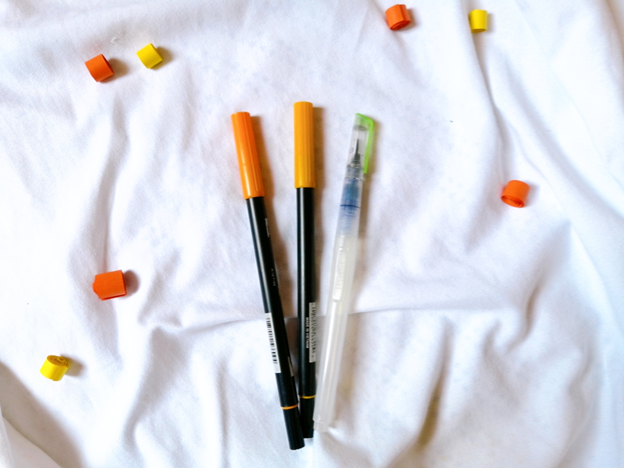
•Tombow Brush Pen Orange (Shade 933)
•Tombow Brush Pen Yellow (Shade 993)
•Water
Use two shades of brush pens, a lighter shade and a darker shade that complement each other.
You may use any type of pen but they should preferably be a shade darker than the other. One light pen and one dark pen. It is very important to use a watercolor paper to blend the colors well without tearing the page of paper. You may use any type of paint brush, since I do not have anything other than my watercolor brush pen.
Step 1: Draft the word you want to write using a pencil.
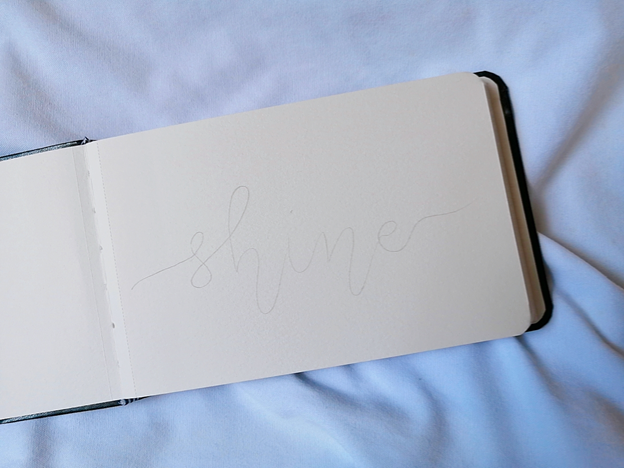
Make sure to write the letters lightly so that when we erase it later, the pencil will not leave any marks below the pen marks.
Step 2: Use the lighter shade of Pen (Shade 993) to write the letters.
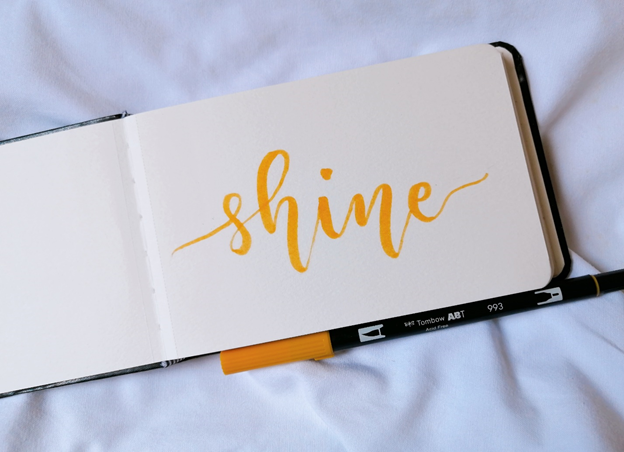
Erase the pencil marks after writing but make sure that the paint is dry in order not to smudge it.
Step 3: Using the darker shade, color down the dark parts of the lettering.
This step should be done quickly so that it will not dry off before blending. If you are having a hard time determining which part of the letters should be darkened, try to look at other samples in the internet to get an idea. Always remember that one is not a master for the first time, practice and eventually, it will pay off!
Step 4: Using a watercolor brush, add water and drag down the parts where you use the darker shade (Brush Pen number 933).
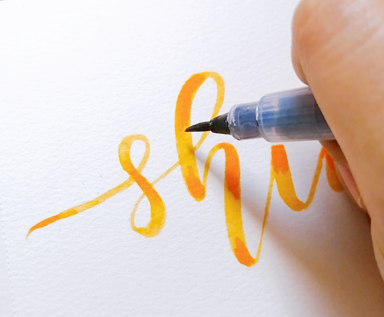
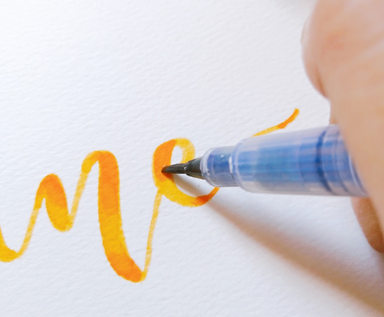
For the darker parts located at the top, drag down, for those that are below, drag up. Don’t push too hard and don’t put lots of water because the colors might bleed and will cause the letters to be blot with lots of parts that are white because of water.
Step 5: Add small details to give additional effect.

This part is optional. You may opt not to do this. It depends upon you. Adding white details will give it additional dimension.
And now we are finally done! What do you think of today’s artwork? Please let me know in the comments below. I hope you have learned something and you enjoyed reading this blog post as much as I enjoyed making this. Share your artworks below and stay creative!