Español
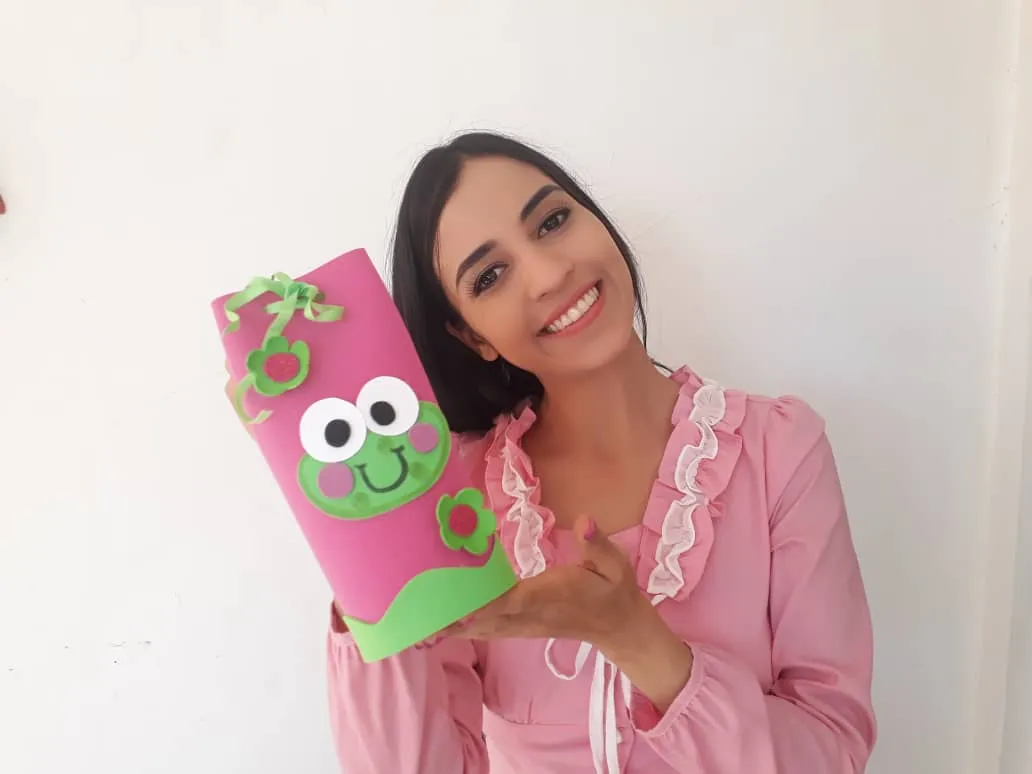
Hola querida familia de HIVE 💝 En esta ocasión les traigo otro divertido paso a paso donde aprenderemos cómo realizar una hermosa funda para cuadernos en forma de maletín, perfecto para llevar cómodamente nuestros apuntes y tareas a cualquier lado. Lo mejor de todo es que es muy fácil de hacer ya que el foami o goma eva es un material muy económico y fácil de conseguir. Así que, los invito a disfrutar de este divertido momento, ideal y perfecto para el desarrollo de la creatividad tanto de niños como adultos. Además es una idea perfecta para pasar un rato agradable con nuestros pequeños en casa e incentivarlos, ya que, pueden ir, de a poco, desarrollando su ingenio y acercándose un poco más al trabajo artístico.
English
Hello Family HIVE 💖 On this occasion, I bring you another fun step by step where we will learn how to make a beautiful briefcase-shaped notebook cover, perfect for comfortably carrying our notes and tasks anywhere. The best thing of all is that it is very easy to do since the foamy or eva rubber is a very economic material and easy to get. So, I invite you to enjoy this fun moment, ideal, and perfect for the development of creativity for both children and adults. It is also a perfect idea to spend a pleasant time with our little ones at home and encourage them, since they can go, little by little, developing their ingenuity and getting a little closer to artistic work.
¿Qué están esperando?
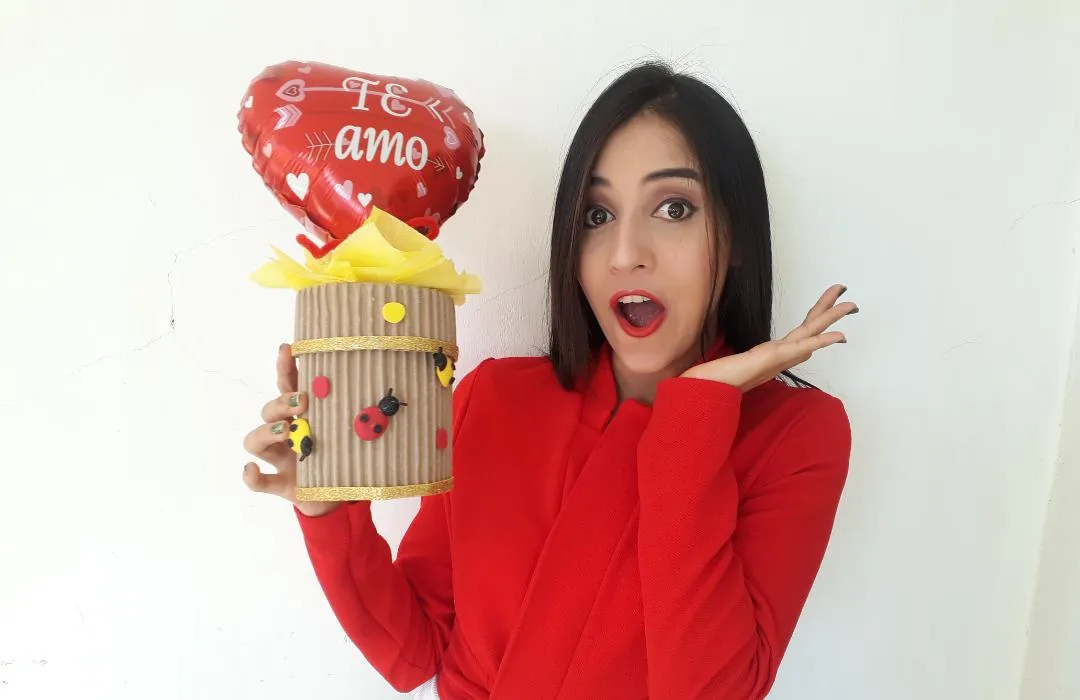
Gracias a esta técnica podemos personalizar y darle un toque de alegría a nuestros cuadernos, libros o agendas de manera muy económica. Antes de comenzar no olvidemos lavarnos nuestras manos.
What are they waiting for?
Thanks to this technique we can personalize and give a touch of joy to our notebooks, books, or diaries in a very economic way. Before we start, let's not forget to wash our hands.

[Materiales | Materials]
Para hacer este hermoso meletin necesitaremos:
- Moldes.
- Foami o goma eva.
- Regla.
- Lápiz.
- Marcadores.
- Tijera.
- Velcro.
- Pintura de acuarela.
- Pincel o brocha.
- Pegamento.
To make this precious briefcase we will need:
- Molds
- Foamy or eva foam.
- Rule.
- Pencil.
- Markers.
- Scissors.
- Velcre.
- Watercolor paint.
- Brush or paintbrush.
- Glue.
Procedimiento (paso a paso)
Process (step by step)
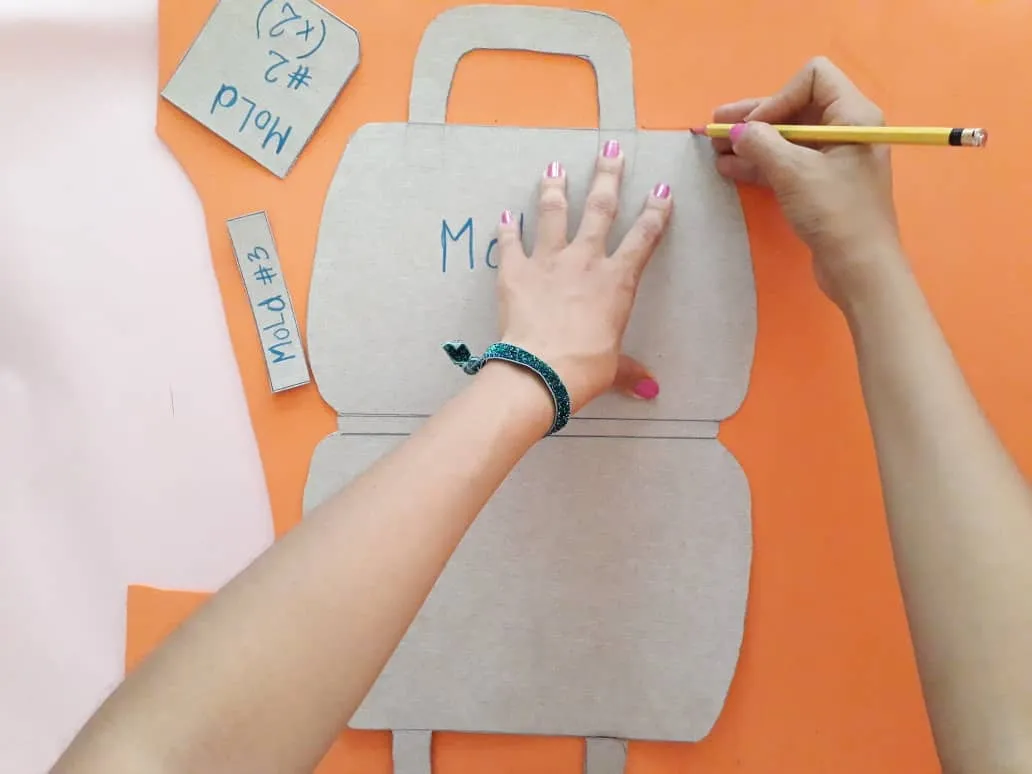
Primero, transferimos los moldes al foami de color que más nos guste o que tengamos y recortamos con mucho cuidado para mantener sus medidas intactas y evitar accidentes al utilizar la tijera.
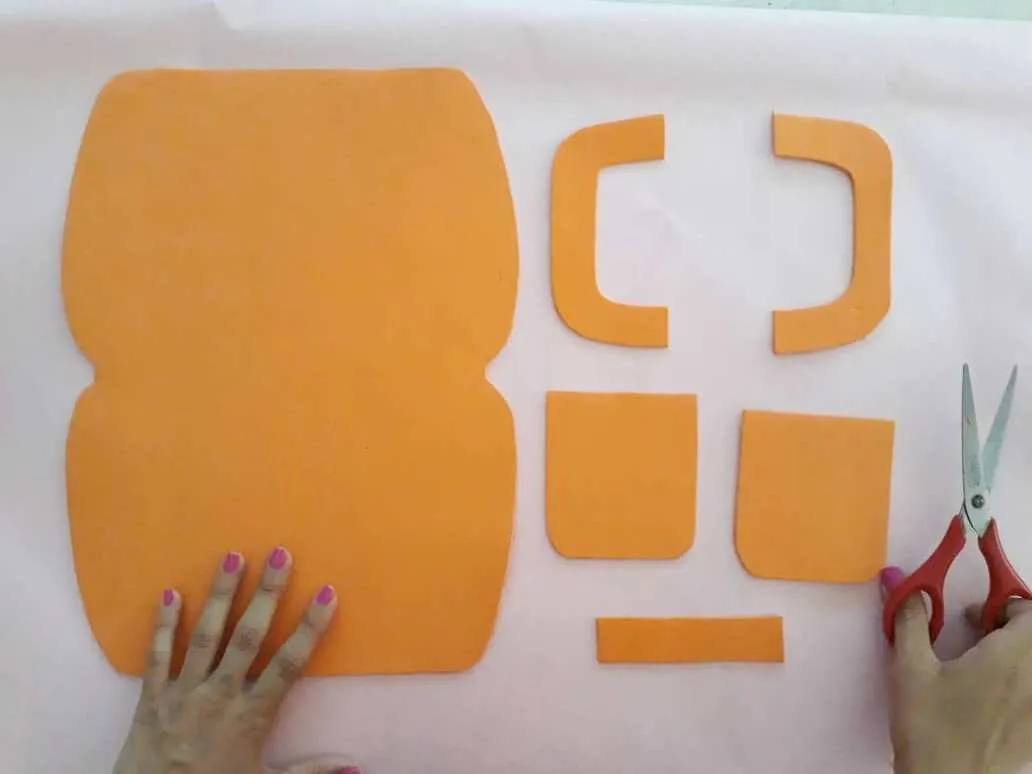
First, we transfer the molds to the color foamy that we like the most or that we have and cut with great care to keep its measurements intact and avoid accidents when using the scissors.
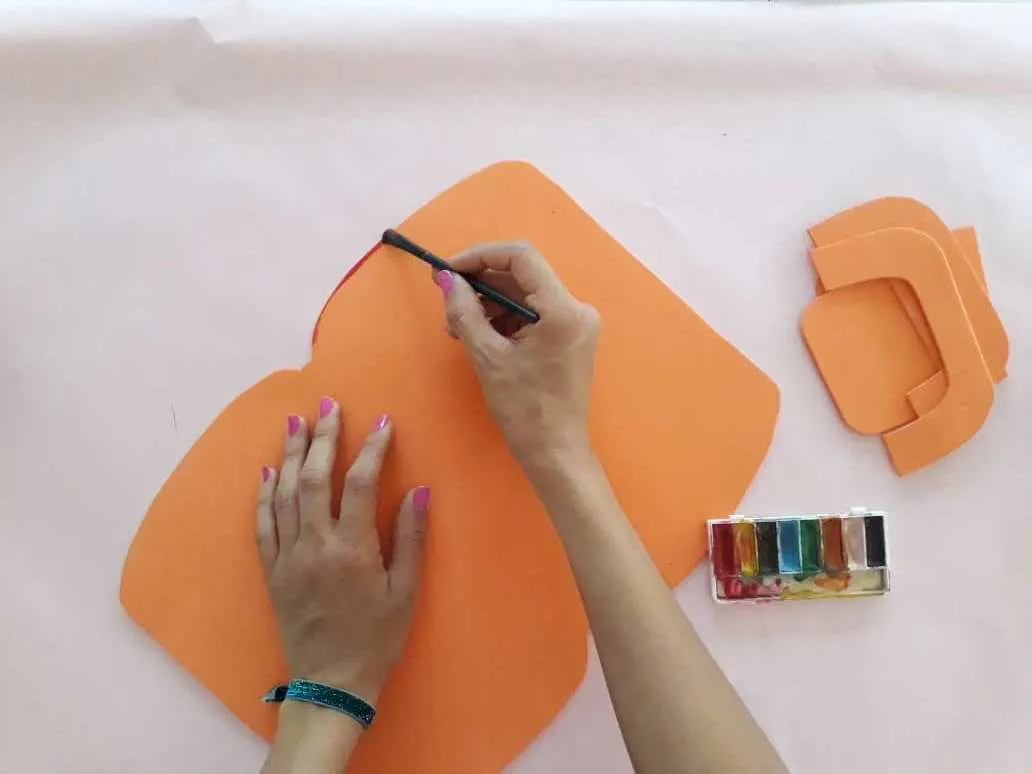
Con la ayuda de la pintura y marcador le damos un toque de alegría y color a los bordes de nuestros moldes. Esto hará que nuestro maletín luzca más hermosa y resalte.
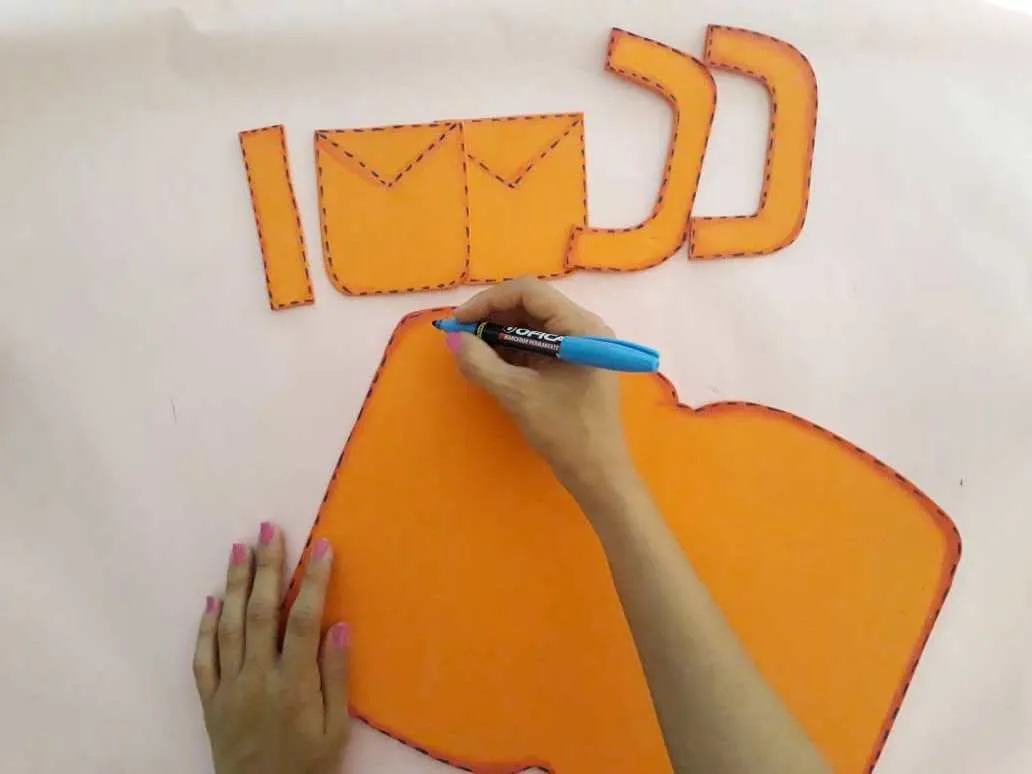
With the help of paint and marker, we add a touch of joy and color to the edges of our molds. This will make our briefcase look more beautiful and stand out.
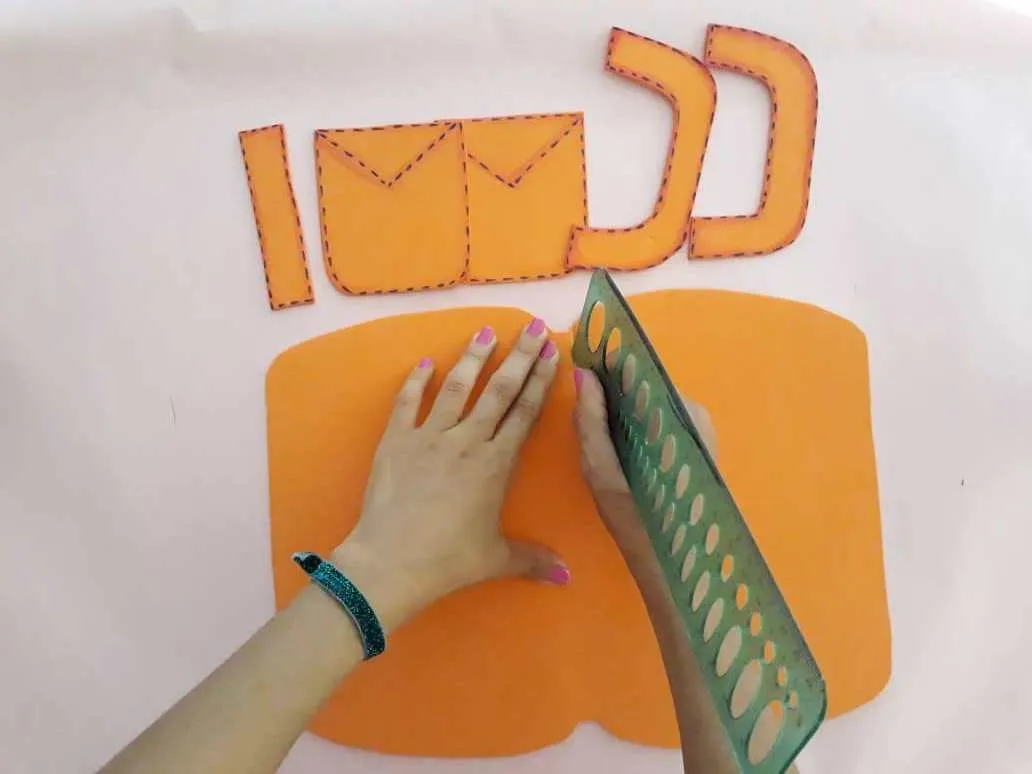
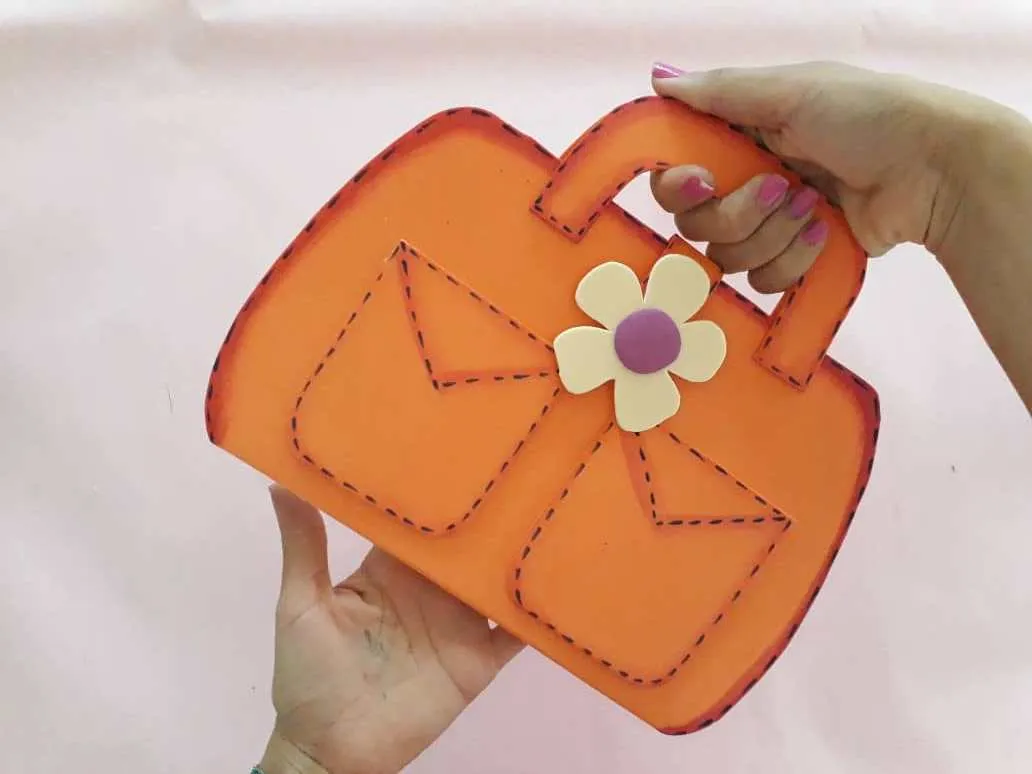
Ahora, remarcamos dos líneas en el centro del lado interno del maletín. Ambas líneas deben estar a una distancia idéntica al grosor de nuestro cuaderno o libro para facilitar el armado de nuestra funda. Doblamos el molde y pegamos las asas o manillas del maletín en la parte superior de ambos lados. Debemos hacer presión con nuestras manos para asegurarnos que el asa quede bien pegada.
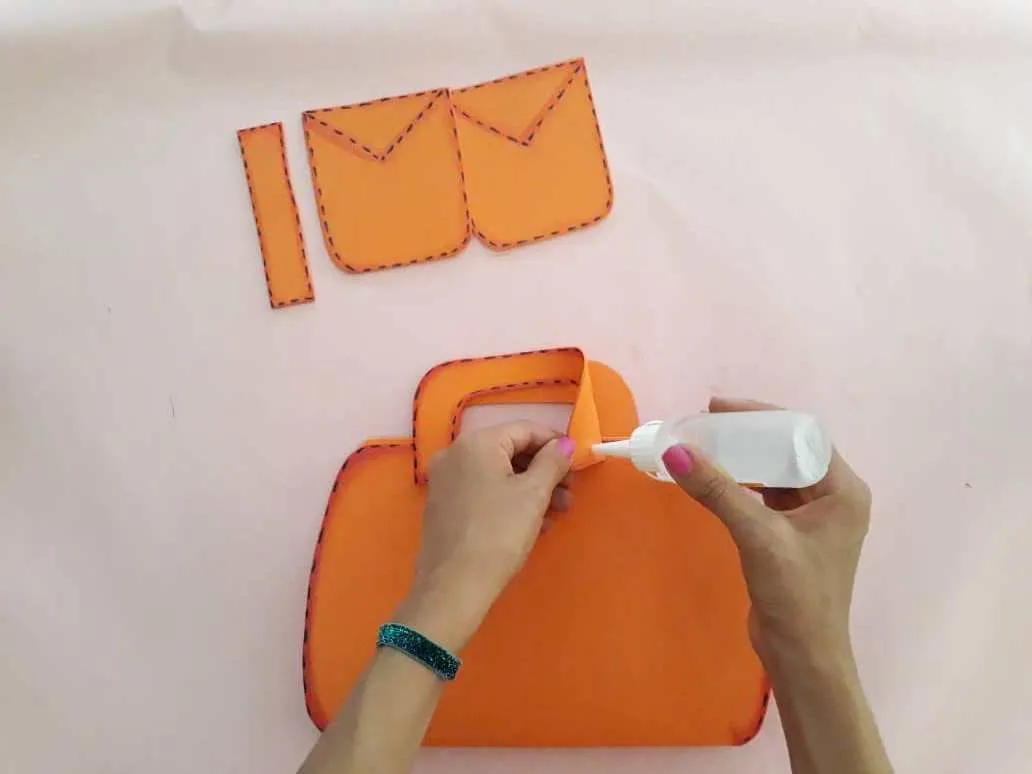
Now, we highlight two lines in the center of the inner side of the briefcase. Both lines must be at a distance equal to the thickness of our notebook or book to facilitate the assembly of our cover. We fold the mold and glue the handles or handles of the briefcase on top of both sides. We must apply pressure with our hands to ensure that the handle is well attached.
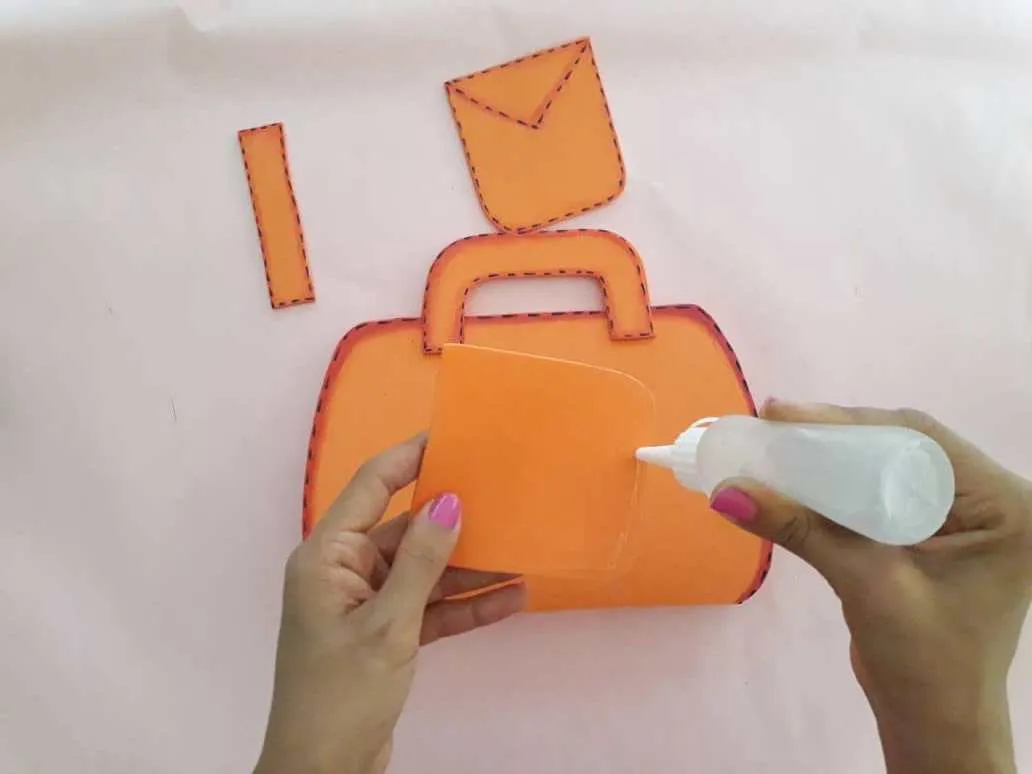
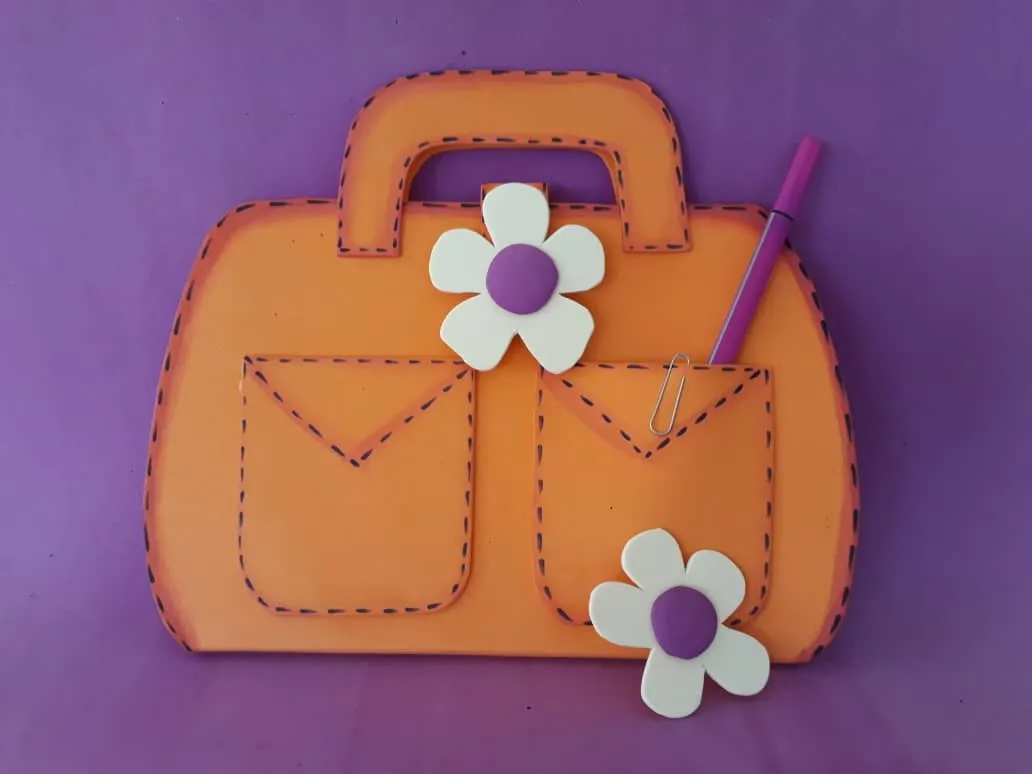
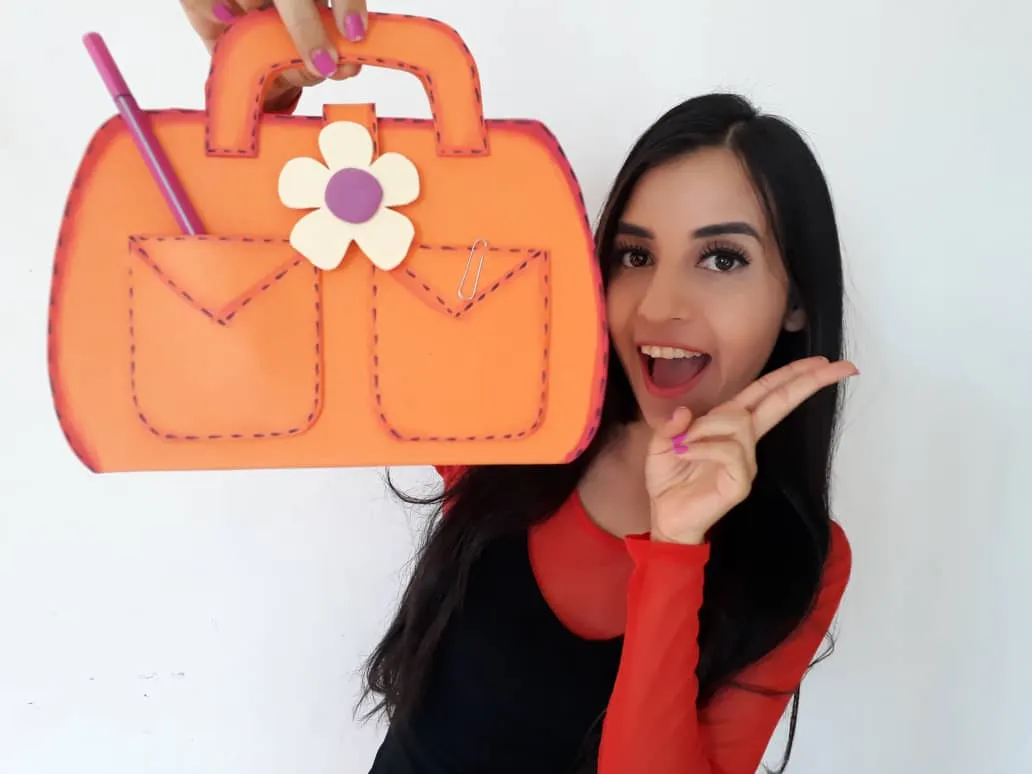
Luego, pegamos los bolsillos en la parte frontal del maletín, dejando un espacio prudente entre ambos bolsillos y los bordes. Recuerden hacer un poco de presión para que los bolsillos queden bien pegados.
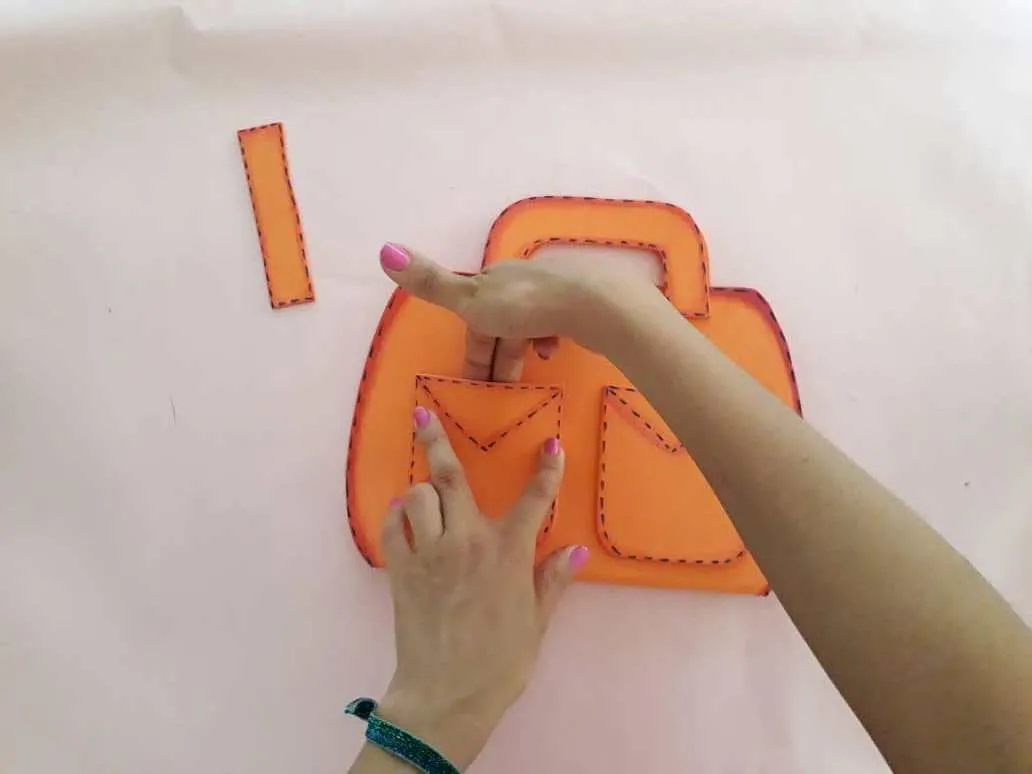
Then we glue the pockets to the front of the briefcase, leaving a safe space between both pockets and the edges. Remember to apply a little pressure so that the pockets are tight.
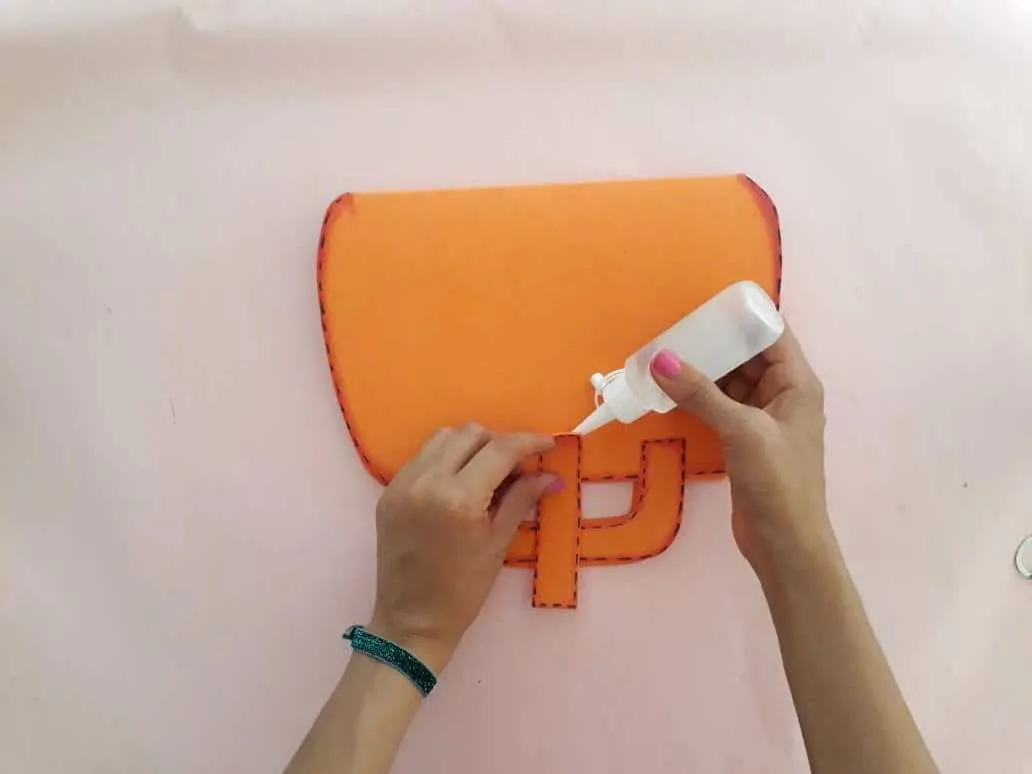
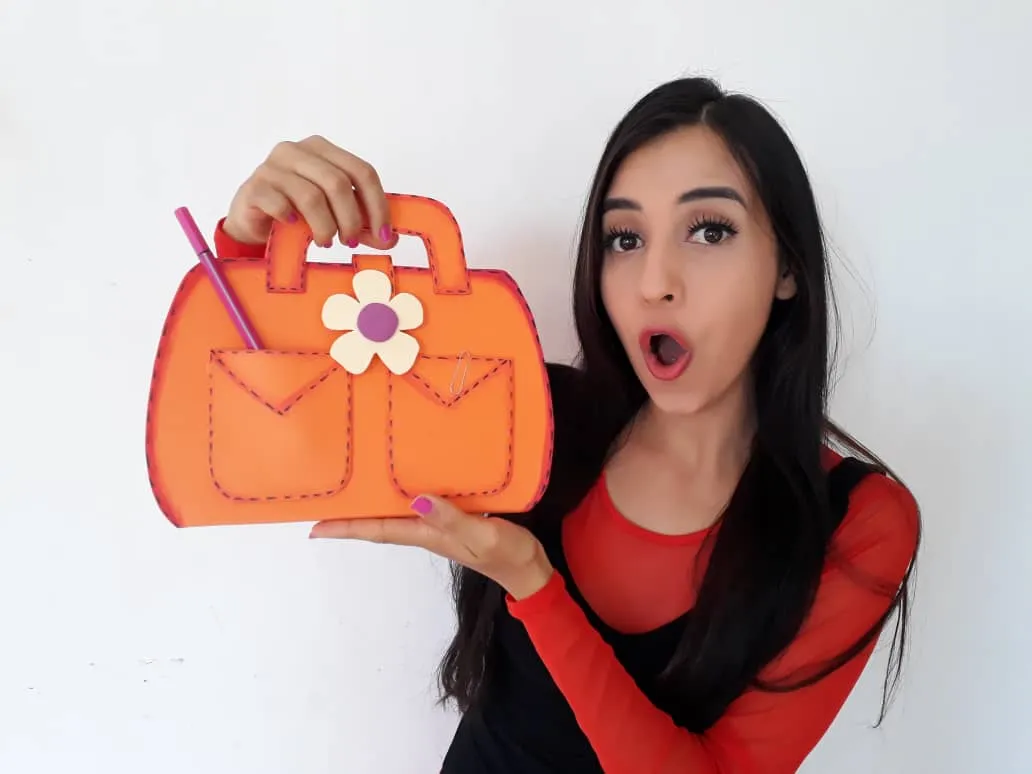
Ahora, pegamos un extremo de la tira rectangular en la parte trasera superior para que nos sirva de cierre o broche. Seguidamente pegamos un trozo de velcro en el otro extremo de la tira y en nuestro maletín, y así, poder abrirlo y cerrarlo.
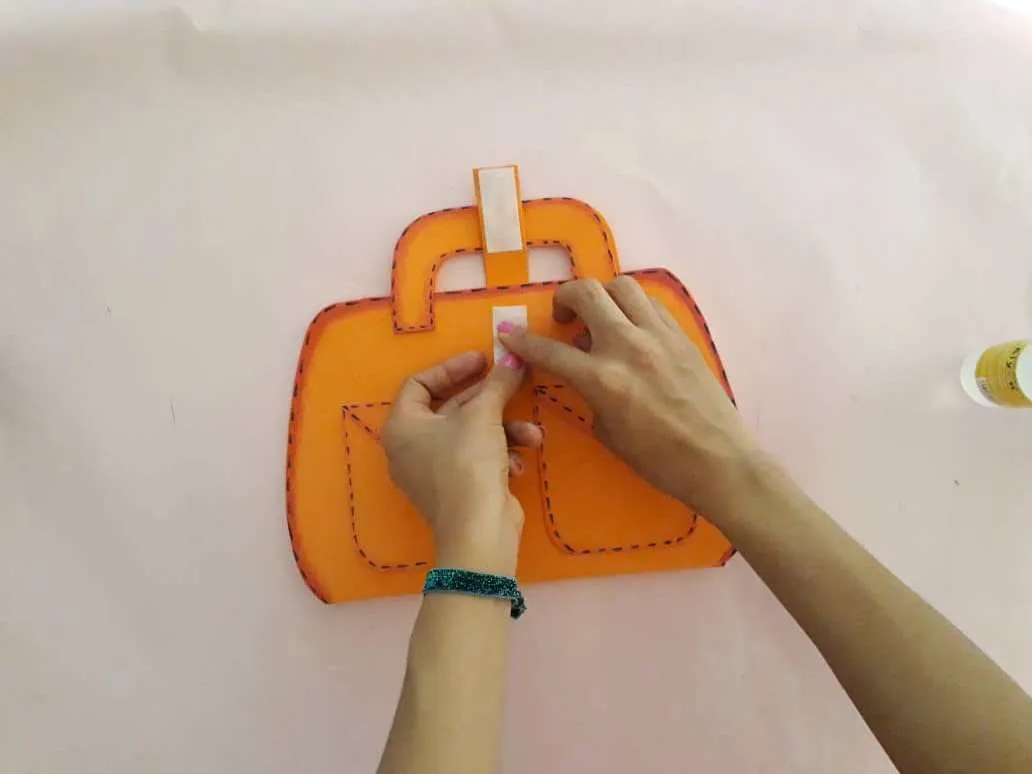
Now, we glue one end of the rectangular strip on the upper back to serve as a closure or clasp. Then we stick a piece of velcro on the other end of the strip and in our briefcase, and thus, be able to open and close it.
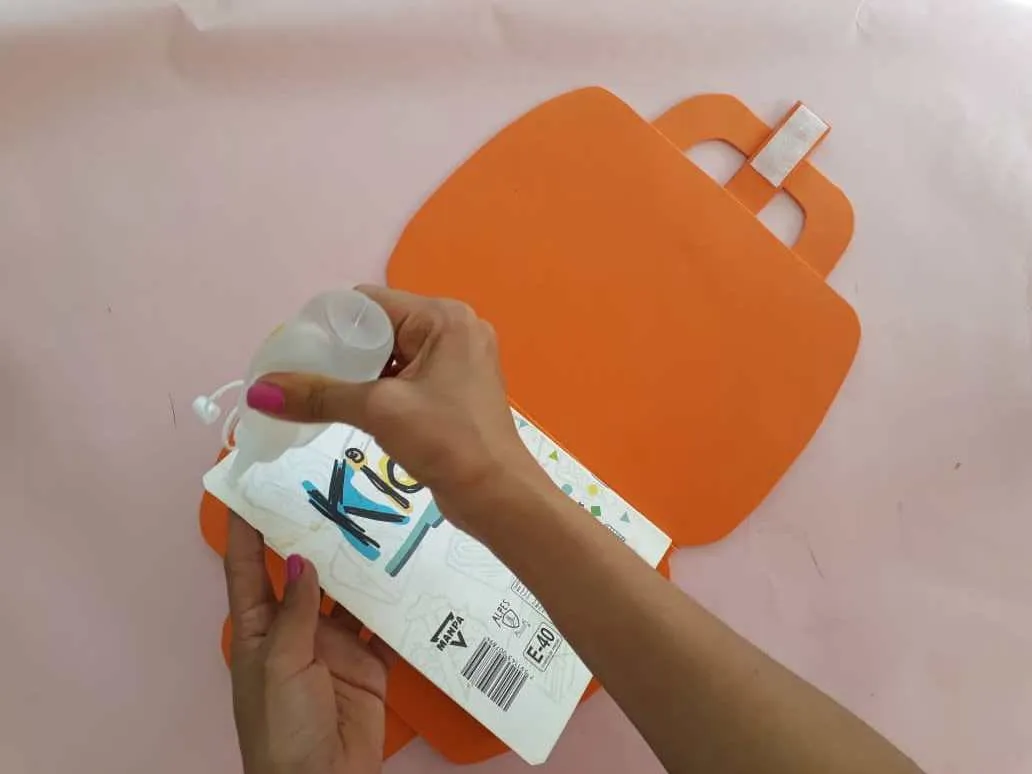
Luego, pegamos las tapas de nuestro cuaderno o agenda en la parte interna del maletín. Debemos mantener presión por un momento para asegurarnos que las tapas queden bien pegadas al foami.
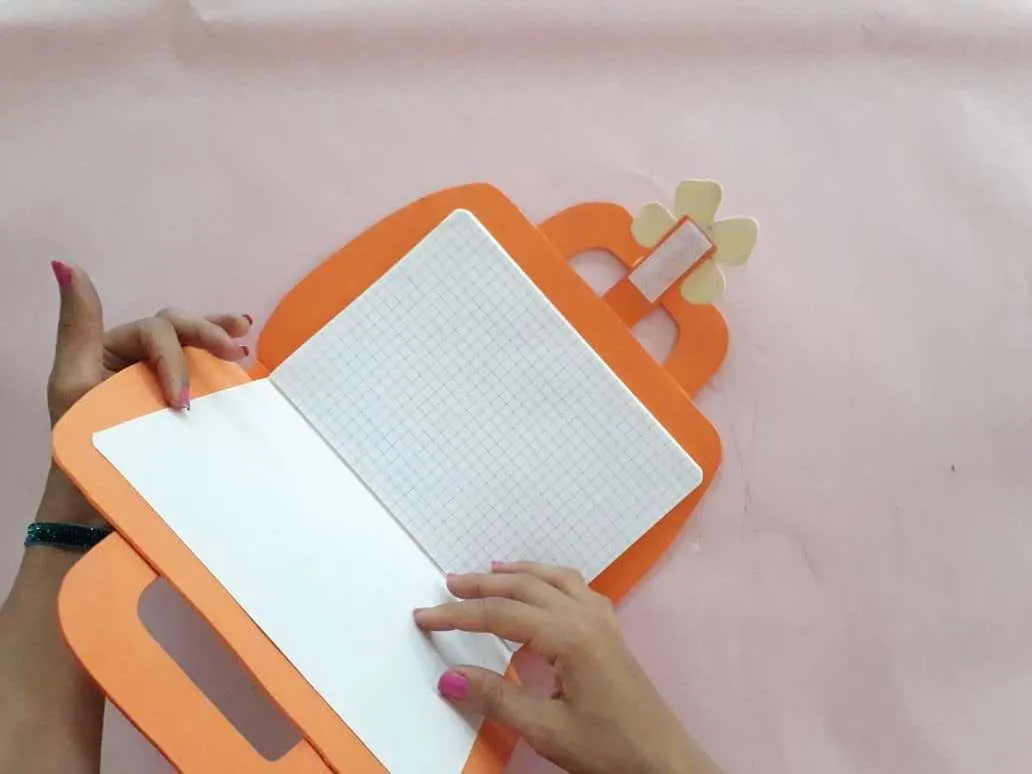
Then, we glue the covers of our notebook or agenda to the inside of the briefcase. We must maintain pressure for a moment to ensure that the lids are well attached to the foamy.
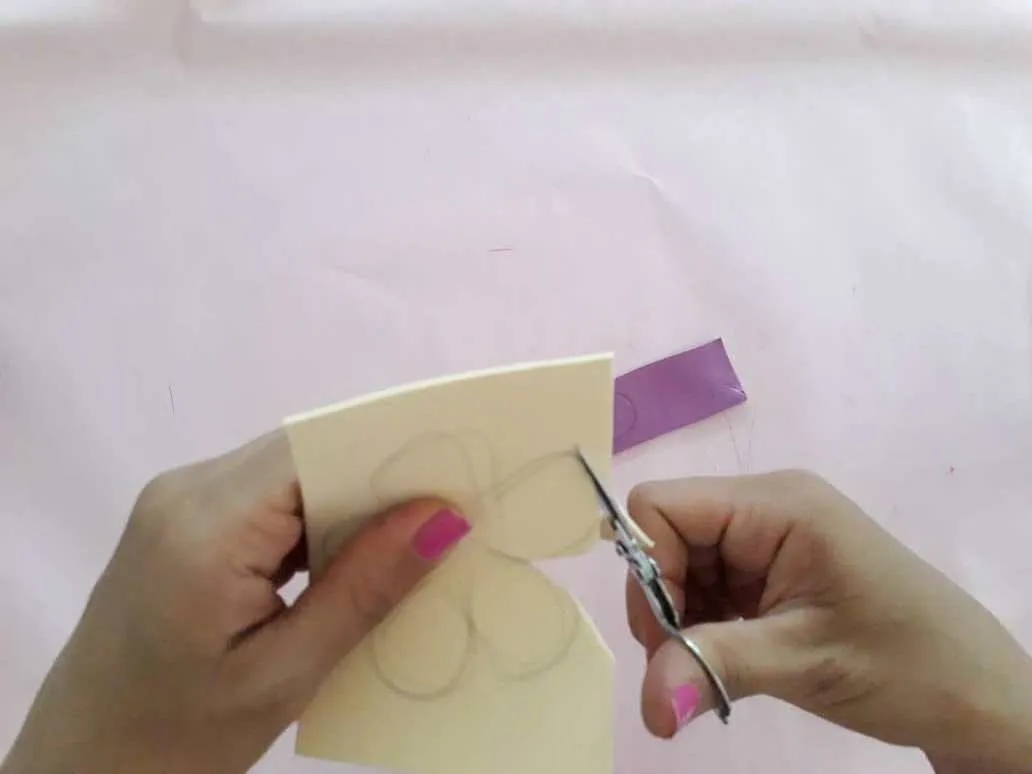
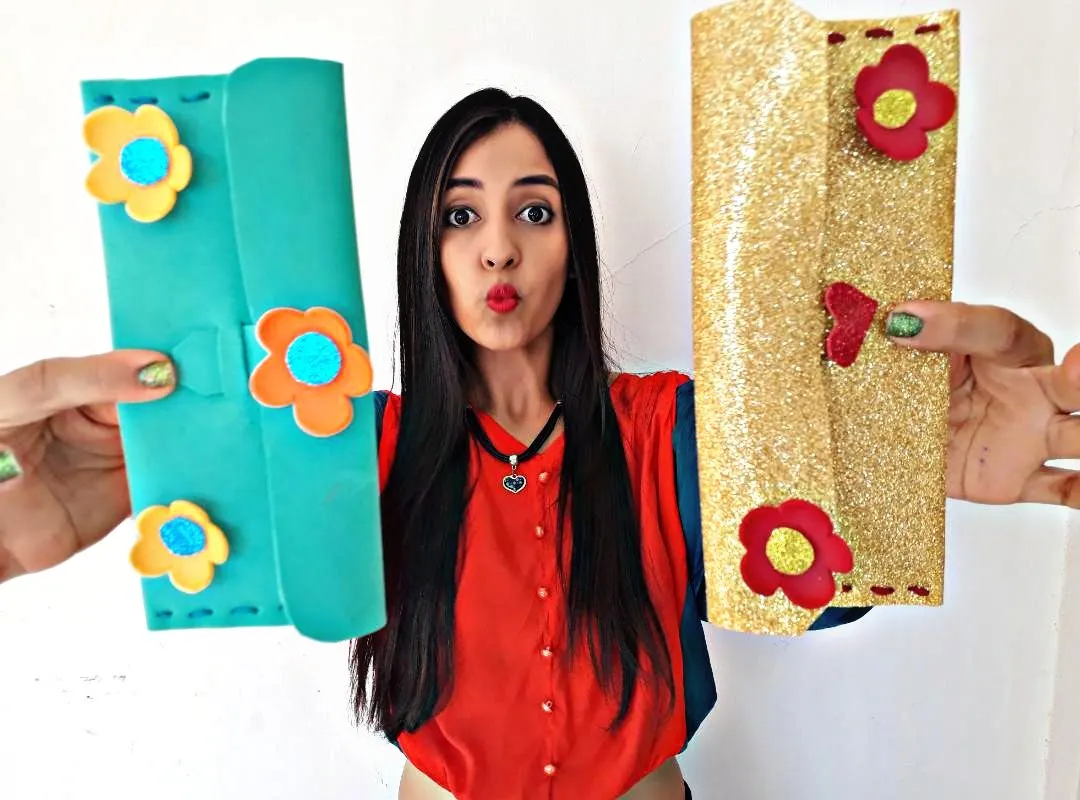
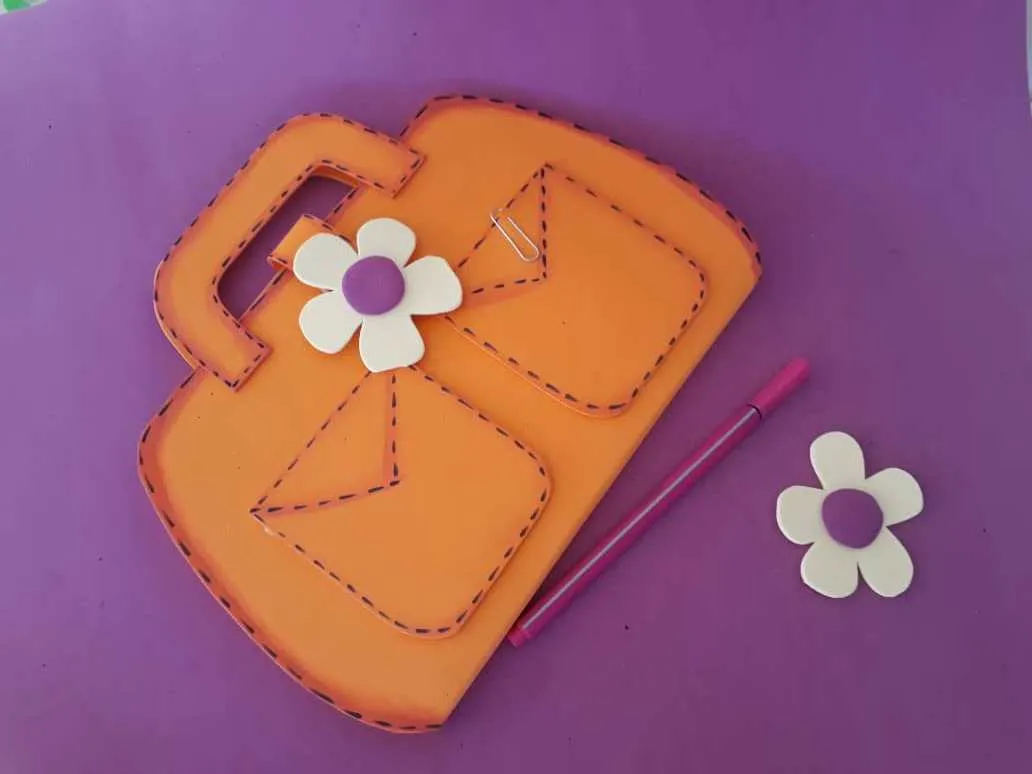
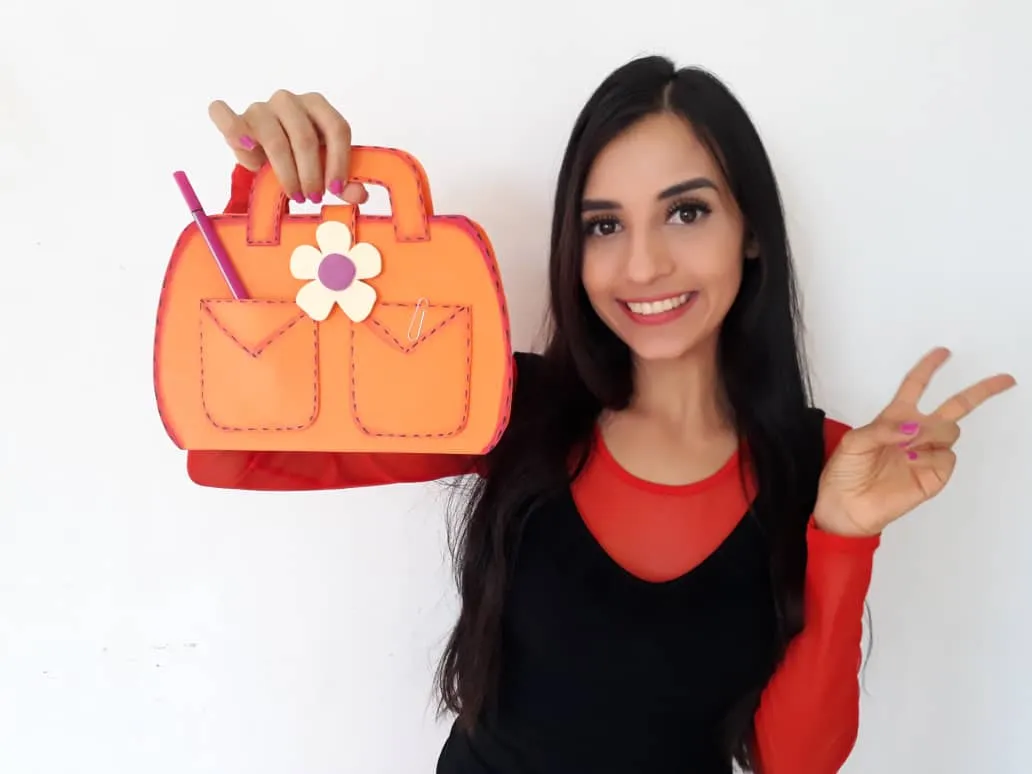
Por último, decoramos nuestra funda dejando volar nuestra imaginación. En este caso yo opte por darle un poco de amor y alegría fabricando y pegando una hermosa flor de foami.
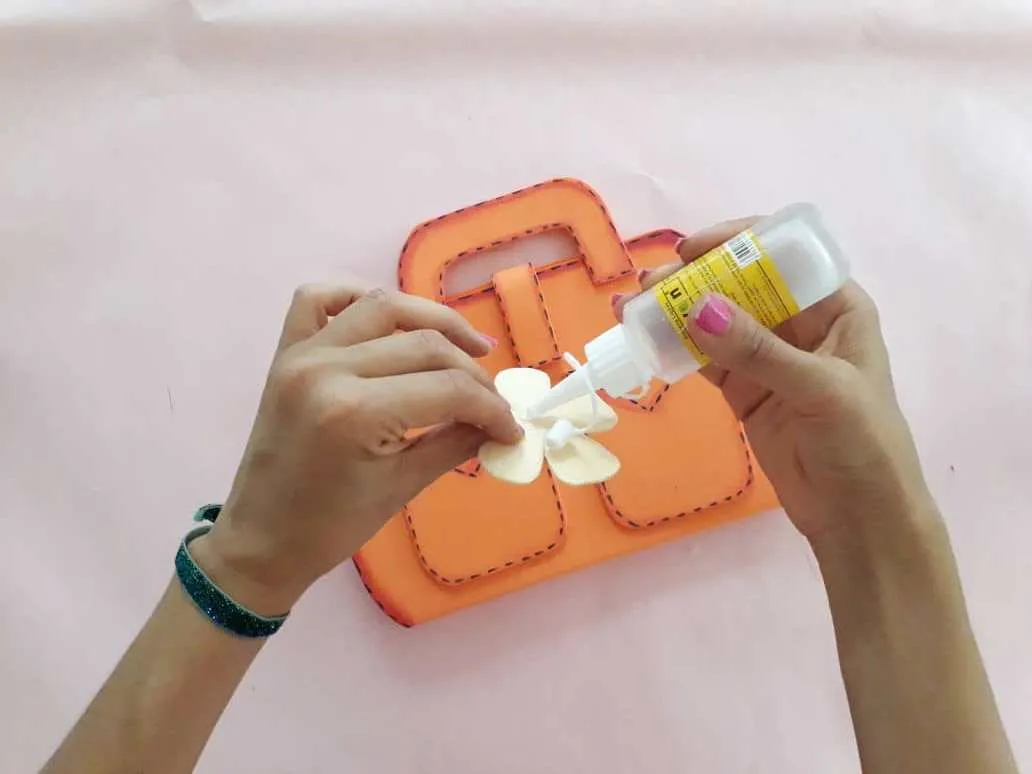
Finally, we decorate our cover letting our imagination run wild. In this case, I chose to give her a little love and joy by making and gluing a beautiful foamy flower.

Gracias por acompañarme y espero que lo hayan disfrutado. ❤️
Thanks for joining and I hope you enjoyed it.❤️
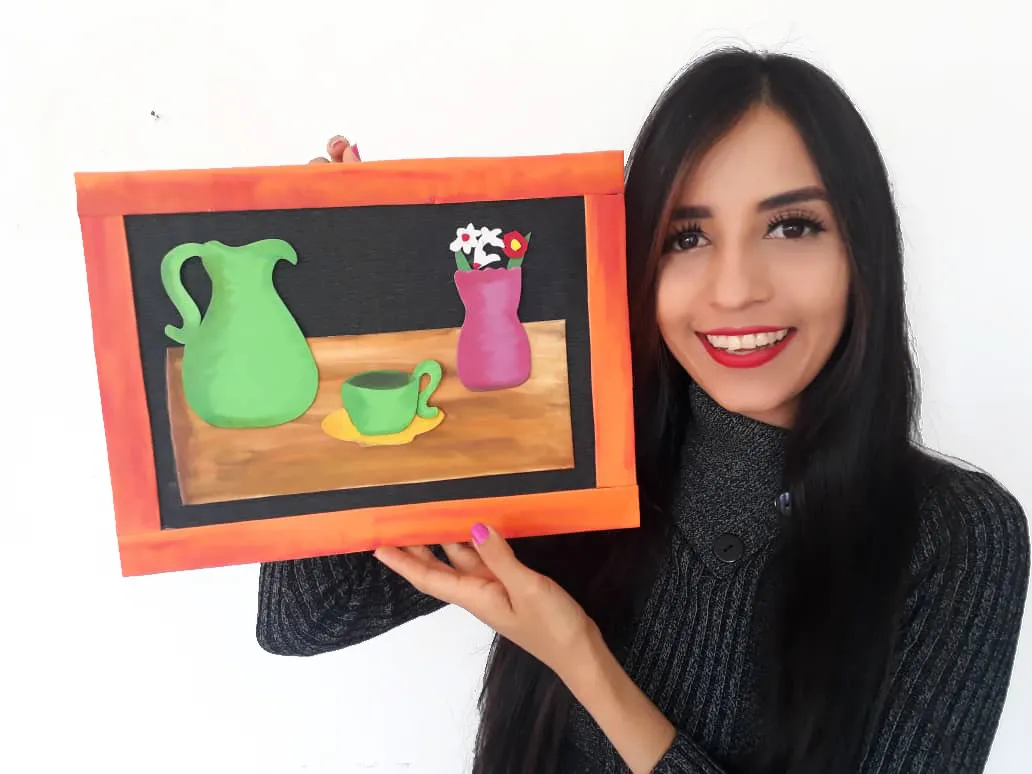
Clic para ver trabajos anteriores | Click to see previous works


.jpg)