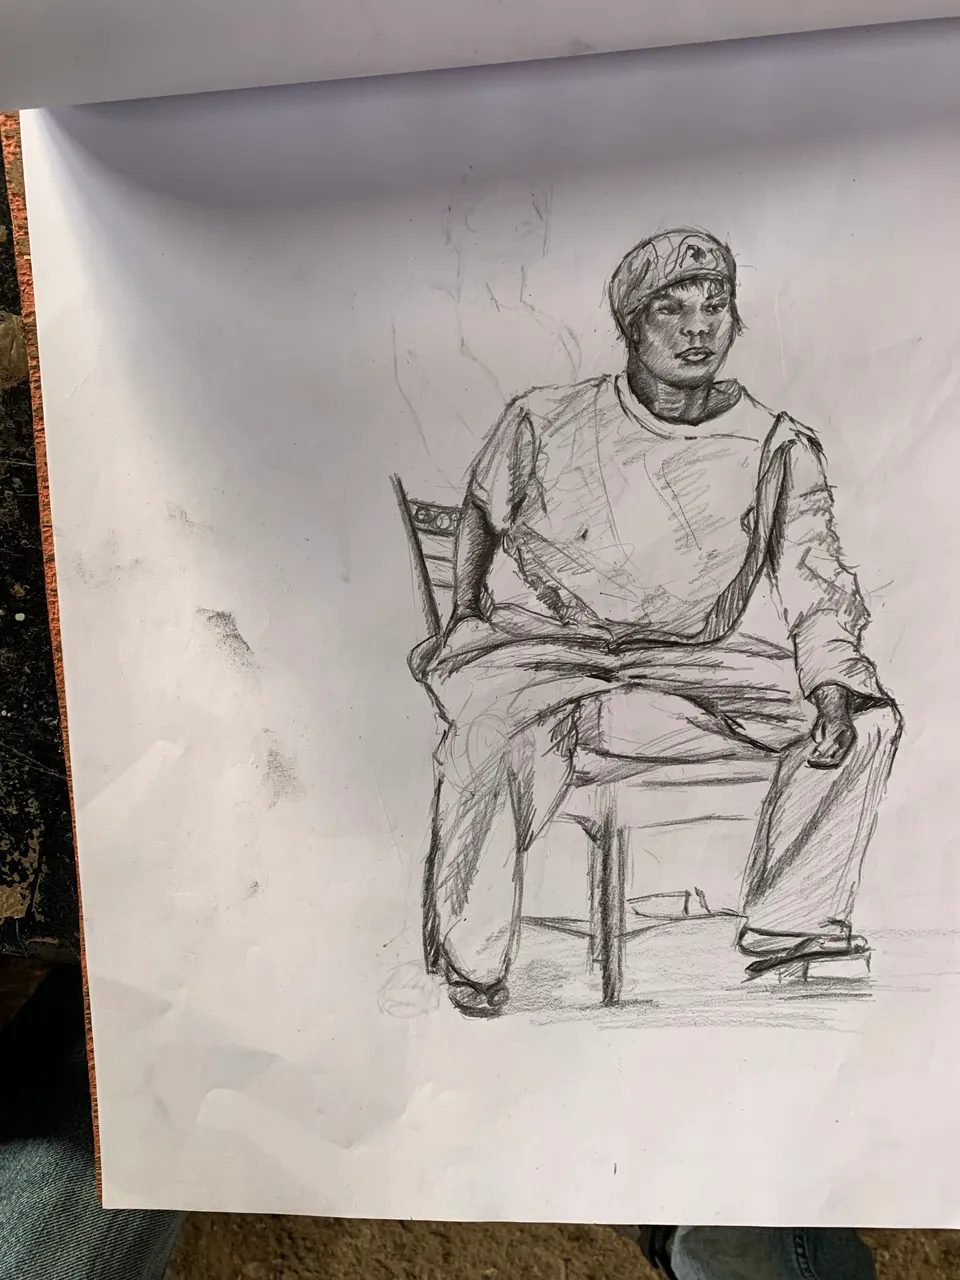
Life drawing – the practice of sketching a live human model – is fundamentally about learning to see and understand the body. Its goal is “to capture the essence of the human body – its muscles, texture, postures, and movement” . As a student who began with no experience, my early sketches were little more than tentative outlines and stick figures. During my SIWES internship (a program designed to integrate classroom study with hands-on work experience ), I devoted myself to transforming those rough outlines into confident, anatomically sound drawings. Over weeks of practice, I built up core skills: observation sharpened my eye for detail, gesture loosened my lines with life and movement, and steady attention to proportion, structure, and anatomy gave my figures real form. The following reflects on that learning journey – how I laid the foundations and gradually refined my sketches into living, breathing figures.
Laying the Foundation: Observation and Gesture
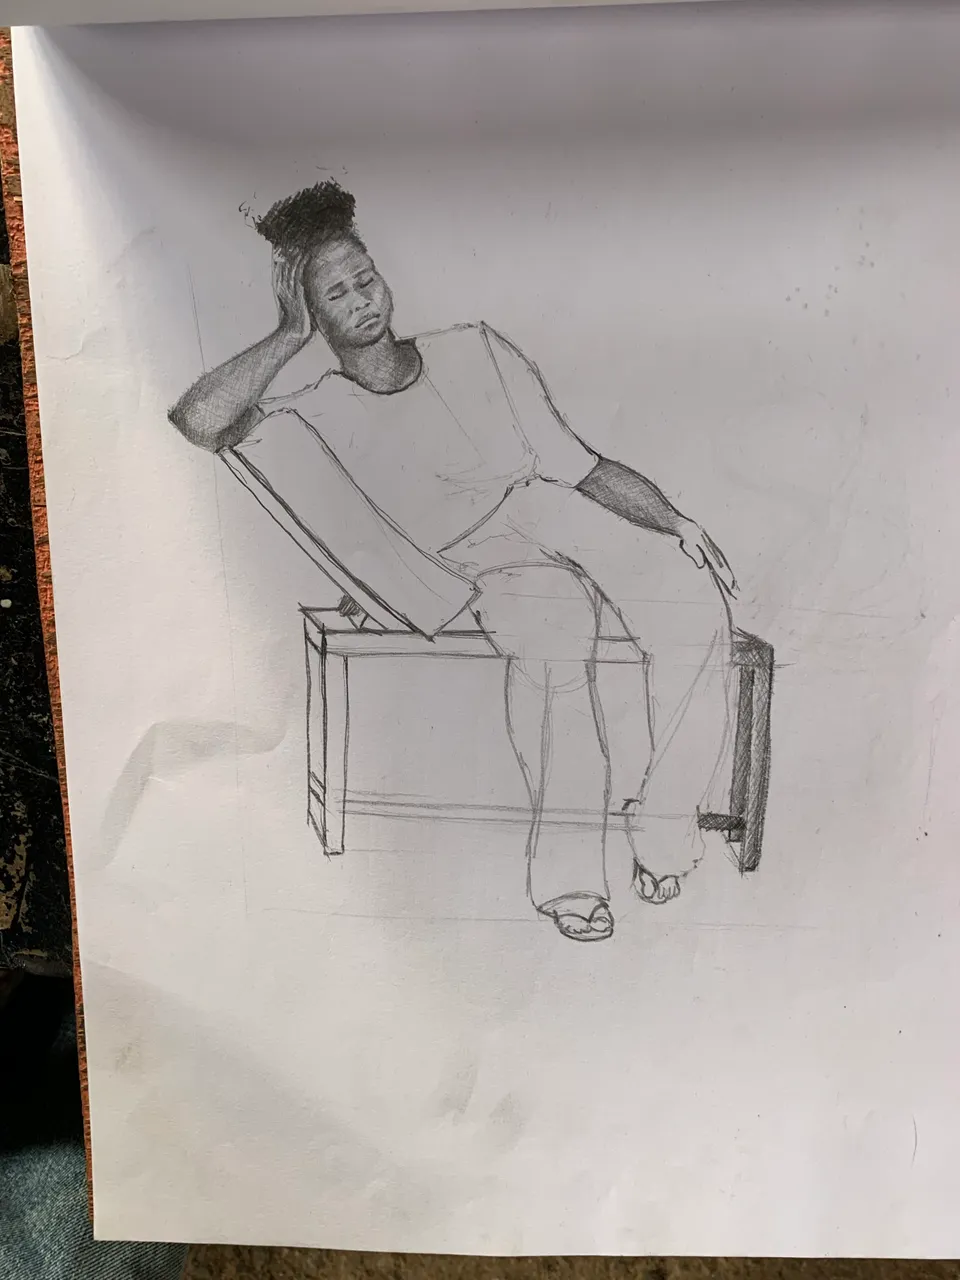
Good life drawing always starts with looking carefully at the model. I learned that drawing what I think the body looks like leads to mistakes; instead I had to train my eyes to see what is actually there. This means noticing details of muscle structure, body contours, and light & shadow. As one guide advises, “Observation is key” – spend time studying the model, train your eyes to see subtle nuances, and practice sketching from life to improve accuracy . In practice, I sat quietly and really watched how a shoulder curves into an arm, or how weight shifts on the spine. Over time I became aware of each curve and plane instead of relying on crude memory symbols.
I also incorporated gesture drawing early on. In gesture sketches (often 30 seconds to 2 minutes), I would rapidly sweep the pencil in loose lines to capture the figure’s overall flow and energy. At first it felt strange to do 1-minute drawings “for no obvious purpose,” as I rushed to finish. But with practice I learned these short poses demand expressiveness: they force you to focus on the core movement and rhythm of the pose, without getting hung up on details . Through gesture exercises I trained myself to “look once, draw twice” – capturing the essential line of action. These warm-up scribbles gradually built a sense of confidence: even the quickest sketch conveyed a believable sense of motion, laying a foundation for the more detailed work to follow.
Building the Form: Proportion and Structure
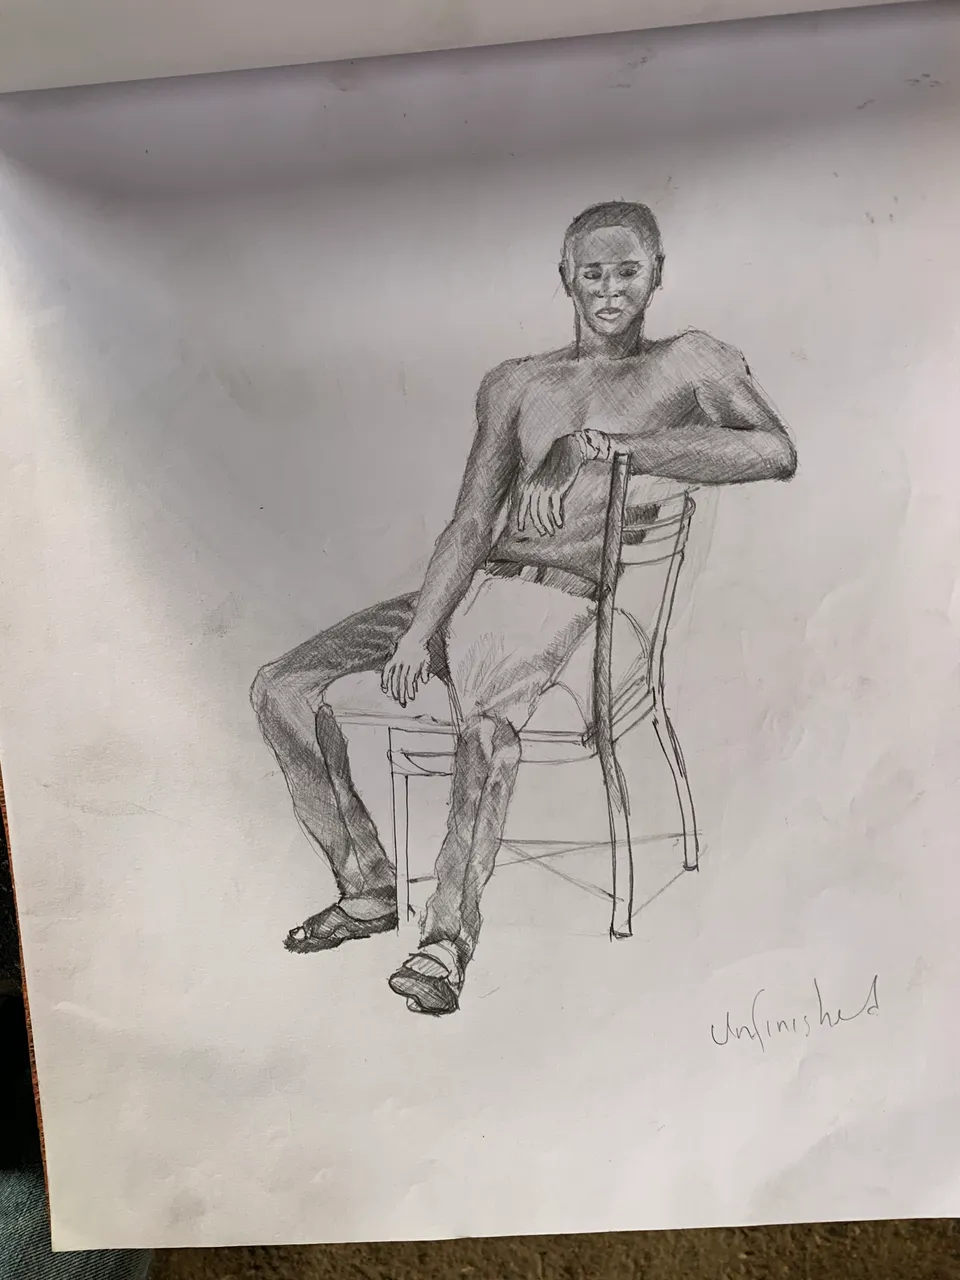
With a gesture or stick-figure in place, I began constructing solid body structure. My first step was always a light framework or skeleton: a stick figure that blocked in the head, spine, limbs and key joints . I checked that basic proportions were roughly correct – for instance using the classic “head count” rule (an average human figure is about 7–8 heads tall) . Initially I often got this wrong; my early drawings had torsos drawn too long or arms a bit short – a common rookie mistake driven by my ingrained symbolic ideas about the body. (As one instructor notes, we draw arms as stiff sticks and “our torso too large compared to the legs” because of symbolic thinking .) By explicitly measuring proportions – marking midpoints, comparing limb lengths, or using light guideline grids – I gradually corrected these errors.
Once the stick-figure lines were in place, I added volume using simple geometric shapes . I’d draw a cylinder or box around the torso, spheres for joints, and tapered cylinders for limbs. For example, I outlined the ribcage as an oval block and the pelvis as a tilted box, then connected them with a curved spine. These basic forms helped give the figure weight and dimension. Over my SIWES practice, this step helped countless times: it turned a flat outline into a three-dimensional figure. By building the form in stages, I could erase and adjust earlier shapes as needed. This constructive approach ensured that when I later drew the final contours, the underlying structure was sound .
Delving into Anatomy: Understanding the Figure
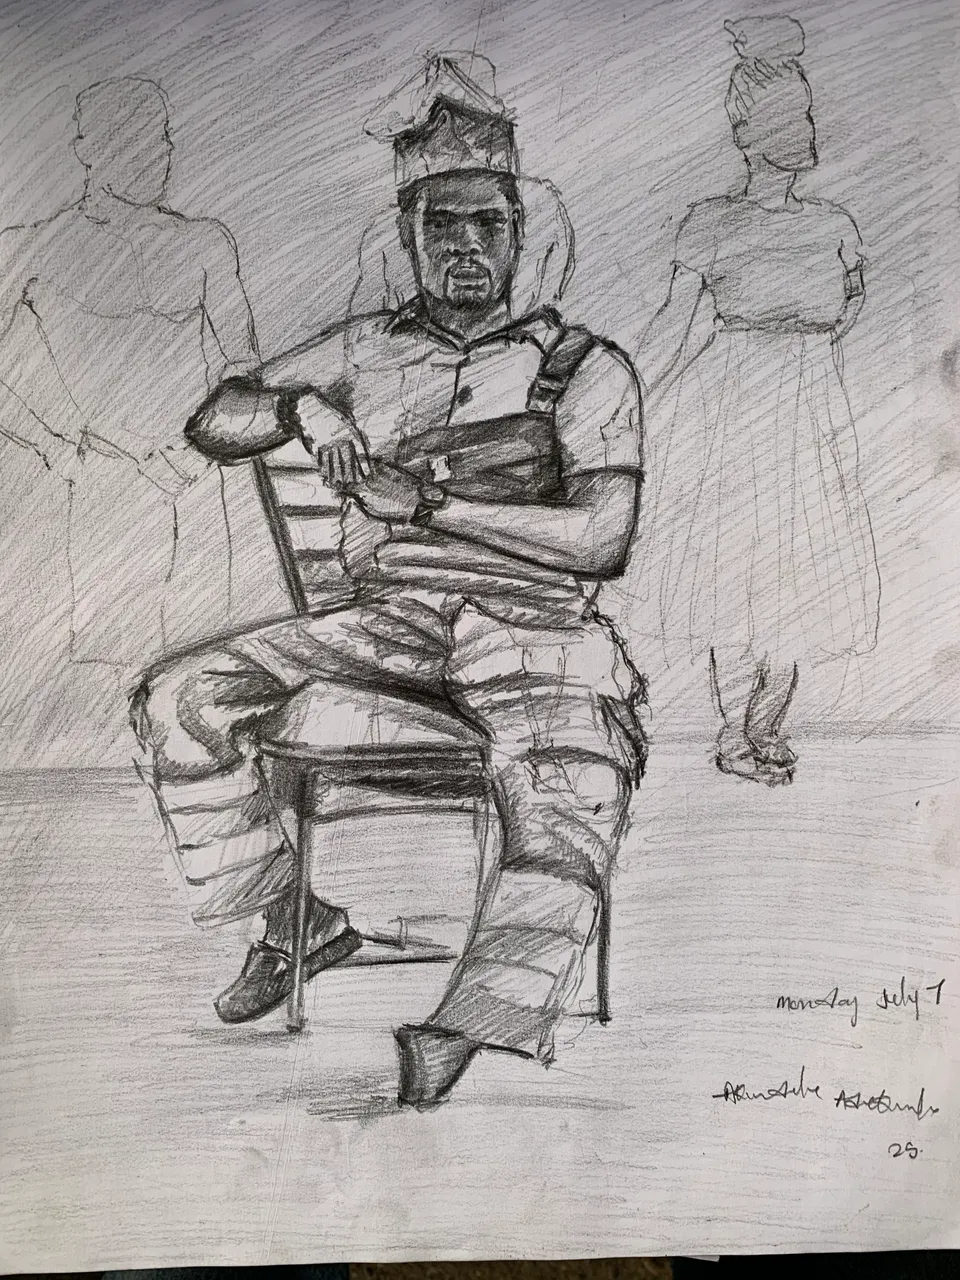
With the general form established, I focused on anatomy to make my drawings believable. Studying bones and muscles taught me why joints bend and how flesh hangs on the skeleton. For instance, knowing where the collarbones sit and how the deltoid muscle wraps over the shoulder helped me draw shoulders that didn’t look fake. I began adding anatomical landmarks: the curve of a ribcage, the bulge of a bicep or thigh muscle when flexed, the tilt of the pelvis. As one art teacher points out, replacing naive “stick figure” symbols with actual body shapes makes drawings “more realistic [and] more proportional” . In practice, I sketched the model’s muscles in lightly beneath the skin – observing, for example, how a calf muscle bulges on tiptoe or how an arm’s triceps contract. These studies informed every line of my drawing. With each sketch, I could see the figure becoming more solid and anatomically aware, rather than a cartoon.
Practice and Persistence: The Path to Improvement
Above all else, consistent practice drove my improvement. Both instructors and experienced artists emphasize that “consistent practice is essential for mastering any skill” . During SIWES, I made life drawing a regular habit: whether attending a model session, sketching friends, or doing quick figure drawings from reference photos at home. Even when I had only a few minutes, I’d do a set of gesture poses. Over weeks, the hours added up: I practiced various exercises (gesture, contour, timed studies) and experimented with different media.
Regular practice yielded visible results. Each week I compared new sketches to my earliest ones and saw clear progress: lines were bolder, proportions more accurate, confidence in my strokes growing. The daily (or almost daily) routine kept me improving steadily. In fact, one artist notes that forming a “drawing habit” and not breaking the streak leads to “the greatest improvements” . Even short, focused sessions made a difference: a few five-minute sketches per day built my observational memory. Crucially, I learned patience and perseverance. Some drawings were frustrating and messy, but over time I began to see the payoff: the amount I could capture in a given sketch and the ease with which I did it both increased. This persistent effort – building skill layer by layer – mirrored the “ongoing cycle of learning” described by experienced teachers : each pass through basic exercises revealed deeper understanding.
From Rough Outline to Refined Sketch: The Evolution Unfolds
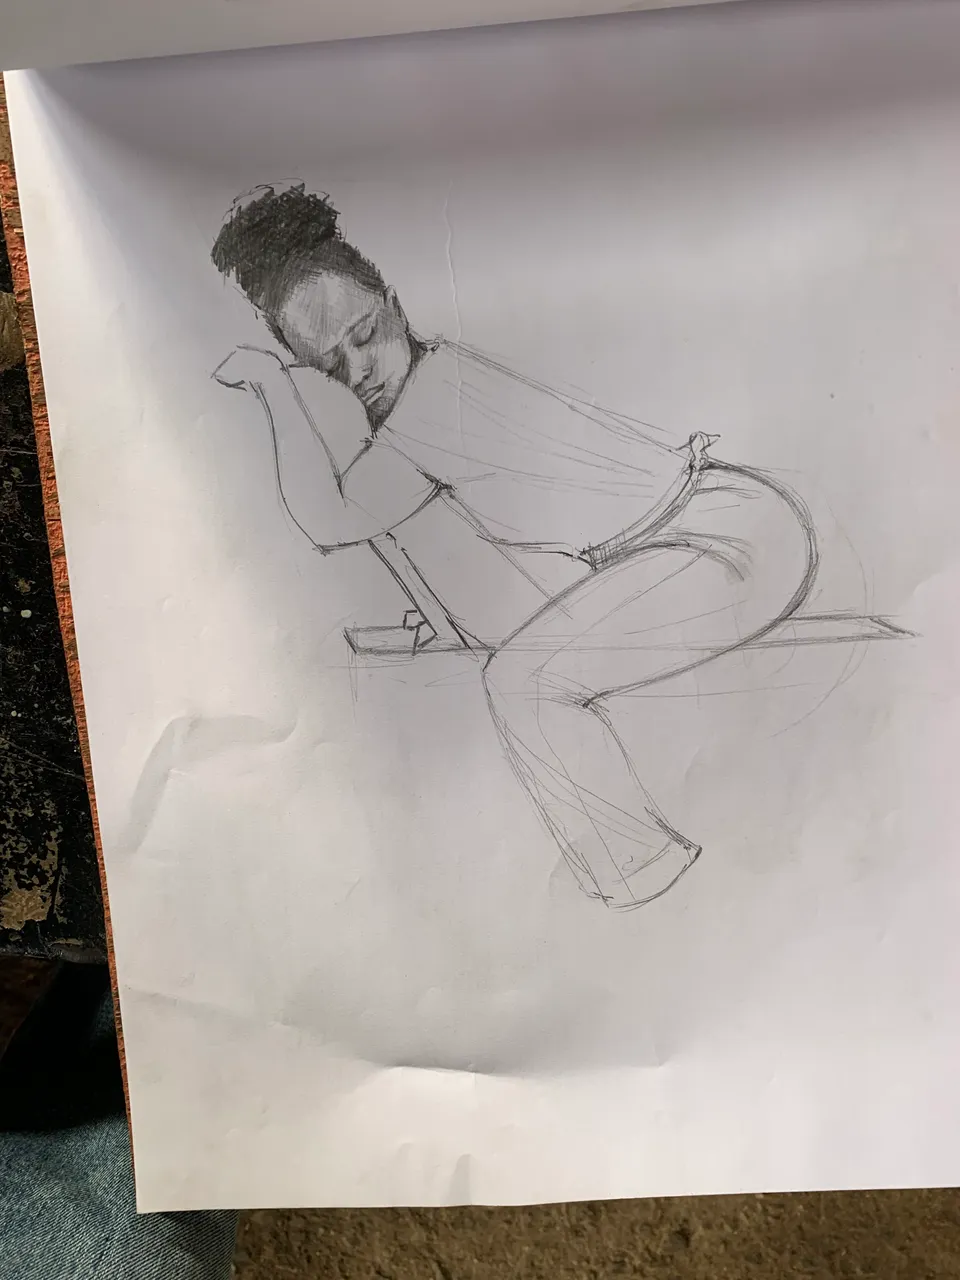
Gradually, my sketches transformed in unmistakable ways. In the early stage of a drawing, I kept lines light and loose. I would sketch the figure’s basic masses, check angles (for example the tilt of the head or the bend of a knee), and ensure the overall balance. At this point the drawing looked very “structural” – a flurry of stick figures and cylinders . In later stages, I retraced and refined those lines into realistic contours. Shoulders became smoothly curved forms, limbs tapered naturally, and hips connected into a flowing torso line . With practice I learned to erase most construction lines and draw confident final outlines in a single bold stroke, rather than timidly darkening multiple times.
Along the way, I also incorporated light and shadow to suggest volume. Adding even minimal shading made a big difference: it helped convey the roundness of a calf or the recess under a ribcage. One guide reminds that “understanding light and shadow is essential for creating depth and volume” . I started observing how light hit the model – which planes of the body caught highlights and where shadows pooled – and I lightly blocked in shadows with hatching. By the end of my SIWES term, I was sketching complete figure studies: heads, torsos, limbs all shaded enough to look dimensional. In short, what began as rough, mechanical outlines had matured into expressive, cohesive drawings with clear form and weight.
Reflection: Confidence, Perspective, and Growth
Each successful drawing did more than just teach technique – it built my confidence and changed how I see. I no longer dread difficult poses like foreshortened limbs; instead I break them down with the same methods I’ve practiced. In fact, figure drawing sharpened my ability to notice subtle details everywhere. I found myself watching people walk or stand in line, mentally analyzing their posture and seeing mental lines of action – the same awareness I use at the easel.
This journey also taught me humility and patience. I learned to accept that artistic growth is not linear: sometimes I would do a drawing that felt clumsy, only to do a much better one next session, and sometimes the skill seemed to plateau before making a jump. As one teacher observes, true mastery comes from revisiting basics repeatedly – “every time I do [an exercise], I learn more, I learn deeper, and my work gets better” . I experienced that firsthand. What matters is keeping curiosity and being willing to go “back to the basics” when needed. Looking back at my earliest SIWES sketches (awkward stick figures with stiff limbs) and contrasting them with my later drawings (fluid, anatomical, confident) filled me with pride and excitement. The internal shift was clear: I became an artist who trusts her eye and technique, instead of a nervous beginner who “couldn’t draw a figure to save [her] life.” In many ways, those initial clumsy attempts were the most valuable, because they marked the starting line of a path that fundamentally improved not just my skill but my entire approach to drawing.
Key Takeaways
• Observational Practice: Draw from life whenever possible. Train your eye to notice details (contours, negative spaces, light and shadow) . The more you truly see the model, the more accurate your sketches will become.
• Gesture First: Begin with quick, loose sketches to capture the figure’s energy and posture . This helps you lock in the pose and movement before adding structure. Always draw the overall line of action first, then refine.
• Structure with Shapes: Use stick figures, cubes, cylinders and spheres as building blocks . Rough-in the pose, check head-to-body ratios, then wrap simple volumes around that skeleton. This ensures correct proportions and a sense of volume from the start.
• Anatomy Matters: Study the bones and muscles under the skin. Replacing mental “symbols” (like drawing arms as stiff lines) with real anatomical forms makes your figures more realistic and proportional . For example, learn the ribcage and pelvis shapes, or sketch muscle attachments; this knowledge guides every contour line.
• Consistent Practice: Draw regularly – ideally daily. Short, frequent sessions lead to steady improvement . Even 10–15 minutes a day of focused figure drawing (gesture or more finished studies) will add up. Keep practicing the same fundamentals (gestures, proportions, construction) over and over; the progress