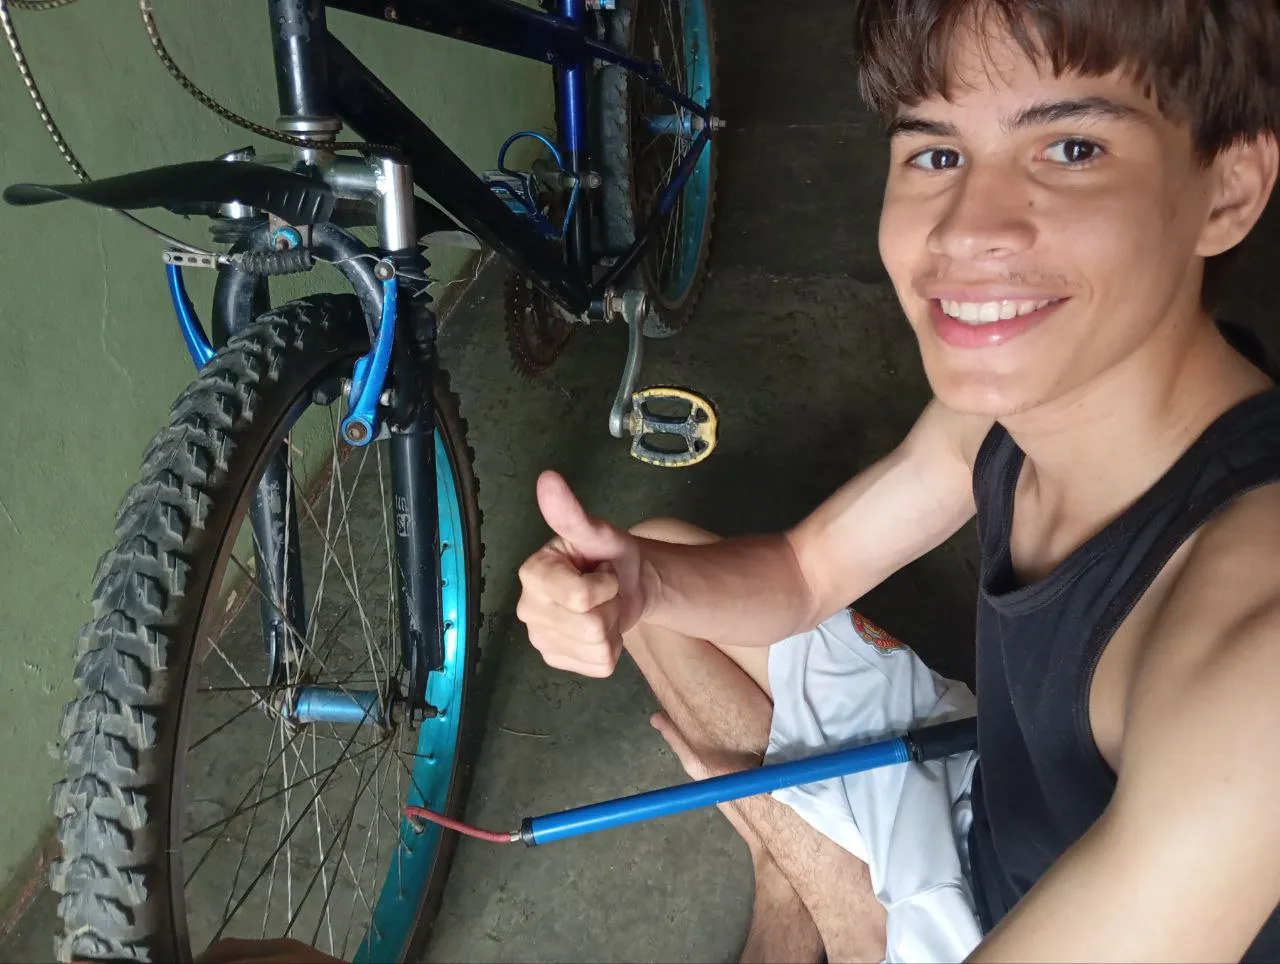
Hi everyone at Hive, here's @suisver on #cycling with a new post for the channel.

I was a little sad because my bike tire had been flat for a week and I hadn't been able to find the glue and patch. However, this weekend I was able to get them and got to work. Here I am to show you the entire process I went through to fix the puncture in my inner tube. I took the opportunity to clean it because it was a little dirty with dust and mud.
 |  |
|---|
At first, it was a bit difficult because I don't have much experience; I'd never fixed a leak in an inner tube before. But my best teacher was there and explained everything I needed to do step by step. In my other posts, I mentioned that the Sincelejo mayor's office had given me a bike in Colombia, but it didn't even give me time to break down. I had to sell it, and soon after, I moved to another country.
When I arrived in Venezuela, I had to use my mom's until I got an inner tube for mine, since it's the only spare part it's missing. In the meantime, I'm using my mom's and I had to fix the tire spigot. I did it this way:
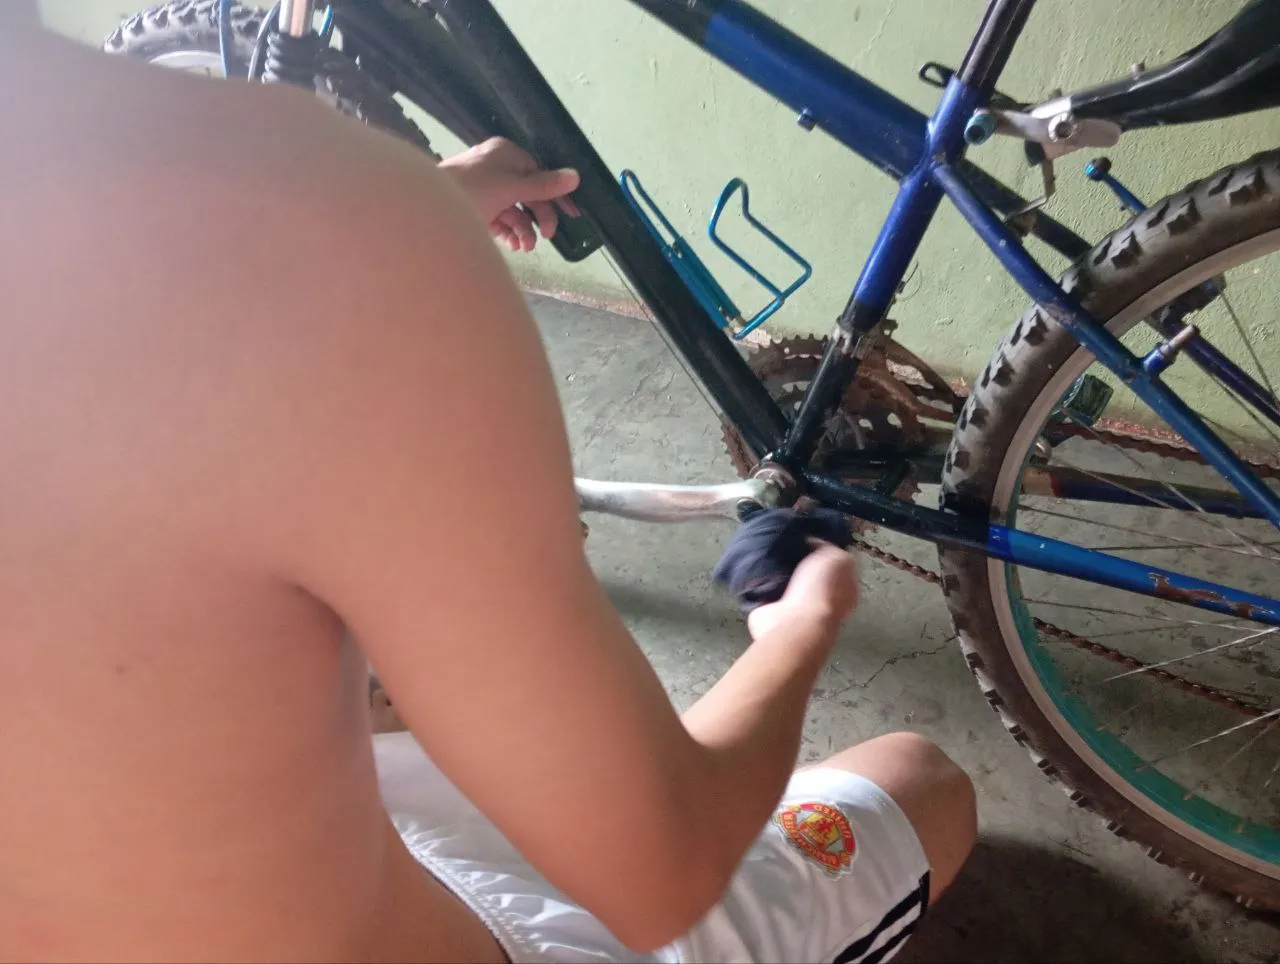
- I removed the tire from the rim.
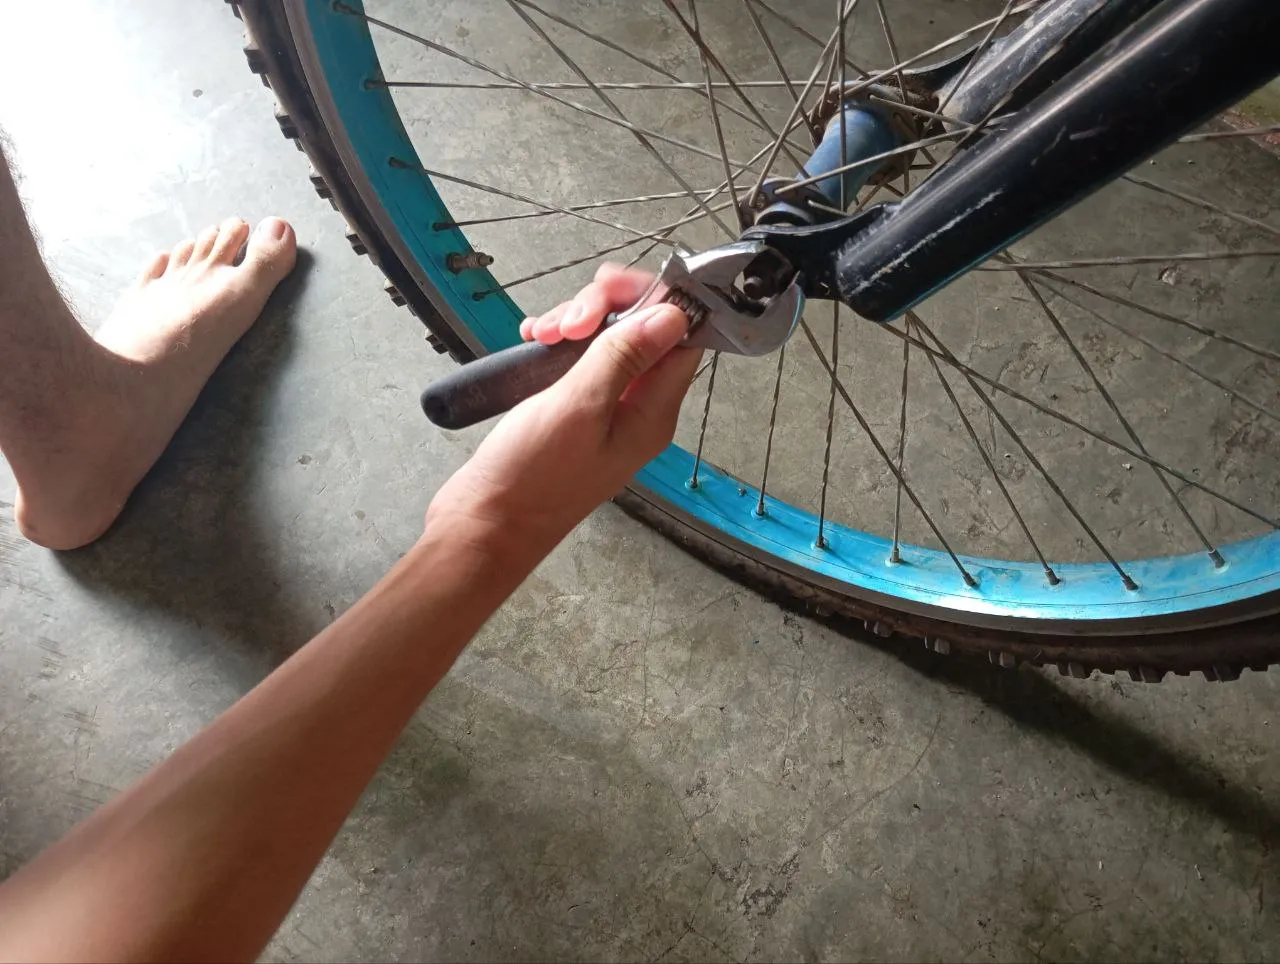
- I removed the worm and the nut. protection
- I proceeded to remove the inner tube from the spigot.
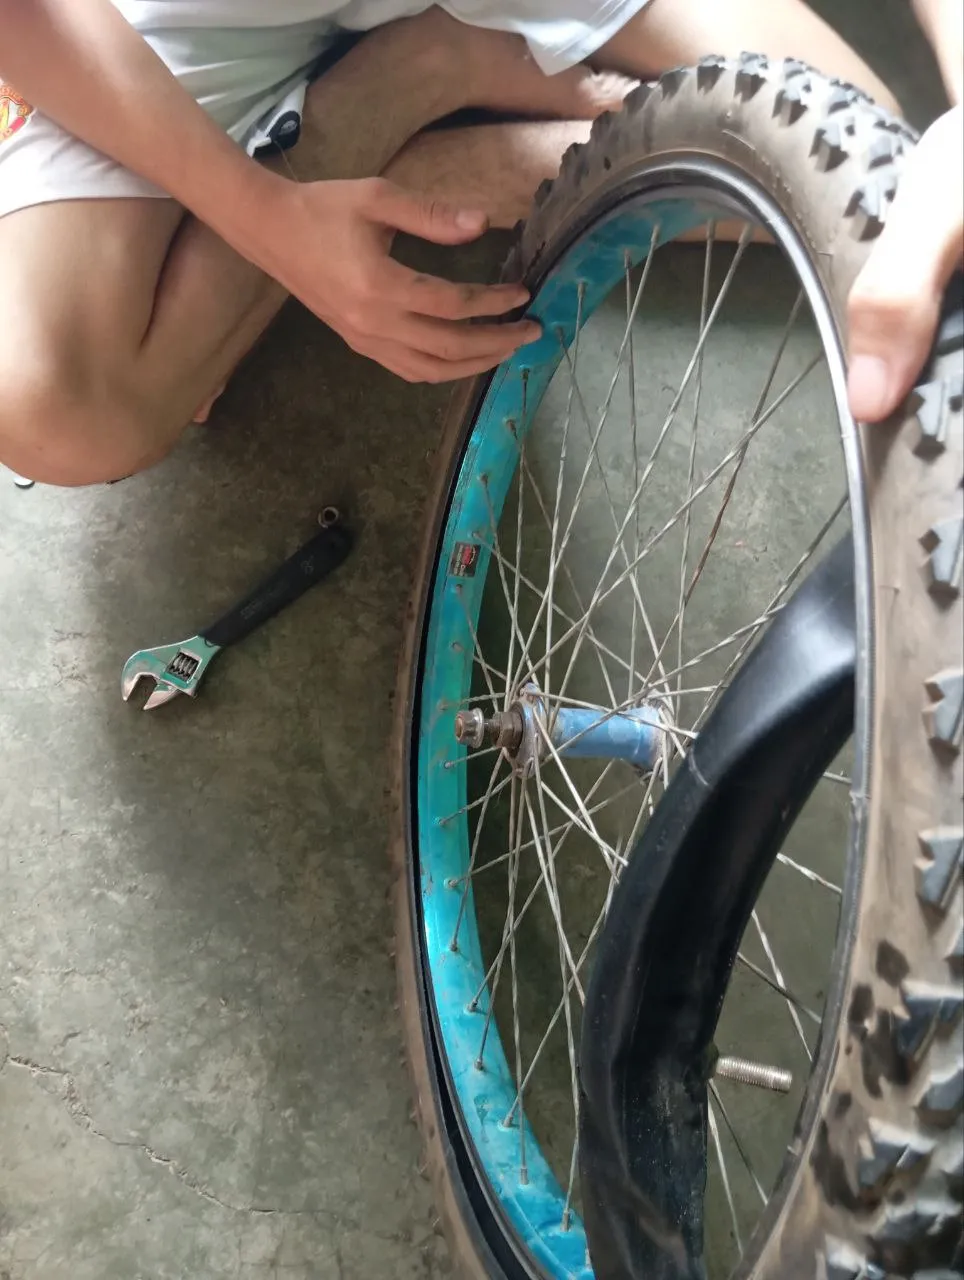
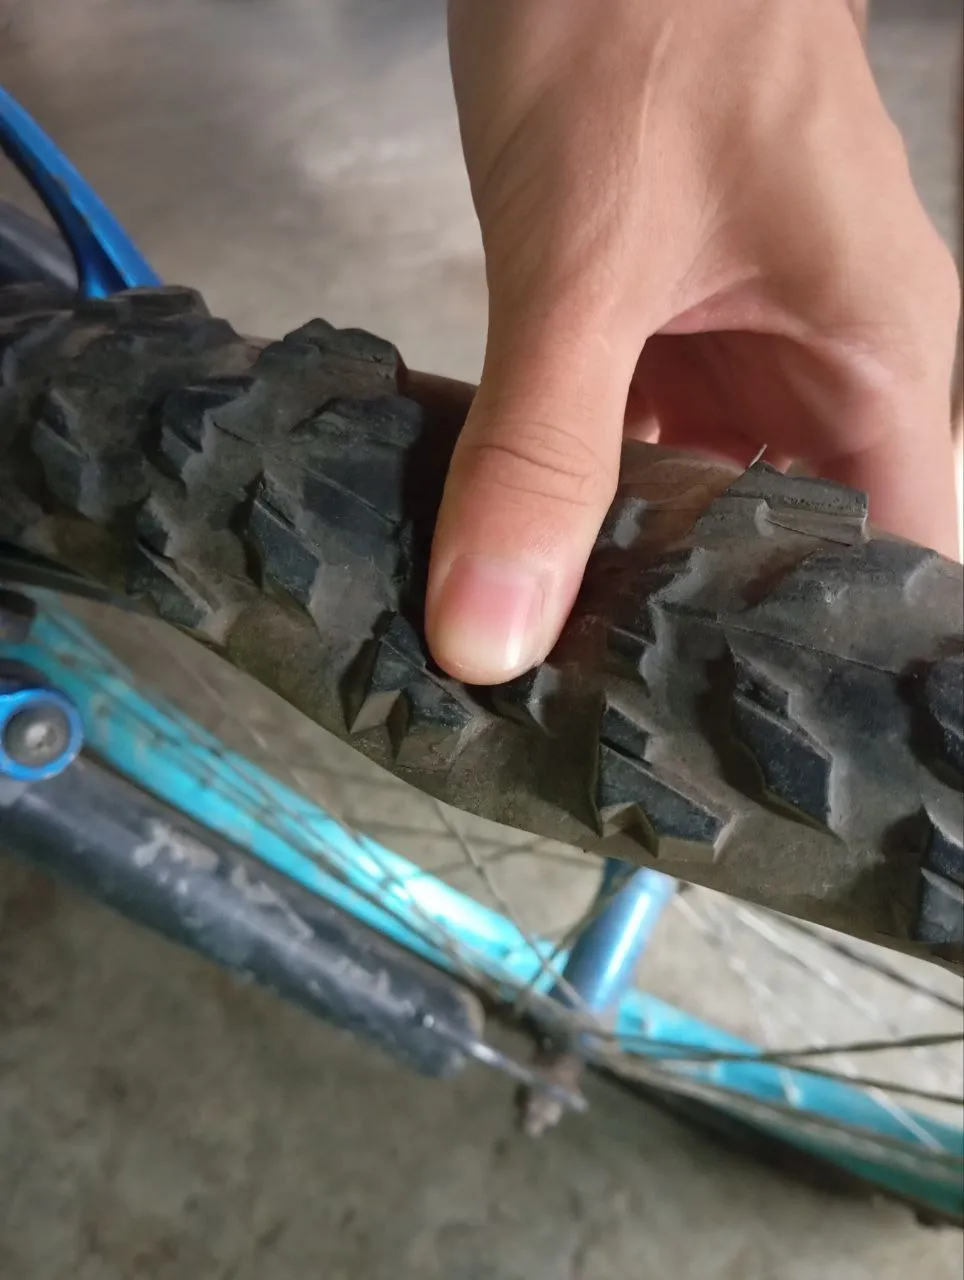
- I then carefully looked for the fault that was causing the air to escape from the inner tube.
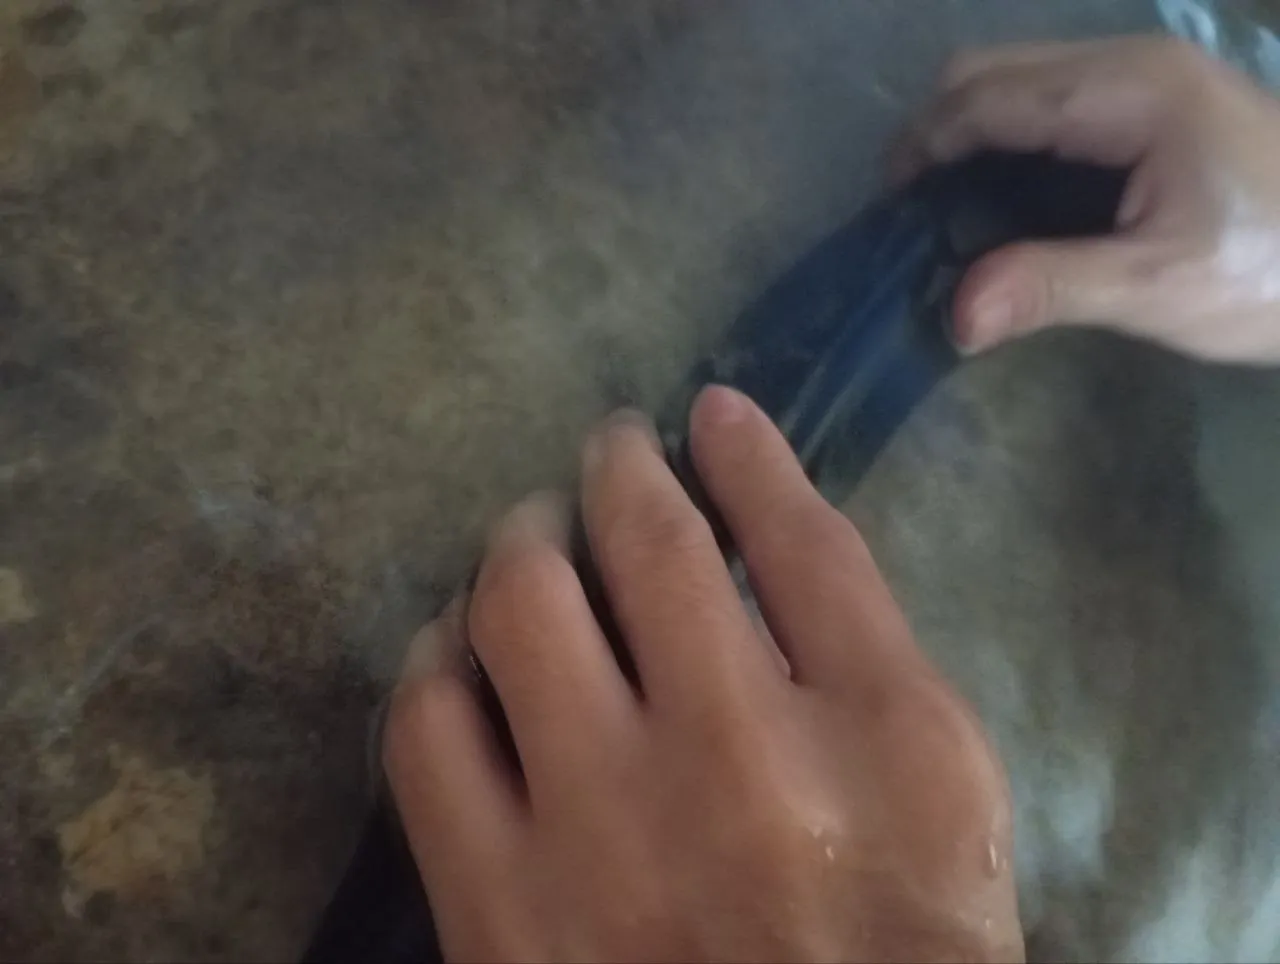
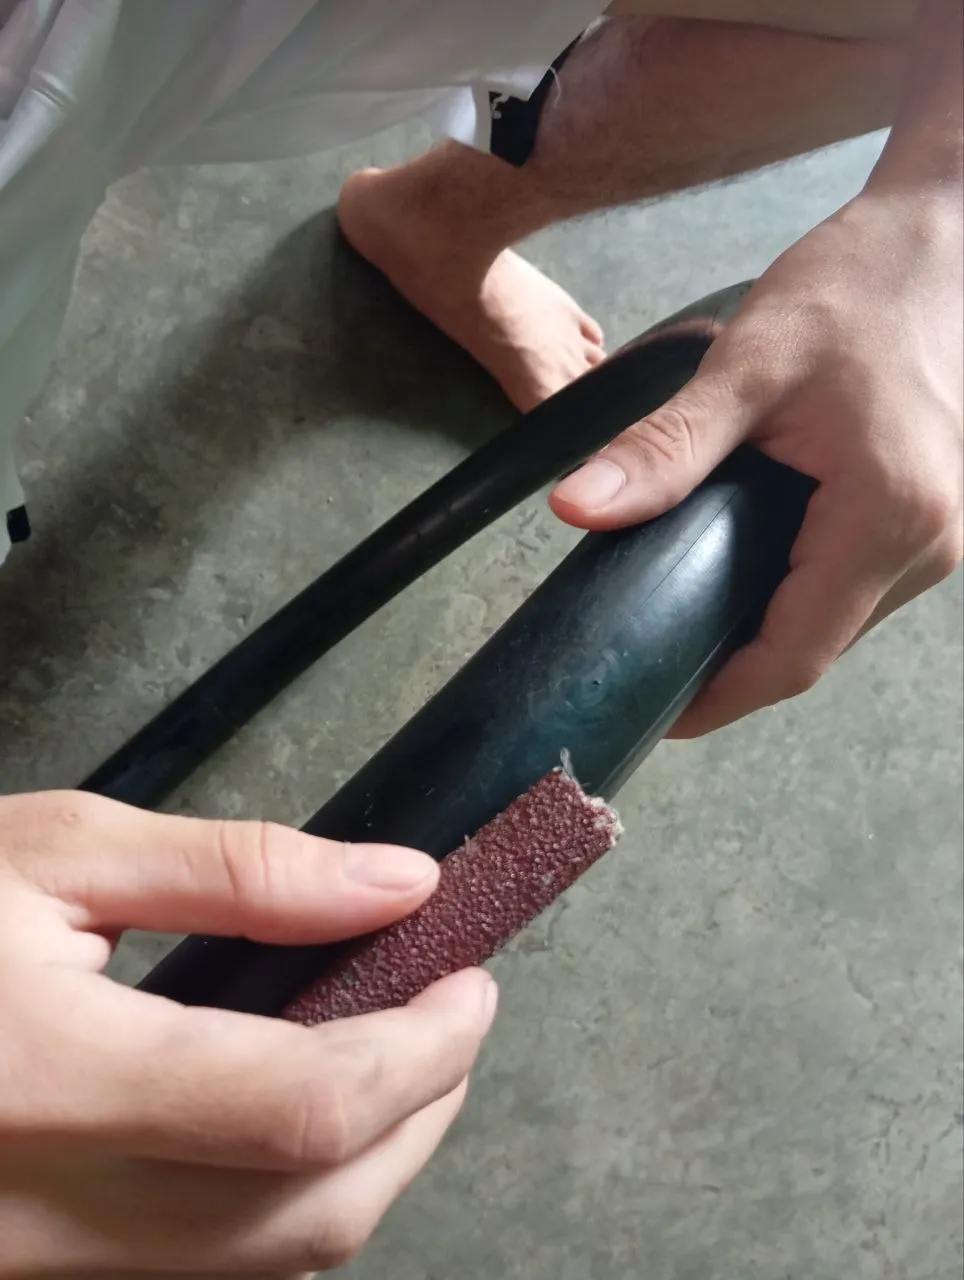
- Once I found the small hole, I began to sand that part very carefully to create some porosity so the glue would adhere to the patch.
 |  |
|---|
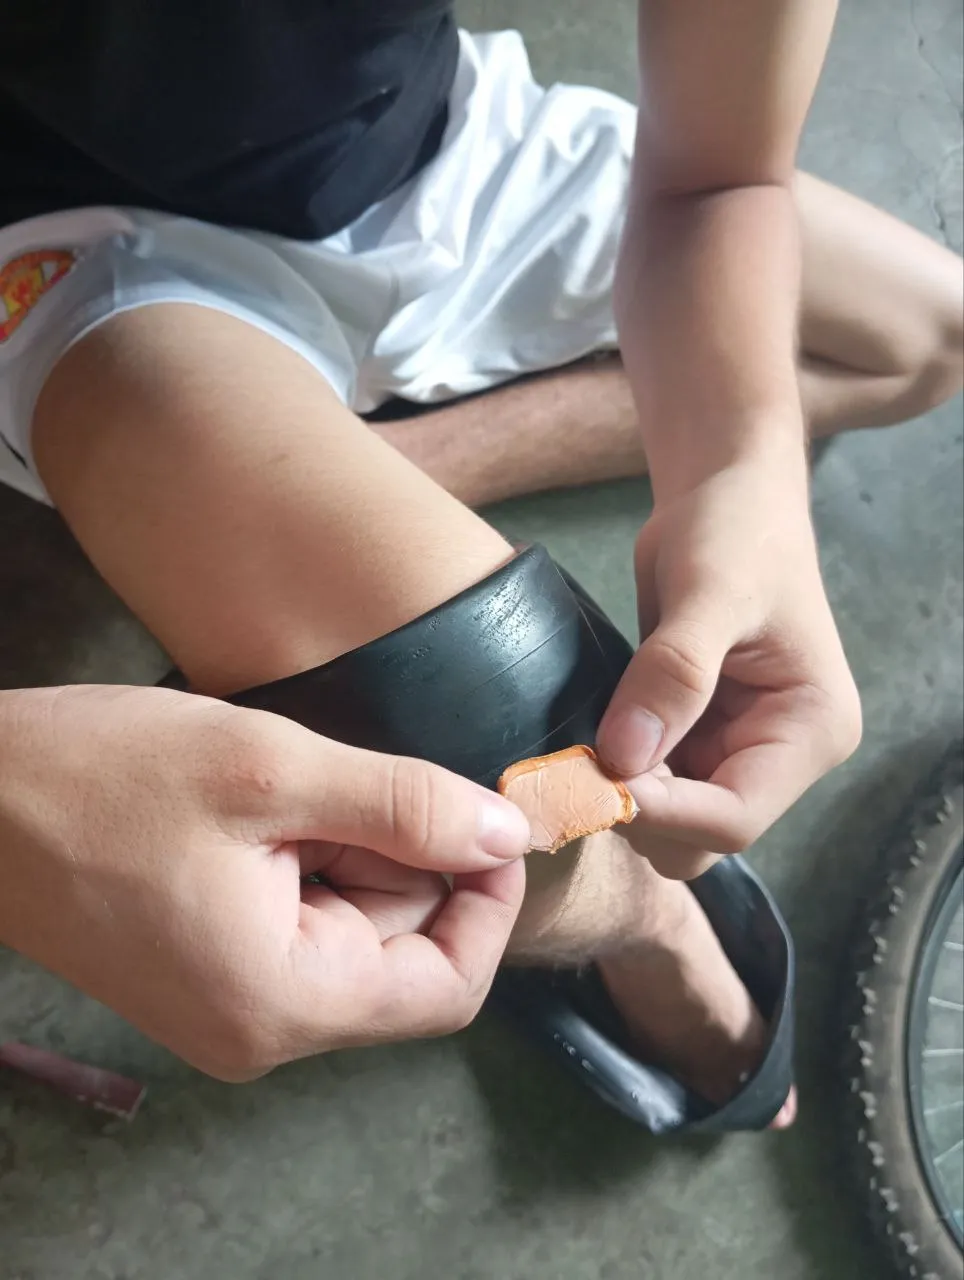
- I proceeded to apply a special glue to stick patches and did so very carefully.
 |  |
|---|
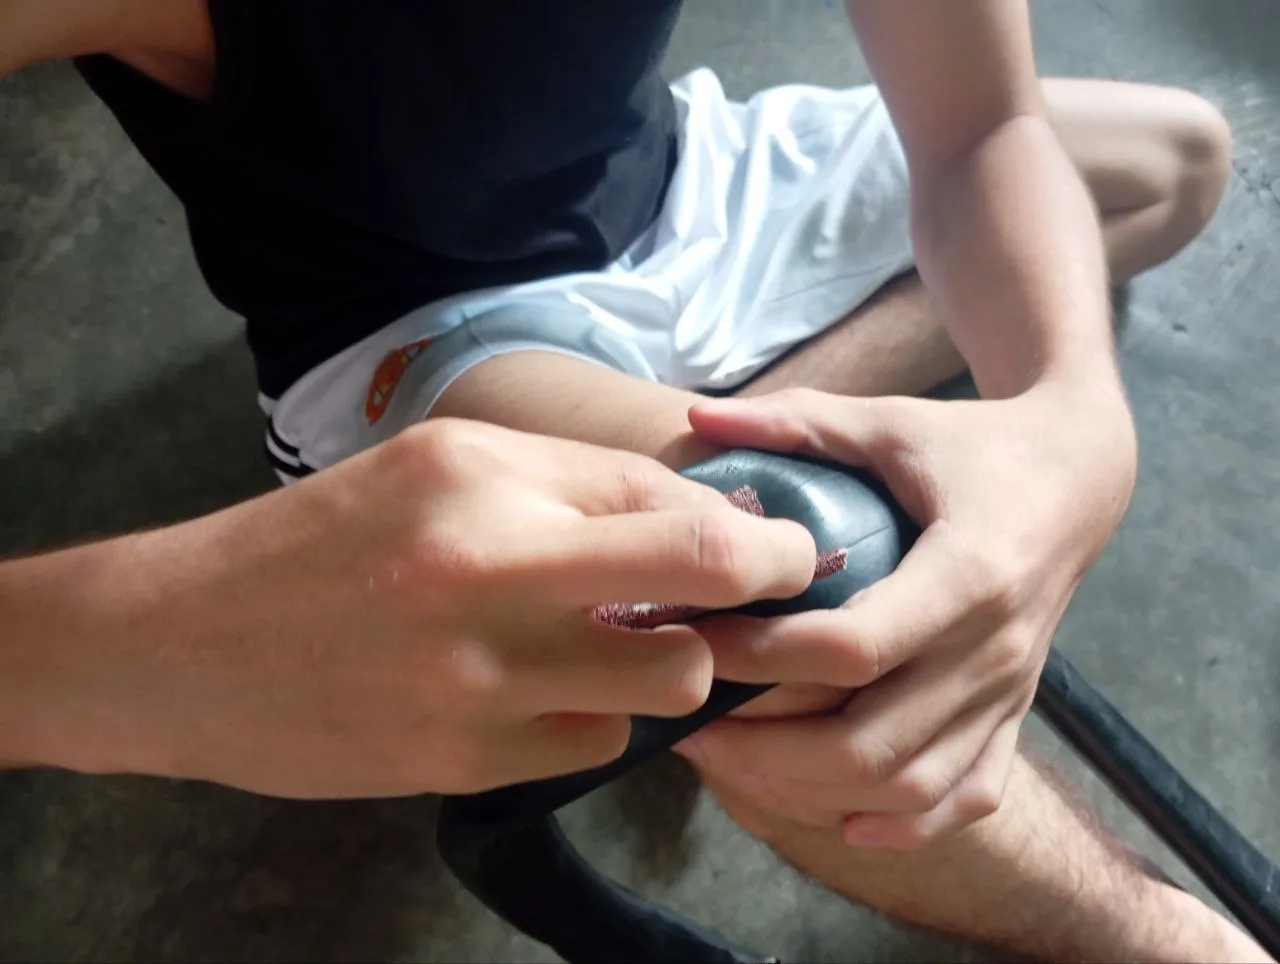
I applied a lot of pressure to secure the patch so it was completely glued to the inner tube, thus permanently sealing the hole.
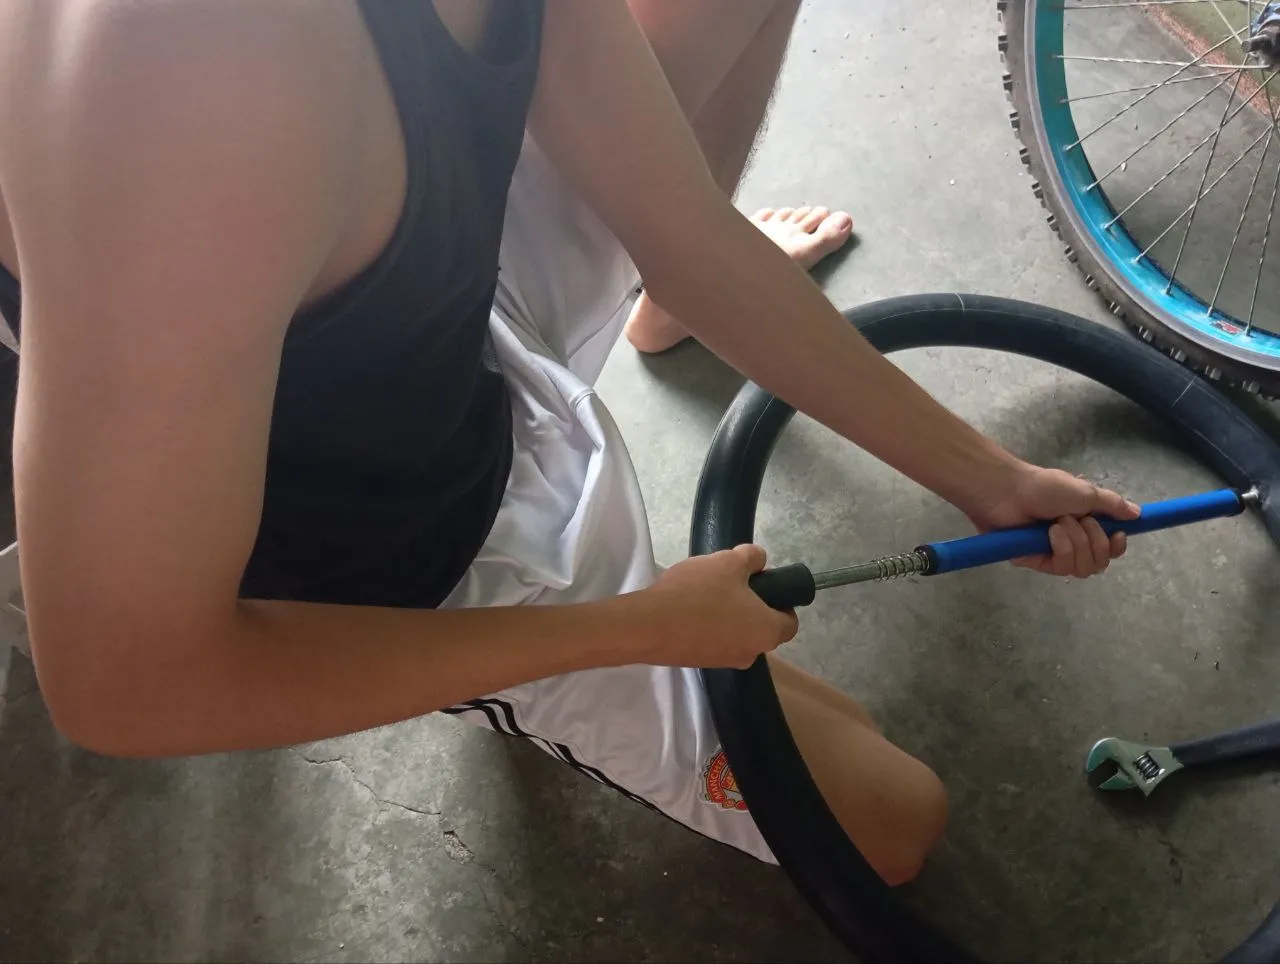
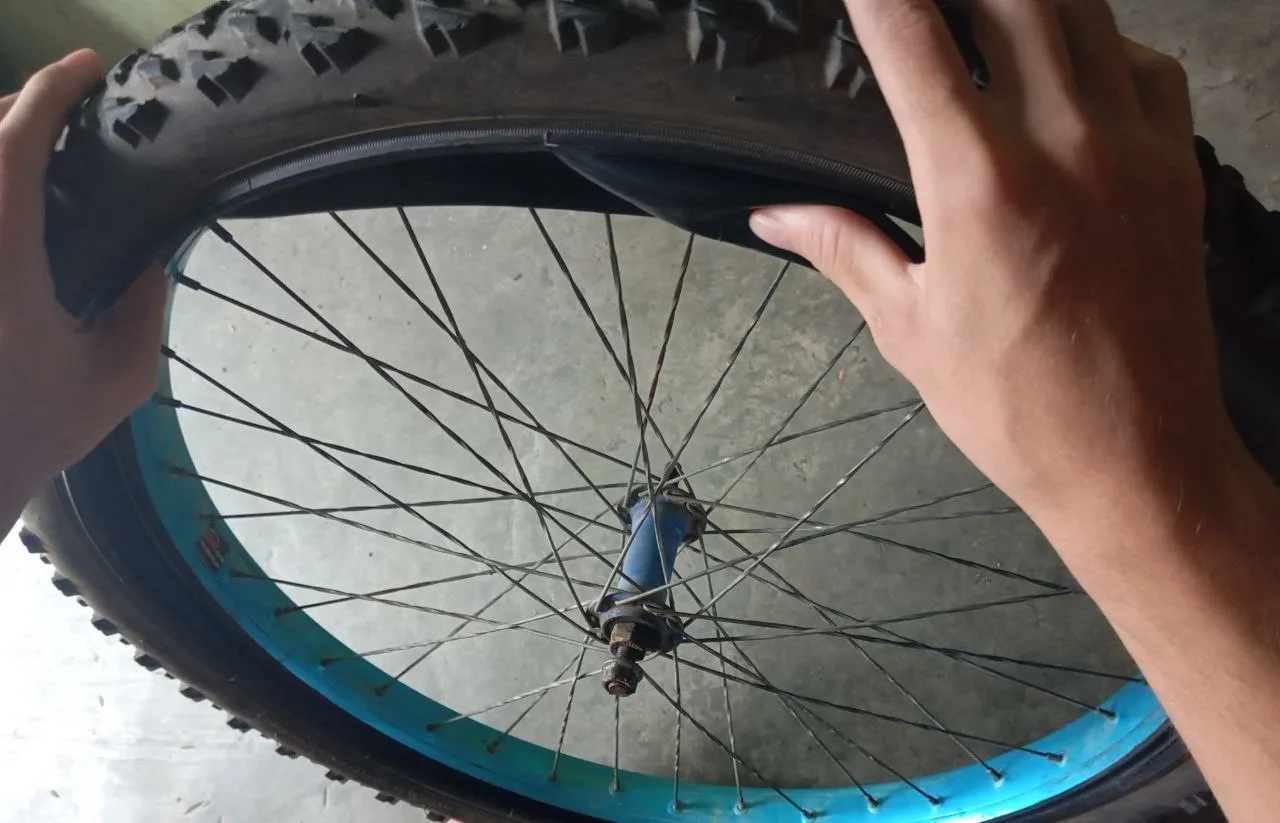
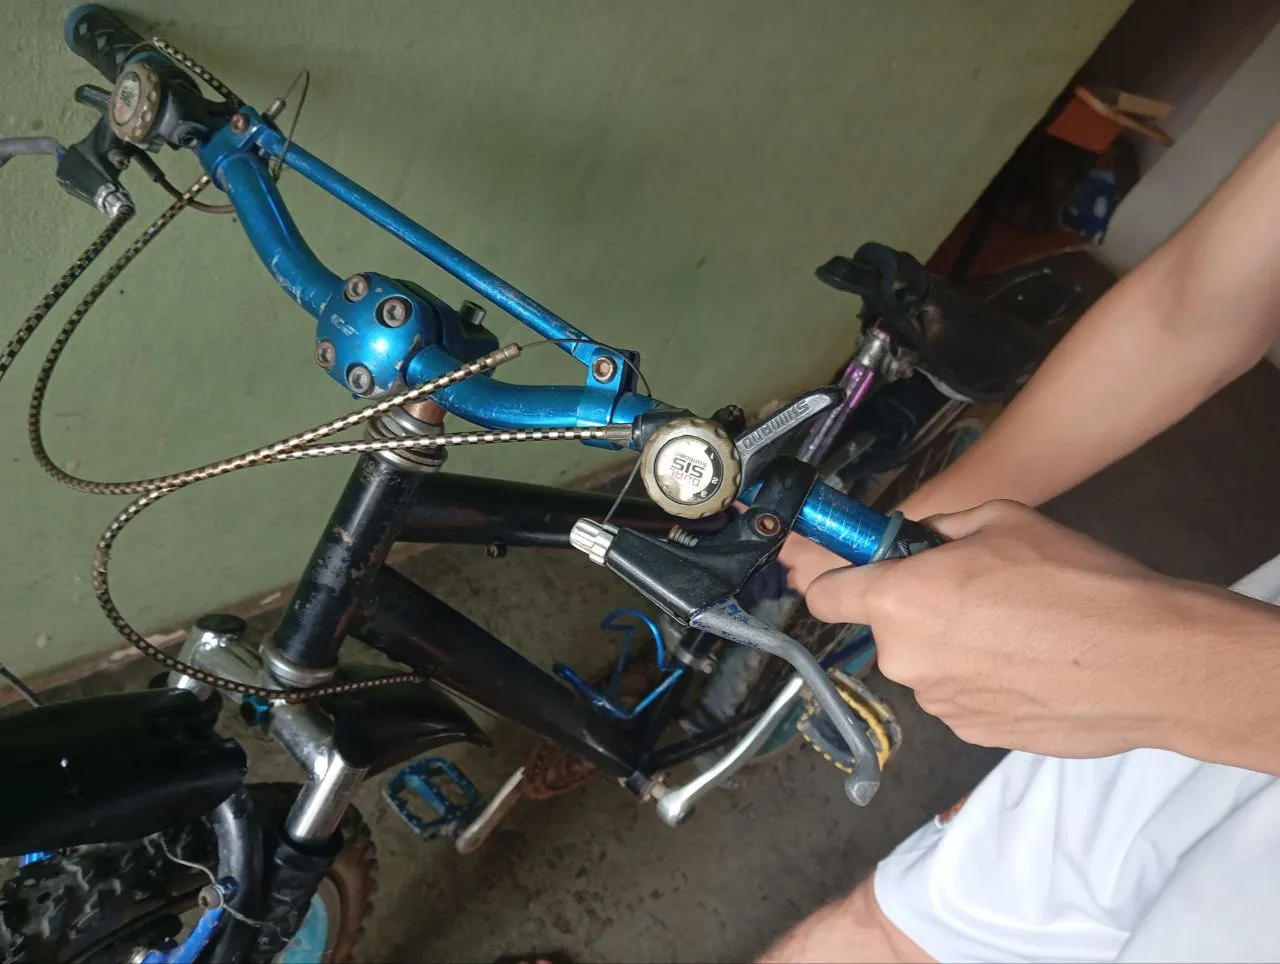
I let it dry for a while, then inflated the inner tube with the bicycle pump. After I was sure the problem was gone and that the inner tube was still inflated, I proceeded to place the inner tube inside the tire. I had previously deflated it so I could fit the rim onto the bike frame.
 |  |
|---|
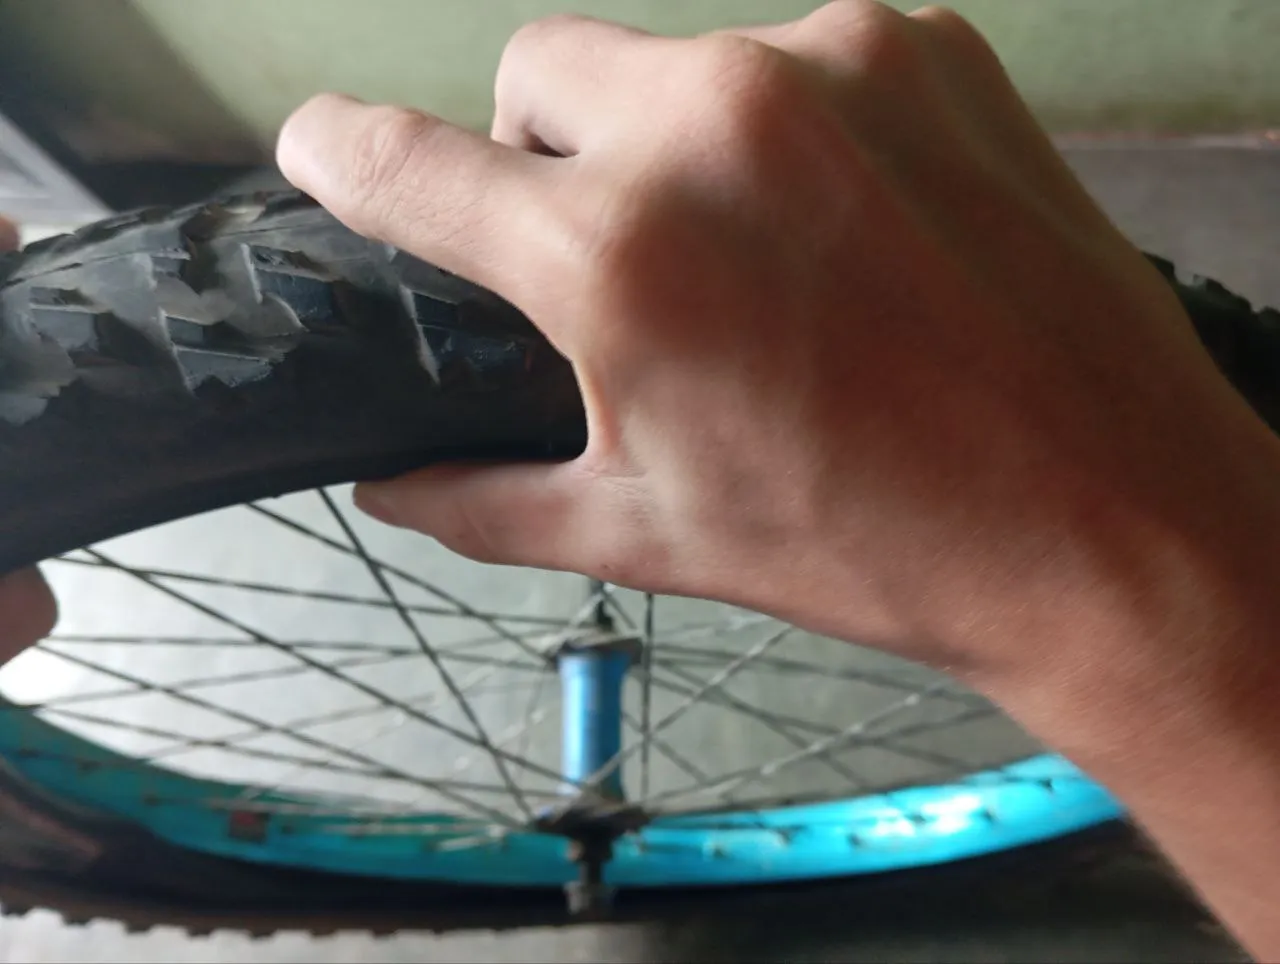
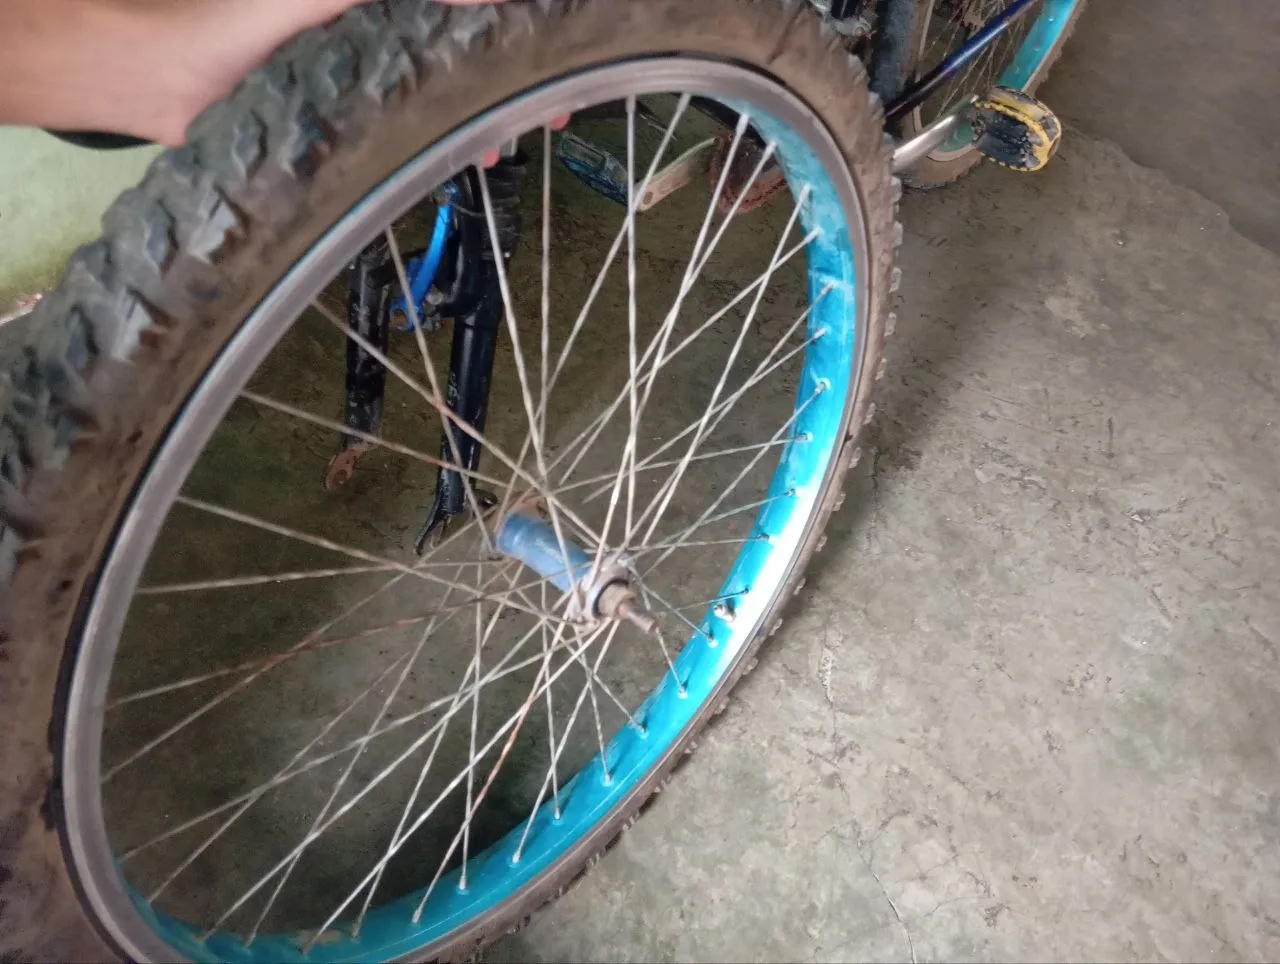
- Once the tire was on, I started inflating it and the job was done.
 |  |
|---|
I'm happy to have learned how to fix my own inner tube and little by little I will learn how to fix other parts of the bike.
Thank you so much for reading my post, and I welcome suggestions for improvements. Oh, and by the way, I cleaned the bike and it looks great.
See you soon with a new post.
Translated with Google Translator
Photos from my gallery taken with a Redmi 13 phone
Thumbnail edited Remove bg
Español
Hola a todos en Hive, aquí está @suisver en #ciclismo con un nuevo post para el canal.
Estaba un poco triste porque llevaba una semana con la llanta de mi bicicleta espichada y no había podido conseguir la pega y el parcho. Sin embargo este fin de semana pude conseguirlos y me puse manos a la obra y aquí vengo a mostrarles todo el proceso que realicé para arreglar el espiche que presentaba mi cámara de aire. Aproveché la ocasión y la limpié porque estaba un poco sucia con polvo y barro.
| |
|---|
Al principio me costó un poco porque no tengo mucha experiencia, nunca había arreglado un espiche en una cámara de aire, pero mi mejor maestra estaba presente y me explicó el paso a paso que debía hacer. En mis otros post les comenté que en Colombia la Alcaldía de Sincelejo me había regalado una bicicleta, pero ni si quiera me dio tiempo de que se me dañara, tuve que venderla y al rato me mudé de país.
Al llegar a Venezuela he tenido que usar la de mi mamá hasta que consiga una cámara de aire para la mía, ya que es el único repuesto que le falta, mientras tanto estoy usando la de mi mamá y me tocó arreglar el espiche que tiene y lo hice de la siguiente forma:
- Saqué la llanta del rin
- Saqué el gusanillo y la tuerca de protección
- Procedí a sacar la cámara de aire que presentaba el espiche
- posteriormente me dediqué cuidadosamente a buscar donde estaba la falla que provocaba que el aire se saliera de la cámara de aire.
- Una vez encontré el pequeño agujero, empecé a lijar esa parte con sumo cuidado para crear un poco de porosidad y la pega se adhiera junto con el parche.
| |
|---|
- Procedí a echar una pega especial para pegar parchos y los hice con mucha precaución.
| |
|---|
Hice mucha presión para fijar el parche y quedara completamente pegado a la cámara de aire para así tapar definitivamente el agujero.
Dejé secar un rato largo, luego inflé la cámara de aire con la bomba de bicicleta y después cuando me cercioré de que ya no tenía el problema y que la cámara de aire se mantenía inflada procedí a colocar la cámara de aire dentro de la llanta, anteriormente ya la había desinflado para poder colocar el rin en el cuadro de la bicicleta.
| |
|---|
- Una vez colocada la llanta, empecé a inflarla y el trabajo quedó terminado.
| |
|---|
Estoy feliz de haber aprendido a arreglar mi propia cámara de aire y poco a poco iré aprendiendo a arreglar otras partes de la bicicleta.
Muchas gracias por leer mi post y acepto sugerencias para ir mejorando, ahh por cierto limpié la bicicleta y quedó genial.
Nos vemos pronto con un nuevo post.
Traducido con Google Translator
Fotos de mi galería tomadas con un celular Redmi 13
Miniatura editada en Remove bg