I would like to participate more in the #TBT and #TBF, but I'm always scared when I have to dive into my backup HDD to search for old photos and memories... Not scared of what I will find there, but more afraid of the time I will spend, checking out thousands and thousands of old photos... But, I decided to do it today and tried to keep my focus... Just to come IN, take some photos, and run OUT!! 😃
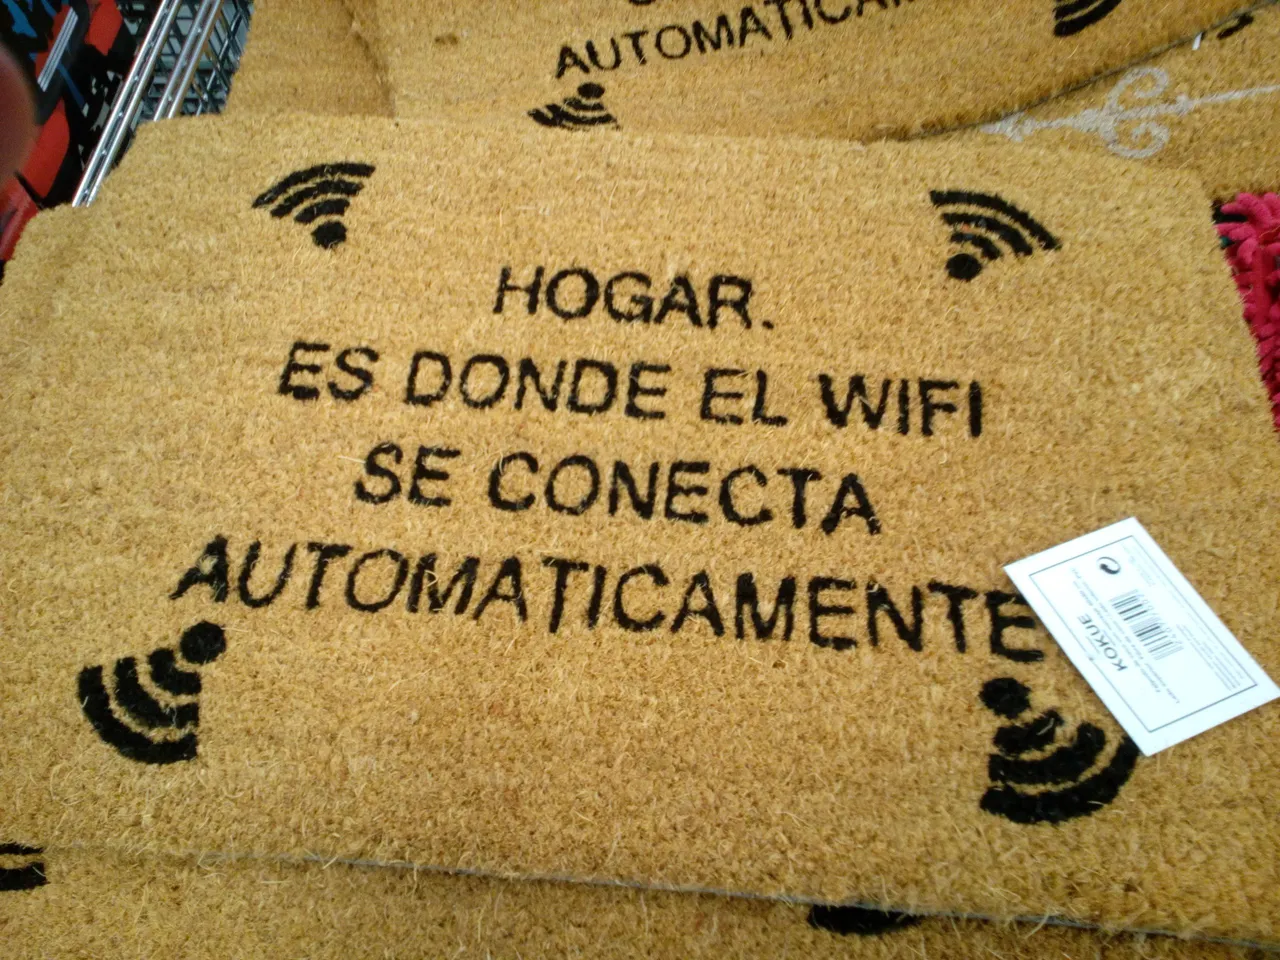
Home. The place where WiFi connects automatically...😃
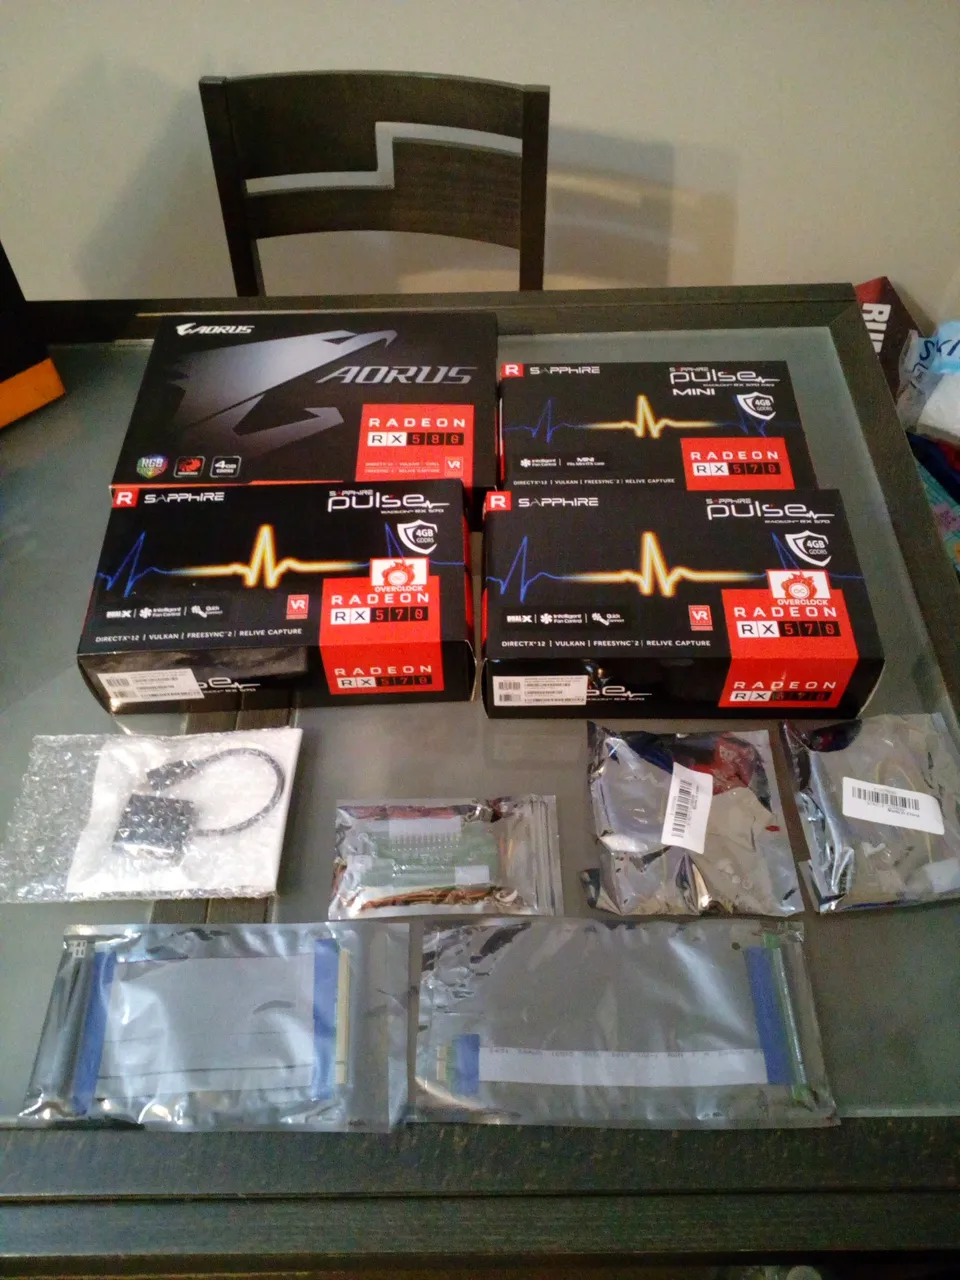
So, let's start from the very beginning, from the first two boxes that arrived at my home! The content of these two boxes was my first crypto investment (if we ignore that short BTC "excursion" from 2013 😂)... It was May 2017, a few days before that, I decided to start with Ethereum mining, and I ordered some computer components to create my first mining rig!
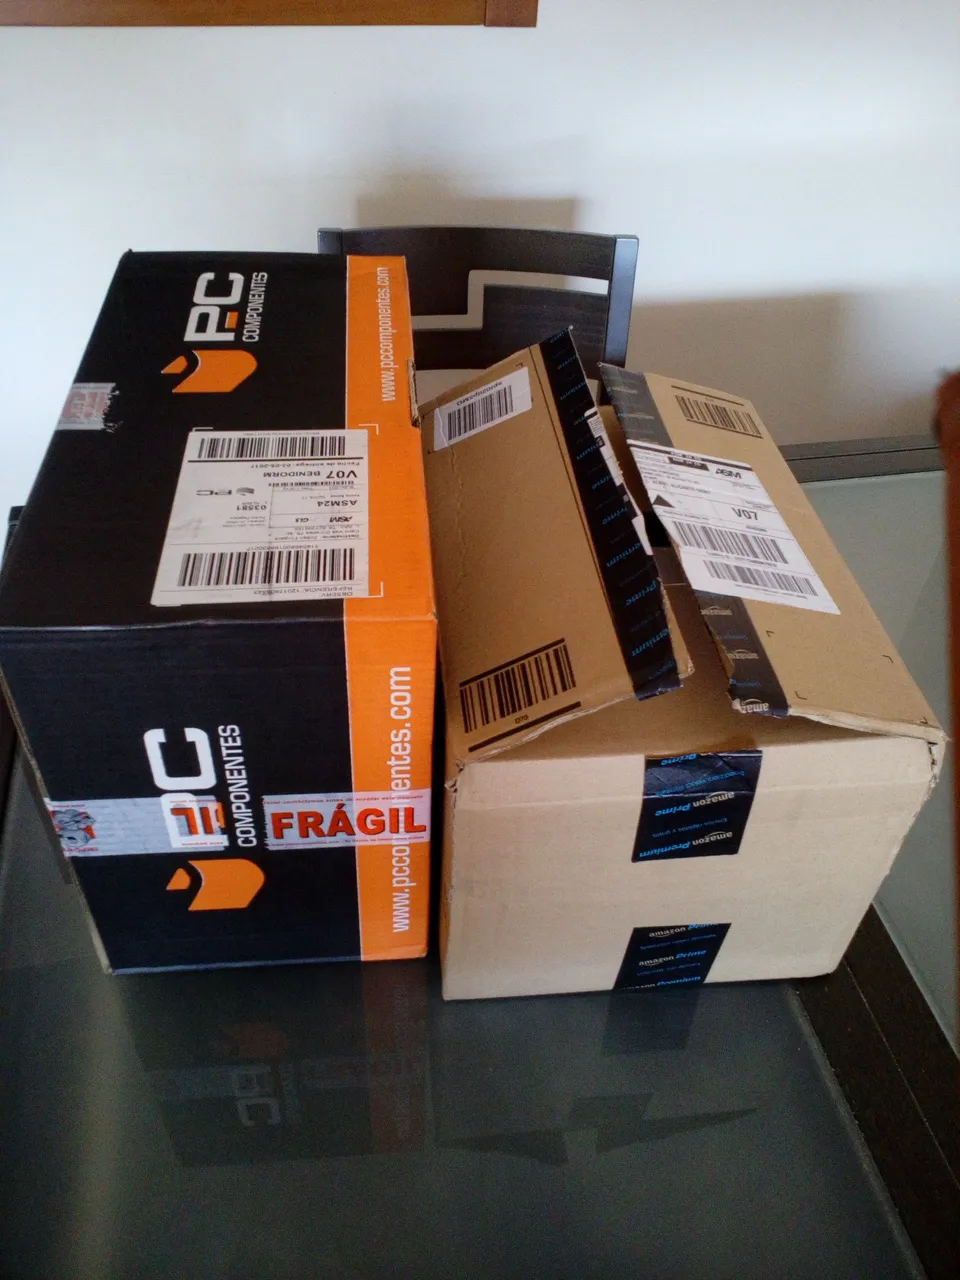
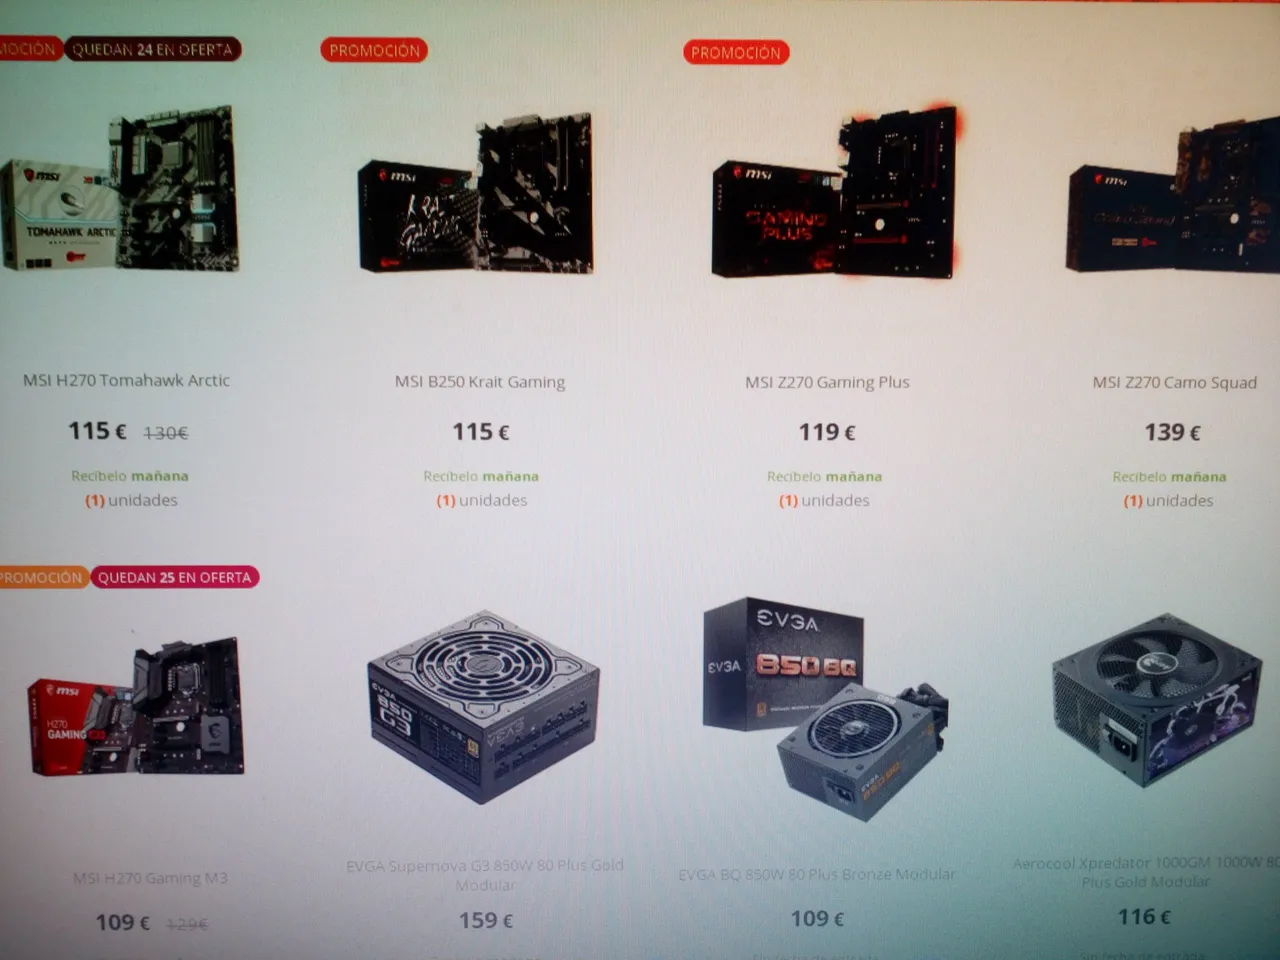
I was checking prices and availability (in those early days, you could find almost everything you needed for a rig, which wasn't the case later the same year!) and bought the first parts from PC Componentes (one of the most famous online PC (and not just PC) shops) and Amazon...
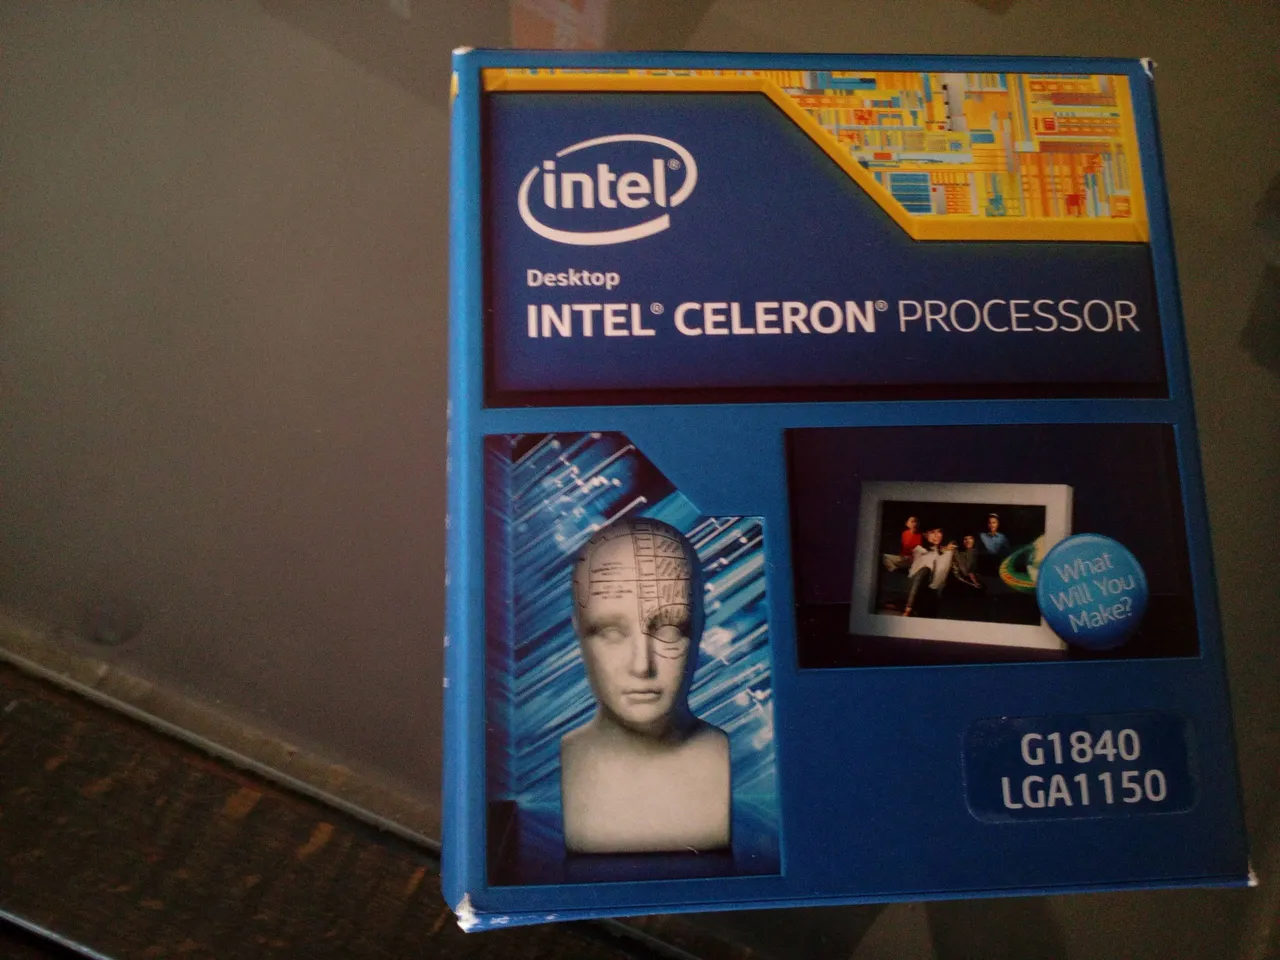
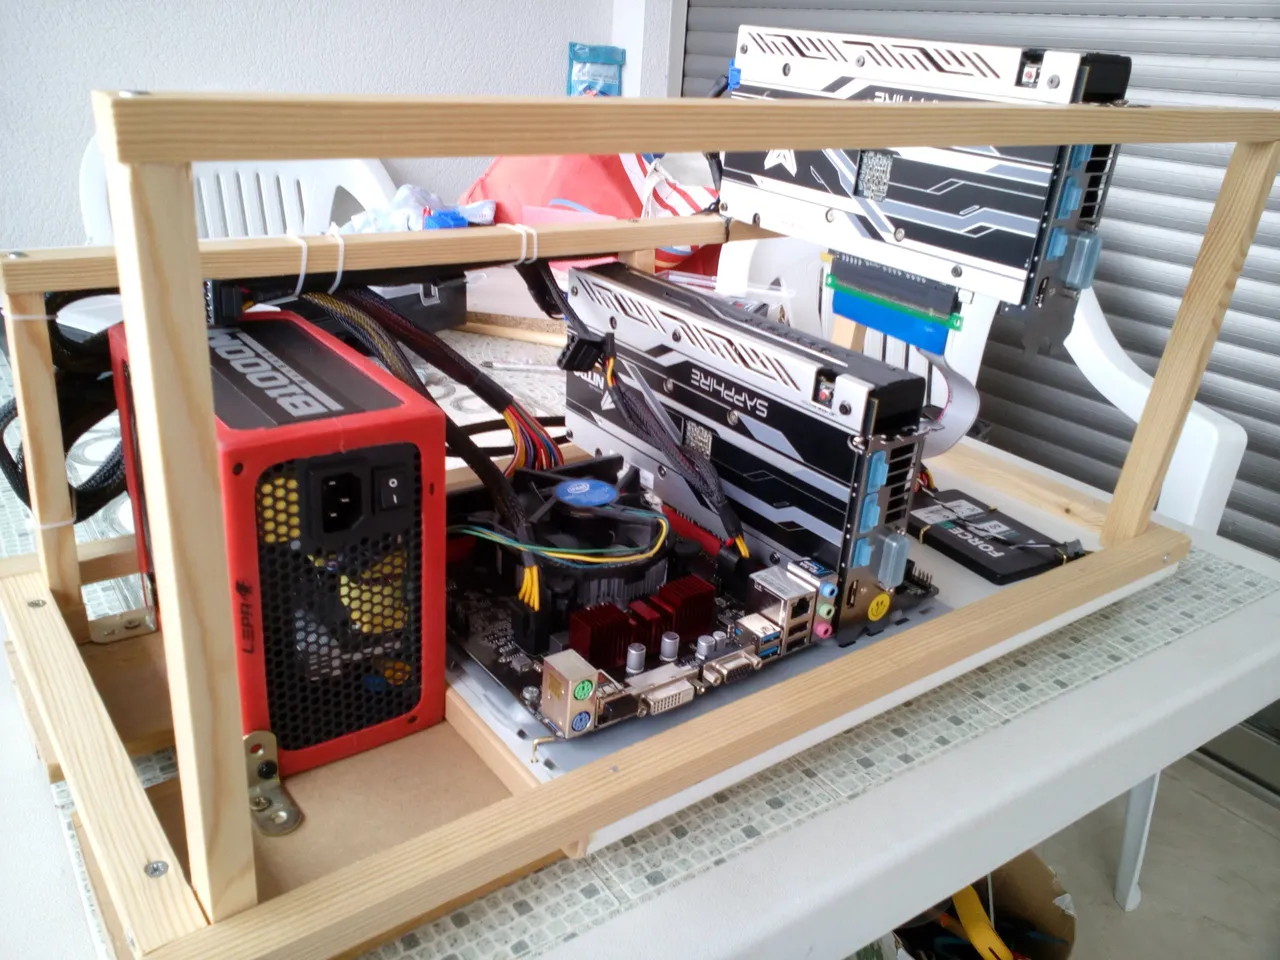
As for traveling, I didn't have a regular PC (still don't have one) for a long time... Only laptops, as they are more practical, as I can take "my life" with me wherever I go... So, I had to buy all components from scratch... You will notice that there is no motherboard in these photos, as I bought one earlier from eBay... As MB and CPU weren't that important for ETH mining, I got the cheapest which could support the newest GPUs (graphic cards)...
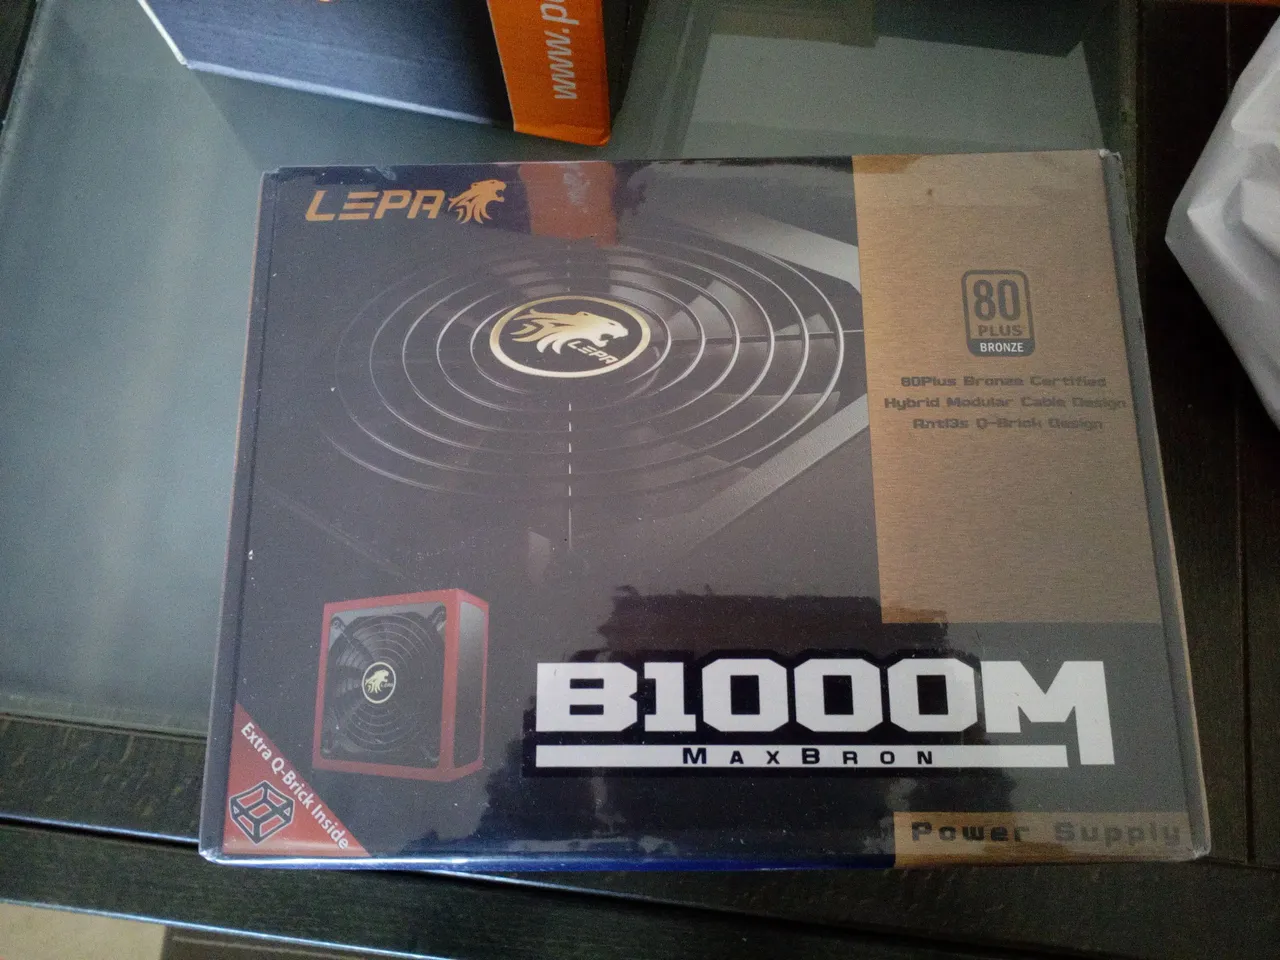
What was important was the power supply... Well, this one from the photo isn't the best quality, but 1000W was enough to power 6-8 GPUs, and it served me very well!
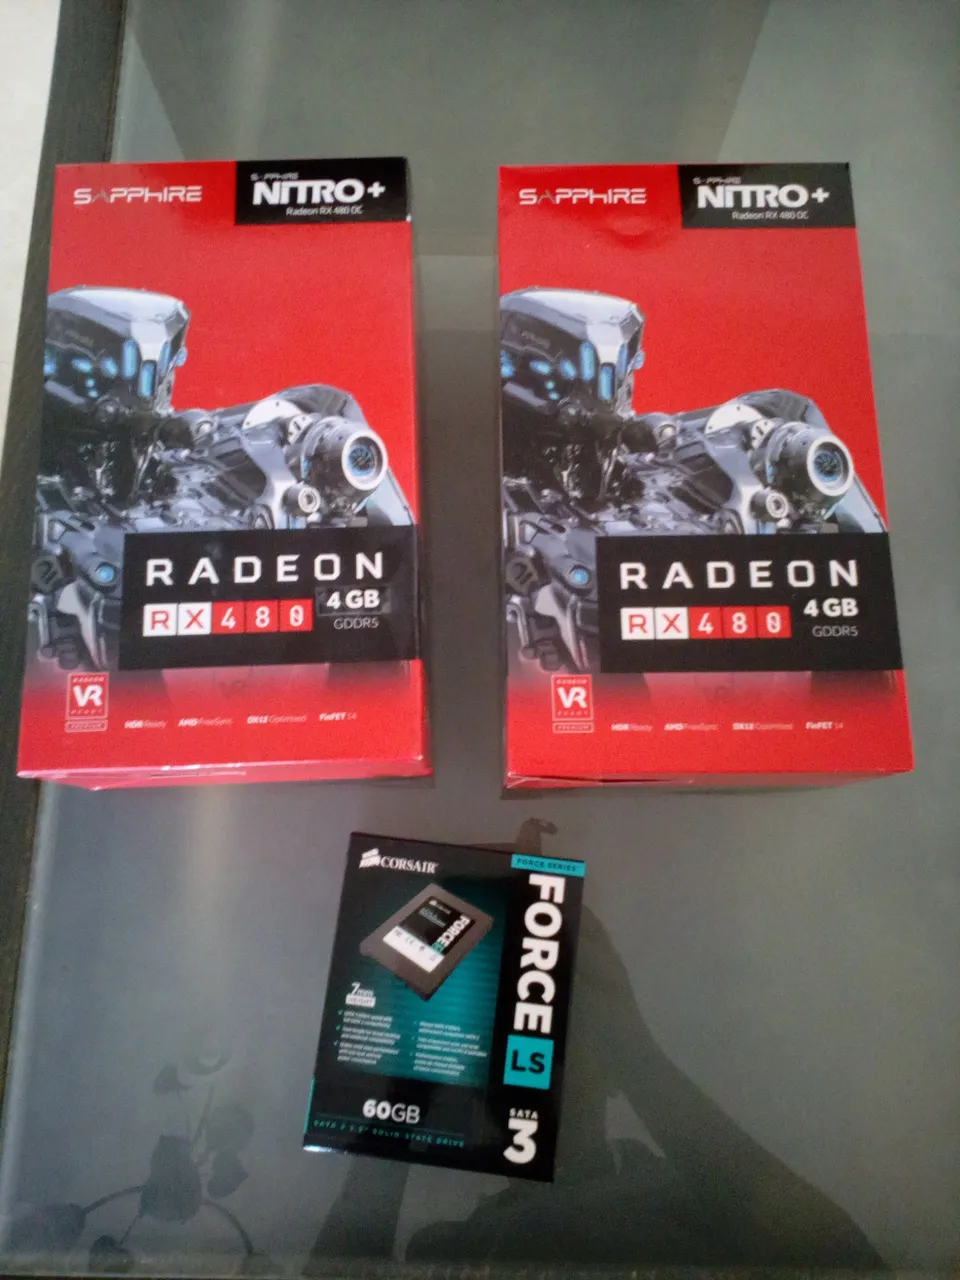
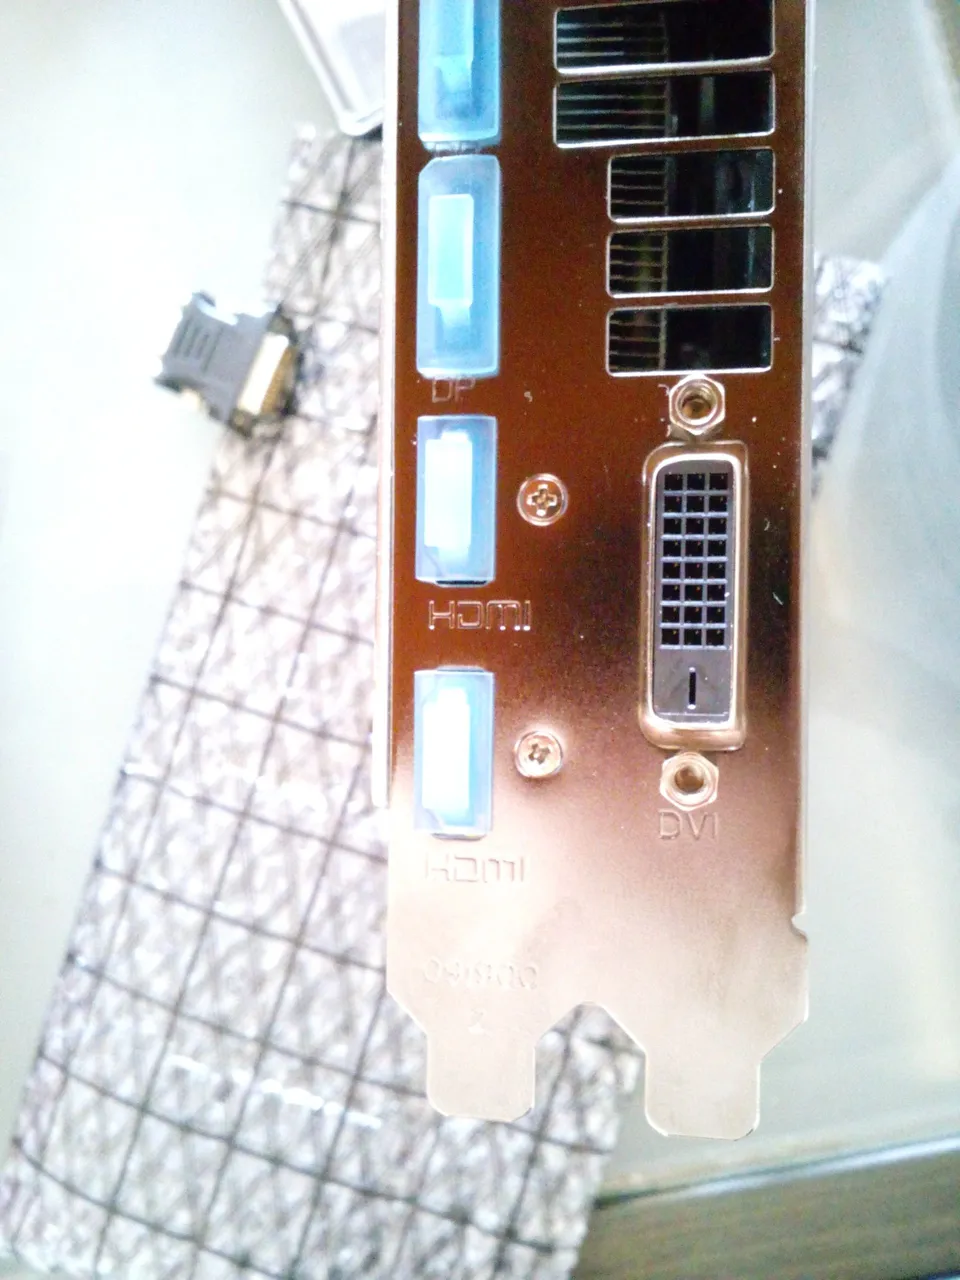
The Radeon RX 480 wasn't the best card at that moment, but it had the best performance compared with its consumption... The electricity in Spain wasn't (and it isn't) cheap, so I had to pay attention to that too... Two cards for "testing the water"...
As the "machine" doesn't need much HDD space, I bought the cheapest drive that I found on the market... I could go with the second-hand disc, but it wasn't worth the hassle...


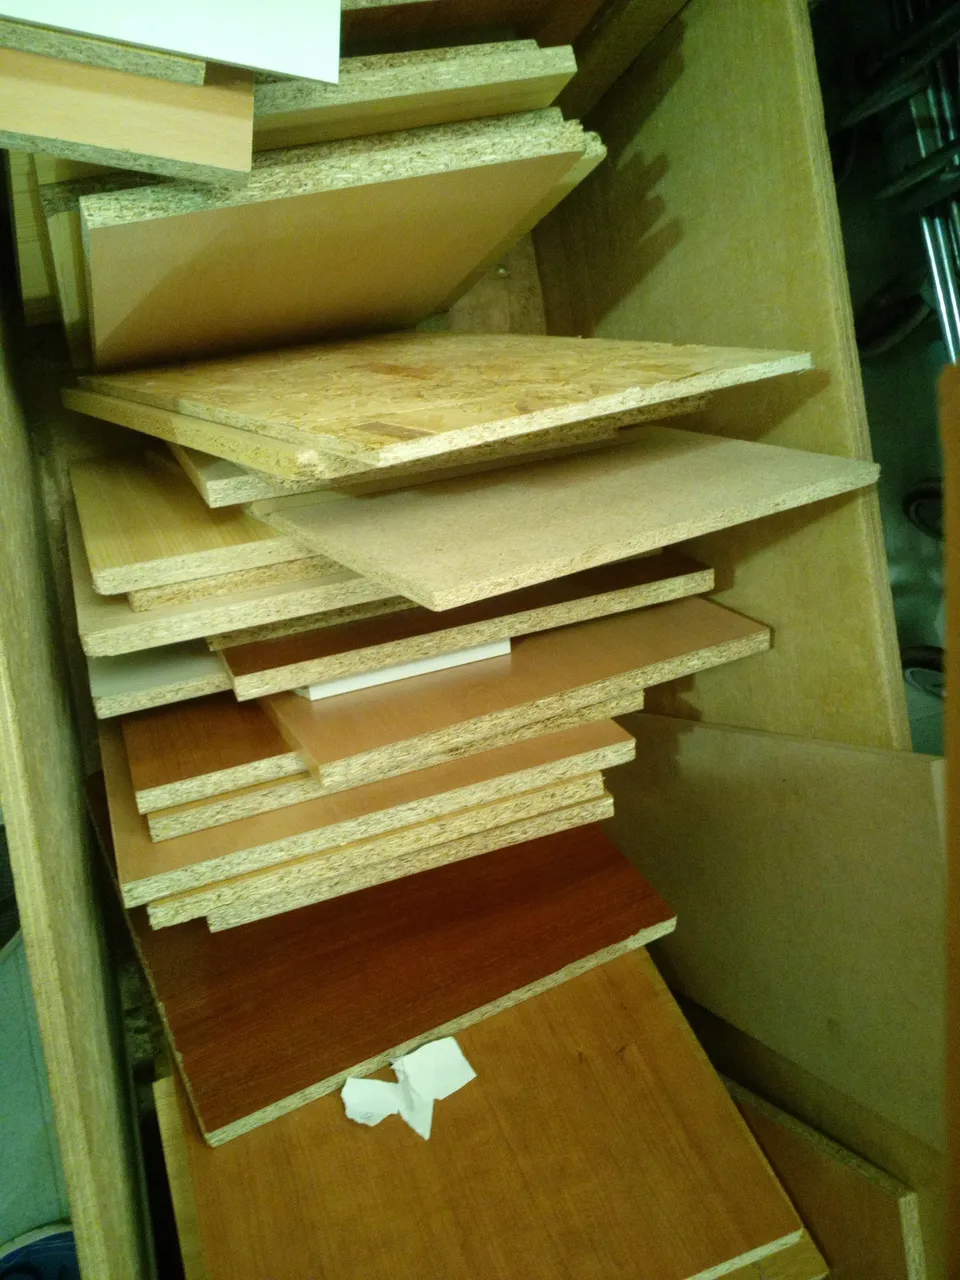
Even in those days, you could buy the "mining rig set", or "body", but I didn't want to spend 100+ EUR on something like that... So, I checked the Internet and found ideas to DIY! As I like woodwork, I went shopping at the local shop...
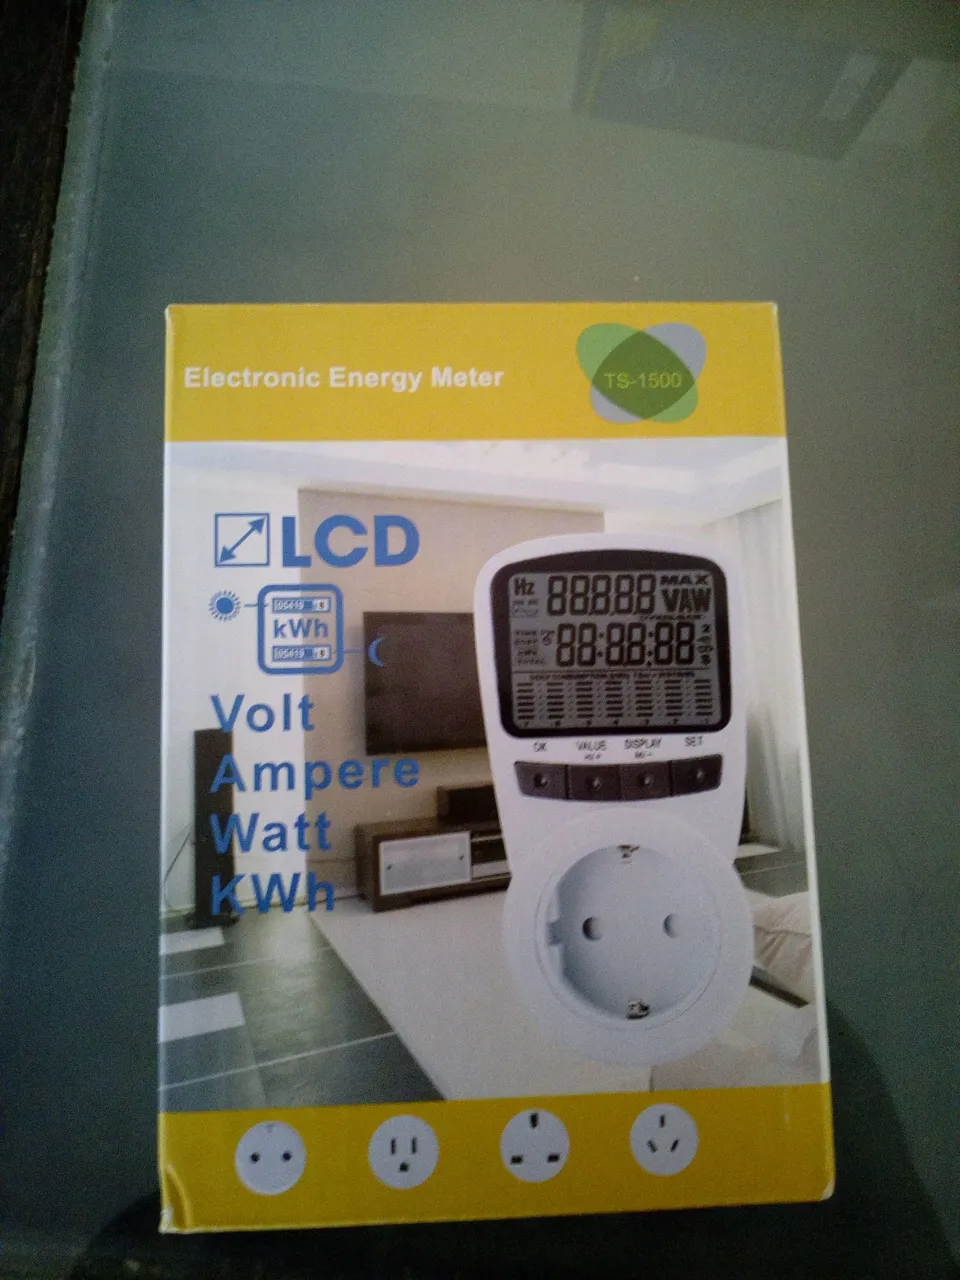
Oh, I did mention power consumption, so I bought this meter to be able to see the real consumption while tweaking up the (future) machines...

RAM memory wasn't that important either, so I went for the best price-performance module that fits my motherboard...
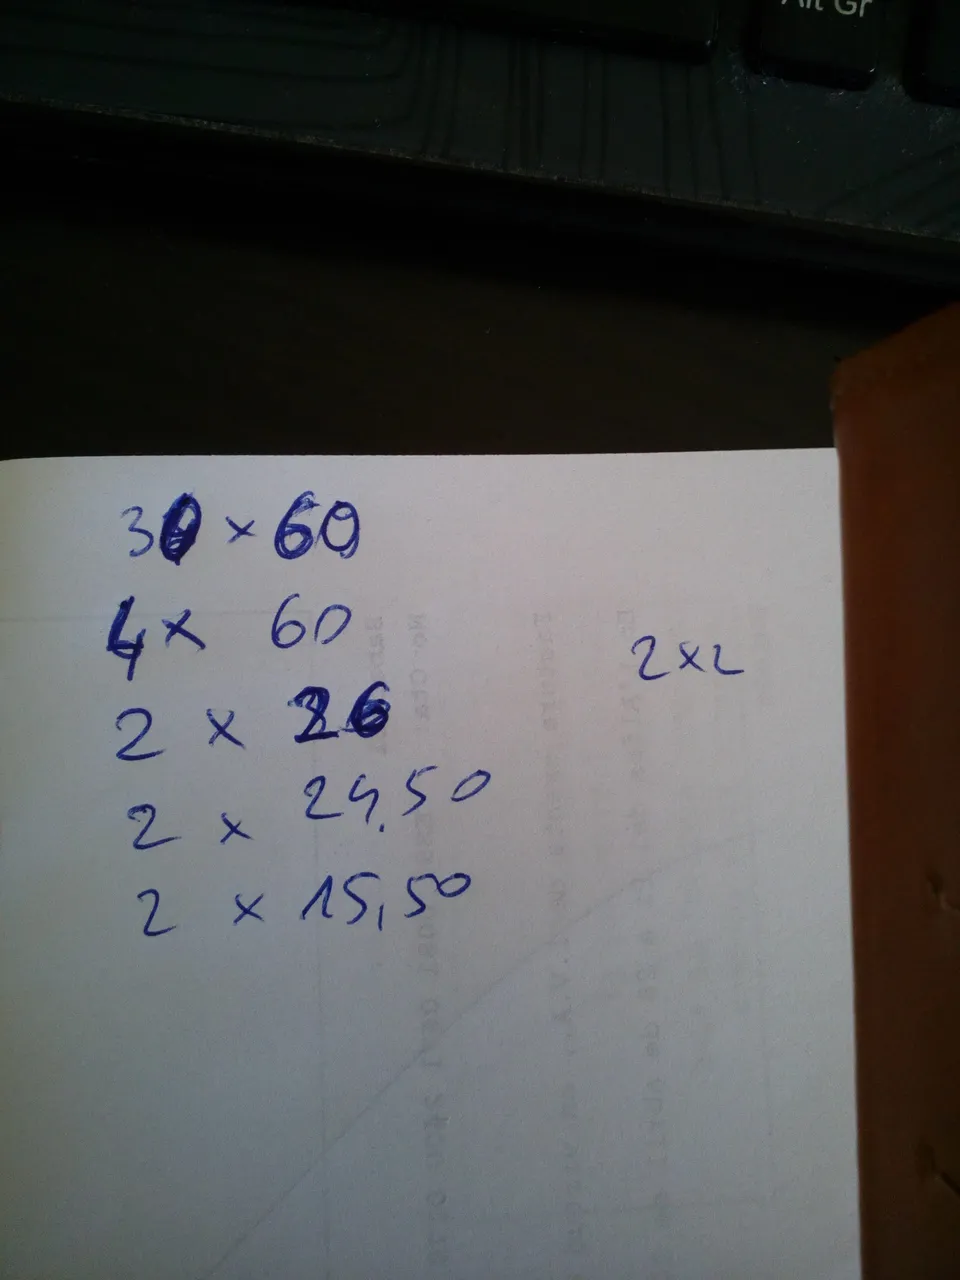
Wood parts measures for the future rig
As I didn't have a second PC monitor at home, I had to check out how I could connect my TV to it... 🤣 (avoiding additional costs)
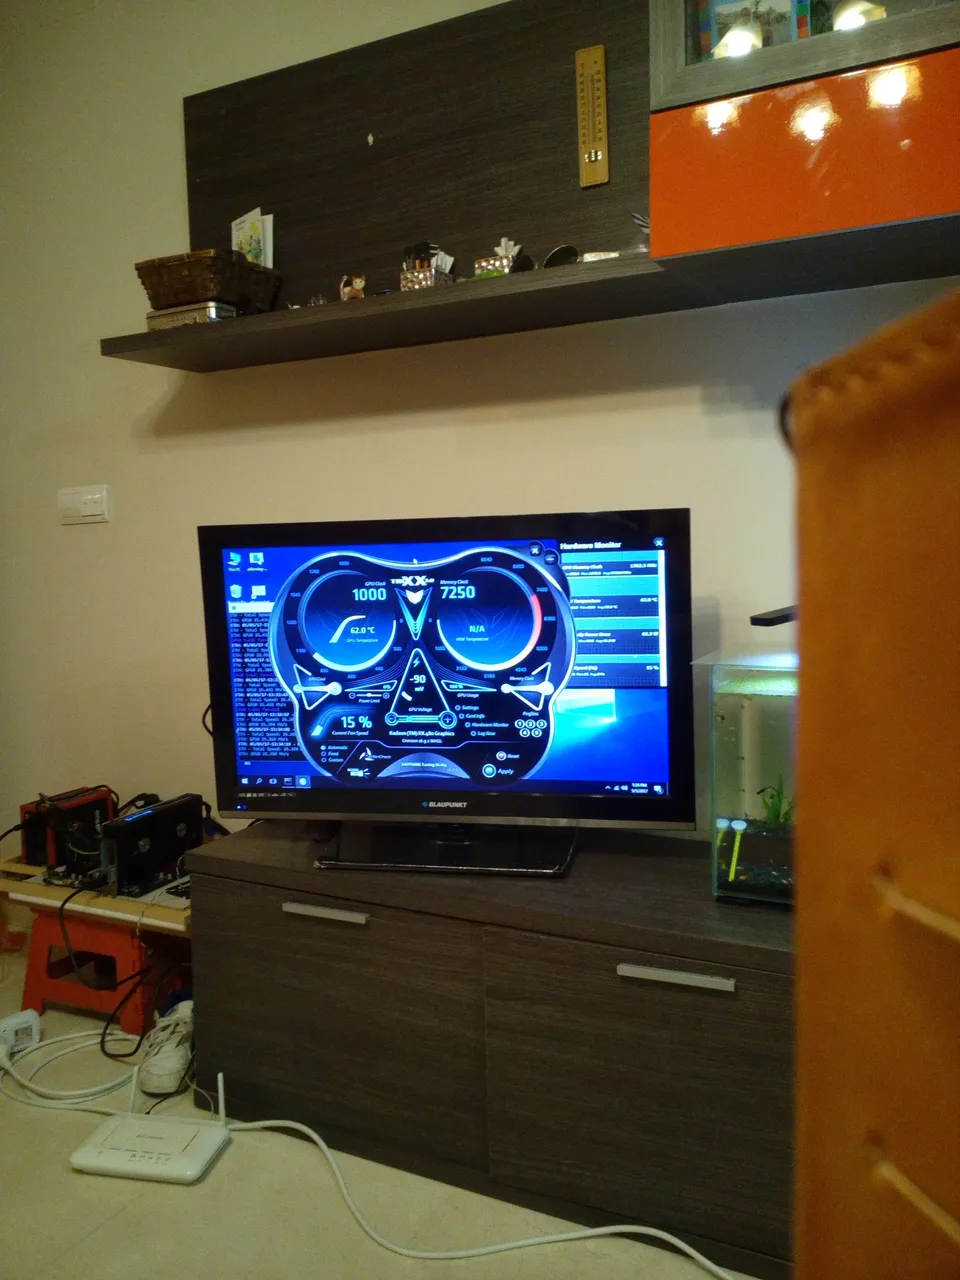
The first test, with only 1 GPU inside, finally worked out! Tweaking time! 😃
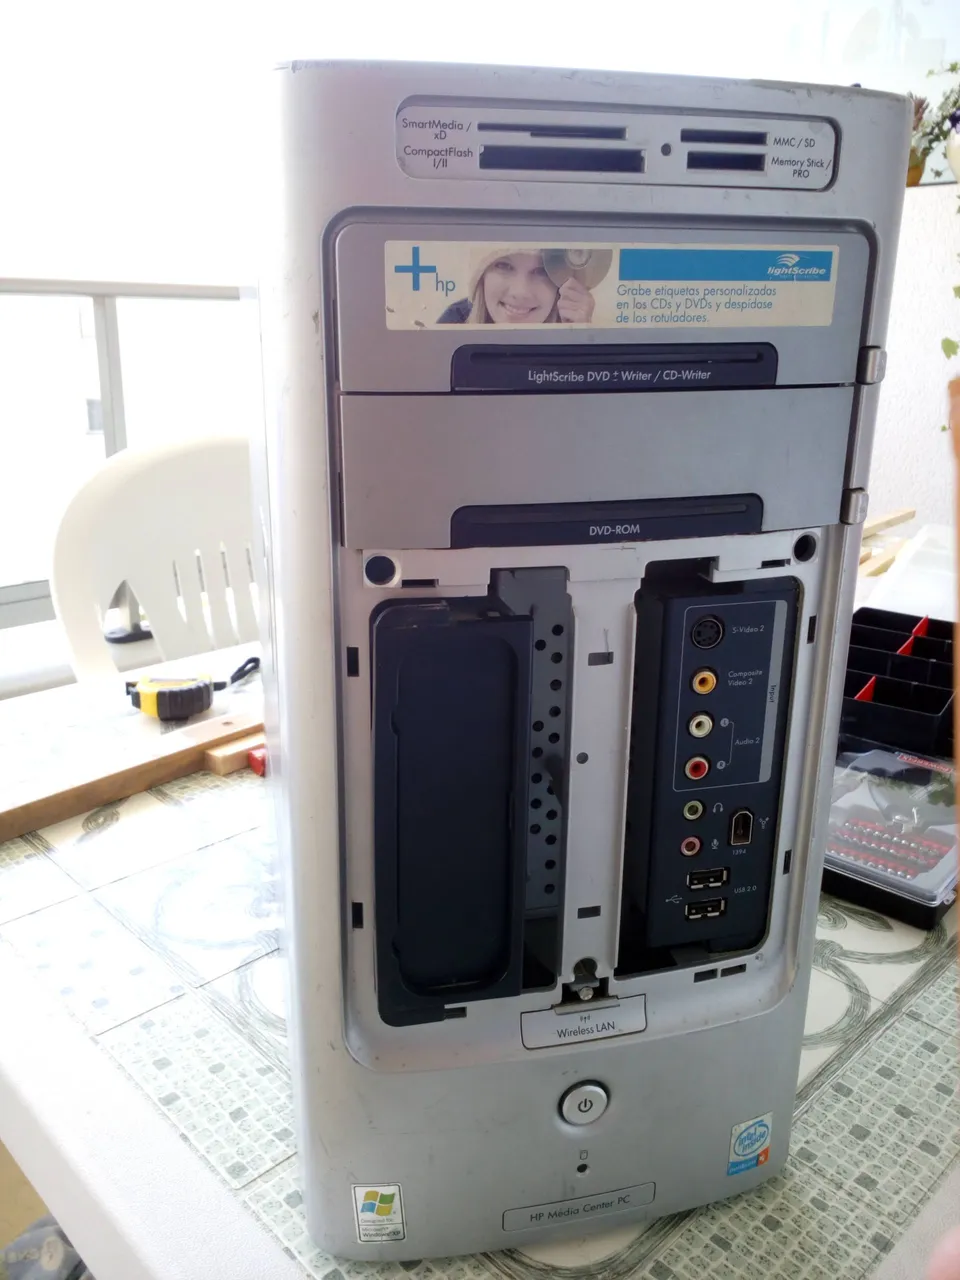
Now this photo can raise some questions... Why the f%$# do I need something this OLD for my rig? 🤣
Tbh., I think I found that computer behind the dumpster... 😃 You can't beat that price! So, I took 2 things out... One was the power button (as I don't have a PC case in my DIY rig, with buttons), as turning on the computer with a screwdriver is boring af after 10-20 times... 😃
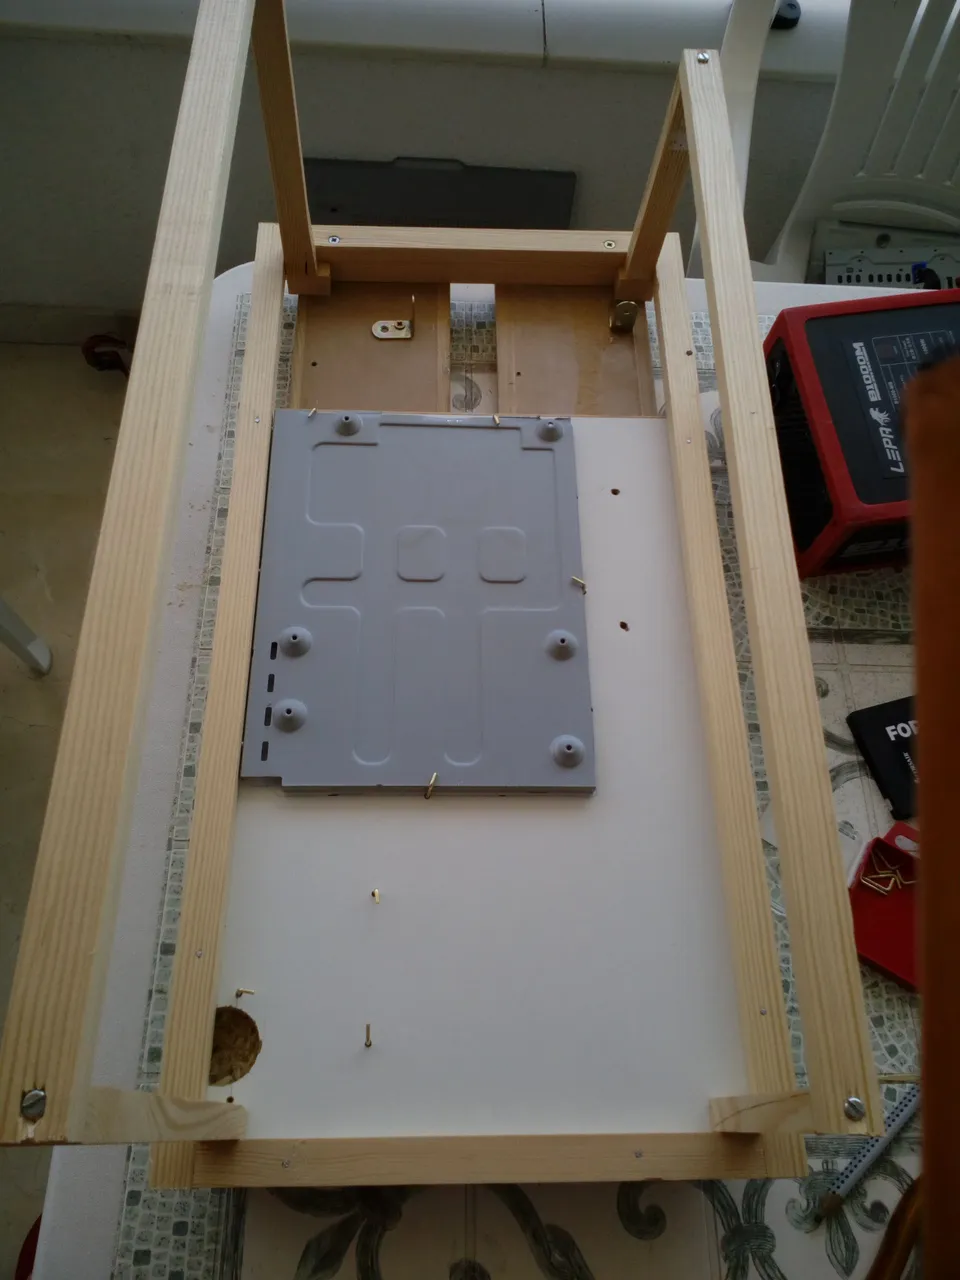
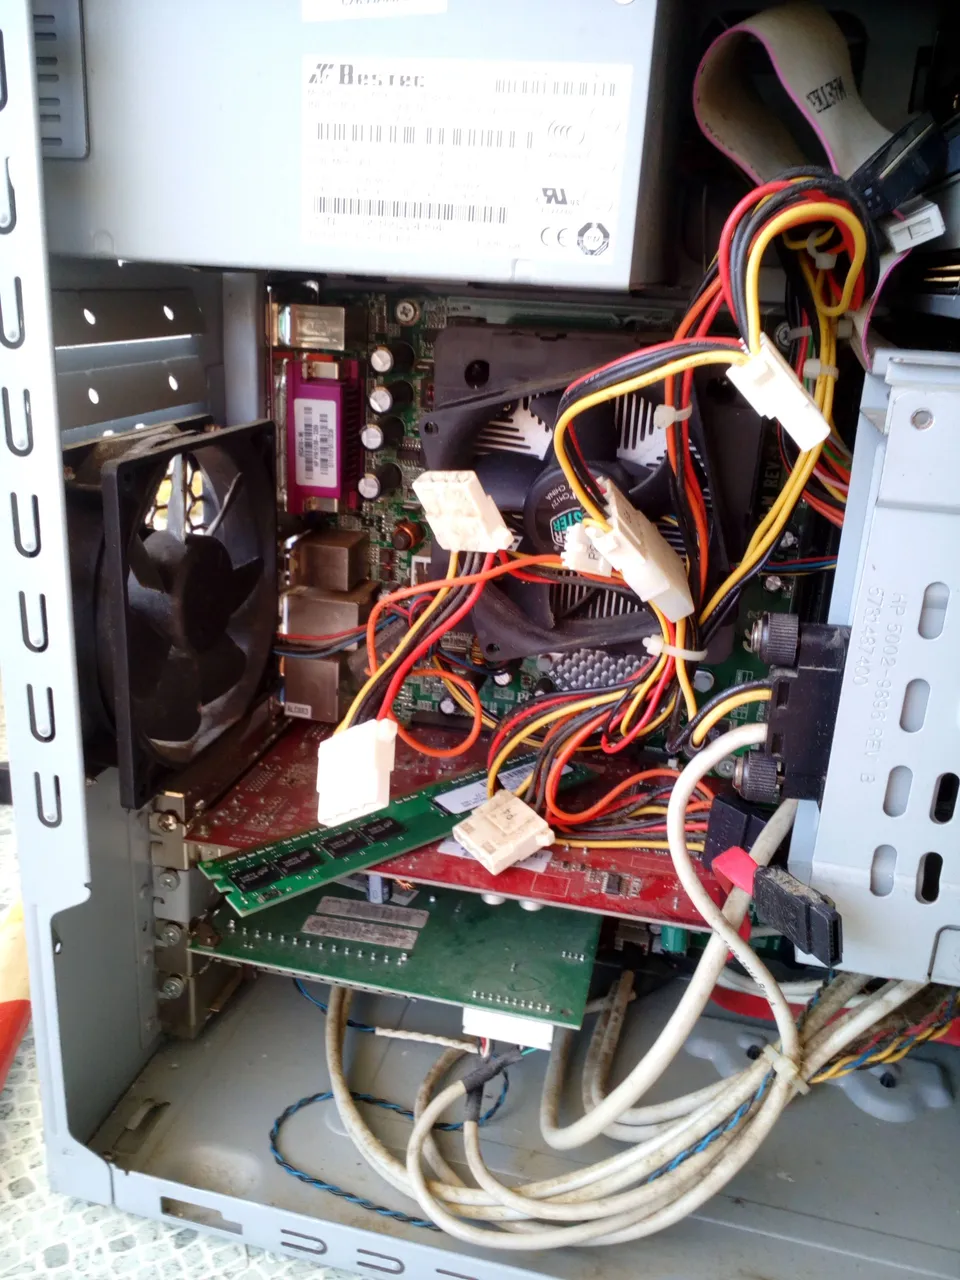
...and the second thing was what you can see in the photo above... I cut out the metal part where you are fixing the motherboard... In that way, I made a bit of space between the hot MB and the wooden parts of the rig (just in case)... Plus, the MB was much better fixed!
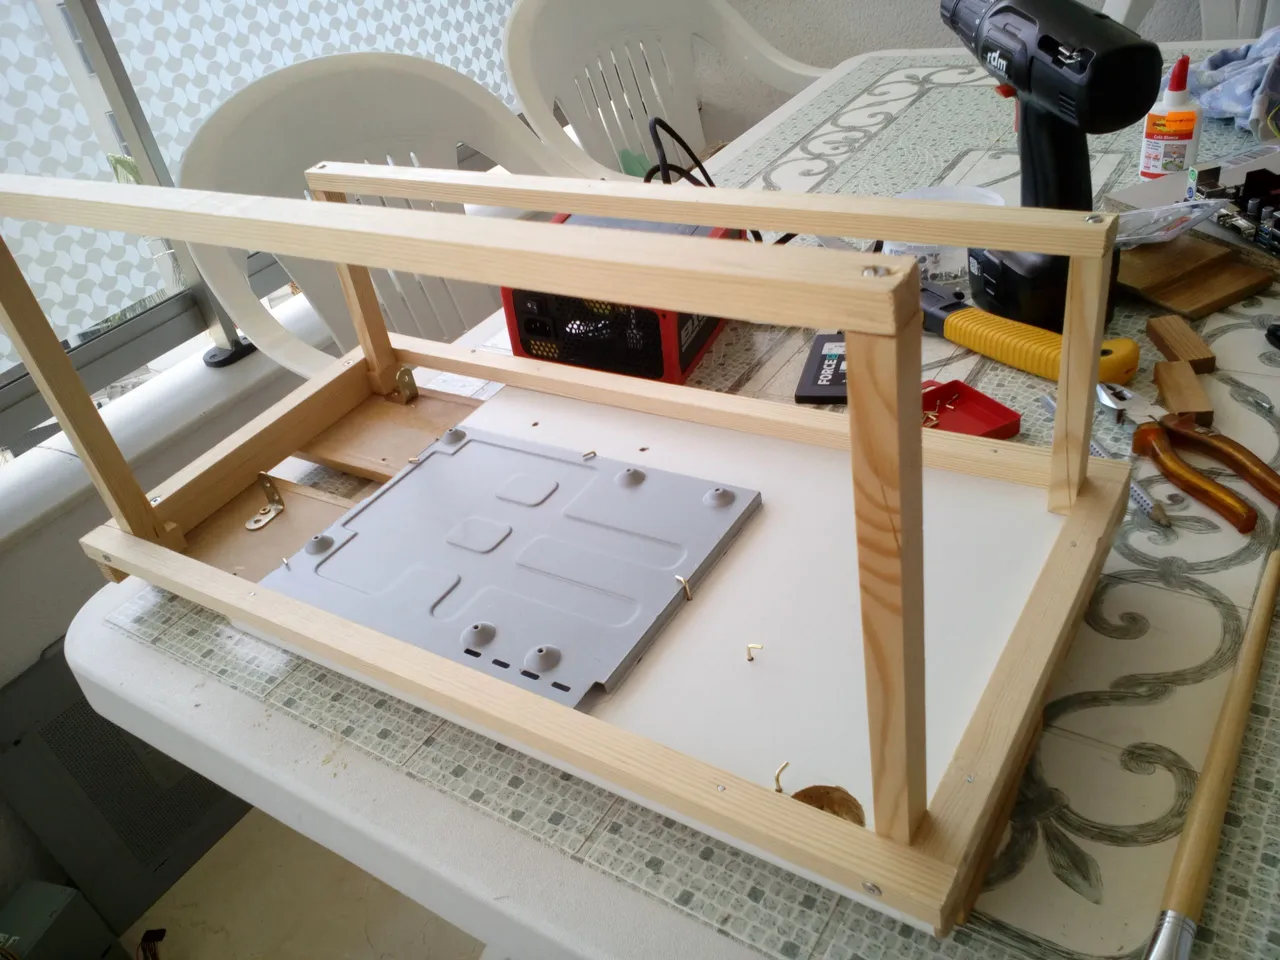
Btw. the wooden parts under the metal are also "recycled" as they were on sale, by the dumpster too... 😃 I think they were parts of the old kitchen closet! 😃

The machine is completed, time to flash some GPU BIOSes to make them more effective for mining!
|
|
|---|---|
|
|
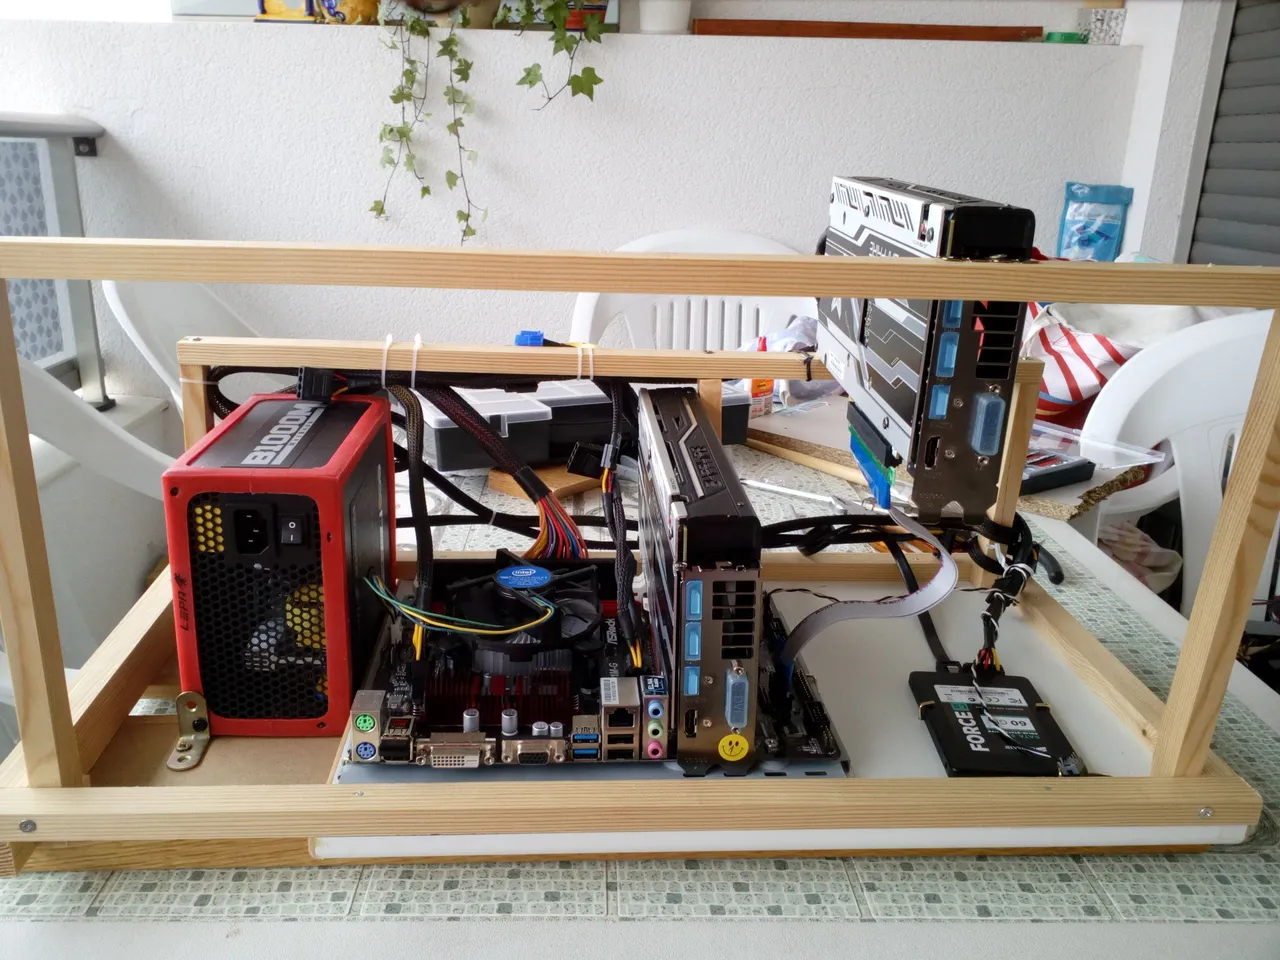
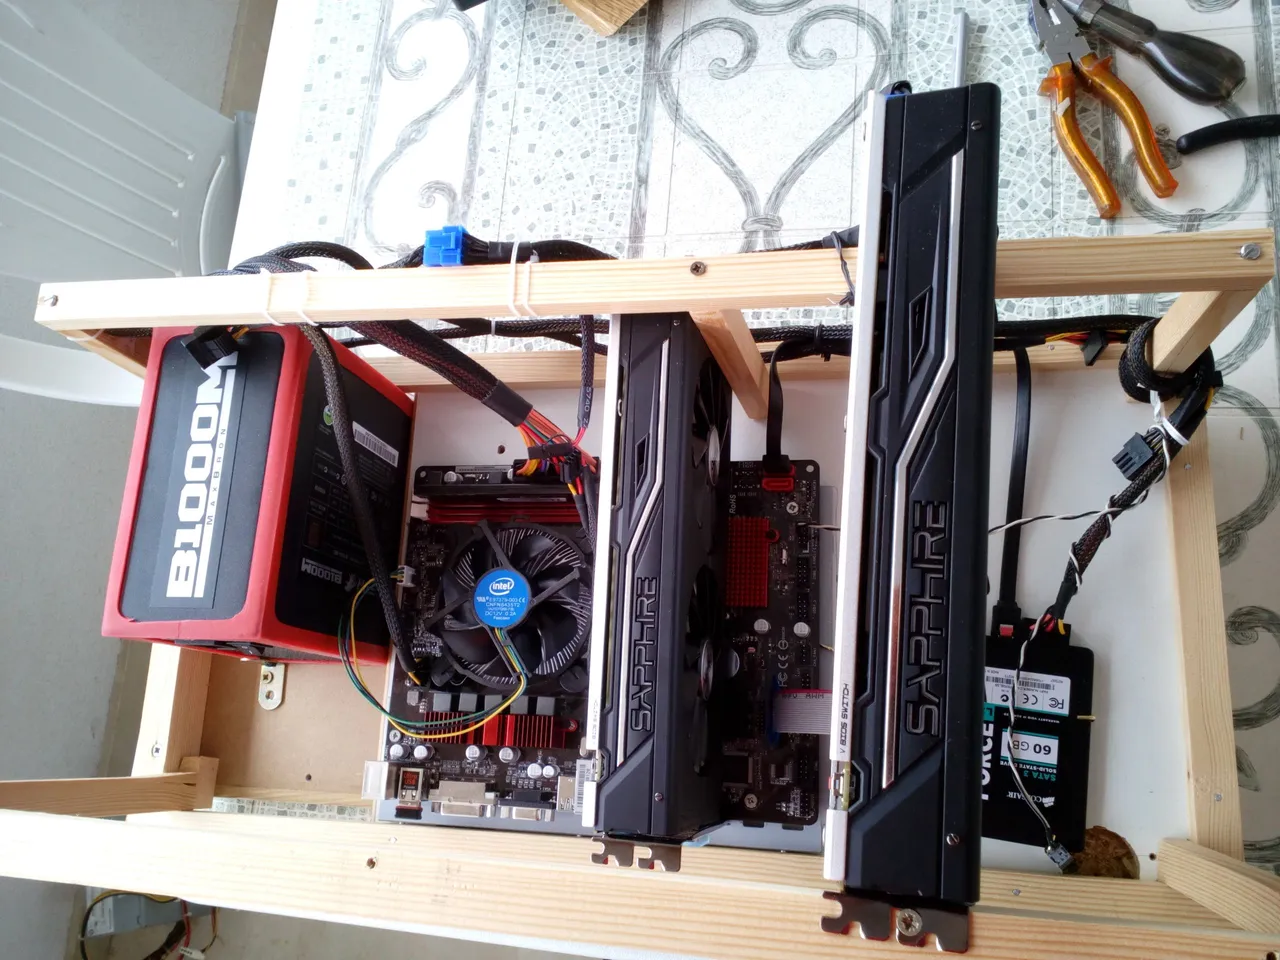
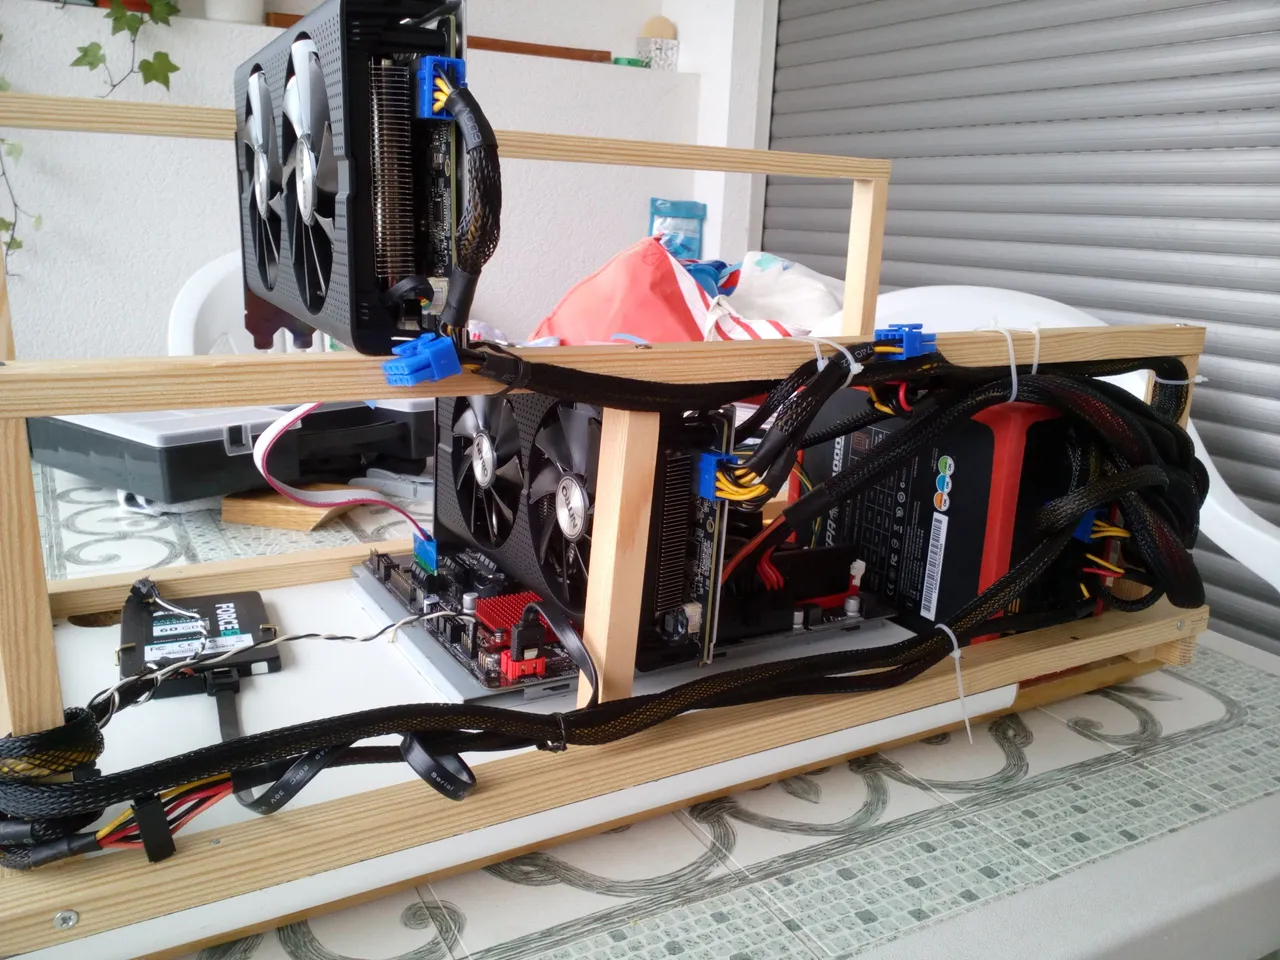
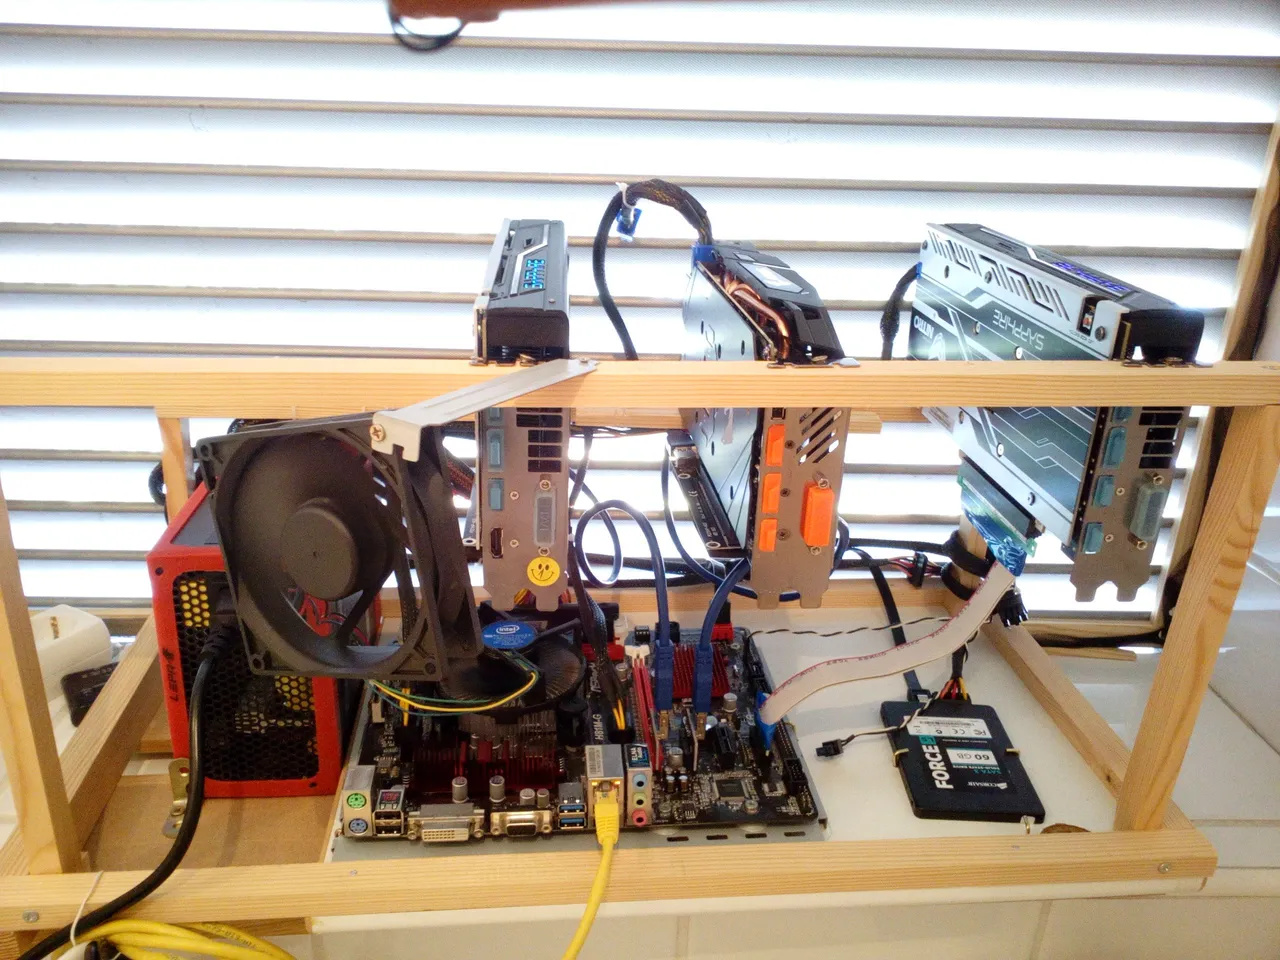
And the machine is ready! Two cards are mounted, and the next step is to make them work together... 😃
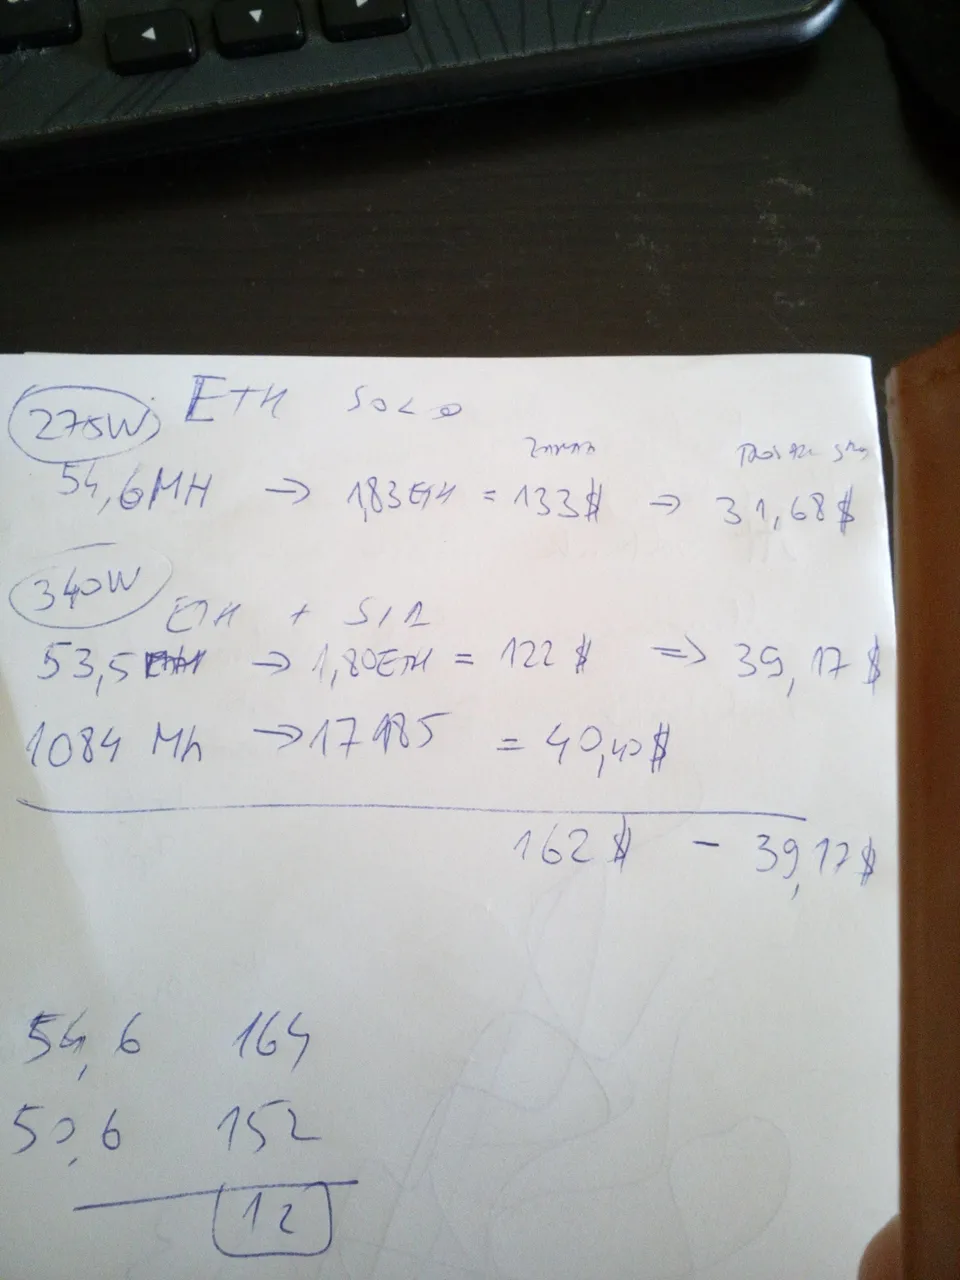
The first calculation of profitability is there... What to do? To mine SOLO Ethereum, or to do DUAL mining and mine the SIA shitcoin too? 😃
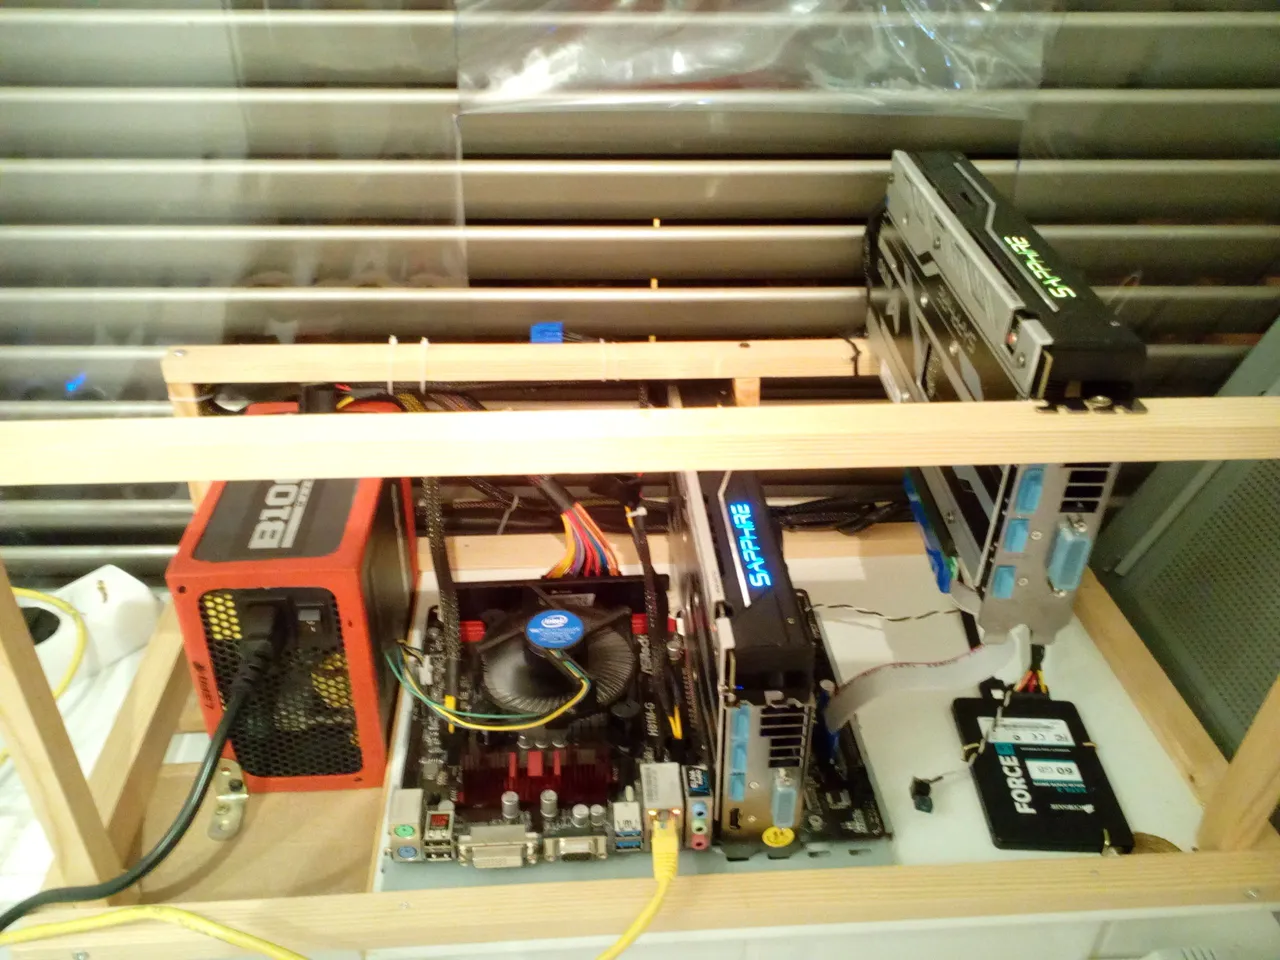
As my wife wasn't thrilled with the idea of 2 powerful GPUs working and buzzing in the middle of the living room 24/7, I had to find a suitable place for the rig... The first attempt was to put it in the window of the storage room...
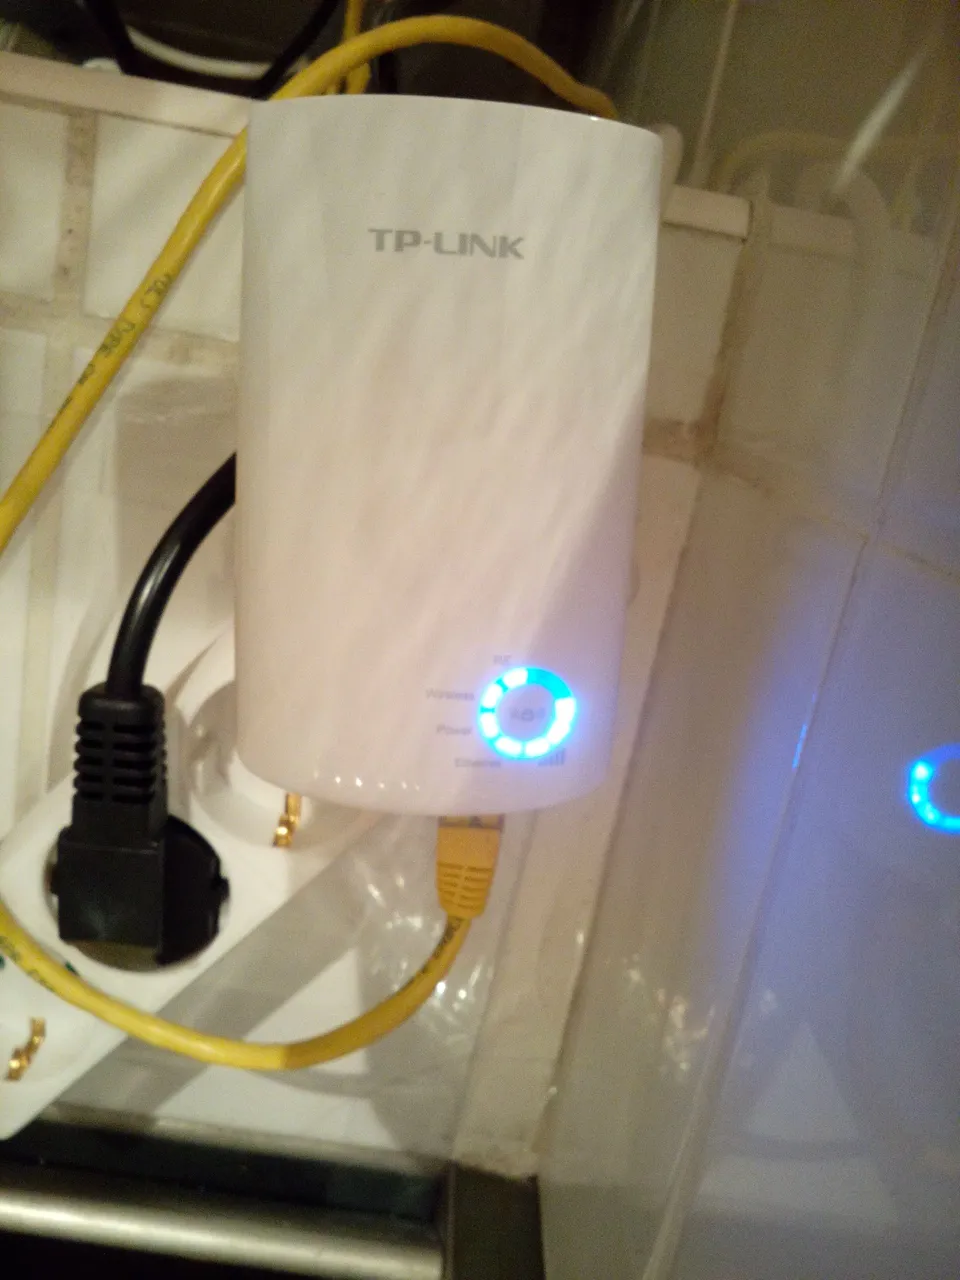
The issue was that my Internet router was in the opposite part of the apartment, and there was no way to take the cable through 3 rooms just for that... So, I made a first mistake and bought this TP-Link WiFi extender, which had one LAN out connector, ideal for the rig... But, these extenders in those days (and I think even today), weren't that reliable as they would lose connection, reboot when they wanted, or just get stuck...
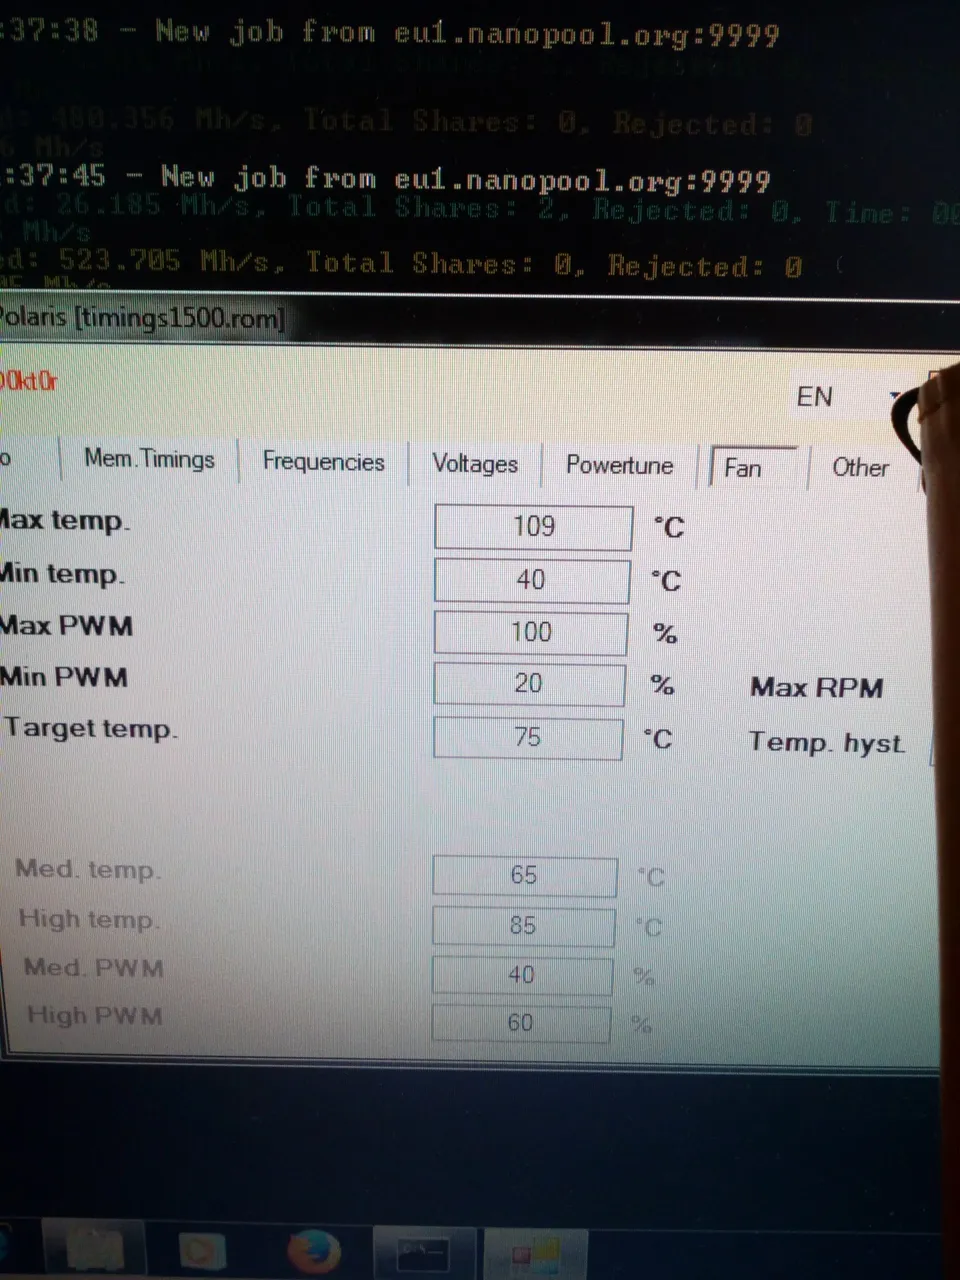
checking the performance and temperatures...
New card arrived...
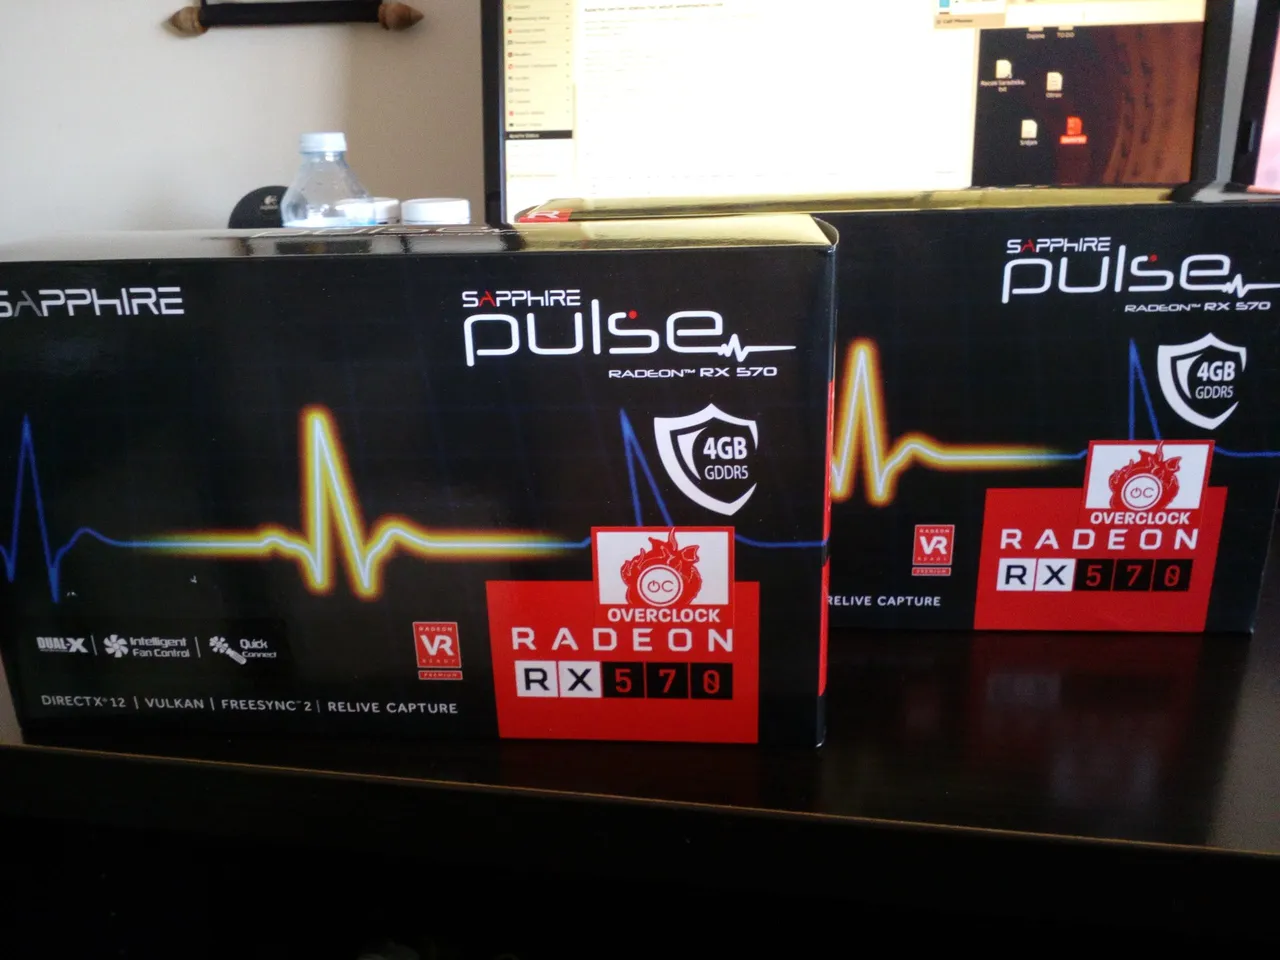
As the RX 480 wasn't the top card, I went one model up and bought these 2 RX 570 cards... Unfortunatelly, the PULSE edition from Sapphire wasn't as good as Nitro, and I didn't buy more of these in the future...
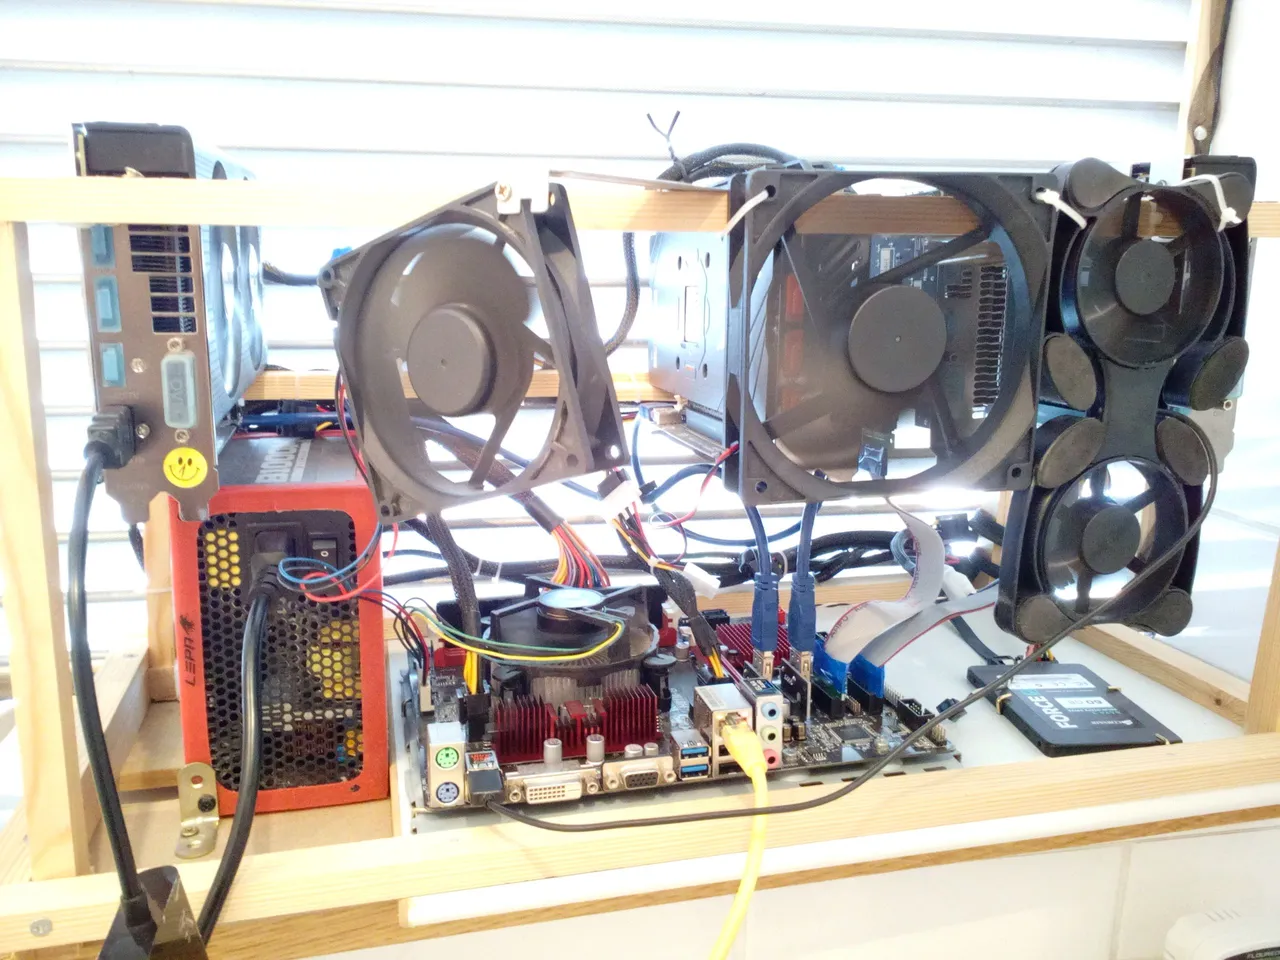
You gotta cool off those cards... Fans added... 😃
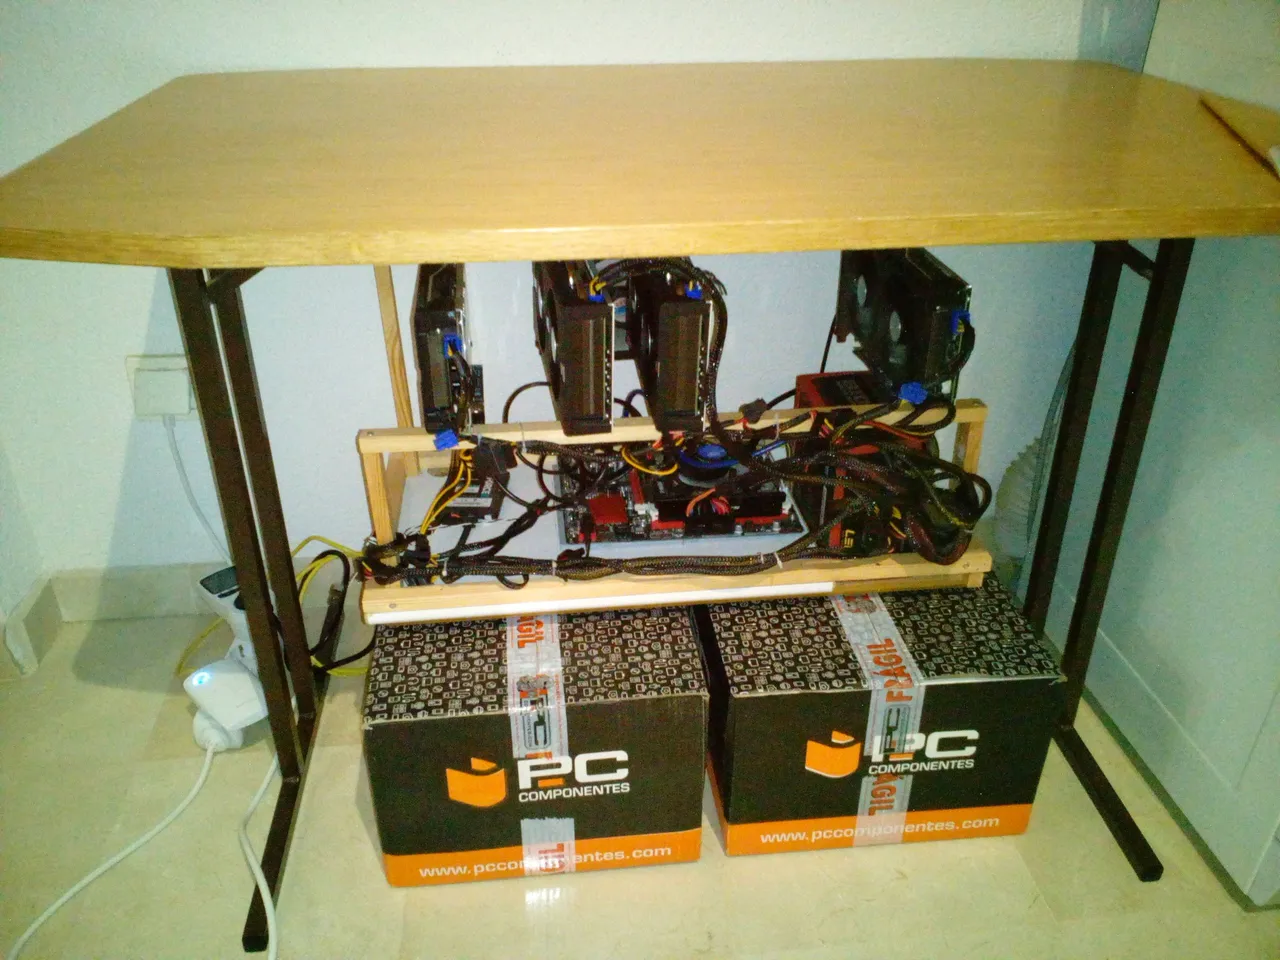
After maybe a month from the very beginning, I decided to move the rig out of the apartment, to the terrace... It was June, and the cards were too hot inside, so I put them outside where it was their permanent place (for the summer)... At that place, I had 2 full rigs (10-12 cards) at the end of the summer...
When winter came, I moved them back INSIDE the apartment and used them as a heater! Believe me or not, I think that we didn't use additional heaters that winter... It was a bit noisy, but you get used to it... Especially when you know that this thing "PRINT" crypto day by day!
Maybe all this looks a bit ridiculous, childish, or awkward, but all this made a big difference in my life... And it was a helluva crypto adventure that still lasts!
I hope you liked this blast from the past post...
Thank you for your time.
--ph--

👉 Vote for Liotes HIVE Witness HERE 👈
Don't forget to follow, reblog, and browse my Hivepage to stay connected with all the great stuff!