Greetings, friends. The other day I was thinking about my little cat that I left behind in Venezuela. She is well cared for; I didn't leave her alone and abandoned, but I do miss my feline companion, so thinking about that, I decided to make this little keychain to keep here, to remember her every time I see it.
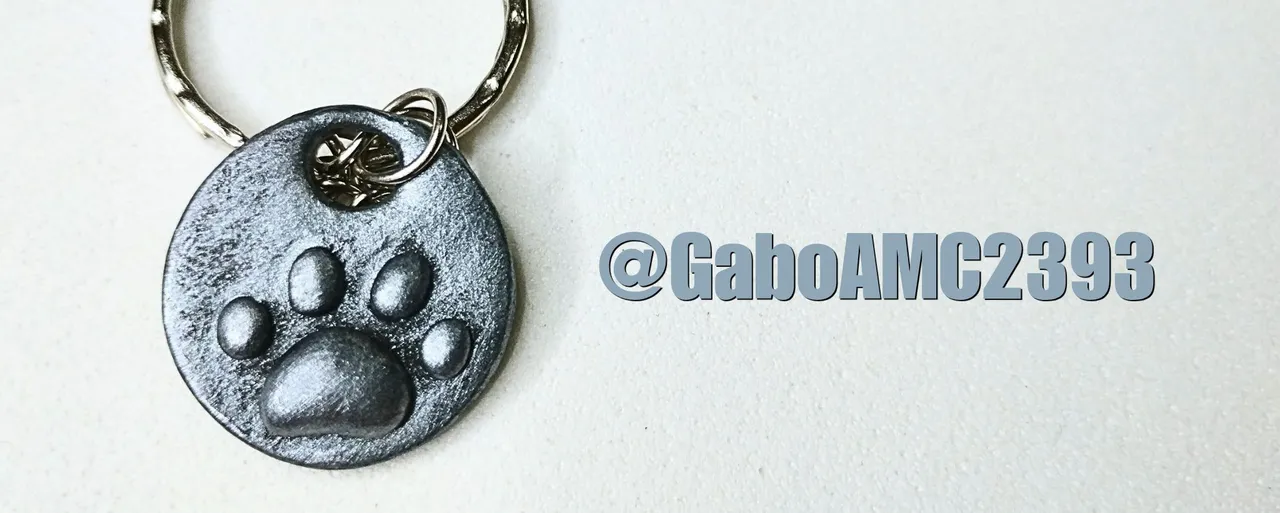
In the image below, you can see how it turned out. Although it looks like an iron keychain, the truth is that it's not made of iron, it's made of flexible clay, and although it looks very cute, it's a relatively easy keychain to make, so I invite you to take a look at the post and follow the step-by-step instructions for this cute piece. With that said, let's get started...
Español
Saludos amigos. El otro día estuve pensando en mi gatita que dejé en Venezuela. Ella está bien cuidada, no la dejé sola y abandonada, pero sí me hace falta mi compañera gatuna, así que pensando en eso se me ocurrió hacer este pequeño llaverito para tenerlo por acá, para recordarla siempre que lo vea.
En la imagen de abajo pueden ver que cómo quedó. Aunque parece un llaverito de hierro, la verdad es que no, no es de hierro, es de masas flexible y aunque se ve muy lindo, es un llavero relativamente fácil de hacer, así que los invito a darle un vistazo al post y seguir el paso a paso de tan linda pieza. Dicho todo esto, vamos a empezar...
Step by step
The materials I used for this keyring were as follows:
- Flexible clay
- Jewelry wire
- Glue
- Chain and keyring ring
- Paint
- Tools such as a cutter, brushes, and tweezers.
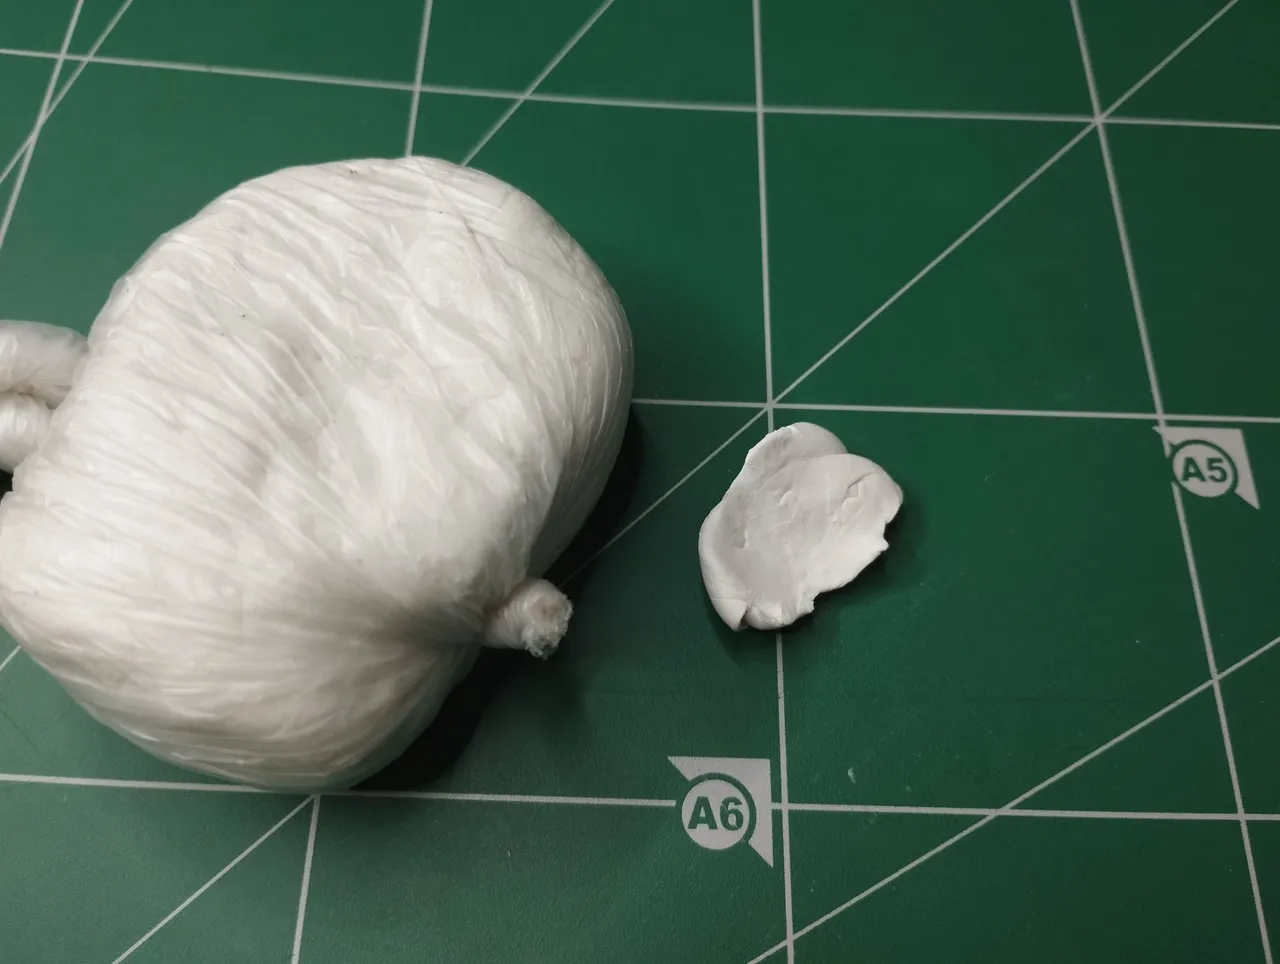
As you can see, it is a small piece, so I only took a small piece of material to avoid wasting too much, since once the flexible clay comes into contact with air, it begins to dry and almost always dries quickly when it is in small pieces and is handled.
Paso a paso
Los materiales que utilicé para este llavero fueron los siguientes:
- Masa flexible
- Alambre de bisutería
- Pegamento
- Cadena y argolla de llavero
- Pintura
- Herramientas como cutter, pinceles y pinzas.
Como pueden ver es una pieza pequeña, así que solo tomé un pequeño trozo de material para no desperdiciar demasiado, ya que una vez que la masa flexible tiene contacto con aire, se comienza a secar y casi siempre se seca rápidamente cuando son trozos pequeño y es manipulada.
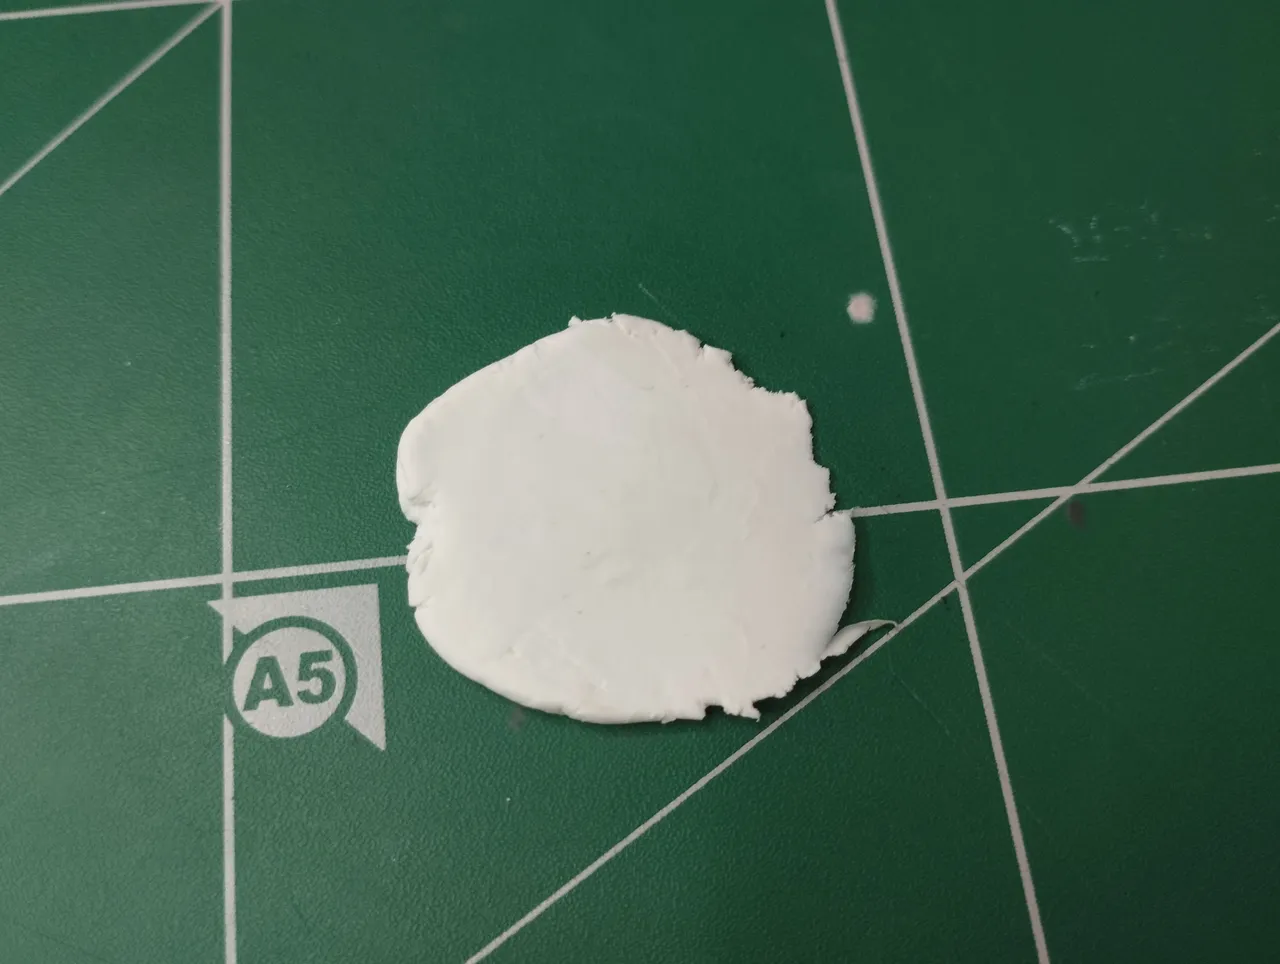
Well, the first thing you have to do is flatten the whole piece until you have a shapeless tortilla. In my case, I used a small rolling pin until it looked like the image below.
Pues bien, lo primero que hay que hacer es aplastar toda la pieza hasta hacer una tortilla sin forma. En mi caso usé un pequeño rodillo hasta que quedó como se ve en la imagen de abajo.
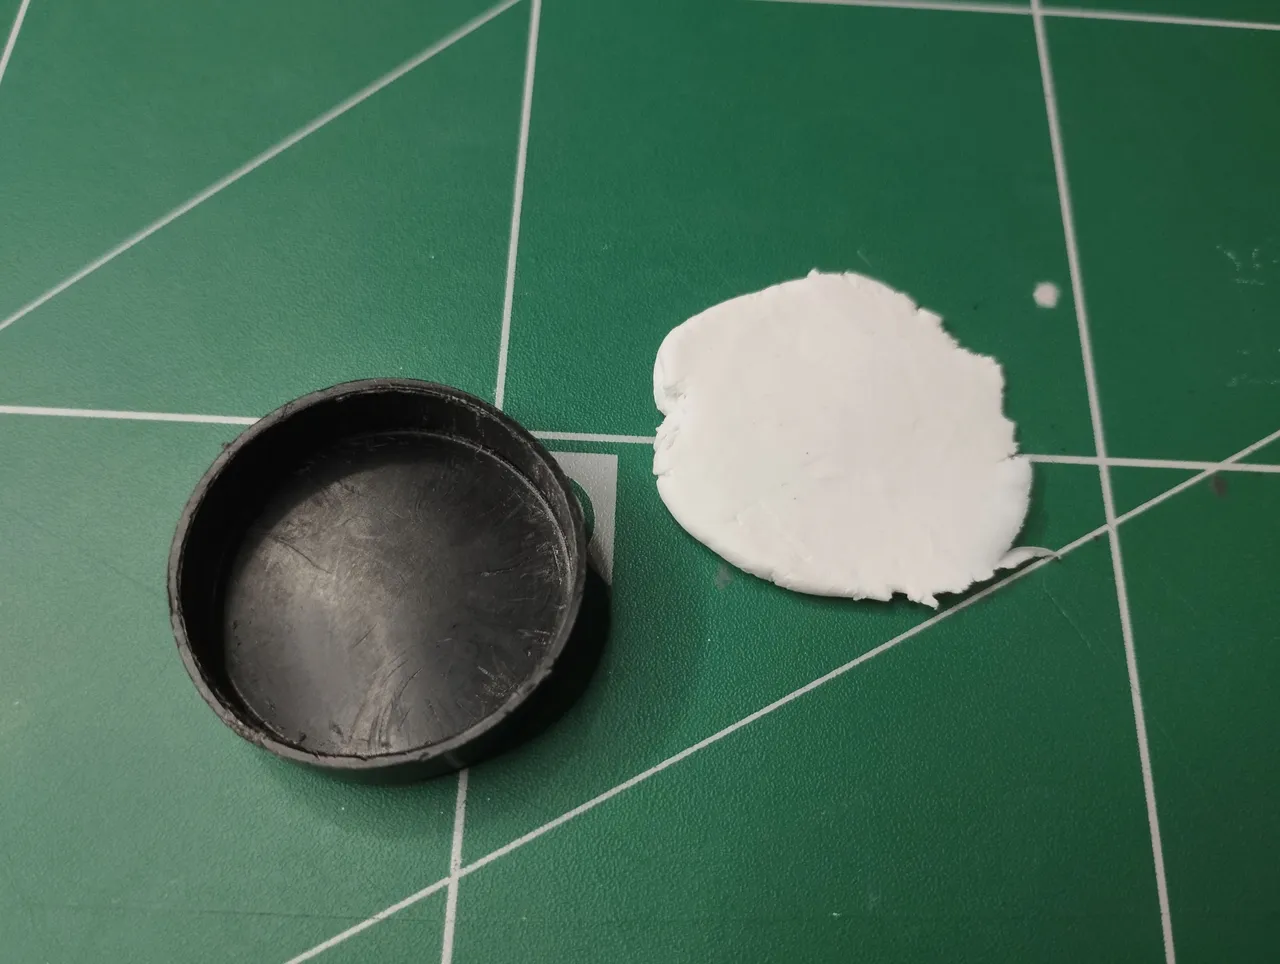
To give it this circular shape, we could cut it with scissors, but it's better to use a mold. As shown in the image below, I used the plastic lid of a small container, which I pressed against the material, leaving a round shape. It's like cutting cookie dough with a round mold.
Para darle esta forma circular bien podríamos cortarlo con una tijera, pero mejor usar un molde. Como se muestra en la imagen de abajo, usé la tapa de plástico de un pequeño envase, la cual presioné contra el material, dejando la forma redonda. Vamos, como si estuviese cortando masa de galletas con un molde redondo.
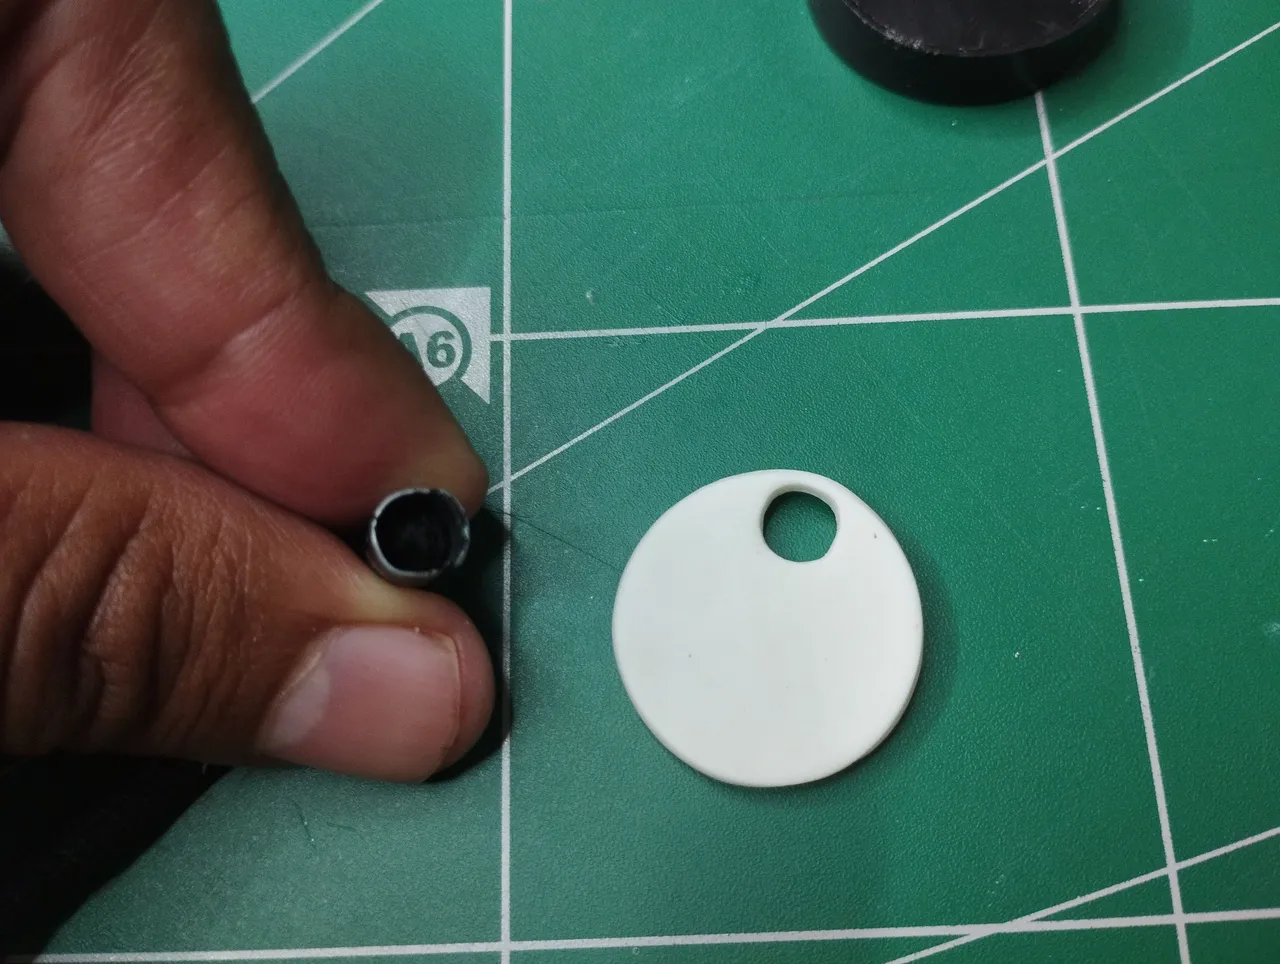
Once the piece was cut out, I used another iron cylinder I found nearby and made another small hole in the top of the piece, as you can see in the image below.
Since it is a flexible, water-based material, the edges of the cutout can be smoothed so that it is smooth, without any visible lines or imperfections.
Una vez recortada la pieza, usé otro cilindro de hierro que encontré por allí e hice otro agujerito en la parte superior de la pieza, tal como pueden ver en la imagen de abajo.
Como es masa flexible, que es a base de agua, se puede suavizar los bordes del recorte para que quede liso, sin ningún tipo de línea ni imperfección visible.
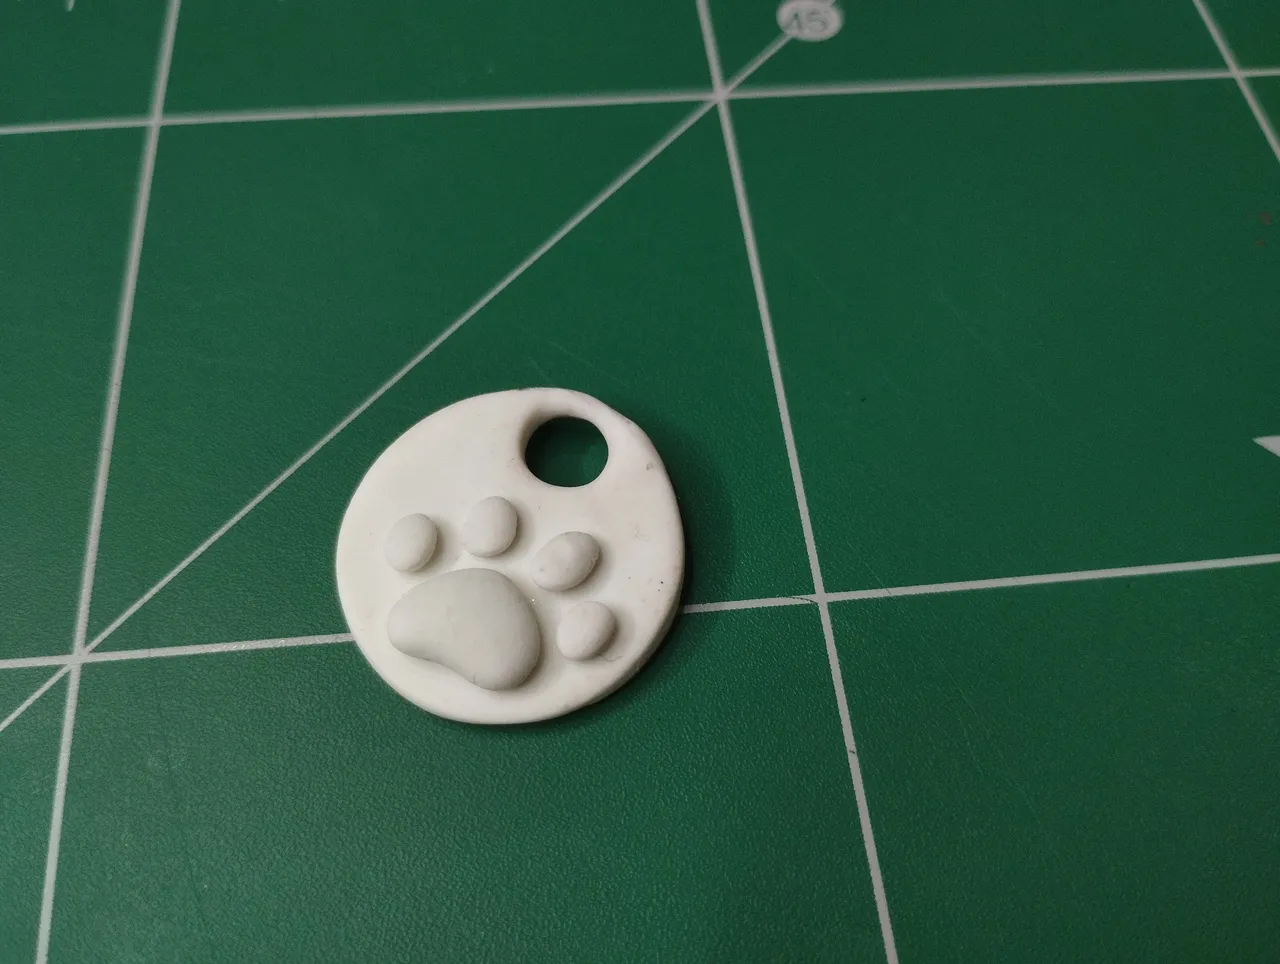
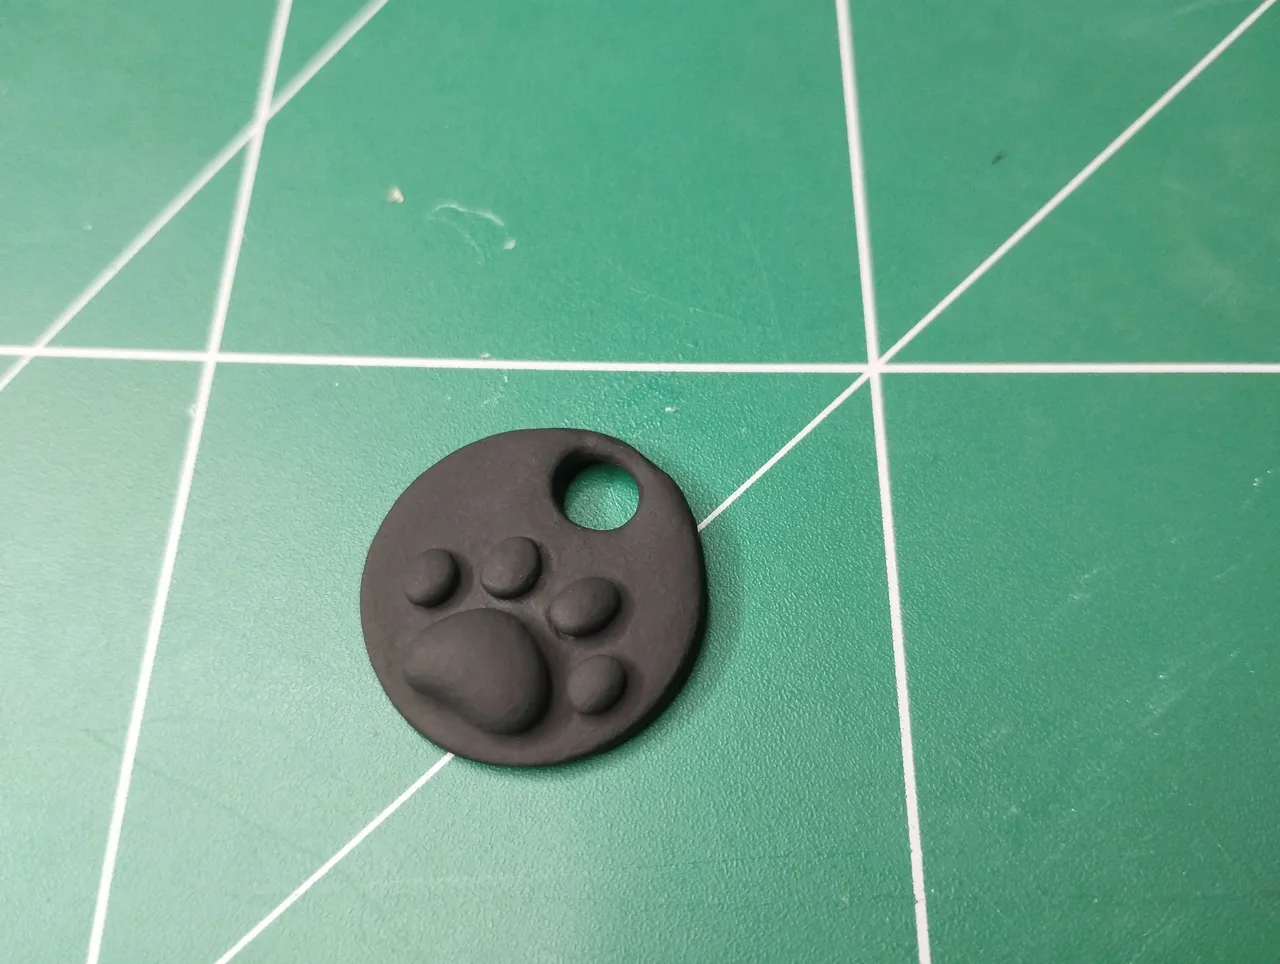
Since it's a cat paw keychain, I simply made a cat paw print on the plate I had made. I just cut several small pieces of the material and molded them in relief so that they would stand out above the plate.
Since it's water-based, I simply used water to release the paw pieces onto the plate, because yes, this material sticks when water is added.
Como es un llavero de pata de gato, simplemente hice la huellita de un gato en la plaquita que había hecho. Simplemente corté varios trocitos del material y los moldeé en relieve para que llamara la atención por encima de la plaquita.
Al ser a base de agua, simplemente usé agua para soltar las piecitas de la pata en la placa, porque sí, este material cuando se agrega agua se pega.
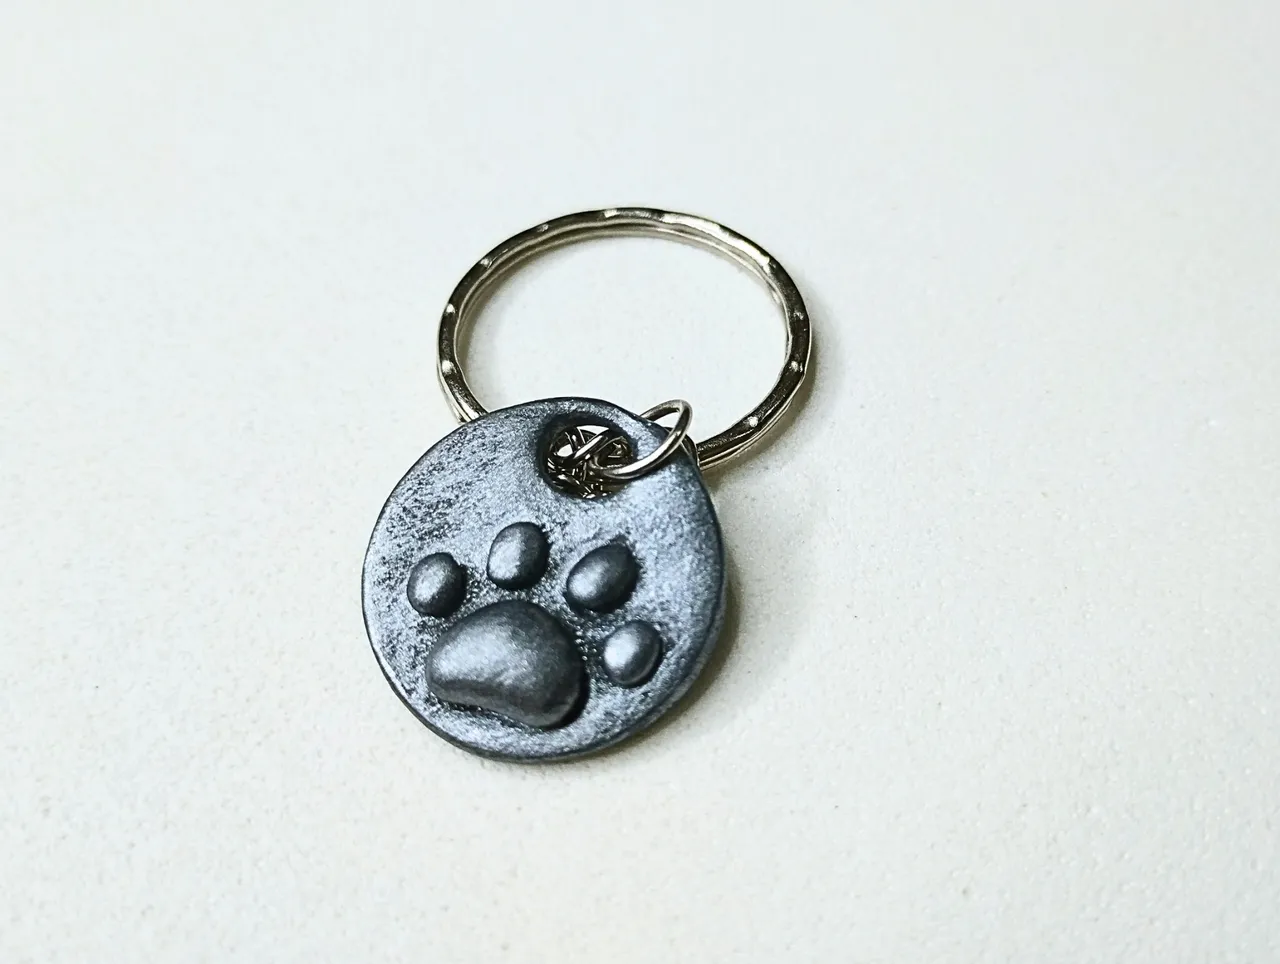
Once the entire piece was dry, which took approximately two hours, I began the painting process. I used black paint as a base for the keyring, then applied brushstrokes using the dry painting technique with silver paint to give it that metallic finish you can see in the image at the beginning.
Once the paint was dry, I added two coats of extra-strong clear glue (carpentry glue) to protect the piece.
Una vez seca toda la pieza, que tardó aproximadamente dos horas en secar, comenzó el proceso de pintado. Usé pintura negra como base para el llavero, luego hice pinceladas con la técnica de pintado en seco con pintura plateada, para darle ese acabado metálico que pueden ver en la imagen del comienzo.
Una vez seca la pintura, agregué dos capas de pegamento transparente extra fuerte (de carpintería) para proteger a la pieza.
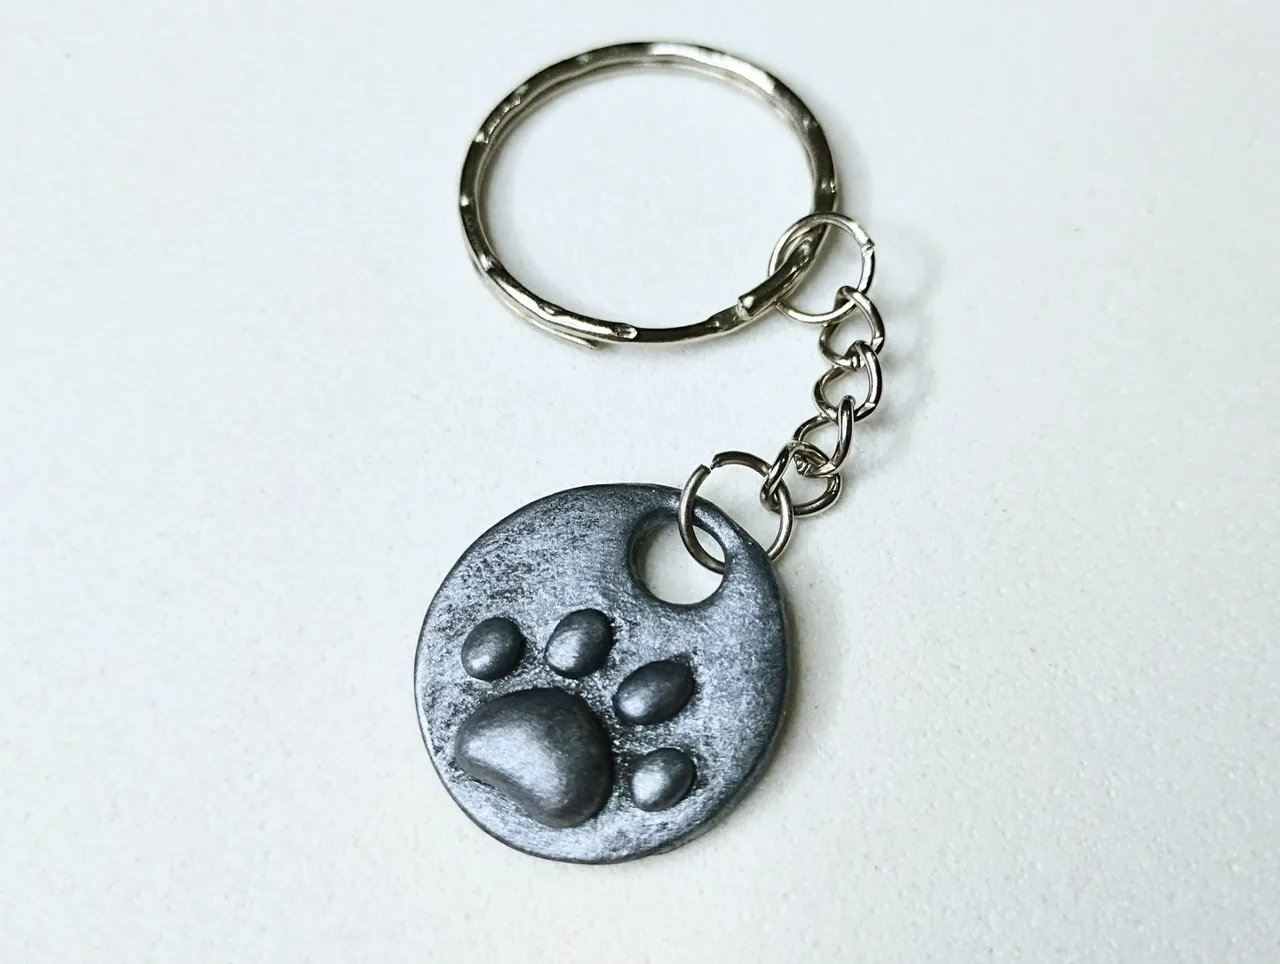
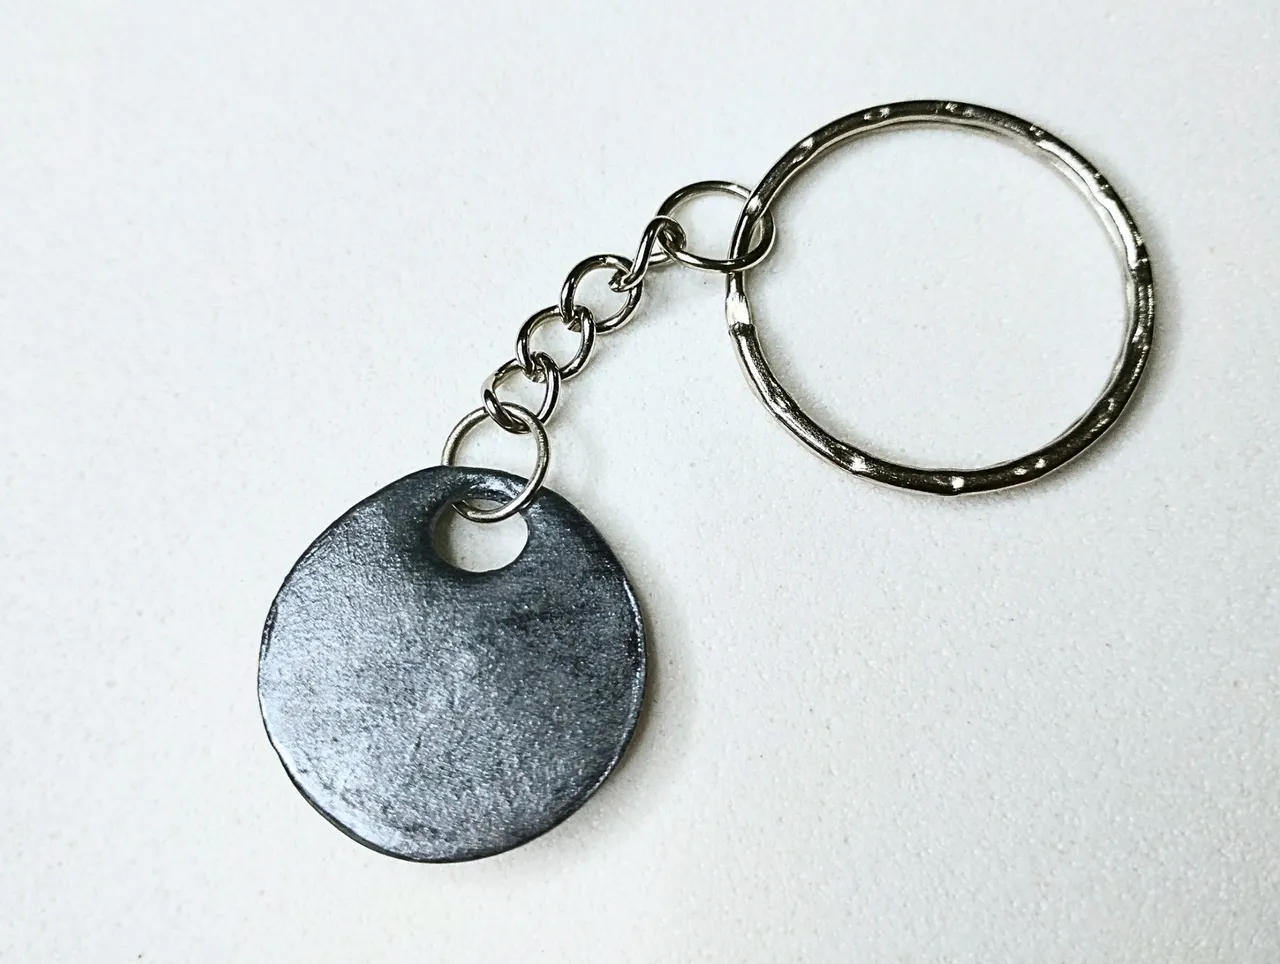
This completes the keyring. Below you can see a series of photographs of the final result:
De esta manera el llavero quedó terminada. A continuación pueden ver una serie de fotografías del resultado final:

Well, friends, that's all for now. I hope you liked my keychain, because I really liked it and it's quite meaningful. I invite you to leave your opinions below in the comments, as always, I'll be happy to read them. Without further ado, I bid you farewell...
See you next time!
Bien amigos, esto ha sido todo por ahora. Espero que mi llavero les haya gustado, porque a mi me gustó mucho y es bastante significativo. Los invito a dejar sus opiniones abajo en los comentarios, como siempre estaré encantado de leerlos. Sin más que agregar, me despido entonces...
¡Hasta la próxima!