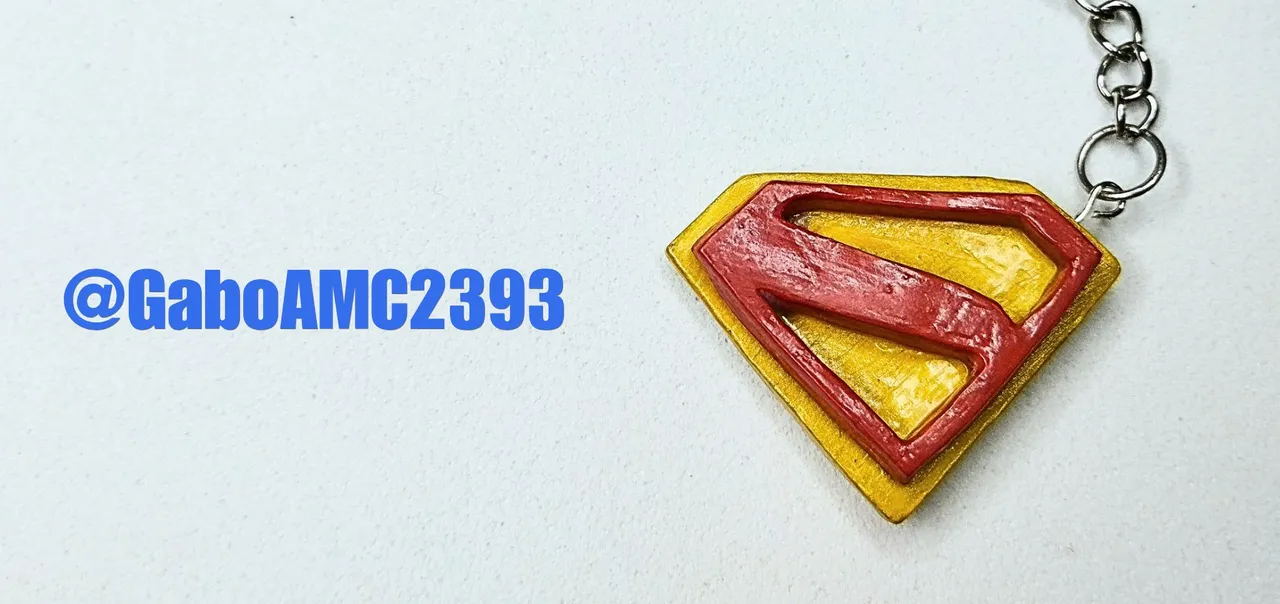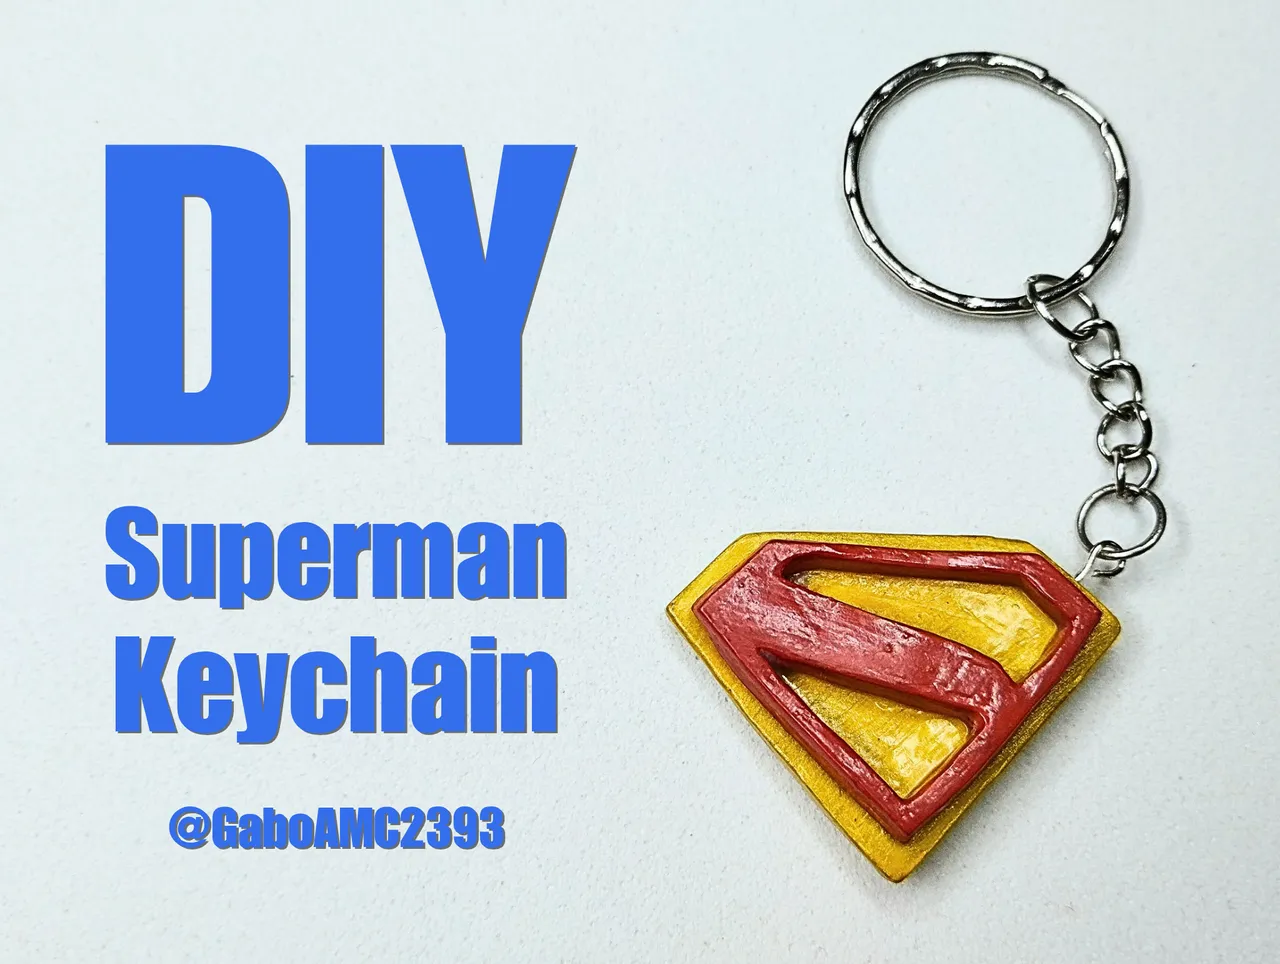
Hello, friends. The other day I had the opportunity to see Superman, and although it's not a perfect movie, it's certainly one of the best movies I've seen about the character—a family-friendly, colorful film, full of action and non-stop excitement.
Thinking about how much I liked the movie, I wanted to make a keychain featuring the iconic symbol of the son of Krypton. Join me as I walk you through the step-by-step process of making this awesome keychain.
Español
Saludos amigos. El otro día tuve la oportunidad de ver Superman y aunque no es una película perfecta, ciertamente es una de las mejores películas que he visto del personaje, una película familiar, colorida, llena de acción y un sin parar de emoción.
Pensando en lo mucho que me gustó la película, quise hacer un llavero del emblemático símbolo del hijo de Kripton. Acompáñenme en el paso a paso de este llavero tan genial.
Step by step
The materials I used for this keyring were as follows:
- Flexible clay
- Wire
- Paint
- Rings
- Glue
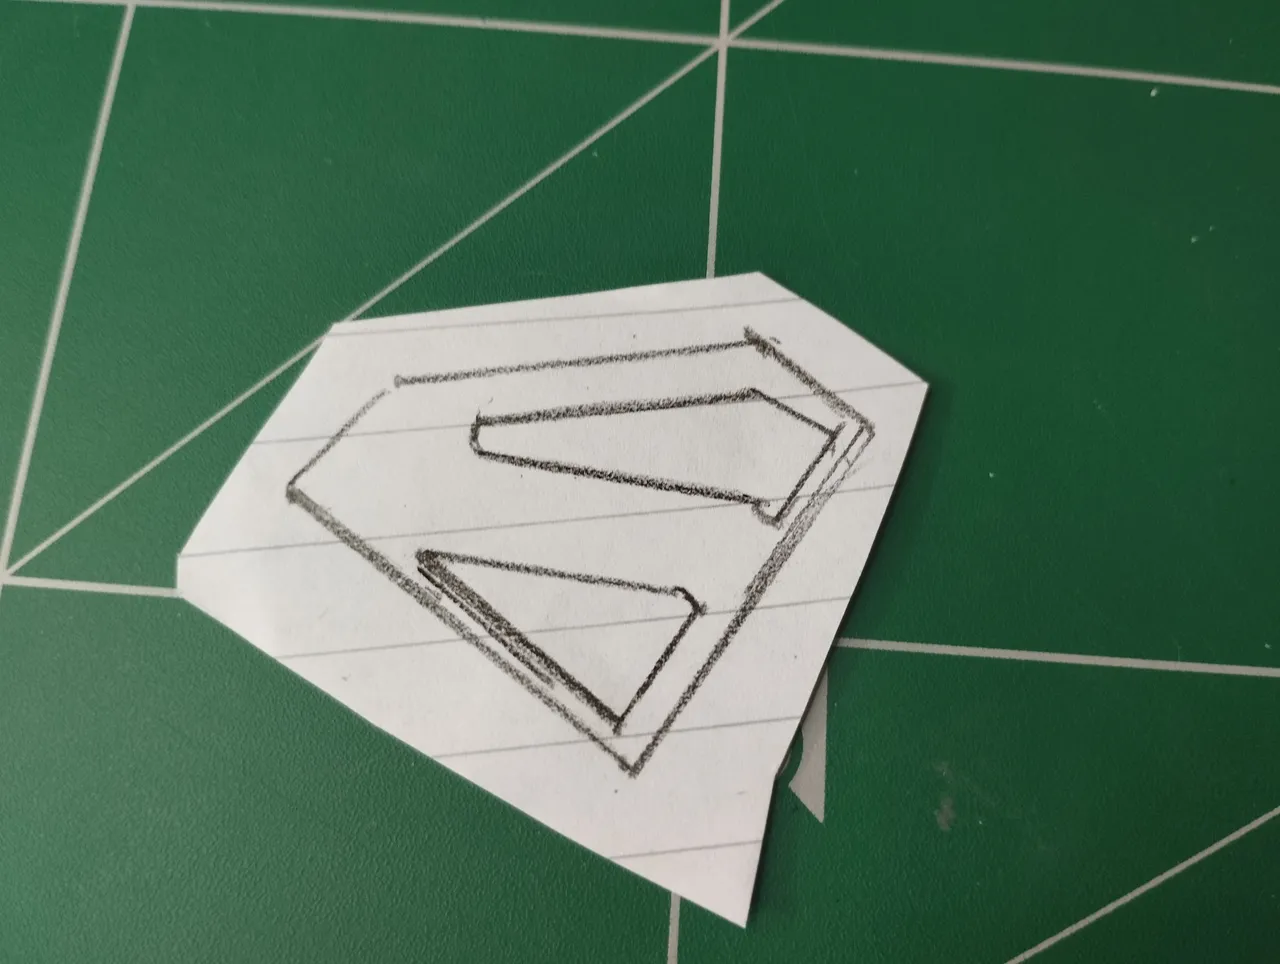
The first thing I did was make a paper model, which is something I usually do to use as a guide.
Paso a paso
Los materiales que utilice para este llavero fueron los siguientes:
- Masa Flexible
- Alambre
- Pintura
- Argollas
- Pegamento
Lo primero que hice fue un modelo en papel, es algo que suelo hacer para que me sirvan de guía.
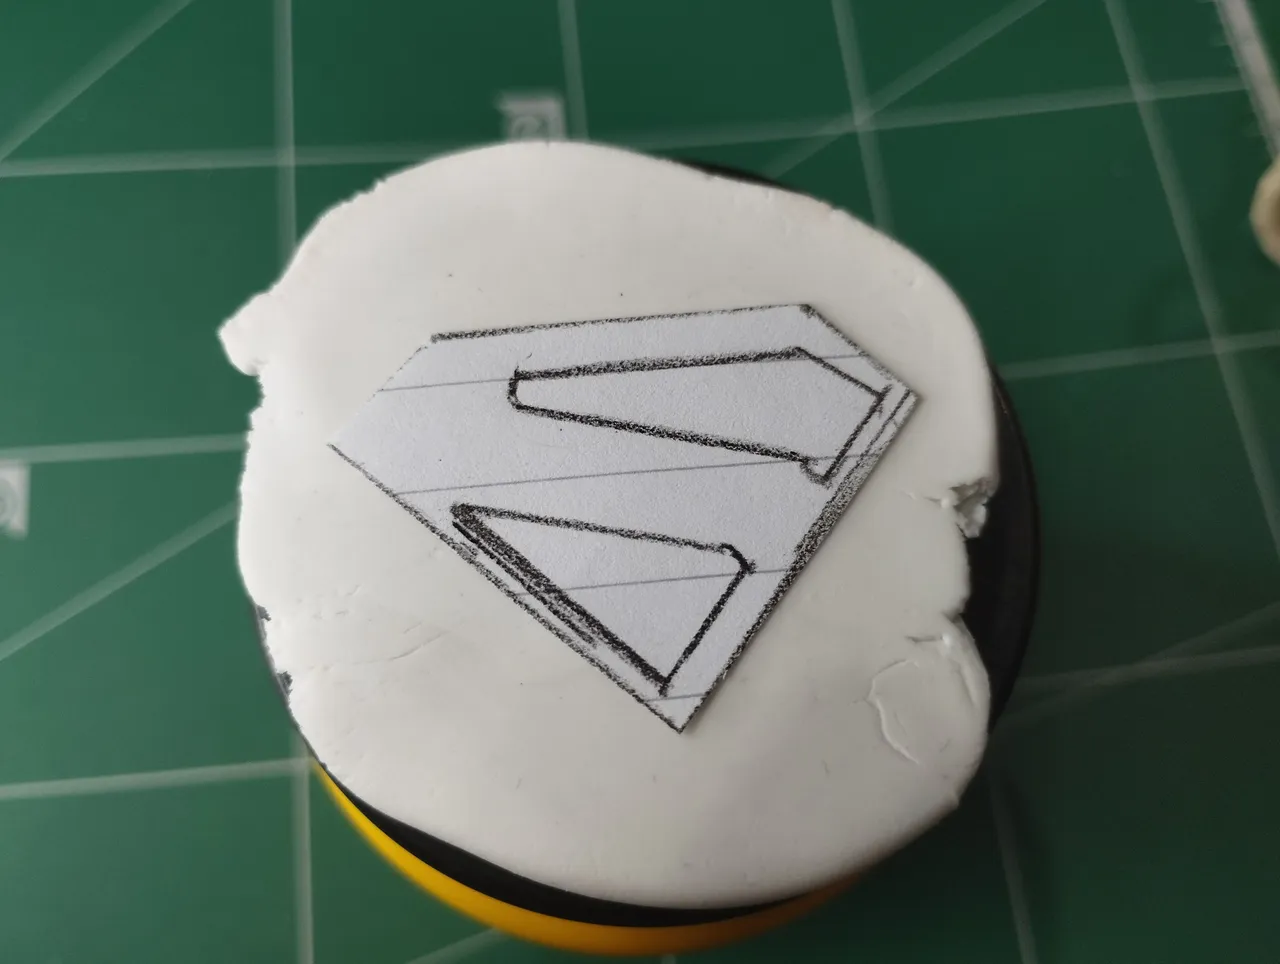
I took a piece of flexible dough and flattened it into a thin layer, on which I placed the paper template I had made.
Following the edge of the pattern, I cut the flexible dough with the sharp tip of the cutter, leaving it as if I had done it with a mold, instead of following a pattern.
Tomé un trozo de masa flexible y lo aplasté hasta dejar una capa aplanada del material, sobre la cual coloqué el modelo de papel que había hecho.
Siguiendo el borde del patrón, corté la masa flexible con la punta afilada del cutter, quedando como si lo hubiese hecho con un molde, en lugar de seguir un patrón.
 |  |
|---|
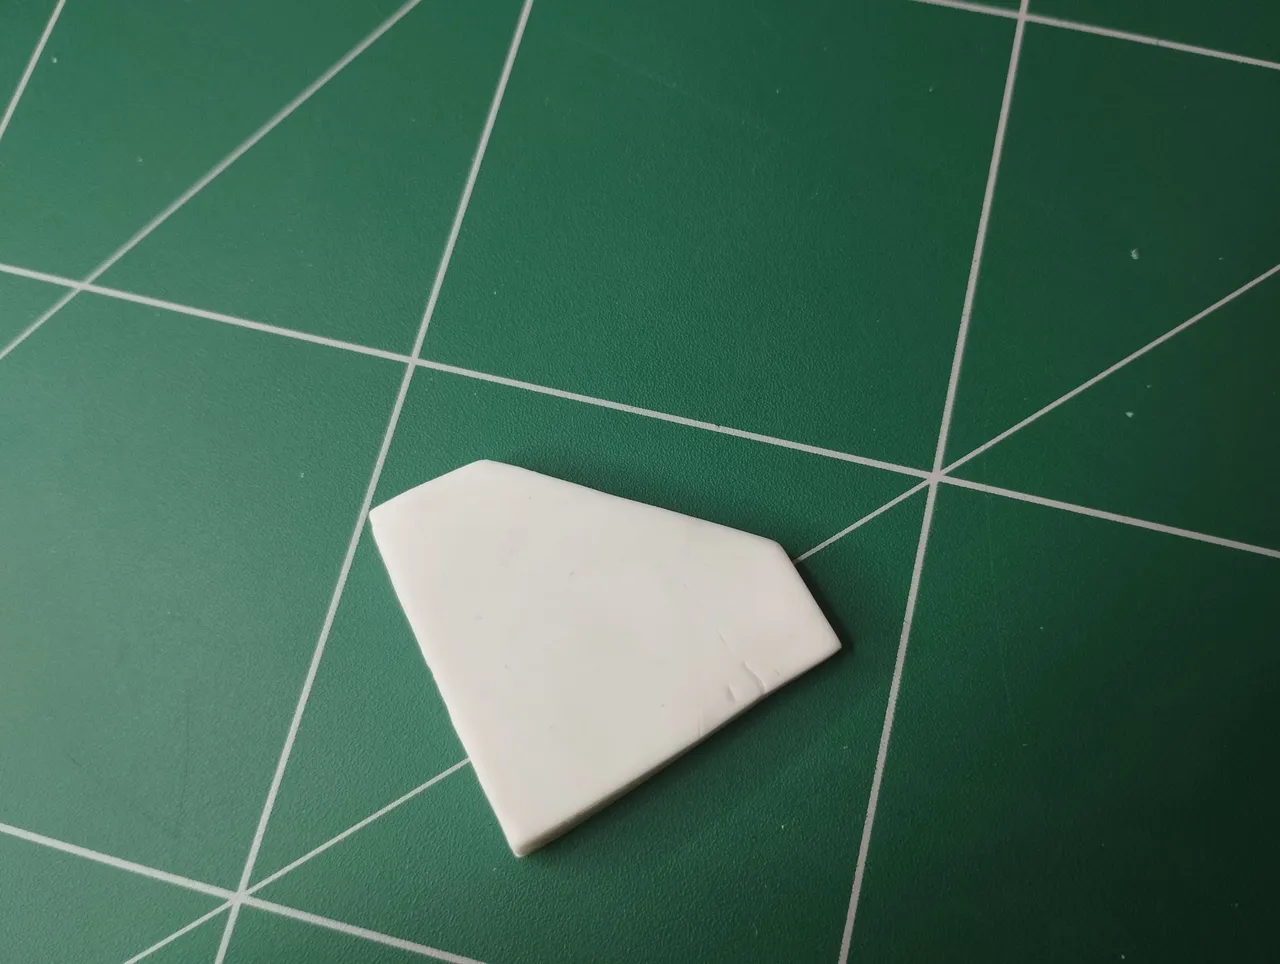
The first “triangle,” for lack of a better word, is the largest one, which will serve as the base. This one is yellow, so you need to make a smaller one, which will be red.
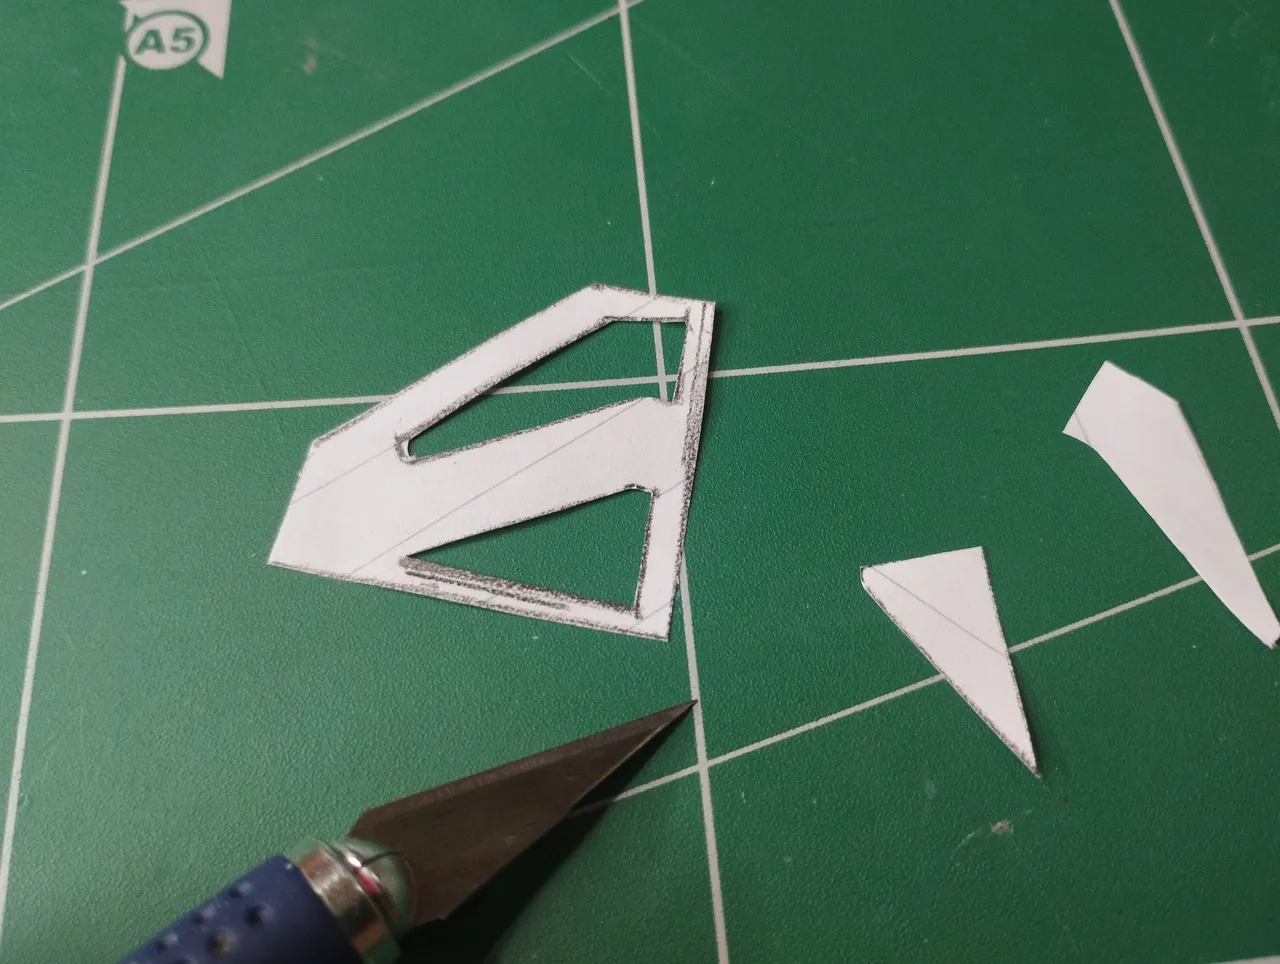
In the image below, you can see that I simply made another “triangle,” but I drew some lines inside it to serve as a guide, then cut along those lines, creating the two triangles for the two pieces of the keyring, one smaller than the other.
El primer "triángulo", por llamarlo de alguna manera, es el más grande, el que servirá de base. Este es el de color amarillo, así que hay que hacer uno más pequeño que será el de color rojo.
En la imagen de abajo pueden ver que simplemente hice otro "triángulo", pero le hice unas líneas en el interior que me servirían de guía, luego corté siguiendo esas líneas, logrando los dos triángulos para las dos piezas del llavero, uno más pequeño que el otro.

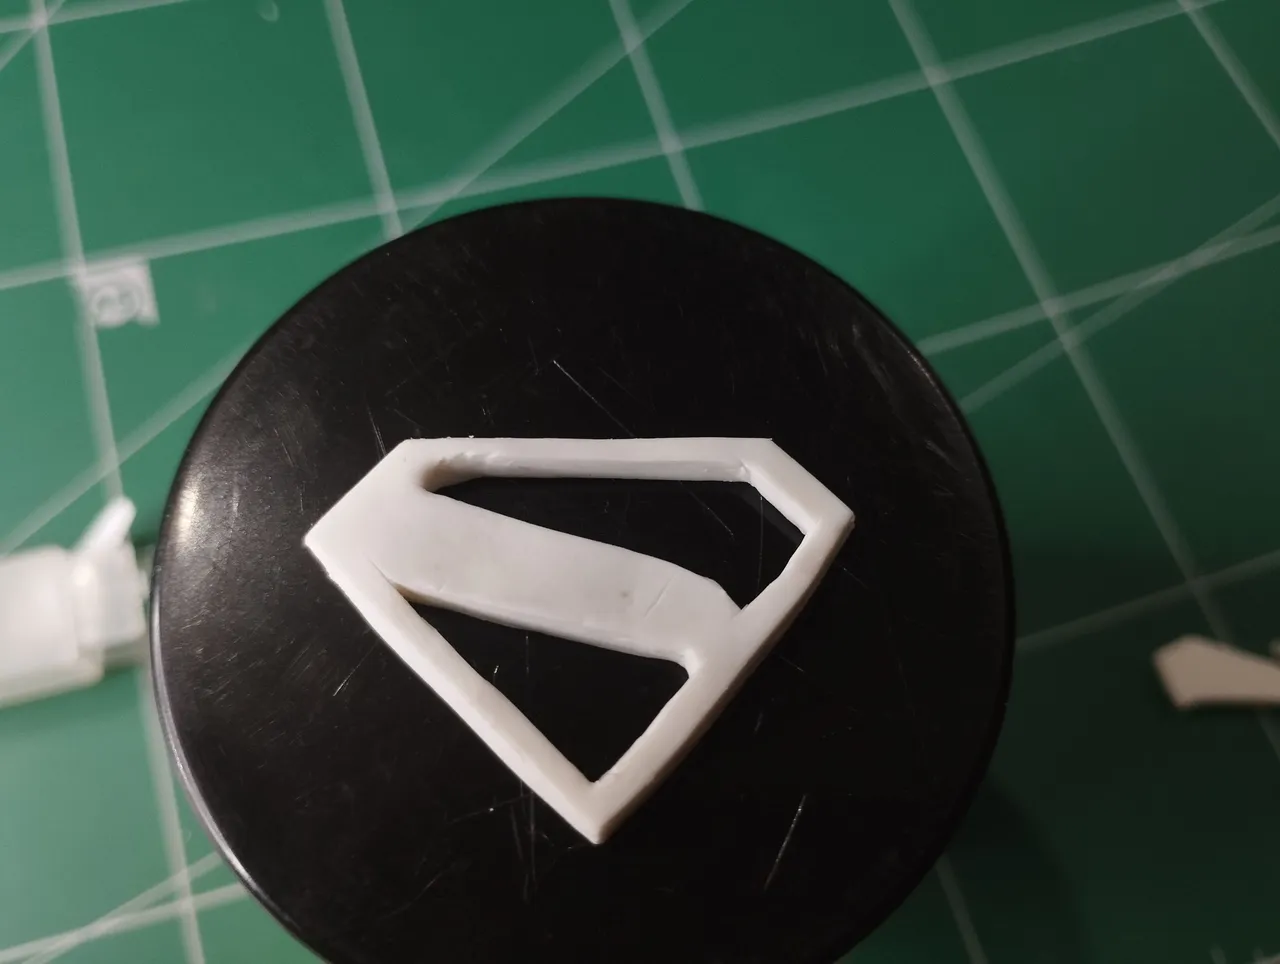
While the material was still wet, I made the pattern for the red “S” in the symbol. But I wouldn't use the paper triangle as a pattern, no, but rather the two small pieces I cut out, the ones next to the triangle in the image below.
Mientras aún estaba húmedo el material, hice el patrón para la "S" roja del símbolo. Pero no usaría el triángulo de papel como patrón, no, sino las dos piecitas que recorté, las que están al lado del triángulo en la imagen de abajo.
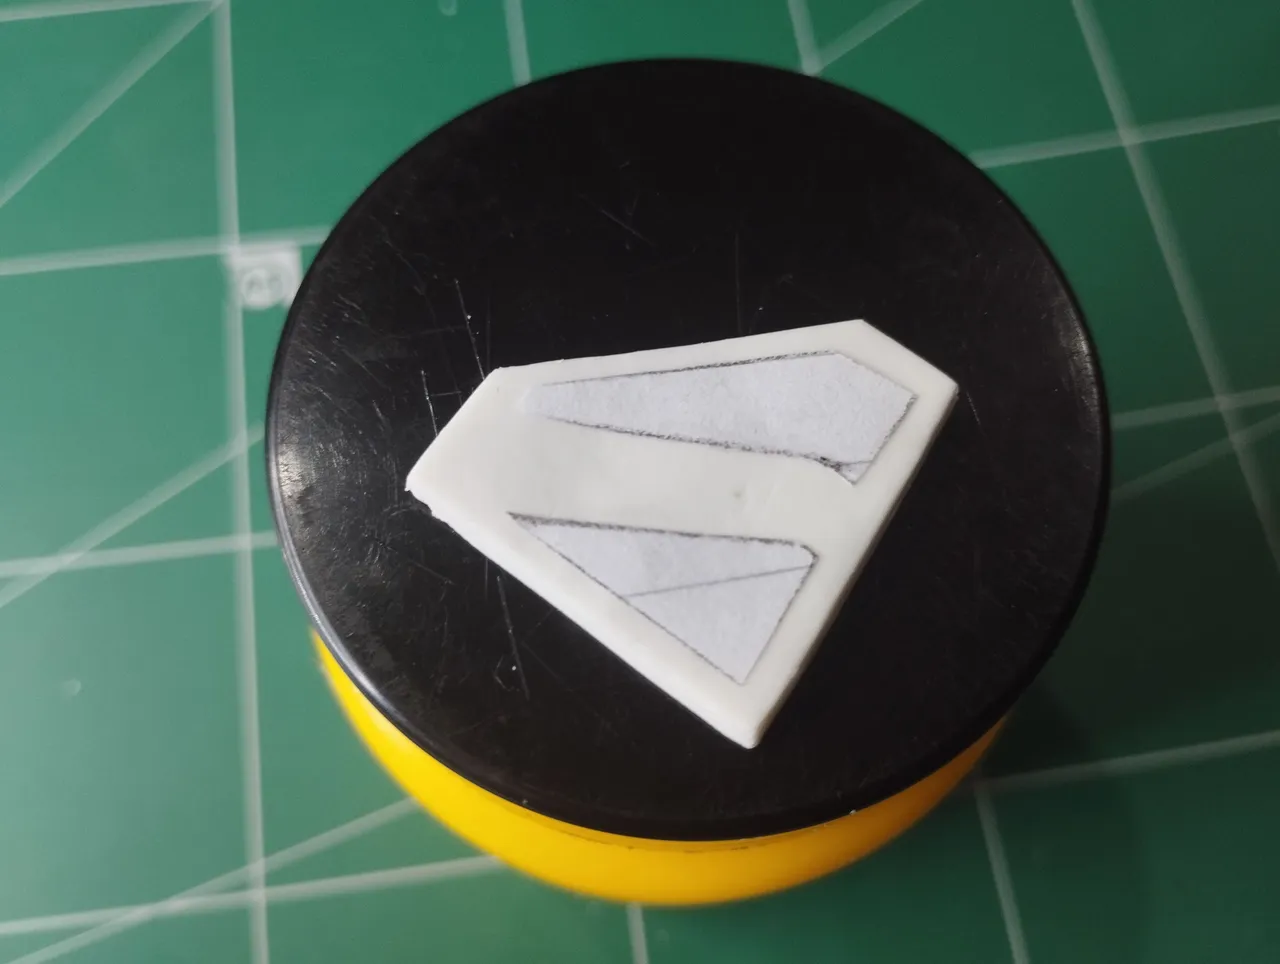
I glued these two small pieces onto the smallest triangle I had cut out, following this pattern and leaving those holes in the piece, as you can see in the image below.
Estas dos piecitas las pegué en el triángulo más pequeño que había recortado, para seguir este patrón y dejar esos agujeros en la pieza, tal como pueden ver en la imagen de abajo.
 |  |
|---|
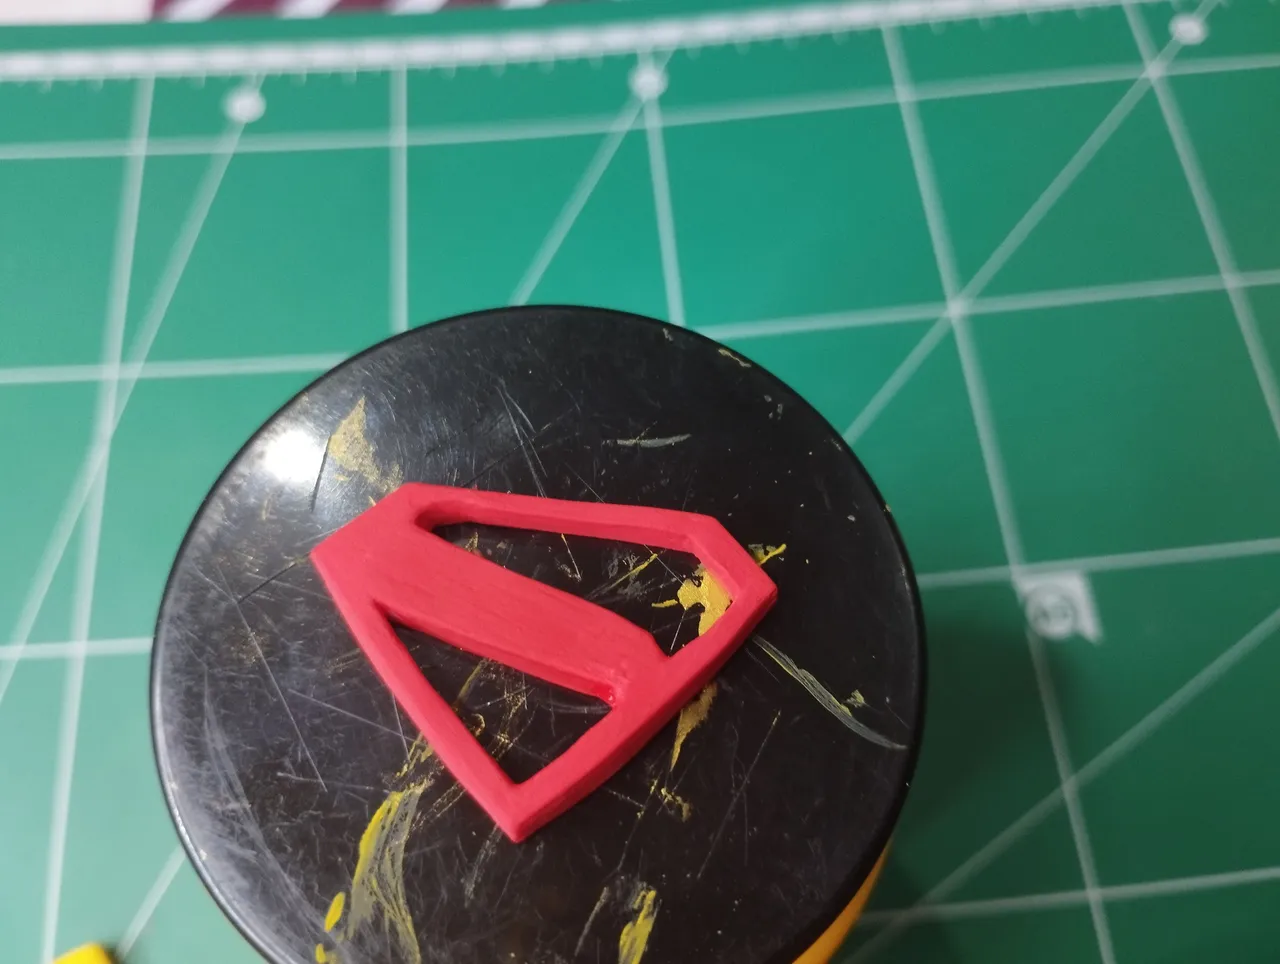
Here I should explain that I did not color the material at first because I needed the flexible dough to be quite rigid. When mixing the flexible dough with paint, you have to add too much paint to get the intense colors of red and yellow, leaving the flexible dough very soft and difficult to mold to achieve a smooth finish, so I preferred to mold the flexible dough without coloring it and, once the pieces were made, to color them.
And so I did. Once the material was dry, I began the painting process. I painted the red S symbol using several coats of paint. I did the same with the yellow triangle that serves as the base for the key ring, to which I also attached a ring.
Acá debo explicar que no coloreé el material en un comienzo porque necesitaba la masa flexible bastante rígida. Al mezclar la masa flexible con pintura, hay que agregar demasiada pintura para que tome los colores intensos del rojo y amarillo, dejando la masa flexible muy suave y difícil de moldear para lograr un acabado liso, así que preferí hacer el moldeado en la masa flexible sin colorear y una vez hechas las piezas, hacer el coloreado.
Y así hice, una vez seco el material, comenzó el proceso de pintado. Allí pinté el símbolo rojo de la S, usando varias capas de pintura. Hice lo mismo con el triángulo amarillo que sirve de base para el llavero, el cual también le coloqué una argolla.
 |  |
|---|
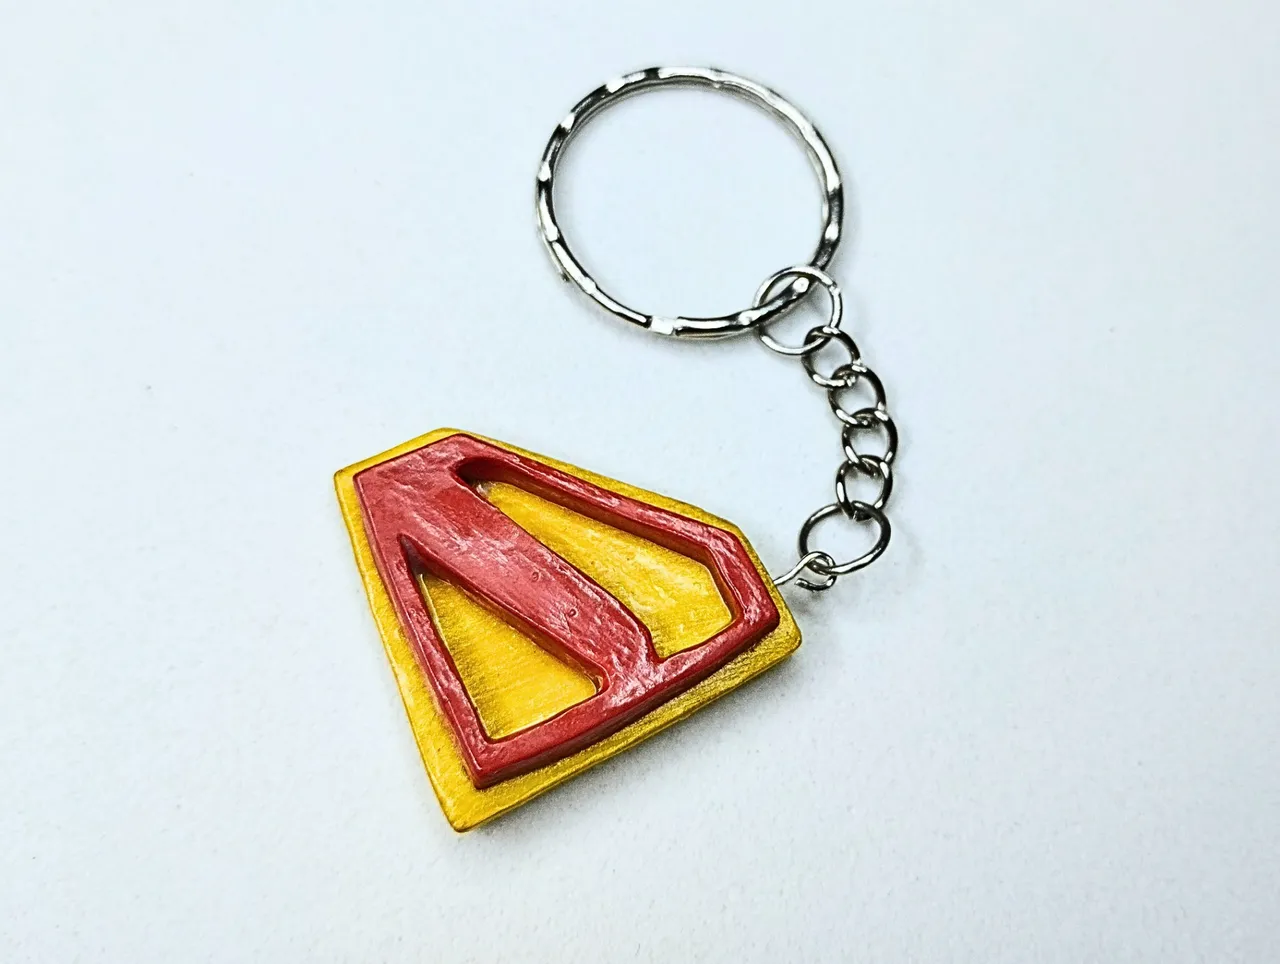
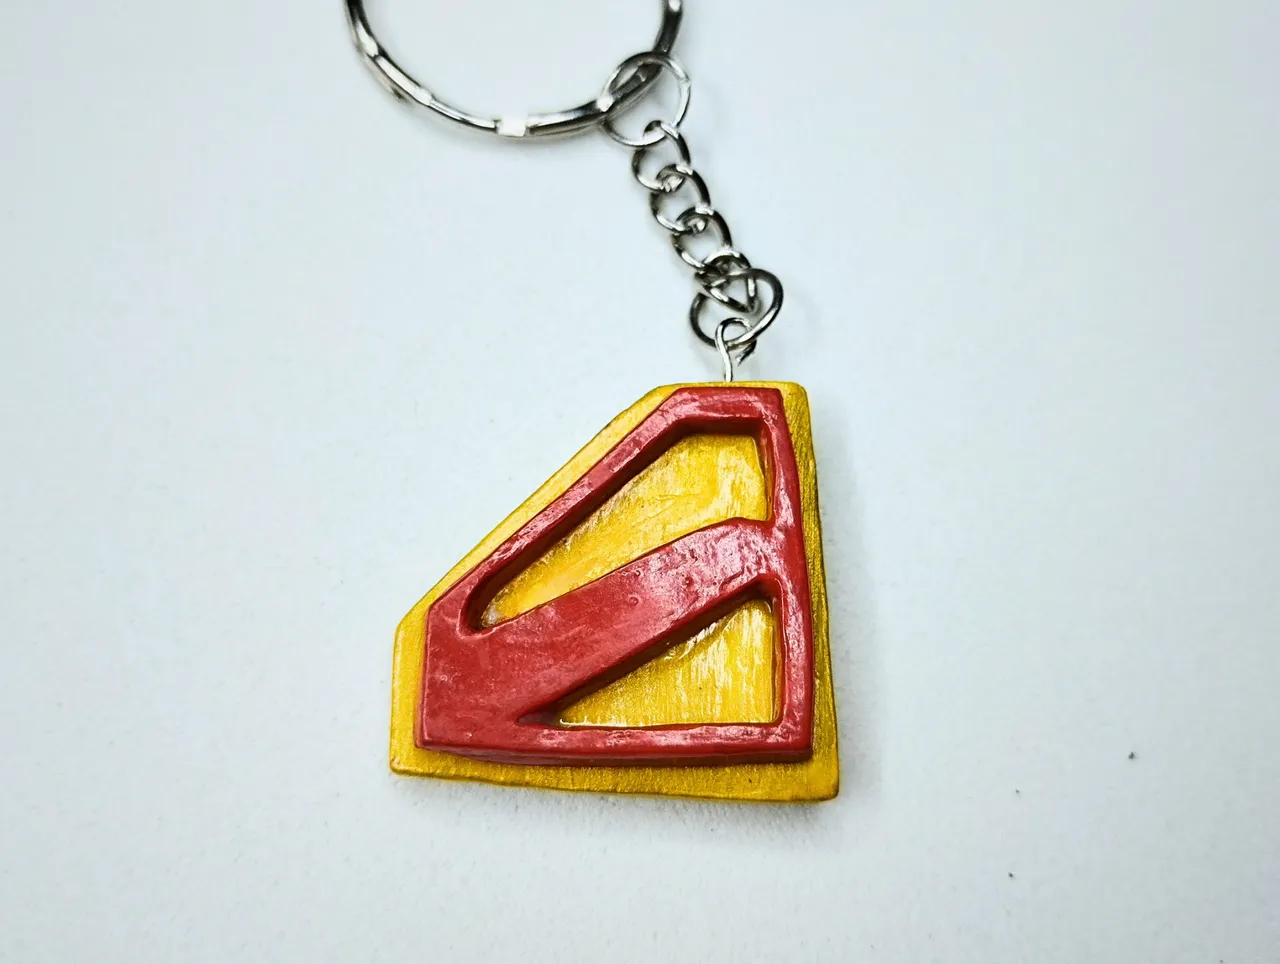
Once the paint was dry, I glued the two pieces together using glue and wire to make the piece more sturdy. Finally, I applied a couple of coats of glue and attached the chain with the ring, thus completing the keyring.
Una vez seca la pintura, pegué las dos piezas usando pegamento y alambre, para dar mayor firmeza a la pieza. Finalmente le coloqué un par de capas de pegamento y le coloqué su cadena con argolla, terminando así el llavero.
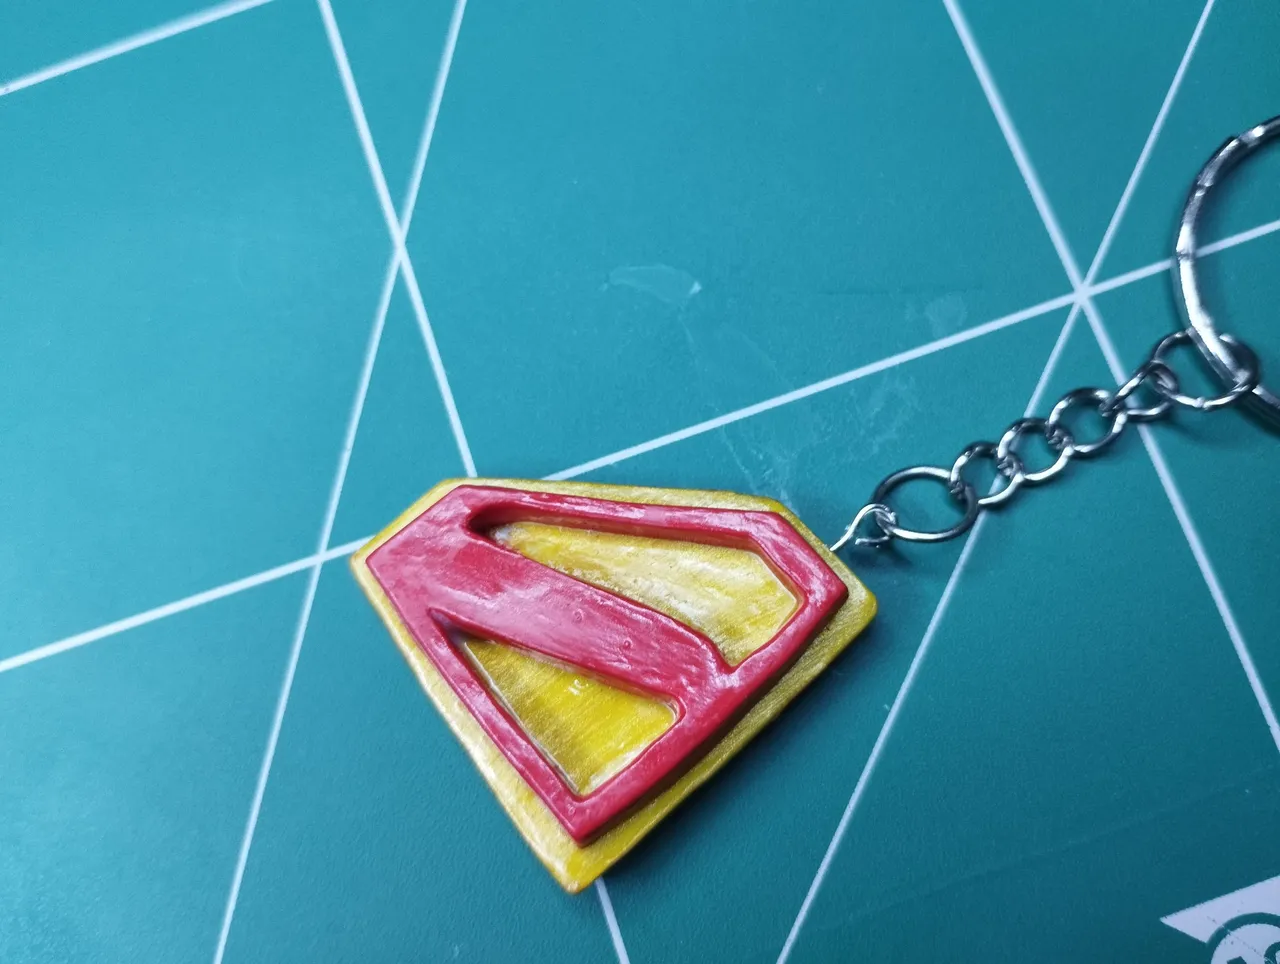
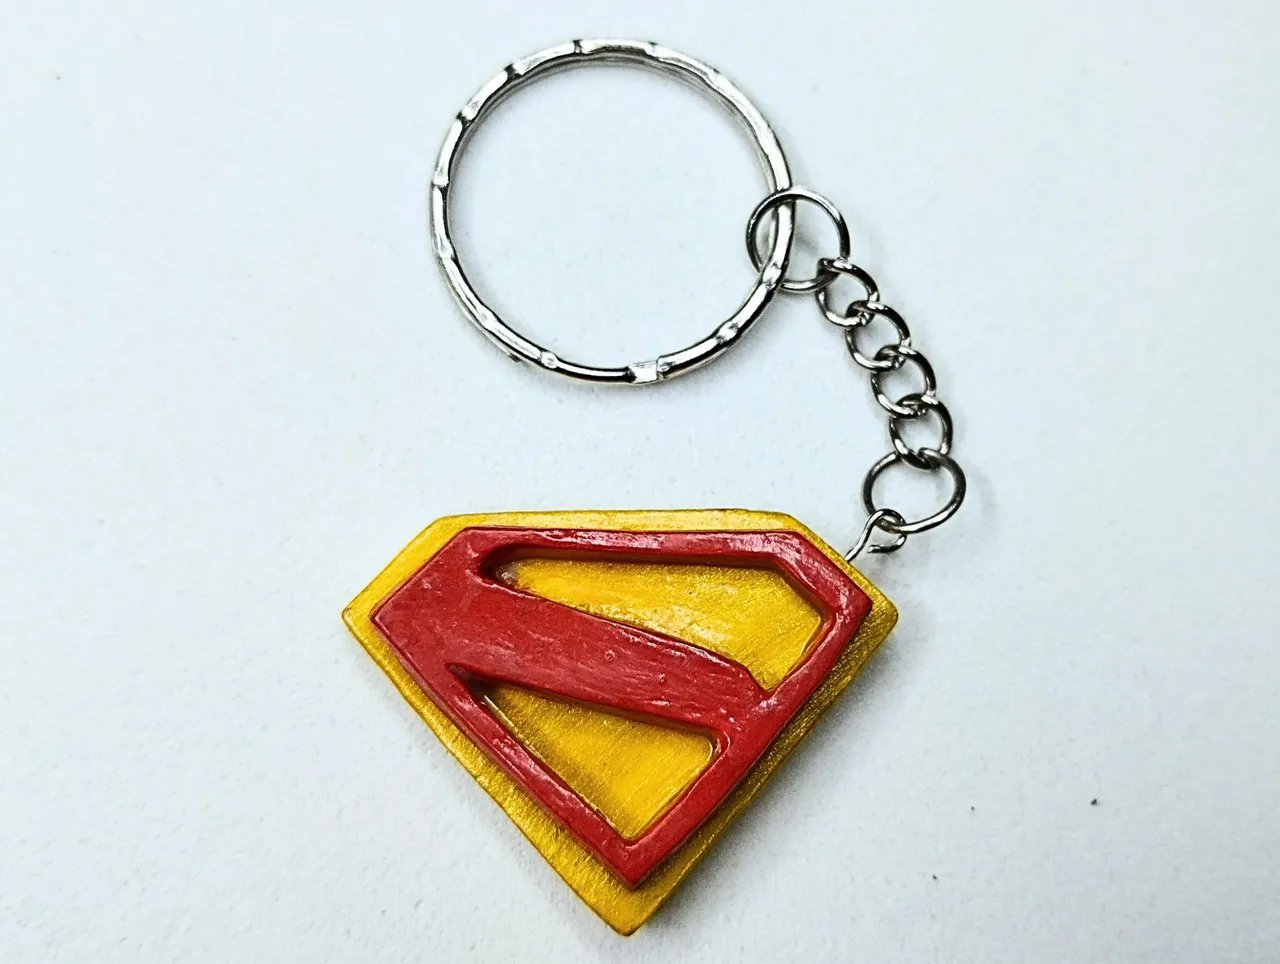
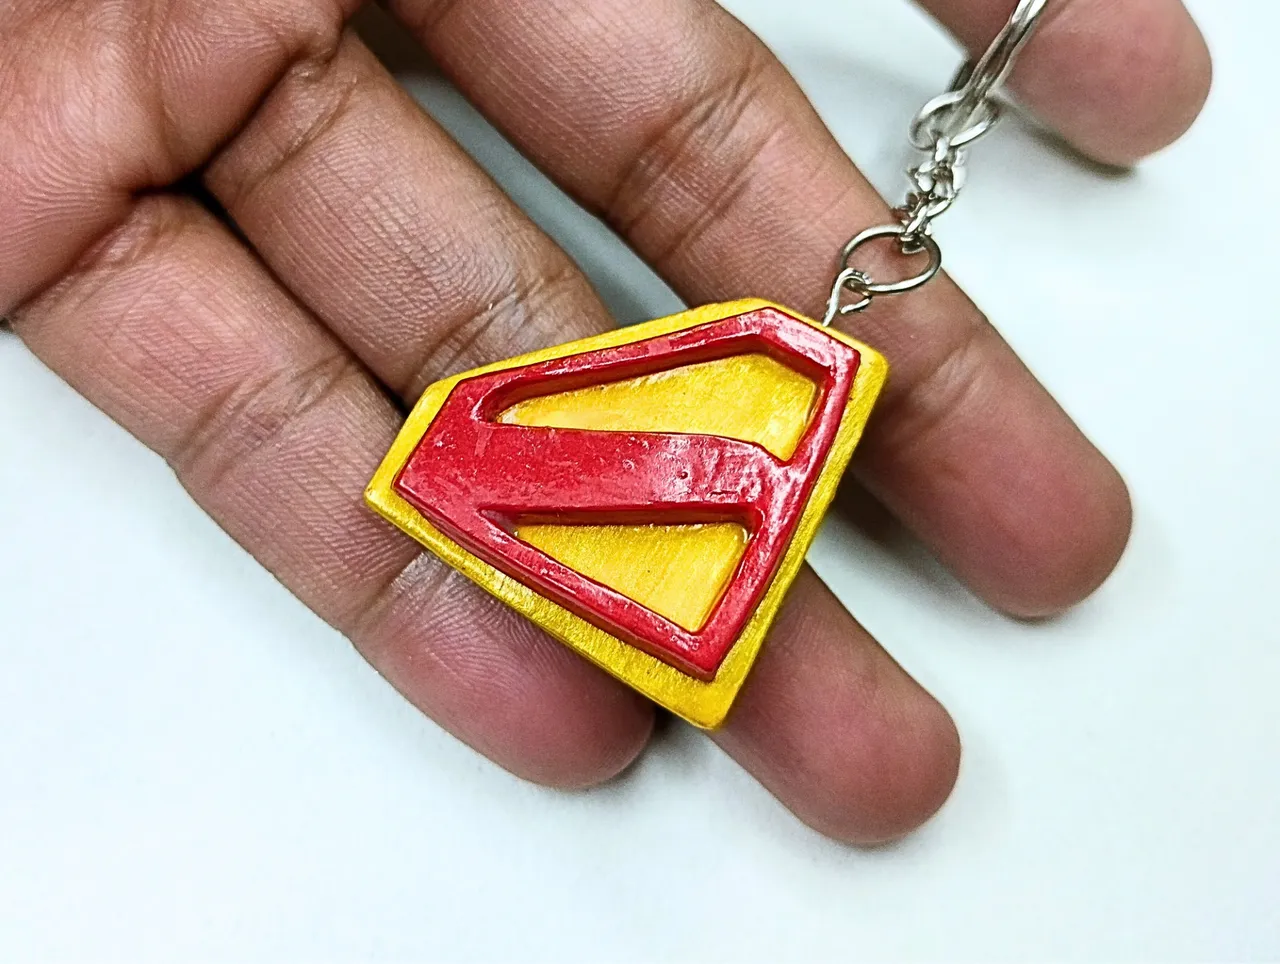
Below you can see a series of photographs of the final result:
A continuación pueden ver una serie de fotografías del resultado final:
Well, friends, that's all for now. I hope you liked my keychain. Have you seen the Superman movie? If you have, please leave your opinions about the movie or the keychain in the comments below. As always, I'll be happy to read them. Without further ado, I bid you farewell...
See you next time!
Bien amigos, esto ha sido todo por ahora. Espero que mi llavero les haya gustado. ¿Han visto la película de Superman? Si la han visto los invito a dejar sus opiniones sobre la película o sobre el llavero abajo en los comentarios, como siempre estaré encantado de leerlos. Sin más que agregar, me despido entonces...
¡Hasta la próxima!