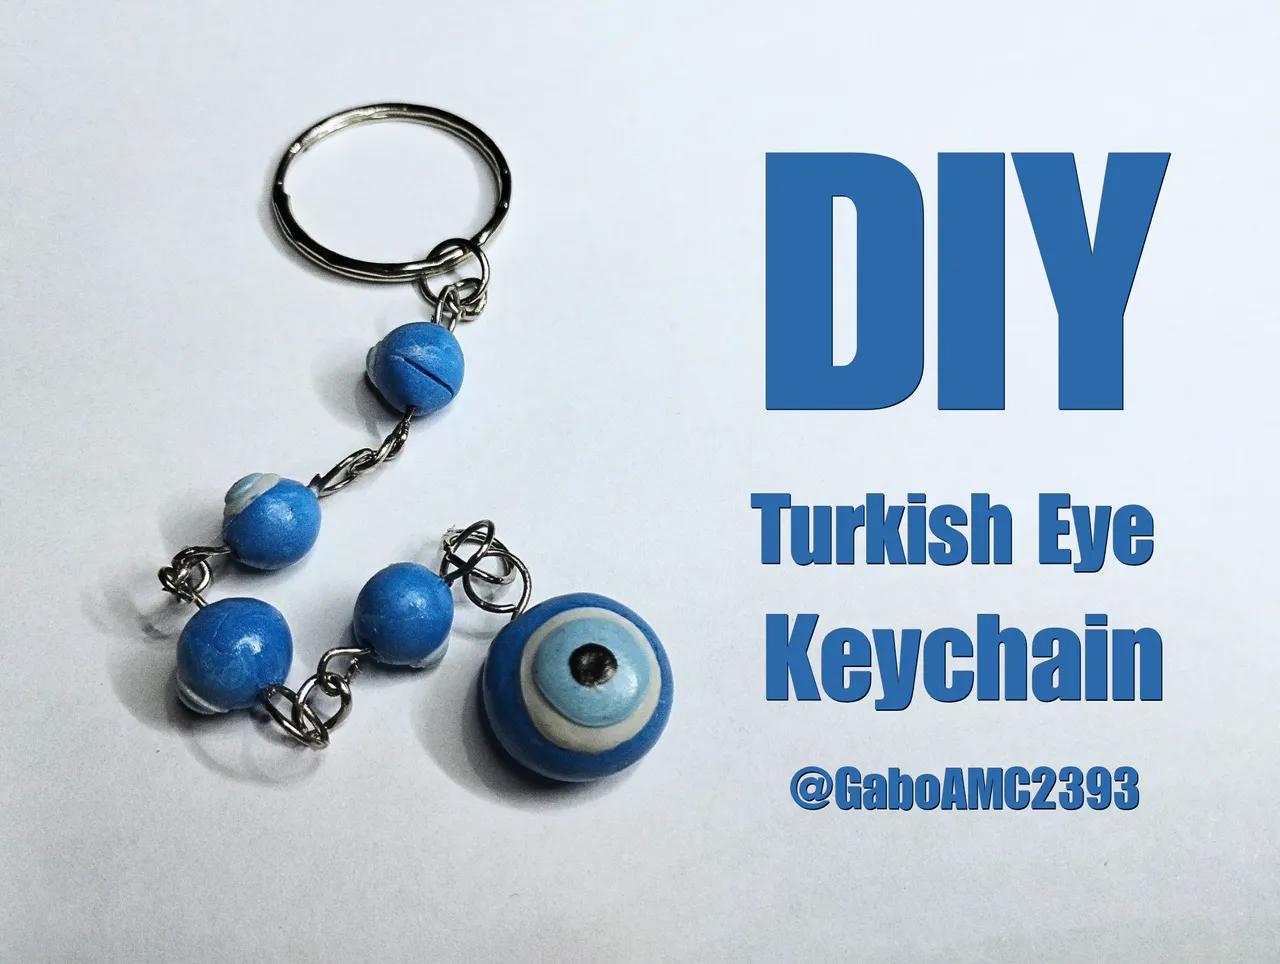
Greetings friends. The other day I was thinking about how to make keychains with flexible dough, making a combination between rings and pieces of this material. I was looking for ideas of what pieces I could make and I found a very nice piece called “Turkish eye”, which is often used for many decorative elements for key chains, necklaces and even earrings.
Well, my idea was to practice a little with the flexible dough and see how it all looked using this material so this was the result, a keychain made of several pieces of flexible dough, joined by chains and metal rings. Join me in the creative process of this little garment.
Saludos amigos. El otro día estuve pensando en cómo hacer llaveros con masa flexible, haciendo una combinación entre argollas y piezas de este material. Estuve buscando ideas de qué piezas podría fabricar y me encontré con una pieza muy bonitas llamada "Ojo turco", que se suele usar para muchos elementos de decoración para llaveros, collares e incluso zarcillos.
Pues bien, mi idea era practicar un poco con la masa flexible y ver cómo quedaba todo esto usando este material así que este fue el resultado, un llavero hecho de varias piezas de masa flexible, unido por cadenas y argollas de metal. Acompáñenme en el proceso creativo de esta pequeña prenda.
Step by step
Well, to begin I will briefly tell you about the materials:
- Chain for keychain
- Rings
- Flexible dough
- Paint
- Glue
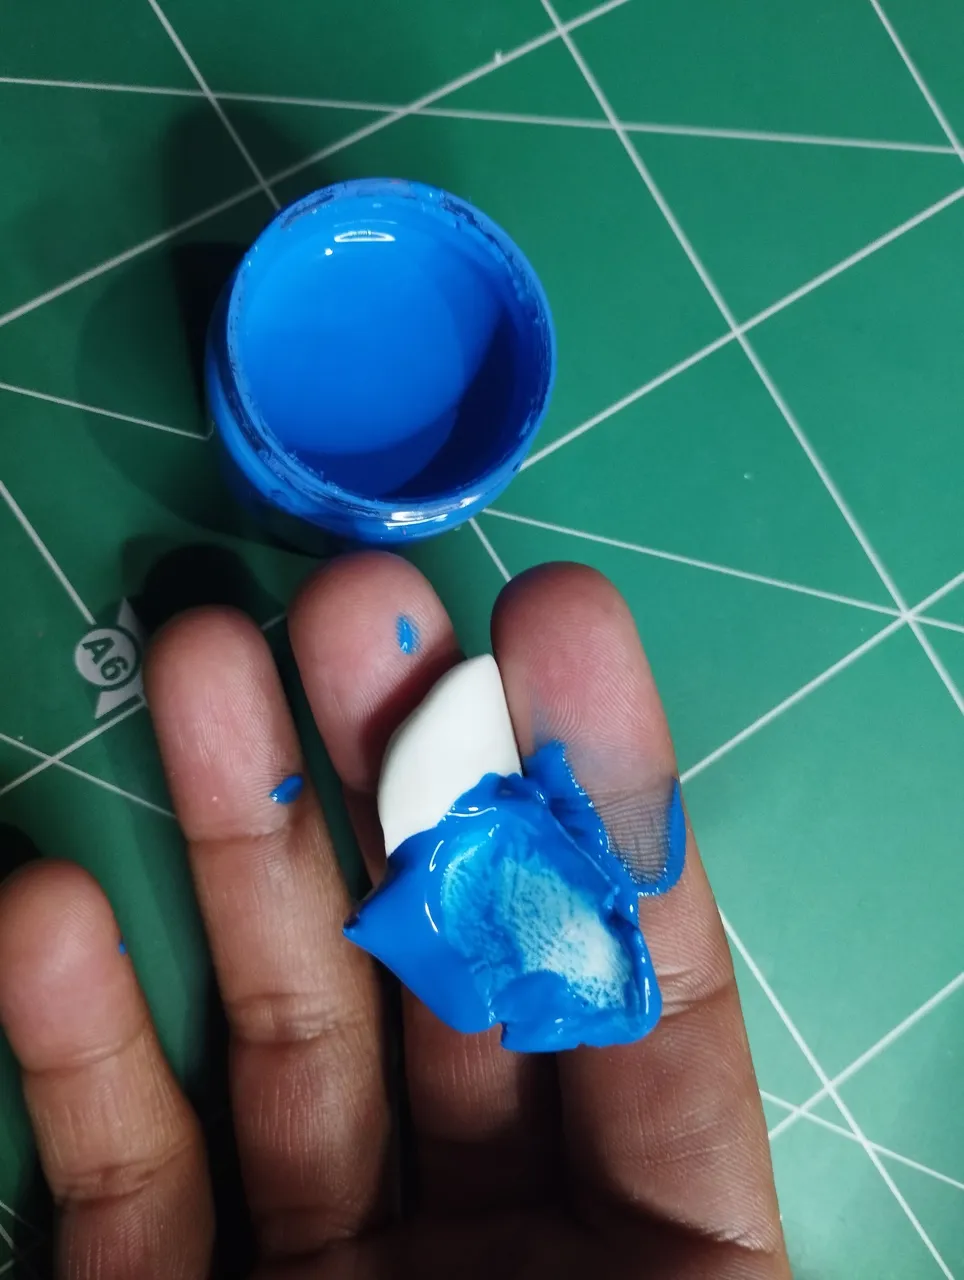
Well, the first thing I did before anything else, was to color the flexible dough, since it usually comes in white.
There are colorants to give it color, but these almost always leave a pastel color, although it depends on the amount you use; besides, you can't always find the colors you are looking for. For this reason, in case you don't have these colorants, you can use any kind of paint you have at hand, as long as it is water based. This is what I did, mixing the flexible dough with blue paint.
Paso a paso
Bien, para comenzar les comentaré brevemente los materiales:
- Cadena para llavero
- Argollas
- Masa flexible
- Pintura
- Pegamento
Bien, lo primero que hice antes de cualquier cosa, fue colorear la masa flexible, ya que esta, por lo general, viene de color blanco.
Existen colorantes para darle color, pero estos casi siempre dejan un color pastel, aunque depende de la cantidad que utilices; además, no siempre se encuentran los colores que uno busca. Por esto, en caso de que no tengas estos colorantes, bien puedes usar cualquier tipo de pintura que tengas a la manos, siempre y cuando sea a base de agua. Esto fue lo que yo hice, mezclar la masa flexible con pintura azul.
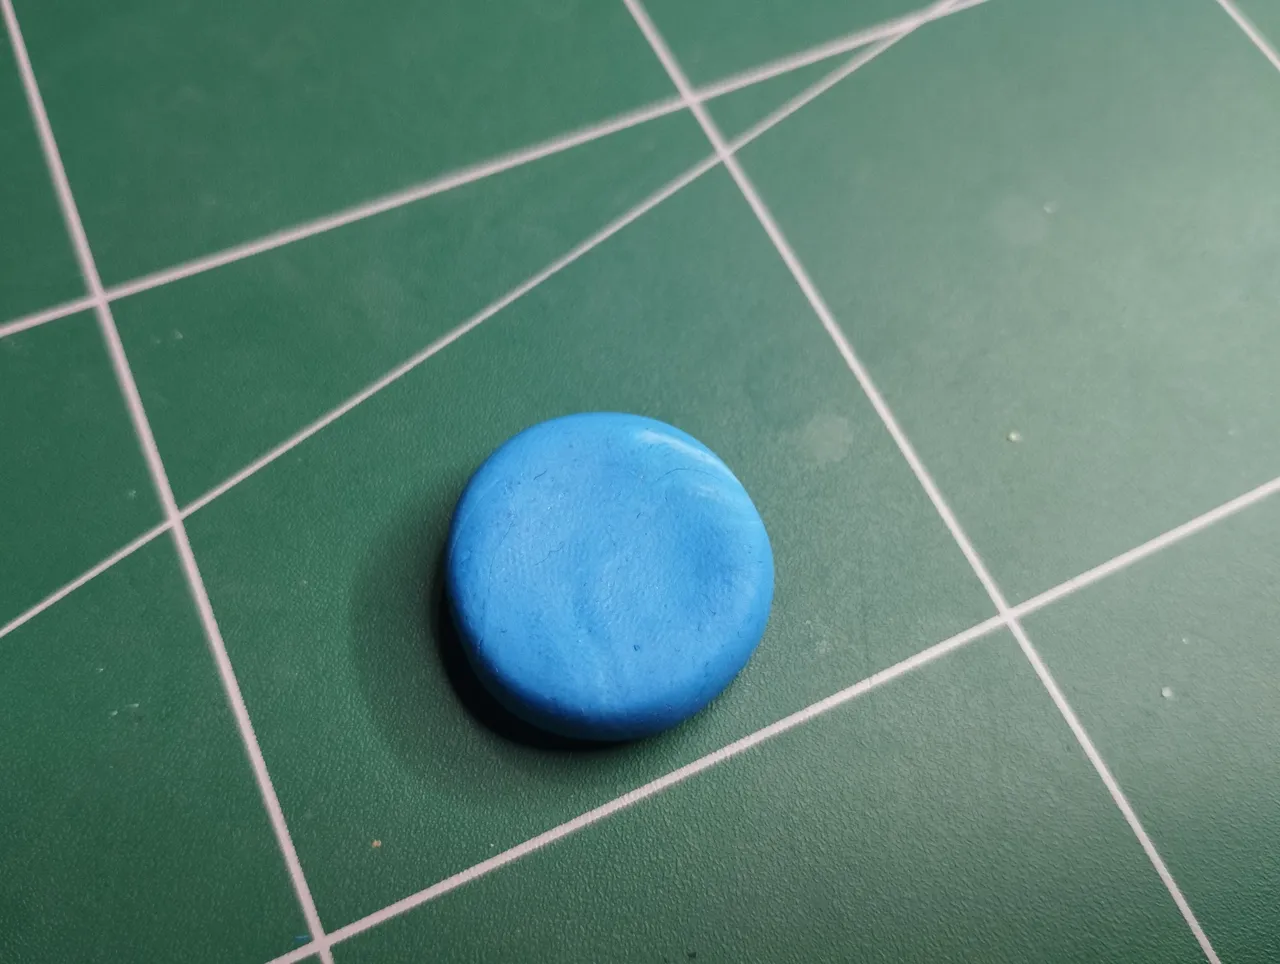
Well, the first piece I started to make was this kind of tortilla in the blue color mentioned above. Notice that it is a lighter color than the original blue, because the dough, being white, dilutes a little that intense blue.
This piece that you see in the image below will serve as the main piece of the keychain, being the largest of the whole keychain.
Bien, la primera pieza que comencé a hacer fue esta suerte de tortilla del color azul mencionado anteriormente. Fíjense que queda de un color más claro que el azul original, pues la masa al ser blanca, diluye un poco ese azul intenso.
Esta pieza que ven en la imagen de abajo servirá como pieza principal del llavero, siendo la más grande de todo el llavero.
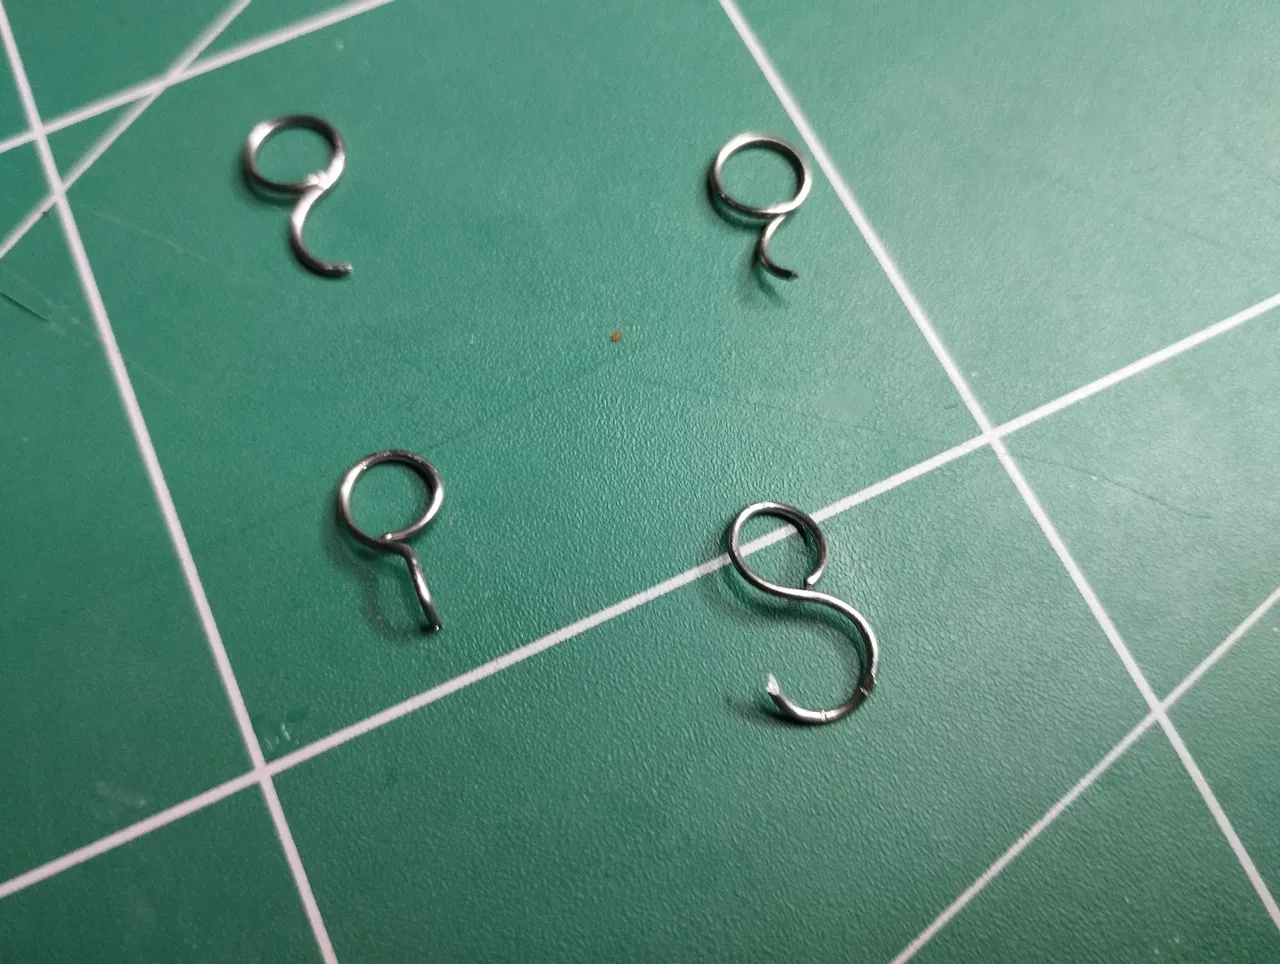
For the rings that will connect the pieces I used this type that you see in the image below. These small rings are double; that is, it is a ring with two turns.
The first turn I left it like this, round, to close, then the second turn I folded it down. With this hook shape, it will serve to hold the little spheres that I will make for the keychain.
Para las argollas que van a conectar las piezas usé este tipo que ven en la imagen de abajo. Estas pequeñas argollas son dobles; es decir, es una argolla con dos vueltas.
La primera vuelta la dejé así, redonda, que cierre, luego la segunda vuelta la doblé hacia abajo. Con esa forma de gancho, servirá para sostener las esferitas que haré para el llavero.
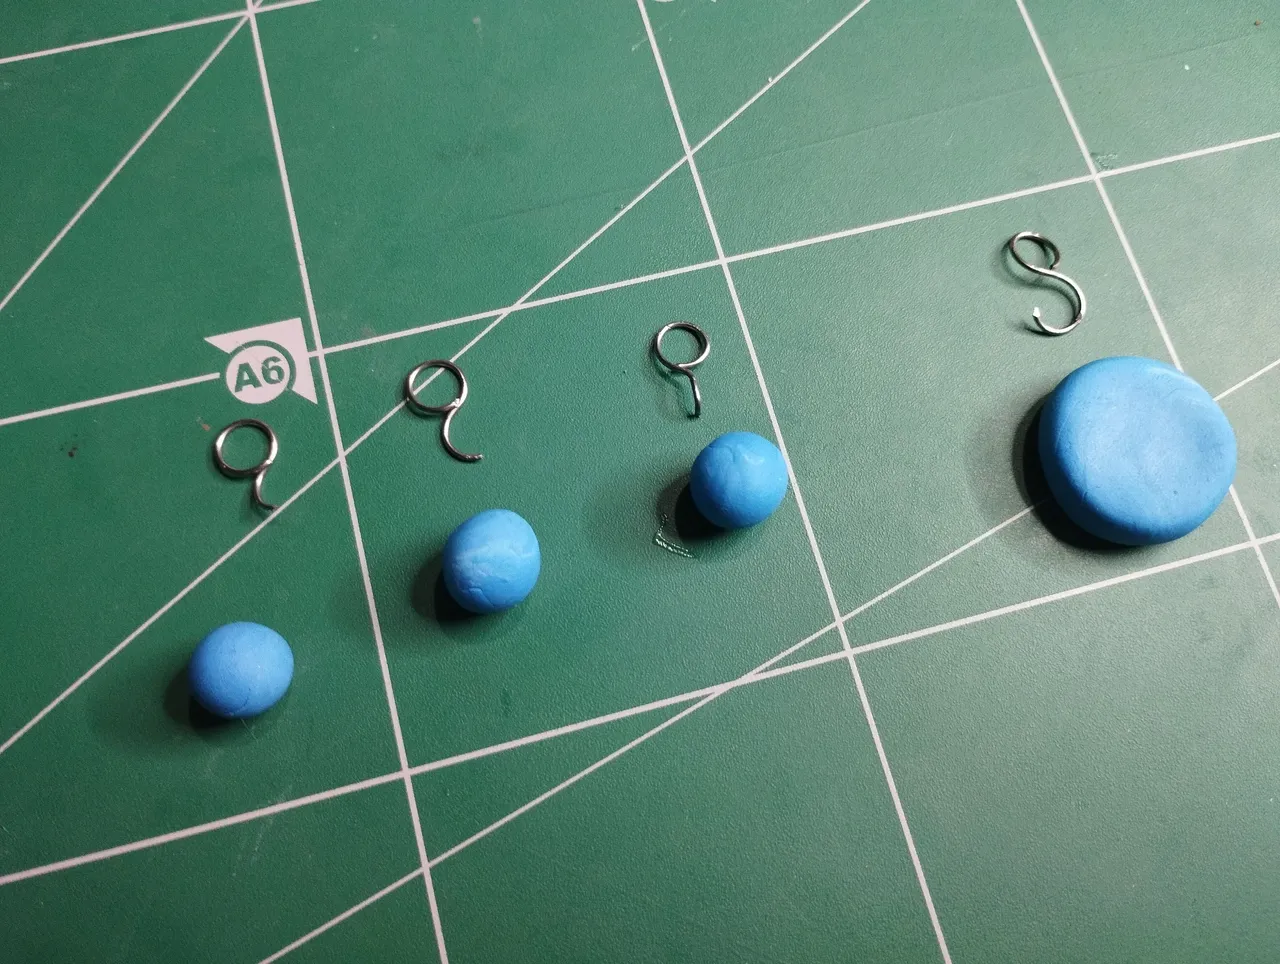
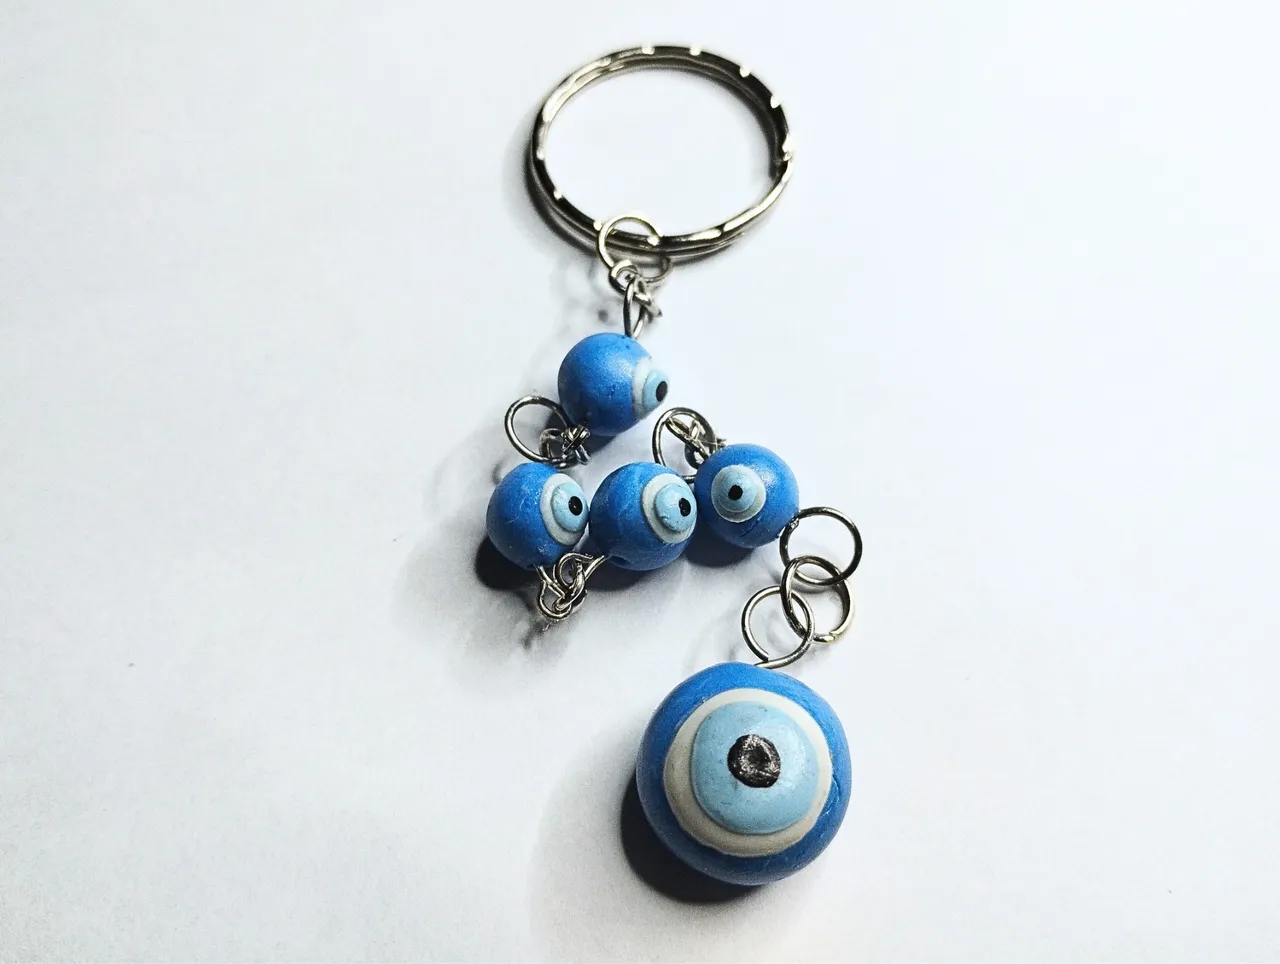
Notice that in addition to the main piece, in the shape of a medallion, I also made a few spheres, one for each ring with a hook.
I made them out of the same material as the main piece, so that there would be no difference.
Fíjense que además de la pieza principal, con forma de medallón, también hice unas cuantas esferas, una por cada argolla con gancho.
Las hice del mismo material con la que hice la pieza principal, para que no hubiese diferencia.
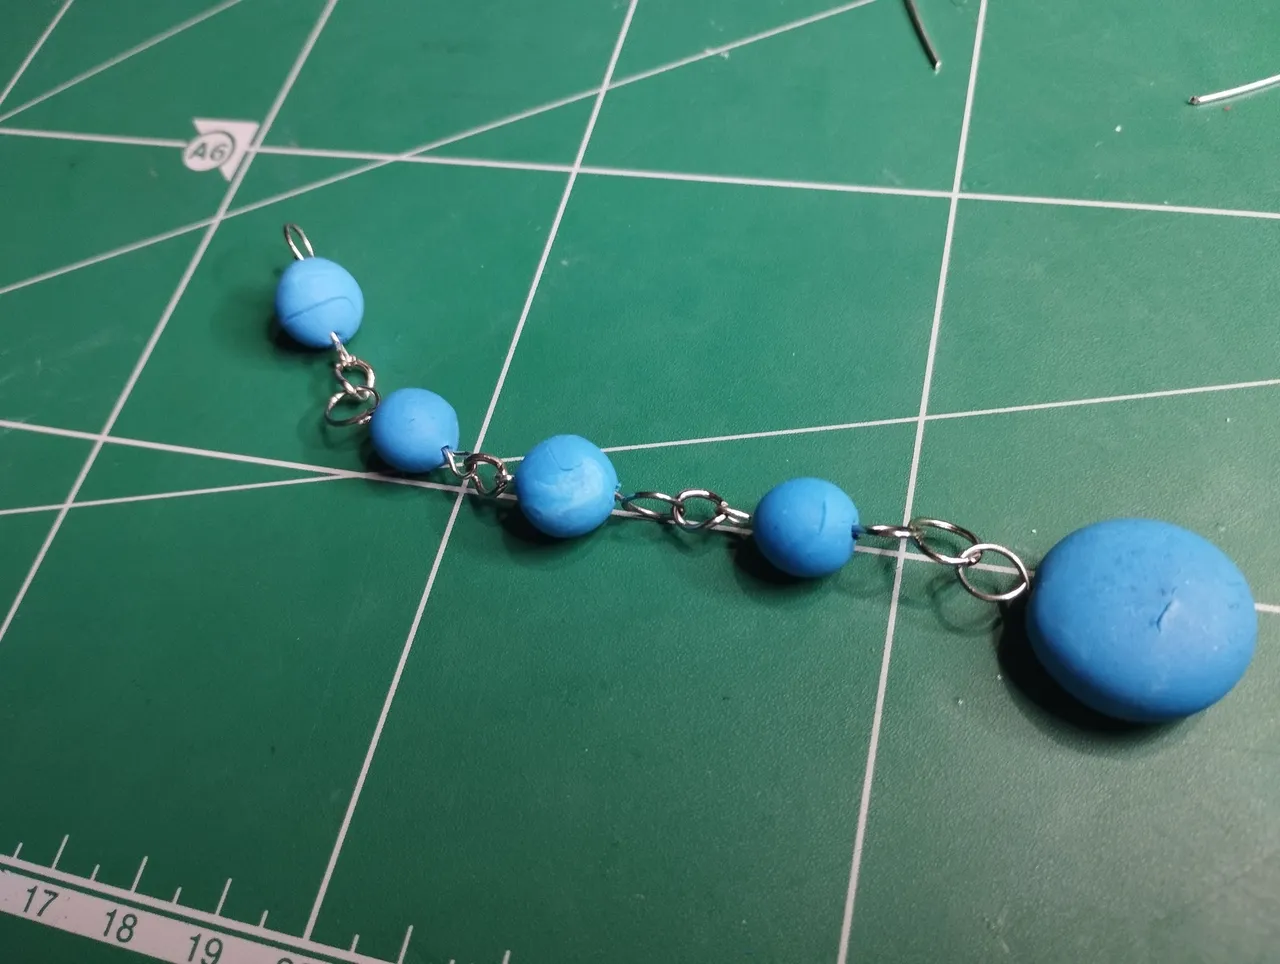
It is important to note that these rings must be inserted into the blue spheres before the material dries, because once the material hardens, no rings can be placed.
In this regard, not only the rings that you see in the image below should be placed. In my case I placed in each of the little spheres two rings with hooks, some big ones on the top and some smaller ones on the bottom, joining each ring with small links that I extracted from the typical chains of a keychain.
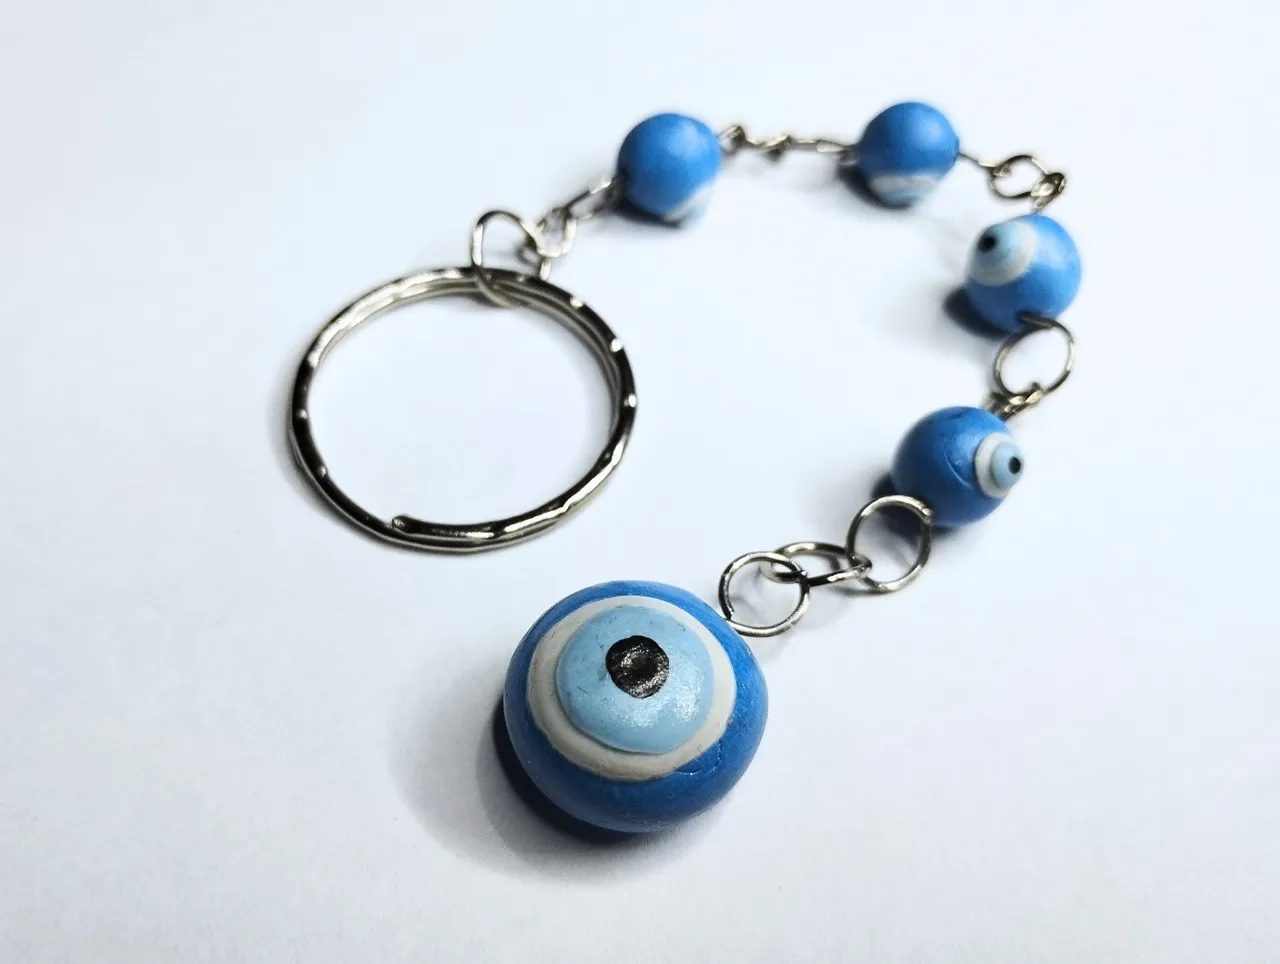
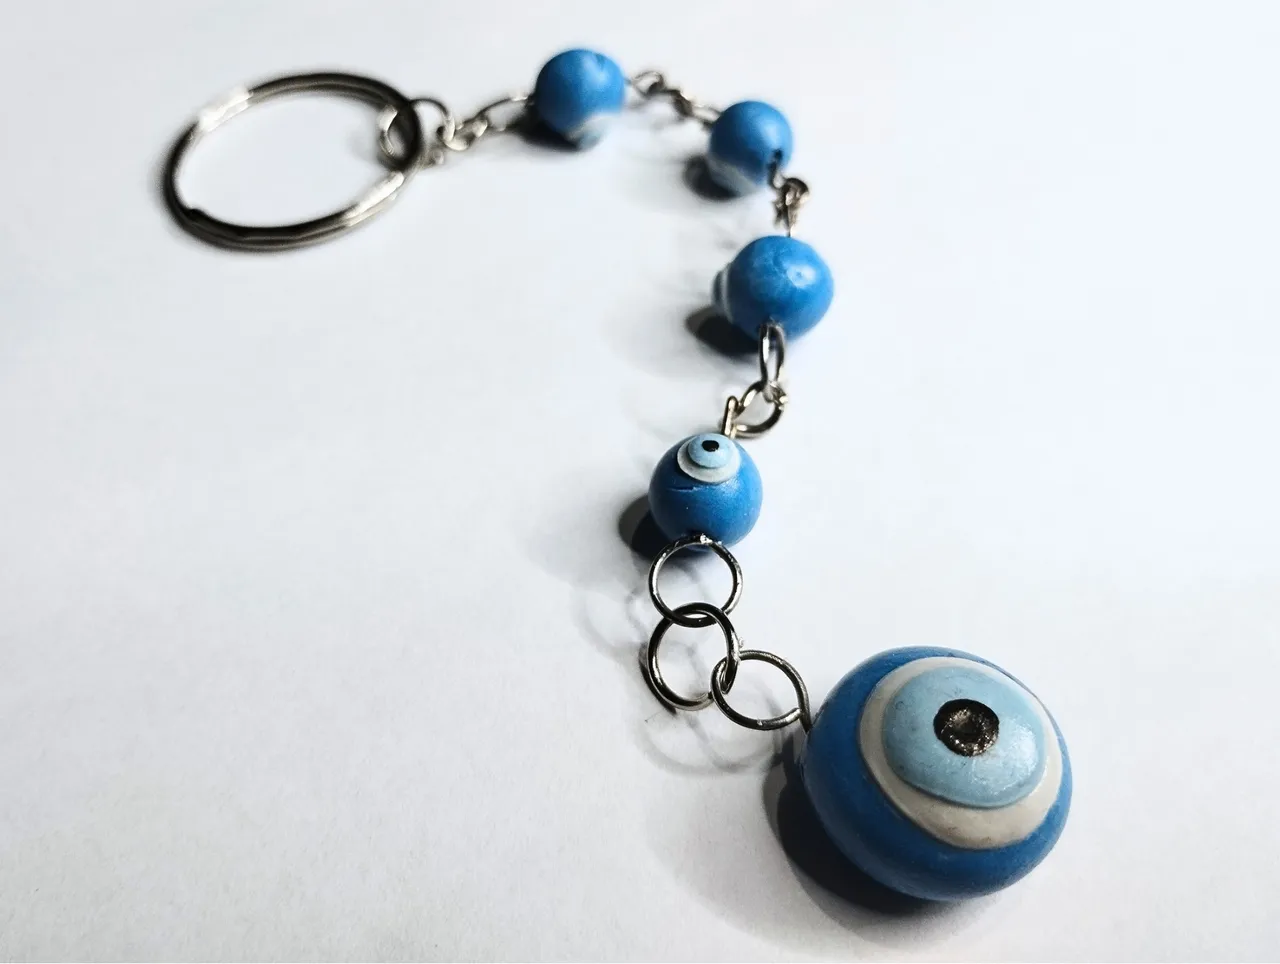
In the image below you can see how the keychain looks with all the pieces joined together. It should be noted that due to the type of material, this joint must be made after it has hardened, otherwise the pieces will be damaged.
Es importante destacar que estas argollas se deben introducir dentro de las esferas azules antes de que el material seque, pues una vez que este se endurezca, no se podrá colocar ningún tipo de argolla.
En este respecto, no solo se deben colocar las argollas que ven en la imagen de abajo. En mi caso yo coloqué en cada una de las esferitas dos argollas con ganchos, unas grandes en la parte de arriba y unas más pequeñas en la parte de abajo, uniendo cada argolla con pequeños eslabones que extraje de las cadenas típicas de un llavero.
En la imagen de abajo pueden visualizar cómo se ve el llaverito con todas las piezas unidas. Cabe destacar que por el tipo de material, hay que hacer esta unión después de que haya endurecido, sino se dañarán las piezas.
After that, it was a matter of placing two more circles on each blue piece, a large white circle, a smaller light blue circle and a last black circle for the eye. The first large circles being made with more flexible, while the small black one was made with paint.
Después de que esto, fue cuestión de colocar dos circulitos más en cada pieza azul, un círculo blanco grande, un círculo más pequeño de color azul claro y un último círculo de color negro para el ojo. Siendo los primeros círculos grandes hechos con mas flexible, mientras que el pequeño de color negro lo hice con pintura.
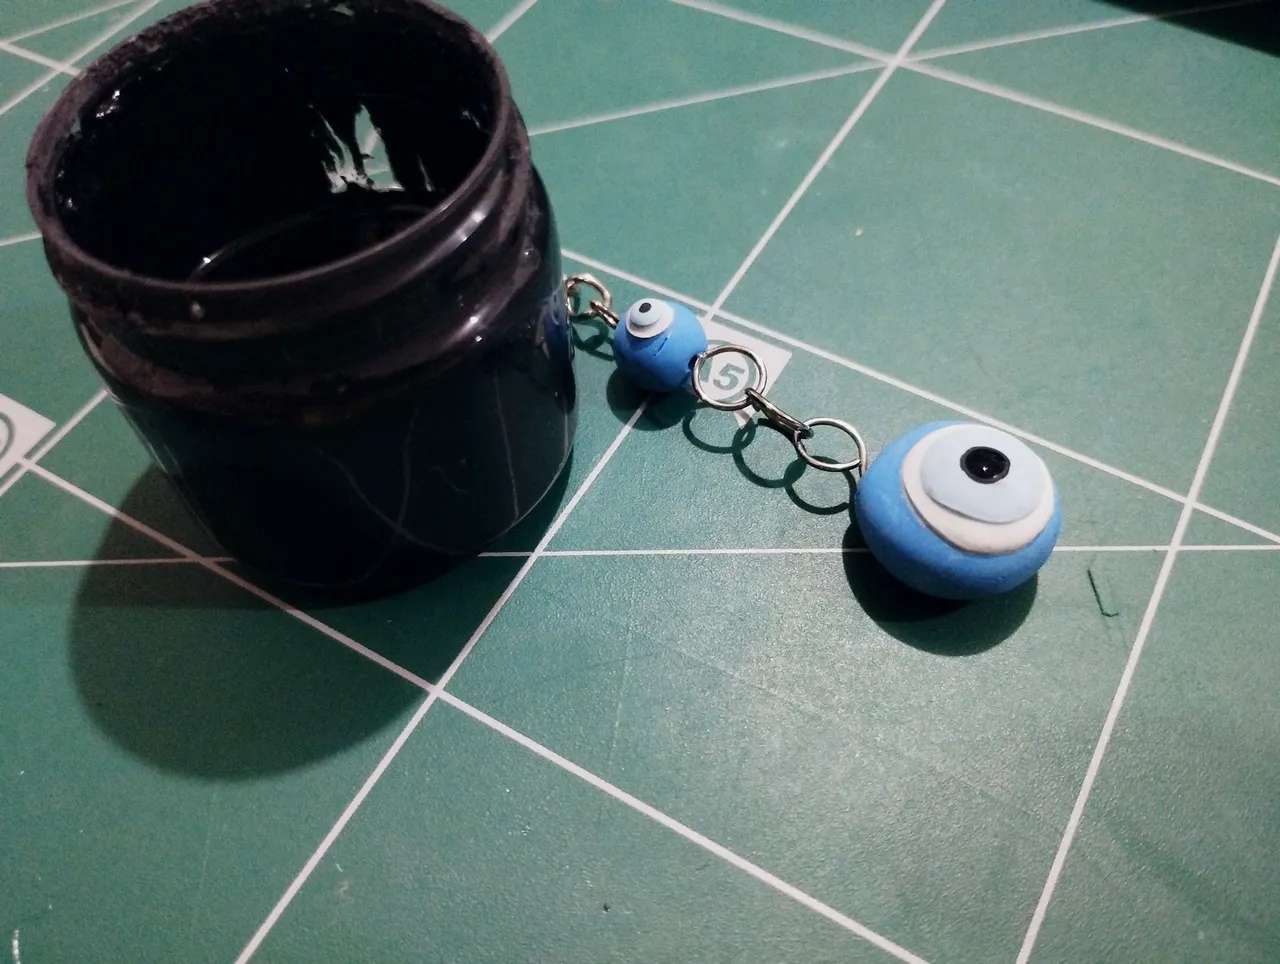
The last thing was to cover the piece with dough and a little glue to protect it. This way it was finished. Below you can see a series of pictures of the final result:
Ya lo último fue cubrir la pieza con masa un poco de pegamento para protegerla. De esta manera quedó terminada. A continuación pueden ver una serie de fotografías del resultado final:
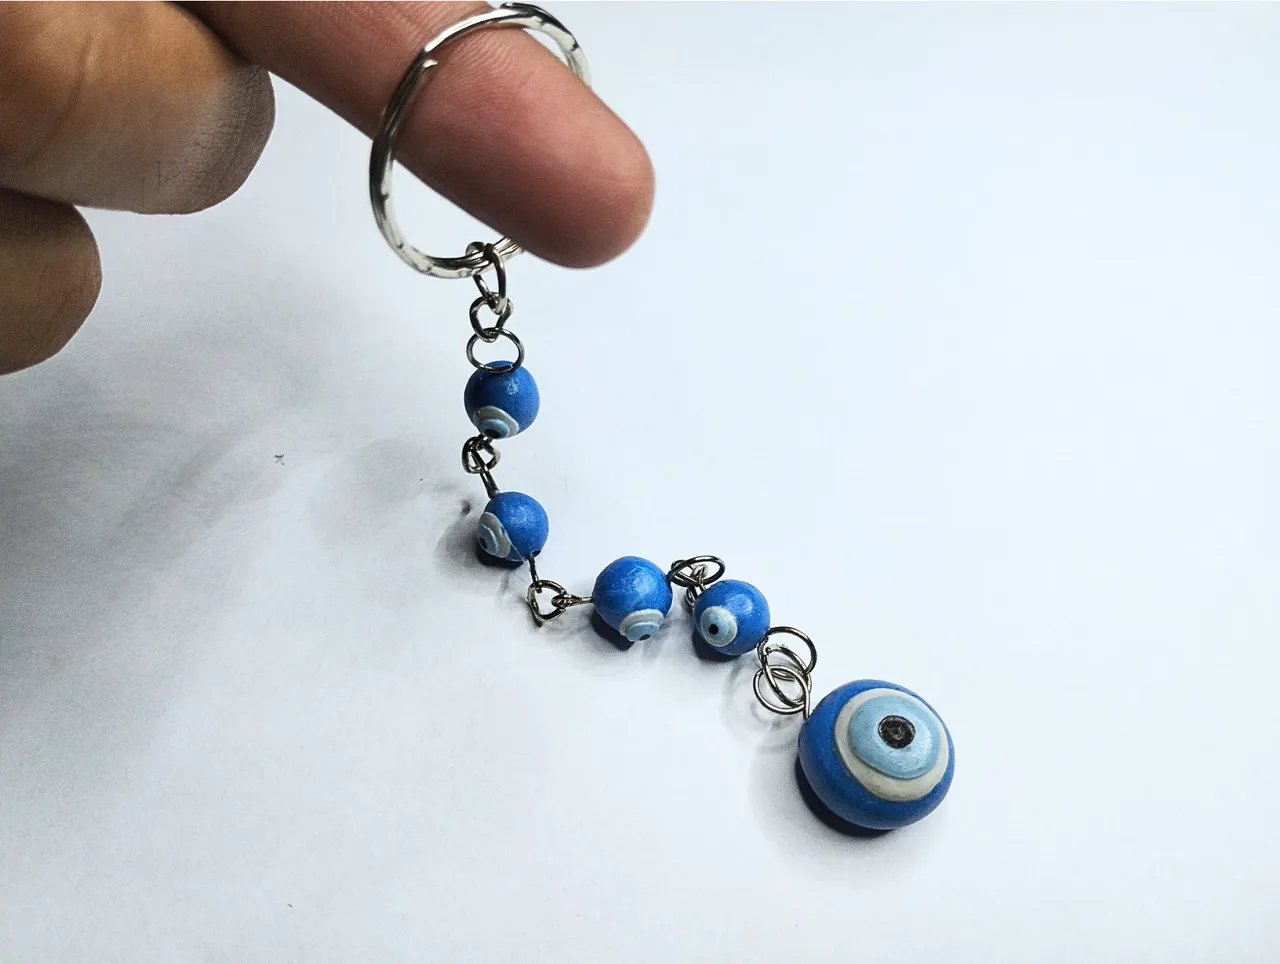
Well friends, that's all for now. I sincerely hope you liked my keychain/experiments. I was thinking that I can make more pieces for bracelets and jewelry in flexible dough, let's see how they look like.
I would like to know what you thought, I invite you to leave your opinions below in the comments, as always I will be happy to read them. With nothing more to add, I'll say goodbye then...
See you next time!
Bien amigos, esto ha sido todo por ahora. Espero de corazón que mi llavero/experimentos les haya gustado. Estuve pensando que puedo hacer mas piezas para pulseras y bisutería en masa flexible, a ver que tal quedan.
Me gustaría saber qué les ha parecido, los invito a dejar sus opiniones abajo en los comentarios, como siempre estaré encantado de leerlos. Sin más que agregar, me despido entonces...
¡Hasta la próxima!