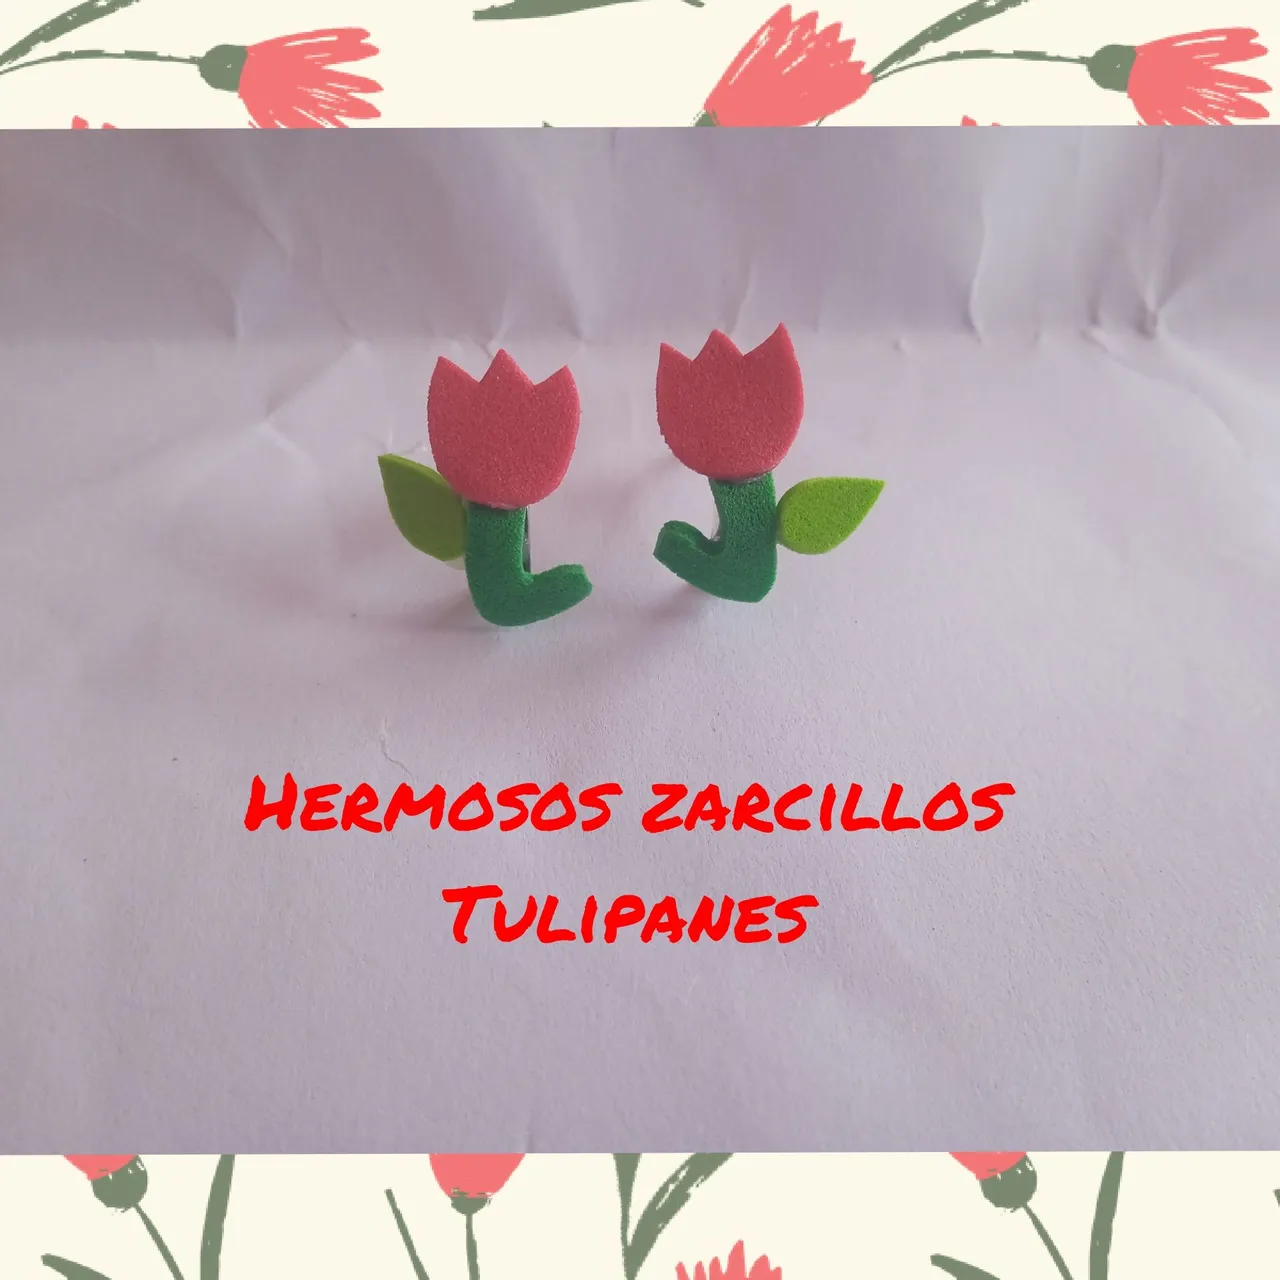
Hola feliz día amigos , les deseo a todos un feliz fin de semana , hoy les quiero compartir una restauración de unas viejas argollas , las cuales están sencillas y sin ningún tipo de diseño , está inspiradas en unas preciosas flores tulipanes , estás flores son bellas y combinan perfectamente con nosotras ya que somos lindas y delicadas
Hello happy day friends, I wish you all a happy weekend, today I want to share a restoration of some old rings, which are simple and without any design, is inspired by a beautiful tulip flowers, these flowers are beautiful and combine perfectly with us as we are cute and delicate.
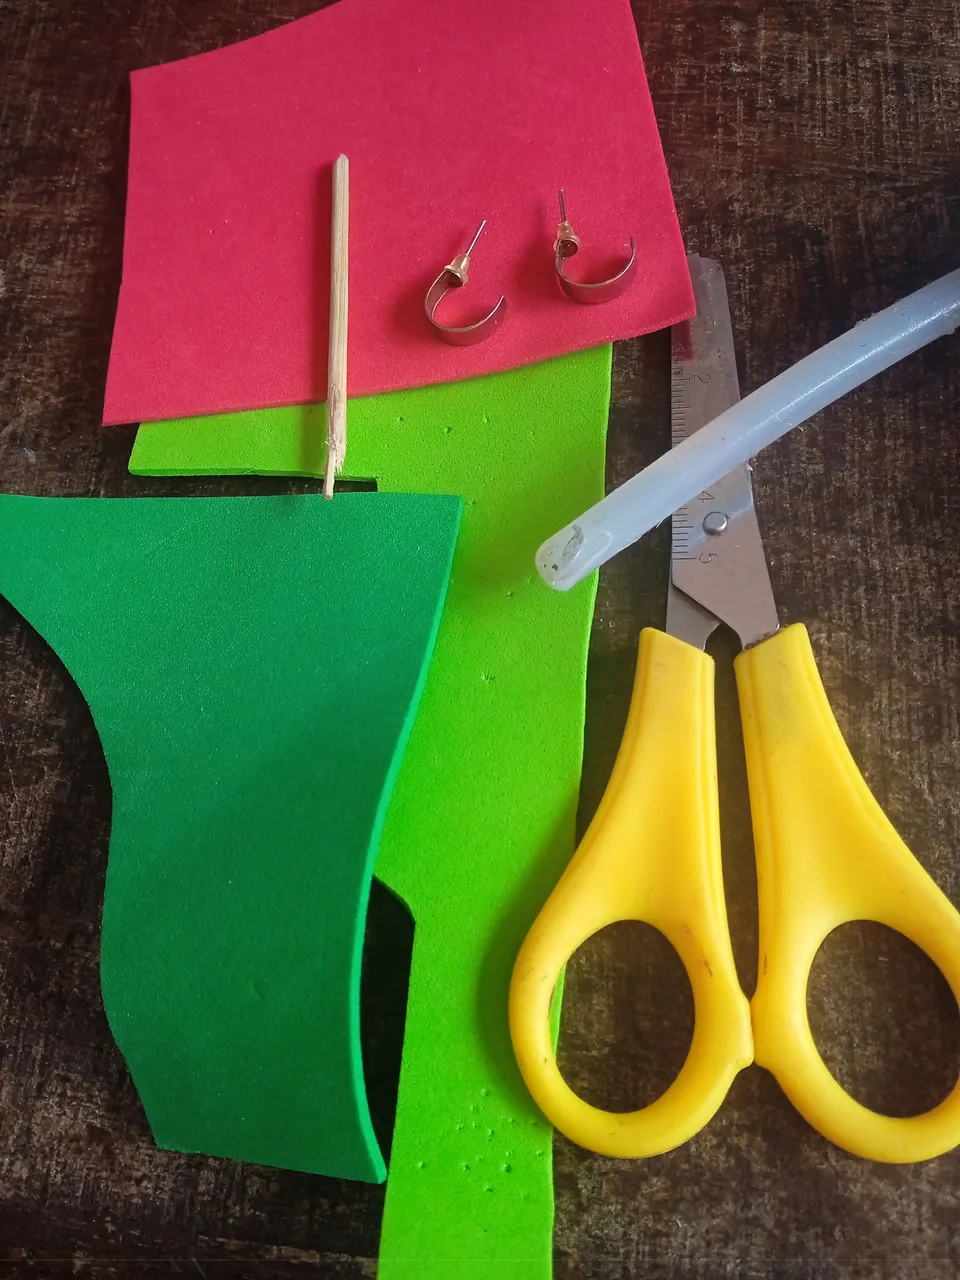
Materiales para realizar unas argollas de tulipanes :
-Argollas recicladas
-Foamis
-Tijera
-Silicon
Materials to make tulip rings:
-Recycled bunches of bunches
-Foamis
-Scissors
-Silicon
A continuación los pasos a seguir :
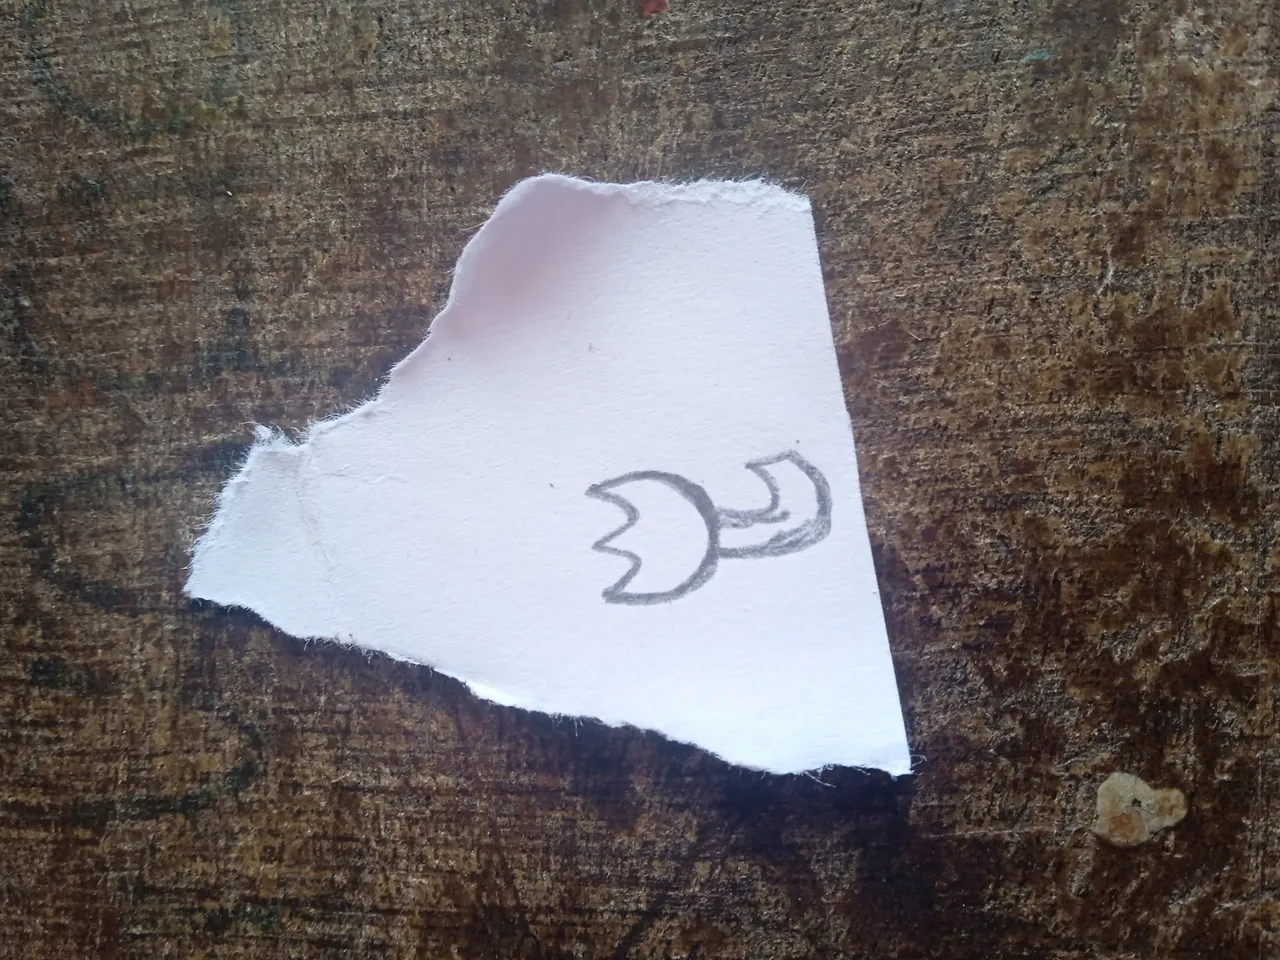
En nuestro primer paso antes de iniciar con nuestro accesorio debemos realizar un patrón con el tema a realizar , el tamaño y el modelo dependerá de nosotros , dibuje mi flor tulipán con un pequeño tallo semi de lado , cuando tengamos listo nuestro patrón lo dividimos con una tijera y comenzamos a trabajar
Here are the steps to follow:
In our first step before starting with our accessory we must make a pattern with the theme to perform , the size and model will depend on us , draw my tulip flower with a small stem semi sideways , when we have our pattern ready we divide it with a scissors and start working.
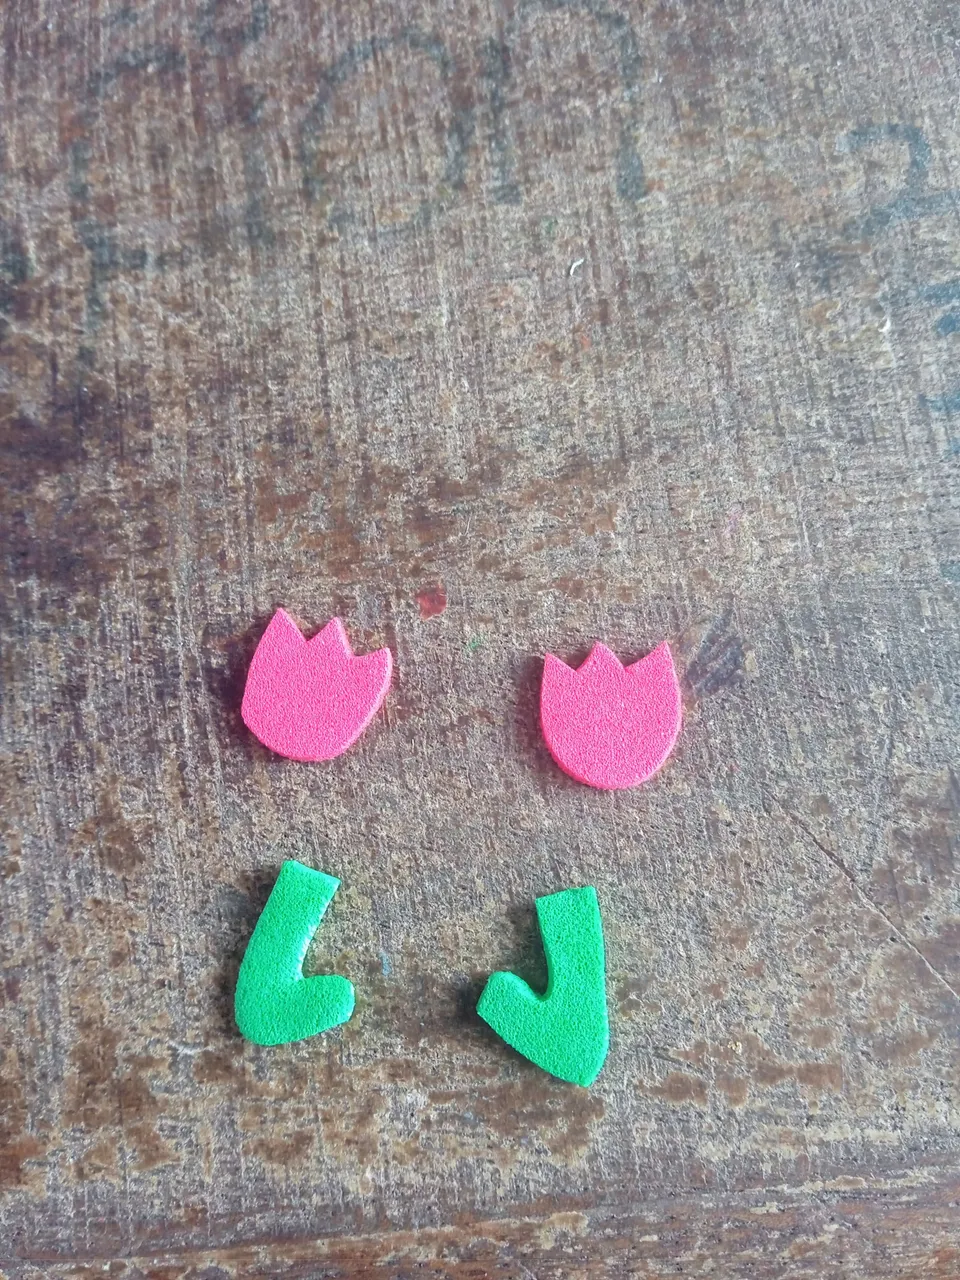
A continuación vamos a comenzar a marcar en cada uno de los foamis las piezas de nuestro zarcillo , en el foamis rojo marque la flor y en el foamis color verde marque los tallos , en total marcaremos dos de cada uno ya que trabajaremos con un pars de zarcillos amigos
Next we will begin to mark on each of the foamis the pieces of our tendril, in the red foamis mark the flower and in the green foamis mark the stems, in total we will mark two of each one since we will work with a pair of tendrils friends.

Una vez que finalicemos de marcar las piezas de nuestro accesorio , vamos a continuar recortando cada una de las piezas que marcamos en el paso anterior con la ayuda de una tijera ,este proceso es sencillo y fácil solo que debemos tener cuidado para que no dañemos el modelo ya que estamos trabajando con diseño pequeño
Once we finish marking the pieces of our accessory, we will continue cutting each of the pieces that we marked in the previous step with the help of a scissors, this process is simple and easy only that we must be careful not to damage the model as we are working with small design.
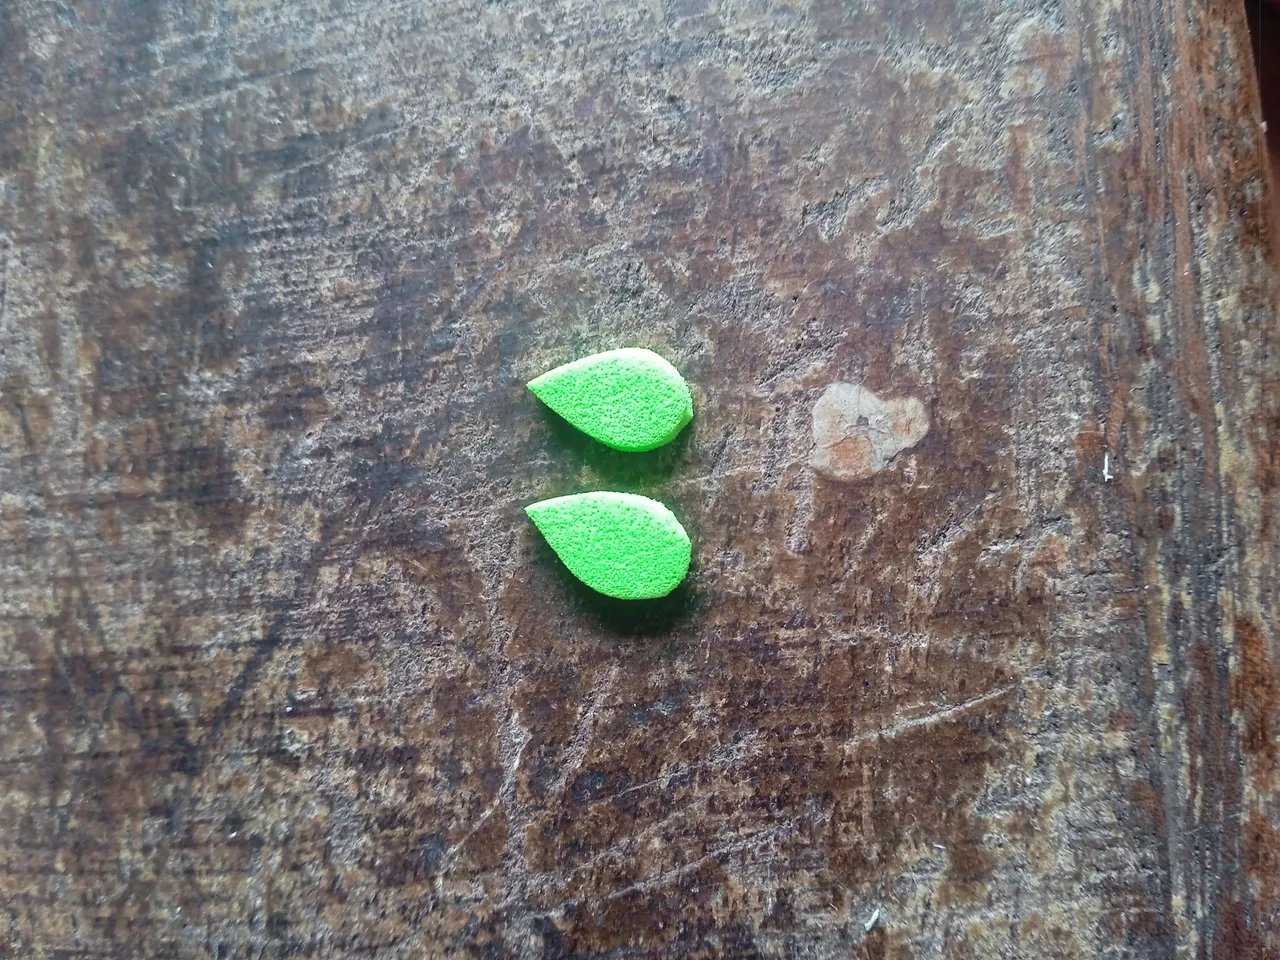
Luego que tengamos listas las piezas de nuestros tulipanes ,vamos a continuar recortando dos pequeñas hojas con un tono verde más claro que el que utilizamos para el tallo de la flor ,estás van hacer similar a cómo dibujamos una gota de agua ,deben ser más claros para que se observe mas bonito y llamativo
After we have the pieces of our tulips ready, we will continue cutting out two small leaves with a lighter shade of green than the one we used for the stem of the flower, these will be similar to how we draw a drop of water, they should be lighter so that it looks more beautiful and striking.
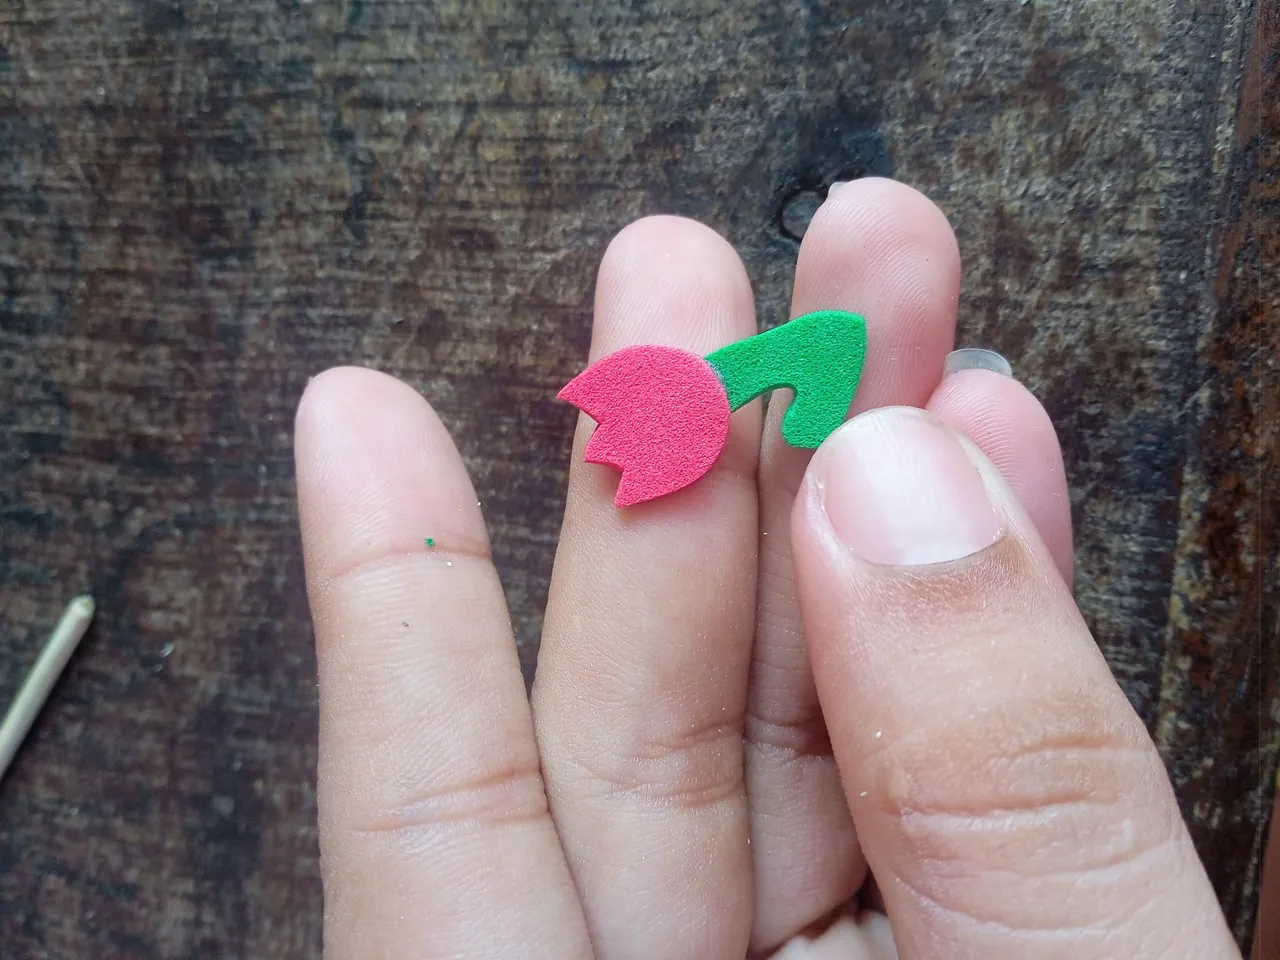
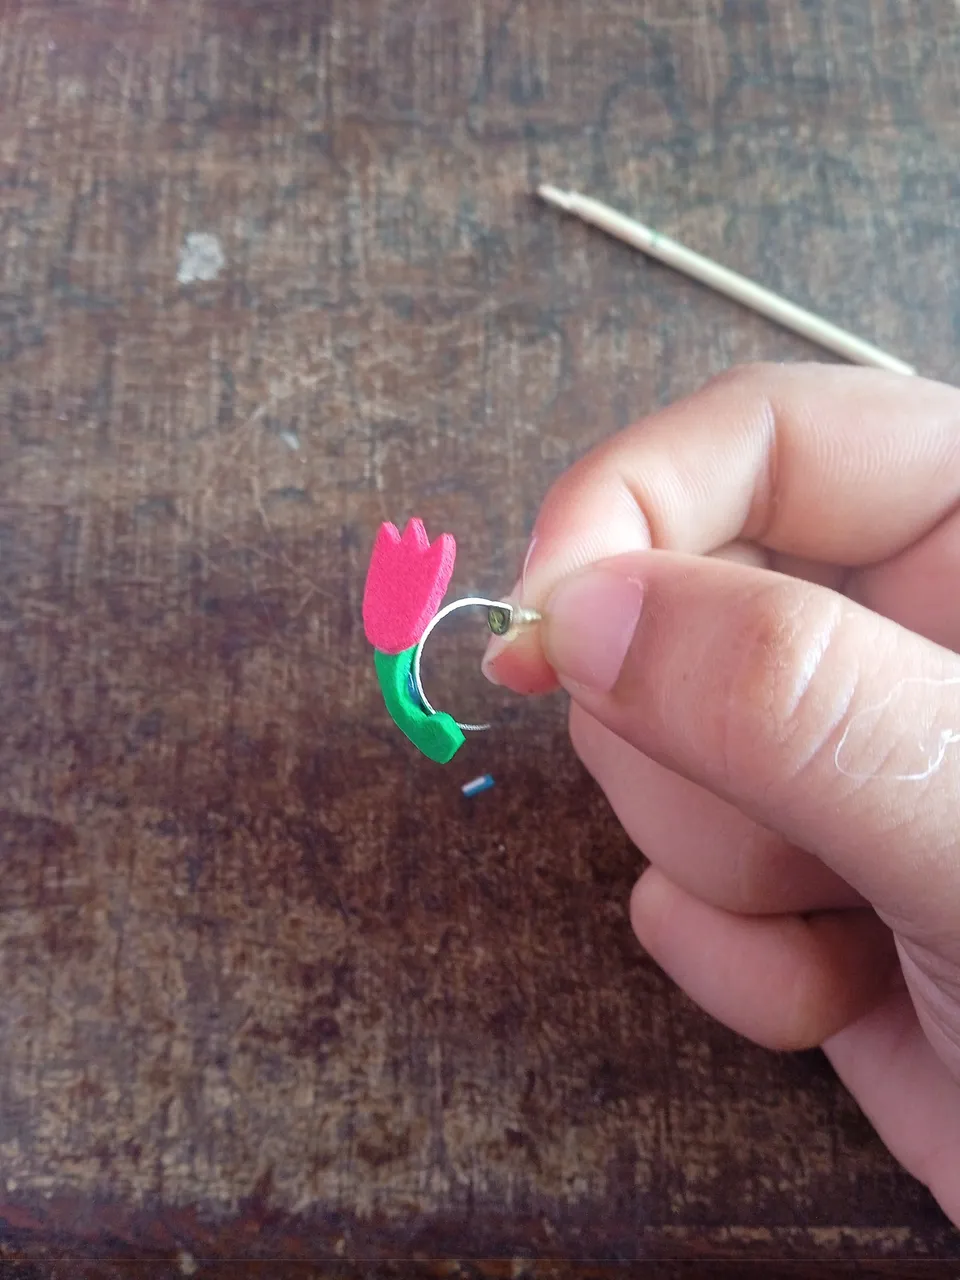
A continuación vamos a proceder a pegar y realizar nuestra flor, lo primero que vamos hacer es añadir silicón en la punta de el tallo y lo pegaremos en todo el centro de nuestra flor tulipán como lo pueden apreciar ,deben quedar en todo el centro
Next we are going to proceed to glue and make our flower, the first thing we are going to do is add silicone on the tip of the stem and glue it around the center of our tulip flower as you can see, they should be all over the center.
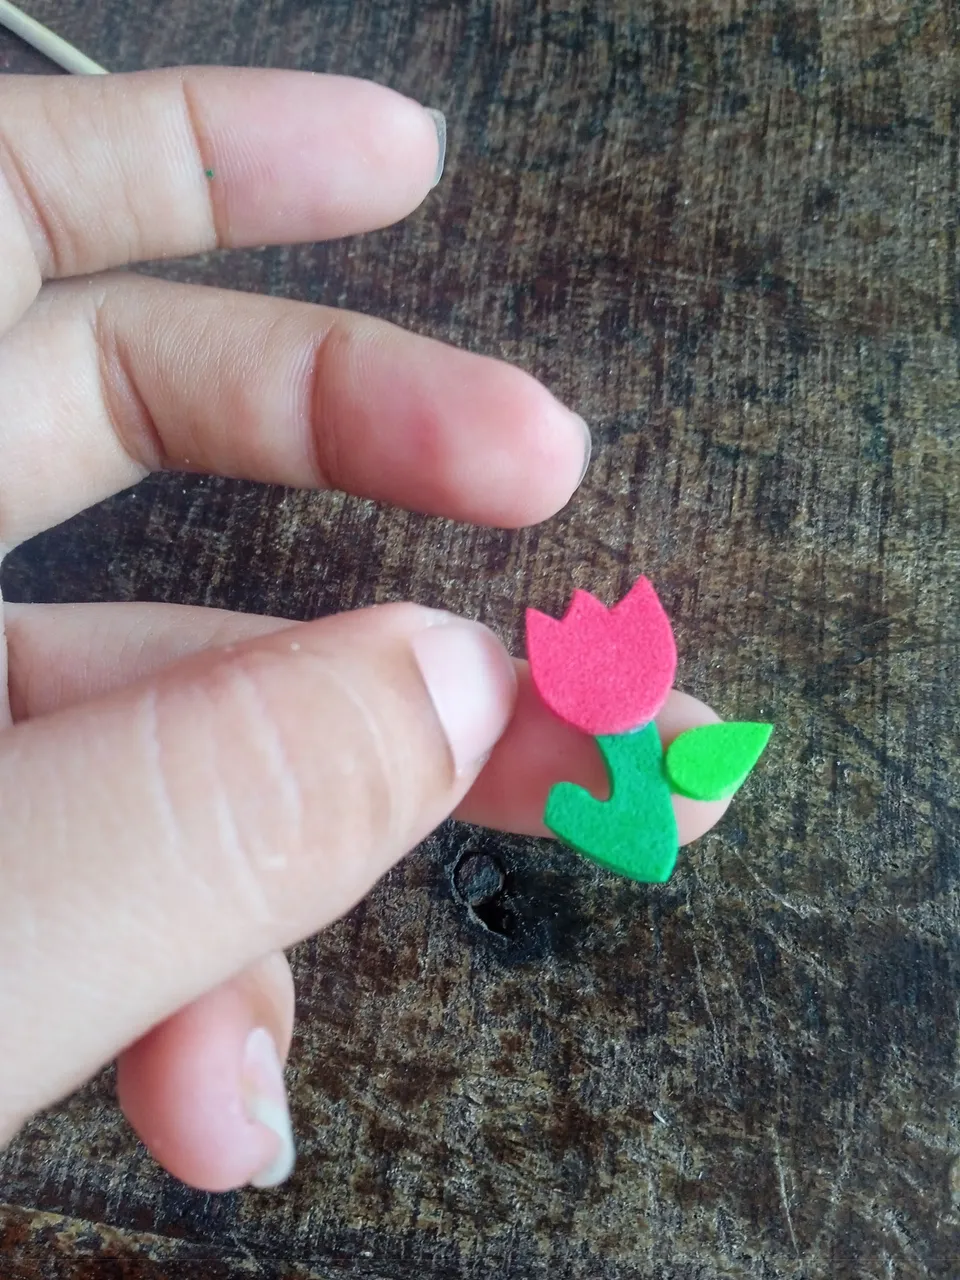
Luego continuaremos tomando una de las hojas que recortamos y la pegaremos en un lado de nuestro tallo para decorar nuestra hermosa flor y que haga una simulación tipo real , ubicaremos la hoja en el lado derecho y la otra de el lado contrario que no queden en la misma dirección
Then we will continue taking one of the leaves that we cut out and glue it on one side of our stem to decorate our beautiful flower and make a real type simulation, we will place the leaf on the right side and the other on the opposite side that are not in the same direction.
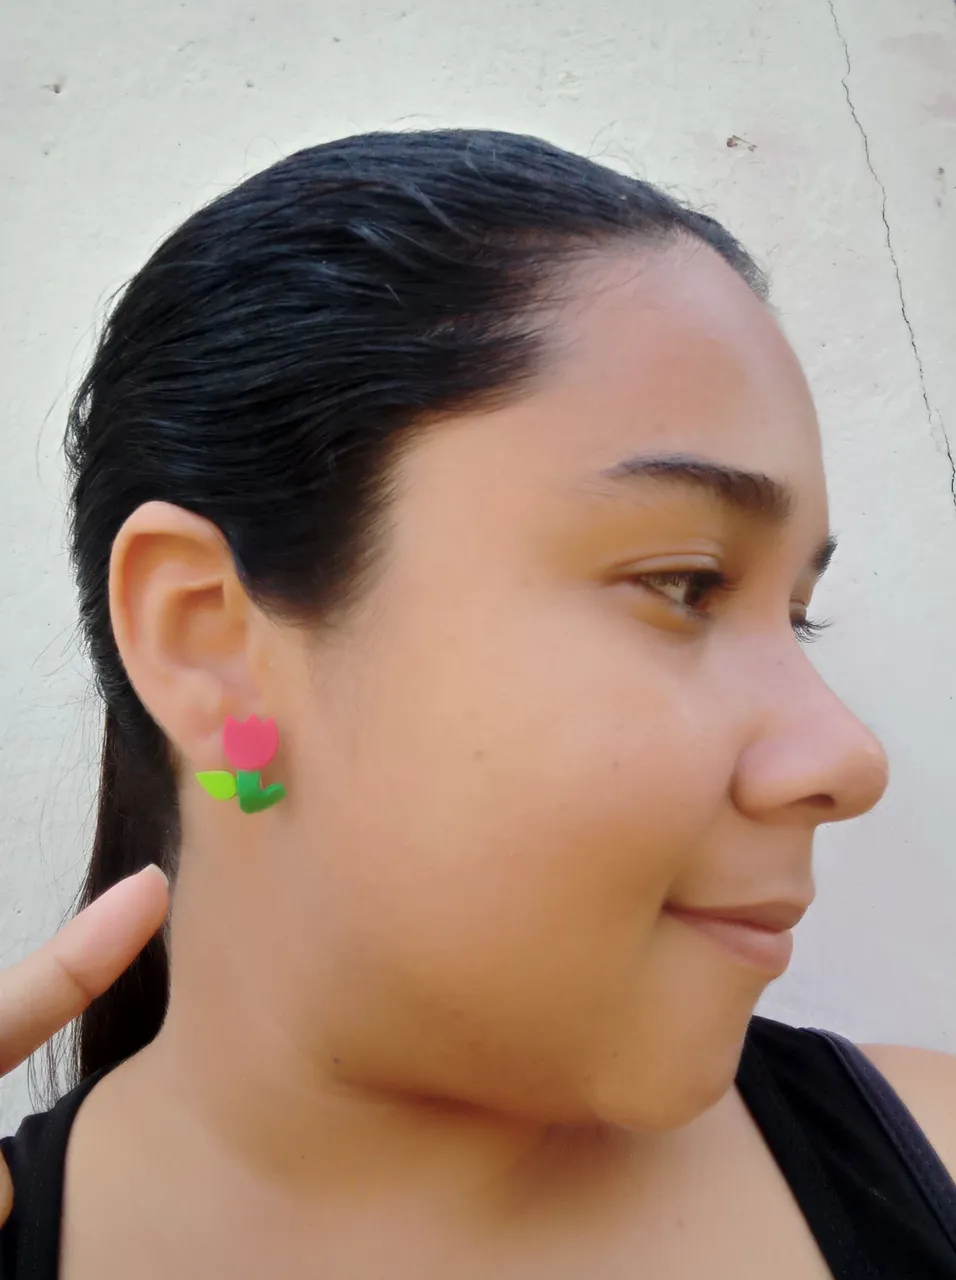
Por último cuando tengamos listas nuestras dos hermosas flores vamos a proceder a pegarla en las argollas las cuales reciclamos con el propósito de rehusar y renovar esas prendas viejas que un día dejamos de usar,finalizando de nuestros accesorios
Finally when we have our two beautiful flowers ready we will proceed to glue them on the rings which we recycle with the purpose of reusing and renewing those old clothes that one day we stopped using, finishing our accessories
Cómo pueden apreciar este es el resultado final de mis hermosos zarcillos inspirados en unos tulipanes ,ideal para lucir en cualquier ocasión , siendo un accesorio delicado y precioso para llevar con nosotras mismas ,las fotos las tomé con mi teléfono Redmi 9C y los textos los traduje con el traductor DeepL ,que pasen un bello día y un exelente fin de semana al lado de sus seres queridos ,que lo disfruten
As you can appreciate this is the final result of my beautiful tendrils inspired by tulips, ideal to wear on any occasion, being a delicate and precious accessory to wear with ourselves, the photos were taken with my Redmi 9C phone and the texts were translated with the translator DeepL, have a beautiful day and a great weekend with your loved ones, enjoy it.