
Bienvenidos || Welcome
Feliz día estimados amigos, siempre feliz de poder estar y compartir con todo ustedes el día hoy quiero mostrales como realicé para mí hija un hermoso cintillo y par de ganchos con foami imputado en las flores, la verdad que es un trabajo que requiere pocos materiales pero que con paciencia se elabora y queda con un acabado muy bonito, para este proyecto vamos a necesitar los siguientes materiales:
Happy day dear friends, always happy to be able to be and share with all of you today I want to show you how I made for my daughter a beautiful headband and pair of hooks with foami imputed on the flowers, the truth is that it is a job that requires few materials but with patience is made and is a very nice finish, for this project we will need the following materials:
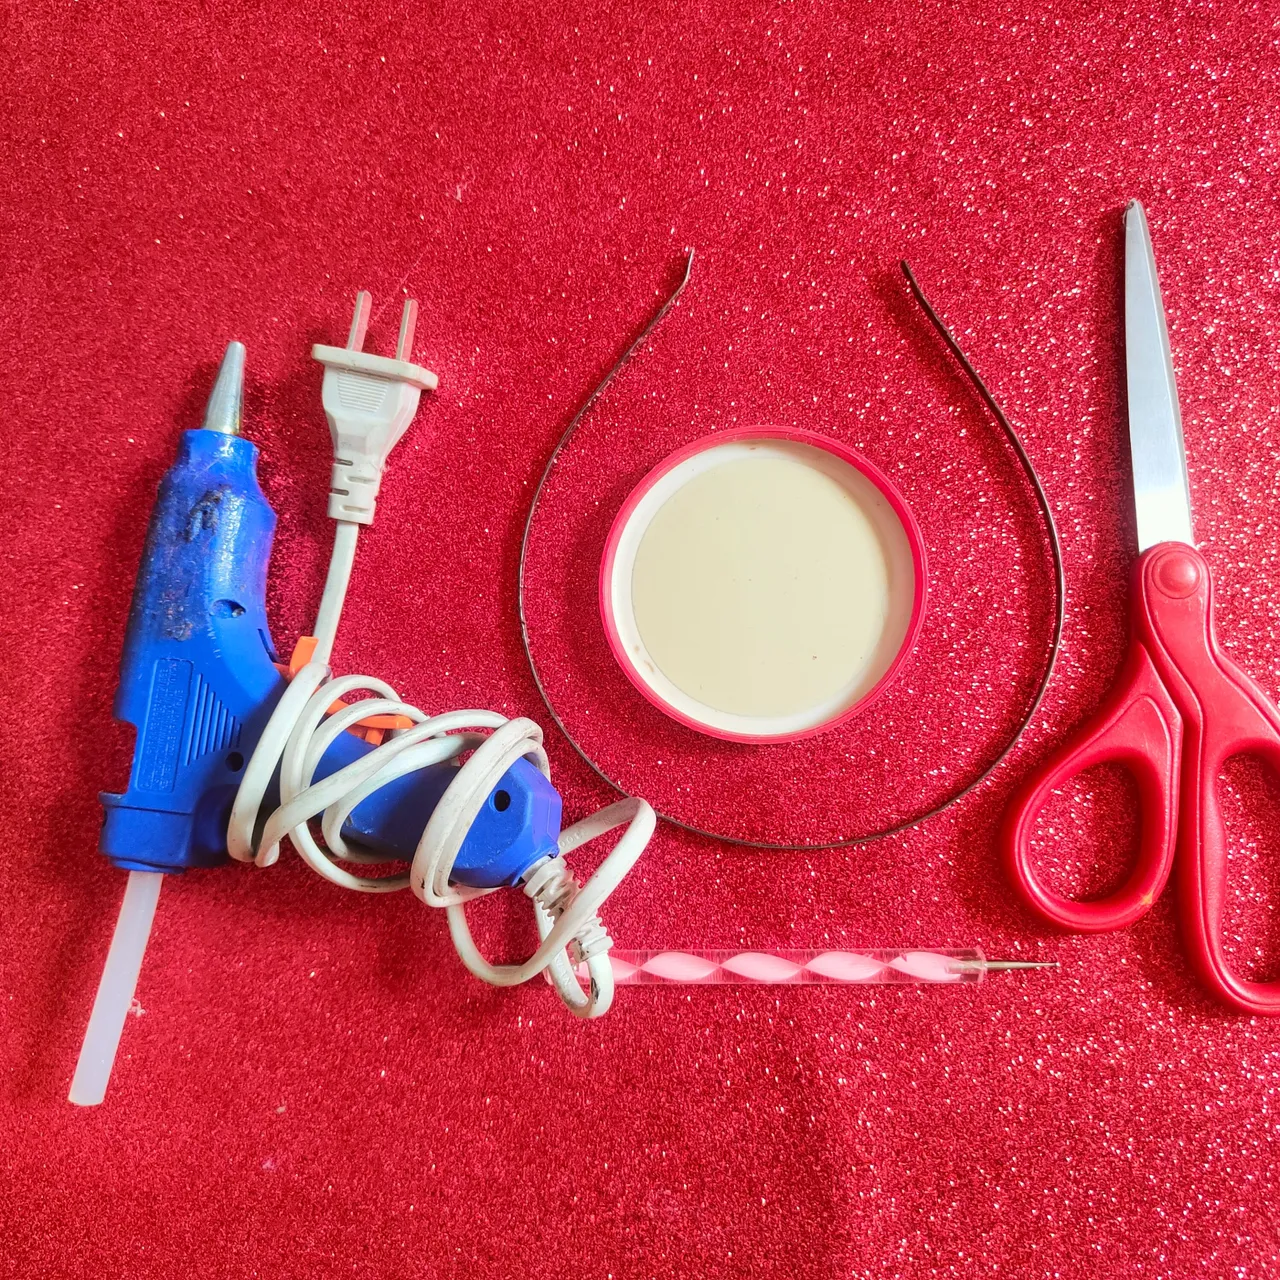
Materiales || Materials
✨ Foami rojo escarchado.
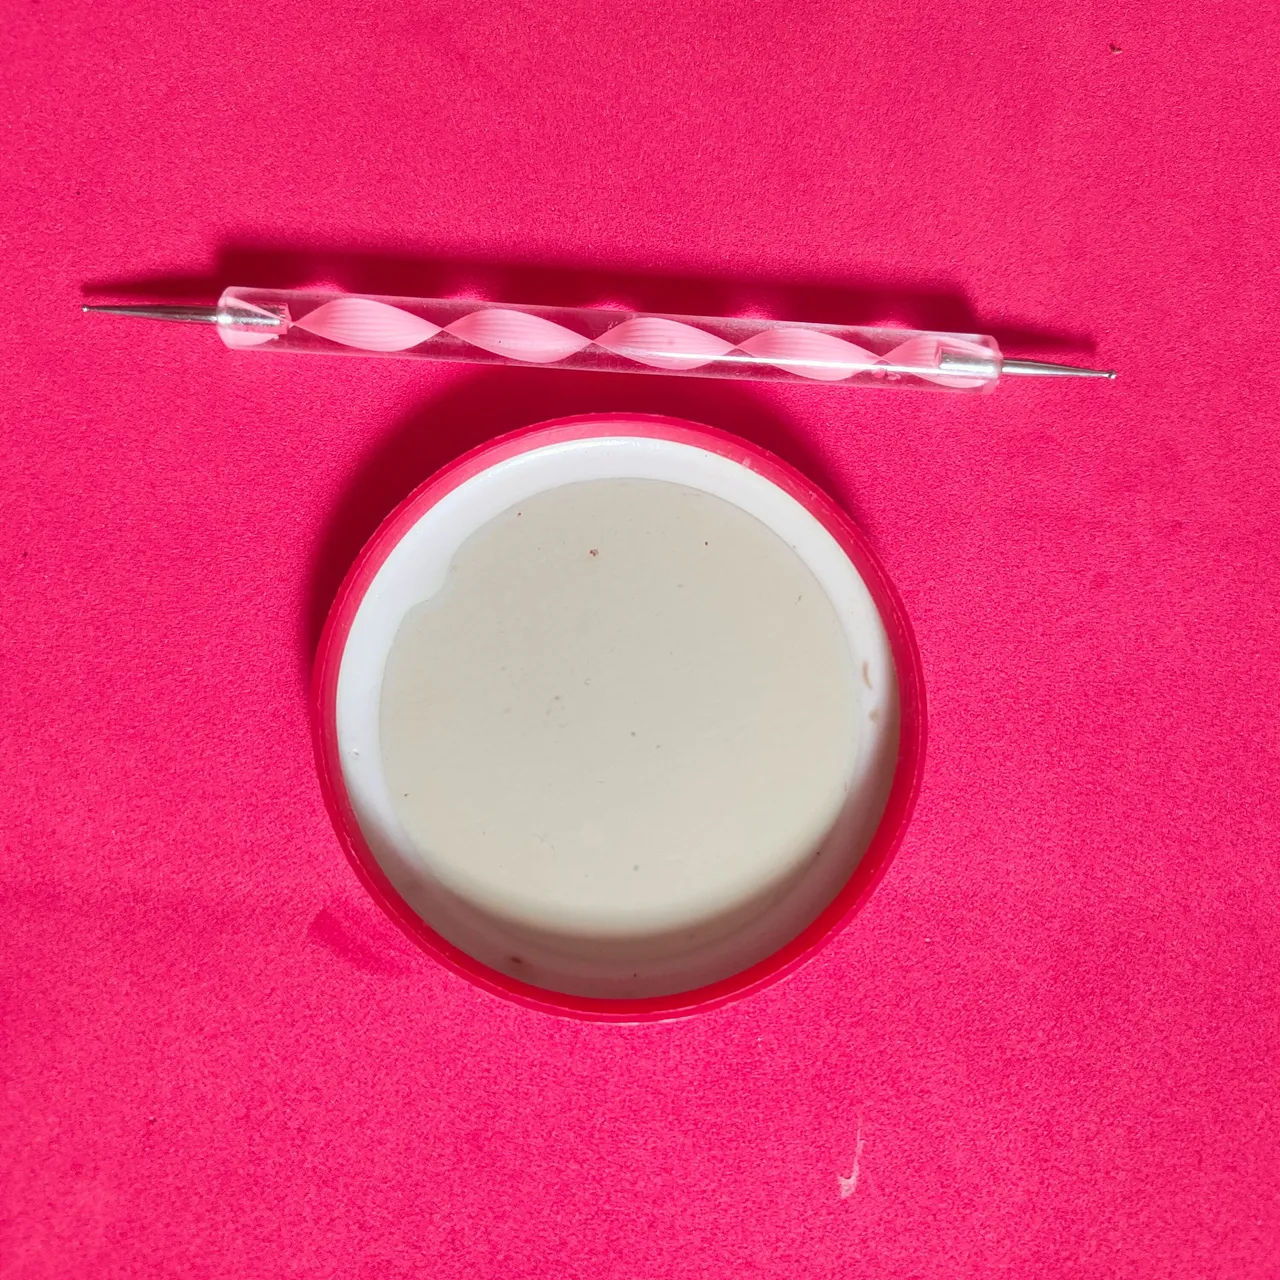
✨ Tapa.
✨ Tijera.
✨ Silicon en barra.
✨ Regla.
✨ Cintillo.
✨ 2 ganchos.
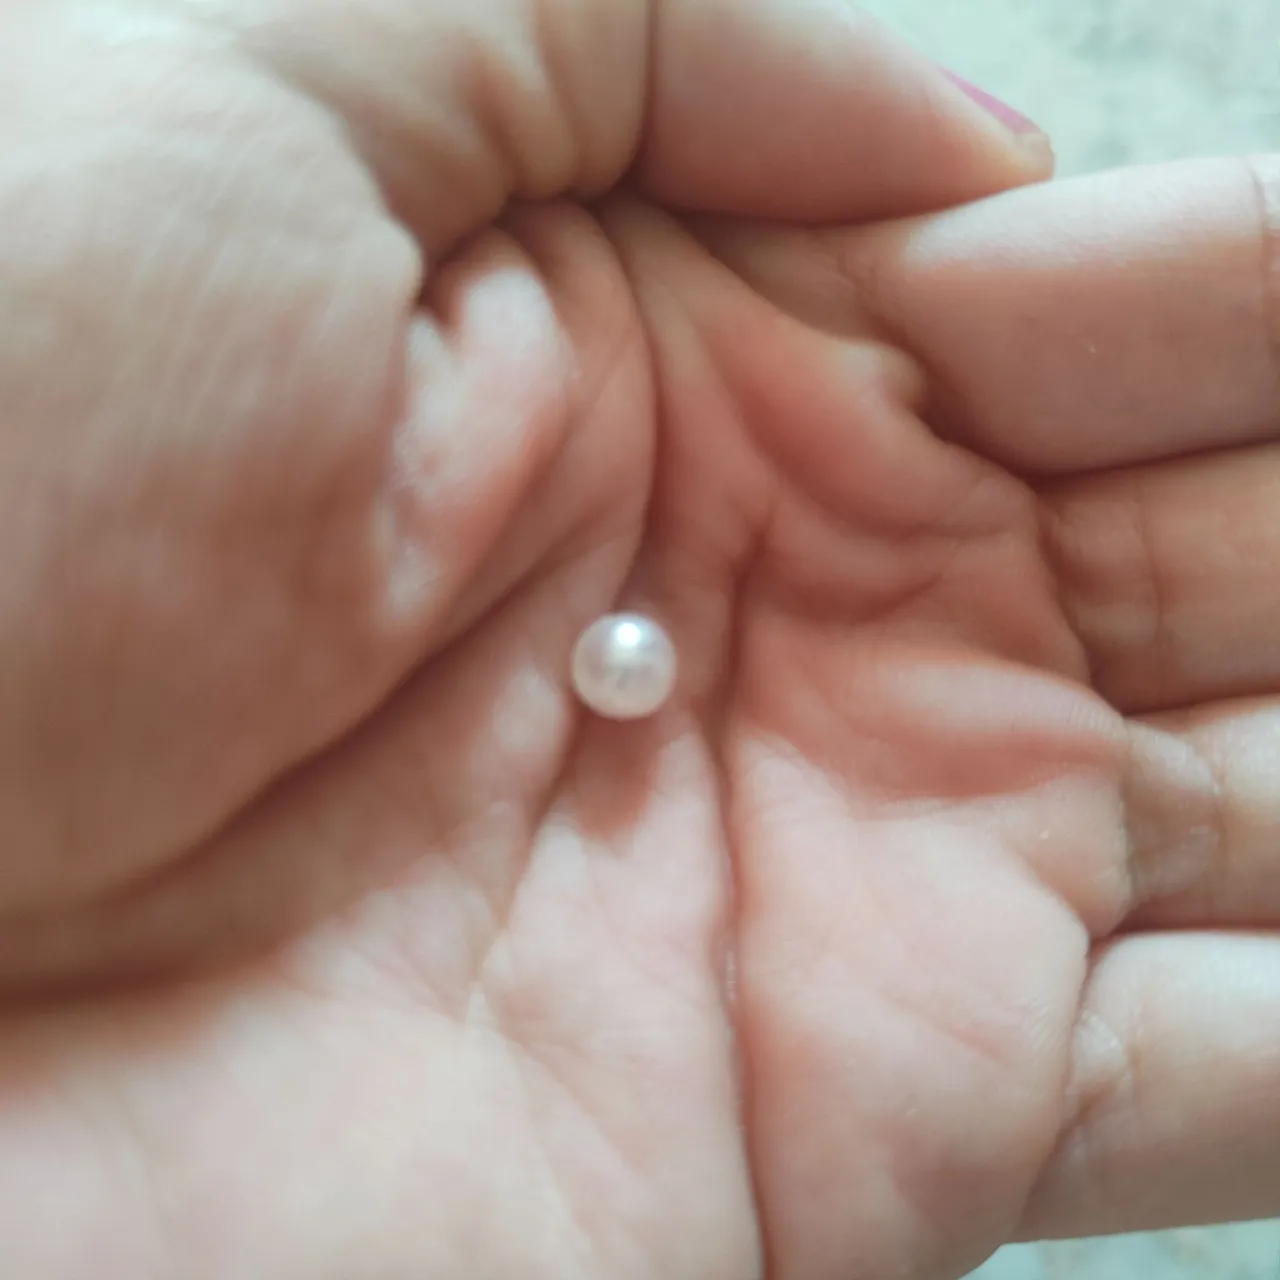
✨ Perlas.
✨ Red frosted foami.
✨ Lid.
✨ Scissors.
✨ Silicon stick.
✨ Ruler.
✨ Headband.
✨ 2 hooks.
✨ Beads.
Pasos ||Steps
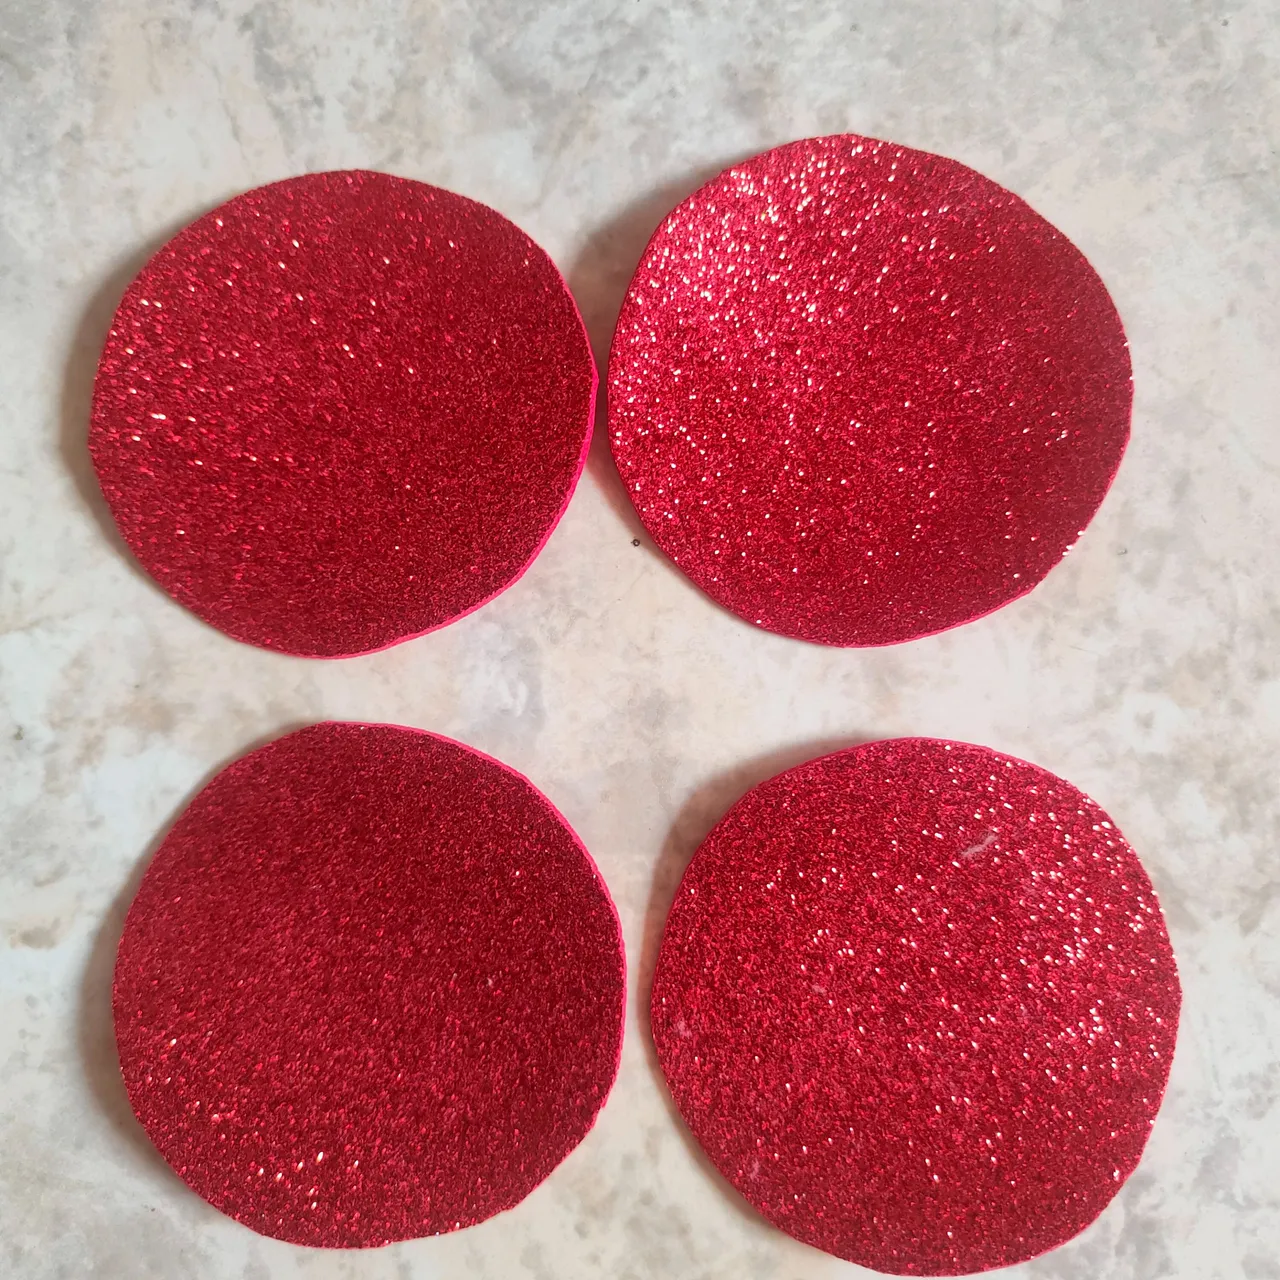
✨ Paso 1. Iniciaremos tomando la tapa y con ella vamos a realizar en el foami varios círculos, los cuales vamos a recortar.
✨ Step 1. We will start by taking the lid and with it we will make several circles in the foami, which we will cut out.
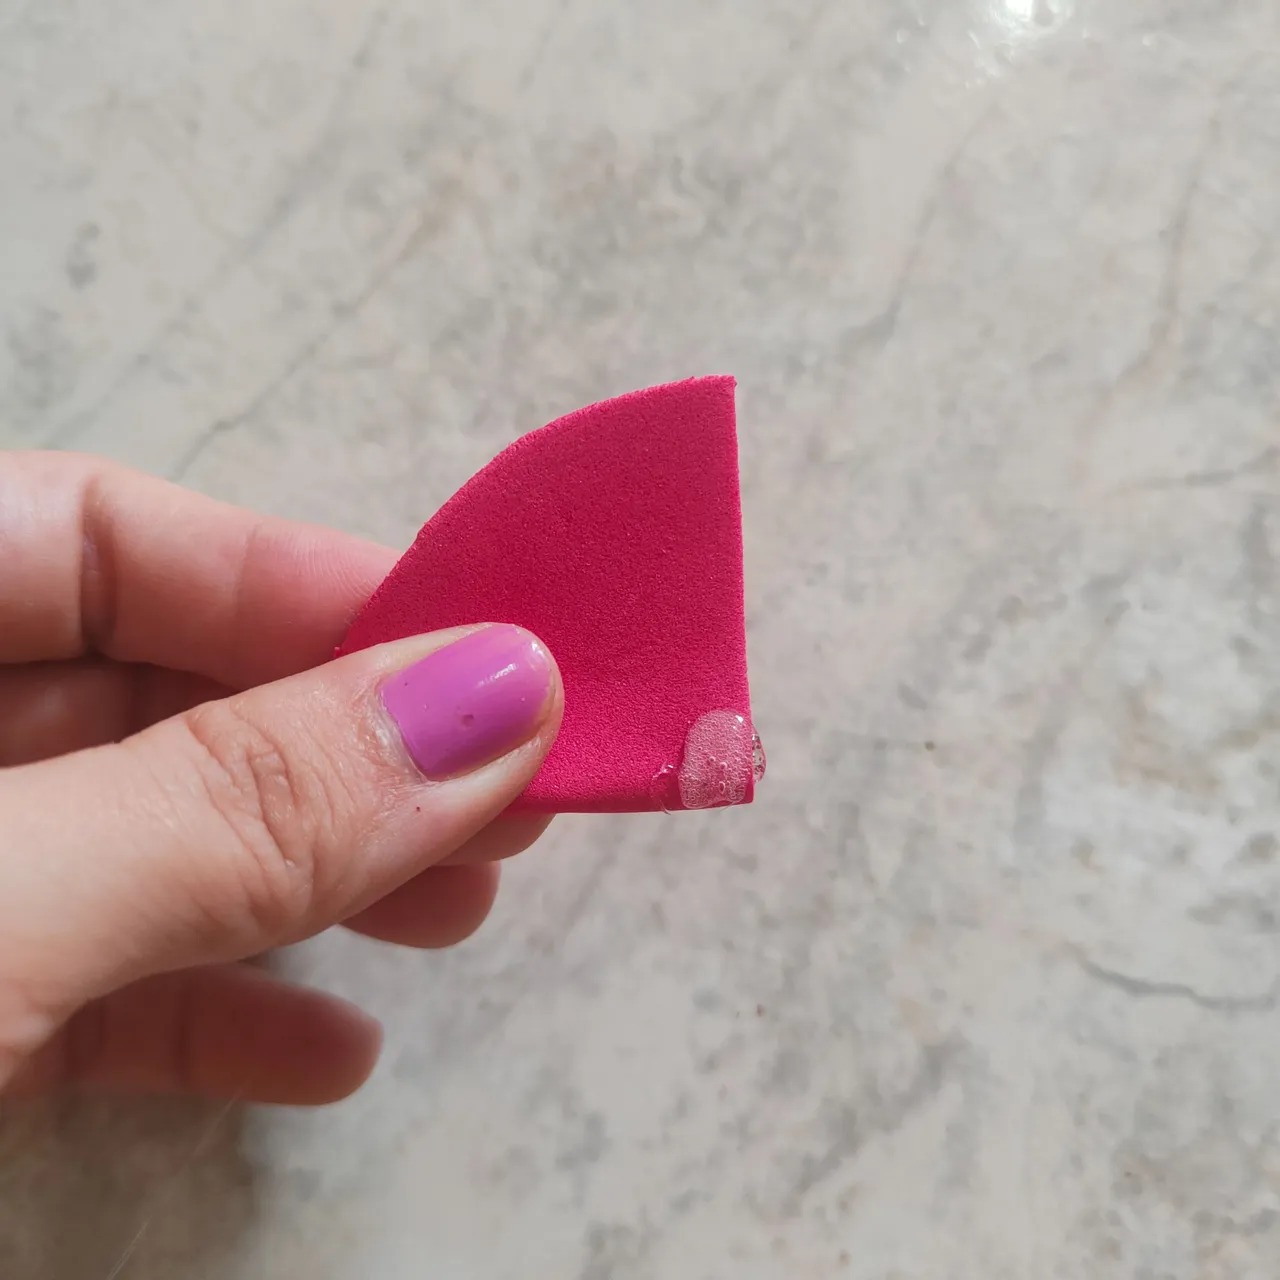
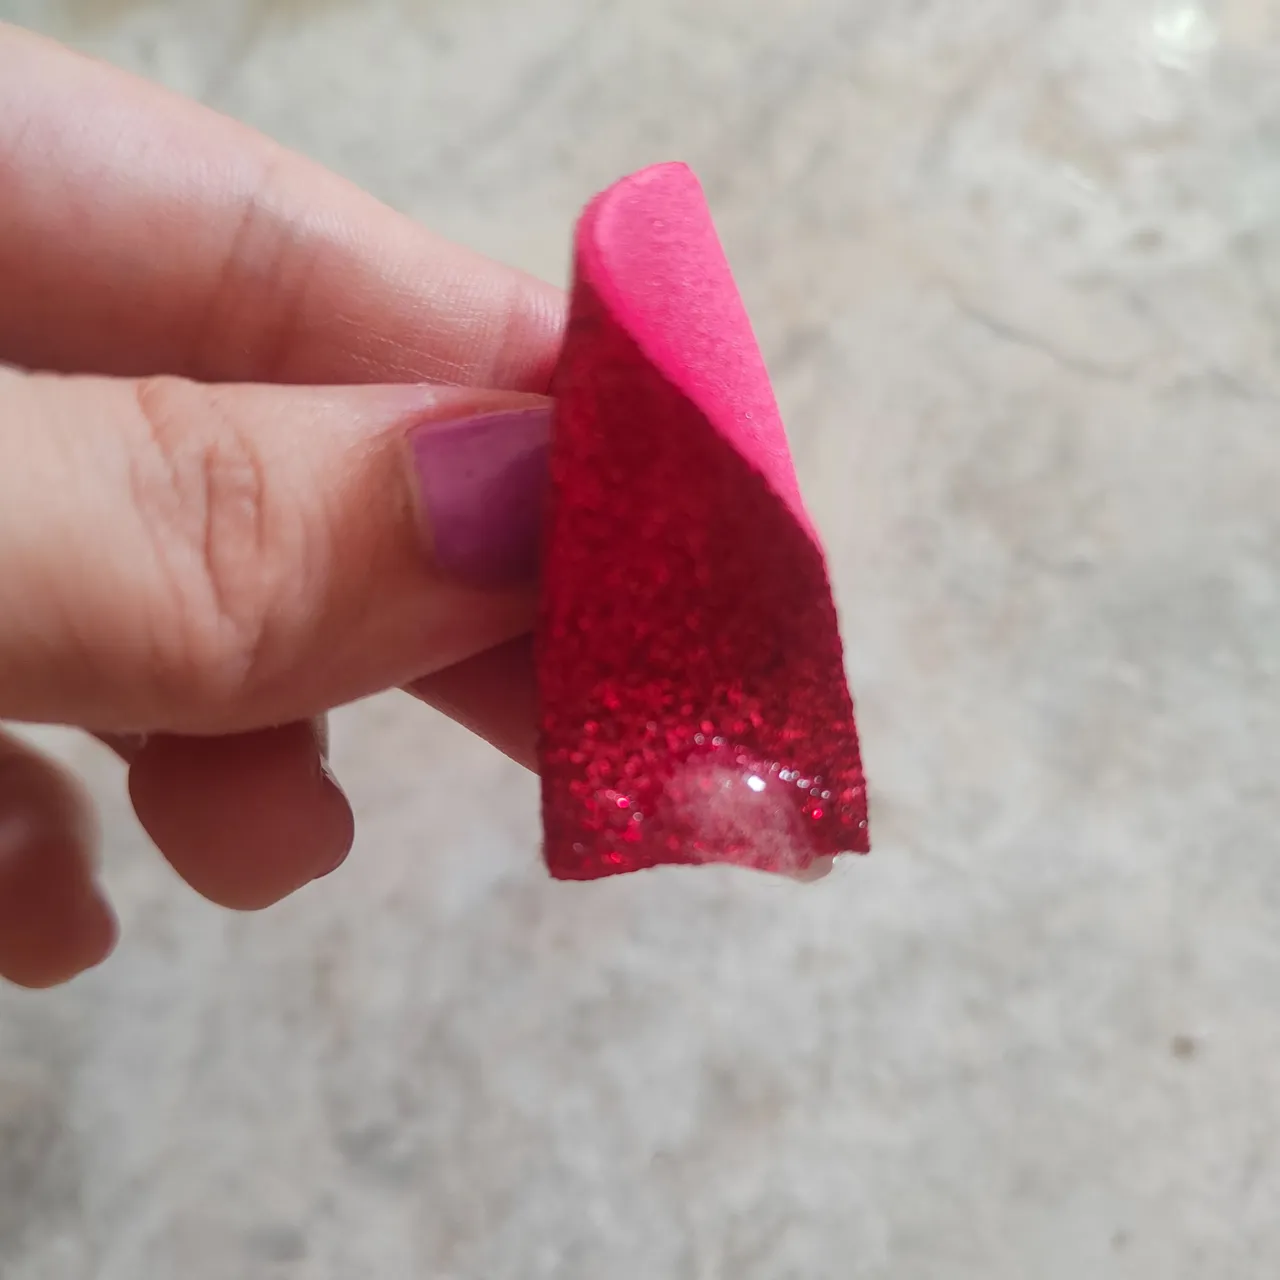
✨ Paso 2. Lo siguiente que vamos hacer es corta cada uno de los círculos por la mita.
✨ Step 2. The next thing we are going to do is cut each of the circles in half.

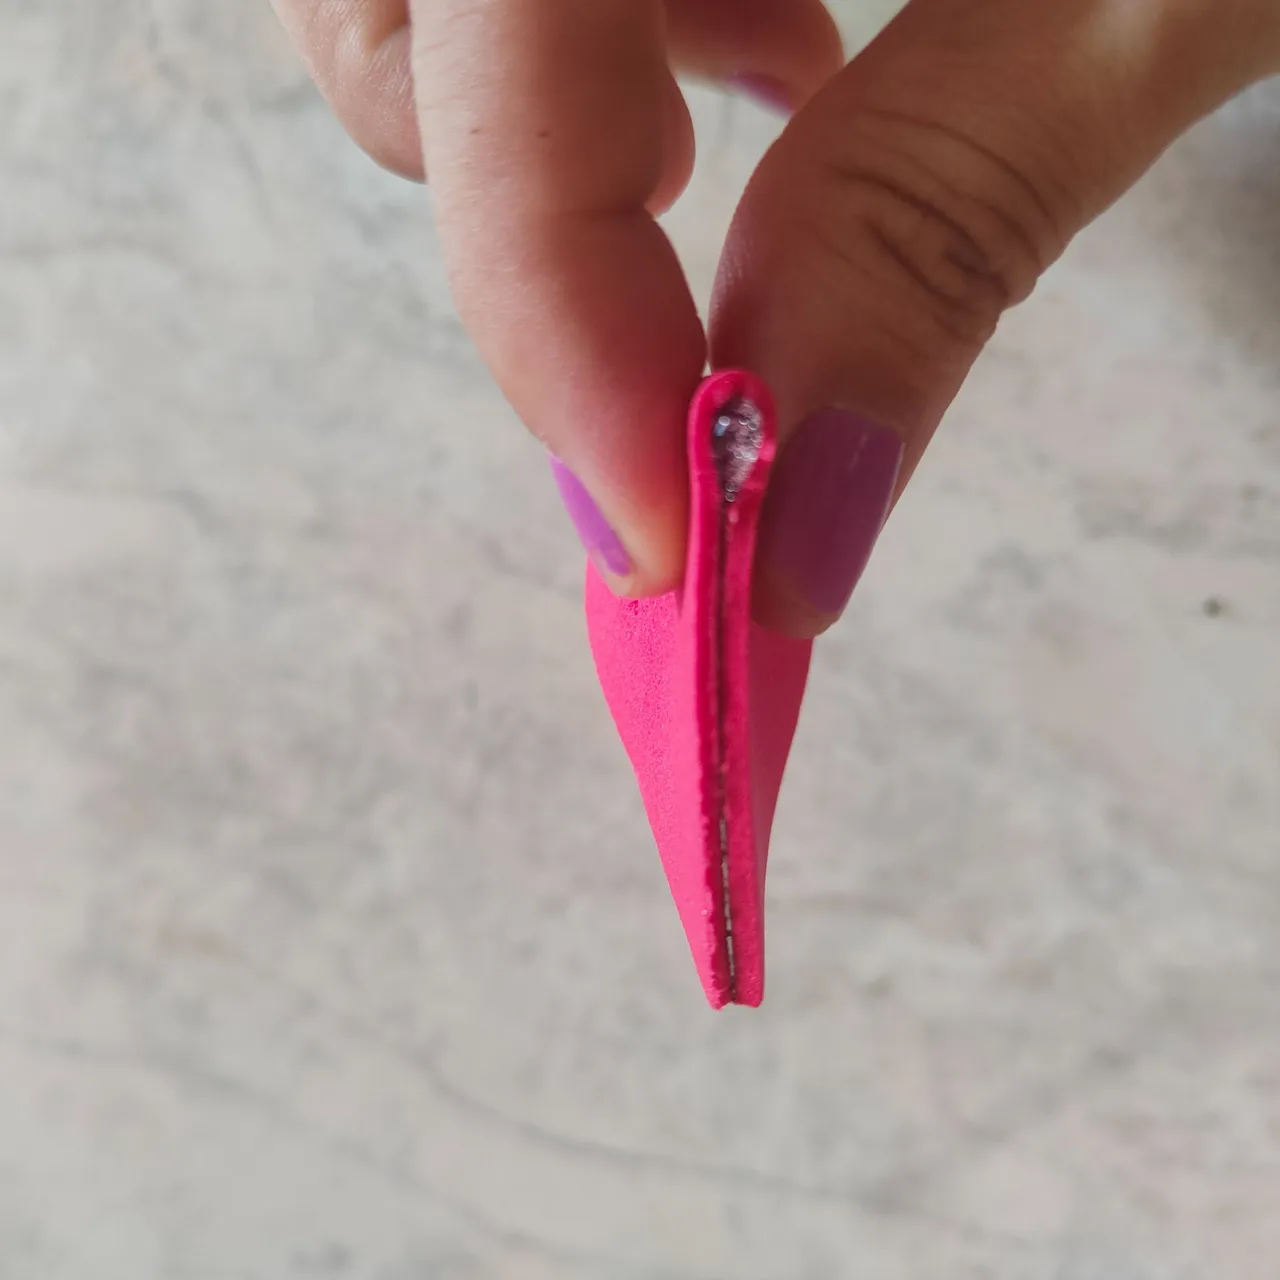
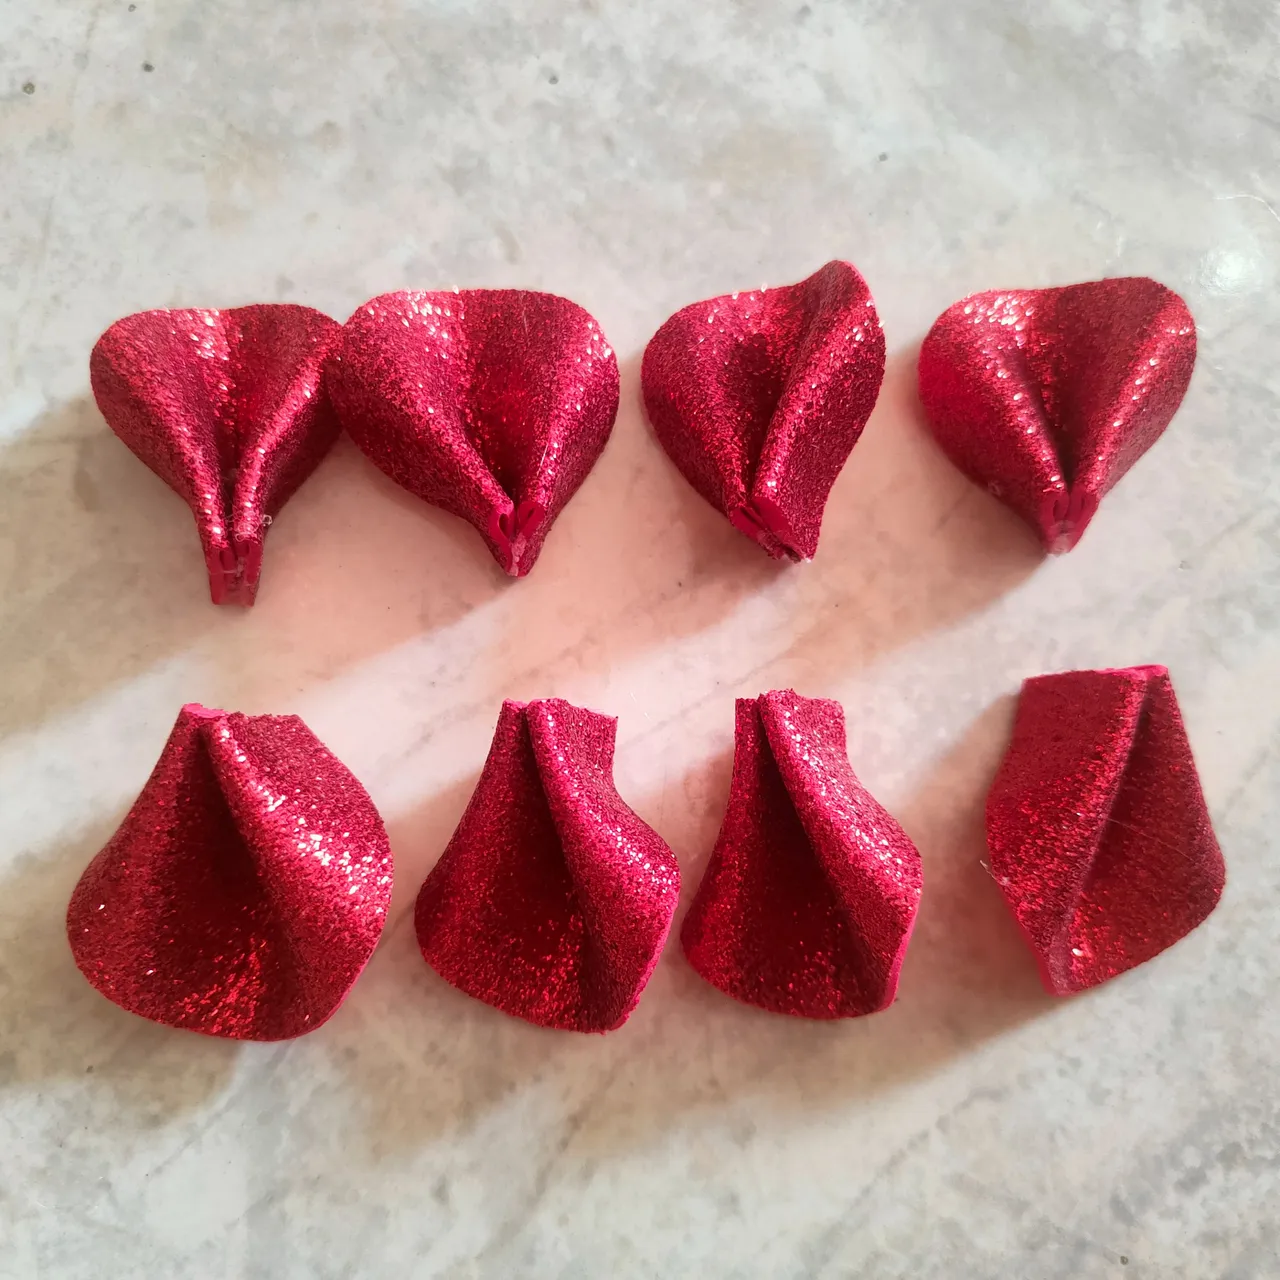
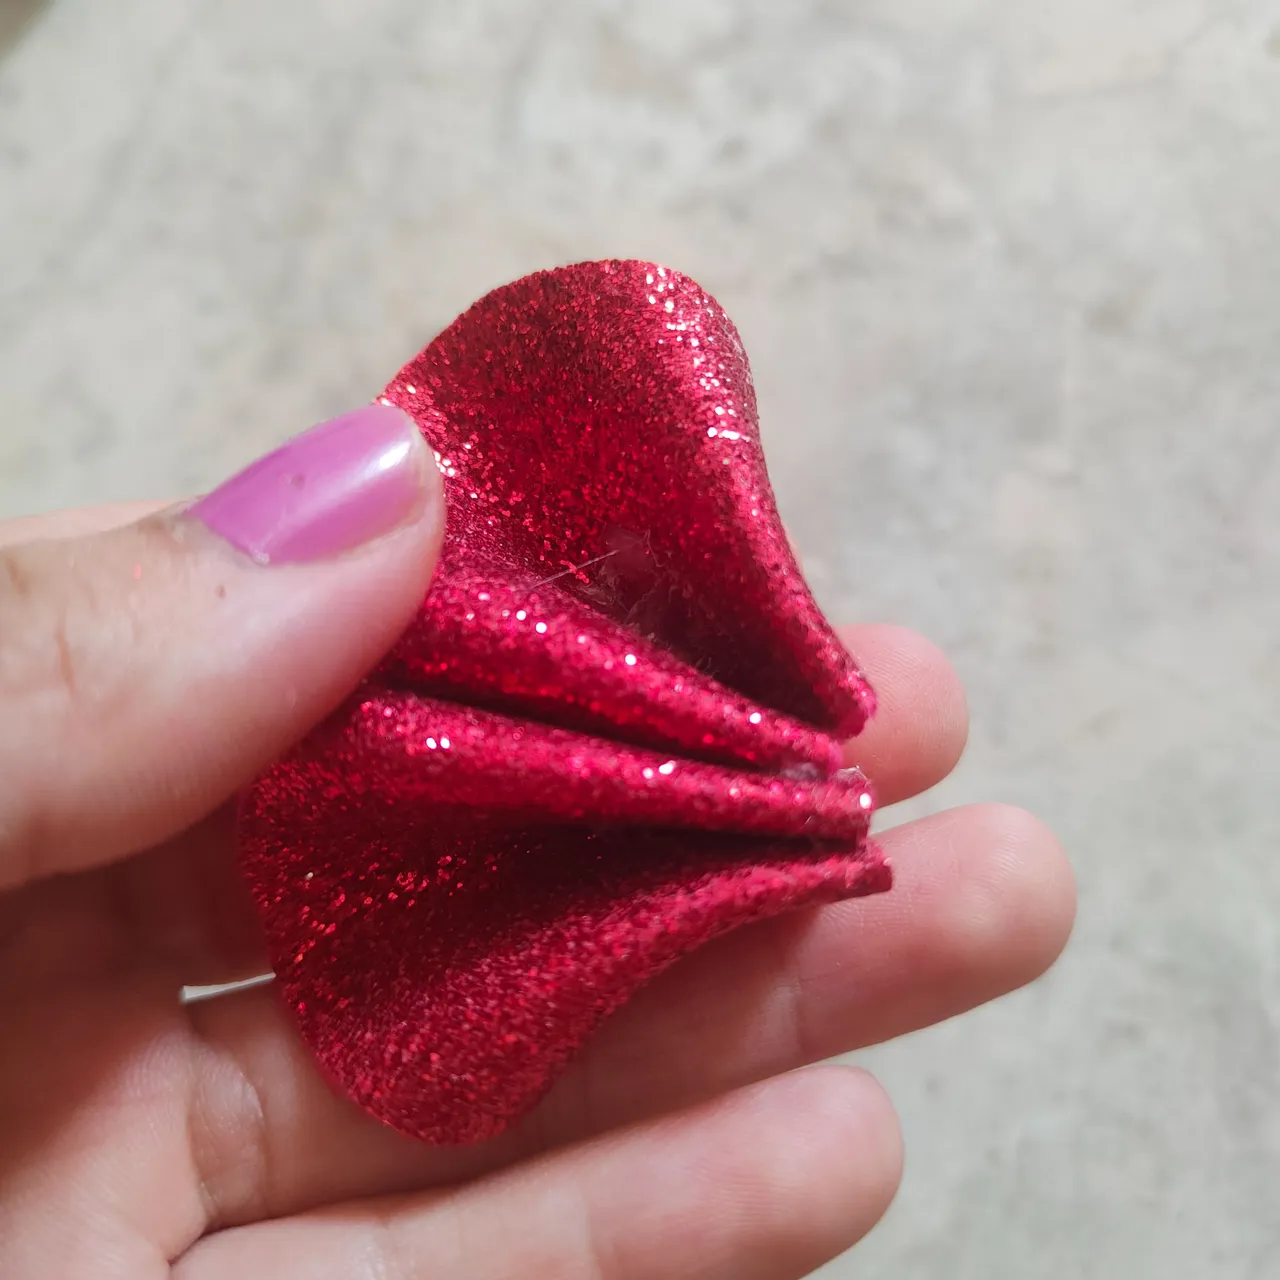
✨ Paso 3. Vamos a tomar cada una de las mitades y vamos a poner un punto de Silicon en todo el centro en la parte lineal del semi circulo y vamos a doblar y esperar que seque.
✨ Step 3. We are going to take each of the halves and we are going to put a dot of Silicon all the way down the center on the linear part of the half circle and we are going to fold and wait for it to dry.
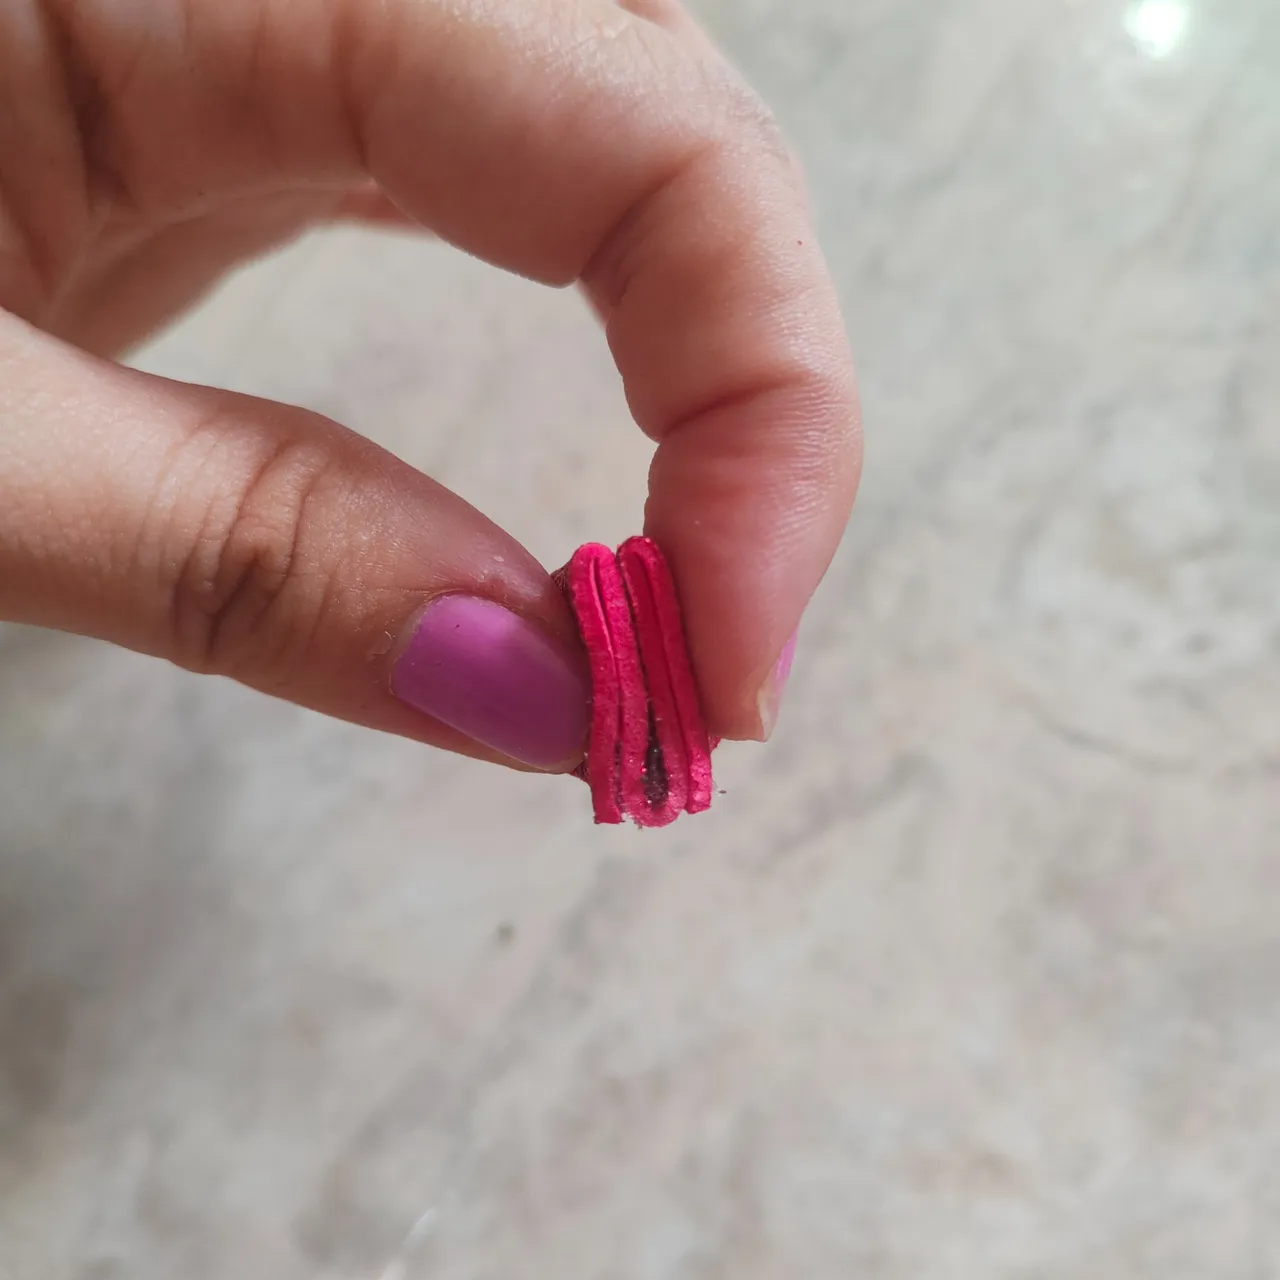
✨ Paso 4. Ponemos Silicon en barra en ambos laterales y fijamos sus puntas, si se fijan bien es como si realizáramos una M.
✨ Step 4. We put silicon on both sides and fix their tips, if they are well fixed, it is as if we were making an M.
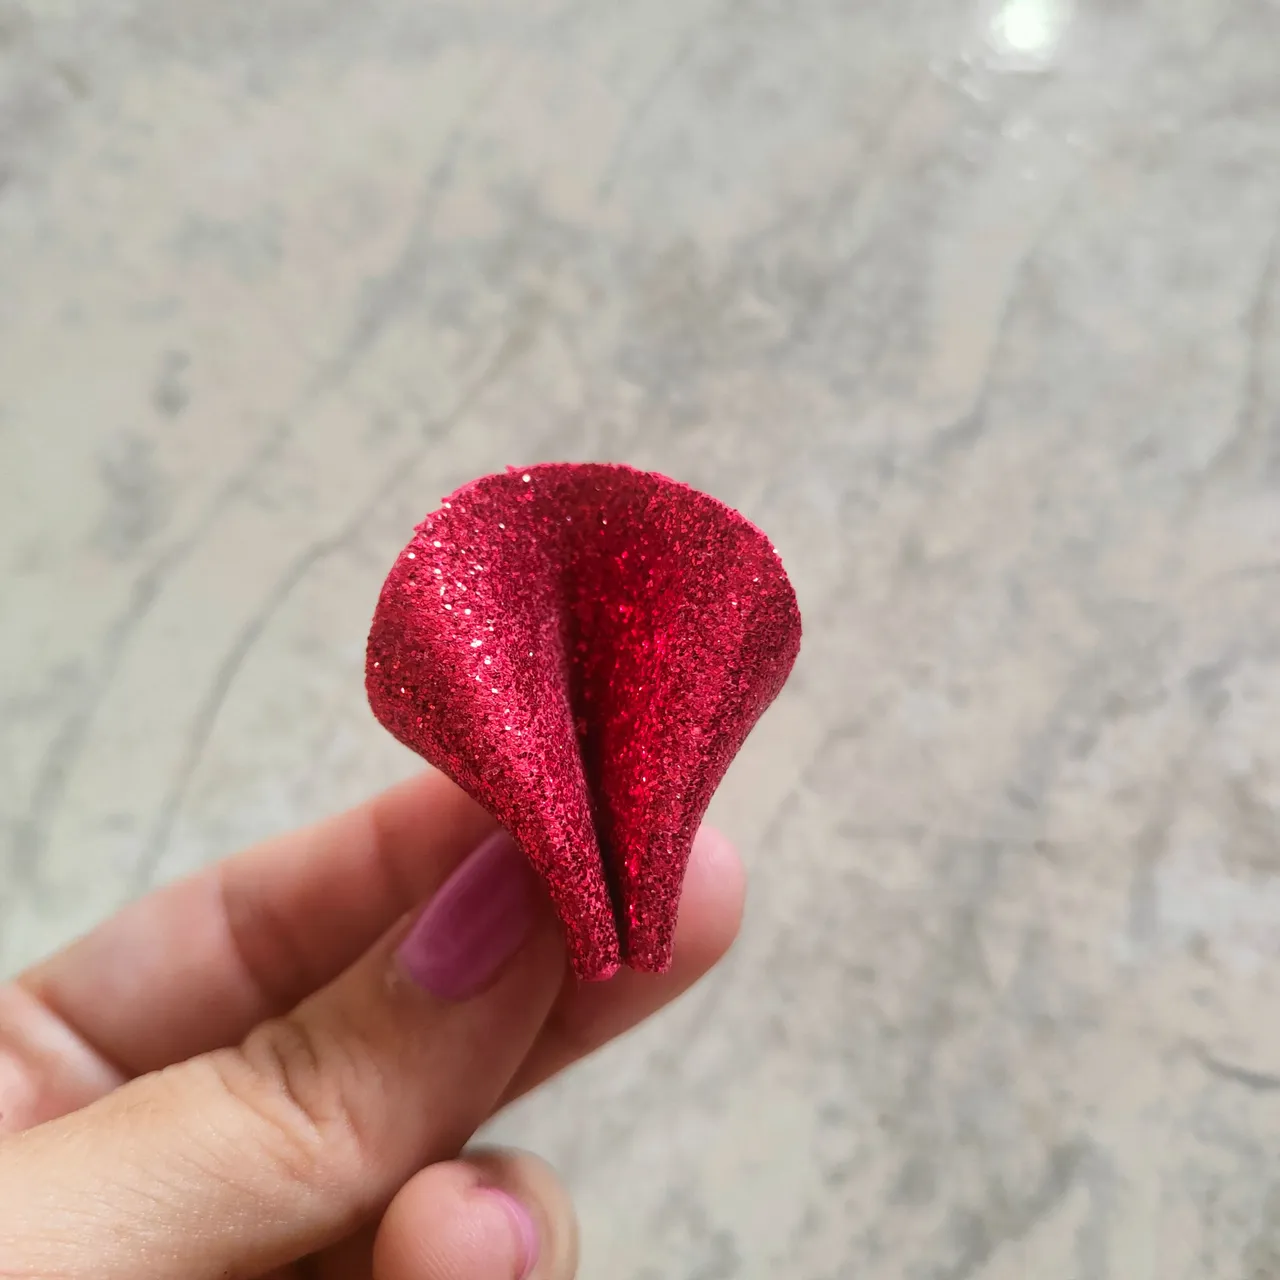
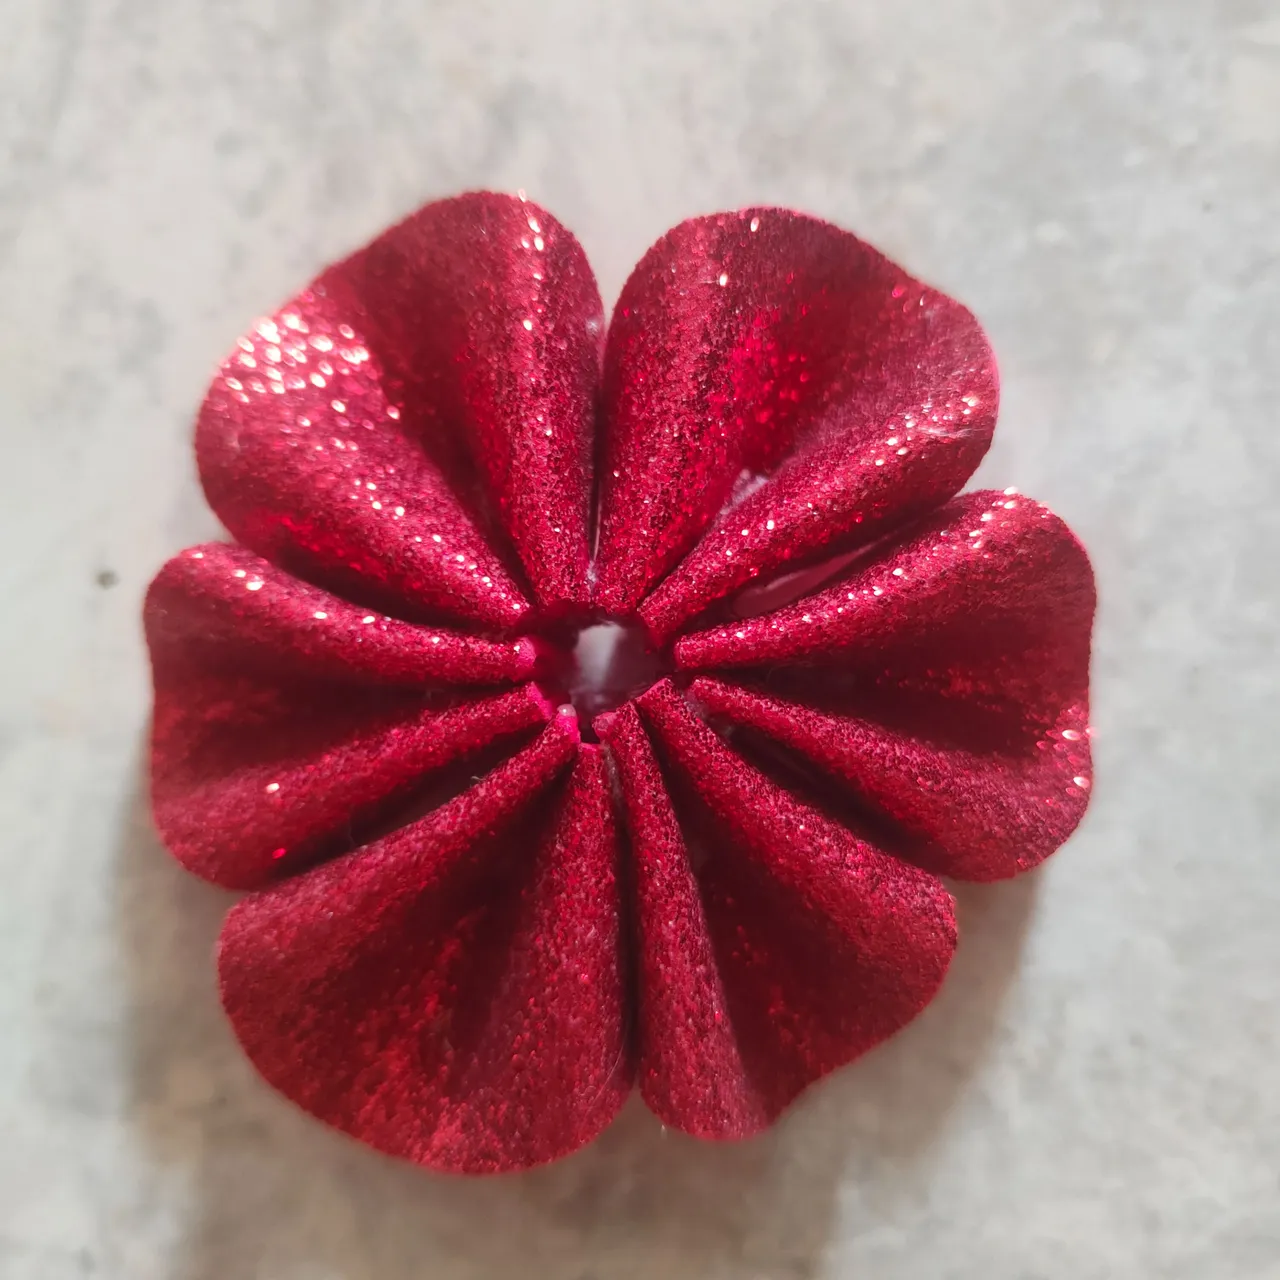
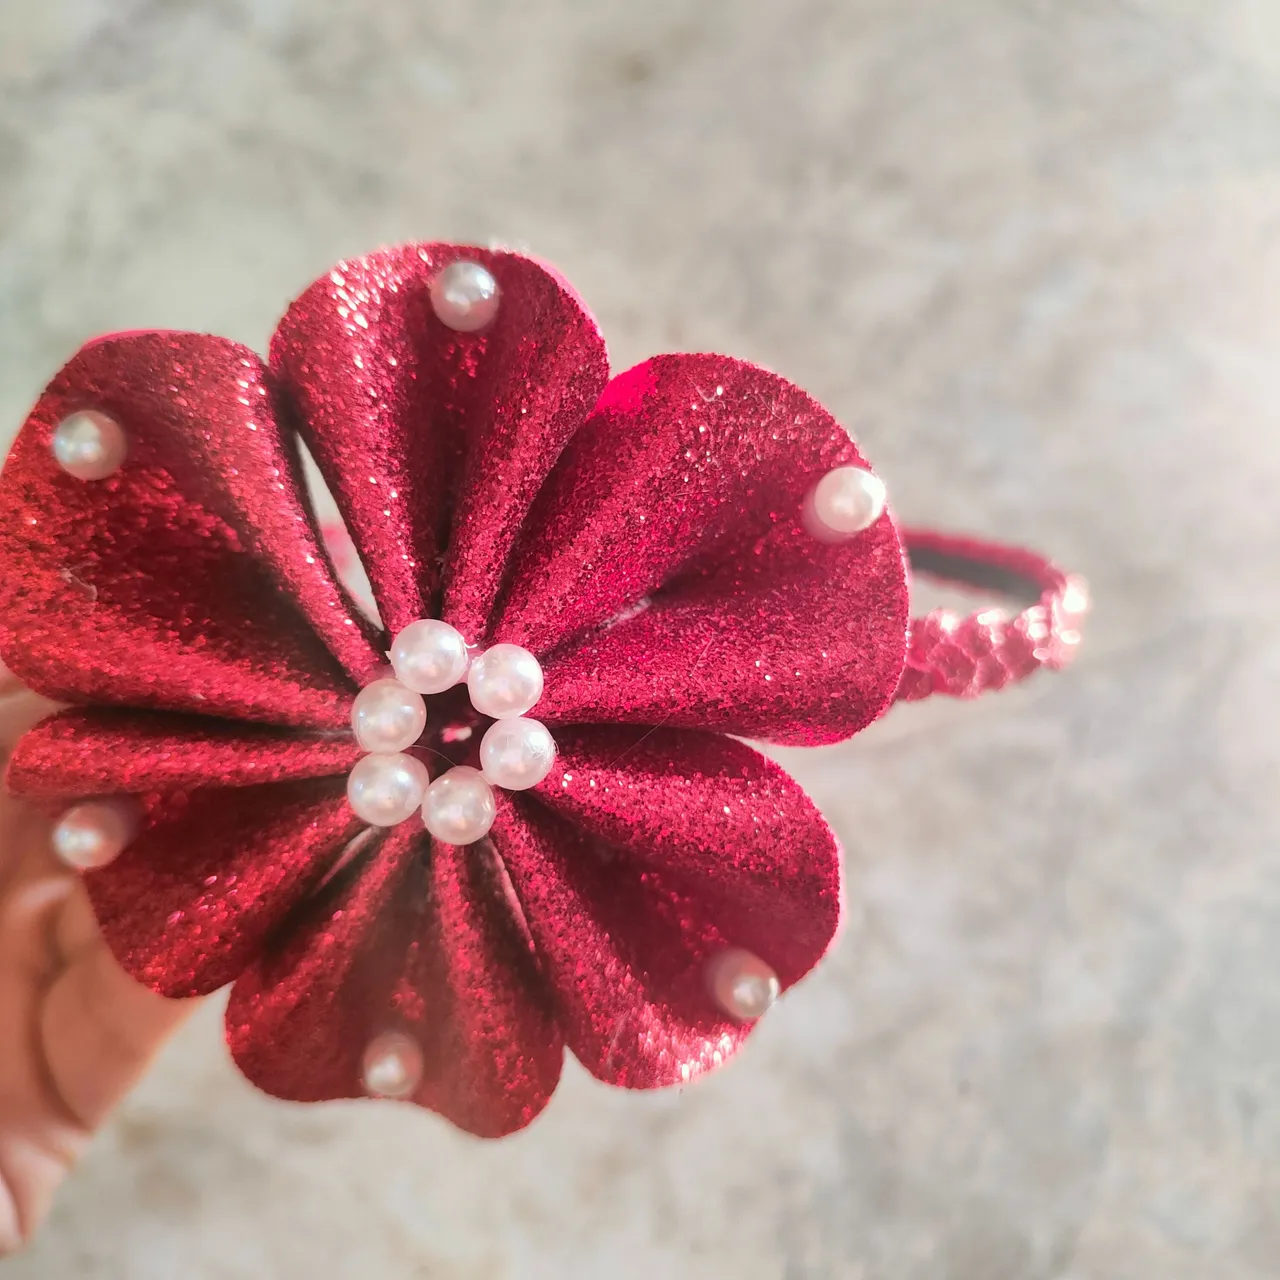
✨ Paso 5. Una vez que ya realizamos los pétalos con que vamos a trabajar, comenzaremos a pegarlos uno al lado del otro en mi caso use 6 pétalos para formar la flor del cintillo.
✨ Step 5. Once we have made the petals we are going to work with, we will start gluing them side by side, in my case I used 6 petals to form the flower of the headband.
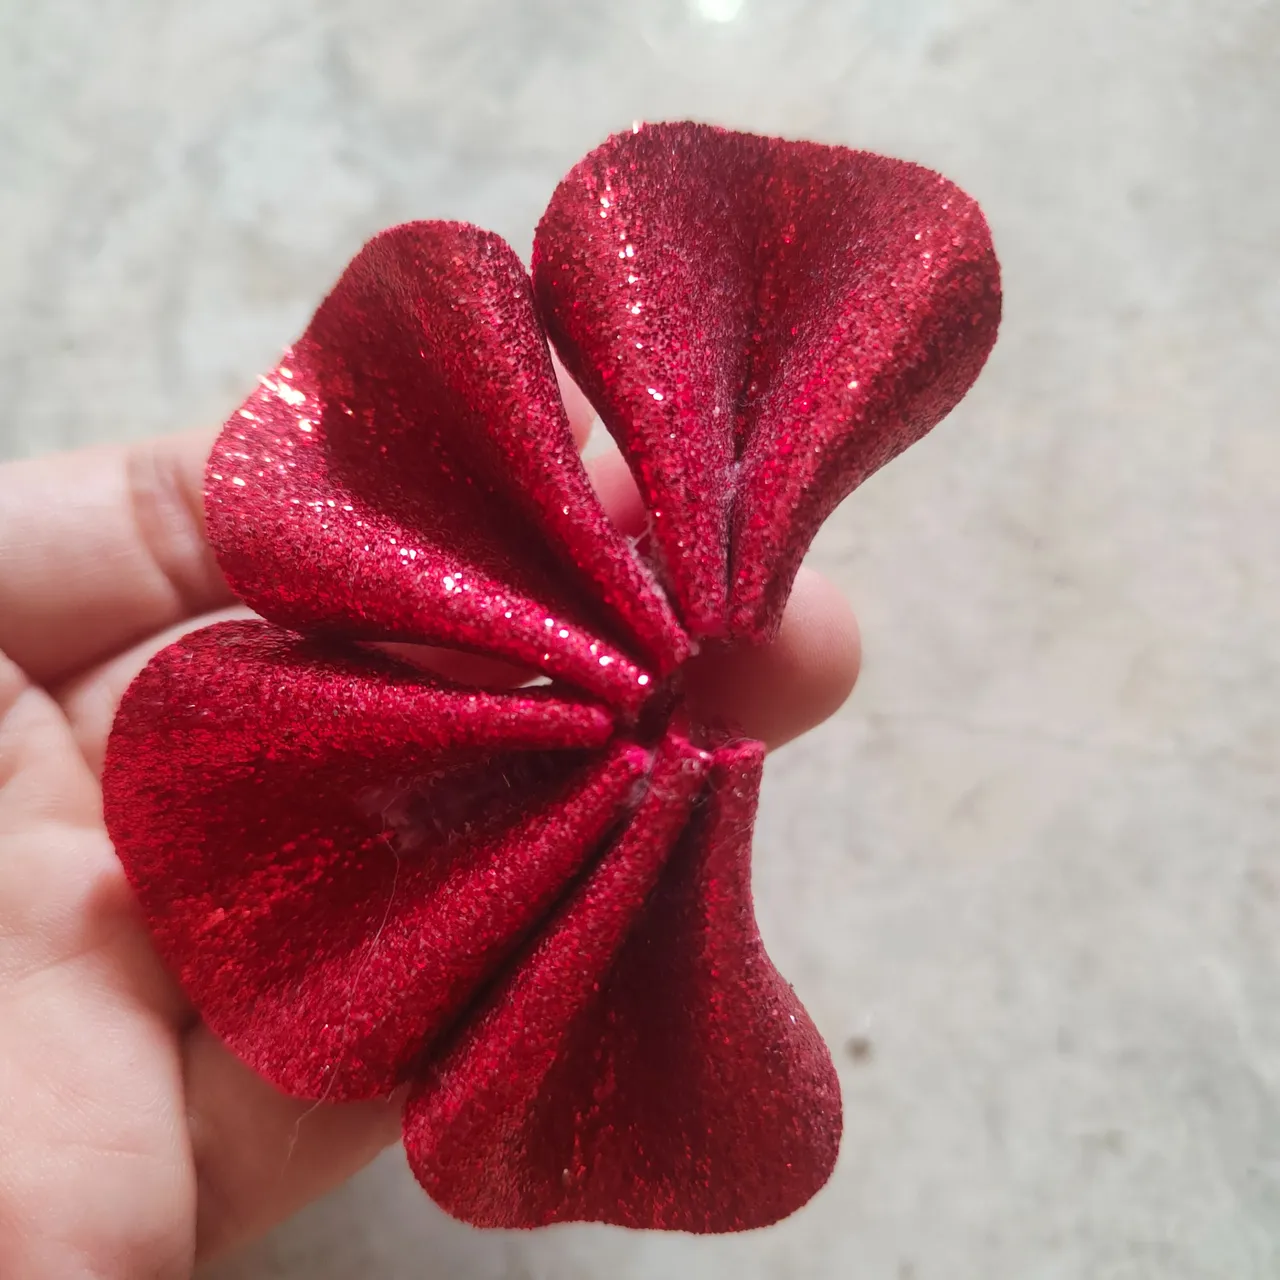
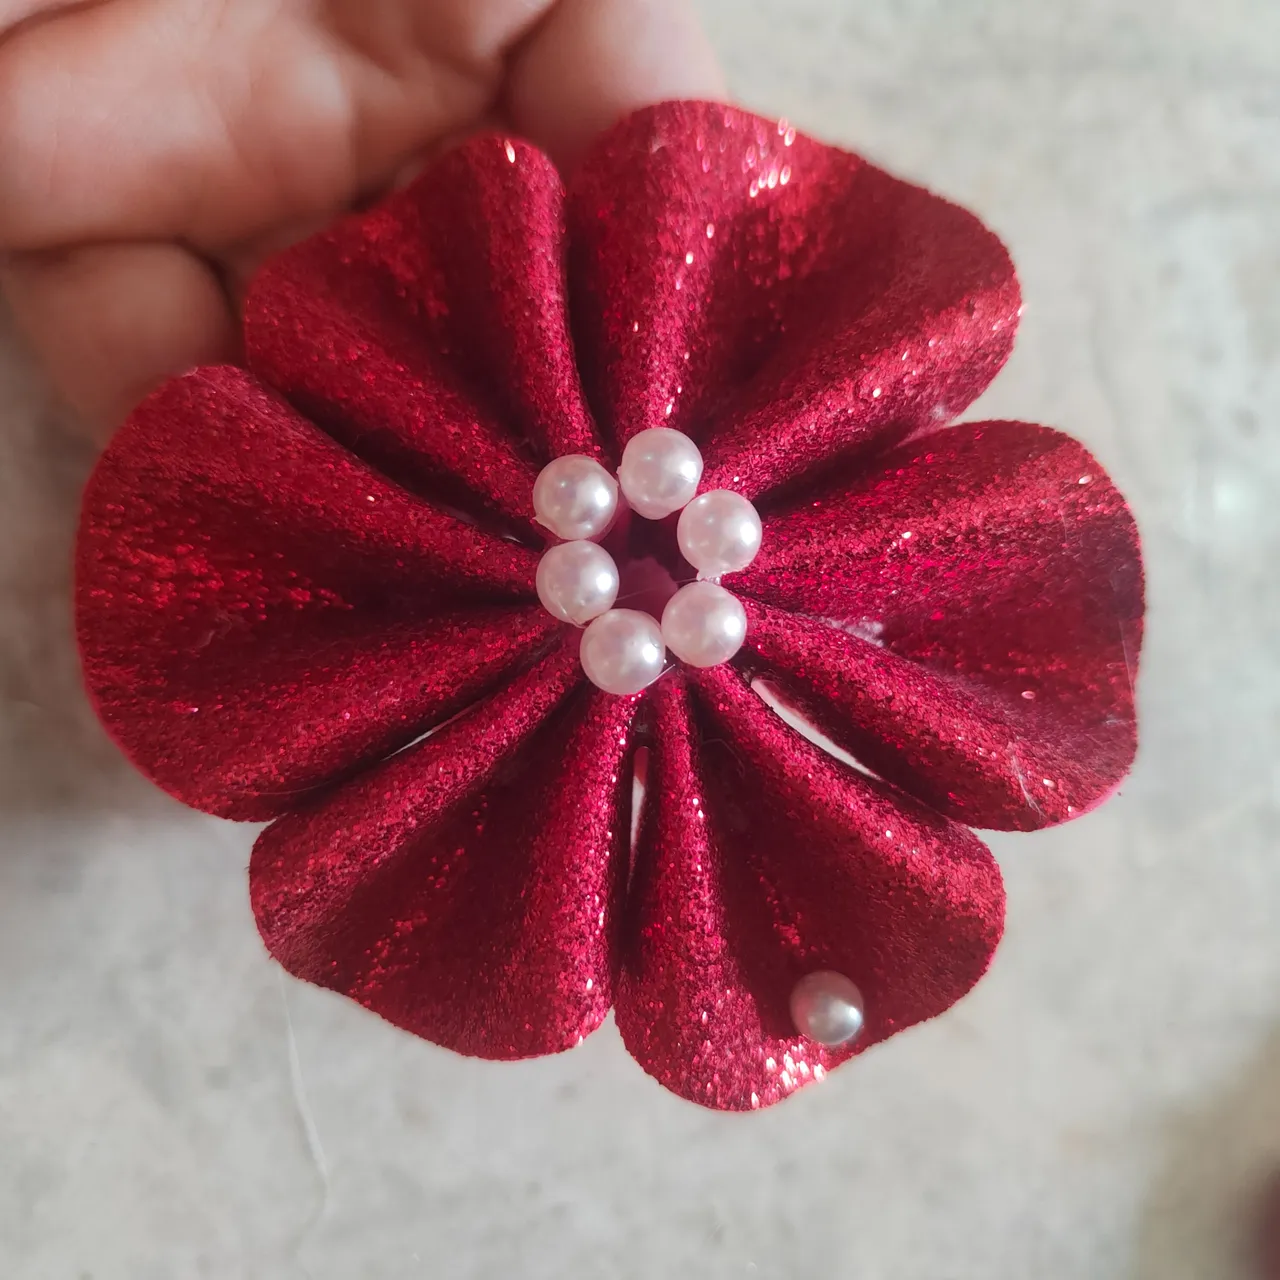
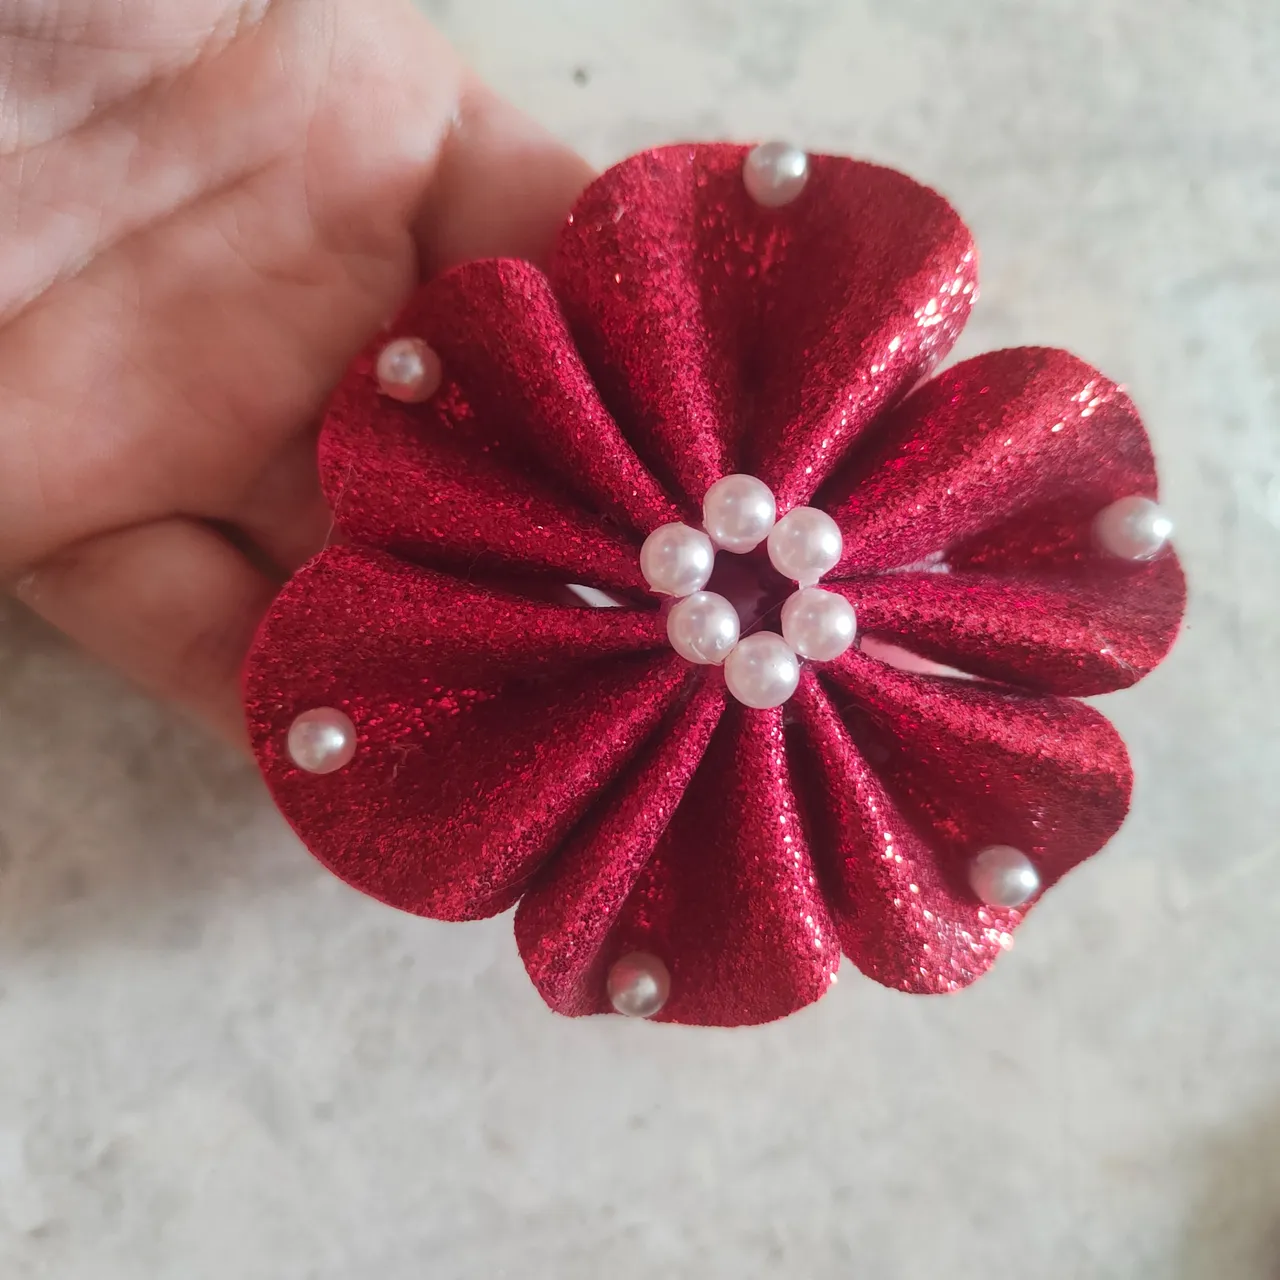
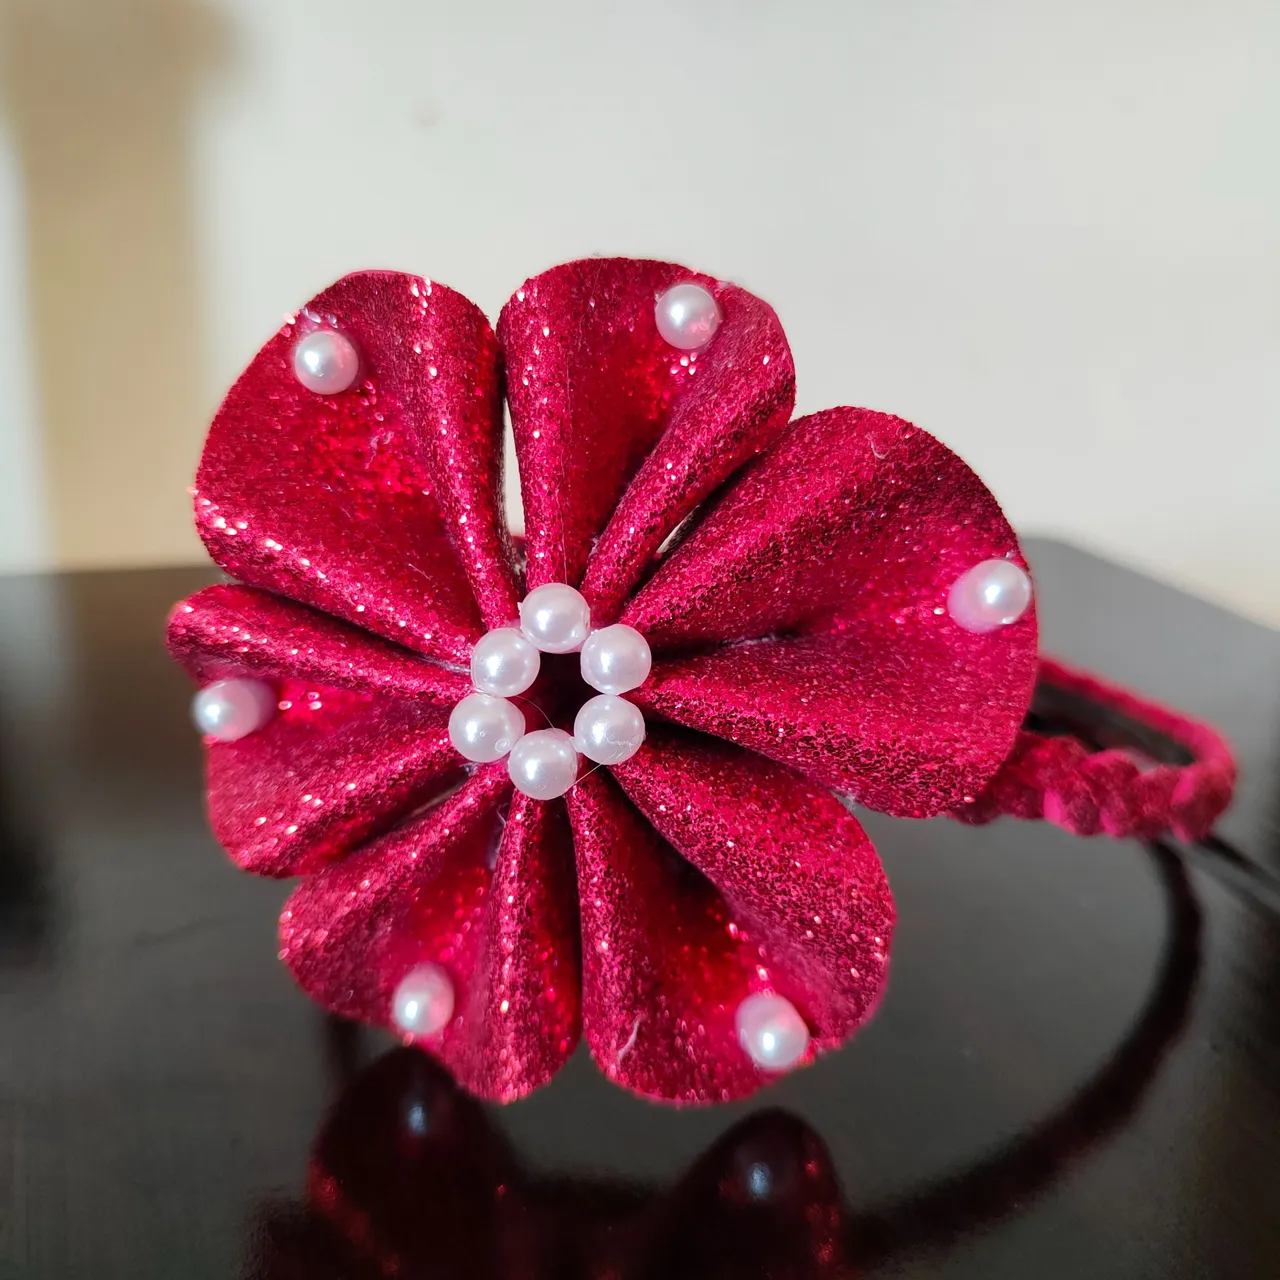
✨ Paso 6. Procedemos a fijar las perlas en el centro de la flor y en cada uno de sus pétalos.
✨ Step 6. We proceed to fix the beads in the center of the flower and on each of its petals.
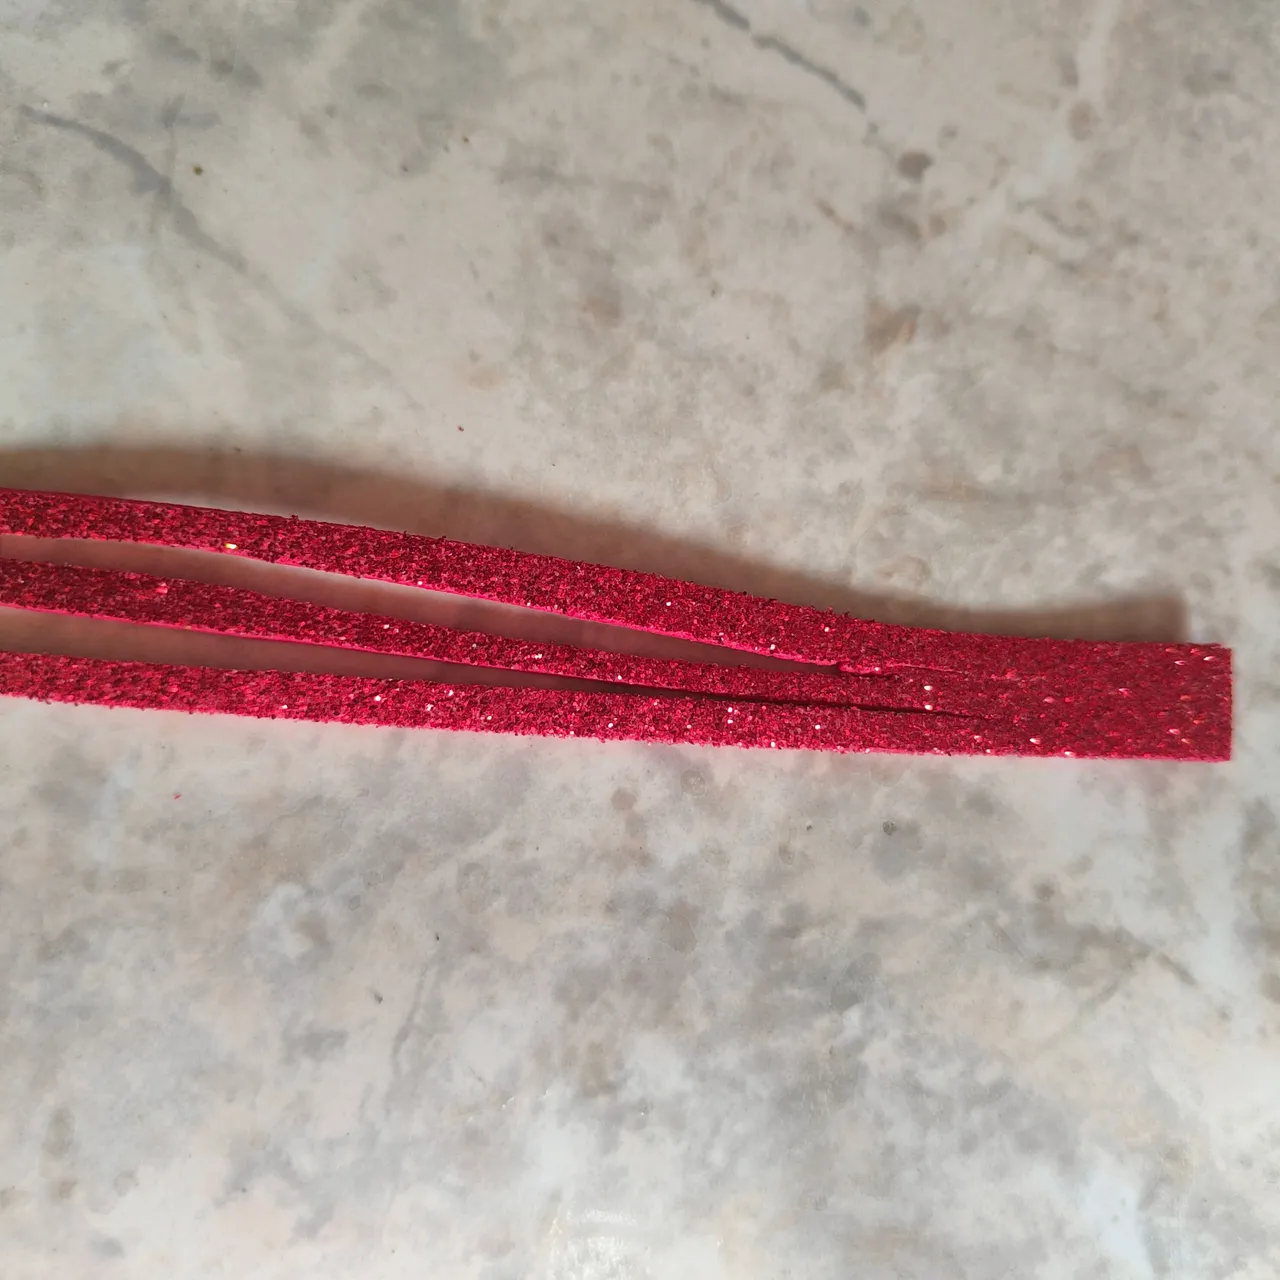
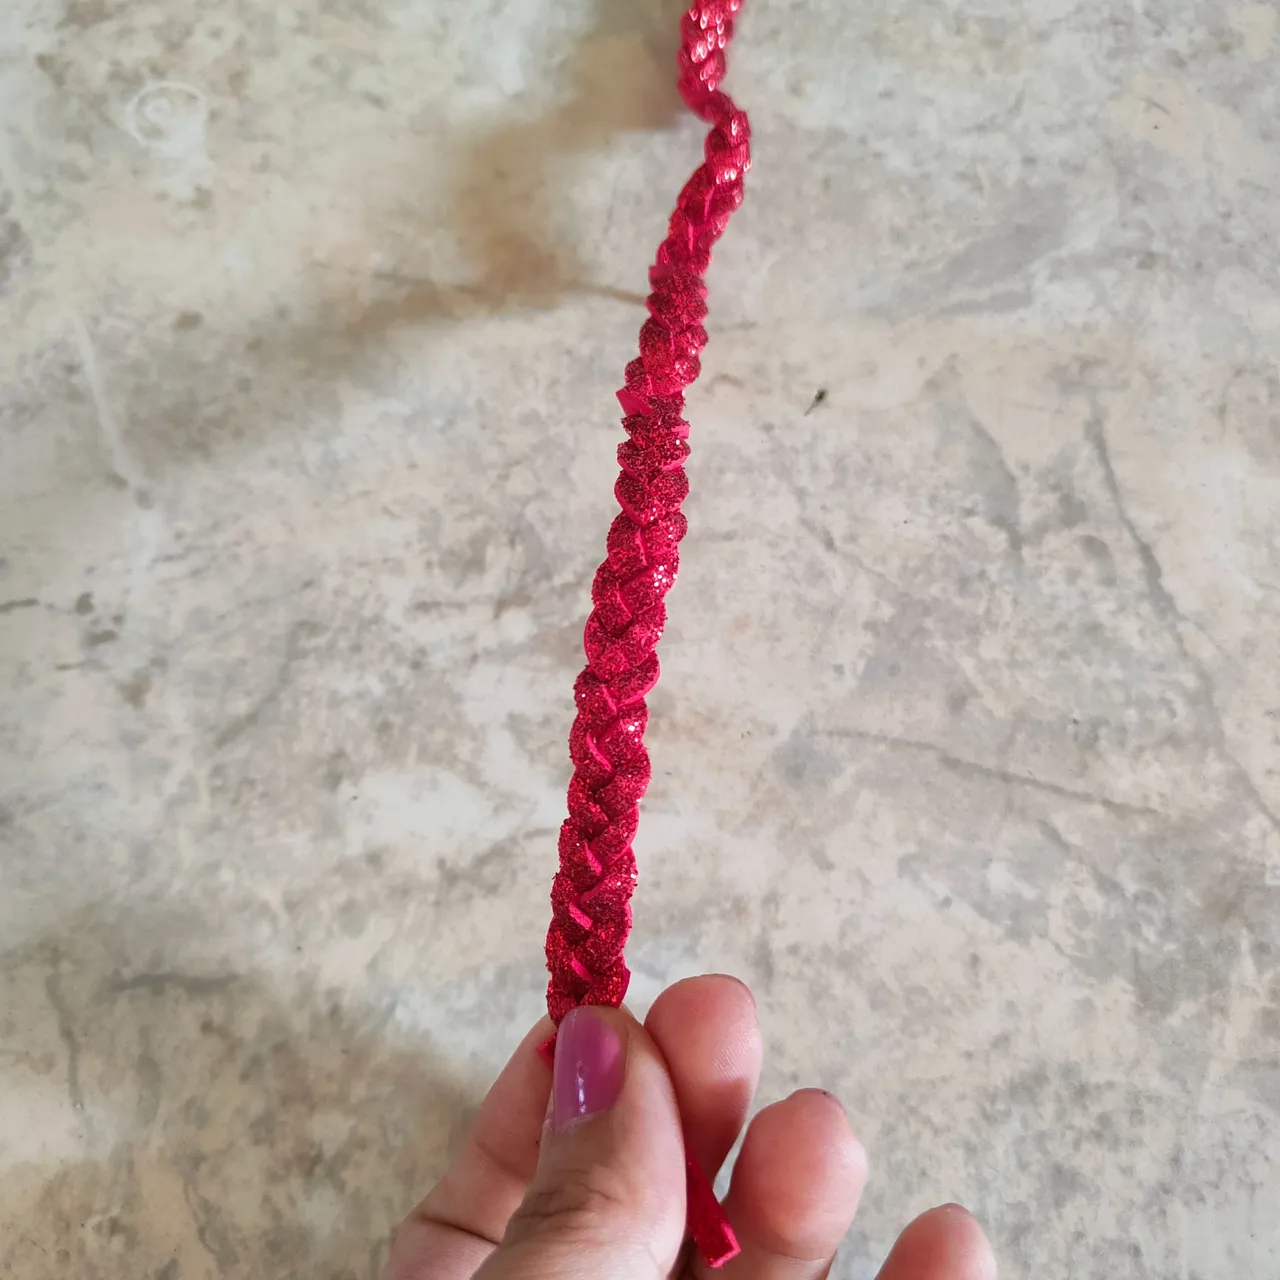
✨ Paso 7. Para el cintillo vamos a realizar una trenza con el mismo foami así que cortaremos una cinta de 1 centímetro de ancho y 50 centímetros de largo y en ella vamos a realizar 2 cortes a lo largo para obtener 3 tiras que son las que vamos a trenzar para así fijar en el cintillo.
✨ Step 7. For the headband we are going to make a braid with the same foami so we will cut a ribbon of 1 centimeter wide and 50 centimeters long and on it we will make 2 cuts along the length to obtain 3 strips that are the ones we are going to braid to fix on the headband.
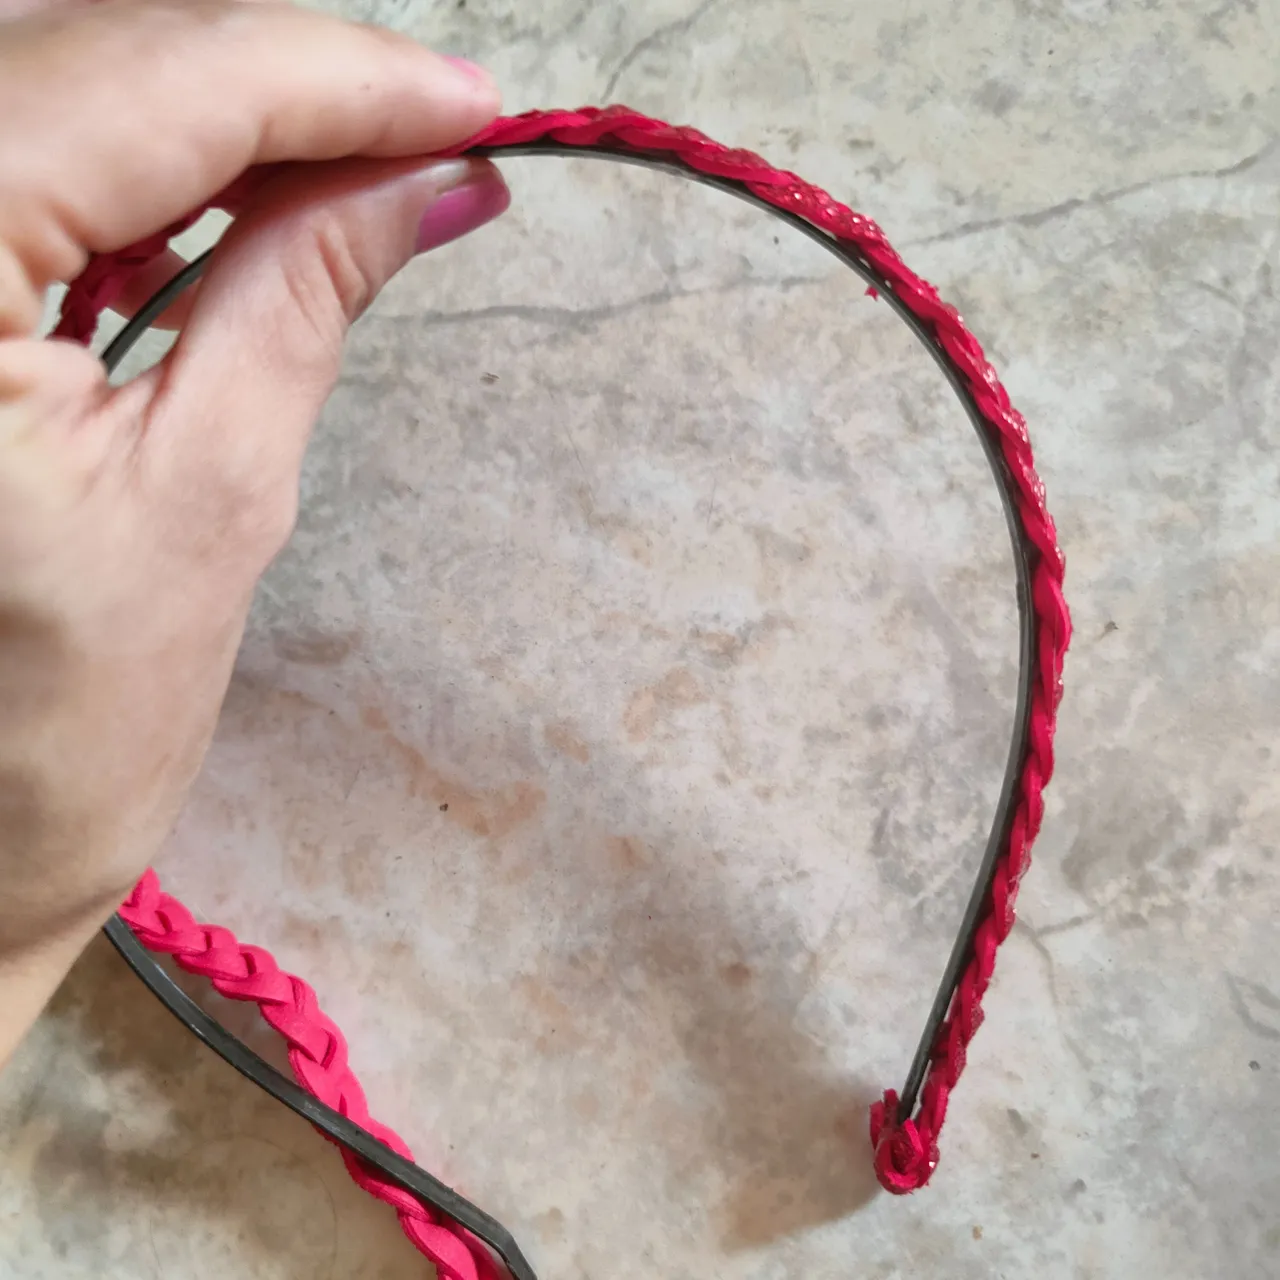
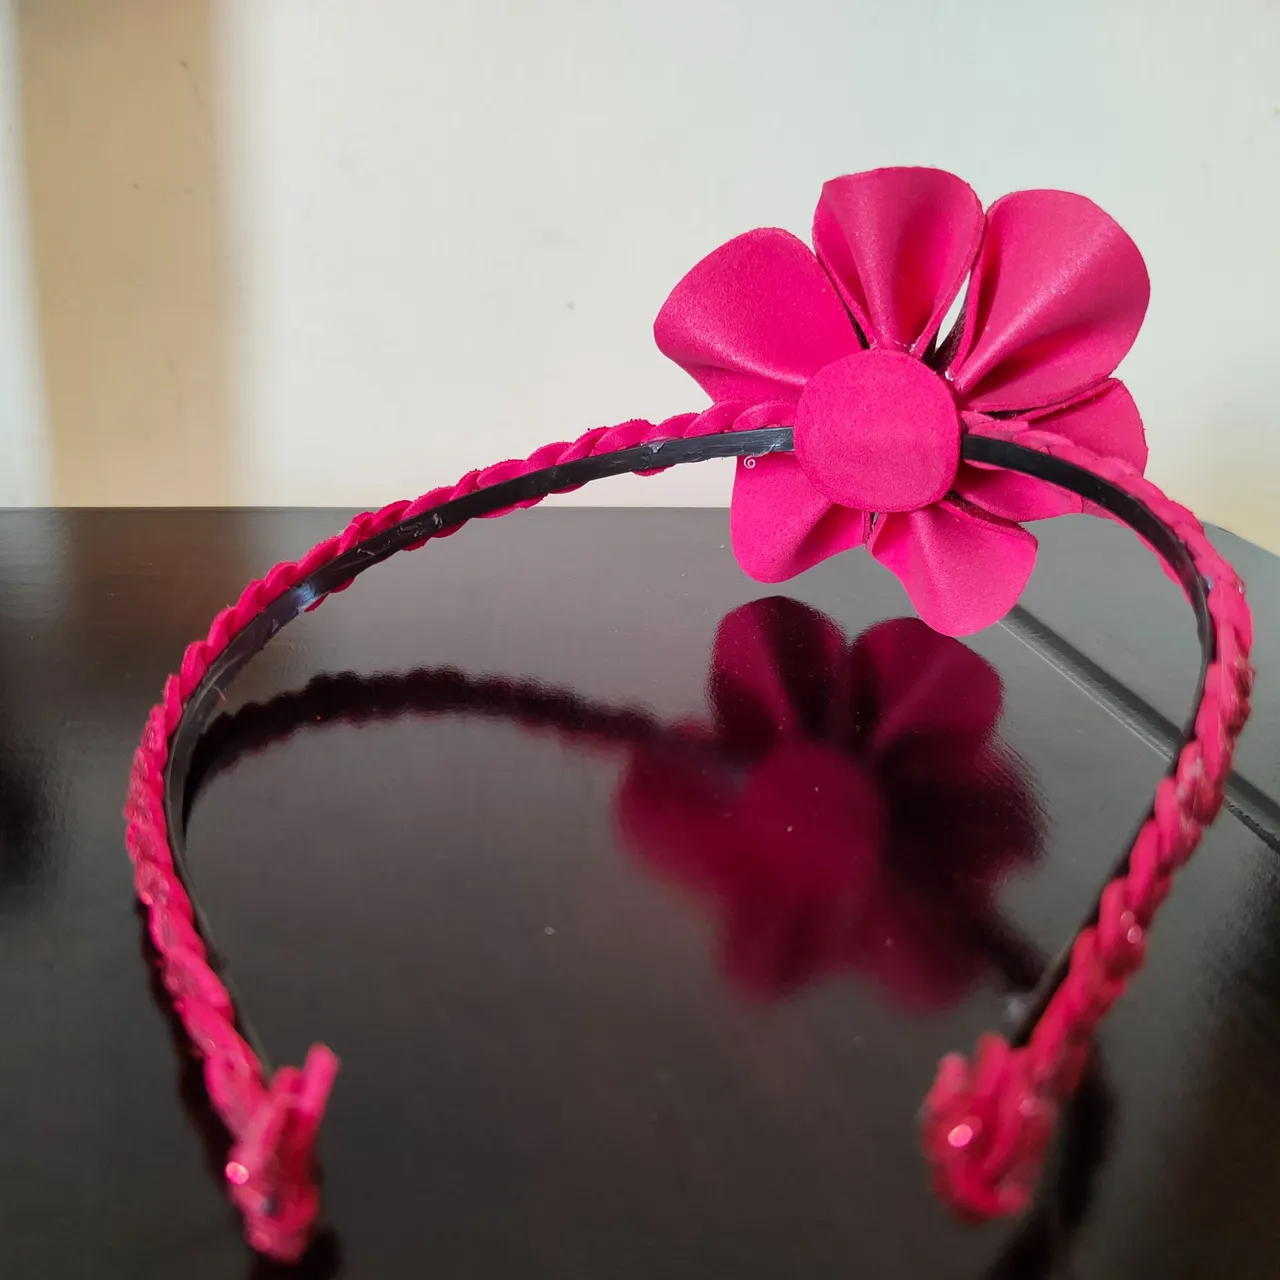
✨ Paso 8. Fijamos nuestra flor en el el cintillo en mi caso lo hice en uno de sus laterales.
✨ Step 8. We fix our flower on the headband, in my case I did it on one of its sides.
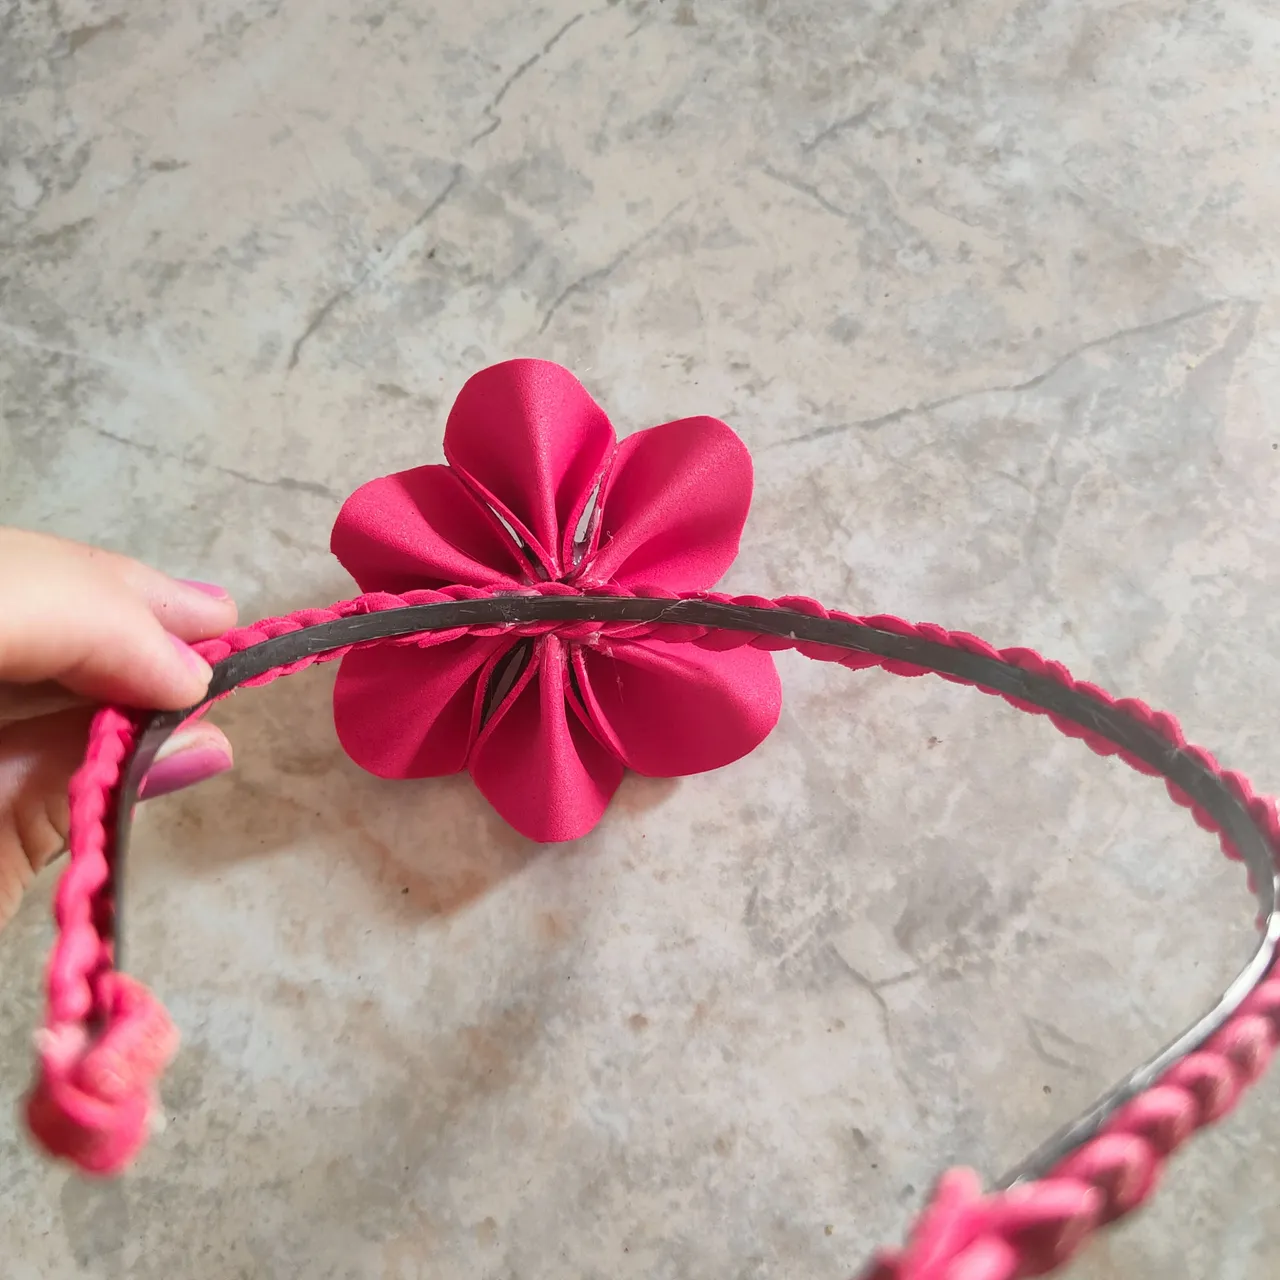
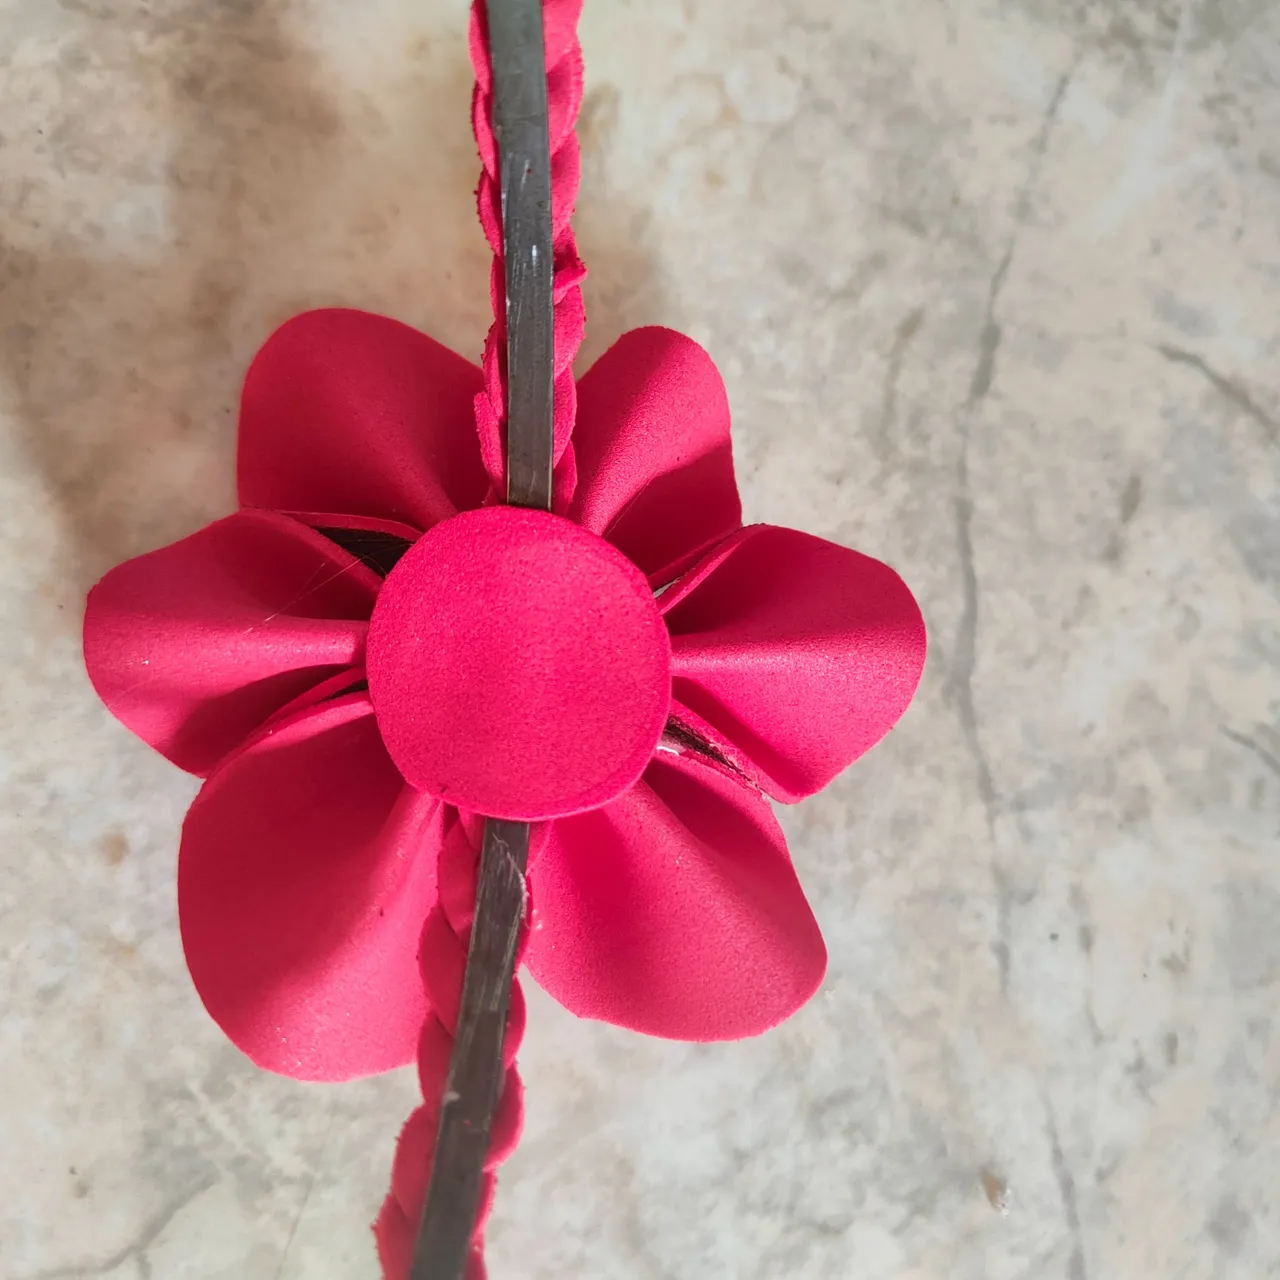
✨ Paso 9. Para la parte inferior del Cintillo vamos a realizar un pequeño círculo el cual vamos a pegar sobre el cintillo y la parte inferior de la flor para obtener un mejor acabado.
✨ Step 9. For the bottom of the headband we are going to make a small circle which we are going to glue over the headband and the bottom of the flower to get a better finish.
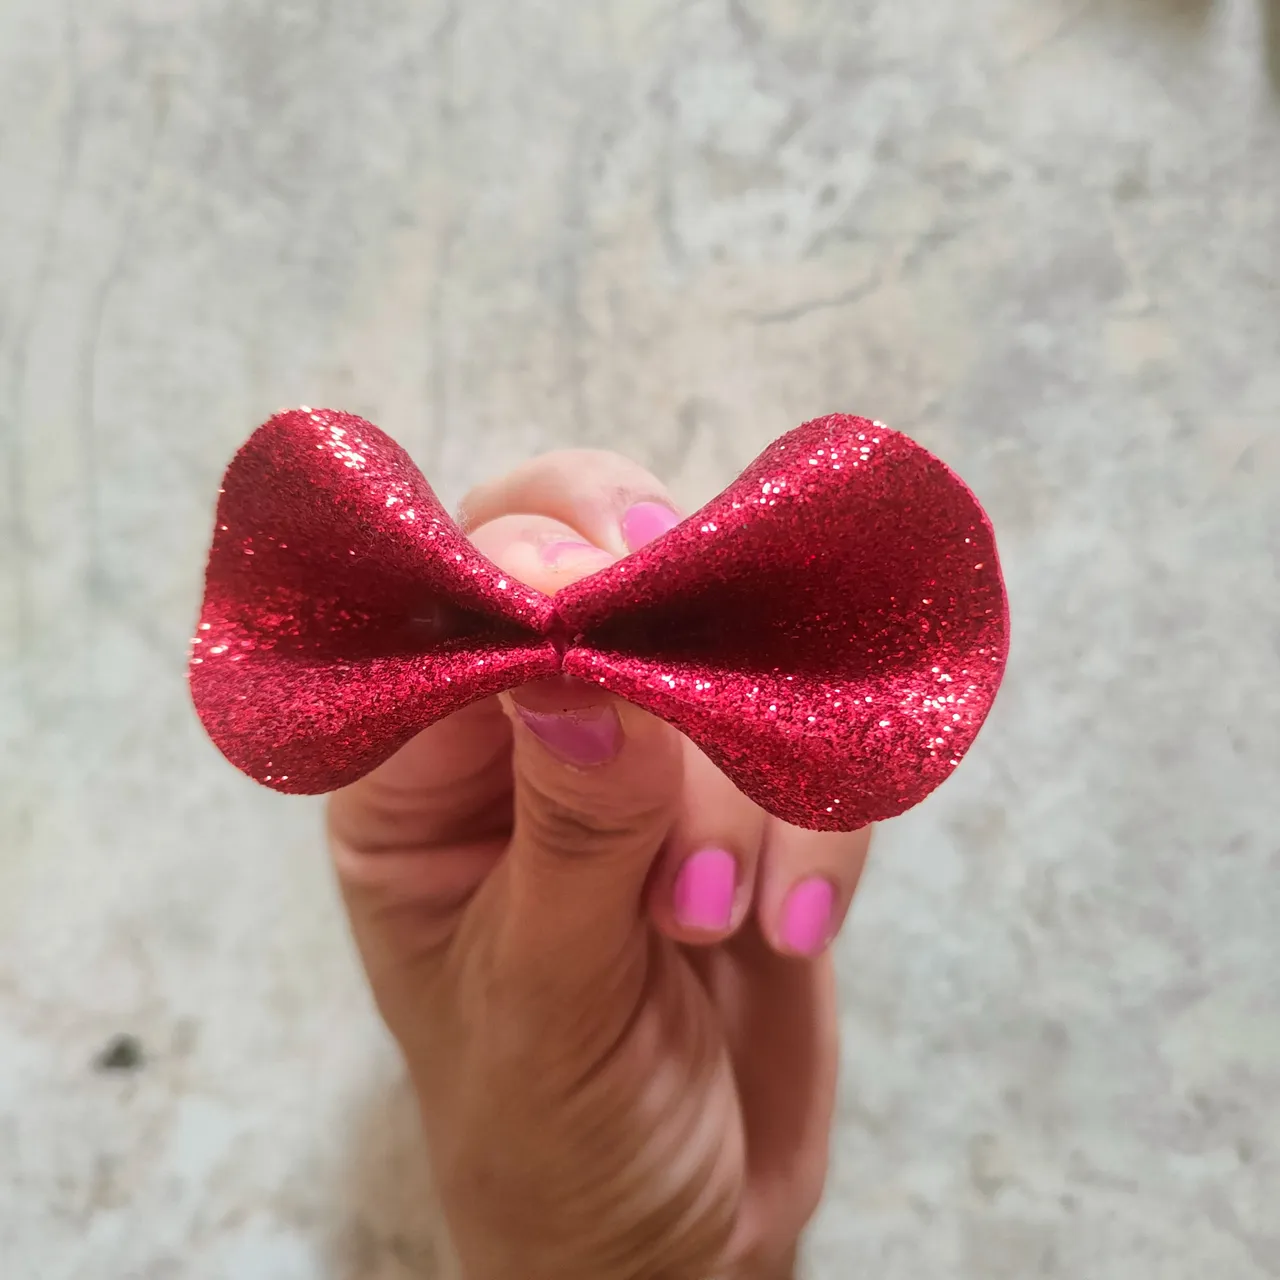
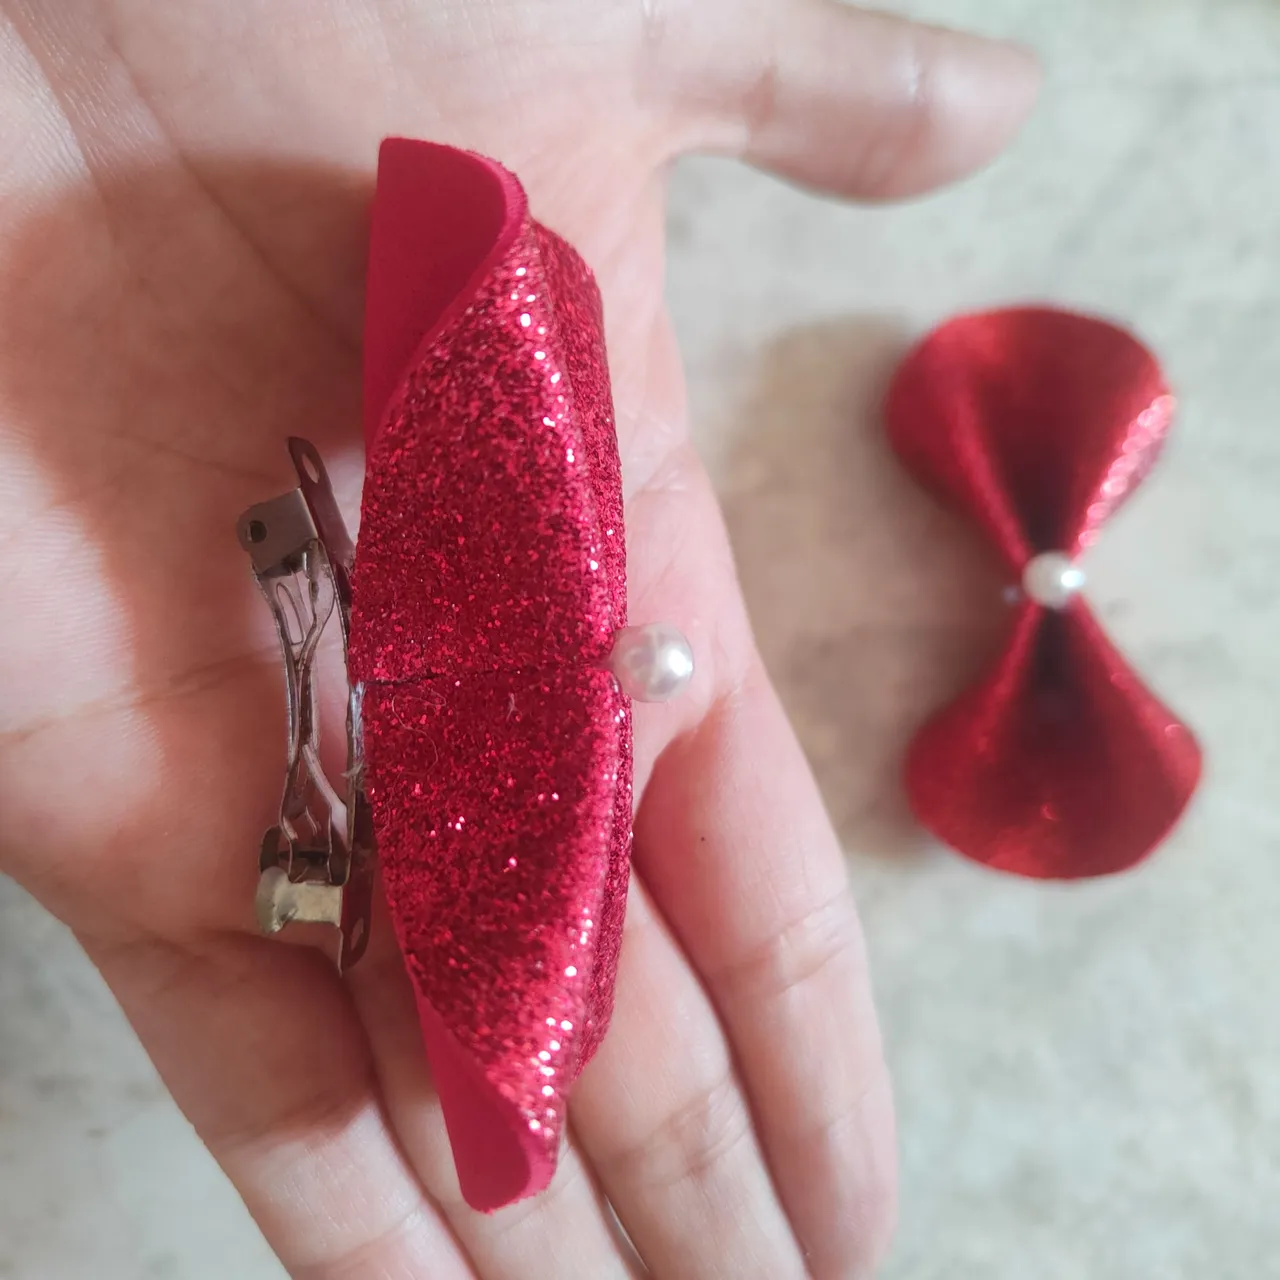
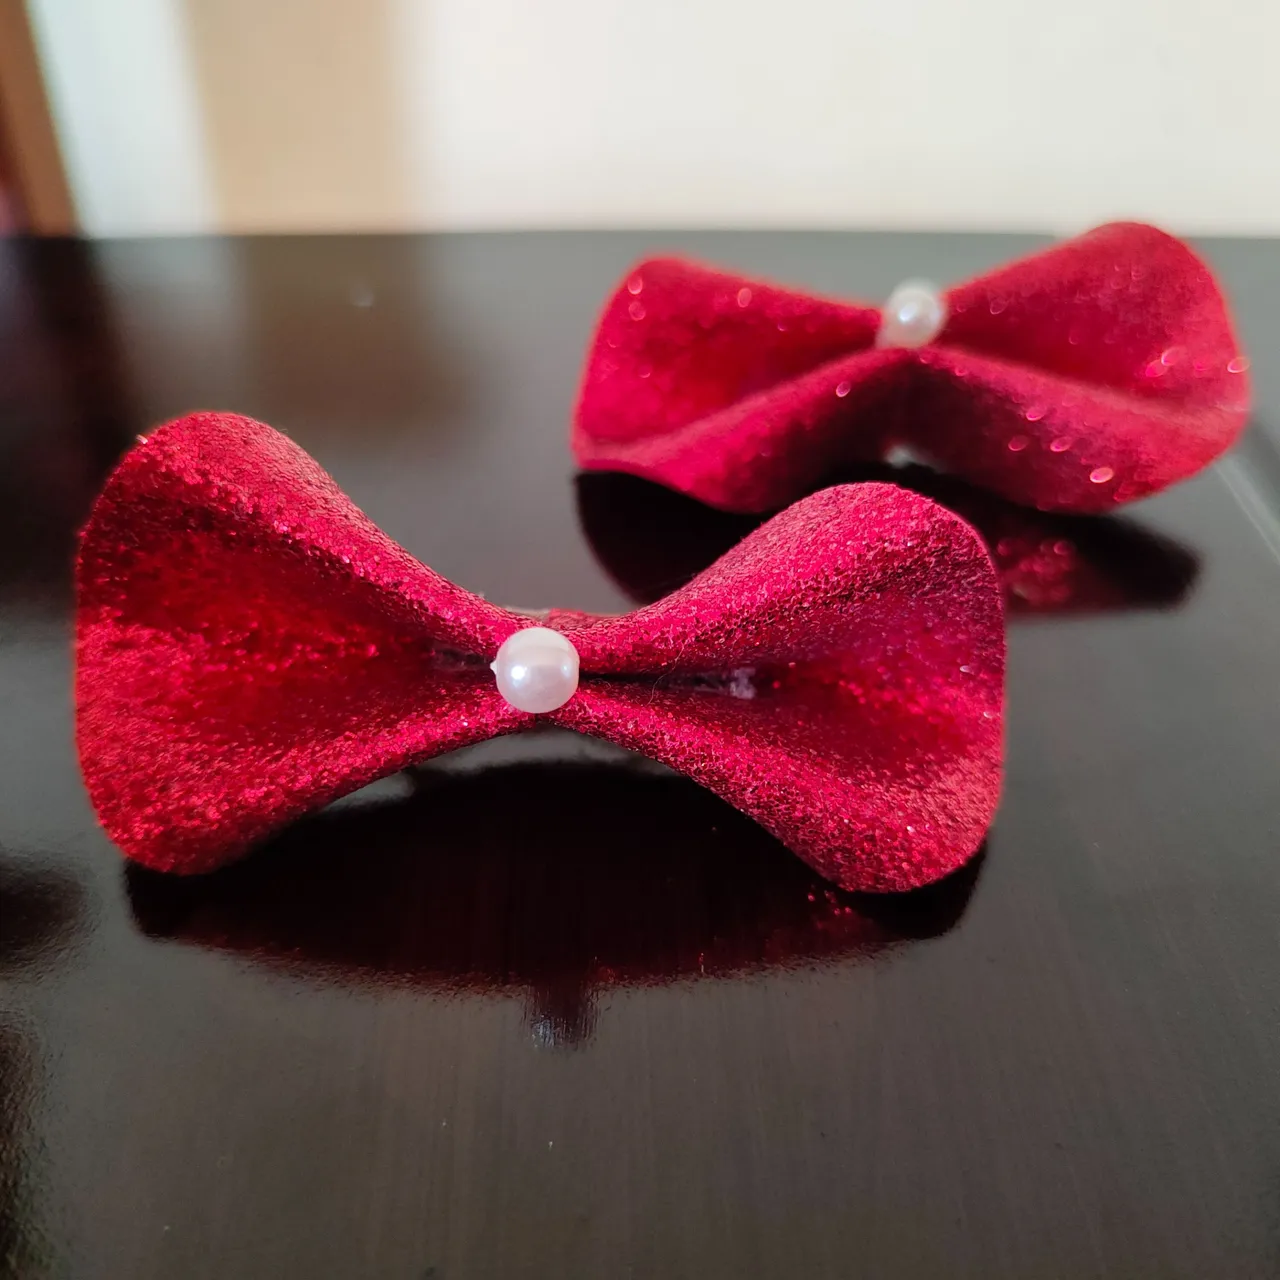
✨ Paso 10. Para realizar los ganchos vamos a tomar 2 pétalos y los vamos a pegar por las puntas, esperamos que sequen y le pegamos en el centro una perla, esto le dará un lindo toque y por último pegamos en su parte de atrás el gancho de eta forma super sencilla habremos realizado también unos ganchos.
✨ Step 10. To make the hooks we are going to take 2 petals and we are going to glue them at the ends, we wait for them to dry and we glue a pearl in the center, this will give a nice touch and finally we glue the hook on the back of the hook in this super simple way we will also have made some hooks.

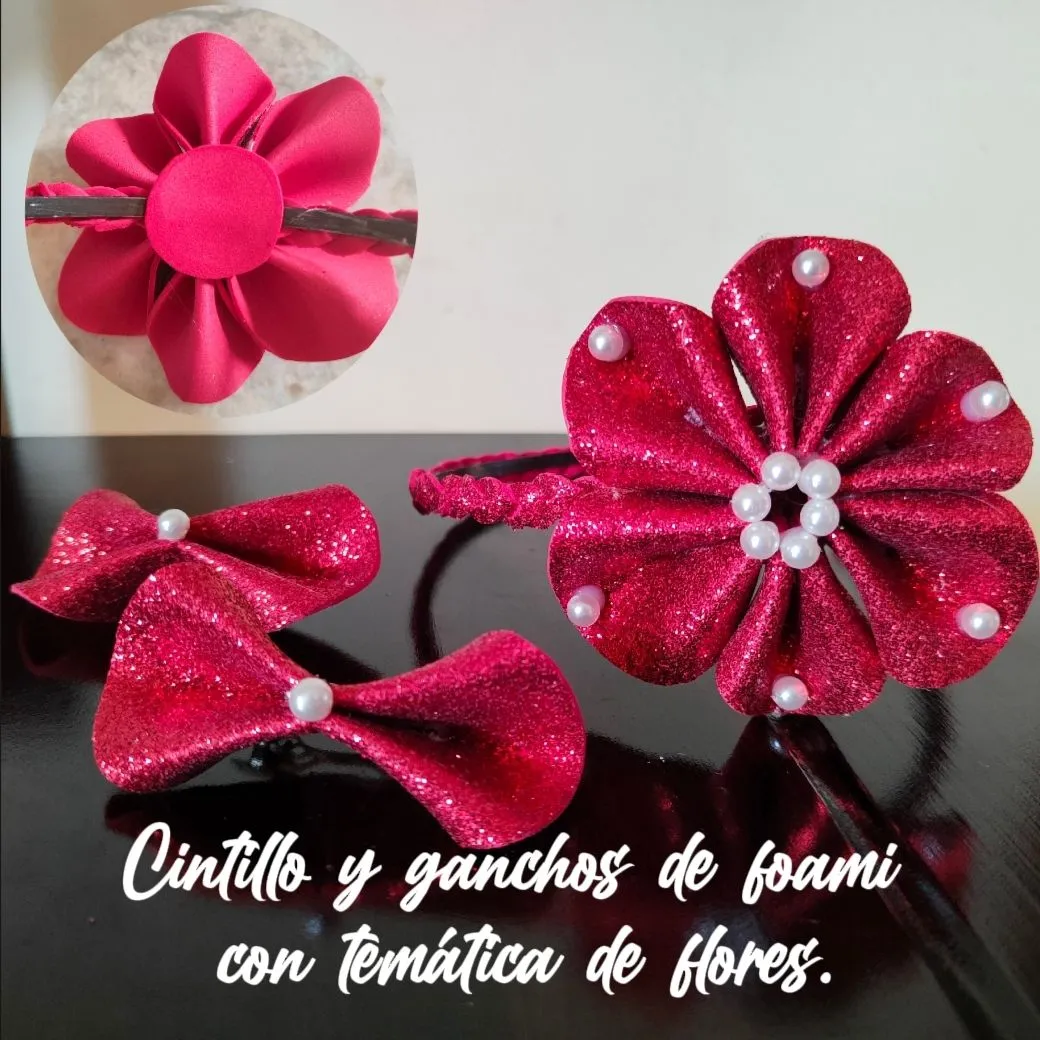
Resultado || Result
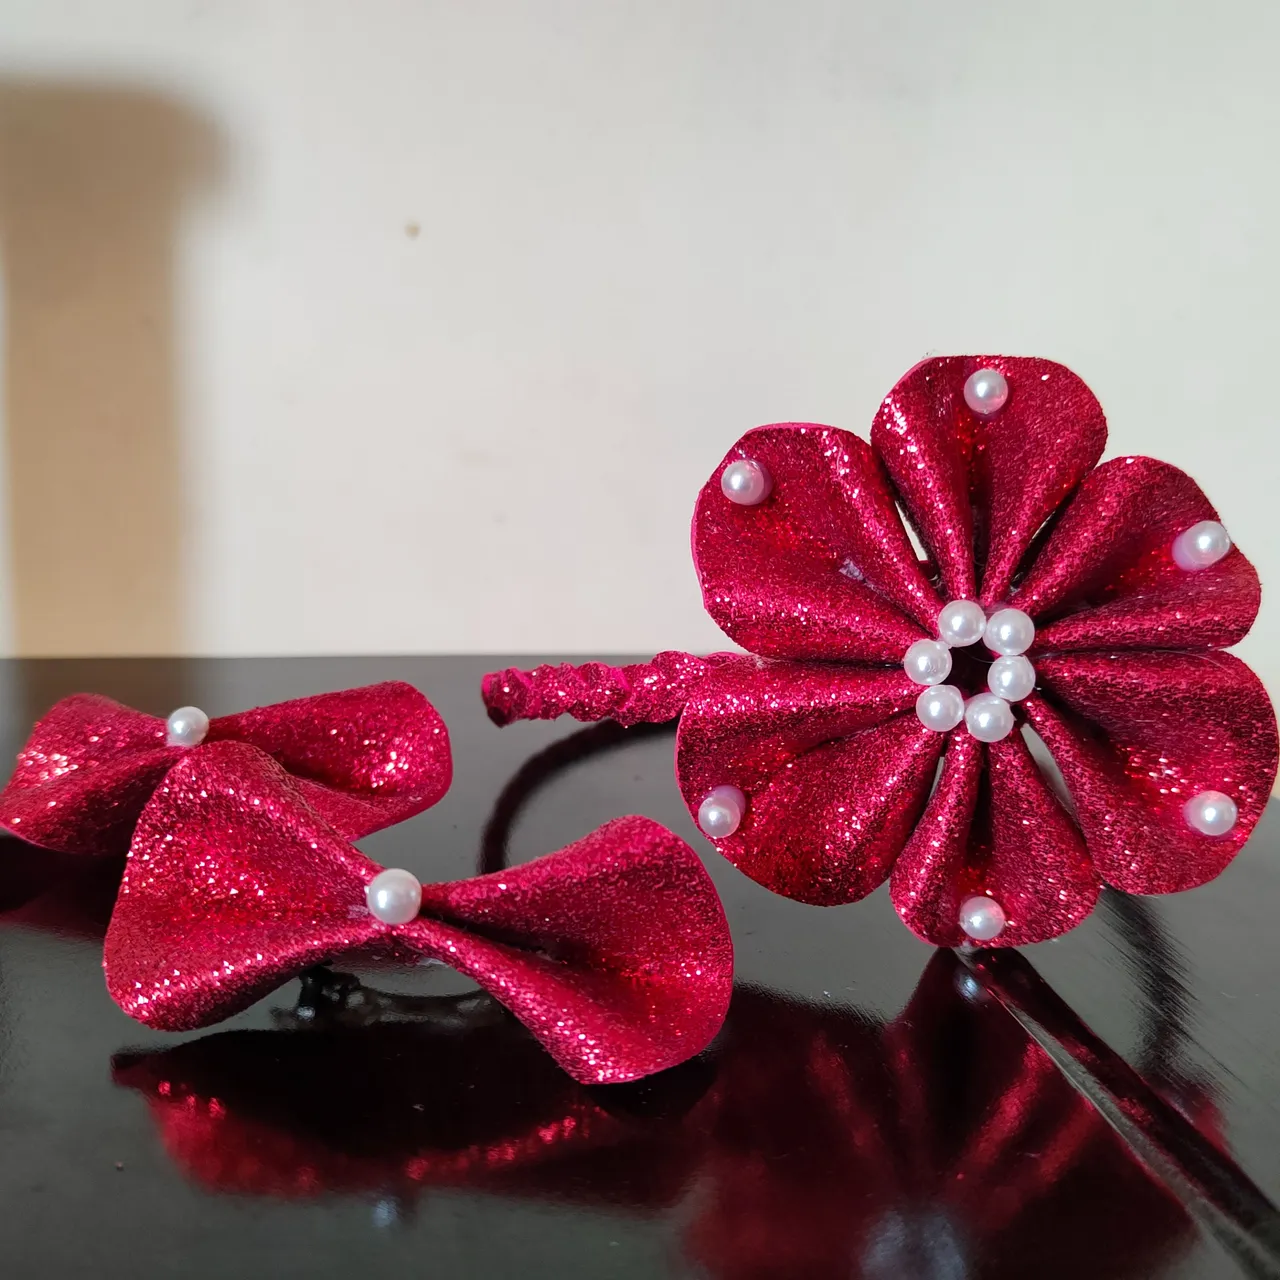
De esta menare con un mismo diseño de pétalo habremos creado 2 accesorios distintos y muy bonitos, dando por concluido el proyecto de esta ocasión como siempre muy agradecida por su tiempo, atención y apoyo estampidos amigos esperando que el cintillo y par de ganchos hayan sido de su agrado y se animen a recrear en sus hogares me despido hasta una próxima ocasión y un próximo post mis estimados artesanos.
In this menare with the same petal design we will have created 2 different and very nice accessories, concluding the project this time as always very grateful for your time, attention and support stamped friends hoping that the headband and pair of hooks have been to your liking and are encouraged to recreate in their homes I say goodbye until a next time and a next post my dear artisans.
La creatividad no tiene límite. || There is no limit to creativity. ✨💎🎉🌷

Hasta la próxima...
See you next time... 🩷

🎥Imágenes y vídeo creados con: |Images and video created with: CapCut | Giphy| Canva
🇪🇸Traducido con DeepL