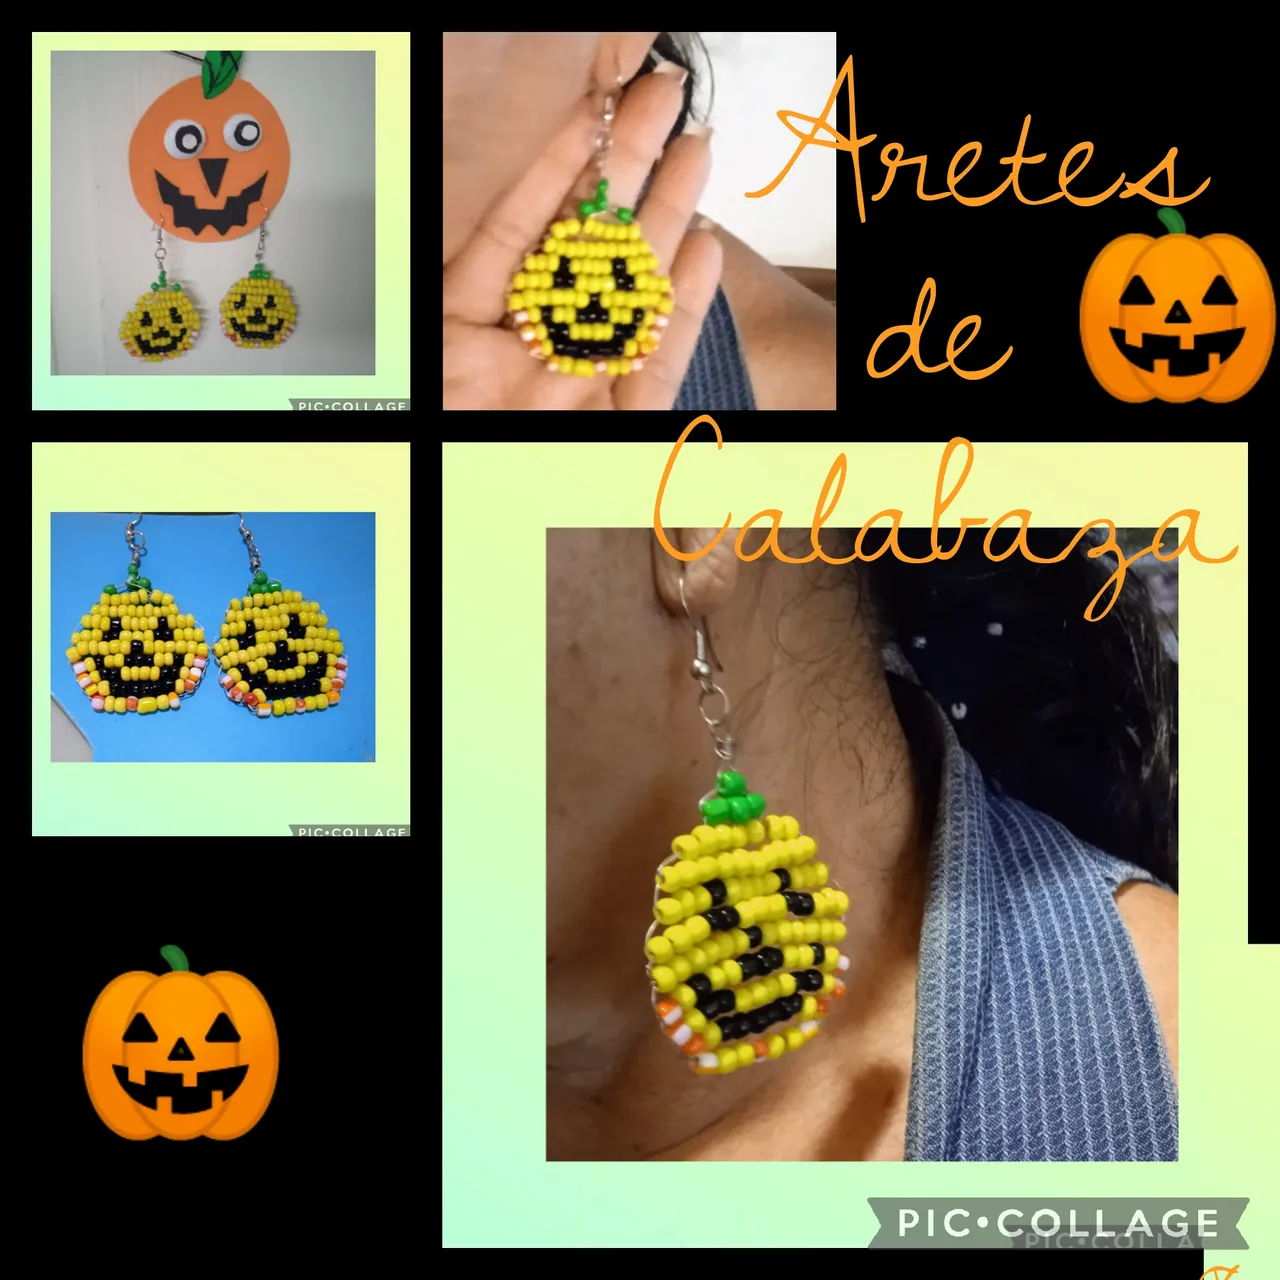
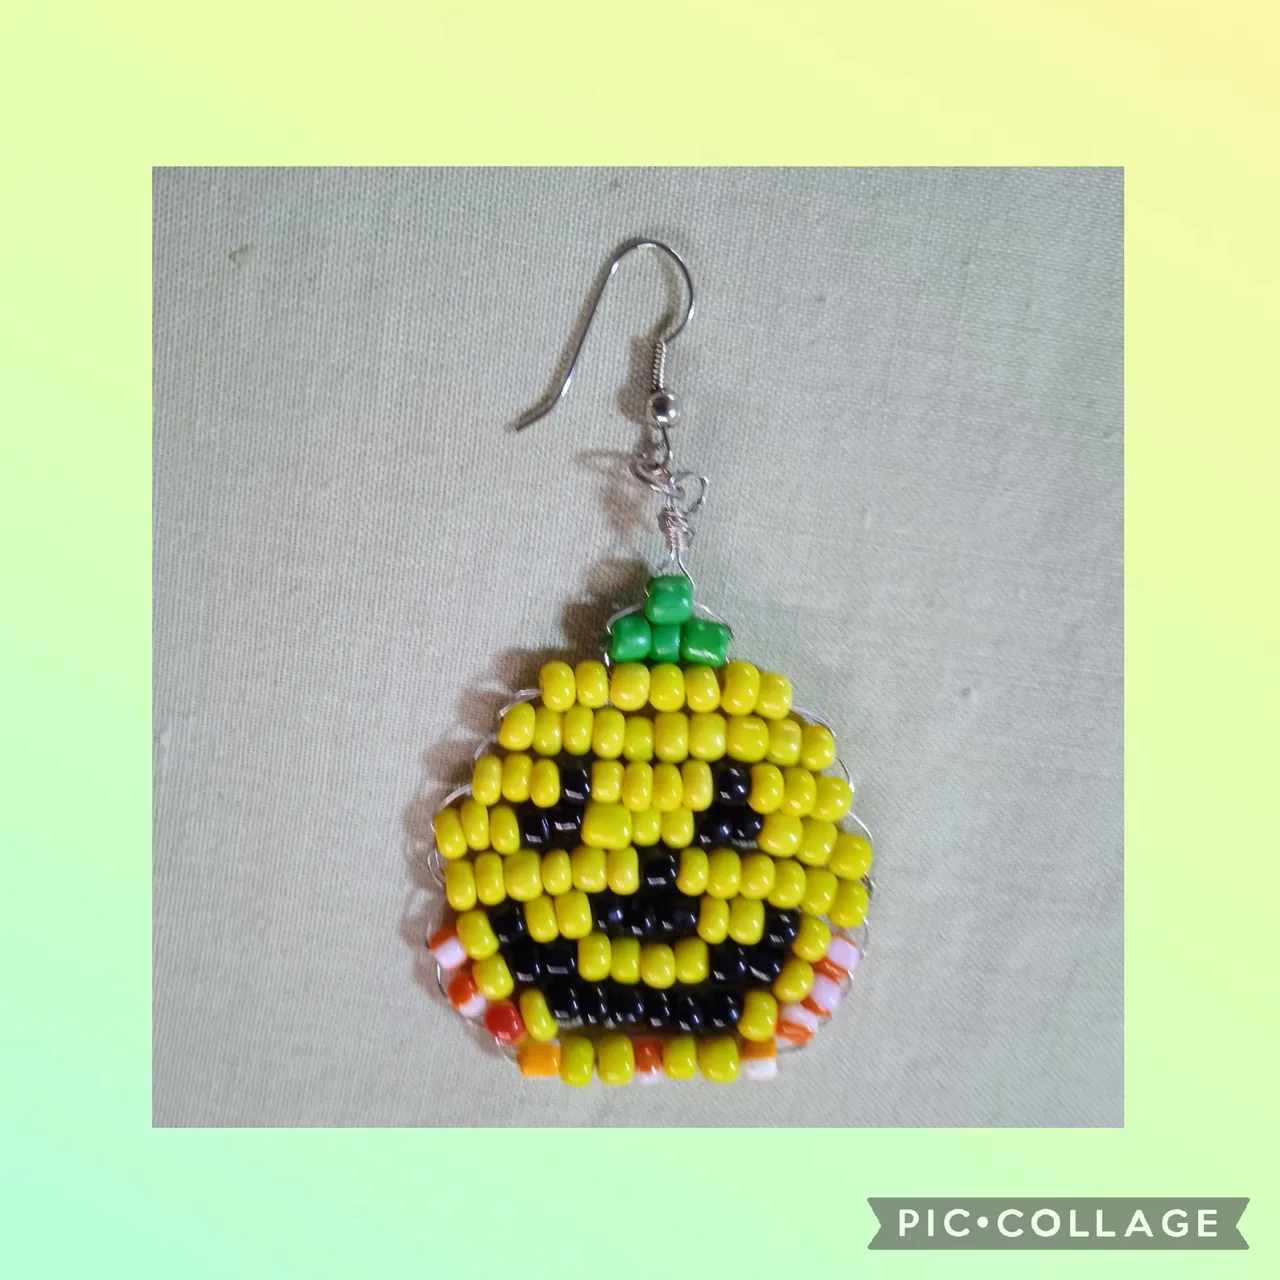
Hola, holaaa! Distinguidos Artistas Creativos de la Joyería, saluditos para todos, con mis mejores deseos por qué se encuentren gozando de perfecta salud, y estén llenos de alegría y entusiasmo por la cercanía de las festividades navideñas. Pero la alegría no es la navidad solamente, octubre también tiene lo suyo, apenas esta empezando y ya hay una algarabía por la noche de brujas, las máscaras los disfraces y una gran cantidad de accesorios relacionados con halloween se exhiben en las vidrieras de tiendas y locales. Aquí en la comunidad todos los años es un espectáculo la celebración de ese día, se adornan las calles se hacen ferias, los bailes de disfraces y desde ya están las tómbolas recolectando fondos para la noche final. Mi lista de encargo para esa fecha está colapsada porque aquí "De que vuelan vuelan" 🤣🤣 y nadie se quiere perder el magno evento . Mi manualidad de hoy es de terror unos Aretes en forma de Calabazas 🎃 realizados con mostacillas, aquí les dejo el paso a paso y sigan leyendo para que vean como los hice:
Hello, hello! Distinguished Creative Jewelry Artists, greetings to all, with my best wishes that you are enjoying perfect health, and are full of joy and enthusiasm for the approach of the Christmas festivities. But the joy is not only Christmas, October also has its own thing, it is just beginning and there is already a hubbub for Halloween, masks, costumes and a large number of accessories related to Halloween are displayed in the windows of stores and local. Here in the community, every year the celebration of that day is a spectacle, the streets are decorated, fairs are held, costume balls are held, and the raffles are already collecting funds for the final night. My order list for that date is collapsed because here "They fly, they fly" 🤣🤣 and no one wants to miss the great event. My craft today is a terrifying pair of Pumpkin-shaped Earrings 🎃 made with beads, here I leave you step by step and keep reading so you can see how I made them:
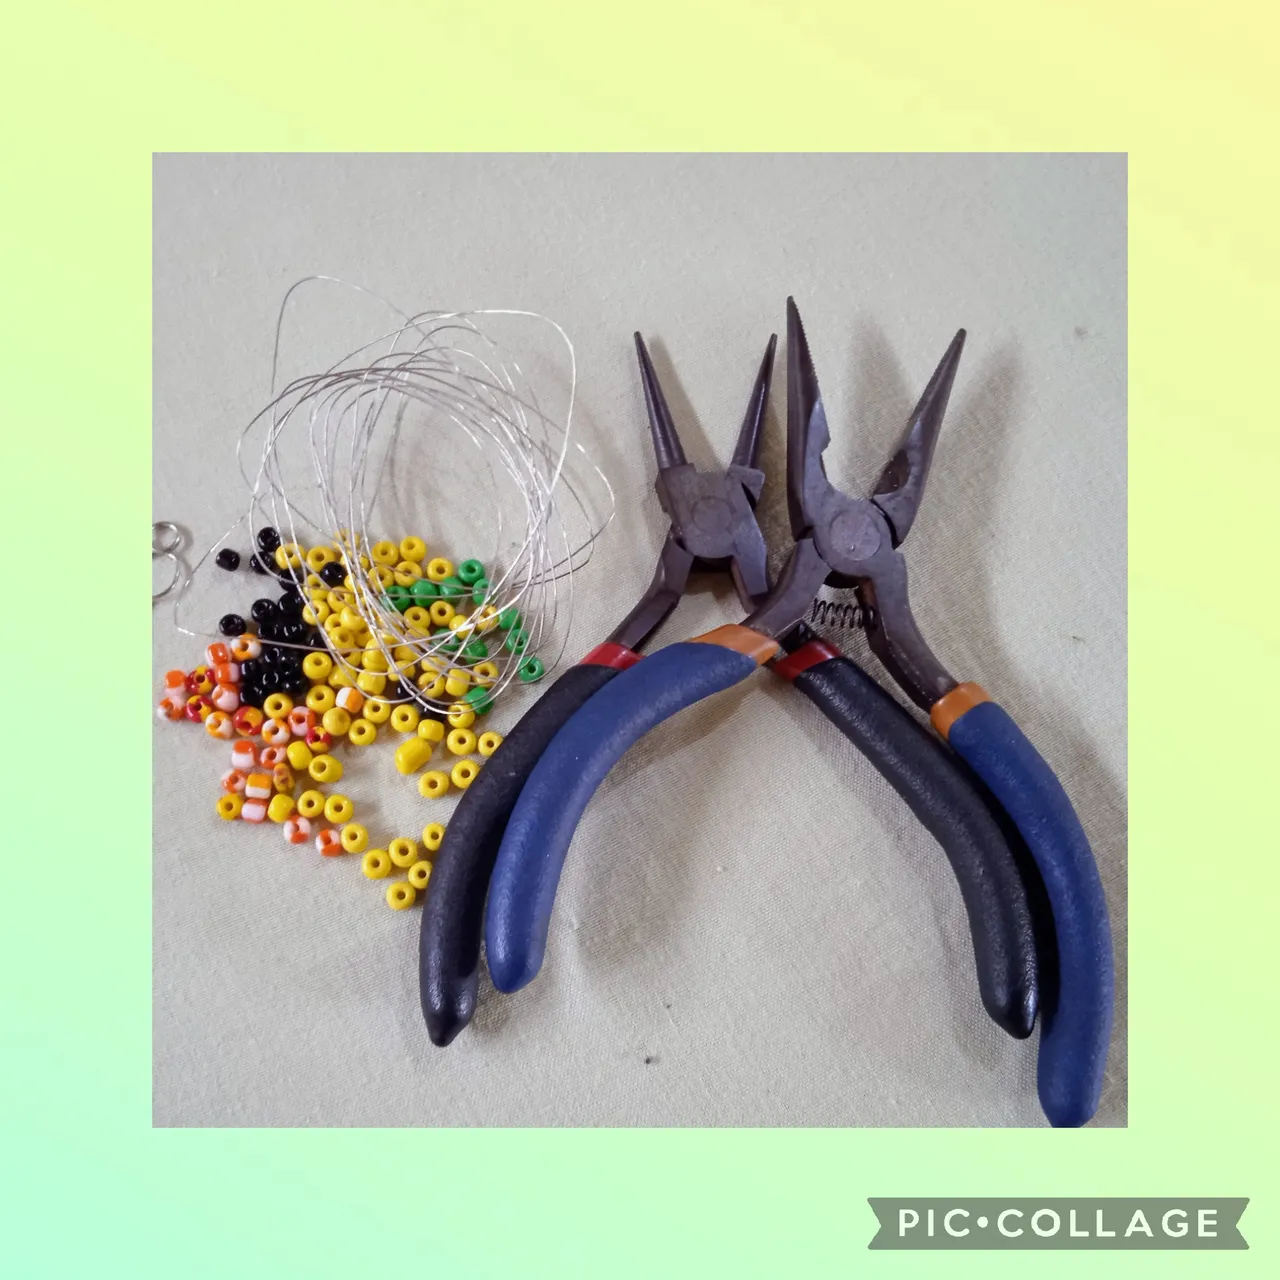
MATERIALES QUE USE PARA REALIZAR LOS TERRORÍFICOS ARETES.
- Mostacillas amarillas.
- Mostacillas verdes.
- Mostacillas negras.
- Mostacillas matizadas.
- Alpaca.
- Dos anzuelos para Aretes.
- Dos separadores pequeños.
- Dos argollas pequeñas.
- Pinza punta redonda.
- Pinza de corte.
MATERIALS THAT I USED TO MAKE THE TERRIFYING EARRINGS.
- Yellow beads.
- Green beads.
- Black beads.
- Nuanced mustaches.
- Alpaca.
- Two hooks for earrings.
- Two small dividers.
- Two small rings.
- Round tip tweezers.
- Cutting clamp.
CON ESTOS SENCILLOS Y POCOS PASOS HICE LA ELABORACIÓN DE LOS ARETES.
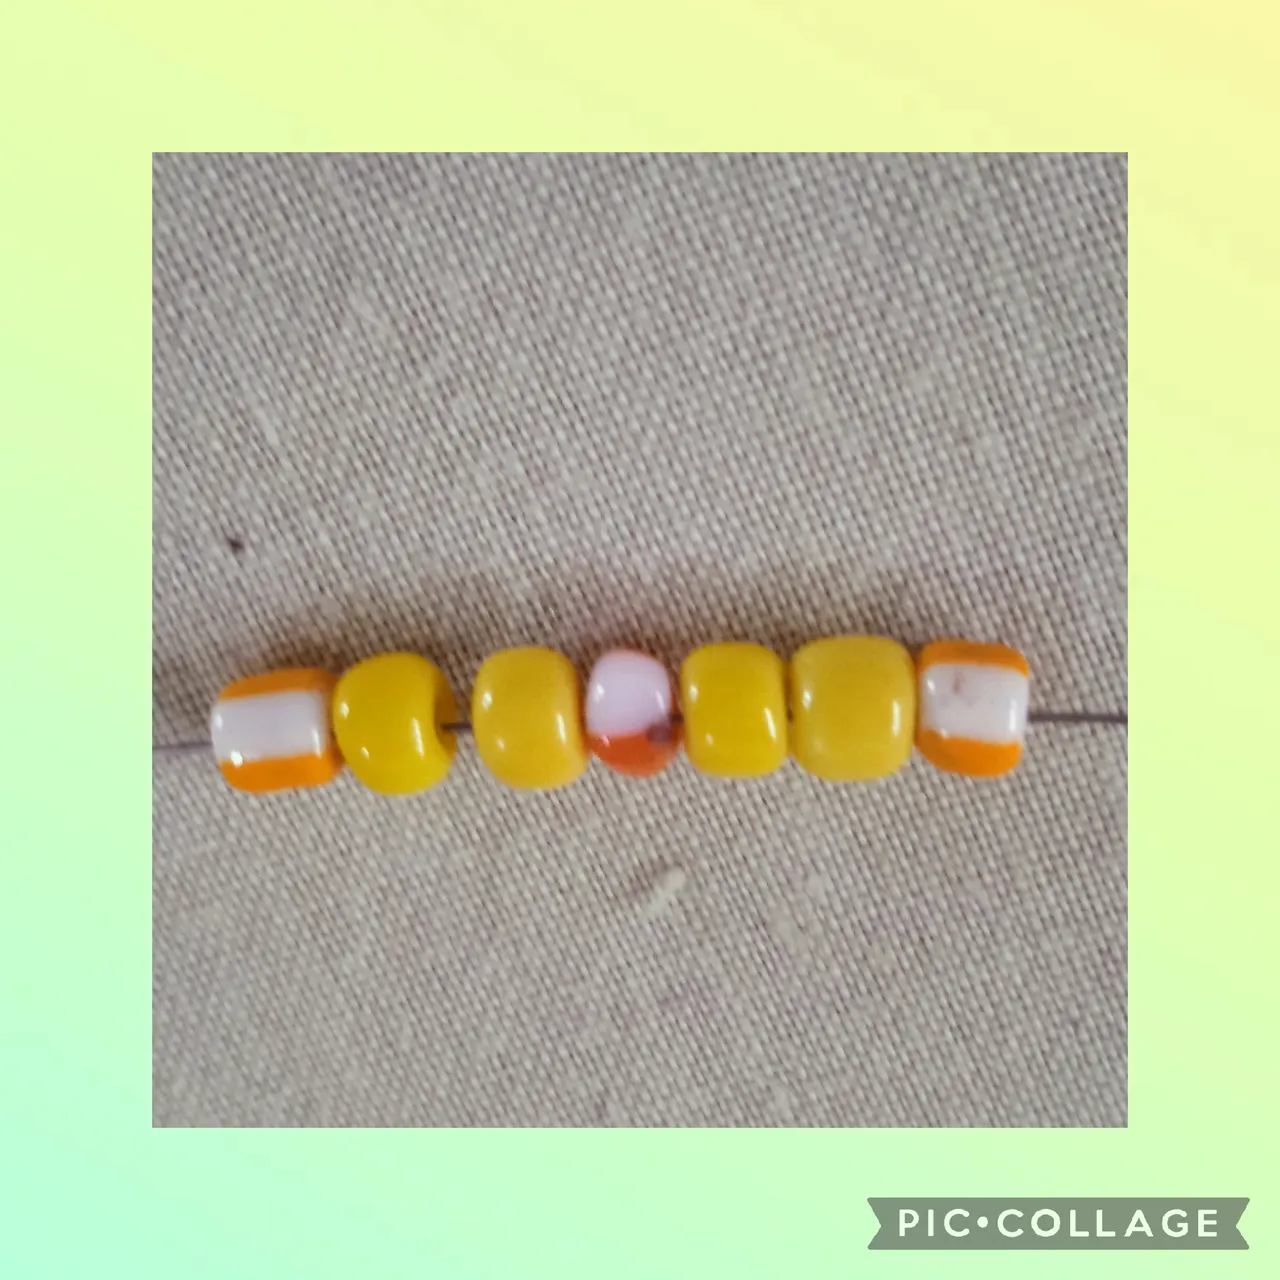
PRIMER PASO: Comienzo ocupando un metro de alpaca, dónde voy a colocar siete mostacillas de esta manera, una mostacilla matizada, dos mostacillas amarillas, una mostacilla matizada, dos mostacillas amarillas una mostacilla matizada; las coloco a la mitad del metro de alpaca, ajusto las medidas uniendo las puntas, así como en la imágen.
WITH THESE SIMPLE AND FEW STEPS I MADE THE EARRINGS. FIRST STEP: I start by occupying a meter of nickel silver, where I am going to place seven beads in this way, one tinted bead, two yellow beads, one tinted bead, two yellow beads, one tinted bead; I place them in the middle of the nickel silver meter, I adjust the measurements by joining the ends, as in the image.
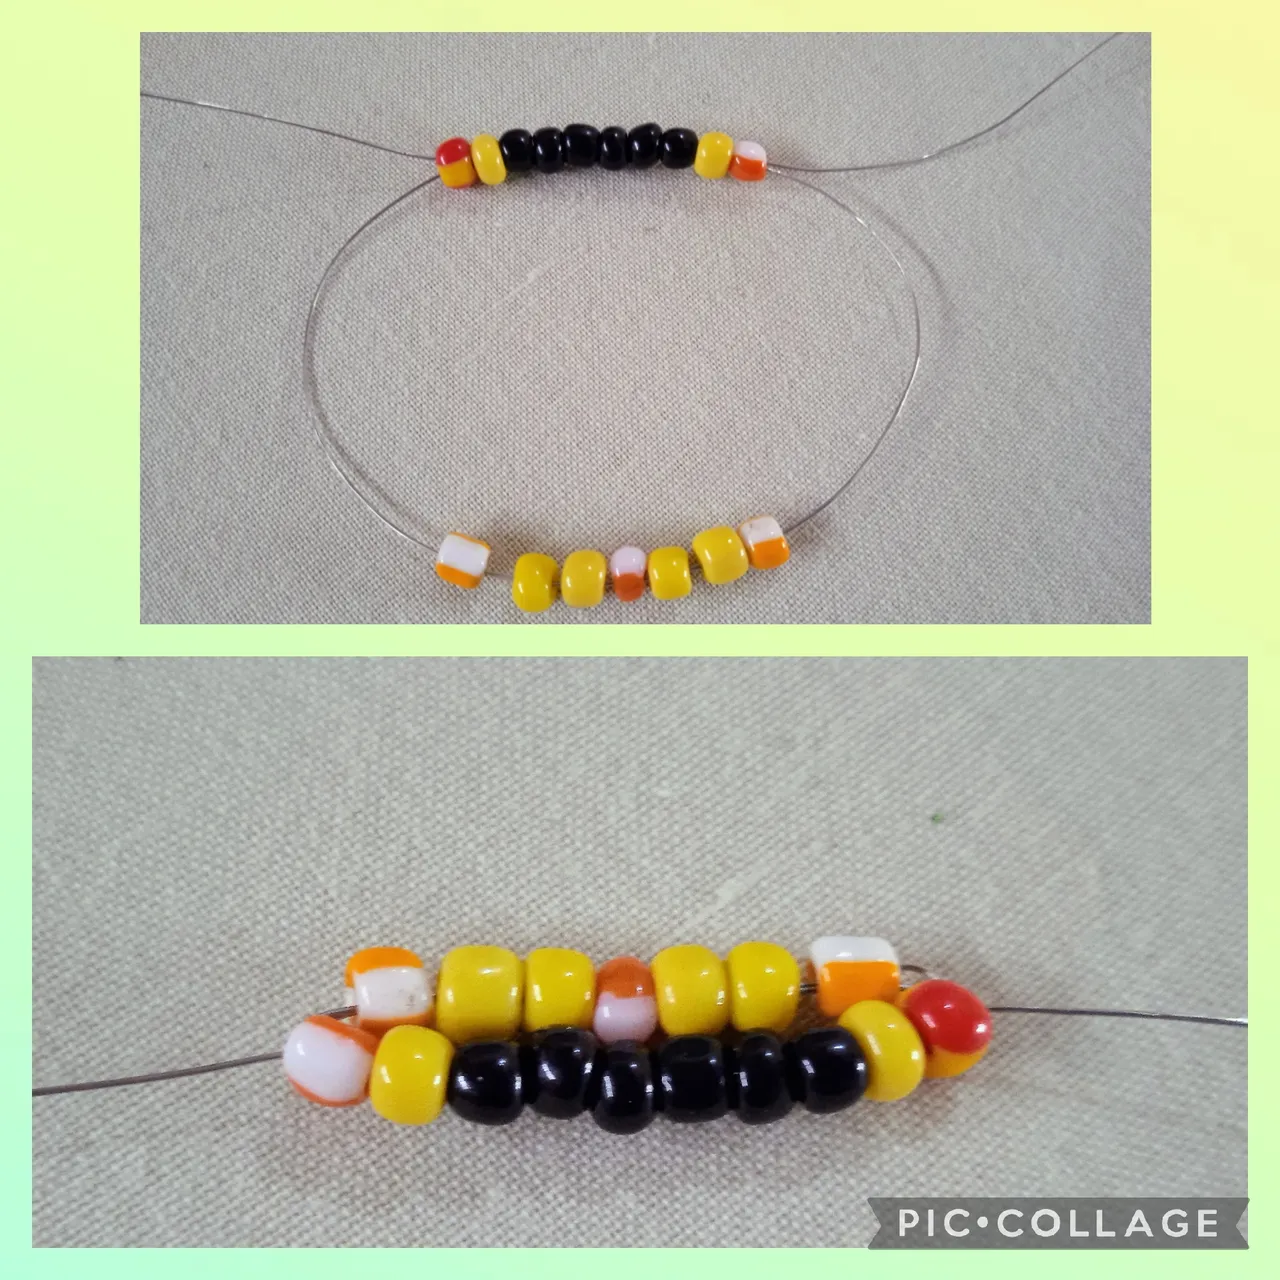
SEGUNDO PASO: Aquí inserto diez mostacillas por una de las puntas,( que son dos ) de esta manera: una mostacilla matizada, una mostacilla amarilla, seis mostacillas negras, una mostacilla amarilla, una mostacilla matizada , estás las cruzo con la otra punta de la alpaca y así queda.
SECOND STEP: Here I insert ten beads through one of the ends, (which are two) in this way: one nuanced bead, one yellow bead, six black beads, one yellow bead, one nuanced bead, I cross them with the other end of the alpaca and it's done like that.
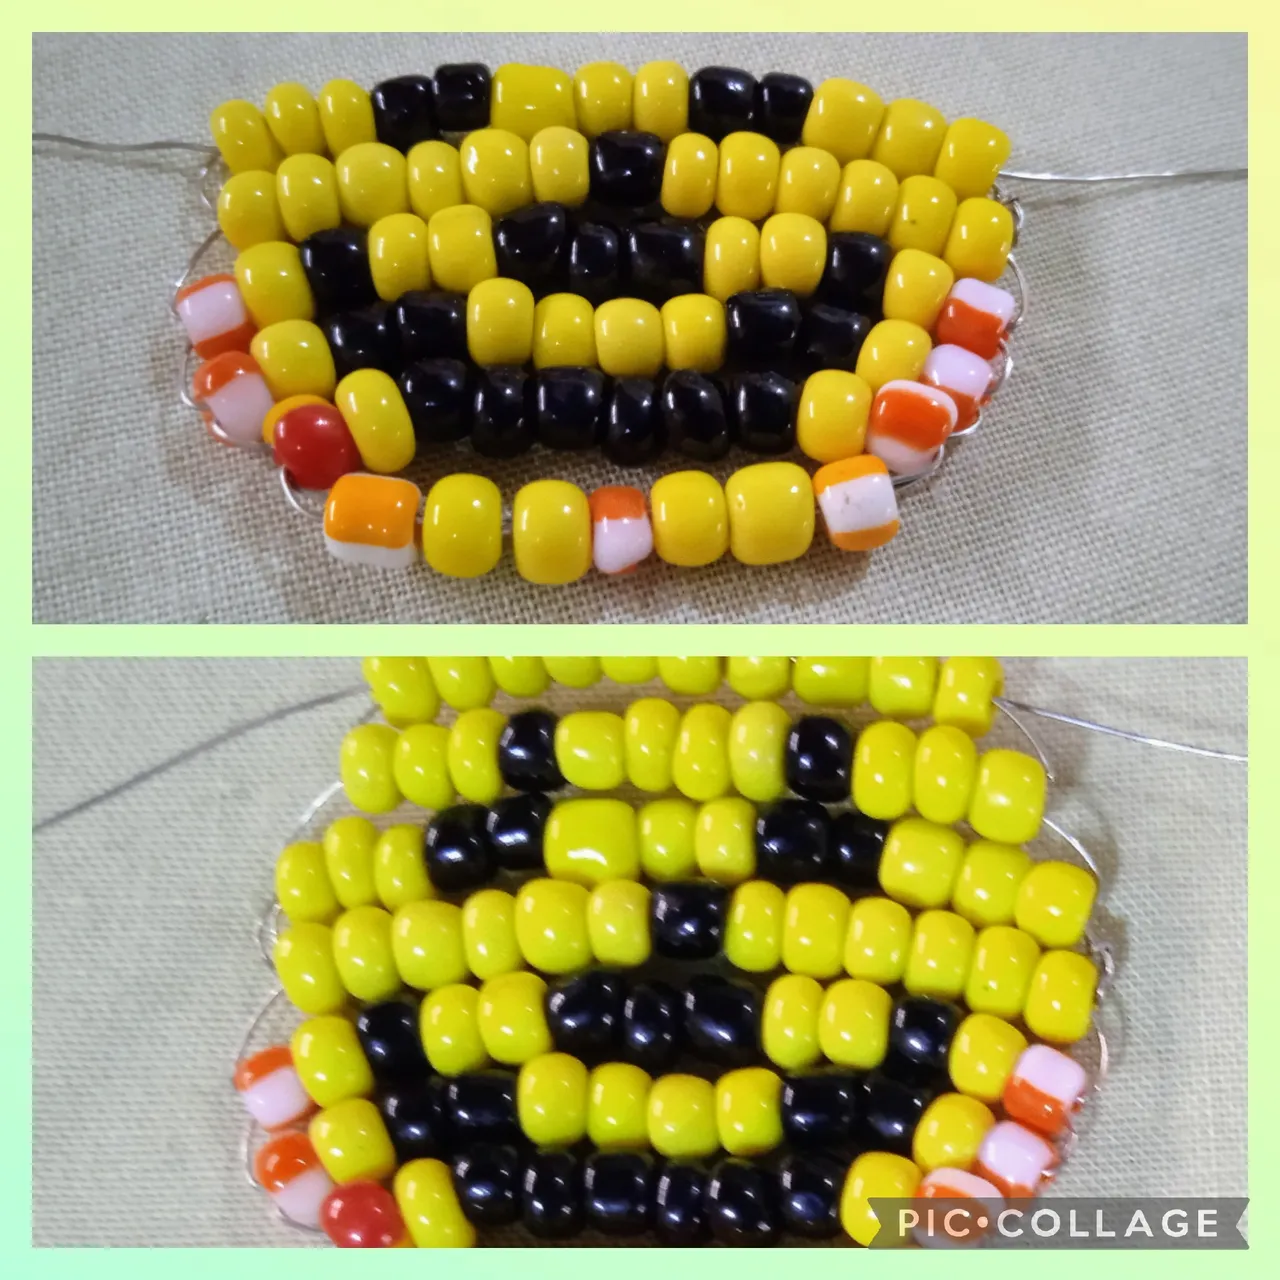
TERCER PASO: En este paso inserto por una punta, doce mostacillas así: una mostacilla matizada, una mostacilla amarilla, dos mostacillas negras, cuatro mostacillas amarillas, dos mostacillas negras, una mostacilla amarilla, una mostacilla matizada; las cruzo con la alpaca de la otra punta así queda. Cómo va mostrando la imagen, inserto de nuevo por una punta trece mostacillas: una mostacilla matizada, una mostacilla amarilla, una mostacilla negra, dos mostacillas amarillas, tres mostacillas negras, dos mostacillas amarillas , una mostacilla negra, una mostacilla amarilla, una mostacilla matizada, las cruzo, ver la imagen.
THIRD STEP: In this step I insert, through one tip, twelve beads like this: one tinted bead, one yellow bead, two black beads, four yellow beads, two black beads, one yellow bead, one tinted bead; I cross them with the alpaca from the other end and this is how it looks. As the image shows, I insert again at one end thirteen beads: one tinted bead, one yellow bead, one black bead, two yellow beads, three black beads, two yellow beads, one black bead, one yellow bead, one tinted bead , I cross them, see the image.

CUARTO PASO: Ahora inserto por una punta seis mostacillas amarillas, una negra, seis amarillas y las cruzo. De nuevo inserto trece mostacillas por una punta, pero de esta forma: tres mostacillas amarillas dos negras, tres amarillas, dos negras, tres amarillas y las cruzo, hago una nueva vuelta de diez mostacillas amarillas y las cruzo y así va quedando.
FOURTH STEP: Now I insert six yellow beads, one black, six yellow beads through one tip and cross them. Again I insert thirteen beads through one end, but in this way: three yellow beads, two black, three yellow, two black, three yellow and I cross them, I make a new round of ten yellow beads and I cross them and this is how it
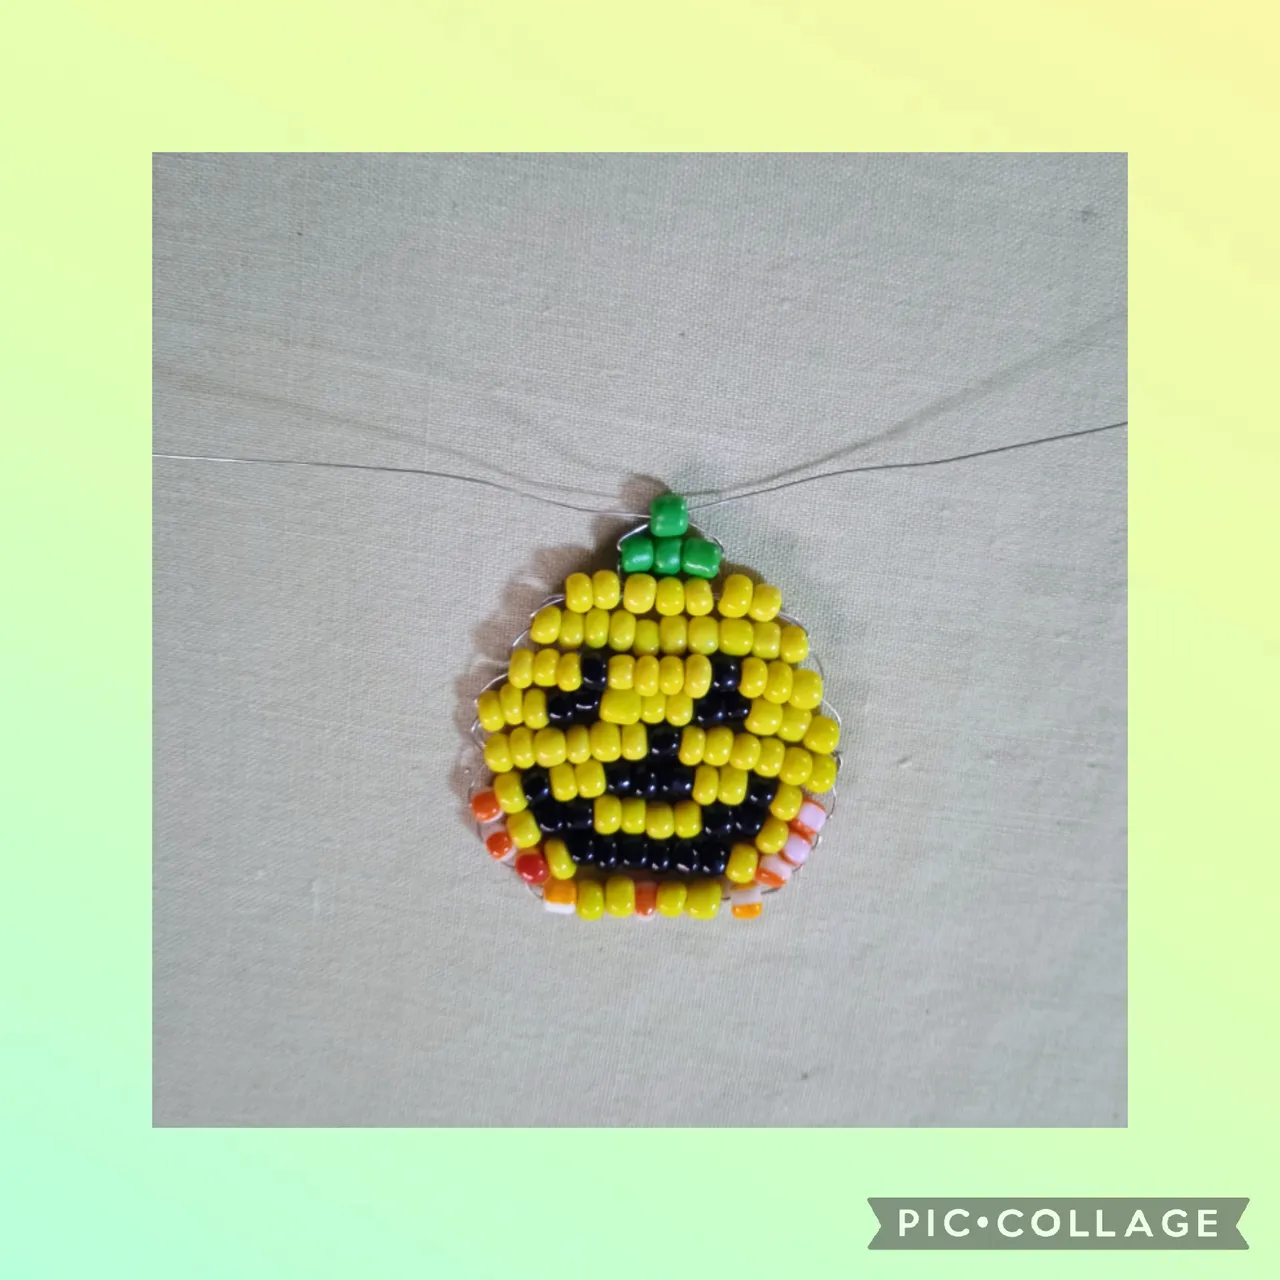
QUINTO PASO: En este paso inserto siete mostacillas amarillas y las cruzo para cerrar la forma de la calabaza 🎃, ahora saco las puntas de la alpaca por la segunda mostacilla amarilla y coloco tres mostacillas verdes, estás las cruzo con la otra punta de alpaca que tengo en la segunda mostacilla amarilla del otro lado y las cruzo, coloco otra mostacilla verde en la segunda de las tres que coloque primero, la cruzo y de esta manera tengo el diseño de la calabaza.
FIFTH STEP: In this step I insert seven yellow beads and cross them to close the shape of the pumpkin 🎃, now I take out the tips of the alpaca through the second yellow bead and place three green beads, I cross them with the other alpaca tip that I have in the second yellow bead on the other side and I cross them, I place another green bead in the second of the three that I placed first, I cross it and in this way I have the pumpkin design.
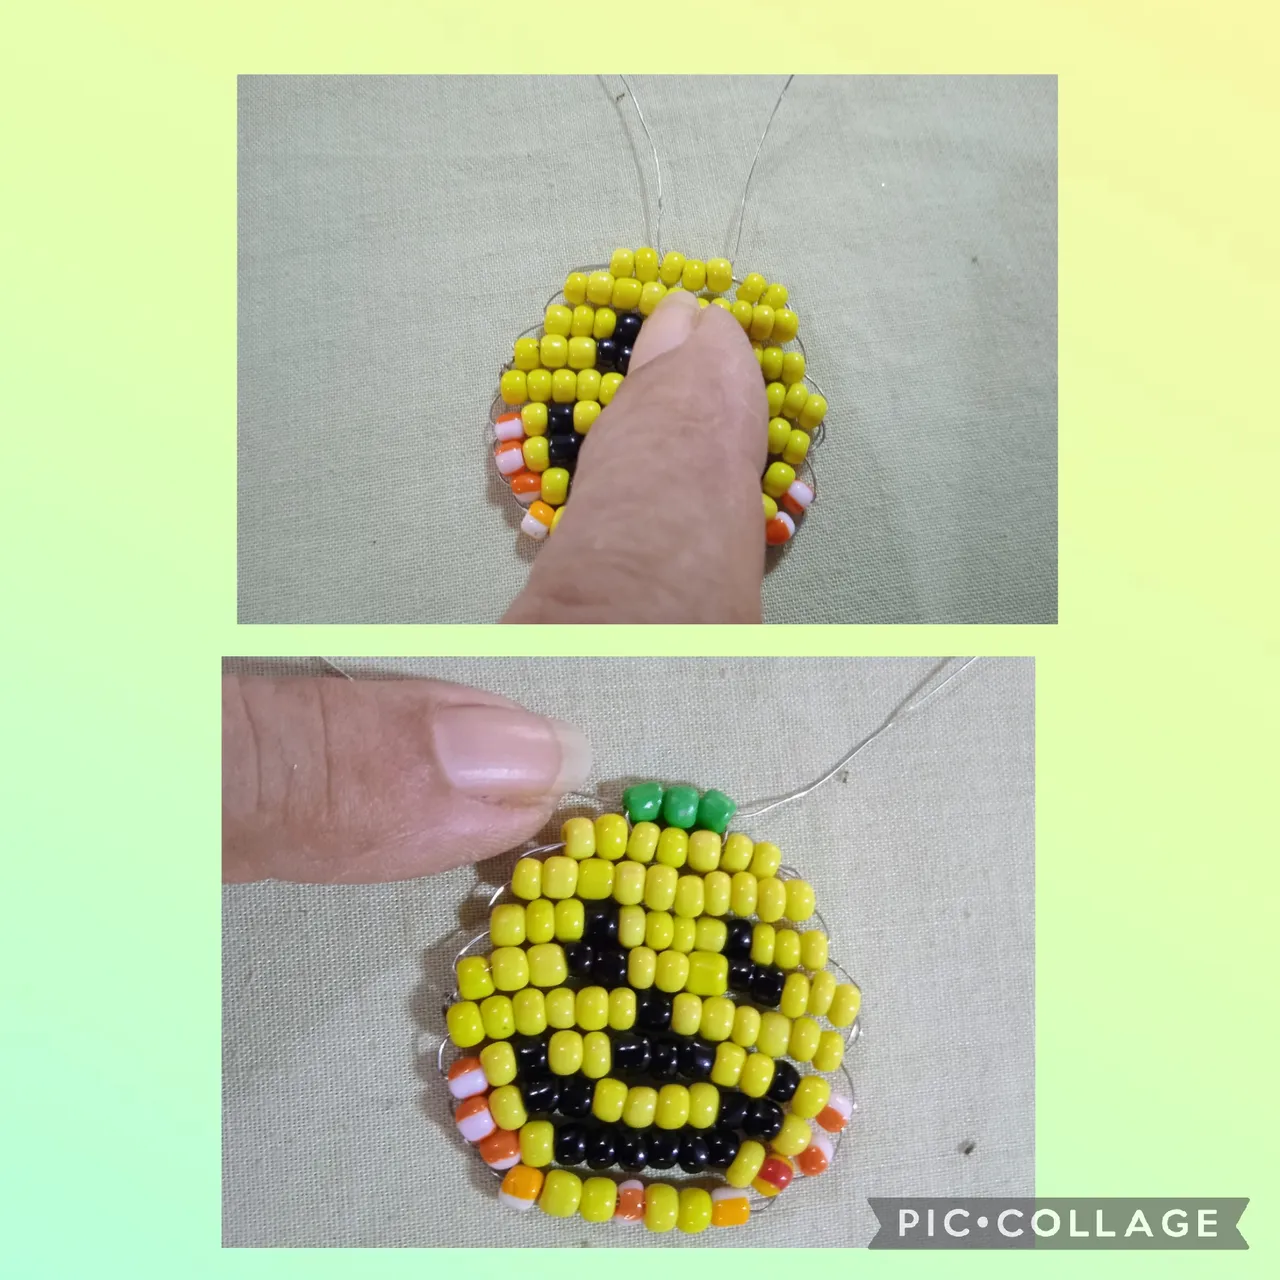
SEXTO PASO: En este paso como muestra la imagen, uno las puntas ahora inserto un separador en forma de resorte, luego con la pinza punta redonda realizo una argolla y con la pinza de corte quitó los excedentes; de nuevo uso la pinza y con una argolla pequeña uno la calabaza con el anzuelo para arete y ya tengo uno de los aretes; usando un procedimiento igual elaboró el otro arete para formar el par.
SIXTH STEP: In this step, as shown in the image, I join the tips and now insert a spring-shaped separator, then with the round tip pliers I make a ring and with the cutting pliers I remove the excess; Again I use the clamp and with a small ring I join the pumpkin with the earring hook and I already have one of the earrings; Using the same procedure, he made the other earring to form the pair.
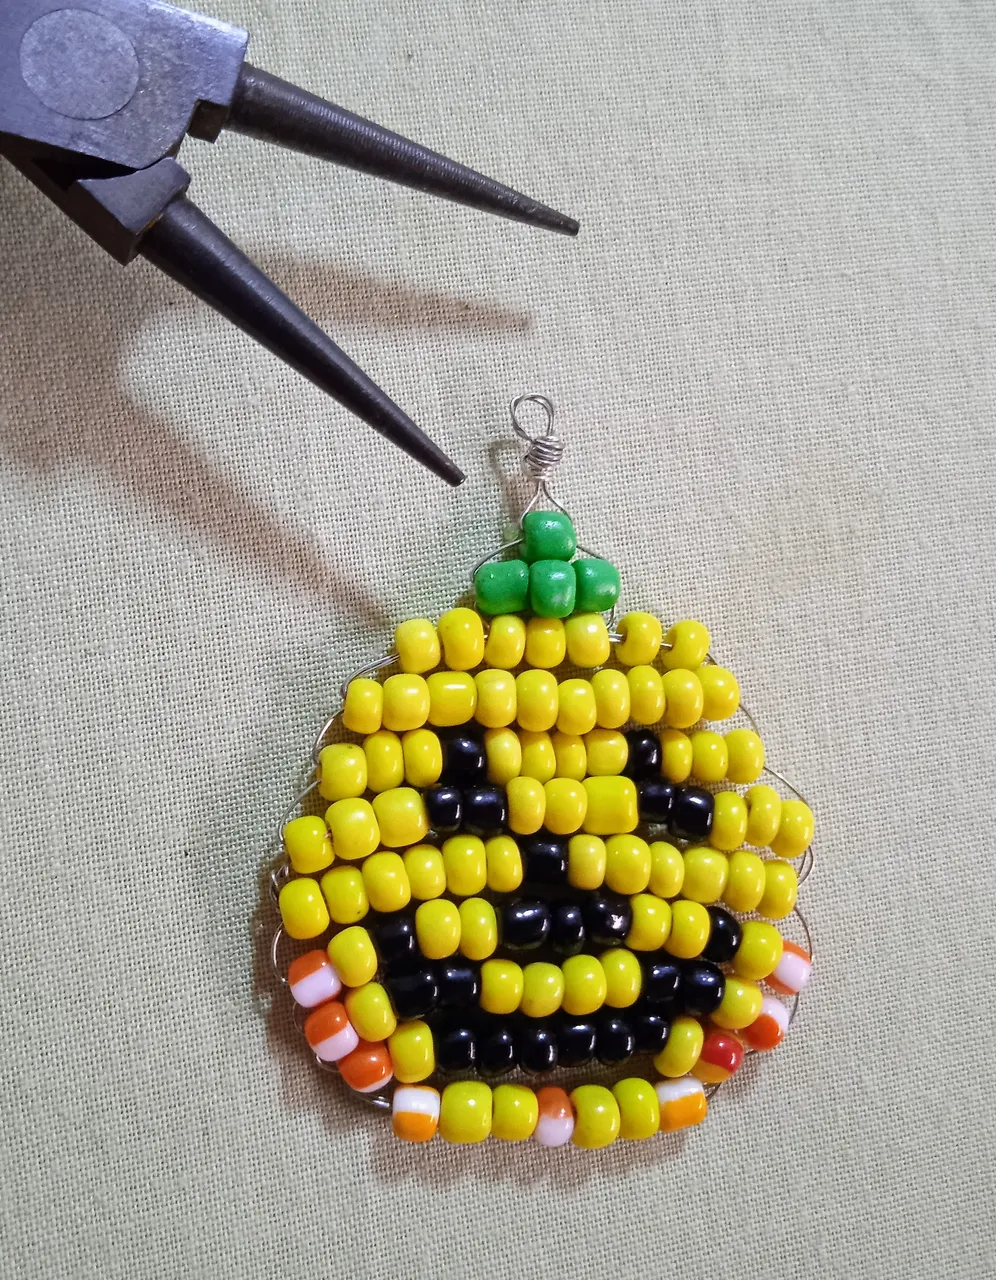
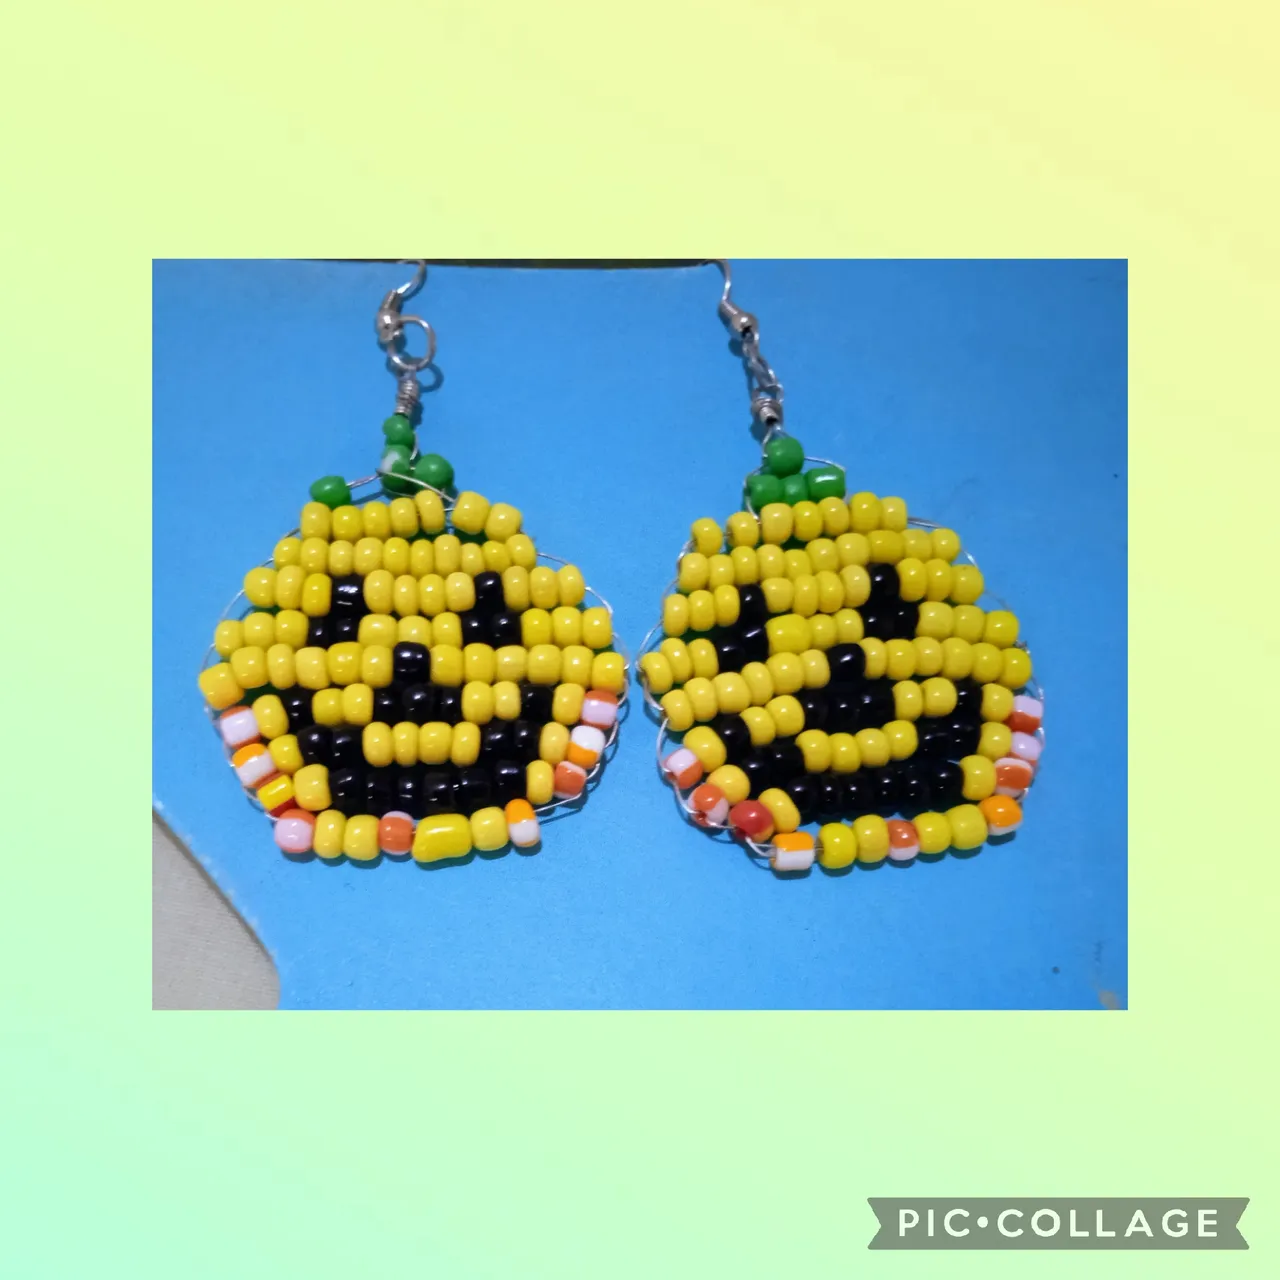
Artistas Creativos de la Joyería, este es el resultado final de mi manualidad, espero que les guste la idea y pongan su toque personal para realizar sus propios accesorios para disfrutar en halloween. Gracias a todos por ver y leer mis publicaciones, nos vemos en la próxima manualidad. Bye bye.
Creative Jewelry Artists, this is the final result of my craft, I hope you like the idea and put your personal touch to make your own accessories to enjoy on Halloween. Thank you all for watching and reading my posts, see you in the next craft. Bye bye.

Las imágenes y redacción de este tutorial son de mi propiedad, las fotos fueron tomadas con mi teléfono celular redmi 9 y las edité con una aplicación gratis del mismo. Para traducir texto use Google traductor.
The images and writing in this tutorial are my property, the photos were taken with my Redmi 9 cell phone and I edited them with a free application. To translate text use Google translator.