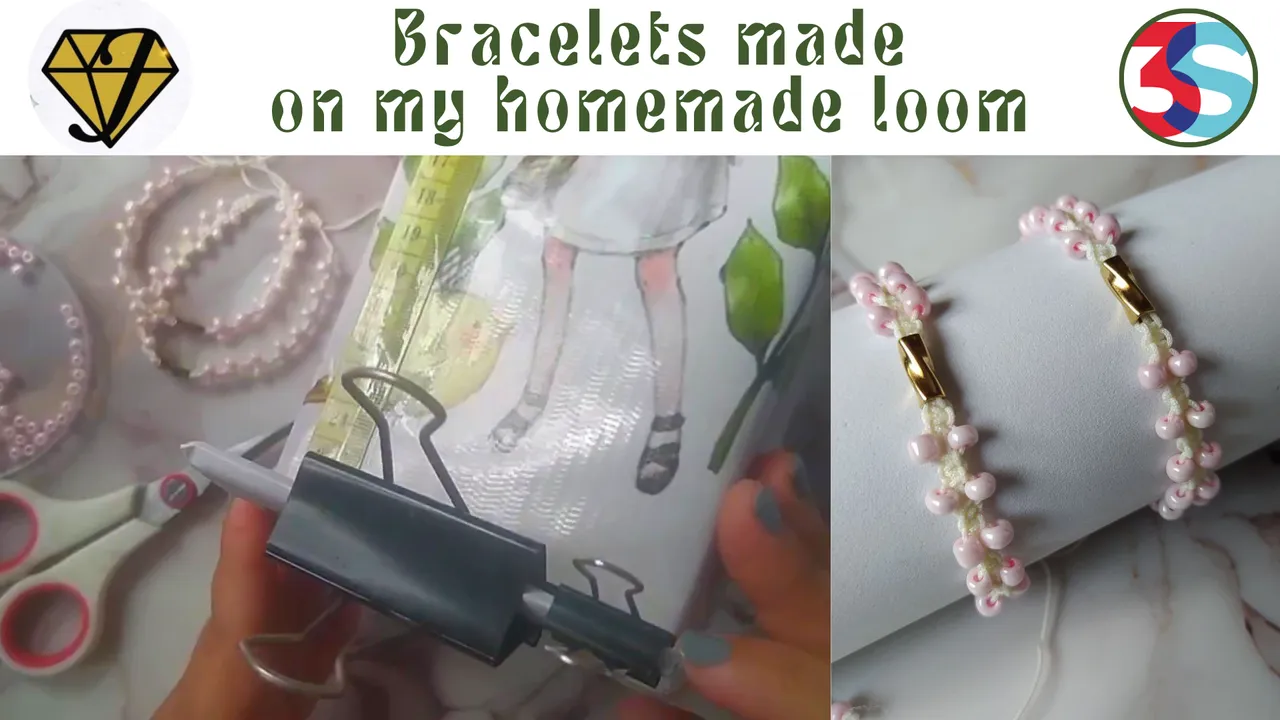
Greetings Hive friends, today I am very happy because I am releasing my Base for making Bracelets, I am leaving you the link of the publication where I made that base.
I am releasing it with the Tutorial for some Bracelets with waxed thread or Chinese thread, with a design or decoration of mainly pink beads and a golden element that is a curved tube. I was very excited about this Tutorial and I wanted to do it with audiovisual content from @3speak and by the way it is recorded in a zenithal plane with the base that I made a while ago, you can see how I made it Here
Saludos amigos de Hive, el día de hoy estoy muy feliz porque estoy estrenando mi Base para realizar Pulseras, les estoy dejando el link de la publicación donde realicé esa base.
La estreno con el Tutorial de unas Pulseras con hilo encerado o hilo chino puede ser, con un diseño o decoración de chaquiras rosadas principalmente y un elemento dorado que es un tubo con curva. Me emocioné mucho con este Tutorial y lo quise hacer con un contenido audiovisual de @3speak y por cierto está grabado en plano cenital con la base que hice hace un tiempo, puedes ver como la realicé Aquí

- Bracelet base (not essential)
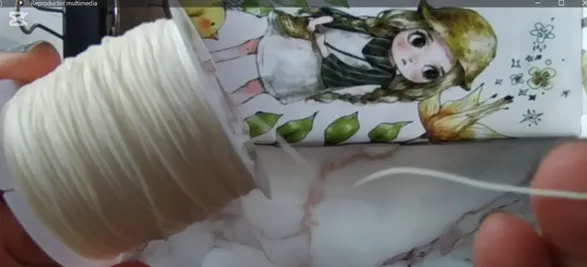
- Waxed thread or Chinese thread
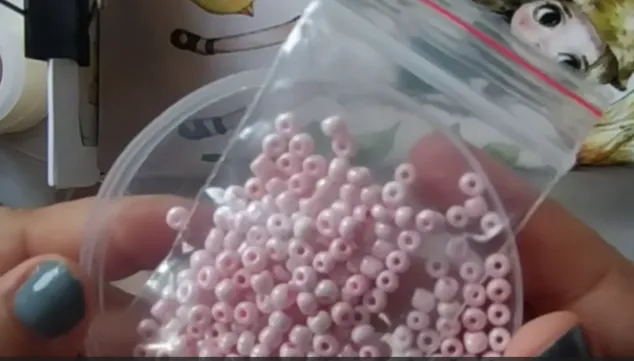
- Pink beads
- Central decorative element, small golden tube
- Scissors
- Tinderbox
- Base para Pulseras (no indispensable)
- Hilo encerado o hilo chino
- Chaquiras rosadas
- Elemento decorativo central, tubito dorado
- Tijera
- Yesquero

I cut two strips of 45cm each, these will be the central threads. Another strip of 130cm will be the one with which the design or weaving will be done.
I place the 45cm strips, both on the Base to make the Bracelet from 7cm, if you don't have one you can also improvise by placing tape on the top of the two ends and on the bottom.
Corté dos tiras de 45cms cada una, ellas serán los hilos centrales. Otra tira de 130cms que será con la que se realizará el diseño o tejido.
Coloco las tiras de 45cms, ambas en la Base para realizar la Pulsera a partir de los 7cms, de no tenerla también se puede improvisar colocando tirro en la parte superior de los dos extremos y en la parte inferior.
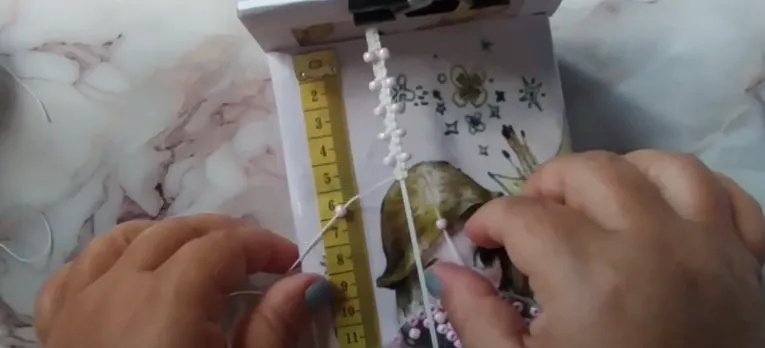
I locate the center of the 130cm long strip, and place it on top of the central threads, making a first flat knot and continuing with 3 other flat knots.
Then, I place a bead on each thread, left and right, I mean the thread that is making the weave. I bring them up and then continue with the 4 flat knots of the design. I repeat this until I complete 7cms of weaving with this design.
Ubico su centro de la tira larga de 130cms, y la coloco arriba de los hilos centrales, realizando un primer nudo plano y continuando con otros 3 nudos planos.
Luego, coloco una chaquira en cada hilo, izquierdo y derecho, me refiero al hilo que está haciendo el tejido. Las subo y luego continúo con los 4 nudos planos del diseño. Esto lo repito hasta completas 7cms de tejido con este diseño.
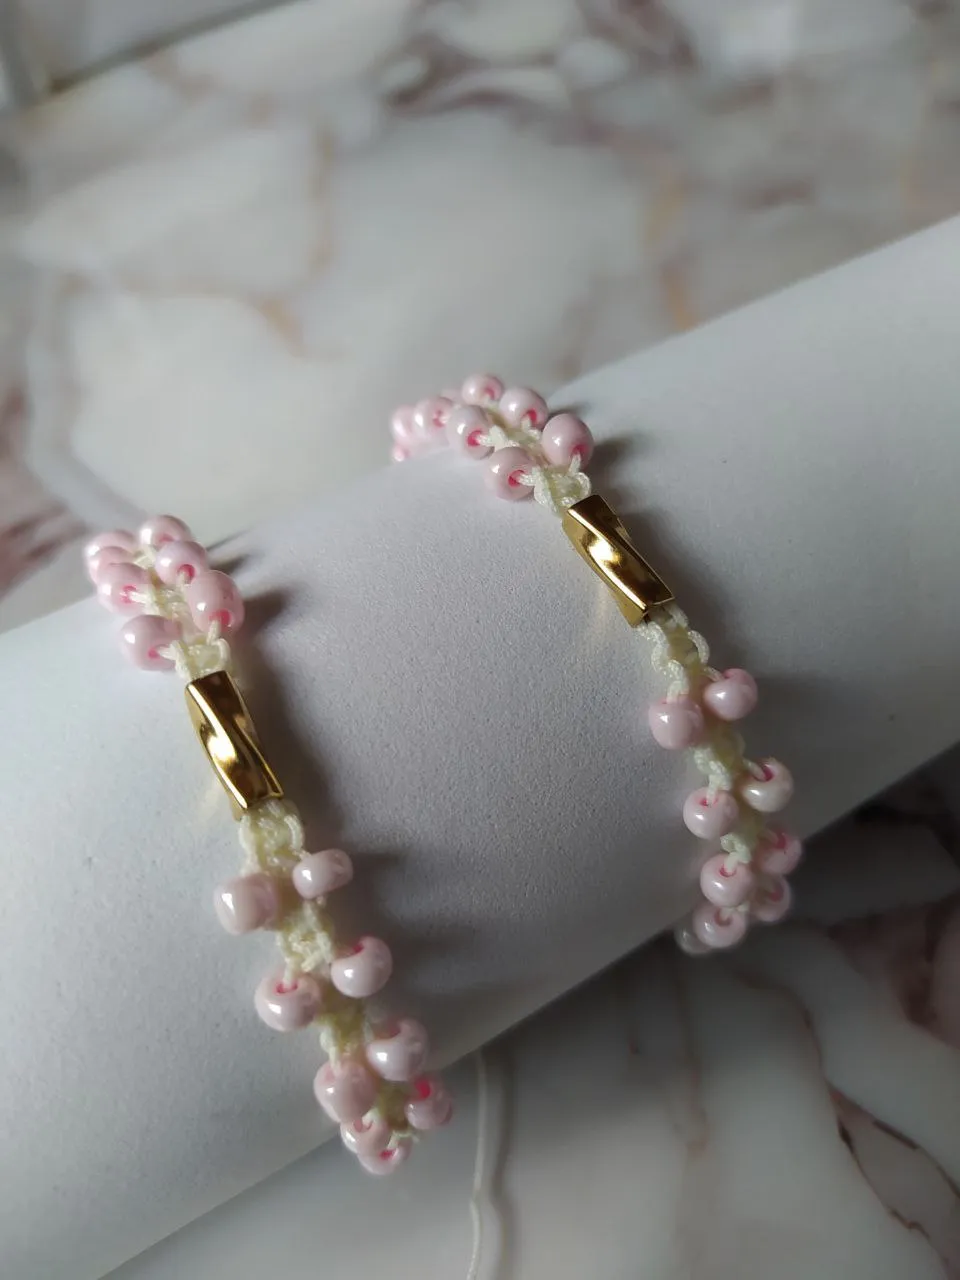
When I reach 7 cm, I insert the golden tube into both the threads that are making the weave and the two central threads below.
Then, I continue the design of flat knots and beads.
Al llegar a los 7cms. introduzco el tubito dorado tanto los hilos que están realizando el tejido, como los dos hilos centrales de abajo.
Luego, continúo el diseño de nudos planos y chaquiras.
The closure is made with another piece of thread, making 8 flat knots and sealing.
To finish, I place a bead on the ends of the threads that are left free.
Se realiza el cierre, con otro trozo de hilo, realizando 8 nudos planos y sellando.
Para terminar, coloco una chaquira en las puntas de los hilos que quedan libres.
All of the above is explicitly in the video, you can watch the Tutorial or step by step in detail.
I hope you like the content of this post, I made it with a lot of love and respect towards the Jewelry Community.
Todo lo anterior está explícitamente en el video, pueden ver el Tutorial o paso a paso en detalle.
Deseo que les guste el contenido de esta publicación, lo hice con mucho amor y respeto hacia la Comunidad Jewelry.
I took the photos with my phone Redmi Note 8
Apps I used:
Canva Pro for Cover, Collage and Banners
Video Editor: Capcut Pro
Music Pixabay
I used Deepl Translator
My social networks:
Discord: YennysYaneth#0189
Twitter: @yennysferm
Instagram: @yennysyaneth
Las fotos las tomé con mi teléfono Redmi Note 8
Apps que utilicé:
Canva Pro para la Portada, Collage y Banners
Editor de Video: Capcut Pro
Música Pixabay
Utilicé el Traductor Deepl
Mi redes sociales:
Discord: YennysYaneth#0189
Twitter: @yennysferm
Instagram: @yennysyaneth
▶️ 3Speak