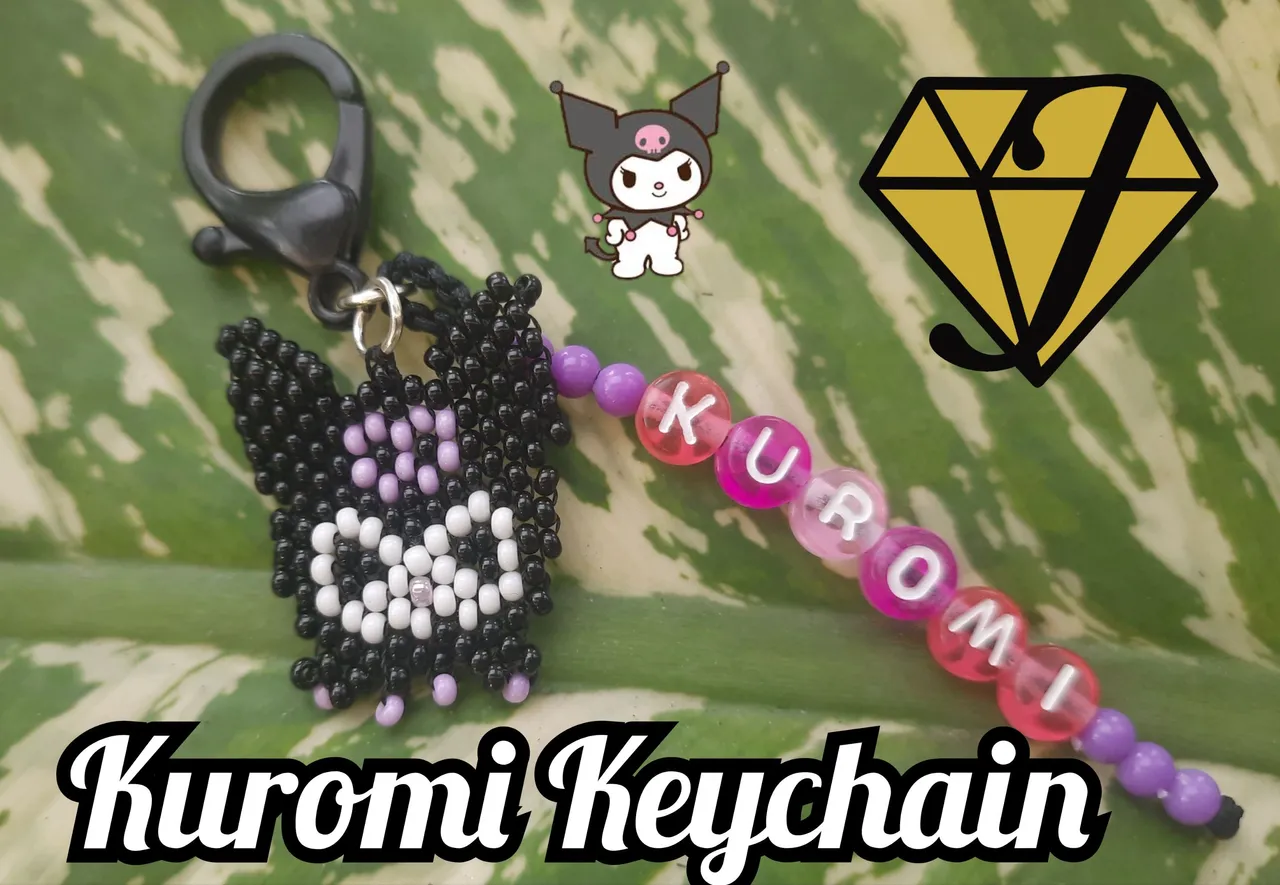


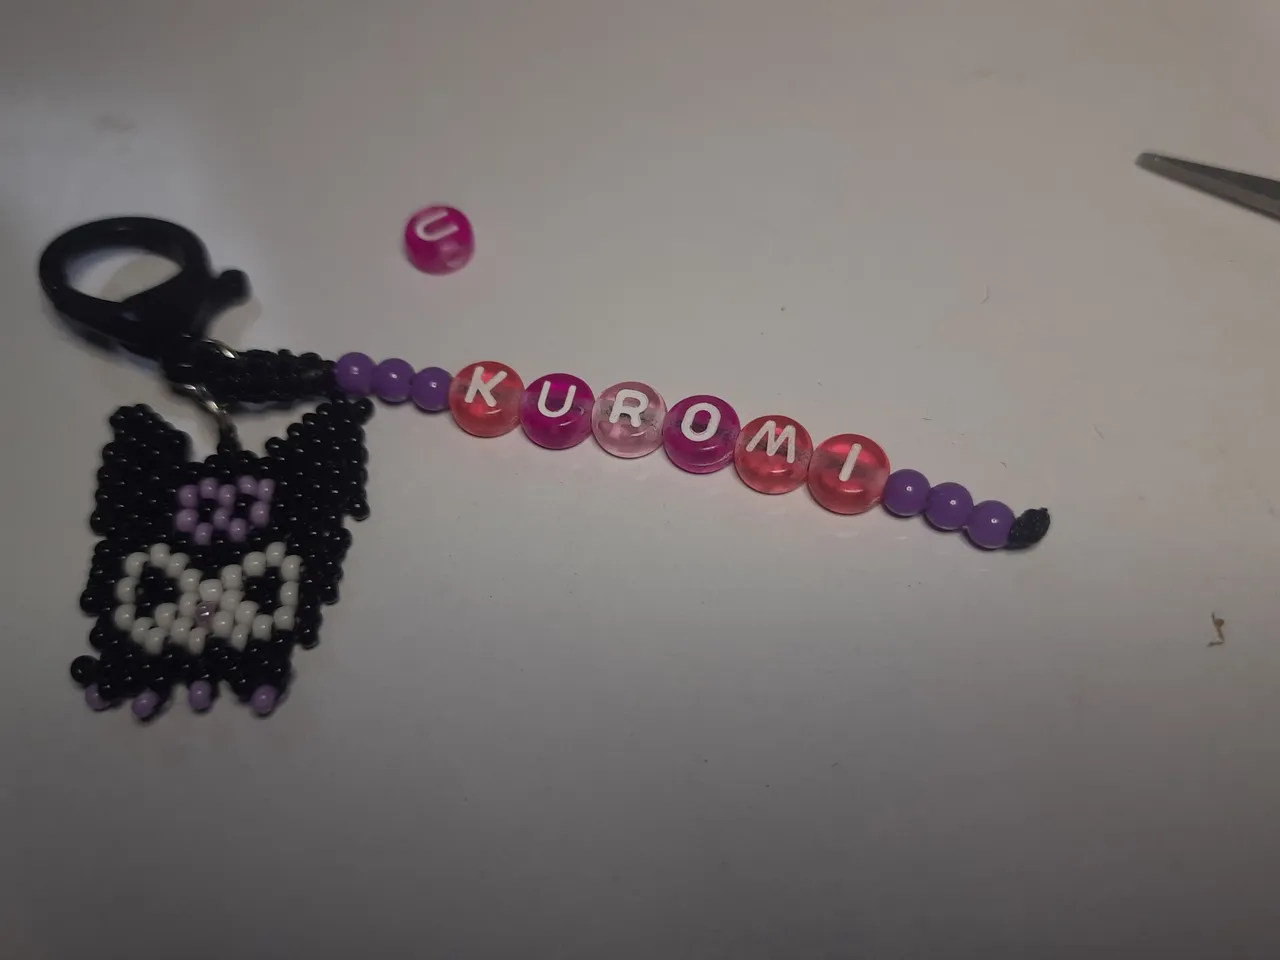
Un saludo, mi gente maravillosa de @jewelry hace días les comente que me encargaron hacer algunos personajes de anime, por lo que este es el segundo que les traigo, su nombre es Kuromi, de hecho me paso algo muy gracioso me confundí en el nombre que tenia un llavero con nombre y puse kurumi en ves de o puse la u, bueno algo que se puede solucionar y lo volví a repetir lo bueno es que solo es la parte del llavero.
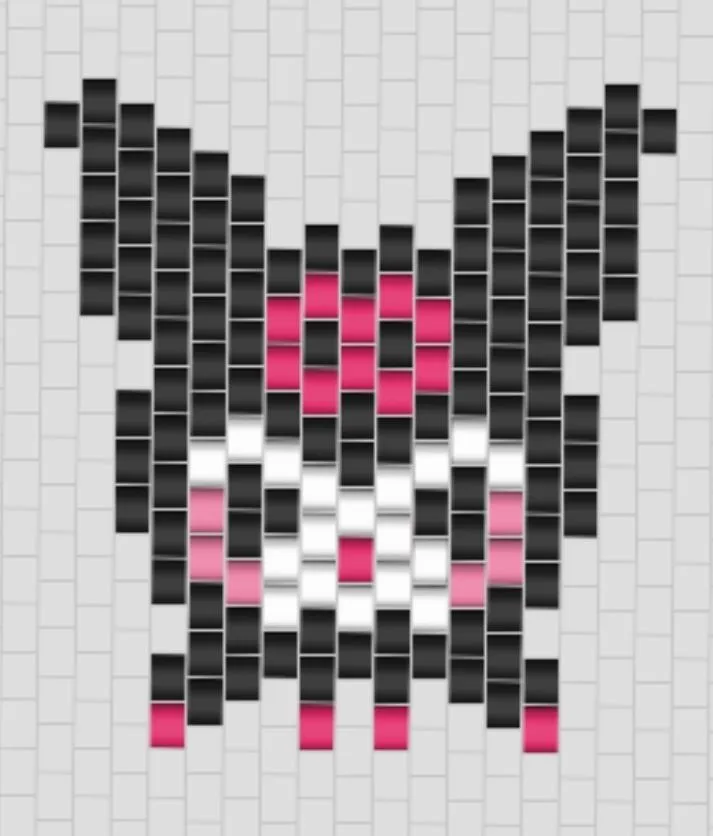
Este personaje de la franquicia de Sanrio tiene mucha demanda y lo piden mucho, nunca había realizado esta personaje así que busque en Internet el patrón para poder hacerlo, y encontré varios sin embargo me quedé con este que les dejare a continuación, me gusto mucho el resultado, aunque lo hice en un pequeño llavero.

Greetings, my wonderful people of @jewelry days ago I told you that I was commissioned to make some anime characters, so this is the second that I bring you, his name is Kuromi, in fact something very funny happened to me I got confused in the name I had a keychain with name and I put kurumi instead of o I put the u, well something that can be solved and I repeated it again the good thing is that it is only the part of the keychain.
This character of the Sanrio franchise is in high demand and they ask for it a lot, I had never made this character so I searched the Internet for the pattern to do it, and found several but I stayed with this that I will leave below, I really liked the result, although I did it in a small keychain.
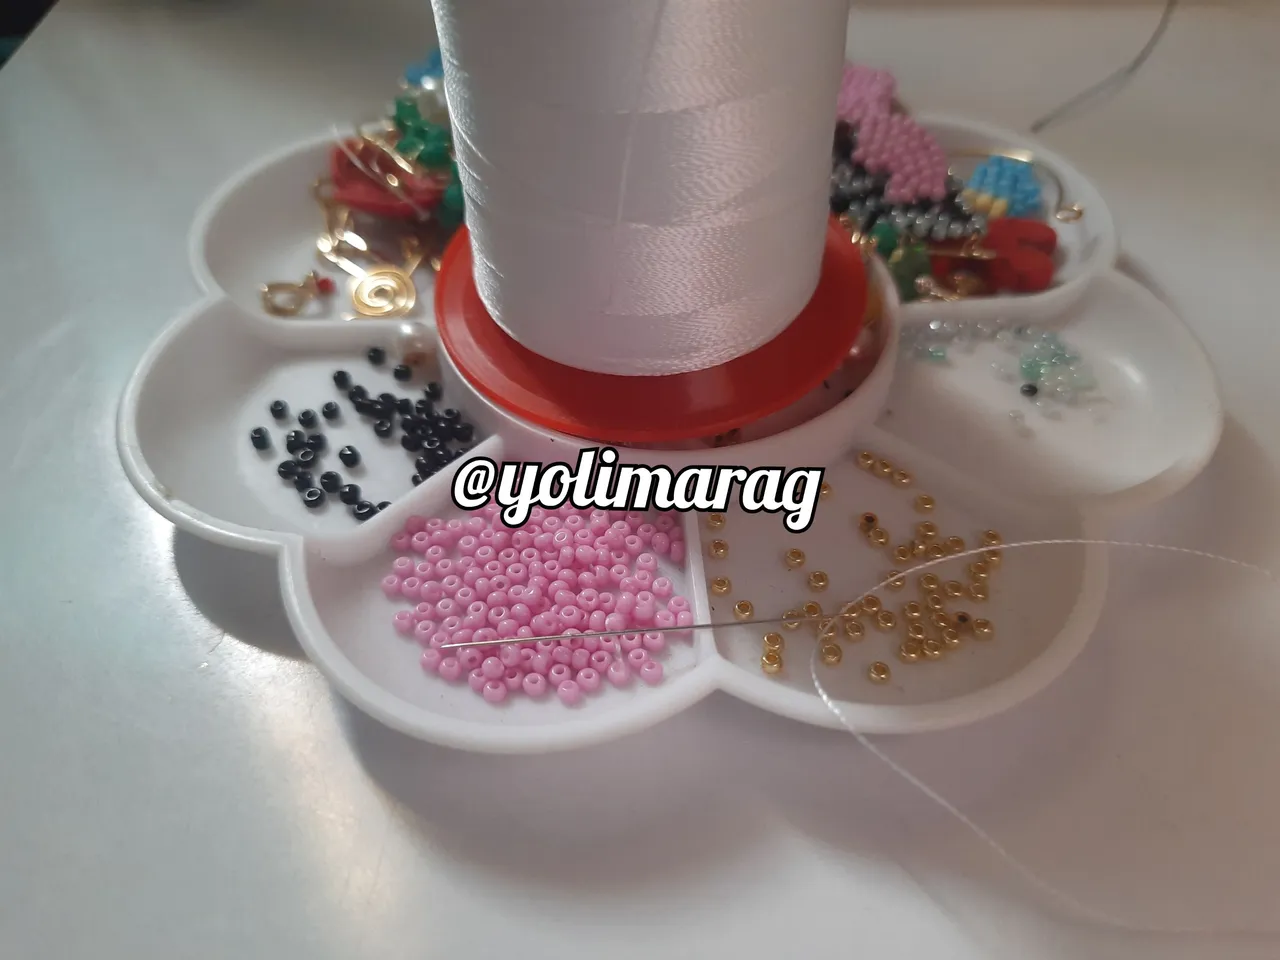
Materiales:
✅️ Hilo para miyuki negro
✅️ Mostacillas moradas, negras, y blancas
✅️ Aguja para miyuki
✅️ Llavero
✅️ Piedras moradas plásticas
✅️ Letras
Materials
✅️ Black miyuki thread
✅️ Purple, black, and white beads
✅️ Miyuki needle
✅️ Key chain
✅️ Plastic purple stones
✅️ Letters
Paso a Paso / Step by Step
 |  |  |
|---|
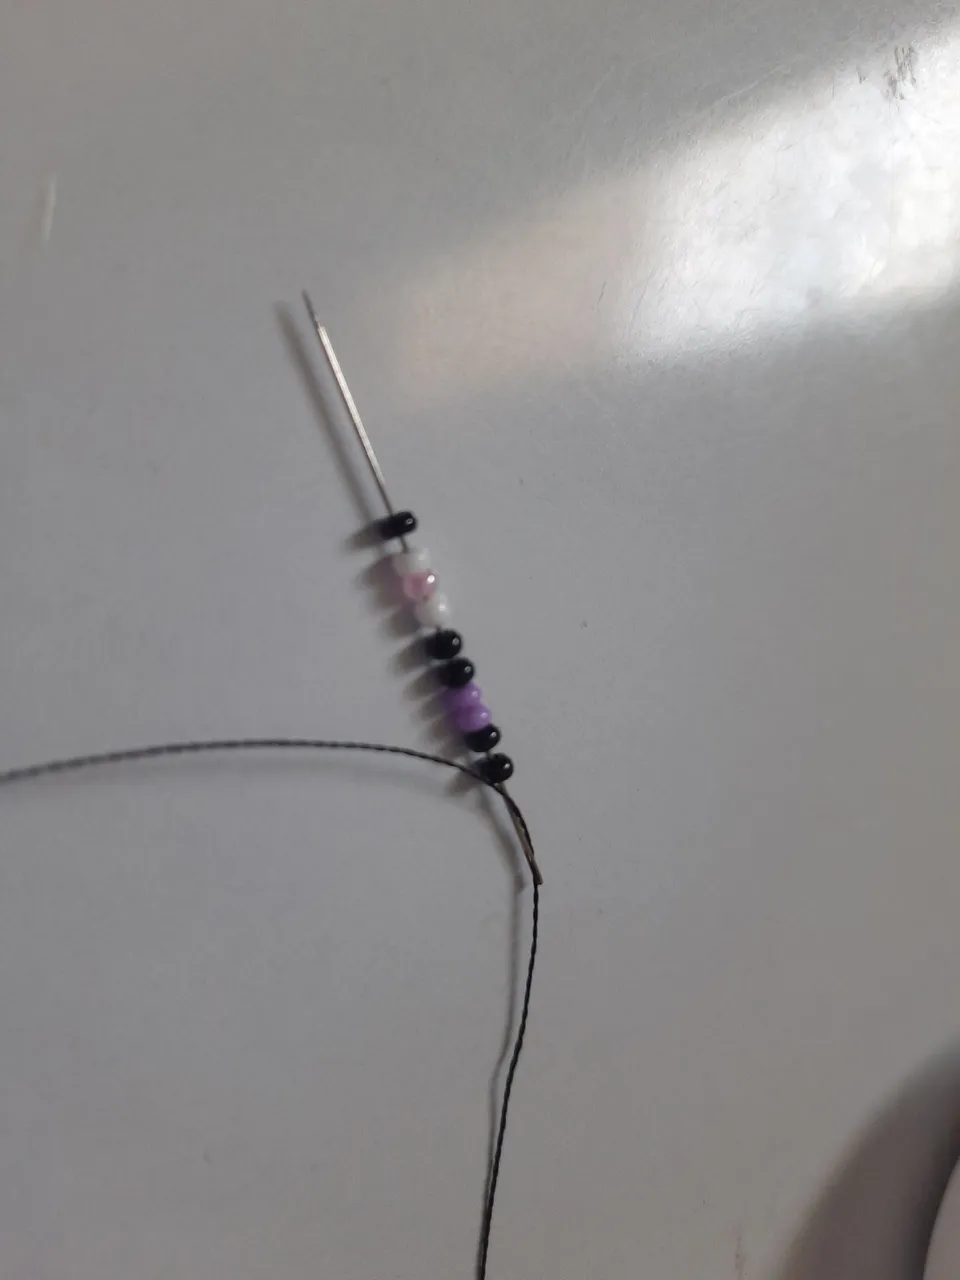
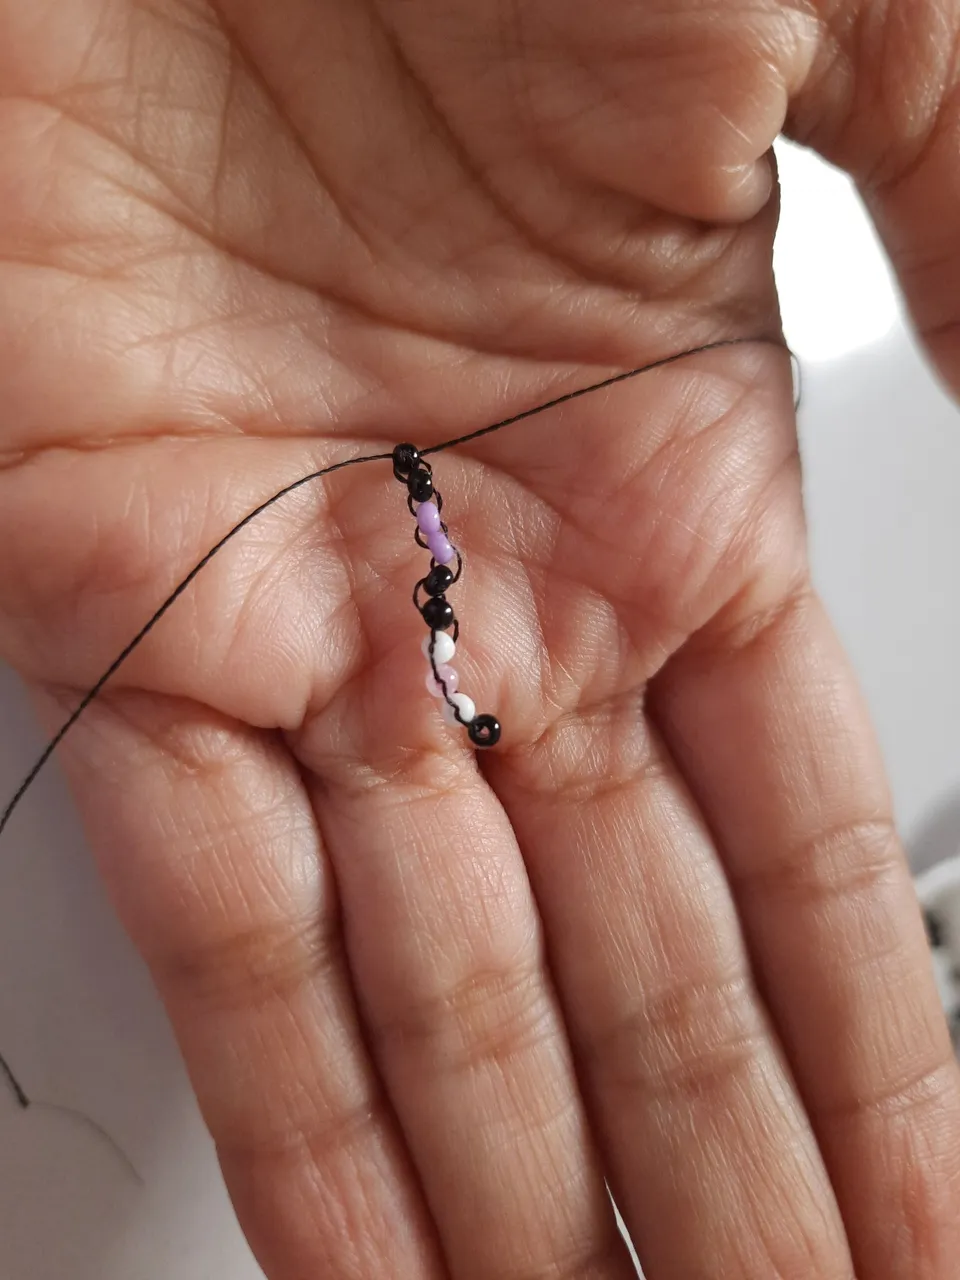
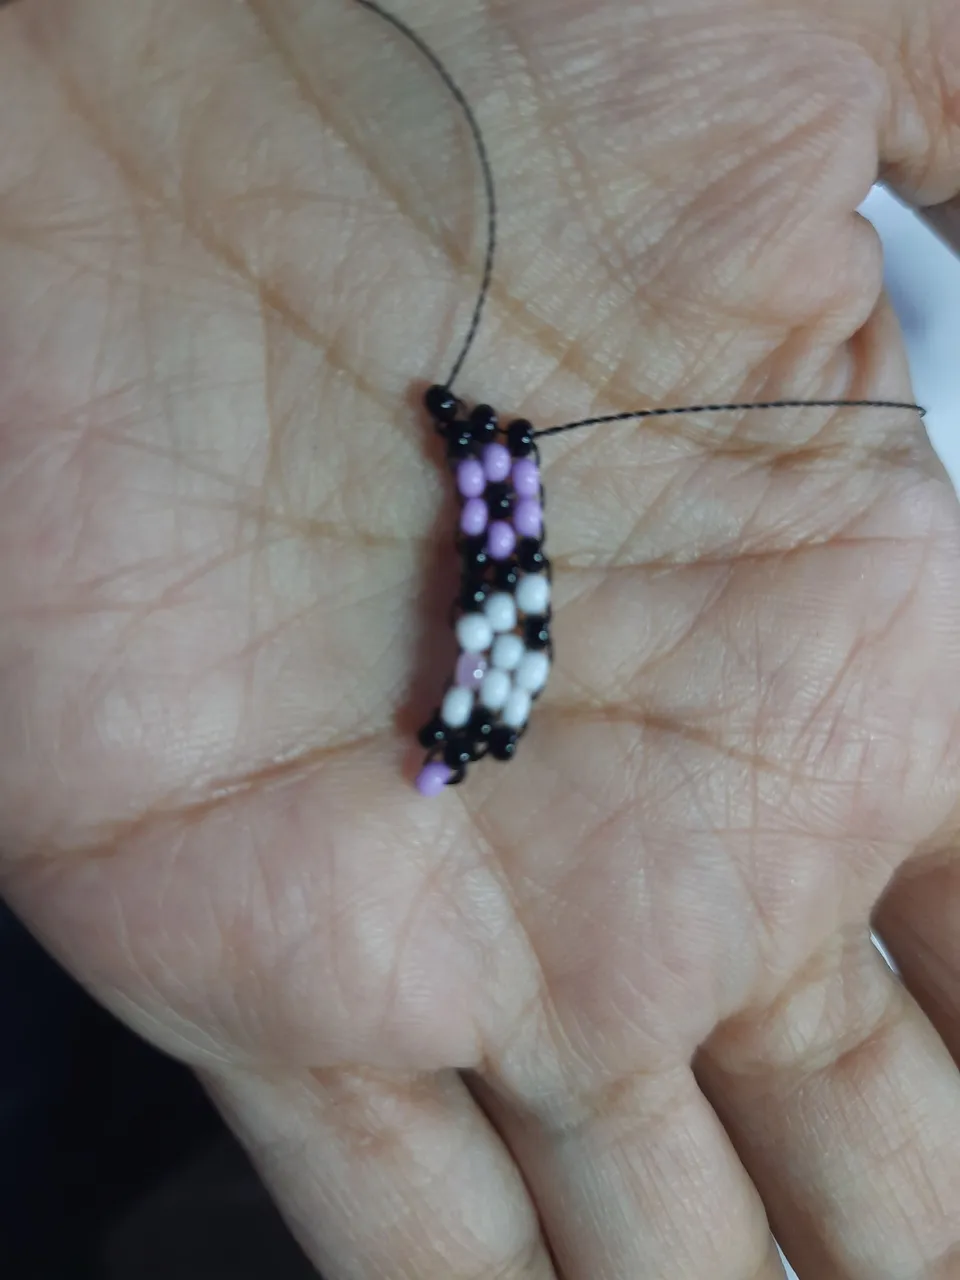
Comenzaremos insertando nuestro hilo en la aguja, el hilo debe tener aproximadamente 85cm para realizar nuestro dije, y vamos a introducir once delicas, colocaremos dos negras dos moradas dos negras una blanca una rosa una blanca una negra y una morada para así comenzar por la parte del centro de nuestro dije.
Vamos a introducir las delicas y vamos a comenzar de arriba hacia abajo pasándola desde la última a la primera por debajo de cada una, luego vamos a ir en decreciente.
We will begin by inserting our thread in the needle, the thread should be approximately 85cm to make our pendant, and we will introduce eleven delicas, we will place two black two purple two black two black one white one pink one white one black and one purple to begin with the center part of our pendant.
We are going to introduce the delicas and we are going to start from top to bottom passing from the last one to the first one under each one, then we are going to go in decreasing order.
 |  |
|---|
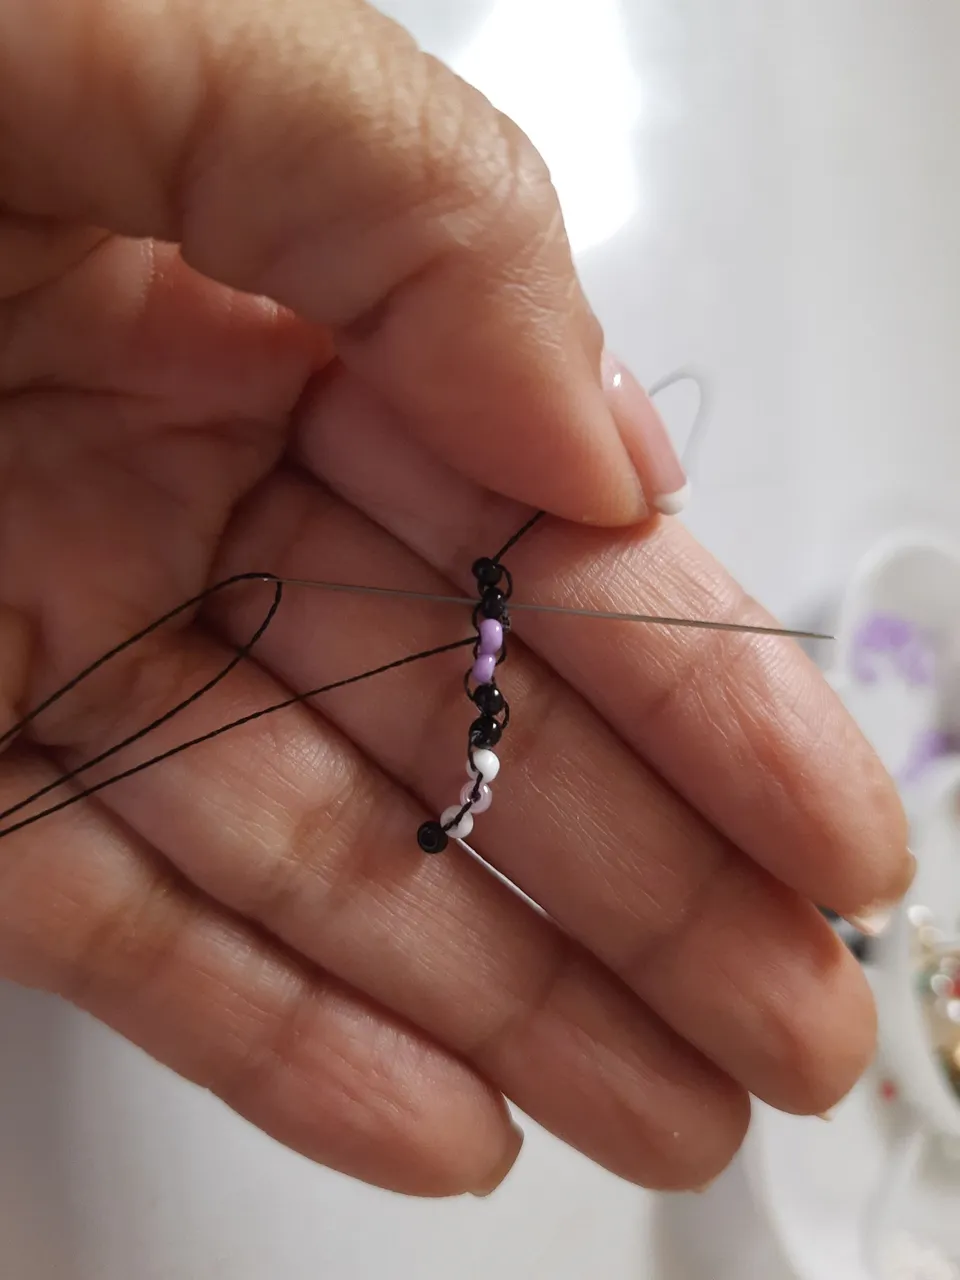
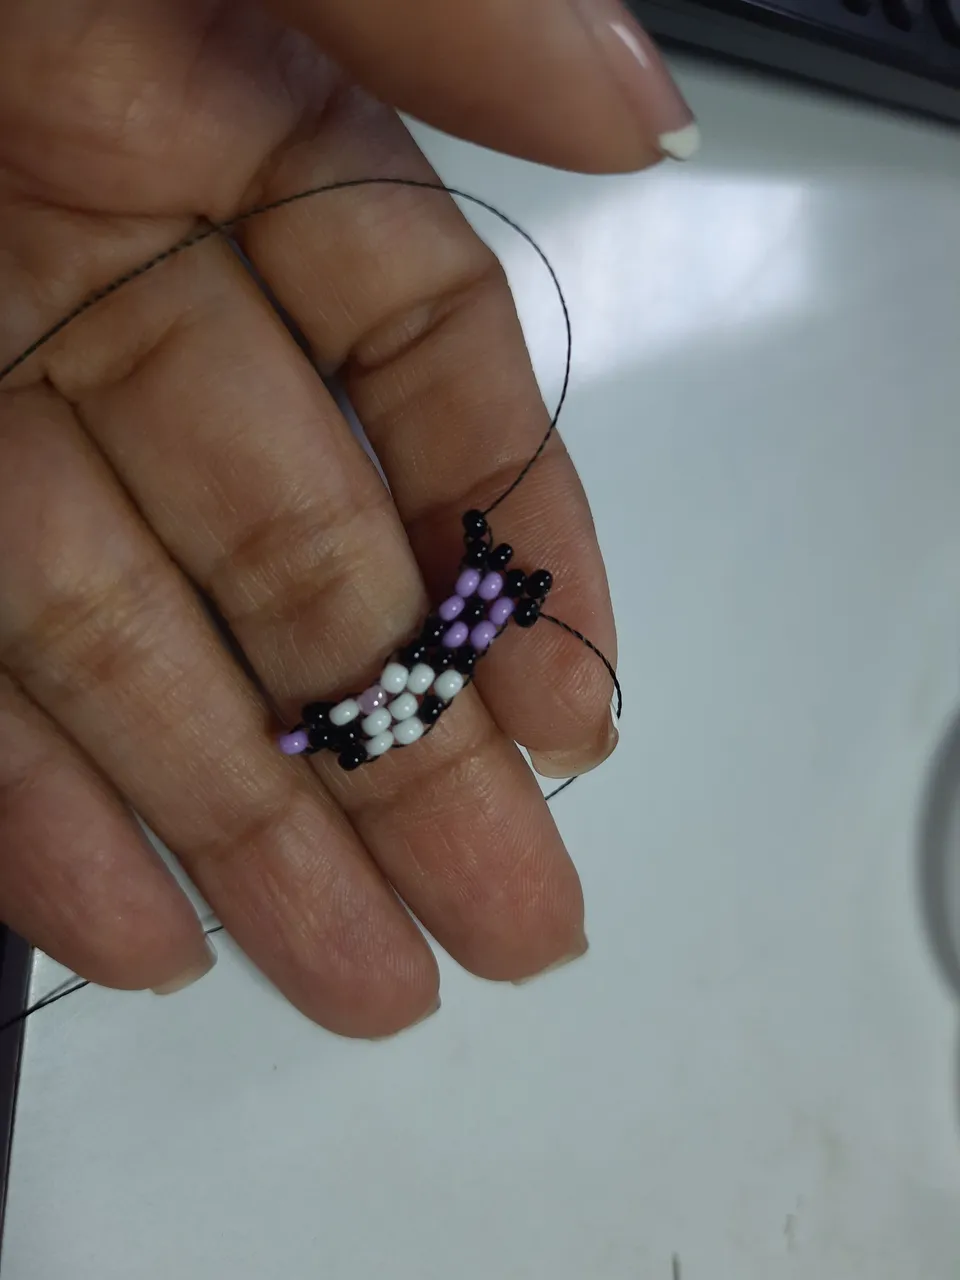
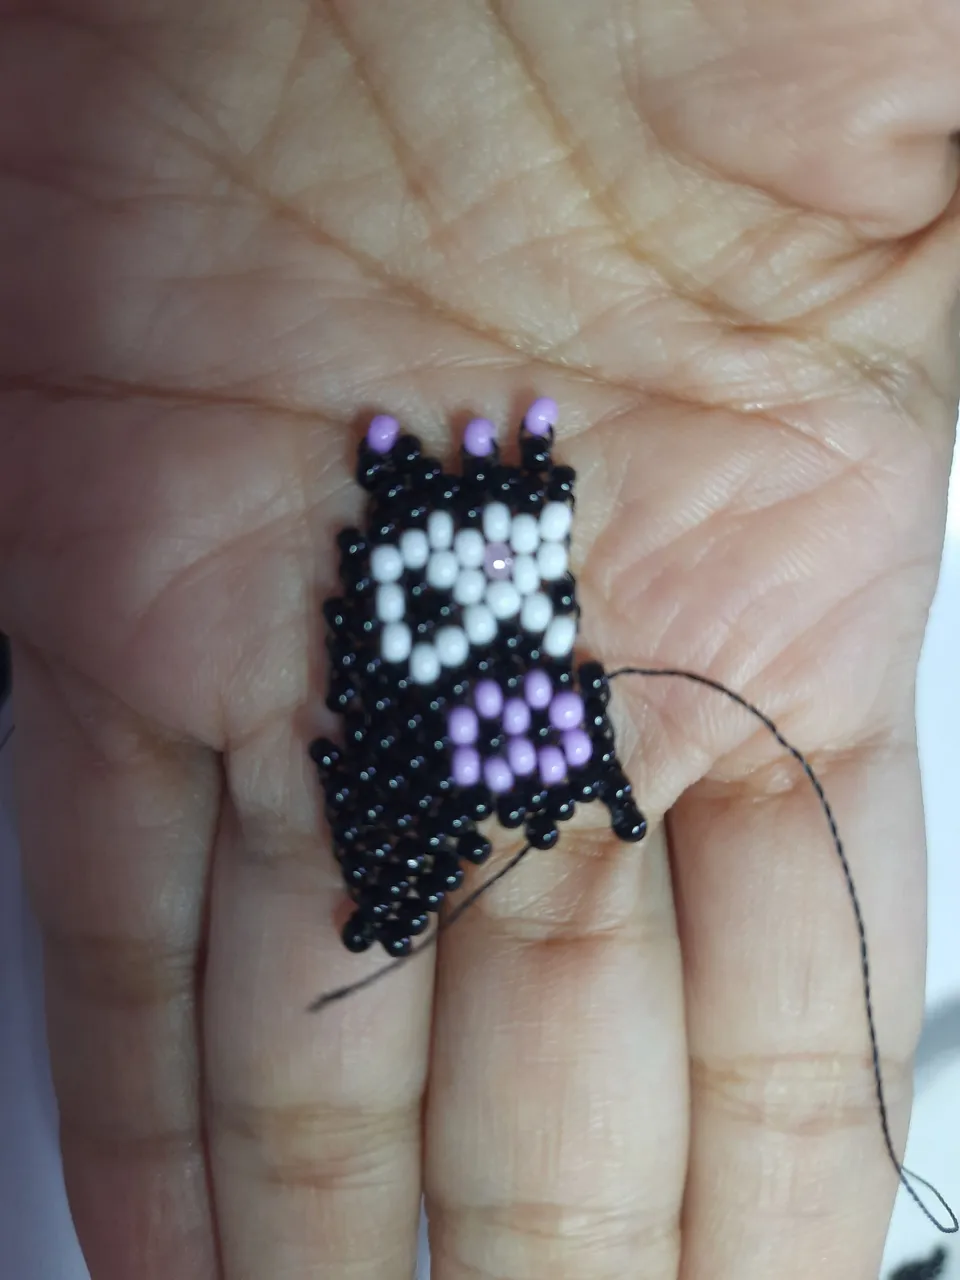
Iremos en decreciente en la segunda una negra, tres blancas, una negra, una morada, una negra, una morada, una negra, para hacer la segunda fila, en la tercera fila comenzaremos en decreciente, una negra, una morada, otra morada, una negra, una blanca, una negra, dos Blanca, una negra para culminar la tercera fila.
We will go in decreasing in the second one black, three white, one black, one purple, one black, one purple, one black, one purple, one black, to make the second row, in the third row we will start in decreasing, one black, one purple, one purple, one purple, one black, one white, one black, two white, one black to finish the third row.
 |  |  |
|---|
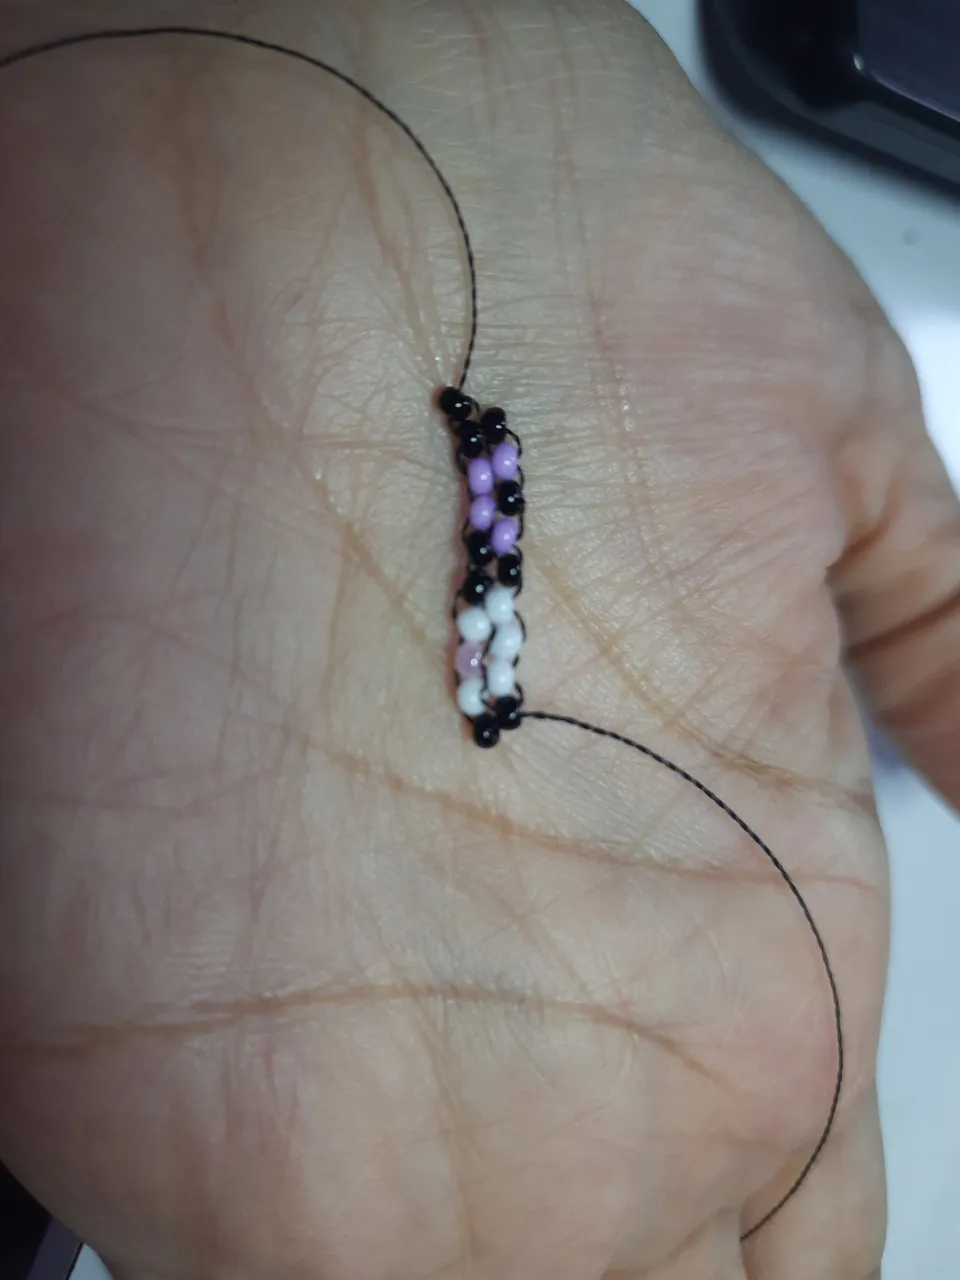
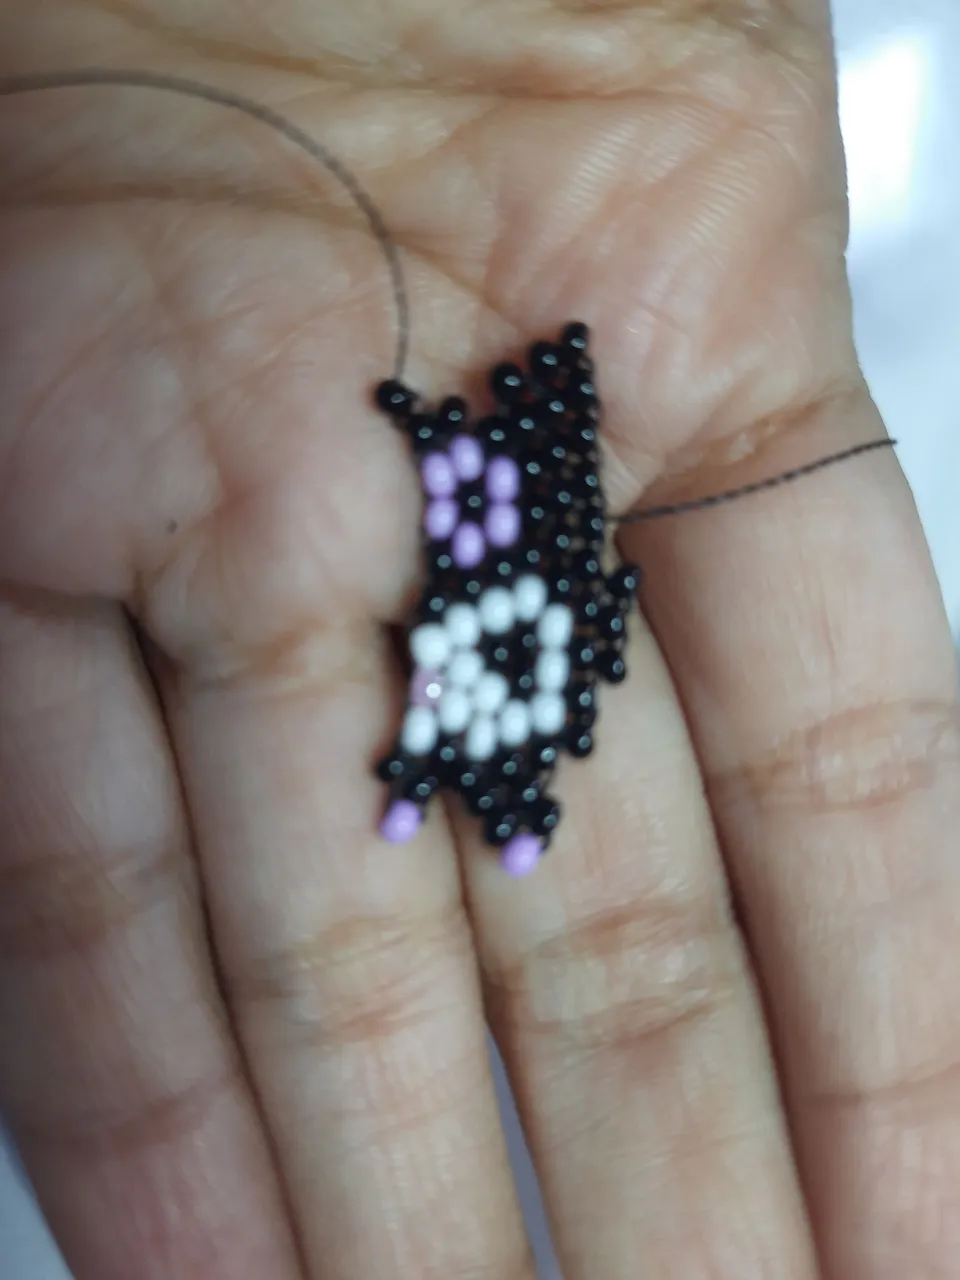
Cómo quedamos en la parte baja vamos a ir en creciente, dos negras, una blanca, dos negras, una blanca, cinco negras, seguimos en la próxima línea en creciente 6 negras, tres blancas, dos negras, y una morada, continuamos en decreciente en la tercera vamos a comenzar a colocar 10 negras.
As we are at the bottom we will go in crescendo, two black, one white, two black, one white, five black, we continue in the next line in crescendo 6 black, three white, two black, and one purple, we continue in decreasing in the third line we will begin to place 10 black.
 |  |
|---|
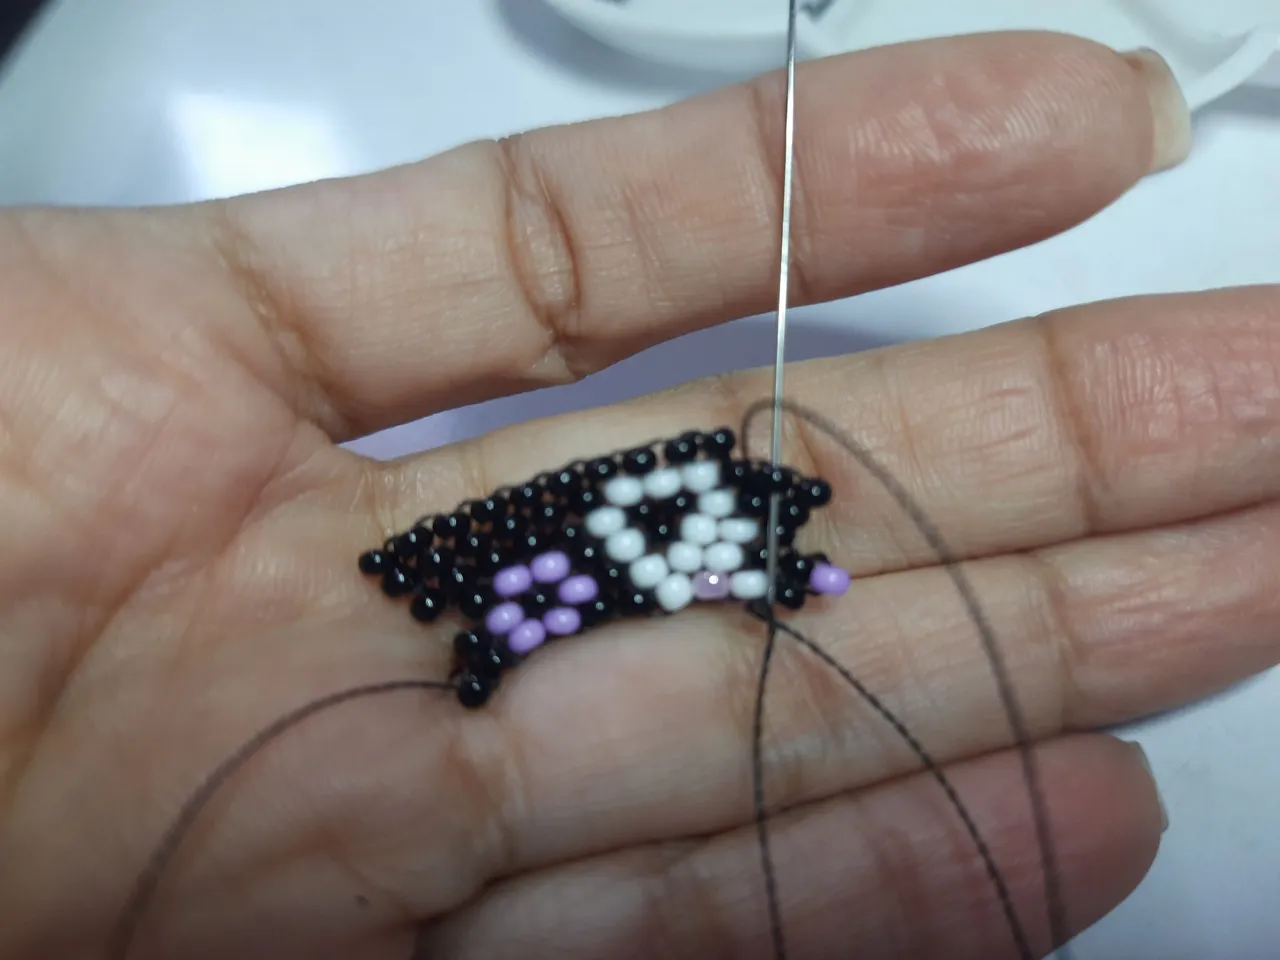
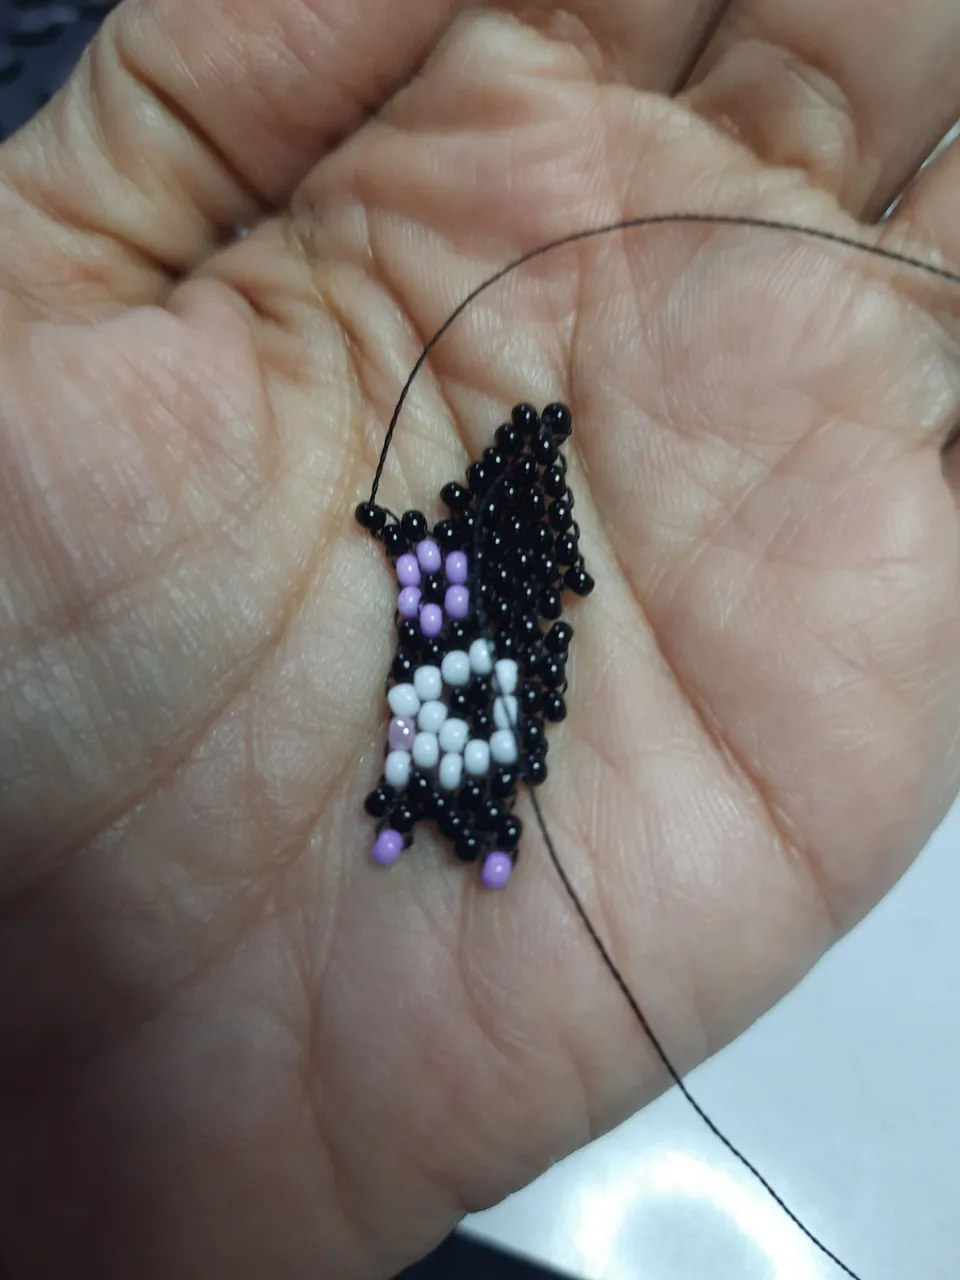
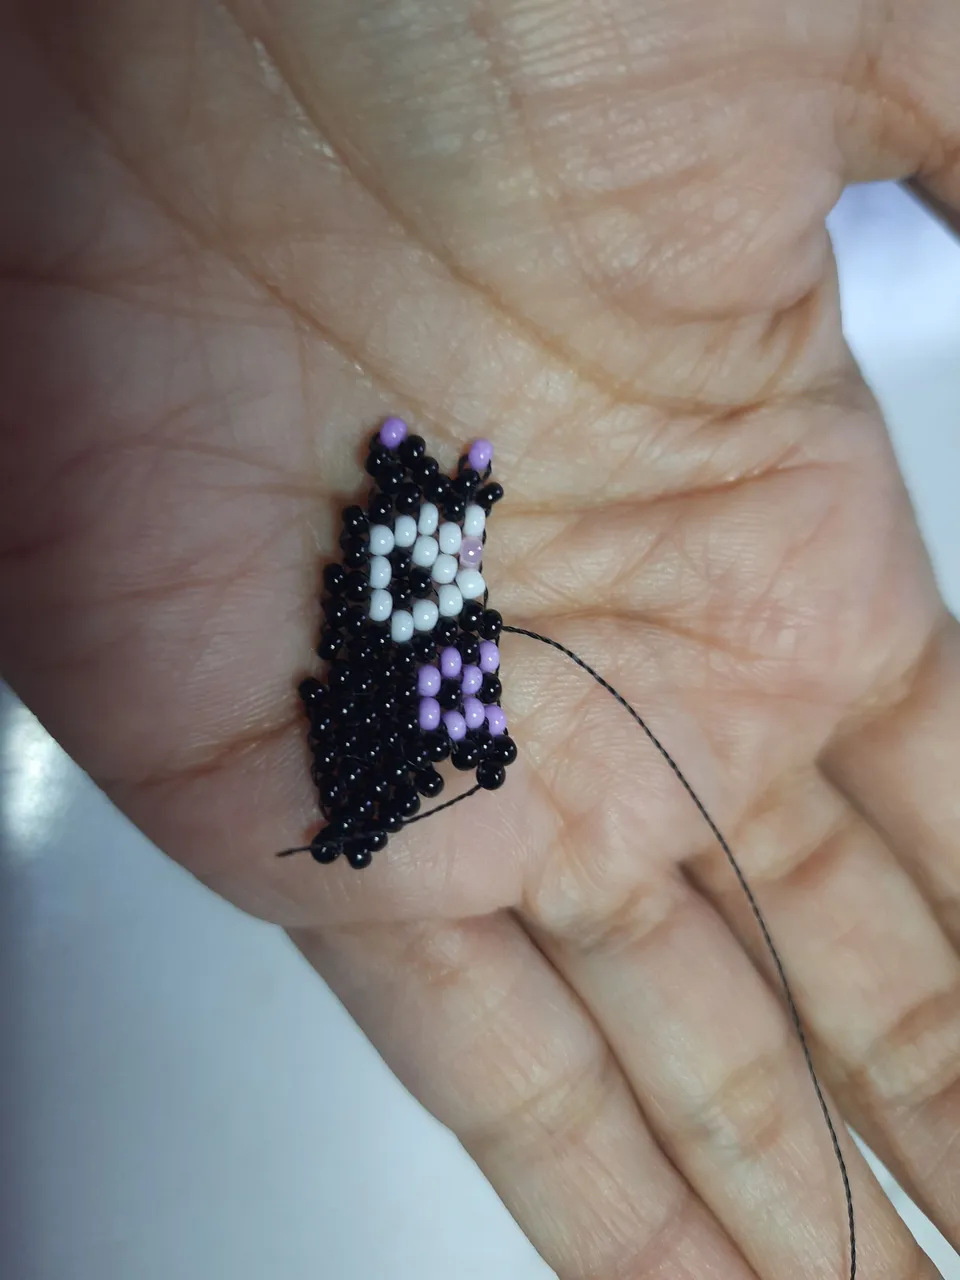
Comenzaremos en creciente colocando seis delicas negras, dejaremos un espacio, comenzamos en la próxima delica y colocaremos tres delicas negras, Esta es para hacer la separación de lo que es la oreja del kuromi, volvemos hacia arriba y vamos a ir colocando en creciente 6 delicas negras nuevamente, por último en la punta sin disminución vamos a ir a colocar una delica negra, de allí nos volvemos en zigzag hacia donde comenzamos.
We will begin in crescent placing six black delicas, we will leave a space, we begin in the next delica and we will place three black delicas, this is to make the separation of what is the ear of the kuromi, we return upwards and we will go placing in crescent 6 black delicas again, finally in the tip without decrease we will go to place a black delica, from there we return in zigzag towards where we began.
 |  |  |
|---|
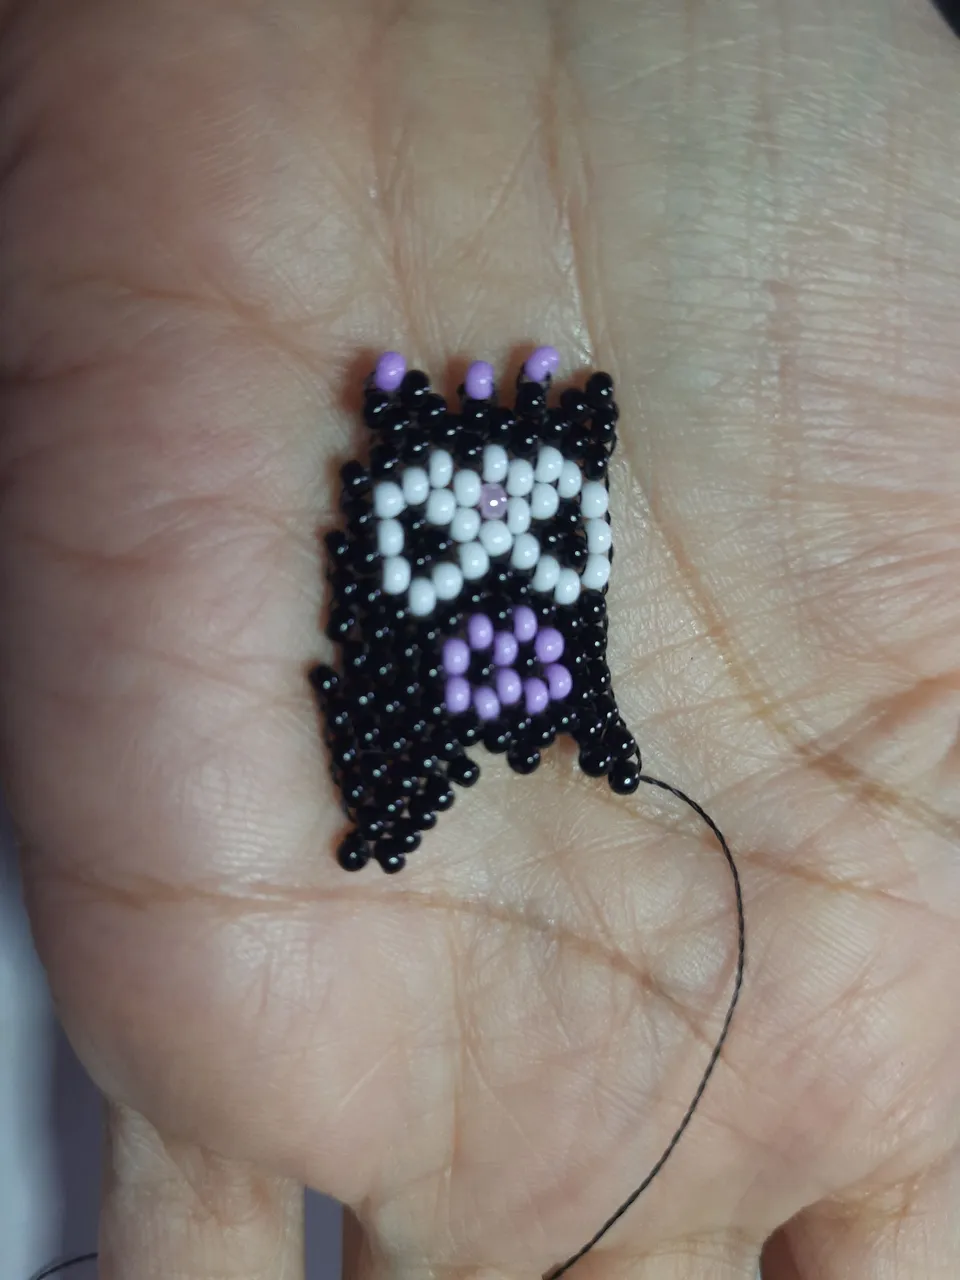
Ahora haremos la otra parte de nuestro kuromi de la misma manera que hicimos la primera parte, Así que para esta parte no lo vamos a repetir, hacemos lo mismo que ya les expliqué anteriormente al comenzar, lo que sí vamos a hacer es que en el centro del kuromi en donde comenzamos vamos a colocar allí una argolla y esta la podemos hacer cociéndola, ya que no cabe muy bien en la delica que es muy pequeña.
Now we will make the other part of our kuromi in the same way we did the first part, so for this part we are not going to repeat it, we do the same as I explained before at the beginning, what we will do is that in the center of the kuromi where we started we will place there a ring and we can make it by boiling it, since it does not fit very well in the delica which is very small.
 |  |  |  |
|---|
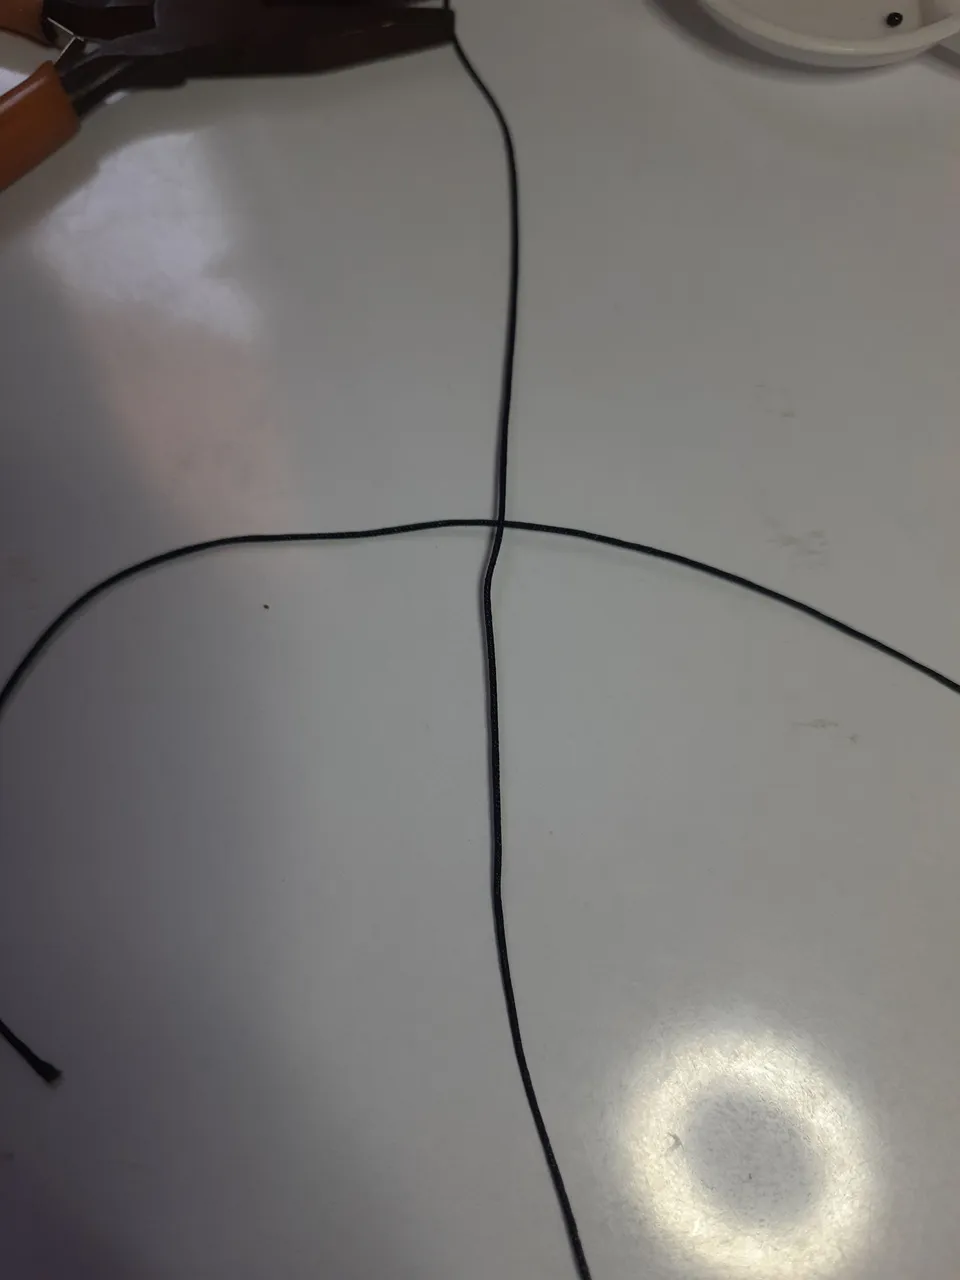
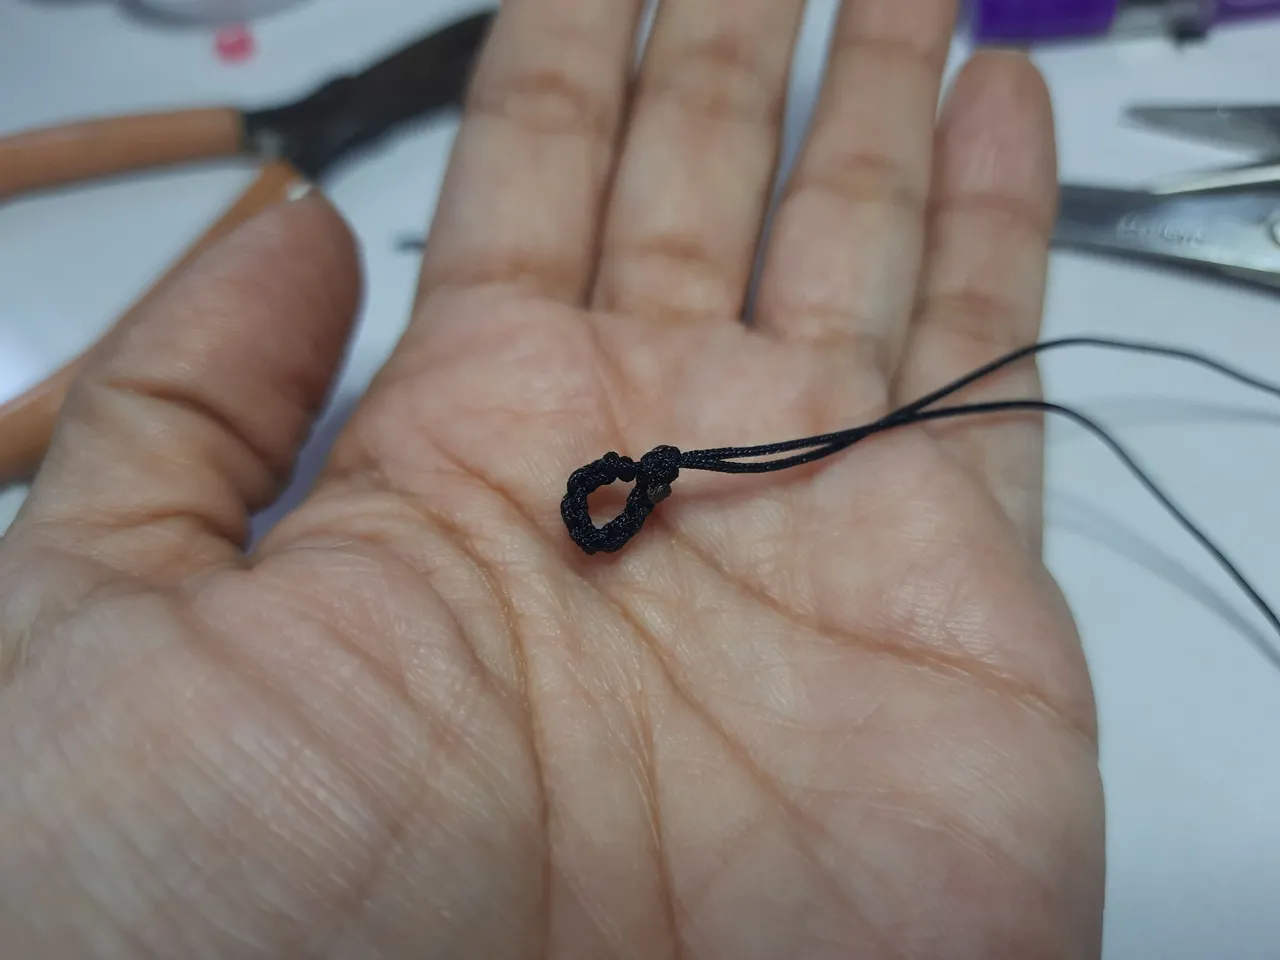
Por último tomaremos un poco de hilo chino aproximadamente unos 50 cm y para tejer uno 15 cm, Ya que vamos a tejer la parte de arriba solamente para hacer un pequeño lazo con el nudo plano, y con lo que sobra de los dos hilos hacia abajo vamos a colocar las letras de kuromi y una pequeñas piedras color moradas. También vamos a colocar nuestro llavero el cual podemos brindar en un bolso o cualquier lugar donde queramos.
Finally we will take some Chinese thread approximately 50 cm and to weave one 15 cm, since we are going to weave the top part only to make a small loop with the flat knot, and with what is left over of the two threads down we will place the letters of kuromi and a small purple stones. We are also going to place our keychain which we can toast in a bag or any place where we want.
Resultado: / Result:
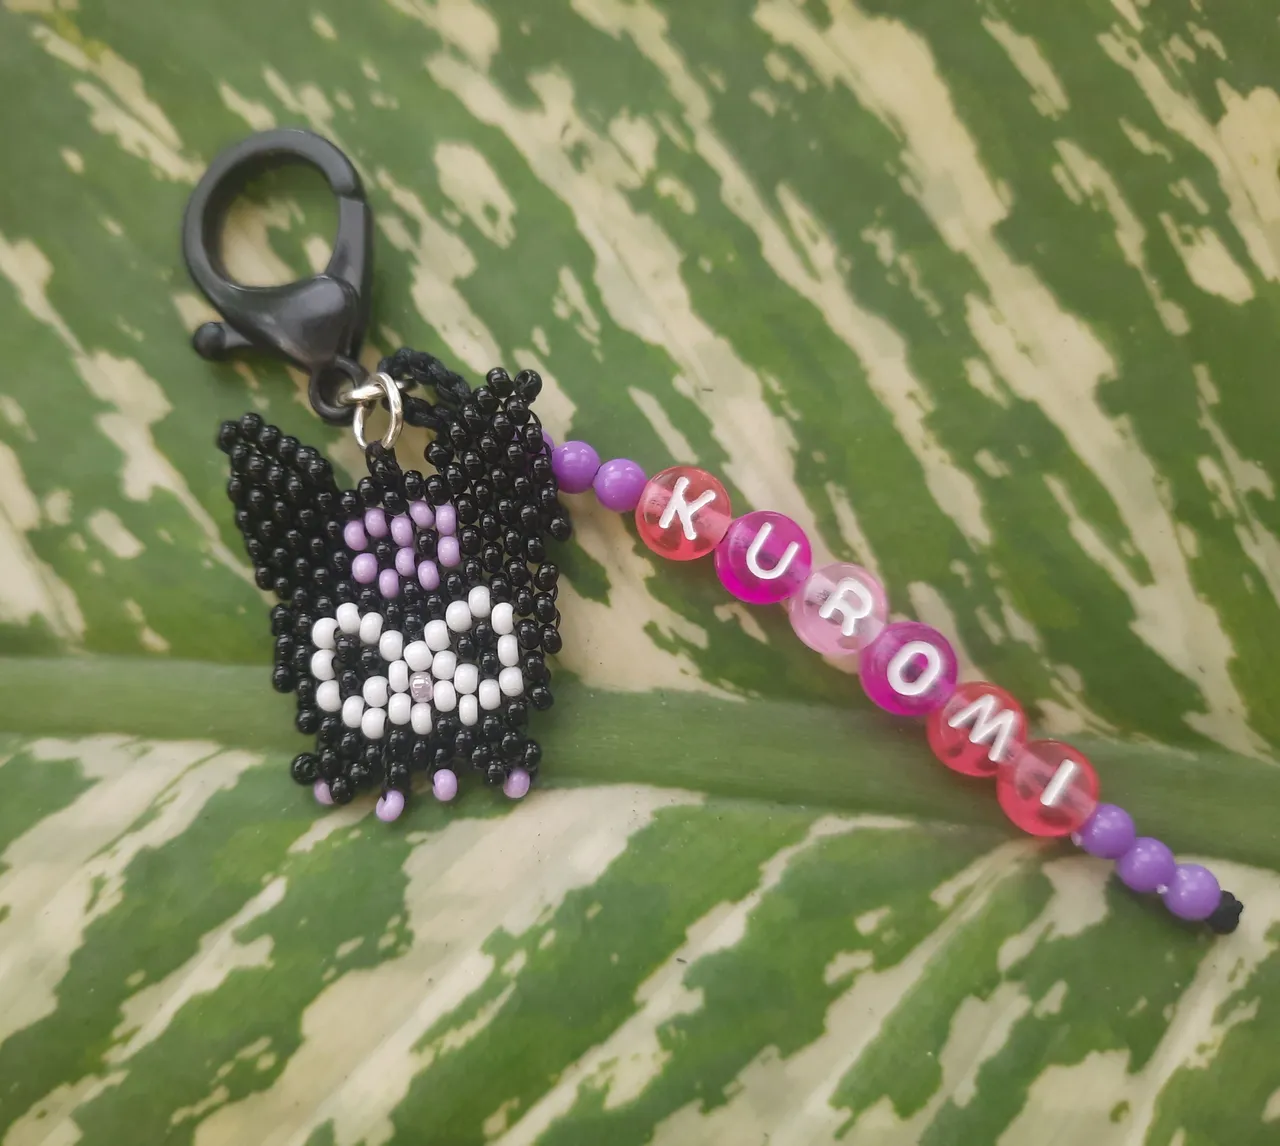
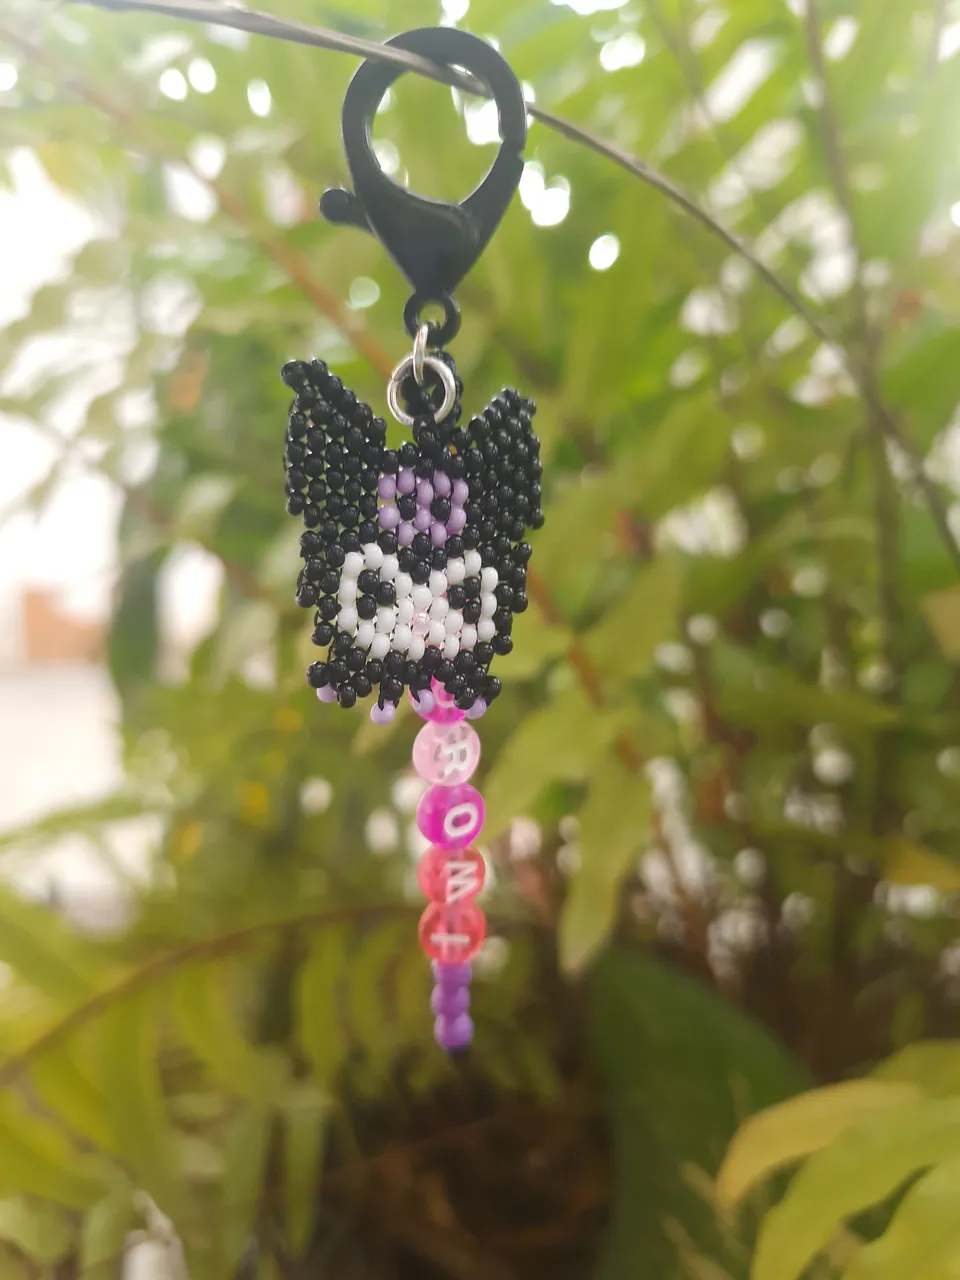
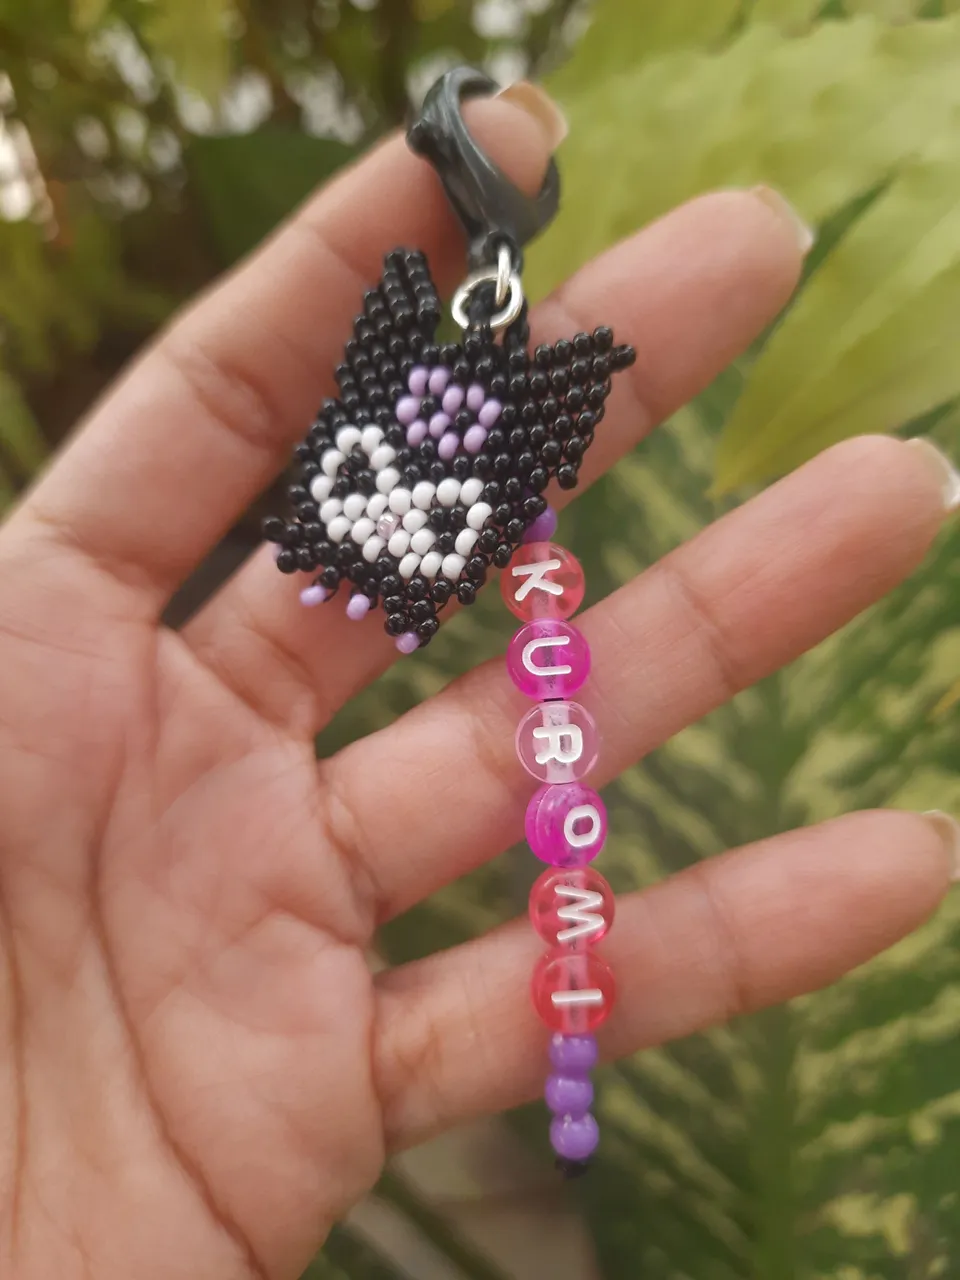
Así ha quedado listo nuestro accesori, y nuestro sencillo tutorial, espero que sea de su agrado, tanto como me ha gustado a mi esta pequeña y hermosa creación.
Gracias por estar aquí y ser parte de mi blog y de la comunidad @jewelry 😉
So our accessory is ready, and our simple tutorial, I hope you like it as much as I liked this beautiful little creation.
Thank you for being here and being part of my blog and the @jewelry community 😉.

Les invito a suscribirse a la comunidad de @Jewelry y poder así mostrar todas sus creaciones de accesorios, tanto de adultos como de niños; nos encanta ver y apoyar a todos los artesanos, manualistas y orfebres, puedes crear accesorios para damas, caballeros y niños, así que tu creatividad es el límite 😉
I invite you to subscribe to the @Jewelry community to showcase all your accessory creations for both adults and children; we love to see and support all the artisans, crafters and goldsmiths, you can create accessories for ladies, gents and kids, so your creativity is the limit 😉.
"Los accesorios tienen el poder de hacer sentir a la mujer única y especial"
Accessories have the power to make a woman feel unique and special"
Fotos principal editada con Canva.
Separadores de mi Autoría
Fotos de mi Autoría derechos reservados
Cámara: Samsung M31
Traducido con www.DeepL.com/Translator (versión gratuita)
Photos edited with Canva
Separators by me
Photos by me Author's rights reserved
Camera: Samsung M31
Translated with www.DeepL.com/Translator (free version)