¡Hola hermosa comunidad @Jewelry ! ¿como se encuentran por aquí? Hoy es mi primera participación acá con ustedes y lo haré a través de este bello y creativo concurso Creemos Accesorios con Botones al que me invito a participar la amiga @blanca56 les puedo confesar que no sabía de esta comunidad al ingresar y revisar me encantó toda la esencia de ustedes. 💗 A mí desde pequeña me ha encantado crear cosas y entre ellas accesorios (mi mamá dice que tengo ese don y delicadeza para crear), no se imaginan todo lo que he hecho, pulceras, anillos, zarcillos, cintillos y muchas cosas más. Después de tener a mis hijos hice eso a un lado para dedicarme de lleno a ser mamá 💗 y bueno lo olvide por completo.
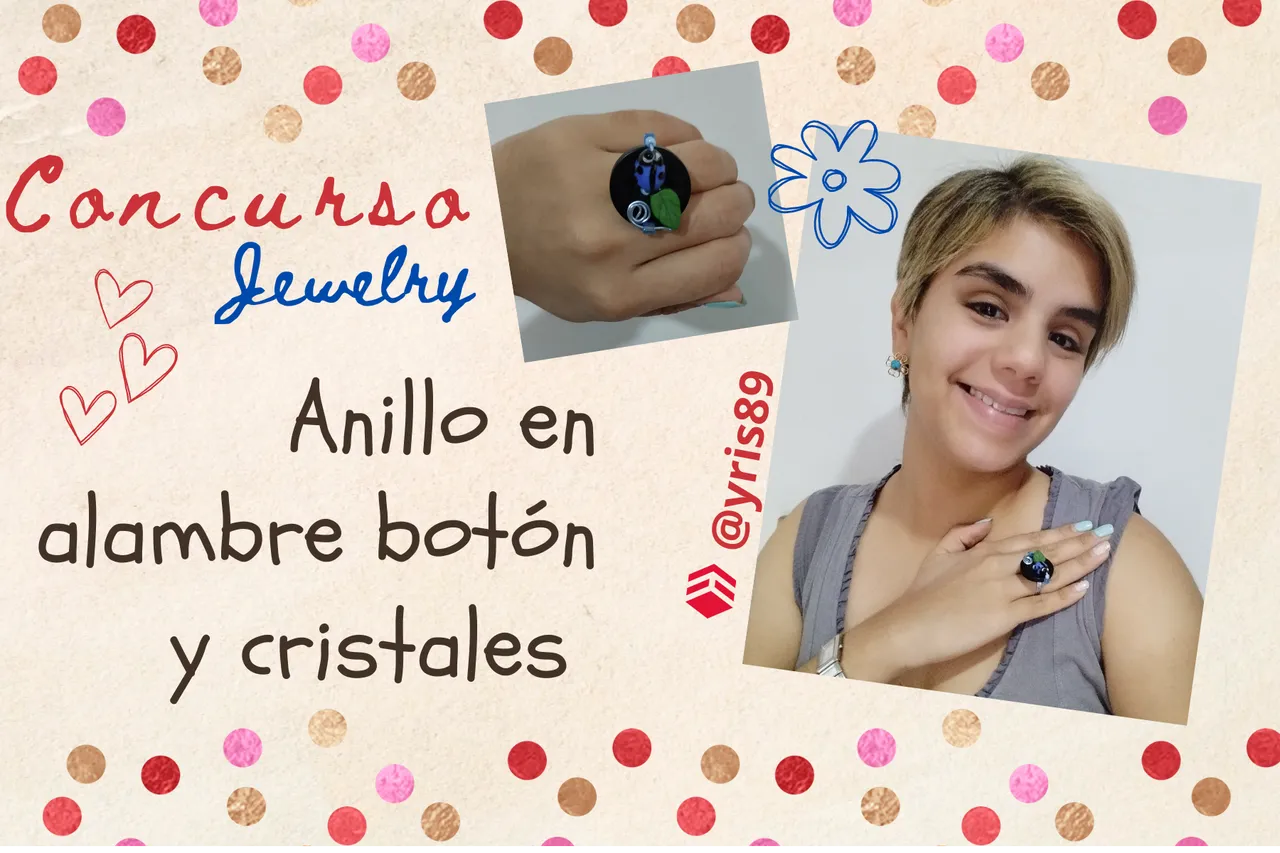
Está invitación de @blanca56 despertó en mi esa creadora de accesorios que llevo por dentro, estuve revisando mi closet y encontré muchos materiales que tenía guardado desde hace uff muchos años... Pensé y pensé ¿Que hacer? 💭 decidí hacer un hermoso y fácil anillo usando la técnica del alambrismo y un botón.
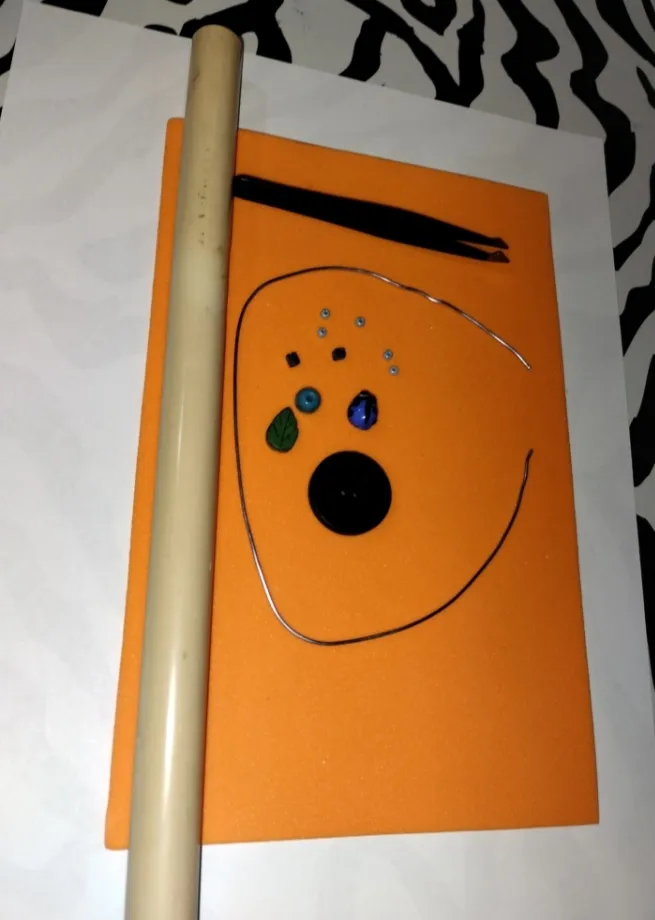
Para realizar este anillo necesitamos...
MATERIALES:
• 30cm de Alambre azul claro
• 1 botón azul oscuro mediano
• 1 mariquita
• 1 hojita
• 3 canutillos azules
• 2 cristales azules
PASOS:
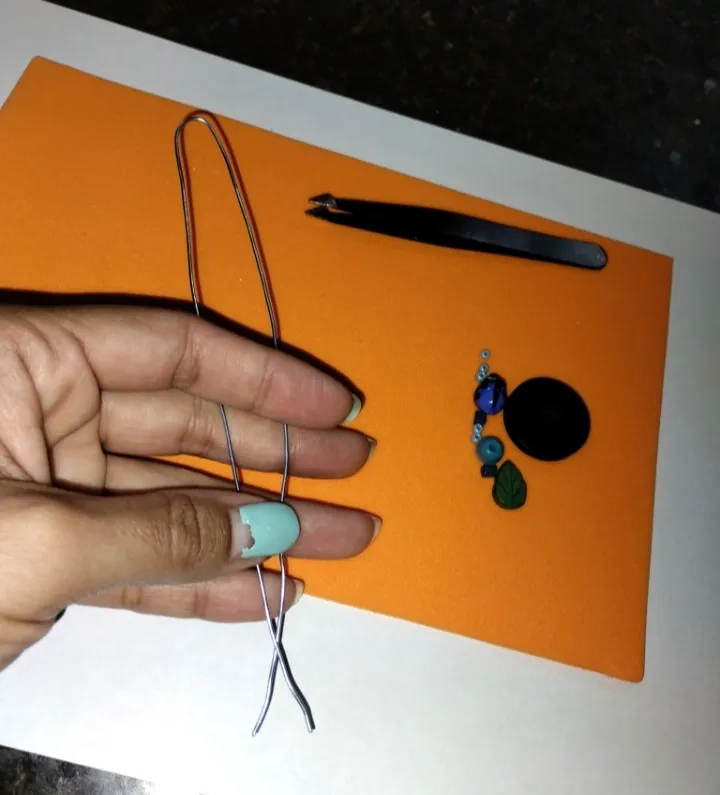
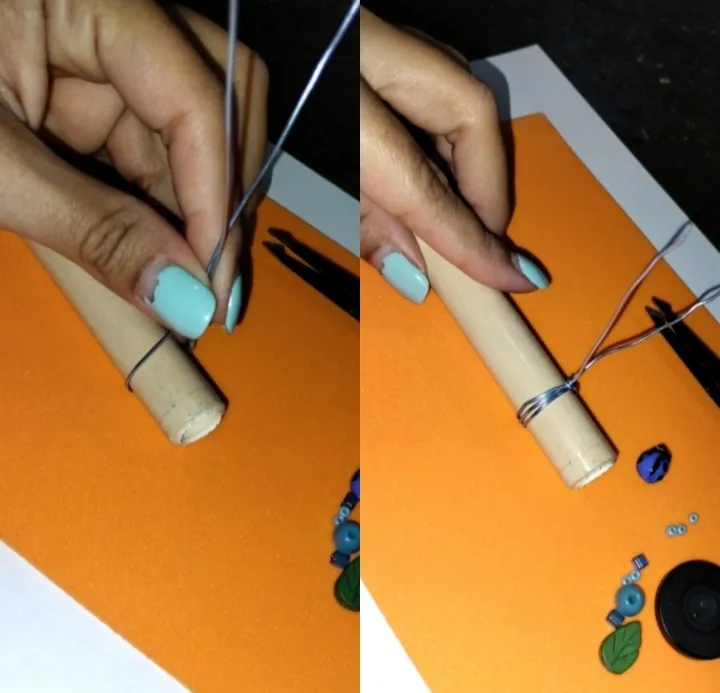
Empezamos doblando el alambre a la mitad, para que nos queden de 15cm aproximadamente cada lado.
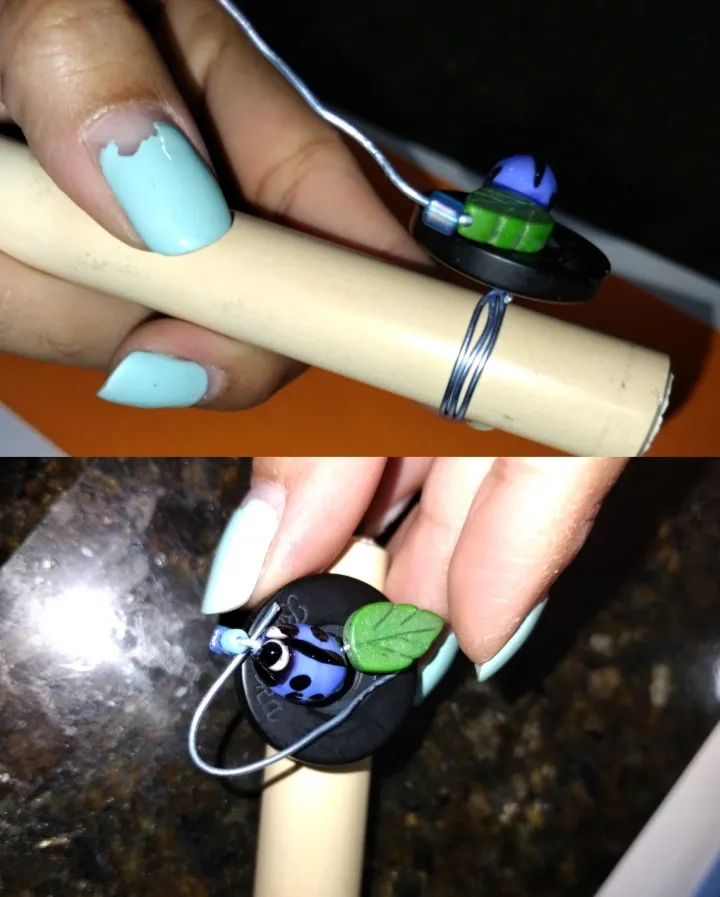
Luego para formar el anillo utilice un tubo me daba la medida exacta del anillo (tuve que improvisar porque no tenía mandril). Le coloque el alambre al rededor y fui enrrollando, le di tres vueltas para que quedara lo suficientemente resistente. Tome los dos pedazos sobrantes y los gire para asegurar el tamaño que le di.
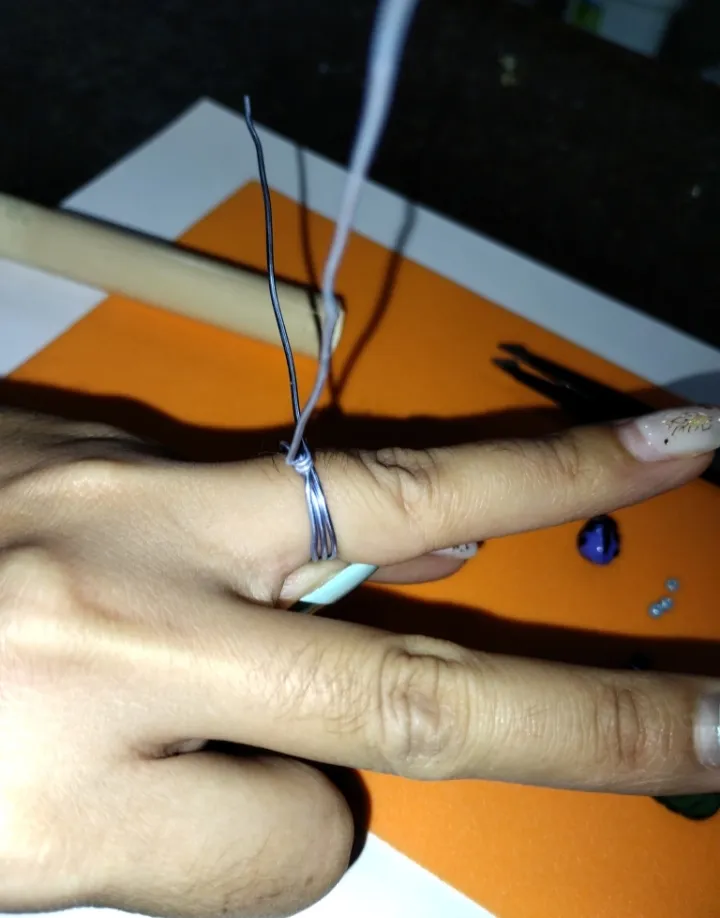
También verifique que el anillo me quedara bien, así que me lo probé.
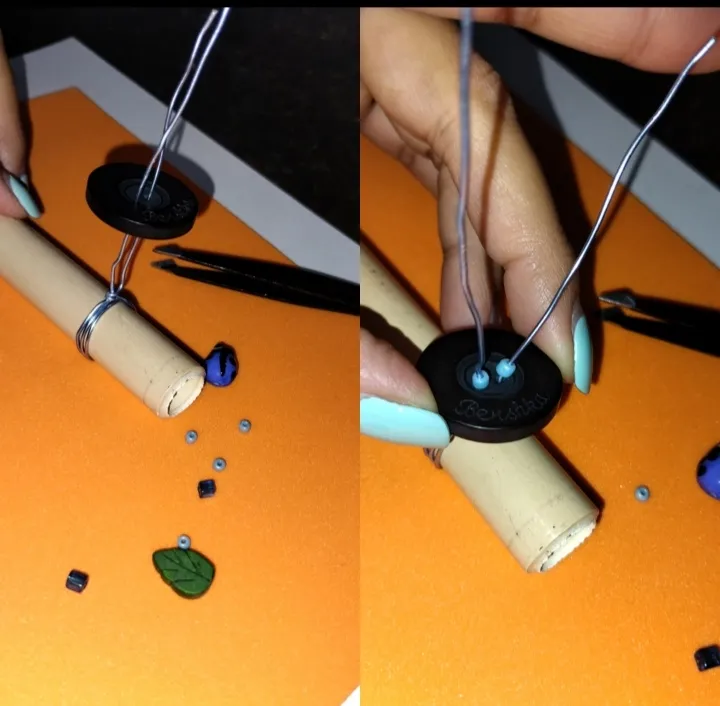
Con los dos pedazos de alambre que quedan los estire muy bien para luego pasar el botón, que baje y ajuste a la base del anillo luego pase por cada alambre un canutillo azul y así poder tapar el ojal.
Ahora por uno de los alambres le coloque la mariquita, un canutillo y cristal azul, luego baje y coloque el alambre por debajo del botón y le di varias vueltas por la base del anillo para ajustar bien, la punta la doble y escondi para que no maltrate.
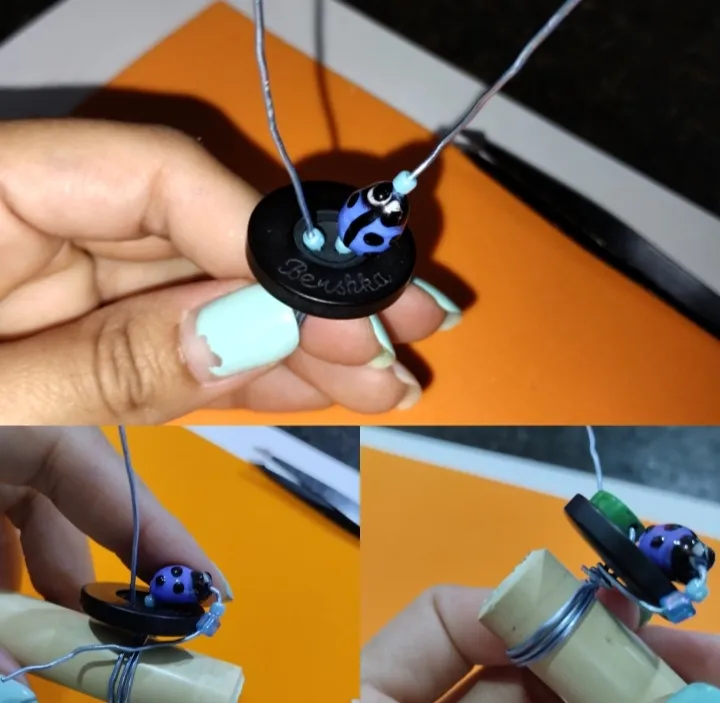
En el otro sobrante de alambre le coloque la hoja y un cristal azul, luego pase el alambre por debajo de la mariquita para ajustar (utilice una pinza pequeña) y fijar la hoja en la base (que es el botón).
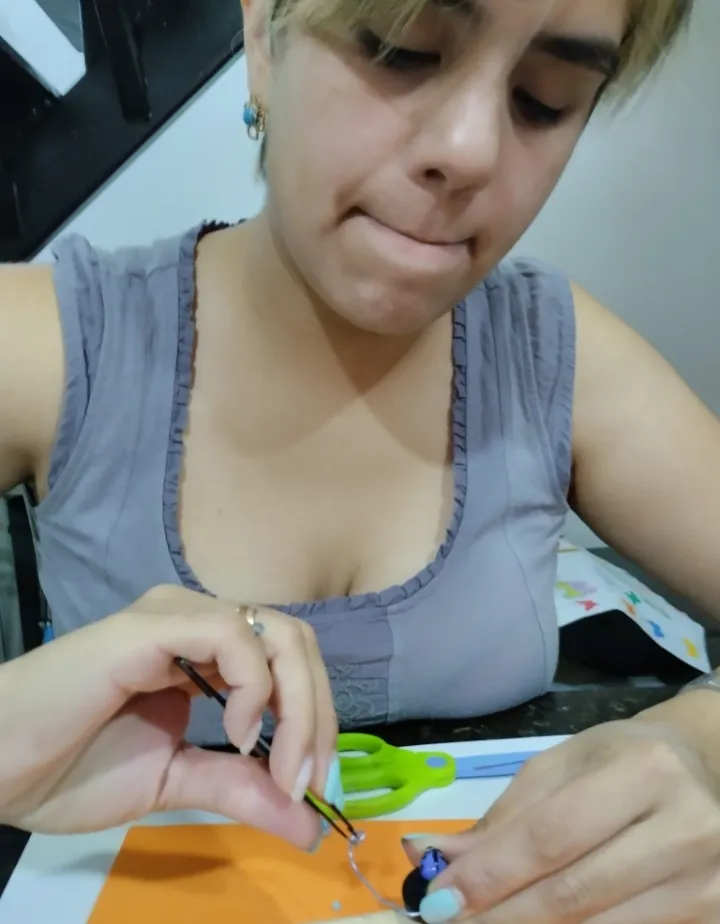
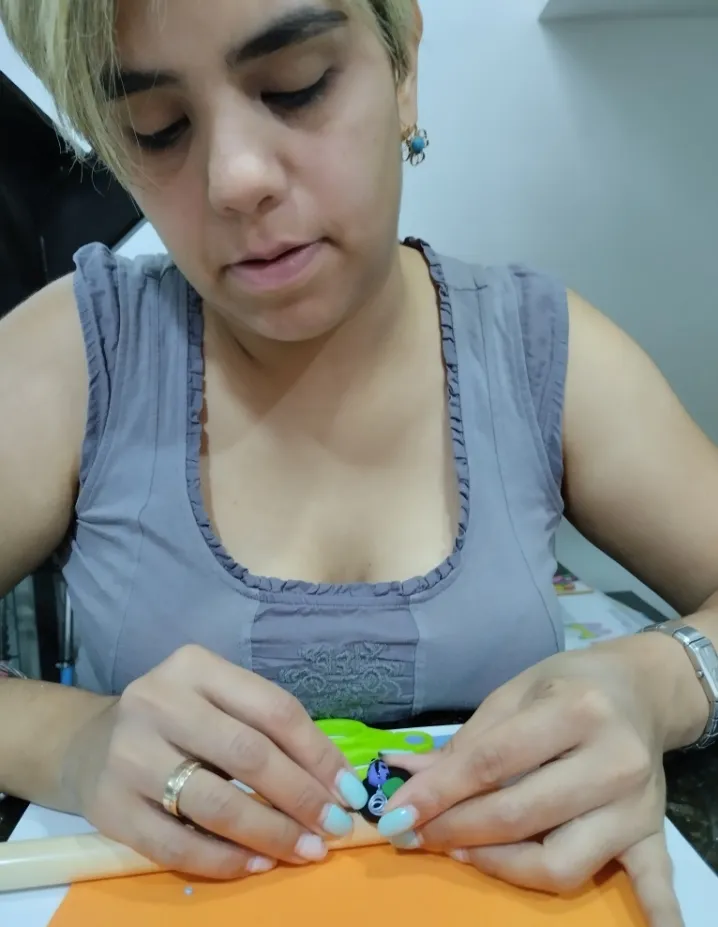
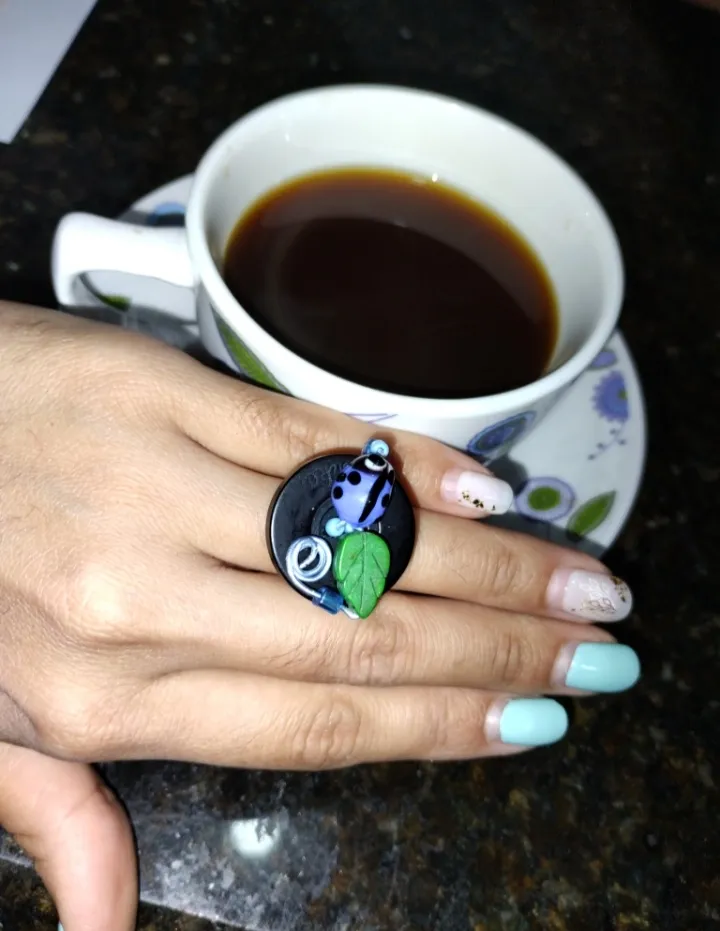
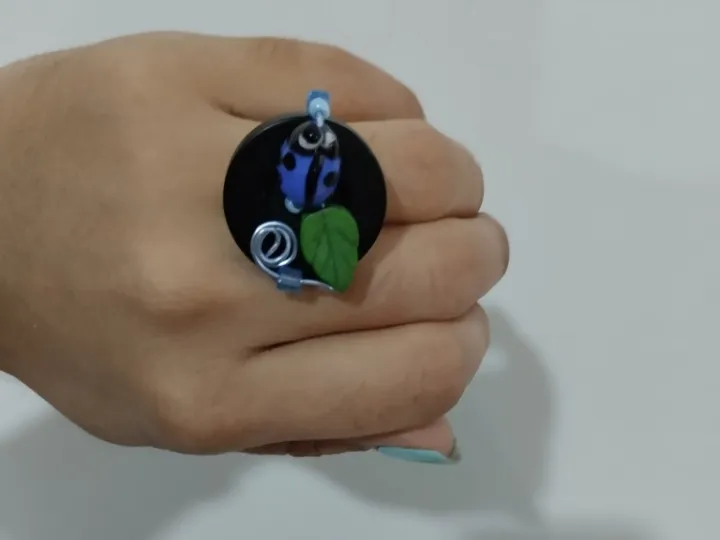
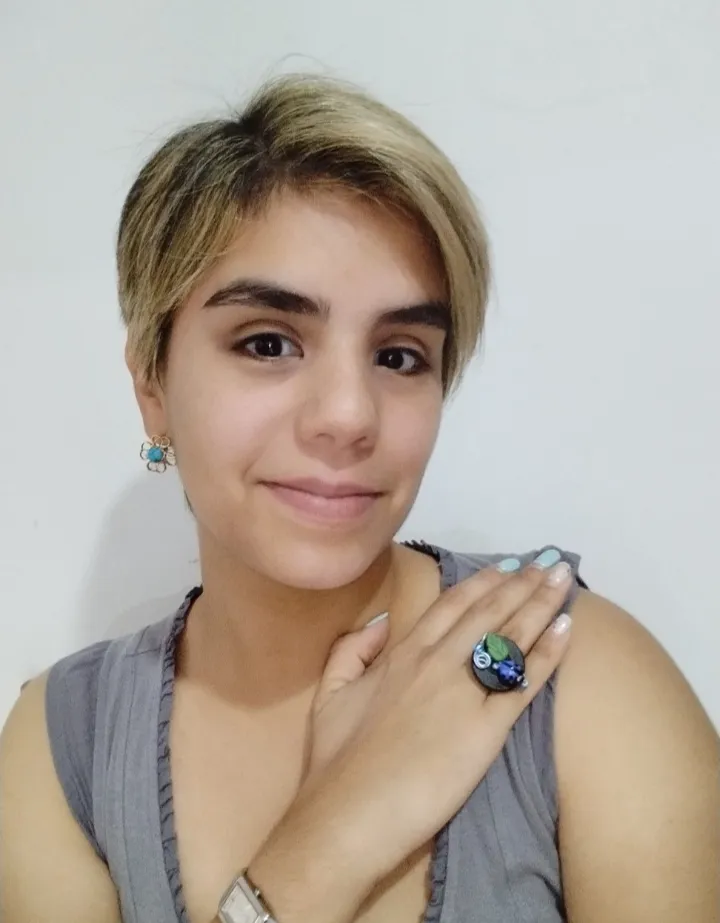
Con la misma pinza fui enrrollando poco poco el alambre hasta formar una especie de espiral 🌀 que ajuste y fijé al botón, para que también formara parte del diseño y decoración del anillo. Así finalice esta creación, fue súper rápido elaborarlo, me sentí feliz al hacerlo y utilice materiales que tenía en casa guardados. Me quedo perfecto. 💙 Espero que les guste e intenten hacerlo ustedes.
Una vez más agradezco a @blanca56 por la invitación a participar a este concurso y por presentarme a esta hermosa comunidad. 🌷
Feliz y Bendecido día para Todos 💕
Gracias por leerme 💗 no vemos en una próxima publicación.
La imagen de portada fue realizada con Canva
Las fotografías fueron tomadas con mi teléfono Redmi 10
La traducción fue realizada con la aplicación DeepL
Hello beautiful community @Jewelry ! how are you here? Today is my first participation here with you and I will do it through this beautiful and creative contest Creemos Accesorios con Botones to which my friend @blanca56 invited me to participate I can confess that I didn't know about this community when I entered and I loved all the essence of you. 💗 Since I was little I have loved to create things and among them accessories (my mom says I have that gift and delicacy to create), you can not imagine everything I've done, pulceras, rings, rings, earrings, headbands and many more things. After having my children I put that aside to dedicate myself to being a mom 💗 and well I forgot it completely.
This invitation from @blanca56 awoke in me that creator of accessories that I carry inside, I was going through my closet and found many materials that I had saved for many years.... I thought and thought what to do? 💭 I decided to make a beautiful and easy ring using the wire wrap technique and a button.
To make this ring we need...
MATERIALS:
- 30cm of light blue wire
- 1 medium dark blue button
- 1 ladybug
- 1 small leaf
- 3 blue beads
- 2 blue crystals
STEPS:
We start by folding the wire in half, so that we have approximately 15cm on each side.
Then to form the ring I used a tube that gave me the exact size of the ring (I had to improvise because I didn't have a mandrel). I put the wire around it and rolled it up, I gave it three turns to make it strong enough. I took the two leftover pieces and twisted them to ensure the size I gave it.
I also checked to make sure the ring fit, so I tried it on.
With the two remaining pieces of wire, I stretched them very well and then passed the button, which went down and adjusted to the base of the ring, then passed through each wire a blue bead to cover the buttonhole.
Now through one of the wires I placed the ladybug, a blue bead and blue crystal, then I went down and placed the wire under the button and gave it several turns around the base of the ring to adjust well, the tip I folded and hid it so that it does not damage.
On the other excess wire I placed the leaf and a blue crystal, then pass the wire under the ladybug to adjust (use a small tweezers) and fix the leaf at the base (which is the button).
With the same tweezers I gradually coiled the wire to form a kind of spiral 🌀 that I adjusted and fixed to the button, so that it would also be part of the design and decoration of the ring. This is how I finished this creation, it was super fast to make, I was happy to do it and I used materials that I had at home. It was perfect. 💙 I hope you like it and try to make it yourselves.
Once again I thank @blanca56 for the invitation to participate to this contest and for introducing me to this beautiful community. 🌷
Happy and Blessed day to all of you 💕
Thanks for reading me 💗 see you in a future post.
The cover image was made with Canva
The pictures were taken with my Redmi 10 phone
Translation was done with the application DeepL