Hello everyone, greetings, and blessings to the beautiful people who decide to read and support my posts. This time I brought a renewal. I had bought a cheap bag a long time ago. Due to the situation in my country, income is tight, especially when you're a college student, you put off buying things to prioritize other things.
The point is that it deteriorated very quickly, and I found myself needing to buy another one and put that one aside. These days, while my mother was cleaning the house, she found the bag and set it aside to throw it away.
And when I saw it, I said to myself, “Why don't you repair it and have a new bag?” I had previously renewed another bag, so I could do the same.

Sadly, I didn't take any photos of the bag before disassembling it, but hey, that doesn't stop me from showing you the process so you can do it from home.
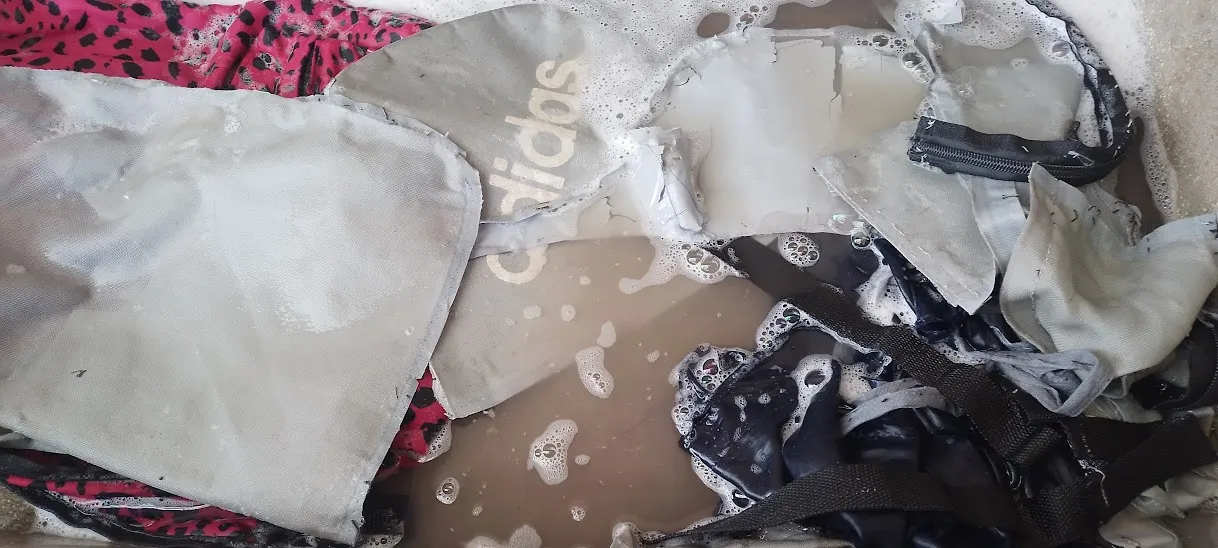
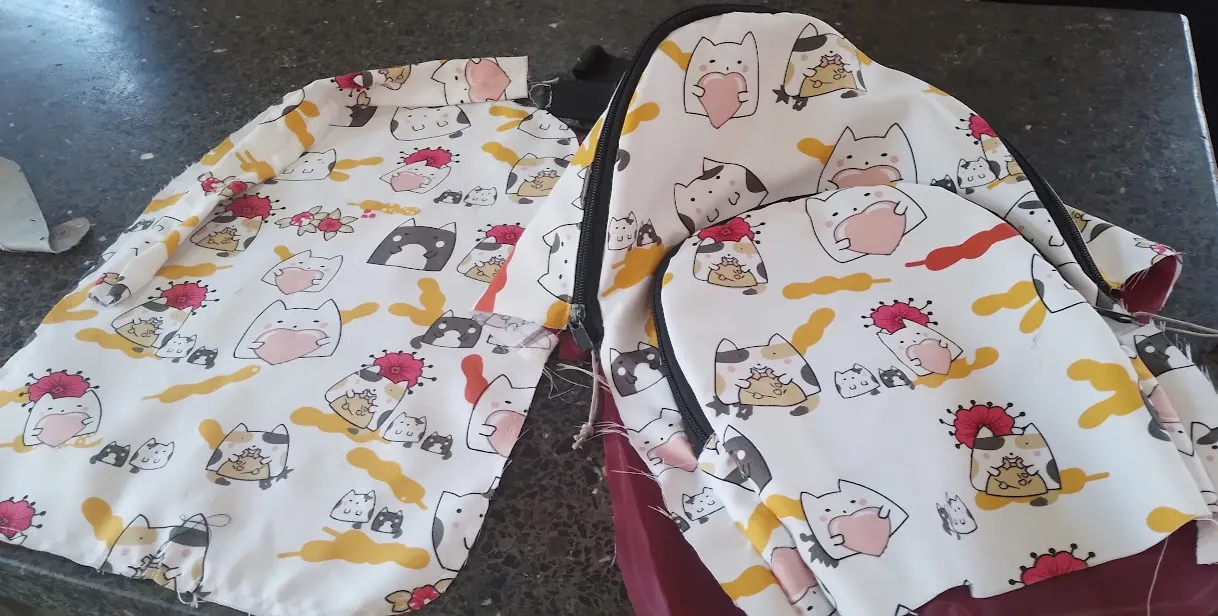
Step 1: We take apart our old bag. Once it's disassembled, we remove the clasps or zippers, as you know them. Since mine was dirty and dusty from being stored for so long, I washed it.
We have to be careful not to lose any pieces, especially the small ones. Be very careful.
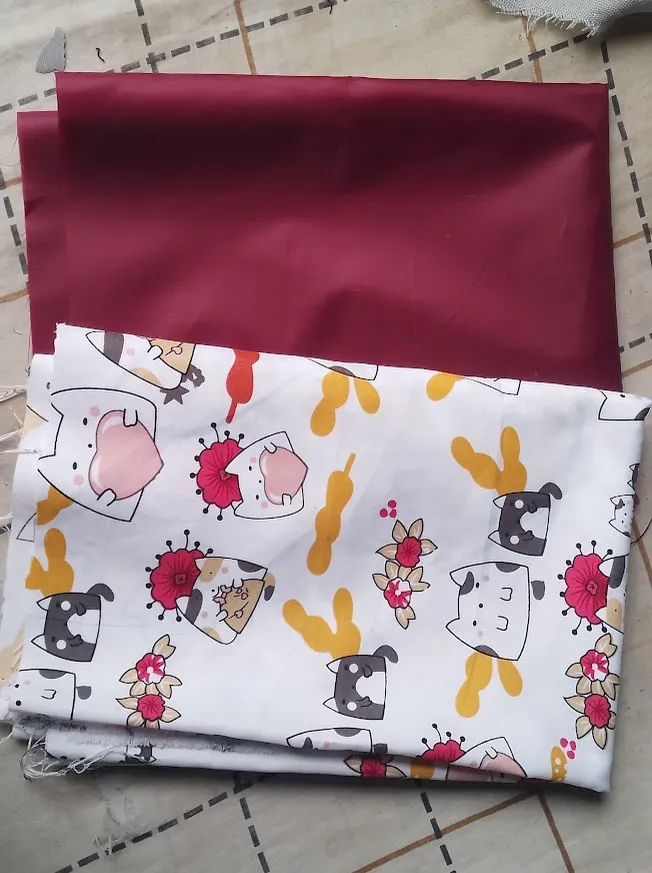
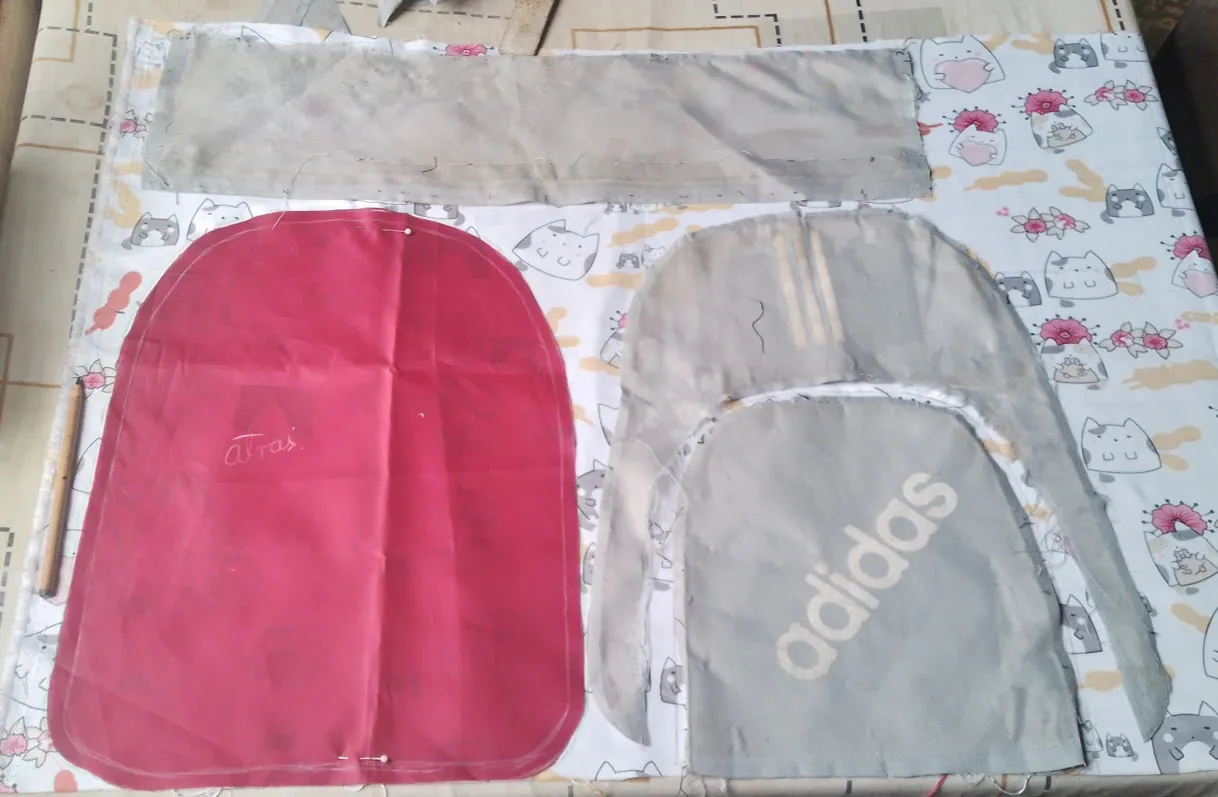
Step 2: Select the fabrics you want to use. It's highly recommended to use a non-flexible fabric because it warps, and I personally find it difficult to sew flexible fabric with a rigid one.
If you have time and experience sewing and prefer it that way, then go ahead. The rest can be any print you like, and the more durable the fabric, the better.
And for the inside, I looked for waterproof fabric. You should try to match the fabric, you choose for the outside and the waterproof fabric. You can try to match them in the same color or combine them, depending on your taste.
For example, mine is a white background fabric with a kitty print, and the waterproof fabric is burgundy. For this bag, I needed half a meter of each fabric.
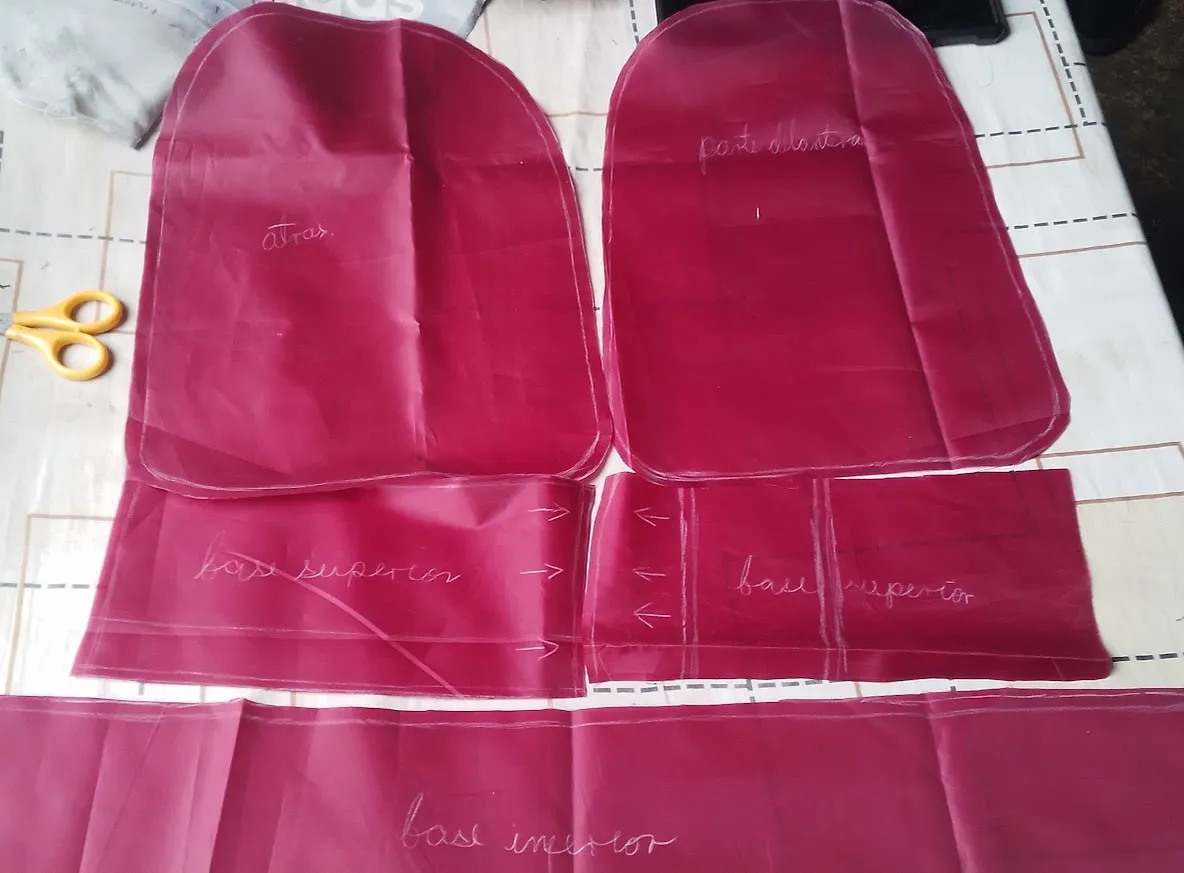
Step 3: Place the waterproof fabric patterns for the bag on the fabric. Some bags come with waterproof fabrics and others have a kind of plastic attached to the fabric. I don't know what that type of fabric is called, but I think I made myself clear. Feel free to ask in the comments.
In my case, I cut this bag's waterproof fabric. Using a colored pencil that's clearly visible on the fabric, I marked it and tried to leave a distance of 5 millimeters to 1 centimeter from the edge of the pattern. This is to allow room for the seam.
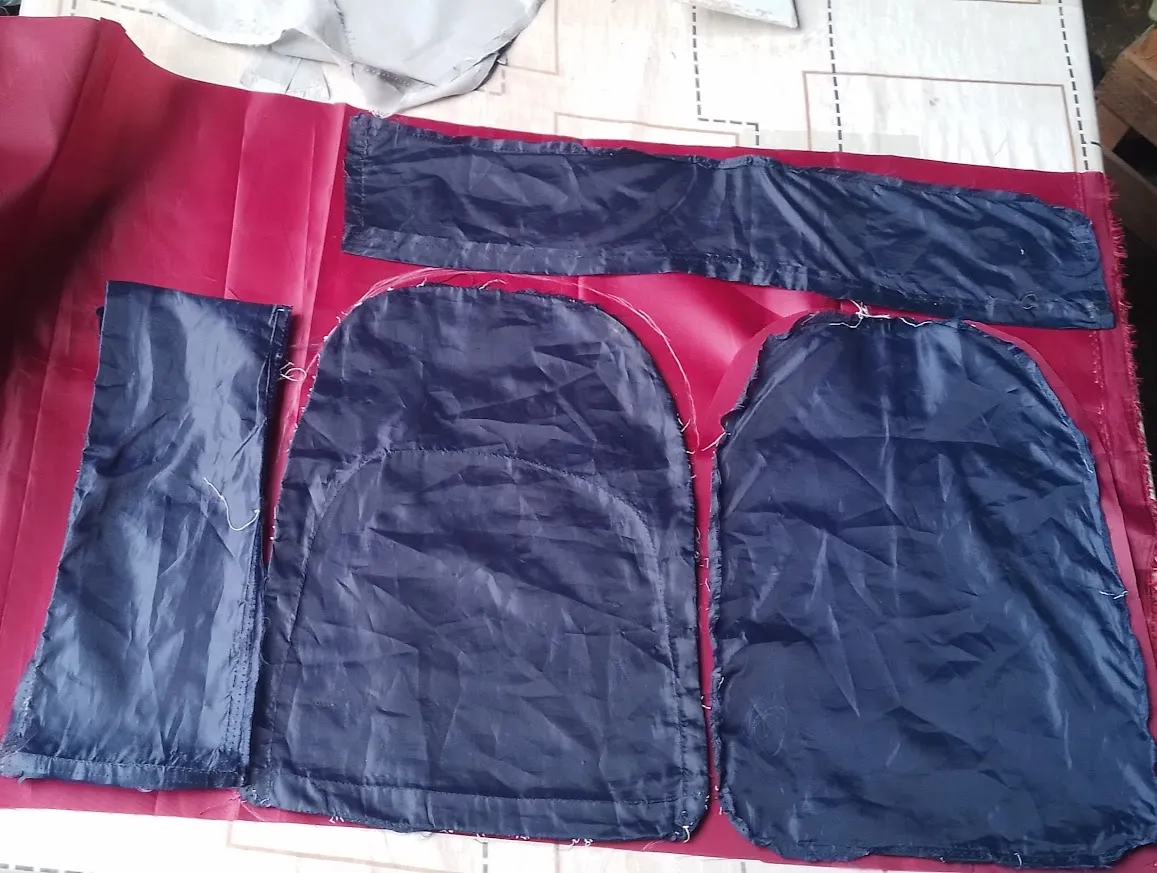
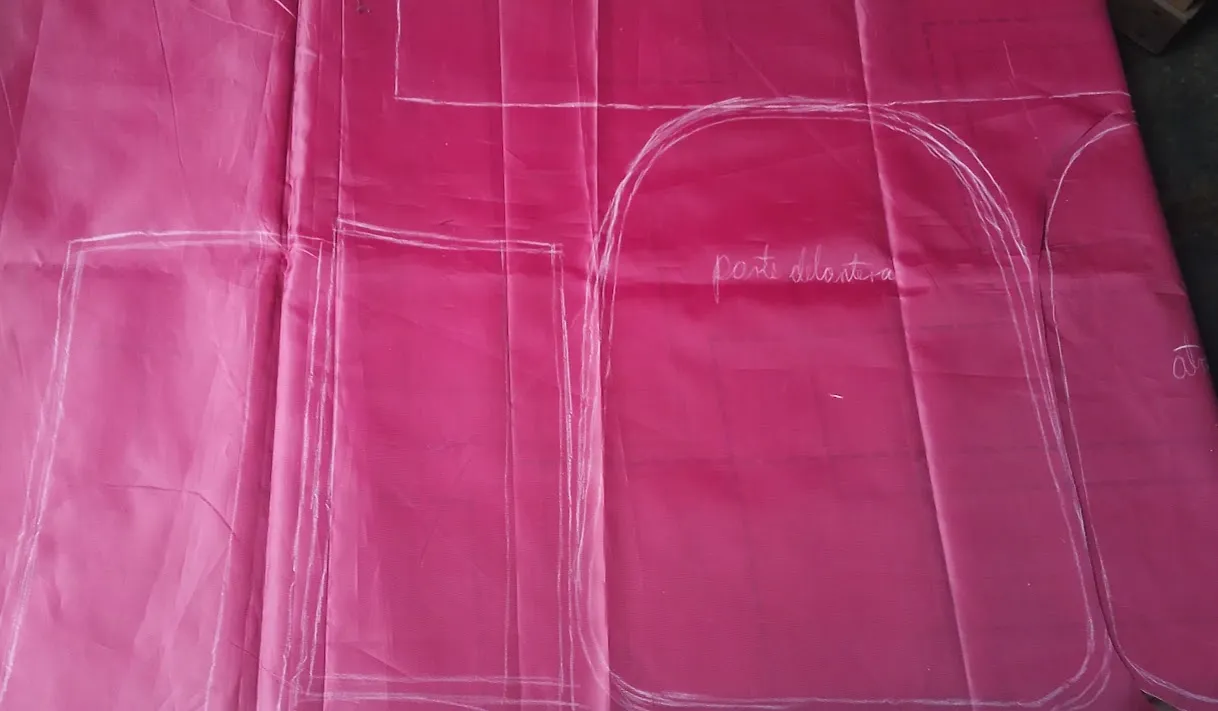
Step 4: Mark a double line. This is because one line runs right along the pattern outline, and the second line is to mark the seam allowance.
Another tip I give is to iron both the scraps and the fabrics you're going to use. I didn't do this because I don't have an iron, and be careful not to let the heat get too much on the waterproof fabric.
After marking them, we cut the fabric. Another tip is to write a name, number, or letter on the pieces so they don't get confused and to save yourself all the trouble.
 |  |
|---|---|
 | 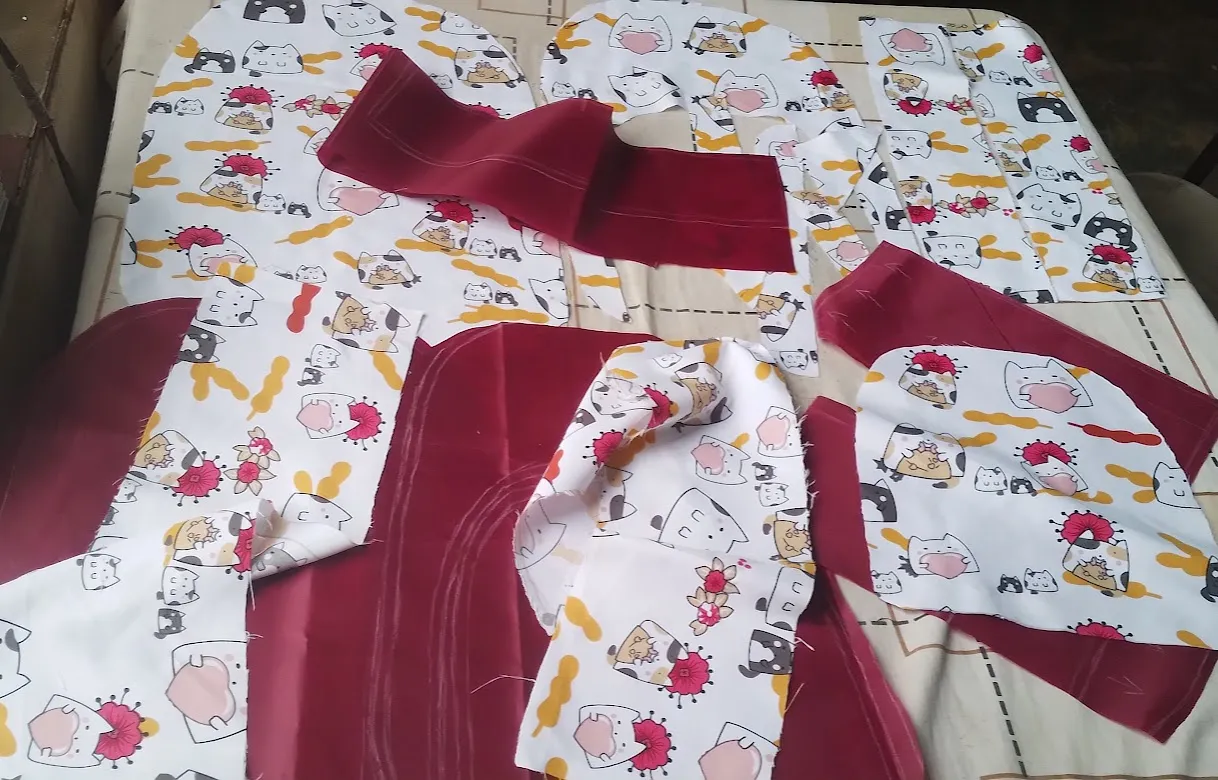 |

Step 5: Sew. Once all the pieces are cut and arranged, you can do this by hand or with a sewing machine. I did it with the sewing machine my mother-in-law lent me.
I don’t have a specific order to assemble a bag. What I do try to do is sew the edges of the waterproof fabric pieces to their outer fabric pieces. The order I used for this bag was to sew the front pieces together and sew the hems at once.
Then I glued the waterproof fabric together, and the back pieces were also sewn together. After assembling the back pieces, we joined the side pieces and sewed the additional pieces that were previously sewn (the bag’s straps).
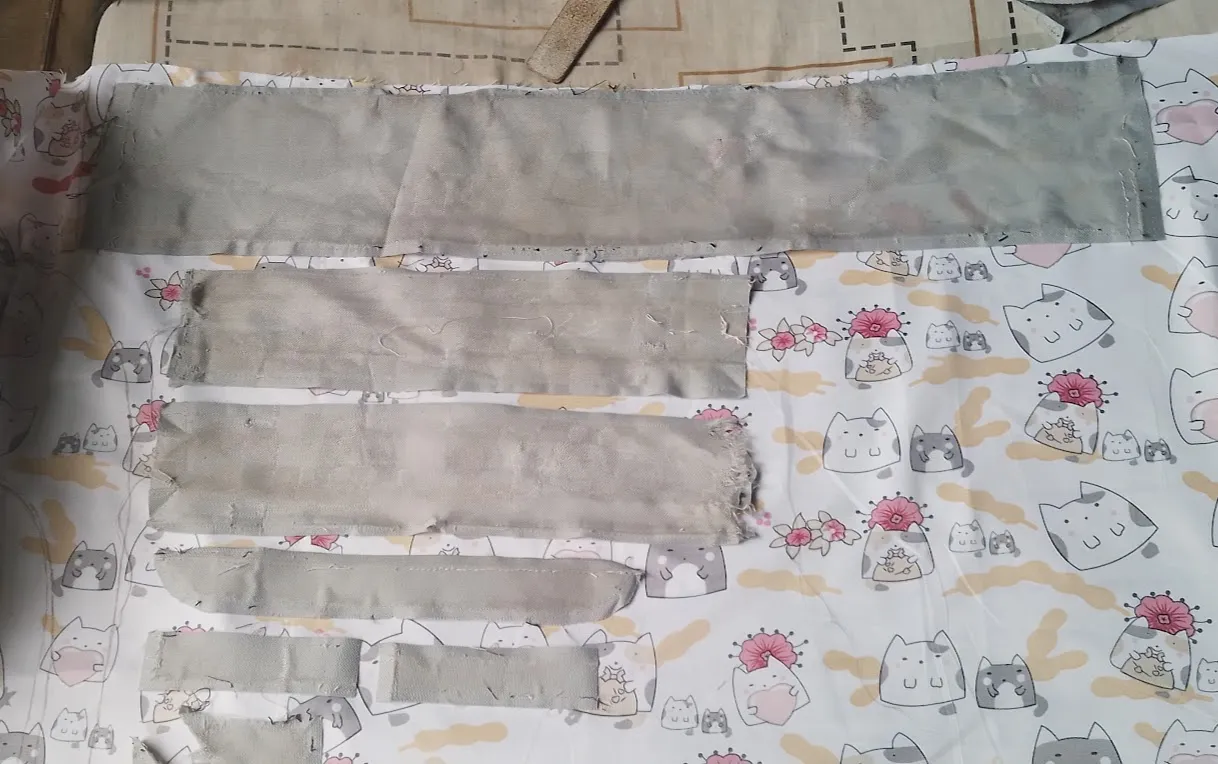
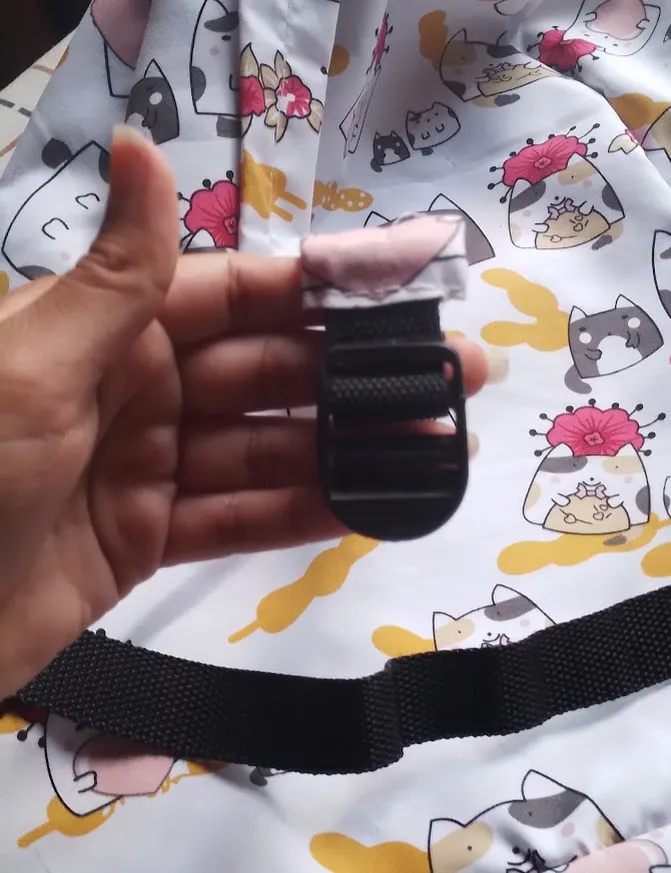
Step 6: Reinforcement of the bag straps, is something I do with bags, regardless of whether I sew by hand or with a machine. I always do it because I frequently carry a lot of weight, and it doesn’t hurt to use reinforcement just in case. I do the reinforcement by hand, but you can do it however you like.
The straps are sewn by hand because home machines and needles can’t handle the thickness of this material.
 |  |
|---|
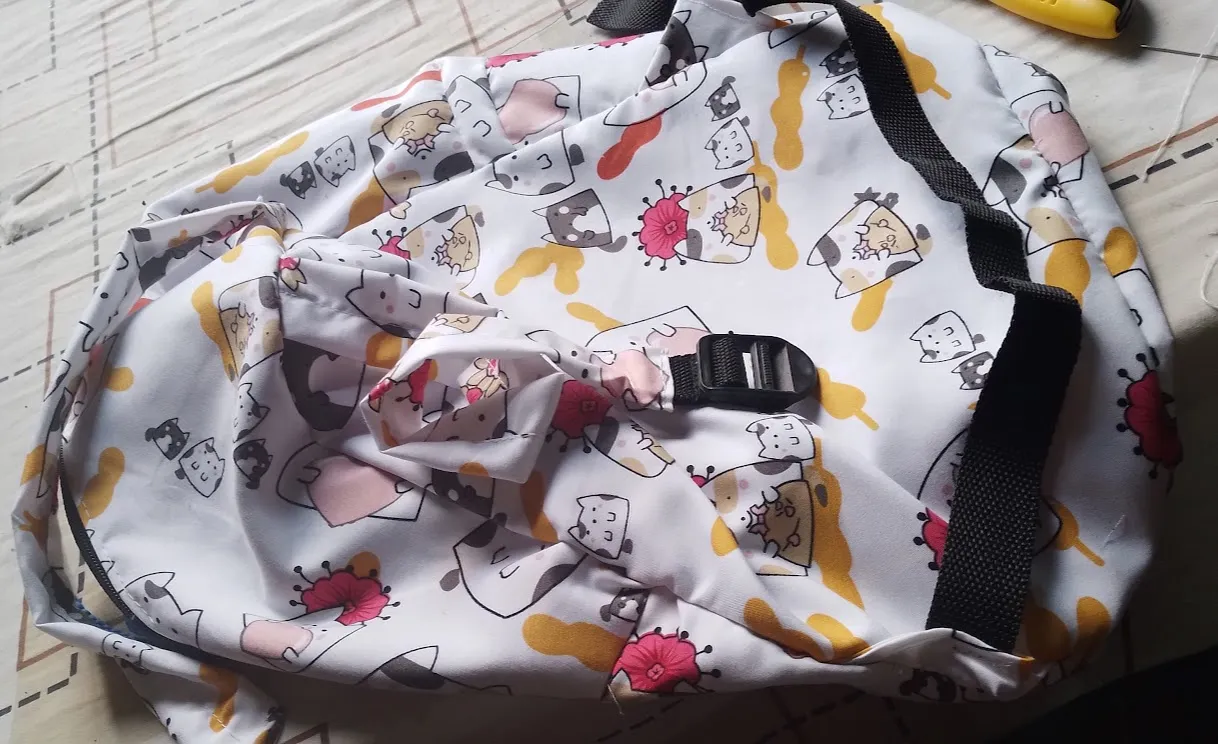
And that’s it, our renovated bag. The great thing is that the bag scraps we took apart serve as a pattern, in case we want to make more bags. As I mentioned before, I only needed half a meter of waterproof fabric and half a meter of printed fabric in this case.
I hope you enjoyed it and learned something new. Thank you so much for taking a few minutes to read and supporting my work.


Facebook Angel Dayana
Discord User: angi.arts
Discord Server Bokura no Digital World
Instagram: angeldayana26
UNTIL NEXT TIME!! <3