
Hello, beautiful afternoon! It's a pleasure to greet you. I hope you are all doing very well, dear and appreciated friends. I warmly welcome you to a new blog where I will be sharing with you the creative process of what we will do here step by step. Feel comfortable and thank you for being here reading this blog.✨💗
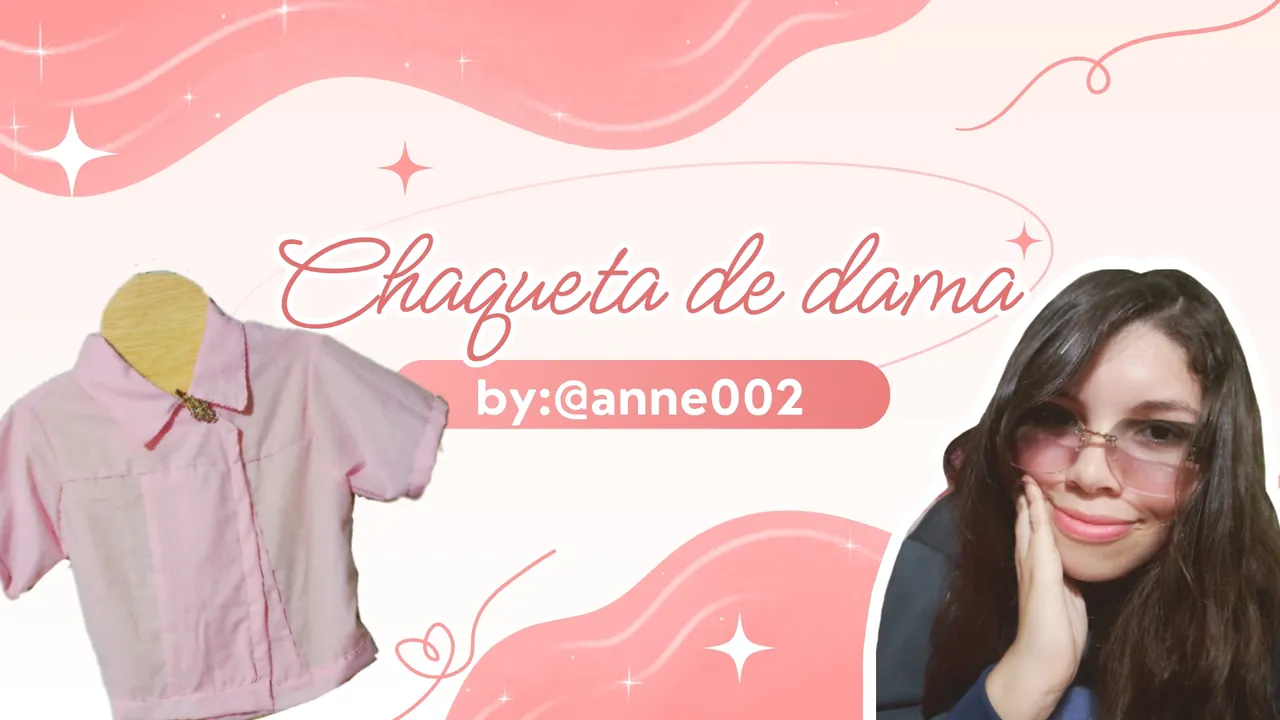
Well friends, today I wanted to teach you how to make this pretty ladies' jacket that you can wear with any type of clothing underneath it. It is very simple and delicate because the color of the fabric I will be using is a very soft pink, and although the fabric does not stretch, it is somewhat hard. For this type of top-style jacket with sleeves, it is good to use fabrics that stay firm, since this way we avoid our jacket looking disheveled or shapeless.
I love making these jacket models, especially when it comes to working with these types of very manageable fabrics. If you really like this type of clothing, just like me, I assure you that you will like to see the simple tutorial on how to make it, regardless of whether it is for yourself or to sell. Don't miss the step-by-step process. Let's get to the materials!
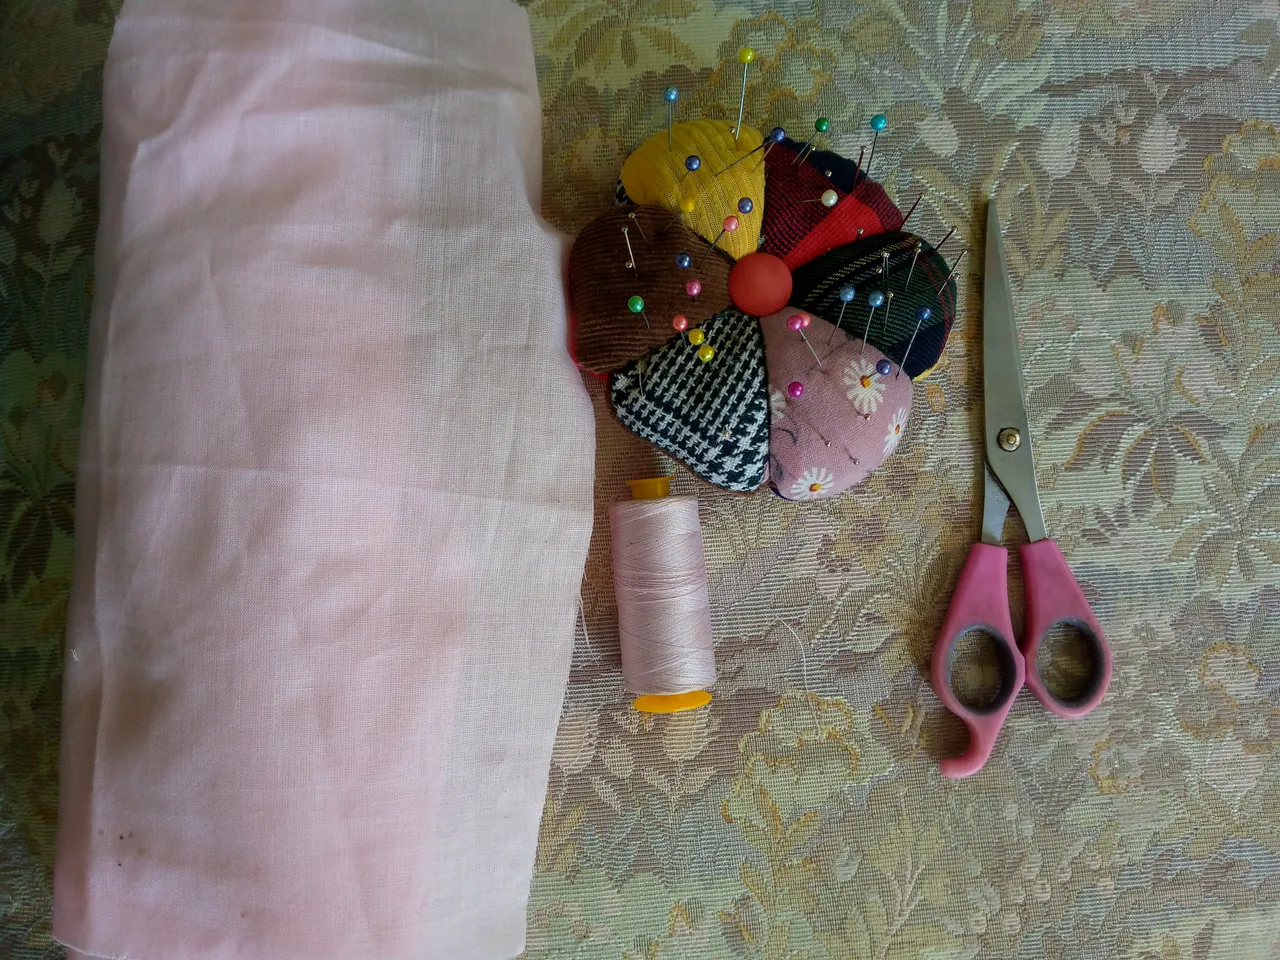
Materiales:// Materials:
- 70 cm de tela
- Máquina de coser
- Tijeras
- Hilo
- 70 cm of fabric
- Sewing machine
- Scissors
- Thread
Pasos a seguir://Steps to follow:
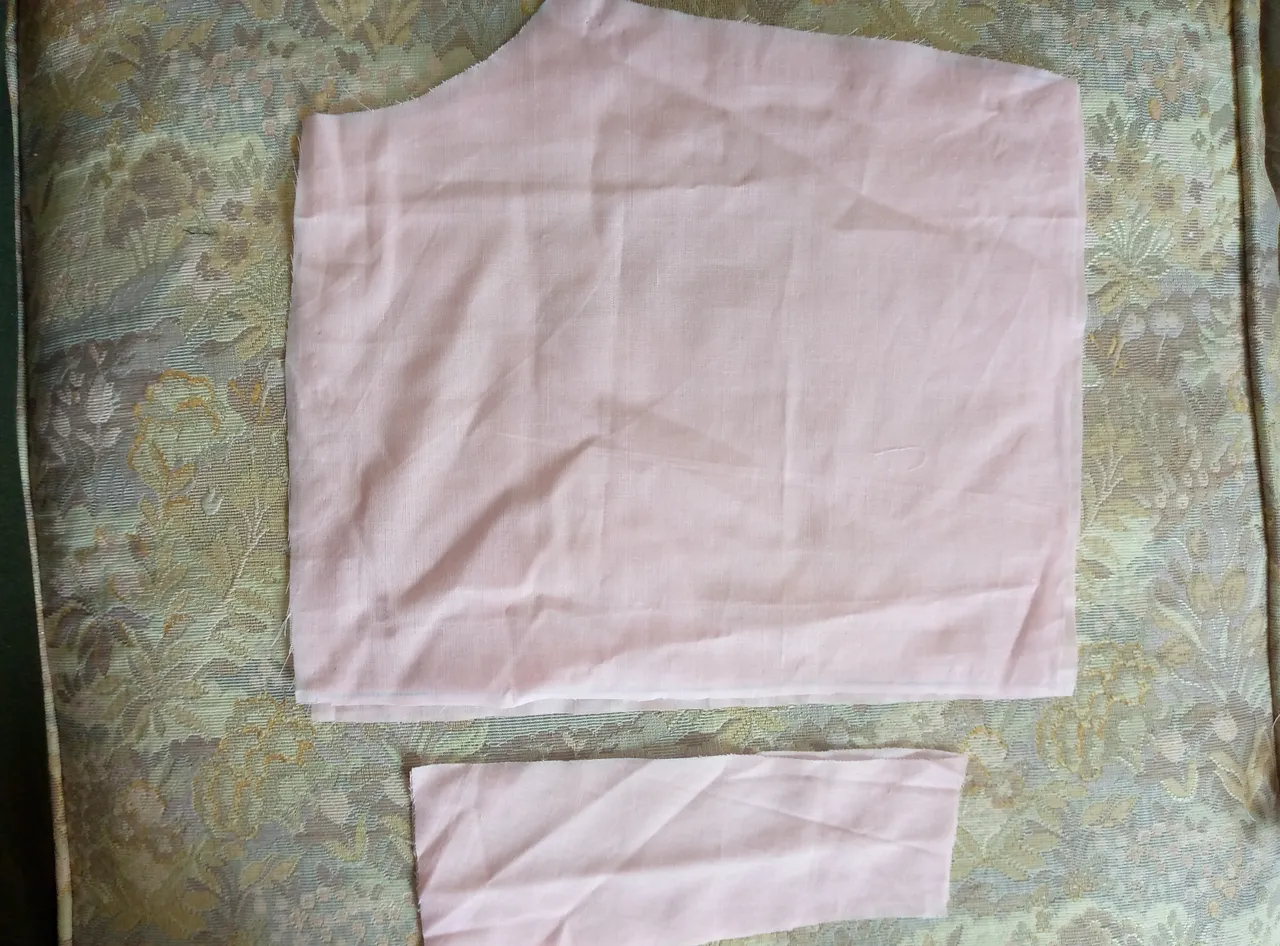
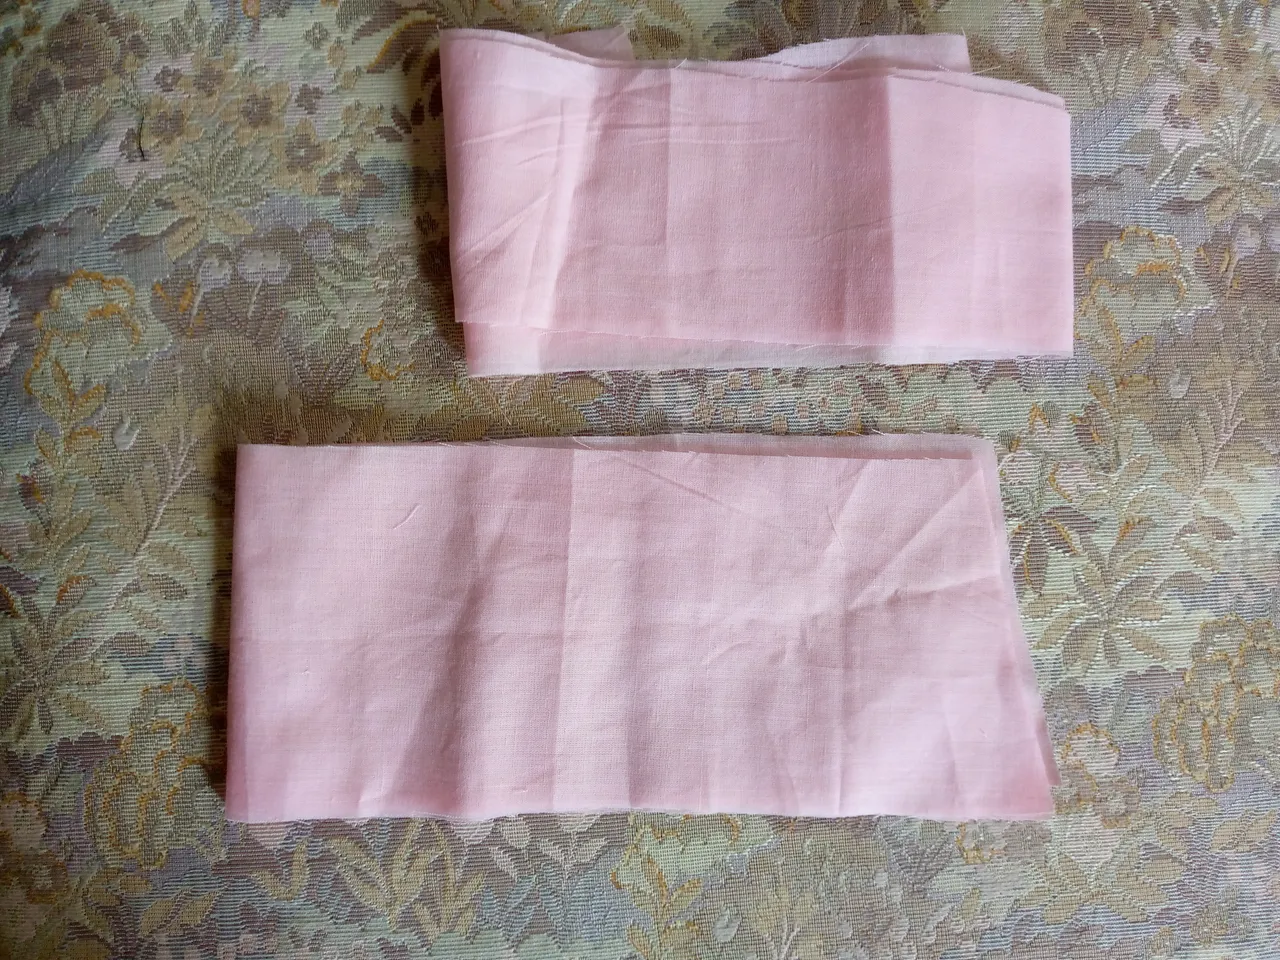
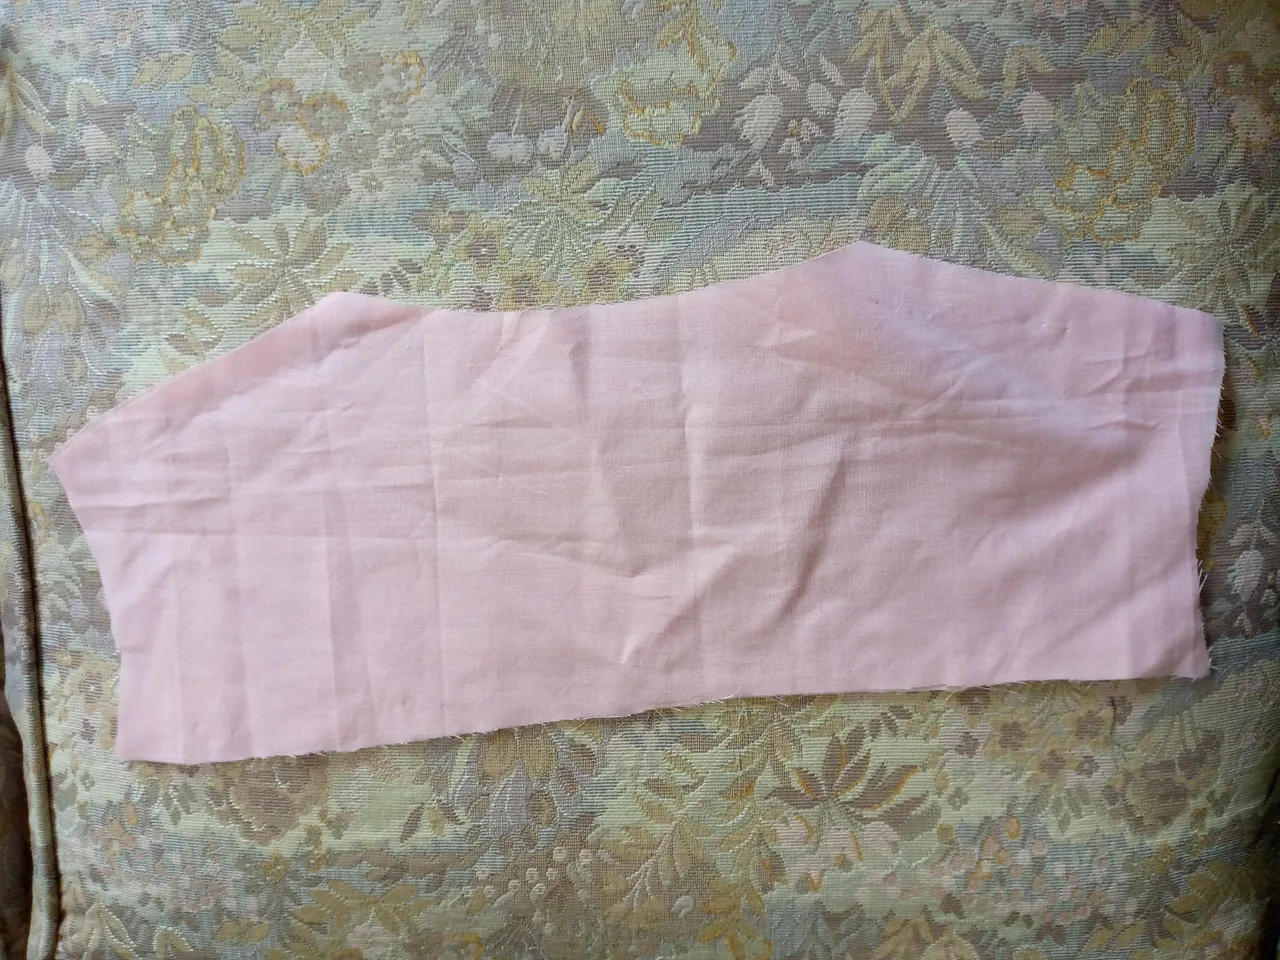

Paso 01
- Pieza del cuello (es doble)
- 2 Piezas de la espalda arriba
- 4 piezas de la parte delantera
- 2 piezas de los costados de la parte del talle delantero
- 2 mangas
- Dos piezas para cubrir el cuello
- Por último dos piezas del talle trasero
Step 01
As this jacket has many shirt-type cuts, I cut the pieces in parts, of course using another measurement as a guide. The pieces to cut are the following:
- Neck piece (double)
- 2 Back pieces at the top
- 4 Front pieces
- 2 Side pieces for the front waist
- 2 Sleeves
- Two pieces to cover the neck
- Finally, two back waist pieces
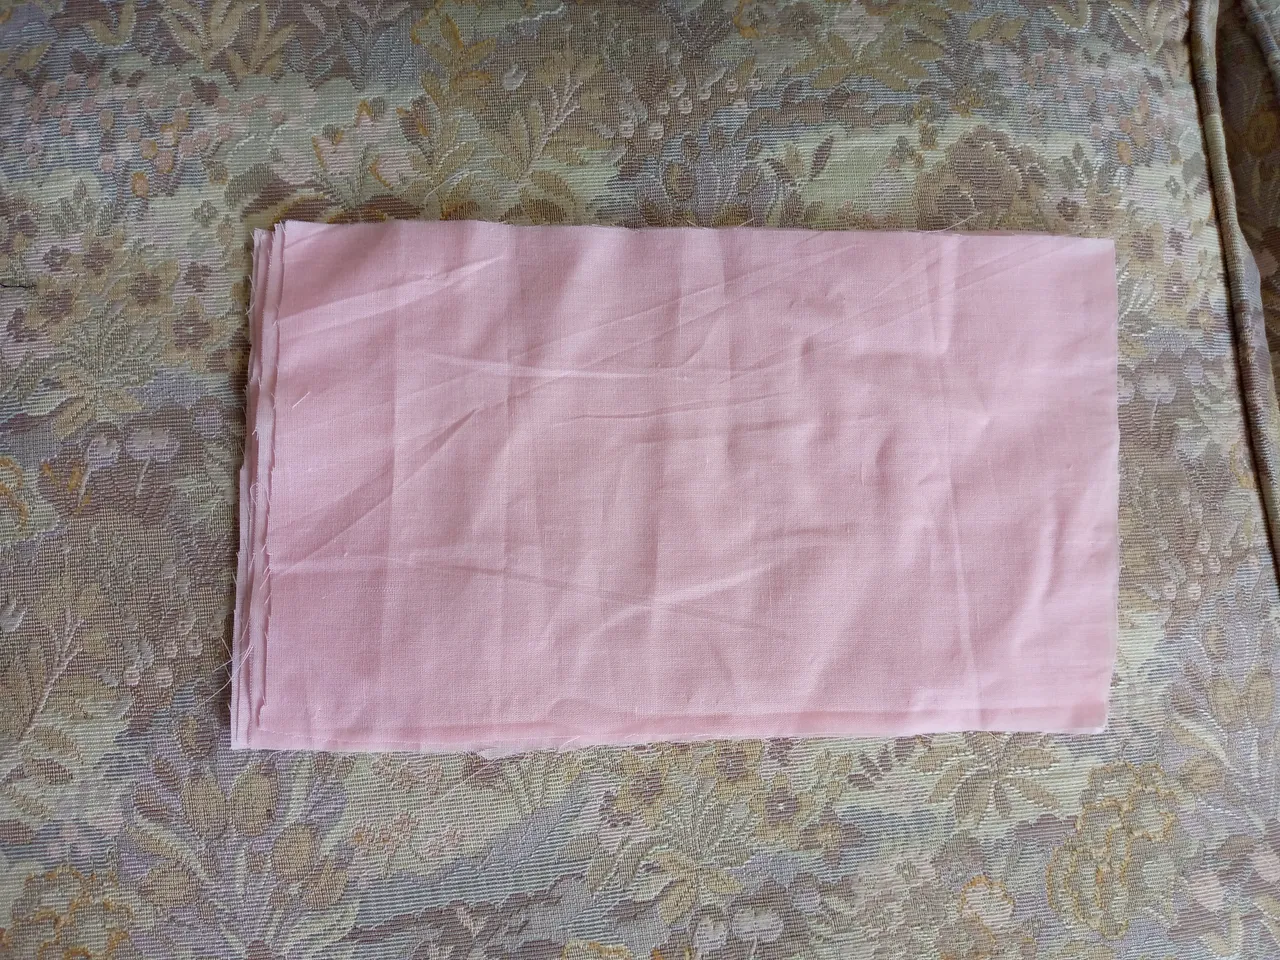
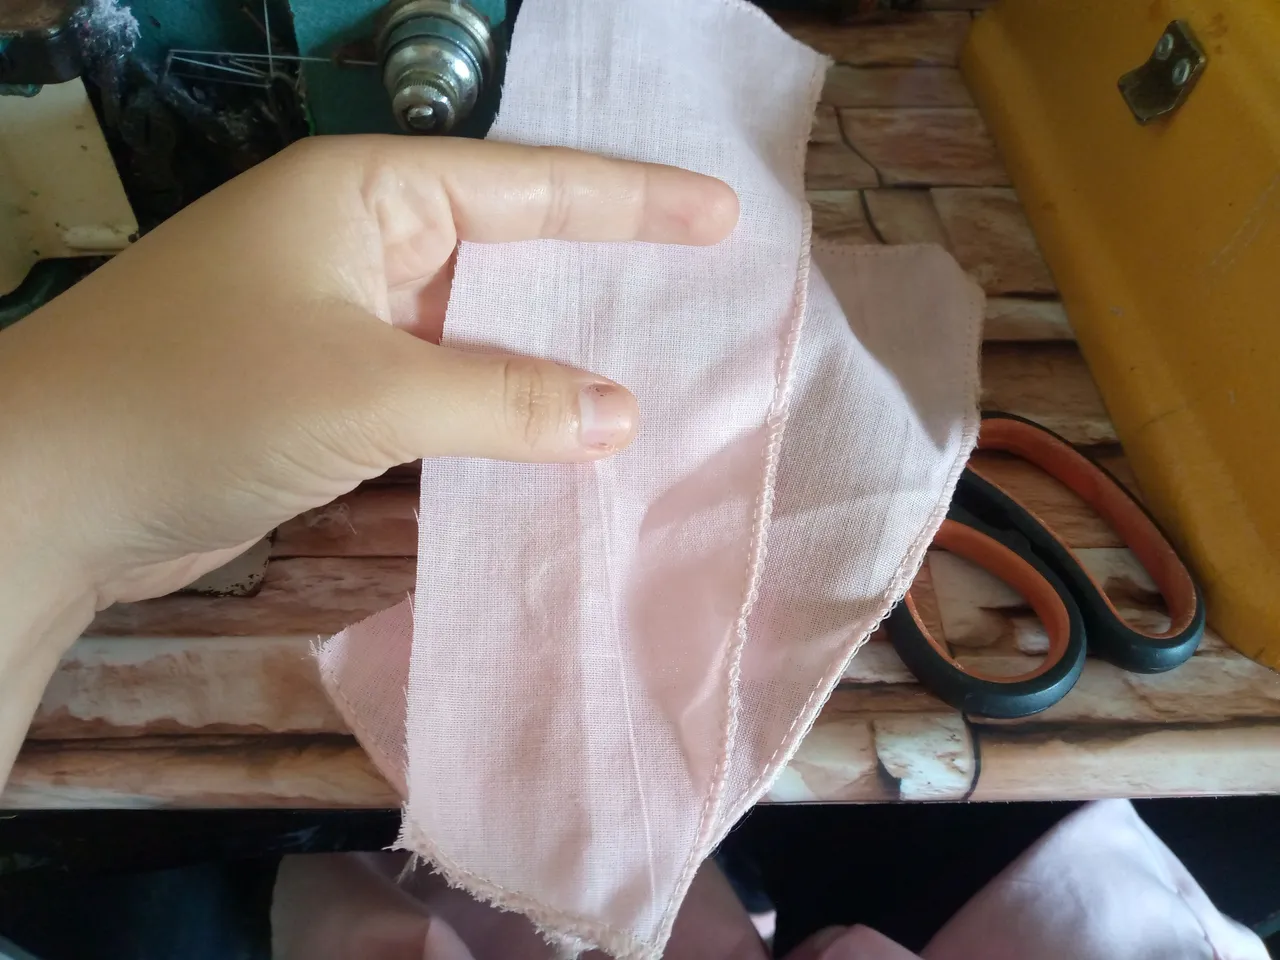
Paso 02
Step 02
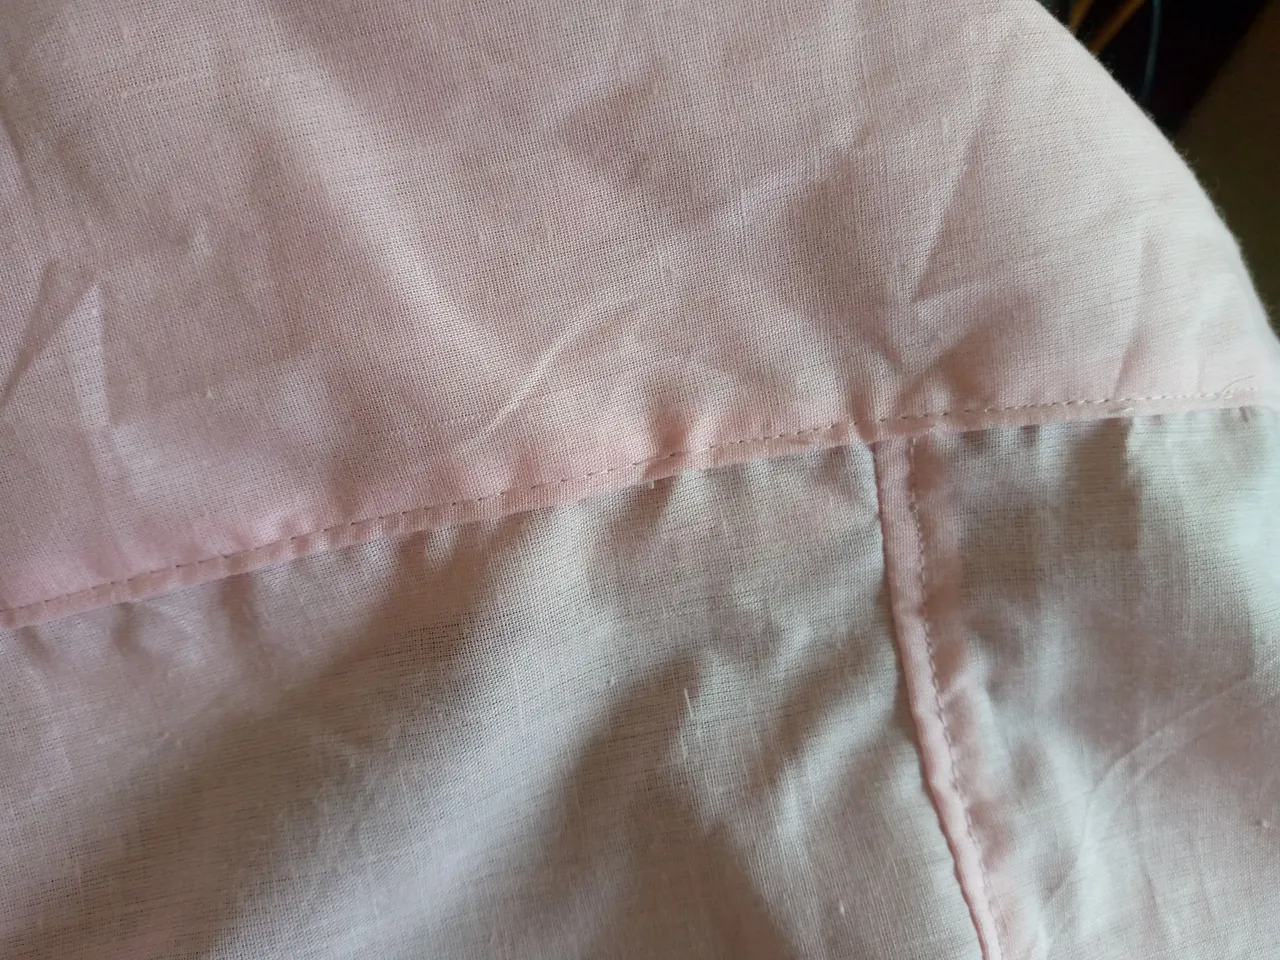
We will proceed to sew the part of the back pieces of the back waist to the back piece above we sew along the lower side and then turn it over and on top we re-stitch with a straight seam, thus we have made the back part of our waist with three pieces, once we sew these parts we will then sew the front piece with the back piece at the shoulders with an overlock seam (zig zag) and straight seam.
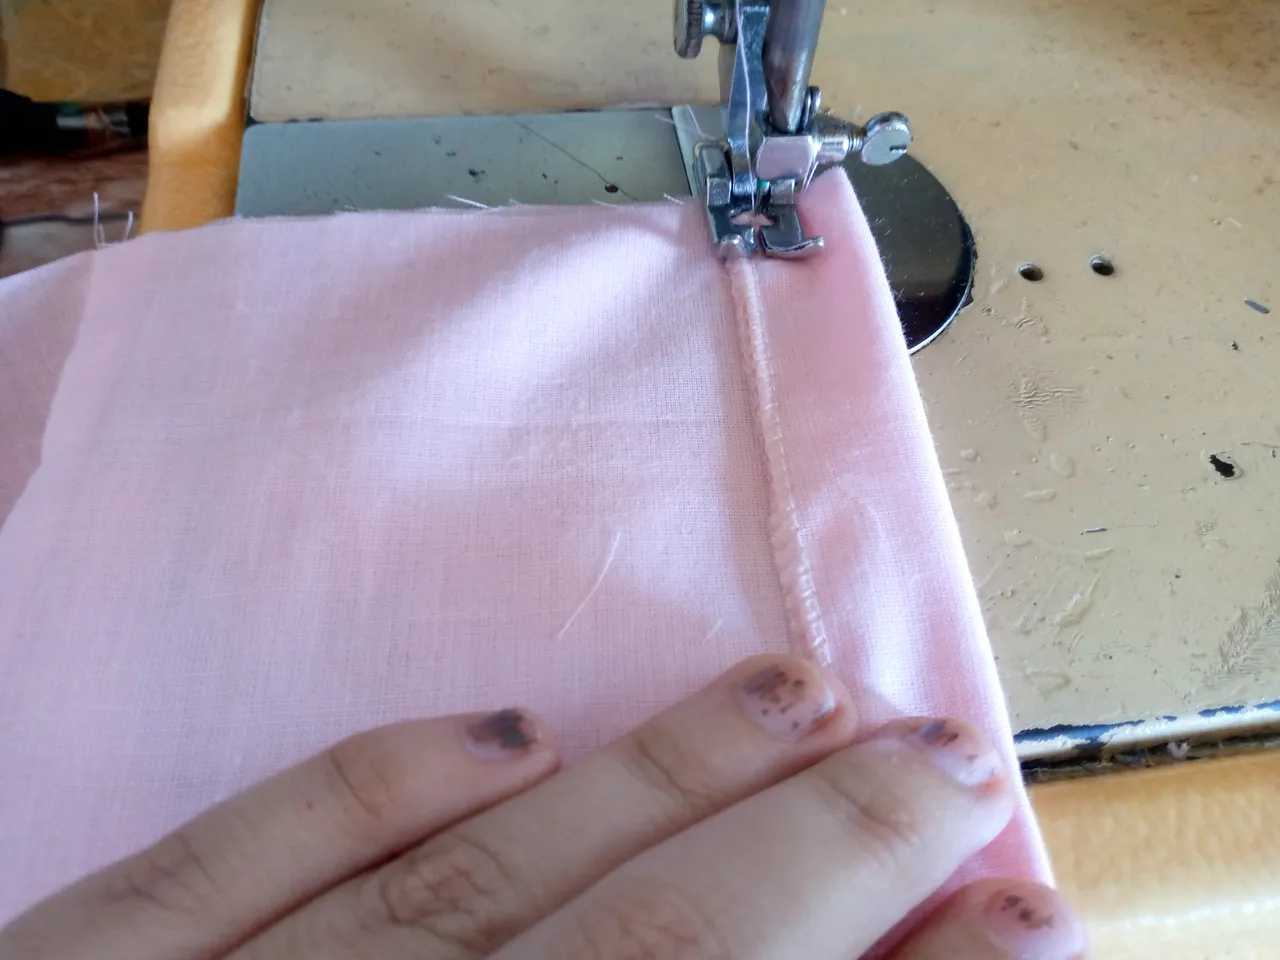
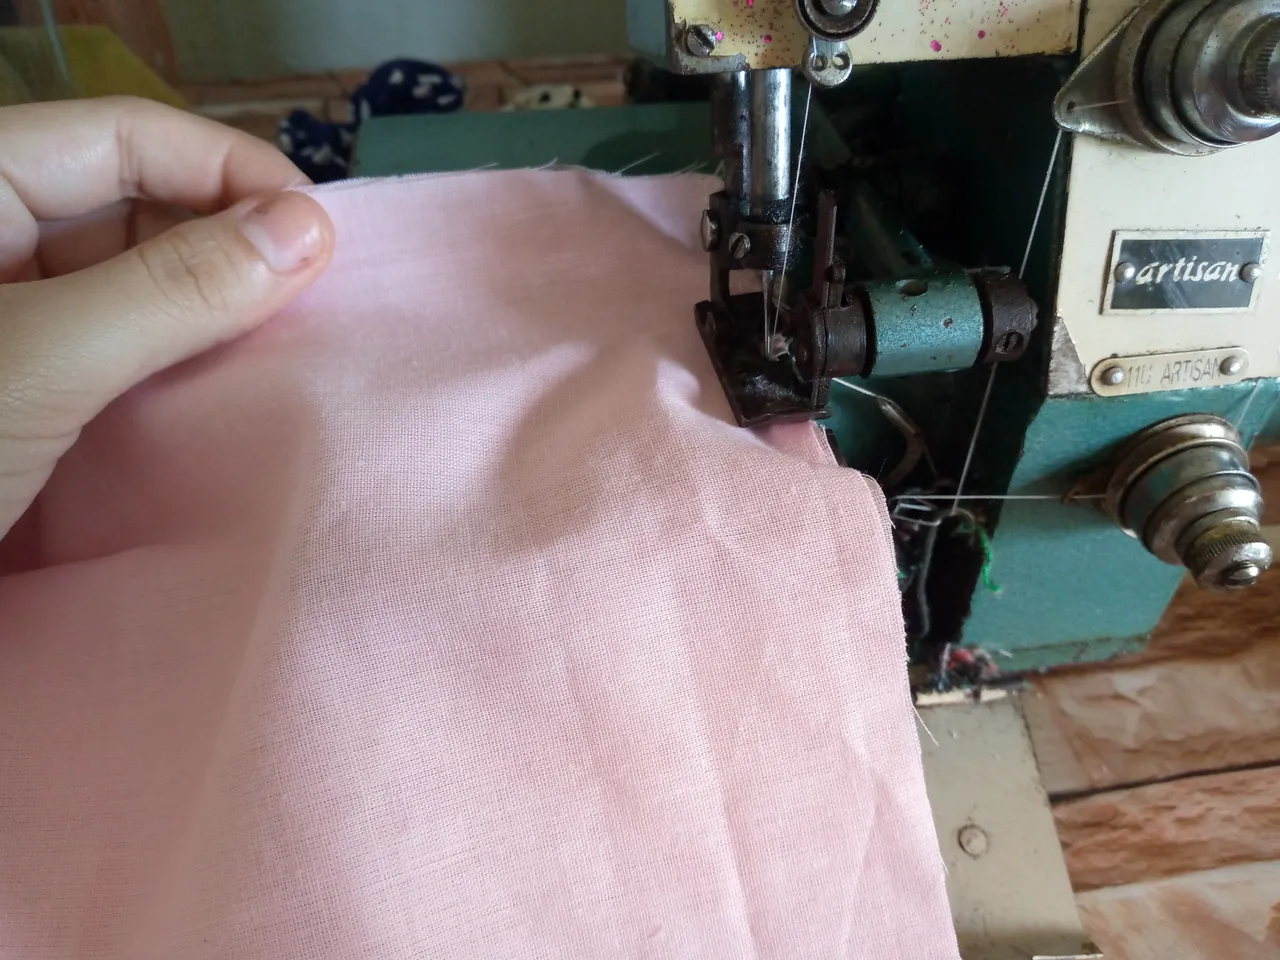
Paso 03
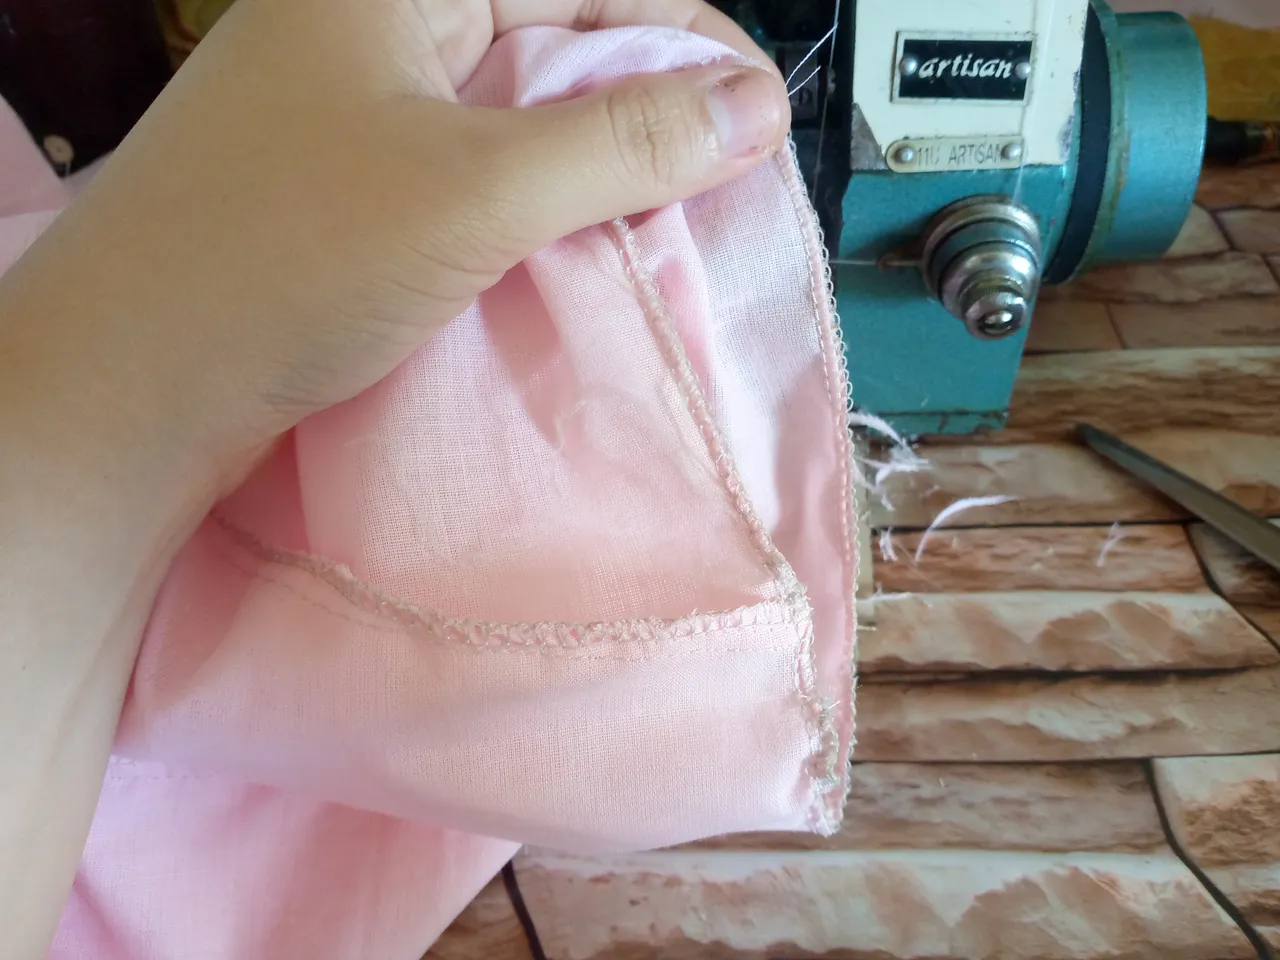
Step 03
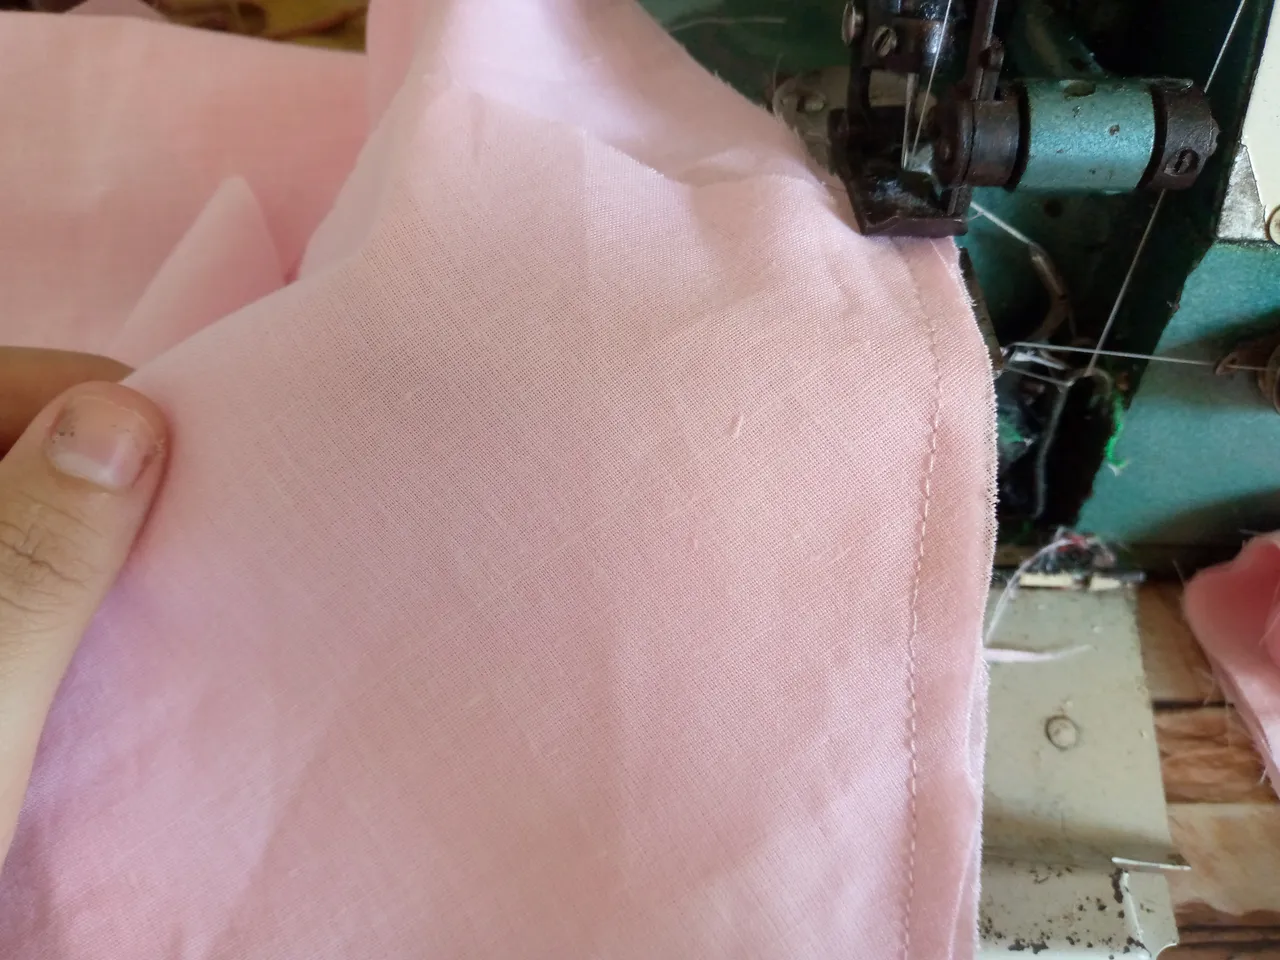
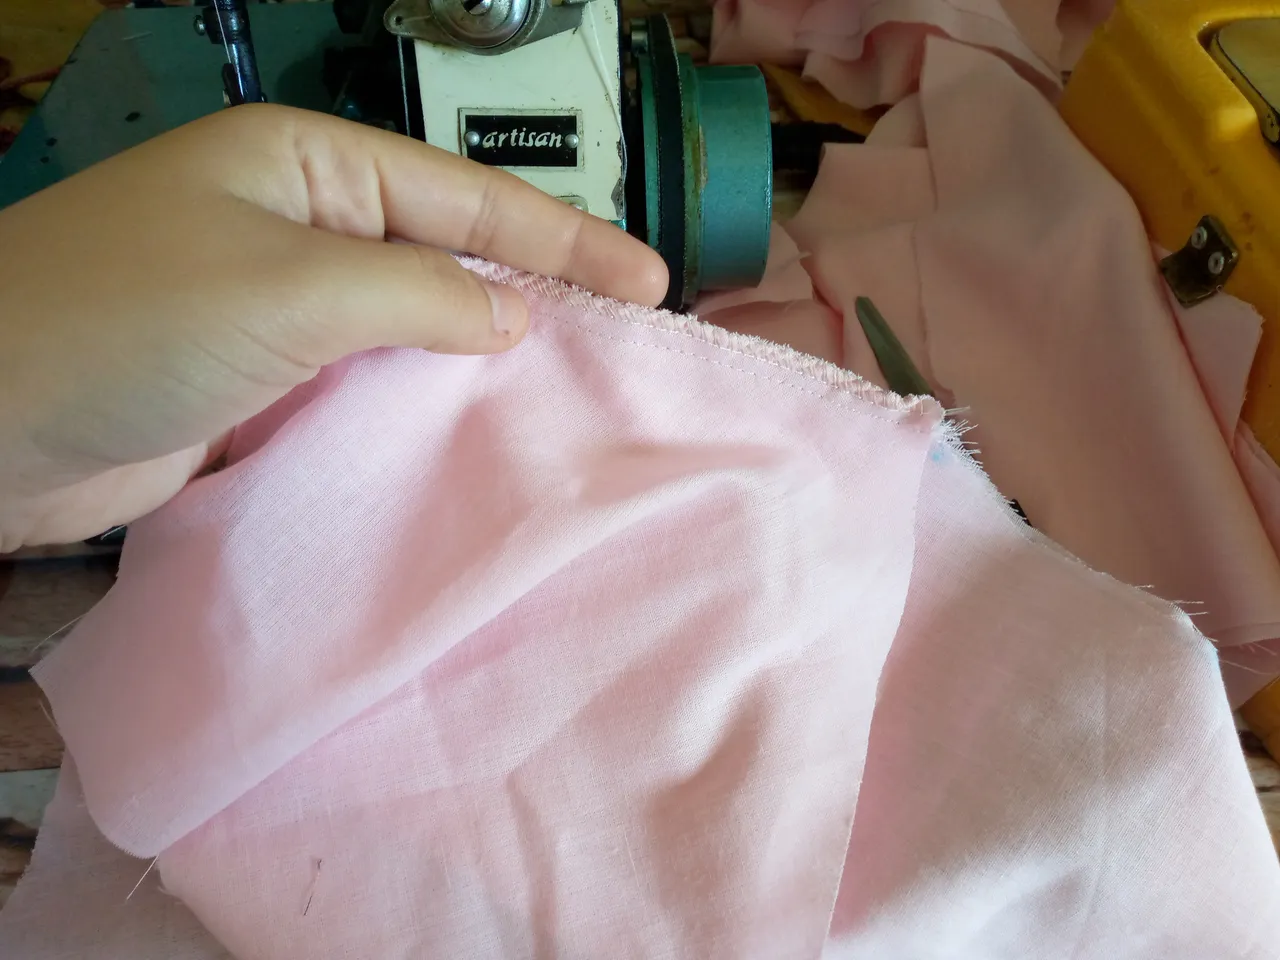
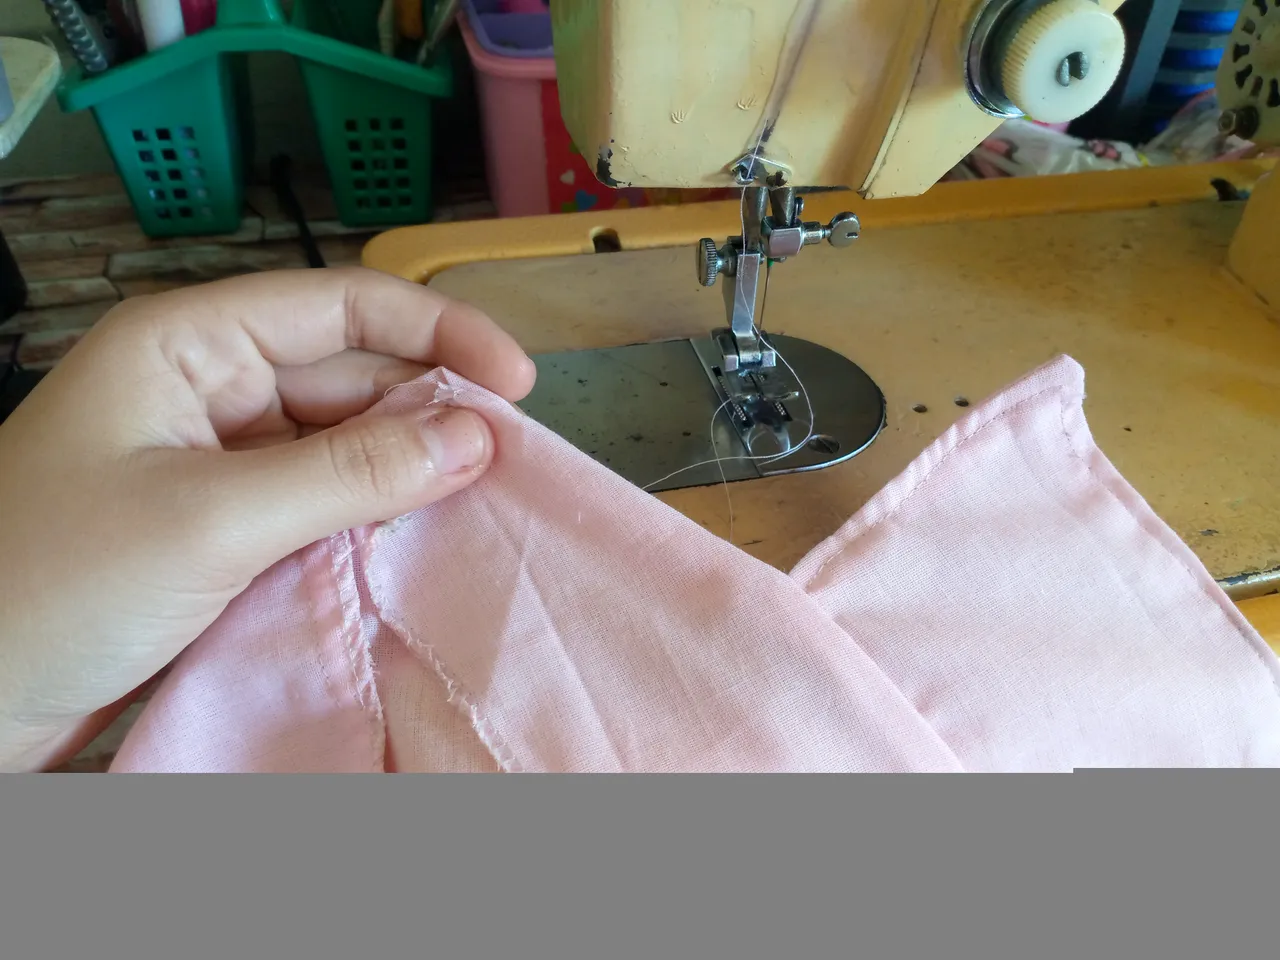
I then sewed the front pieces, then the sleeves to the armhole from one end to the other. Don't forget to sew them well with a straight seam. We sew the front part inwards, making a small hem at the bust area.
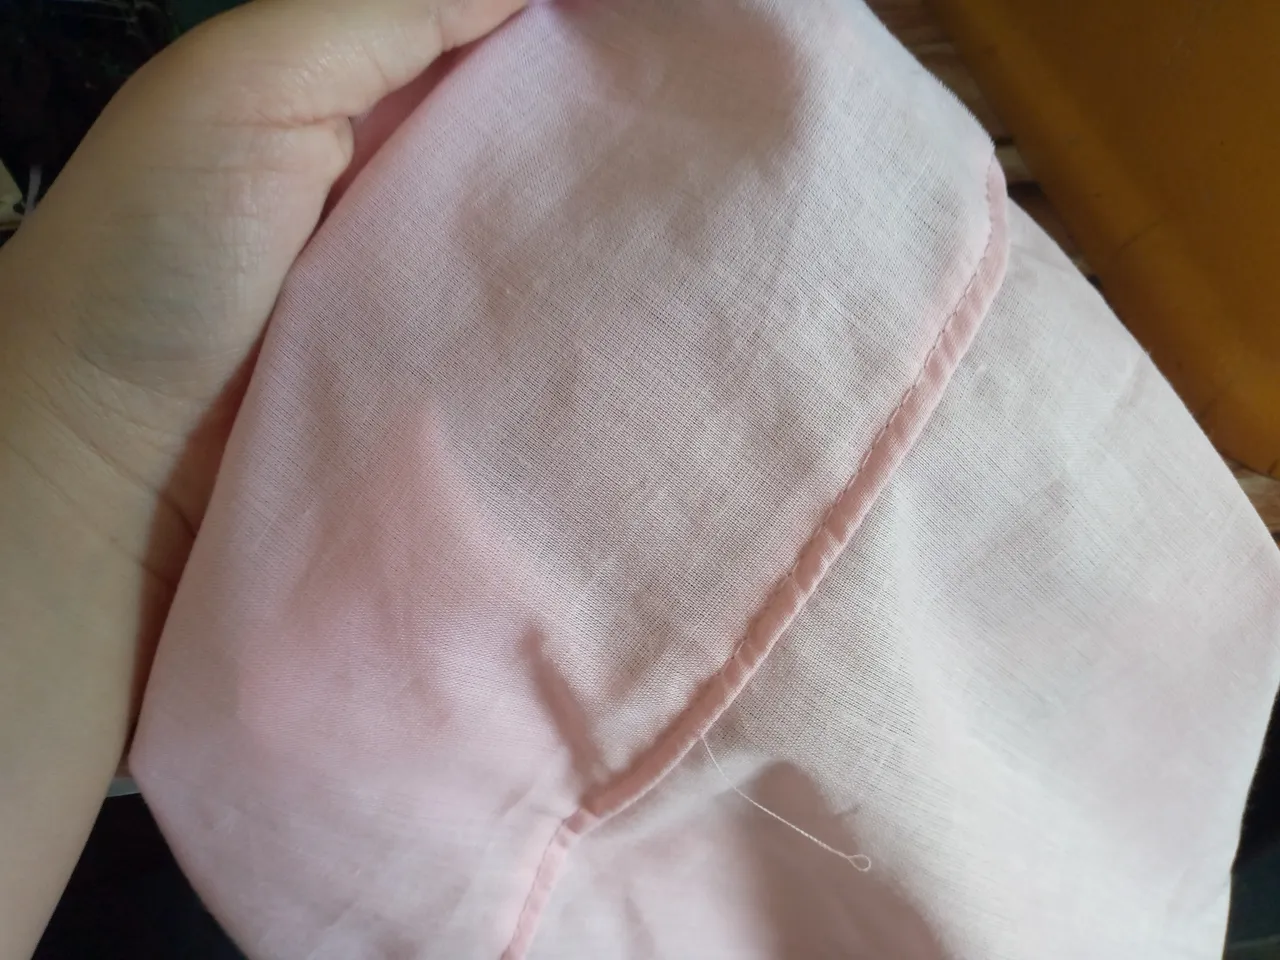
Paso 04
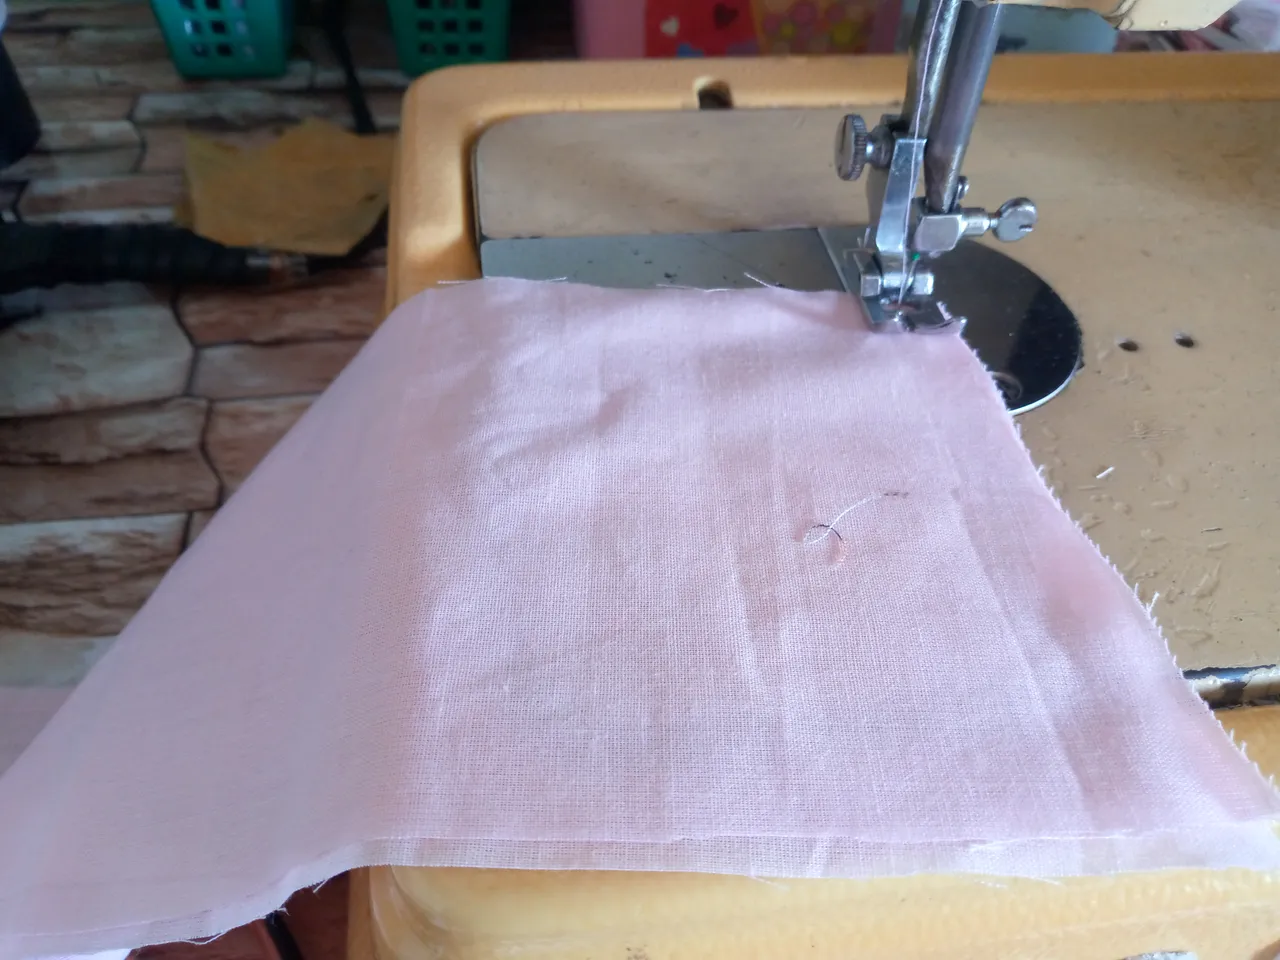
Step 04
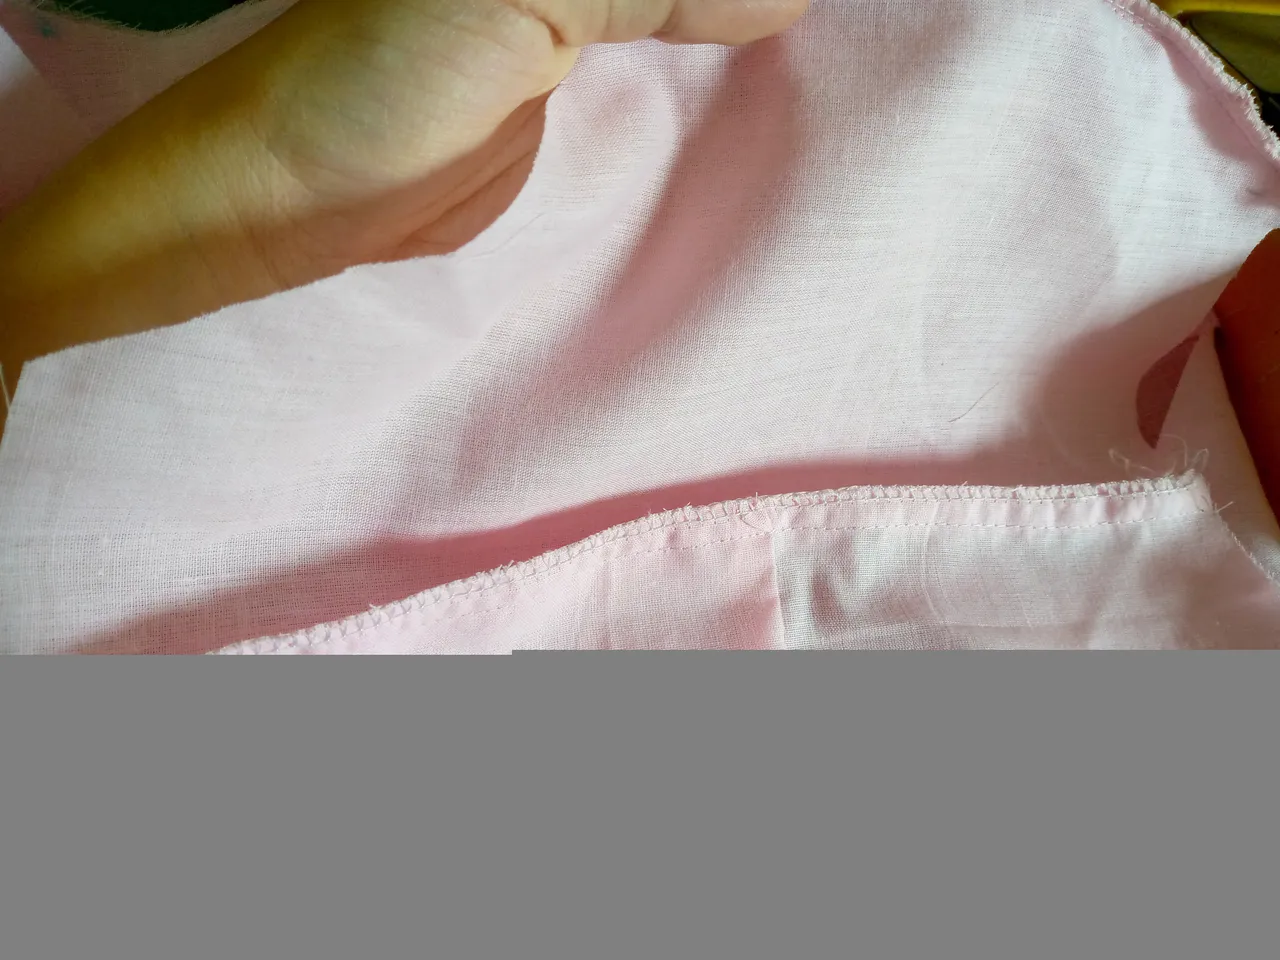
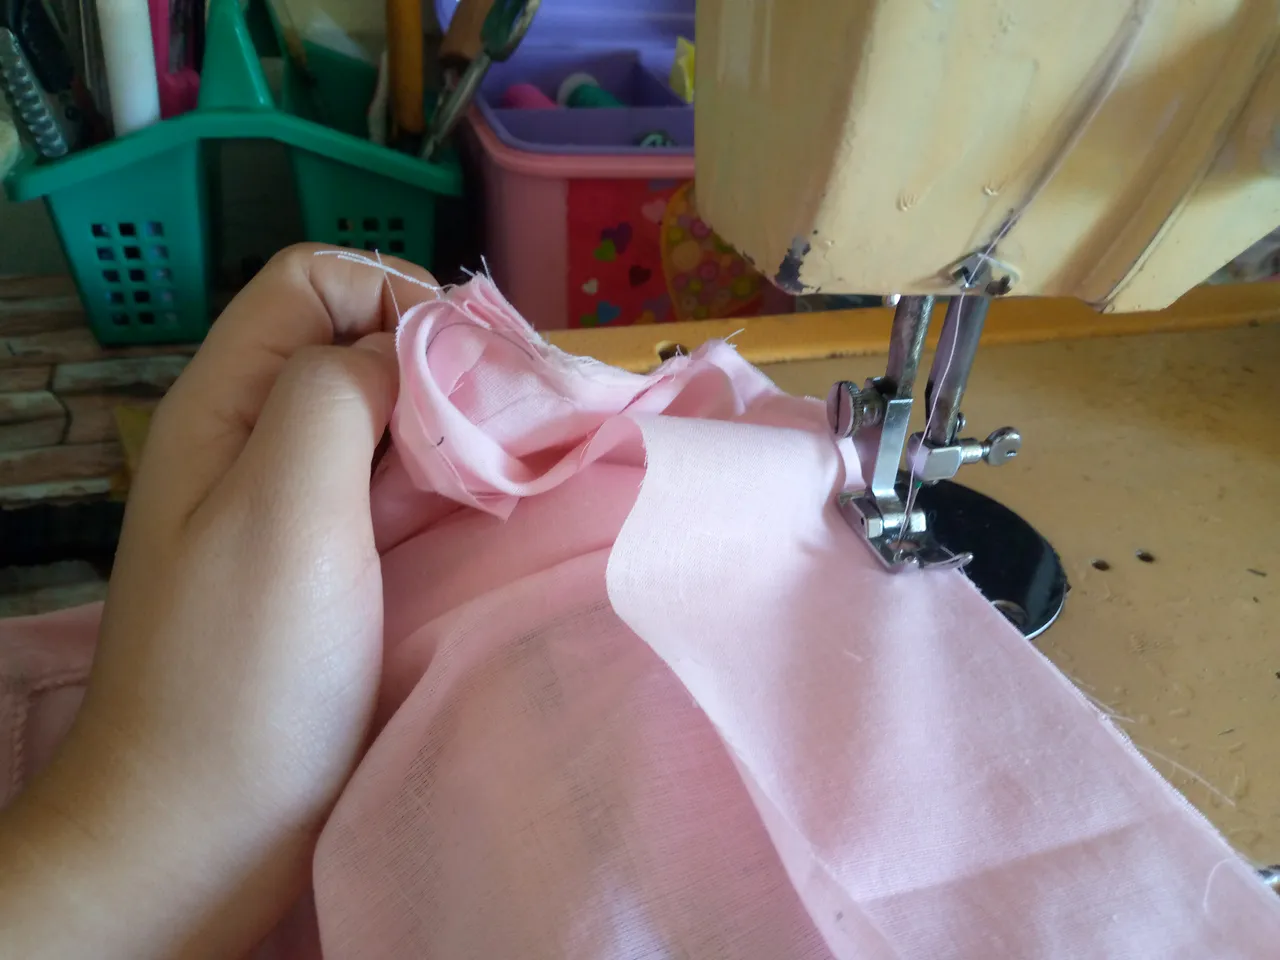
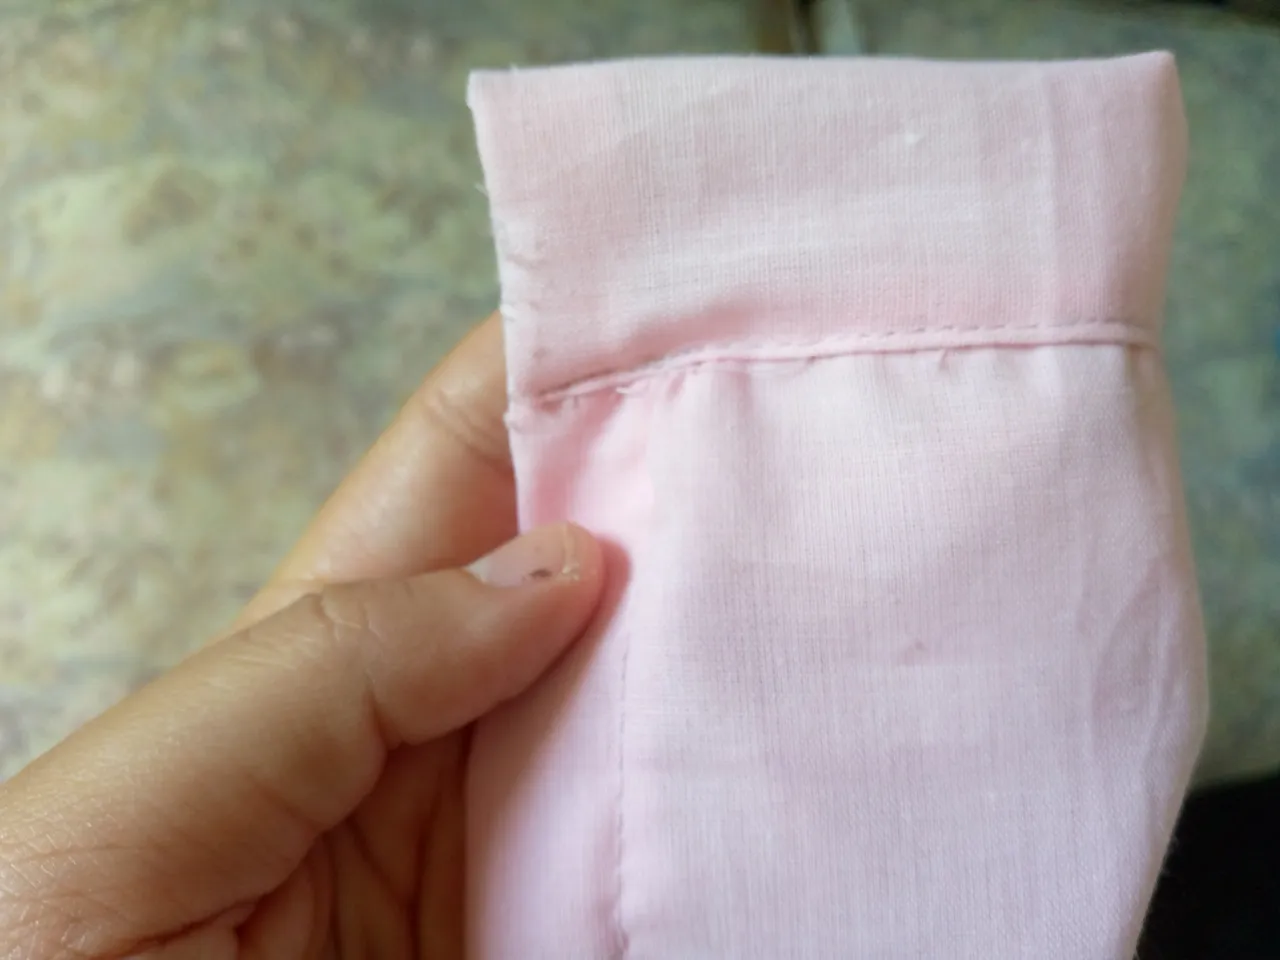
Finally to finish my jacket I have sewn the pieces that cover the neck then we sew the neck around the sides and below we cut with the scissors the excess of the neck that we have almost to the edge of the thread, then we mark the center of the back of the jacket and sew from there inside the neck, then we place the pieces in the front those that cover the neck, then in the lower part we are going to sew the waistband that my jacket has from the inside out then we sew above with a straight seam making a small hem of 1 cm inwards and that's it, so we have finished this jacket.
Resultado:// Result:
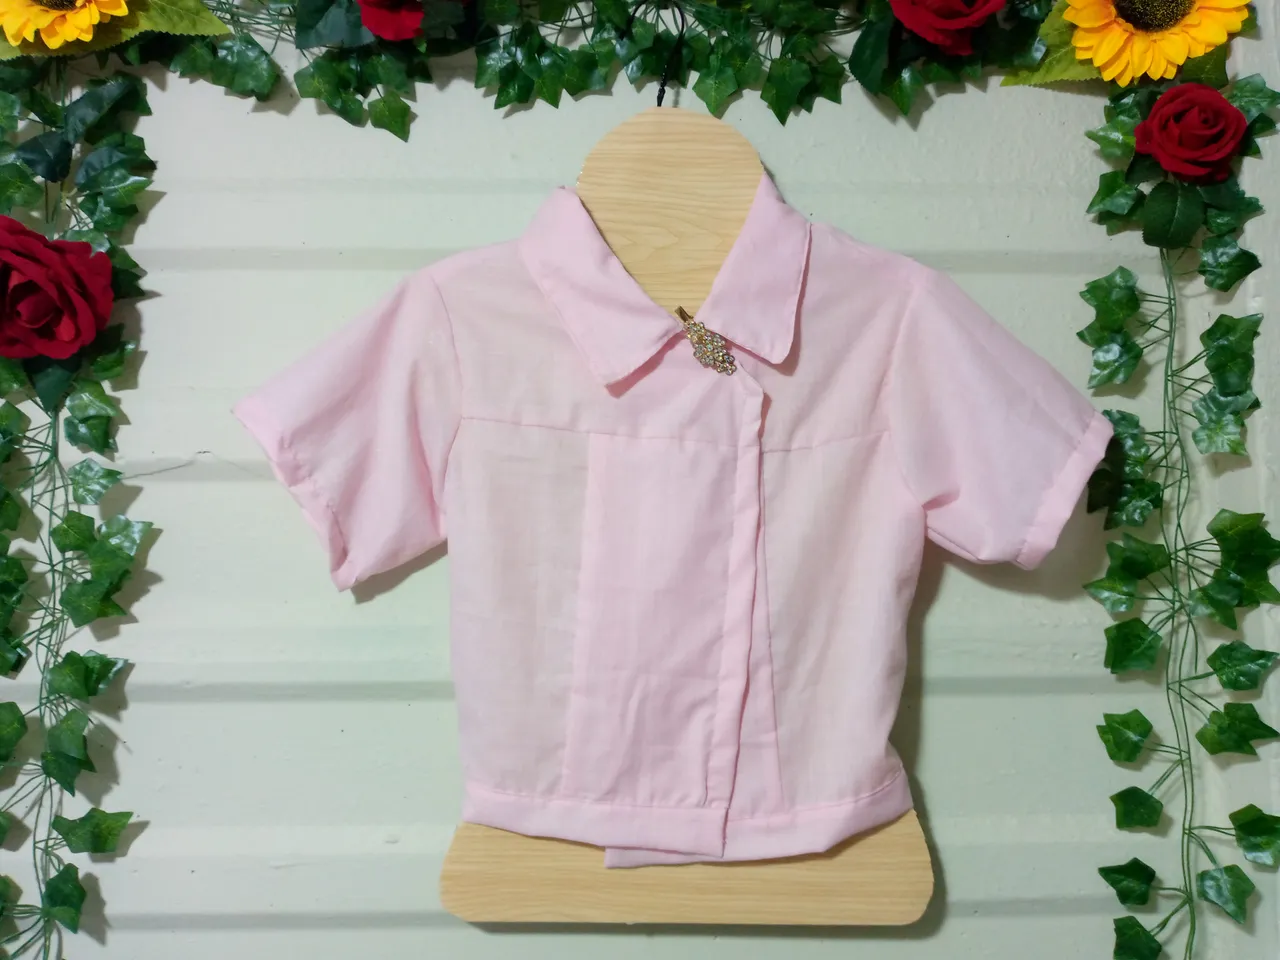
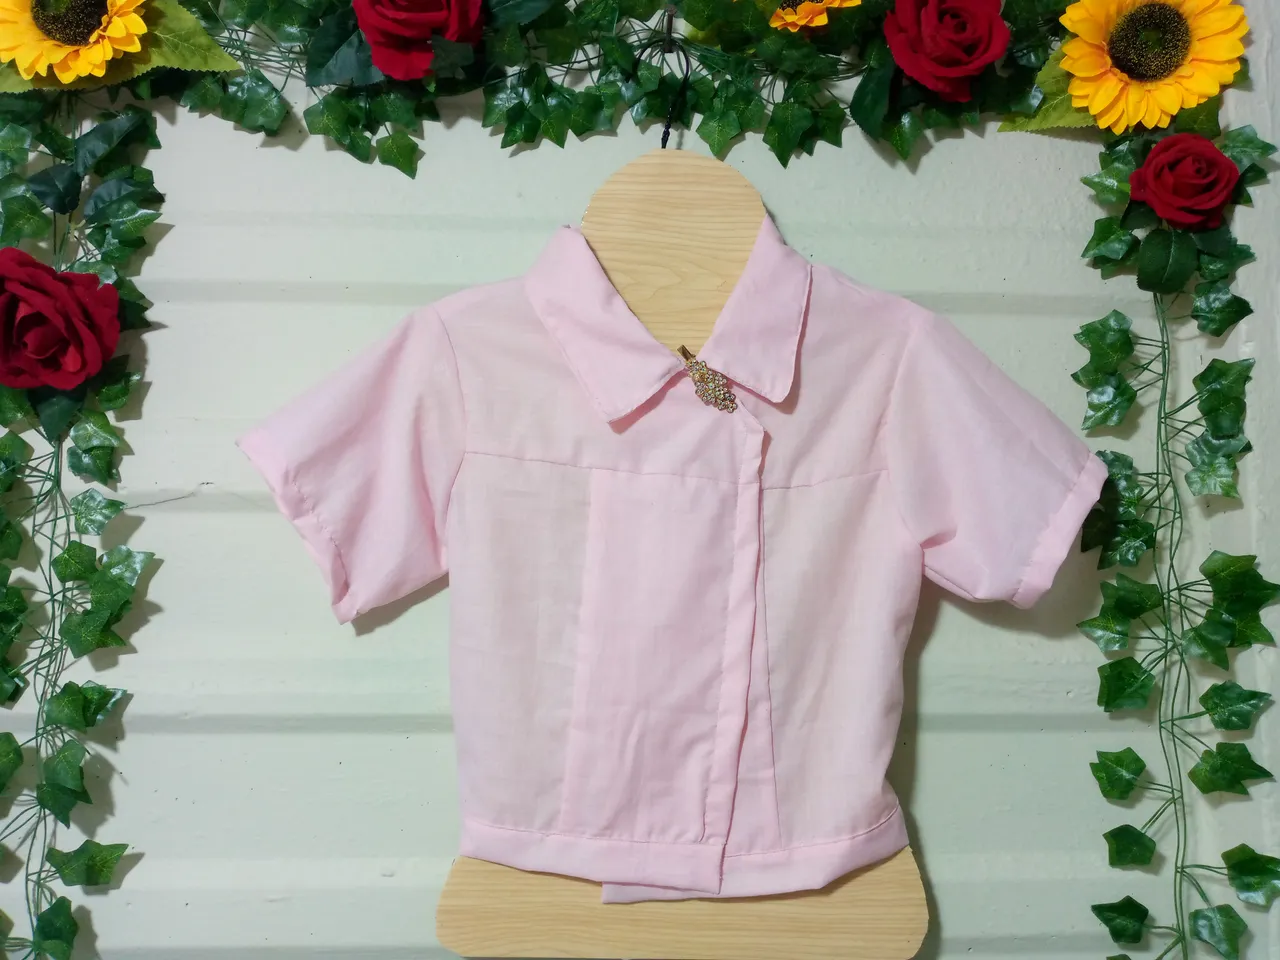
What do you think of this cute jacket? 😍💖 It is beautifully made, even though it has several cuts, it looks beautiful and is a garment that cannot be missing from those simple, fresh, and easy outfits. What are you waiting to run out and make it? 🤭🪡🧵 I would be happy to know that you have used this tutorial as inspiration for your jacket 😊... That's all for today, dear artisan friend, and if you like it, don't hesitate to leave your nice comments here, I will gladly read them. Greetings, and until another next tutorial of ideas 🥳.
Creating things with love 🌷❤️
🦋✨ All the images in this publication are my author ,📱taken with my TecnoSpark8C cell phone |📸Photos edited in PicsArt and Canva. Text translated in Google Translate.
