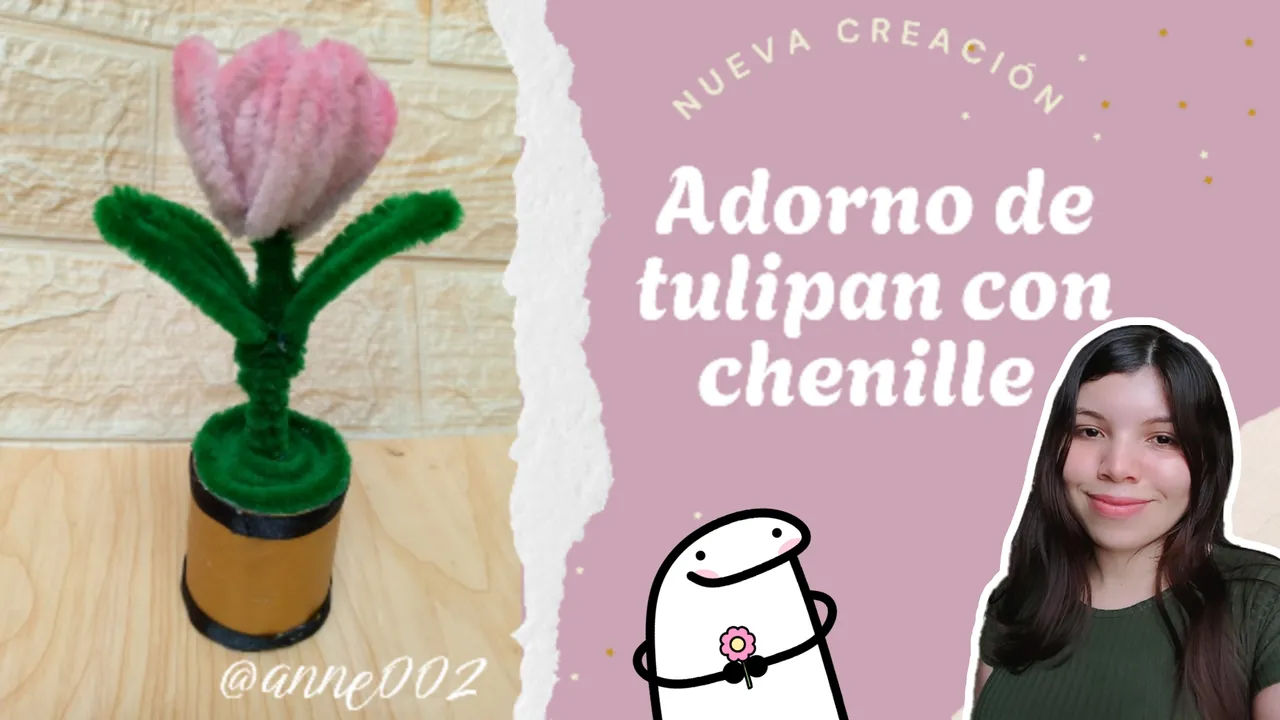
Hola bienvenidos a mi blog 🌷✨
Hello, welcome to my blog 🌷✨
Do you love tulips? 🥺🌷 Because I like them a lot too, apart from roses and sunflowers, tulips are flowers that I also love a lot and now on the Internet I have seen many little things and details made with a tulip theme such as hair clips, hair ties, hair clips to collect, lamps and even pictures for the wall and to decorate your places, and there are so many things that one of them was things that I wanted to do for myself and for the first time was a tulip with this material.
I say my first time because I have never worked with this material that is chenille and we also know it as pipe cleaners, this material is a wire that has some very soft threads like velvet and it is used to make many crafts and flowers, there are infinite things that you could do with this material and I thought that where I lived they did not sell these but in a store near my house a neighbor sells them and showed them to me and I said the time has come to make a nice tulip, I had planned to make a sunflower because it would look very beautiful with this material a big and beautiful one but unfortunately I did not have yellow chenille so I only brought these colors that I had available.
I didn't know that you could blend chenille using your eyeshadow palette to give more detail and more color to chenille in opaque tones. For example, if you make a flower in an opaque color of this material, you can blend your flower with a more intense color of eye shadow and it looks very beautiful. The truth is that I applied this method to this tulip that I made and in the end it looked incredible. I hope you like how it looks.
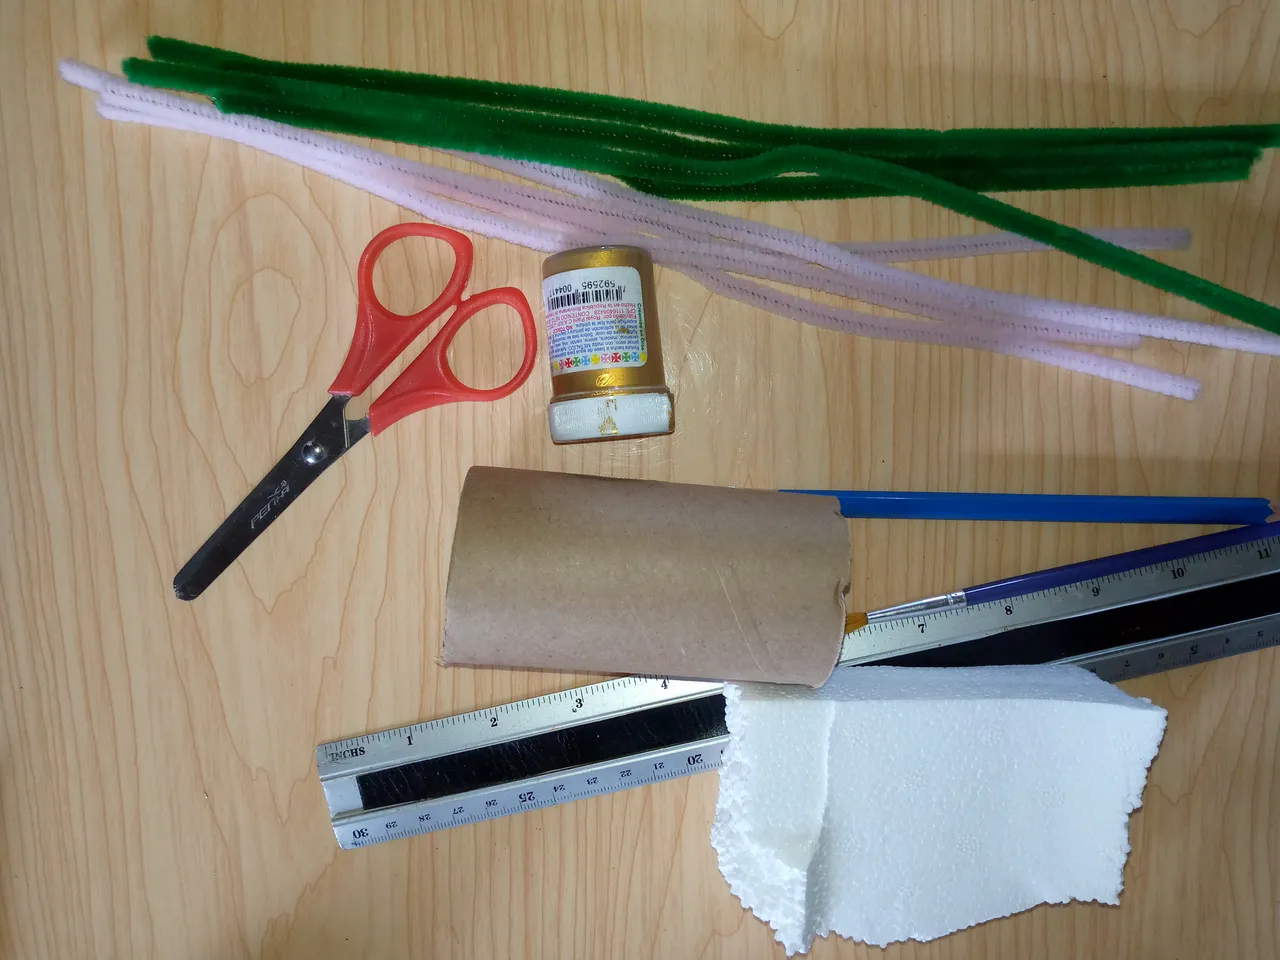
Materiales:// Materials:
- Chenille de colores de tu preferencia
- Tijeras
- Paleta de sombras
- Trozo de telgopor
- Cilindro de cartón
- Cinta delgada del color que prefieras
- Pinturas y pincel
- Silicón
- Cuter
- Regla
- Lápiz
- Mitad de un palillo de altura
- Chenille of your choice of colors
- Scissors
- Eyeshadow palette
- Piece of styrofoam
- Cardboard cylinder
- Thin tape of the color of your choice
- Paints and brush
- Silicone
- Cutter
- Ruler
- Pencil
- Half a toothpick in height
Pasos a seguir://Steps to follow:
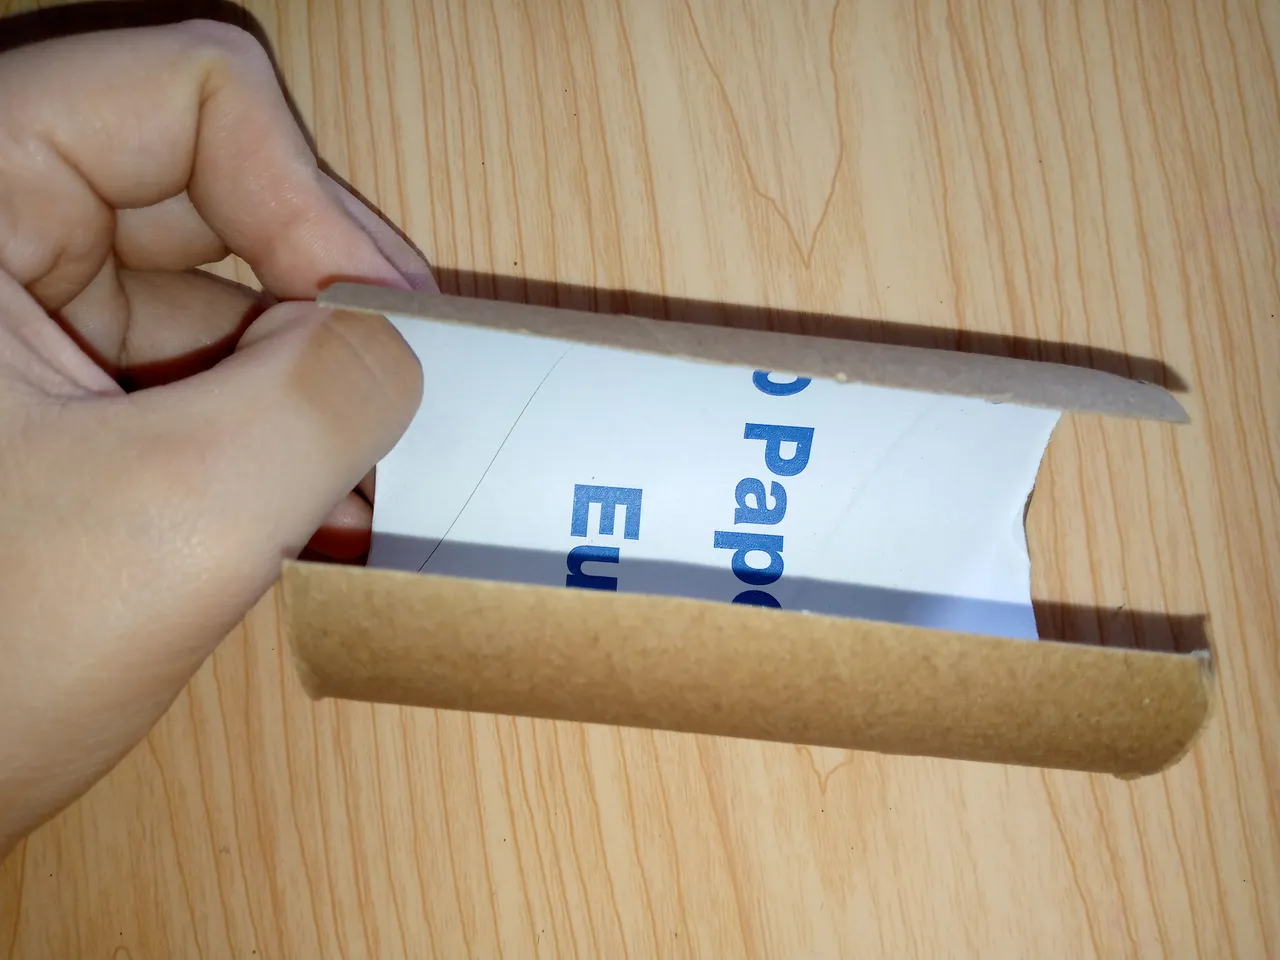
Paso 01
Step 01
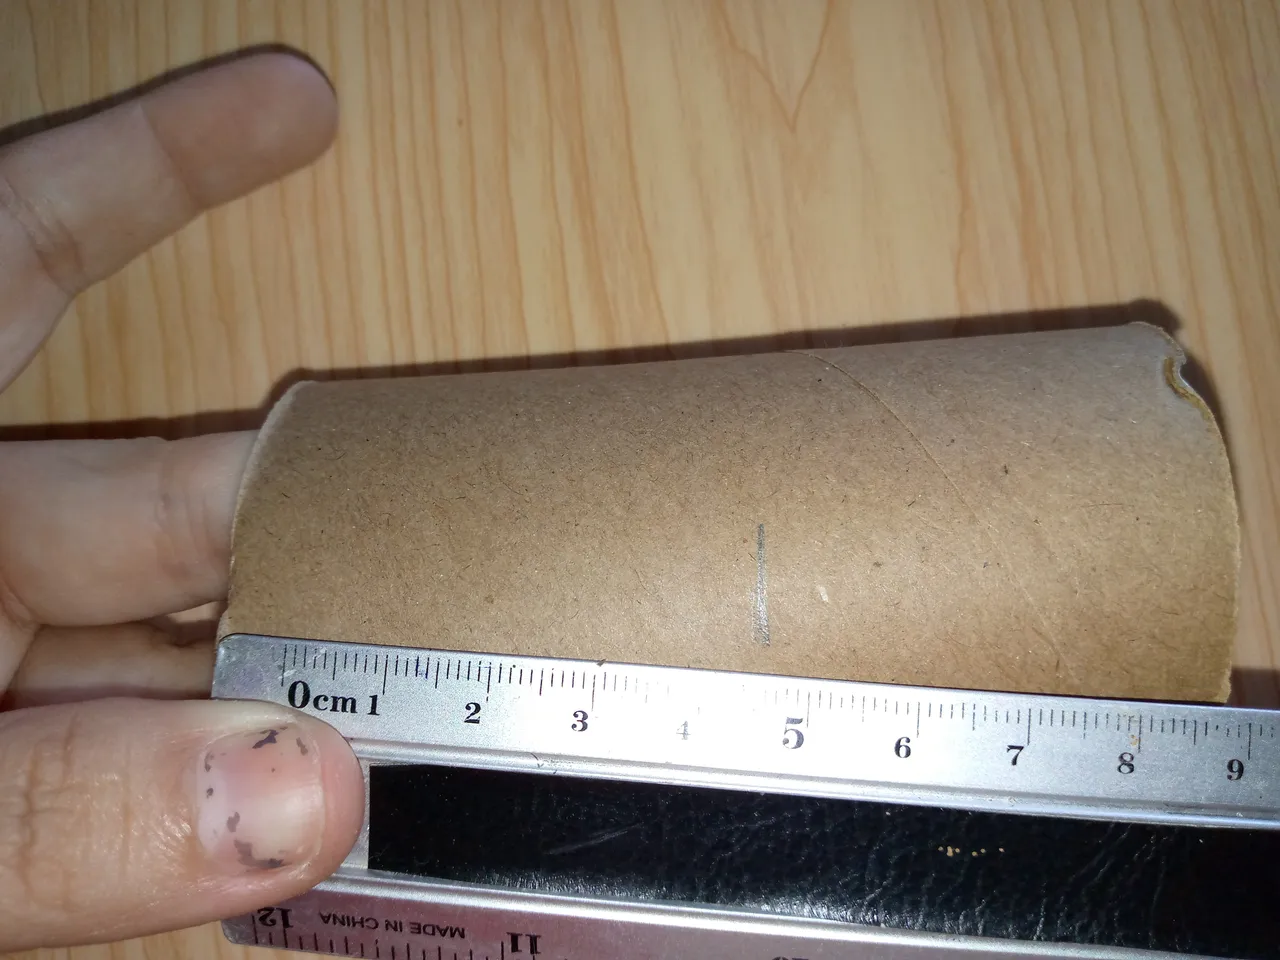
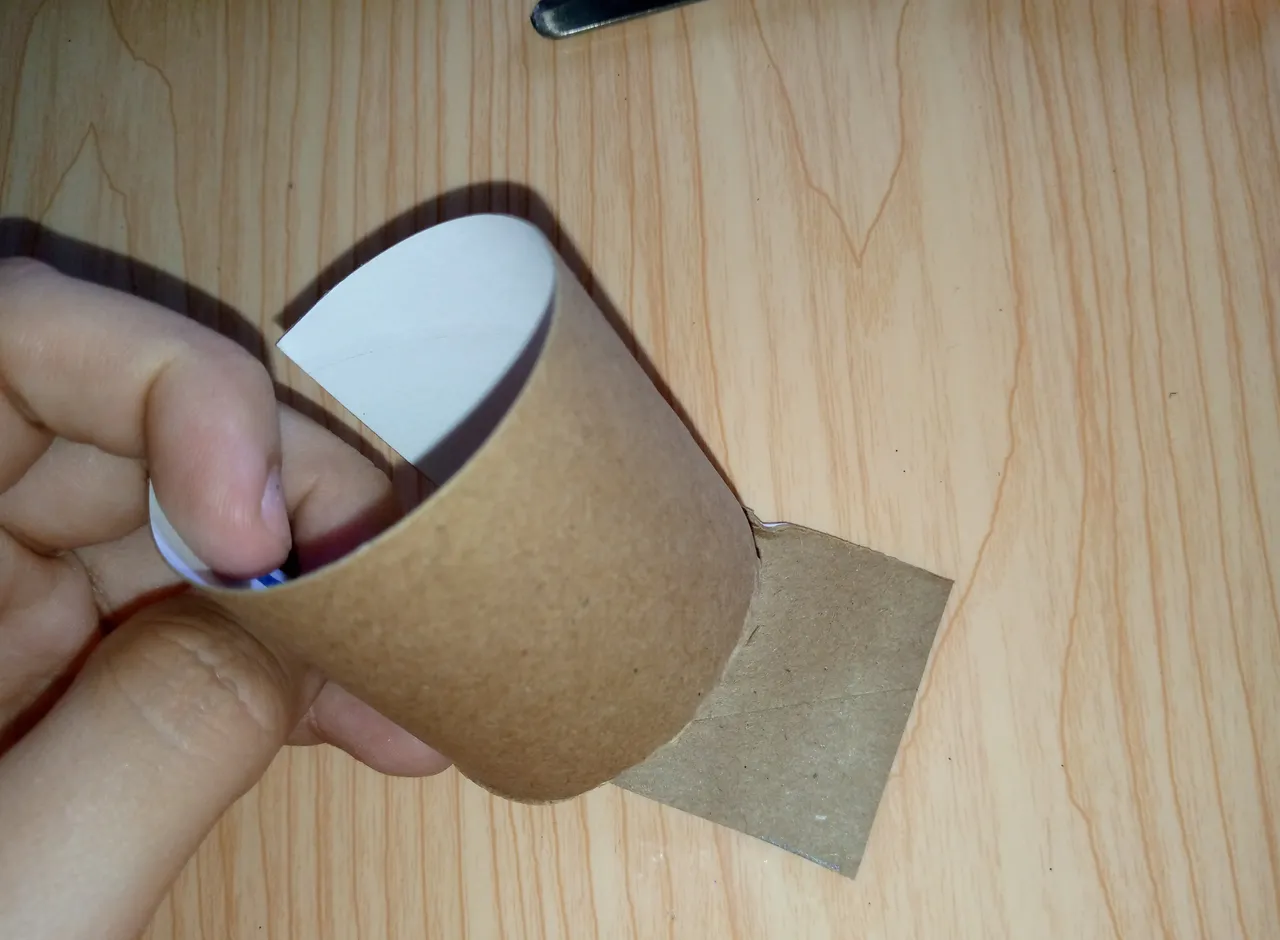
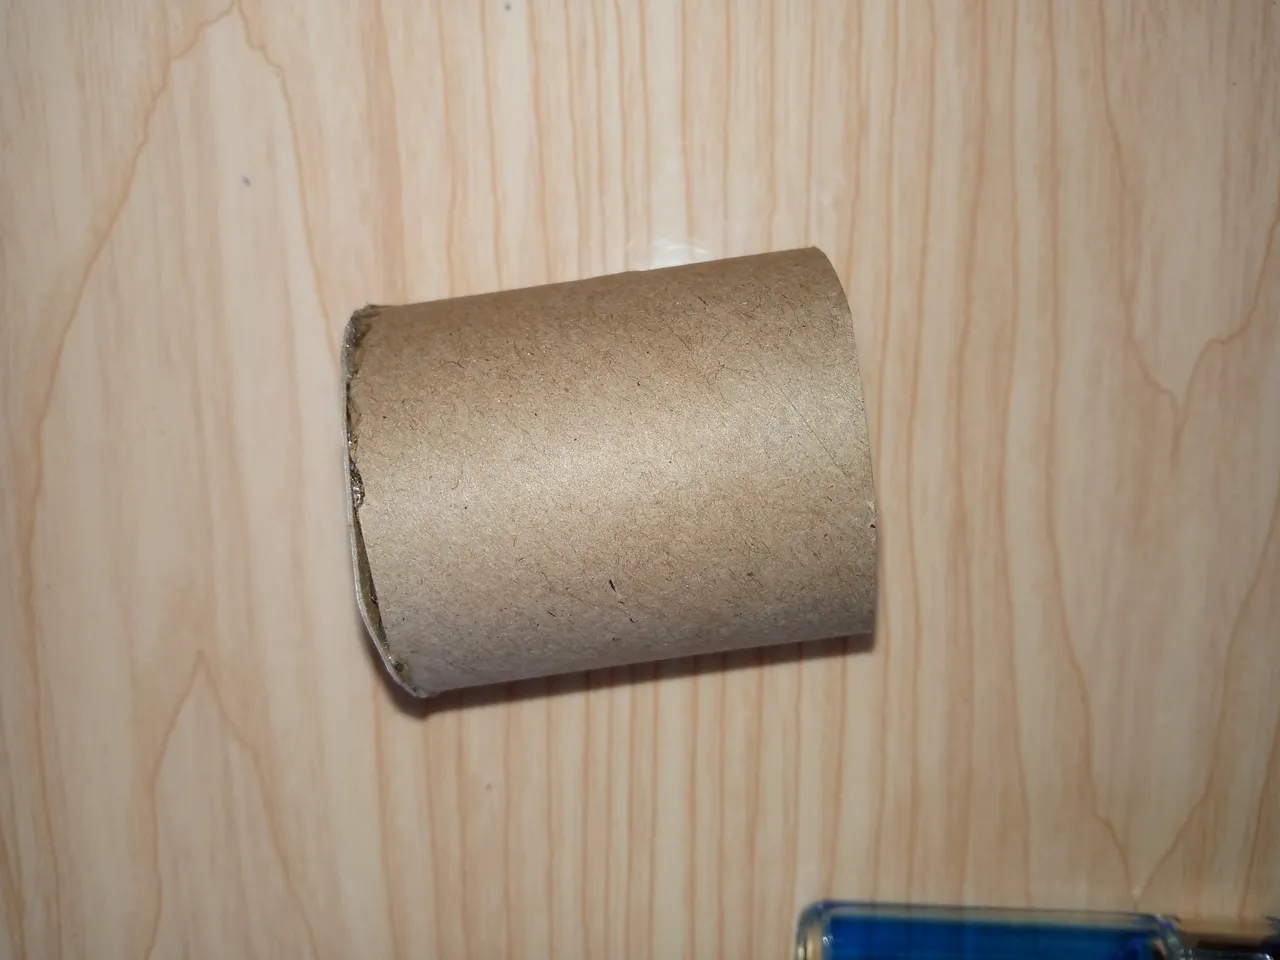
To make the little flower pot where we will place our tulip we will be grabbing our cardboard cylinder and here we will cut it to the size we want the flower pot. I cut it 4.5 cm, I used the ruler to mark exactly the measurement where I will cut it and I make a cut to the cylinder through the center and around the outline of the cylinder where I marked it, then I will glue it together, joining both parts of the cylinder with hot silicone and for the base I will use some of the leftover cardboard and I will glue it and cut it around the outline so it is ready to be painted.

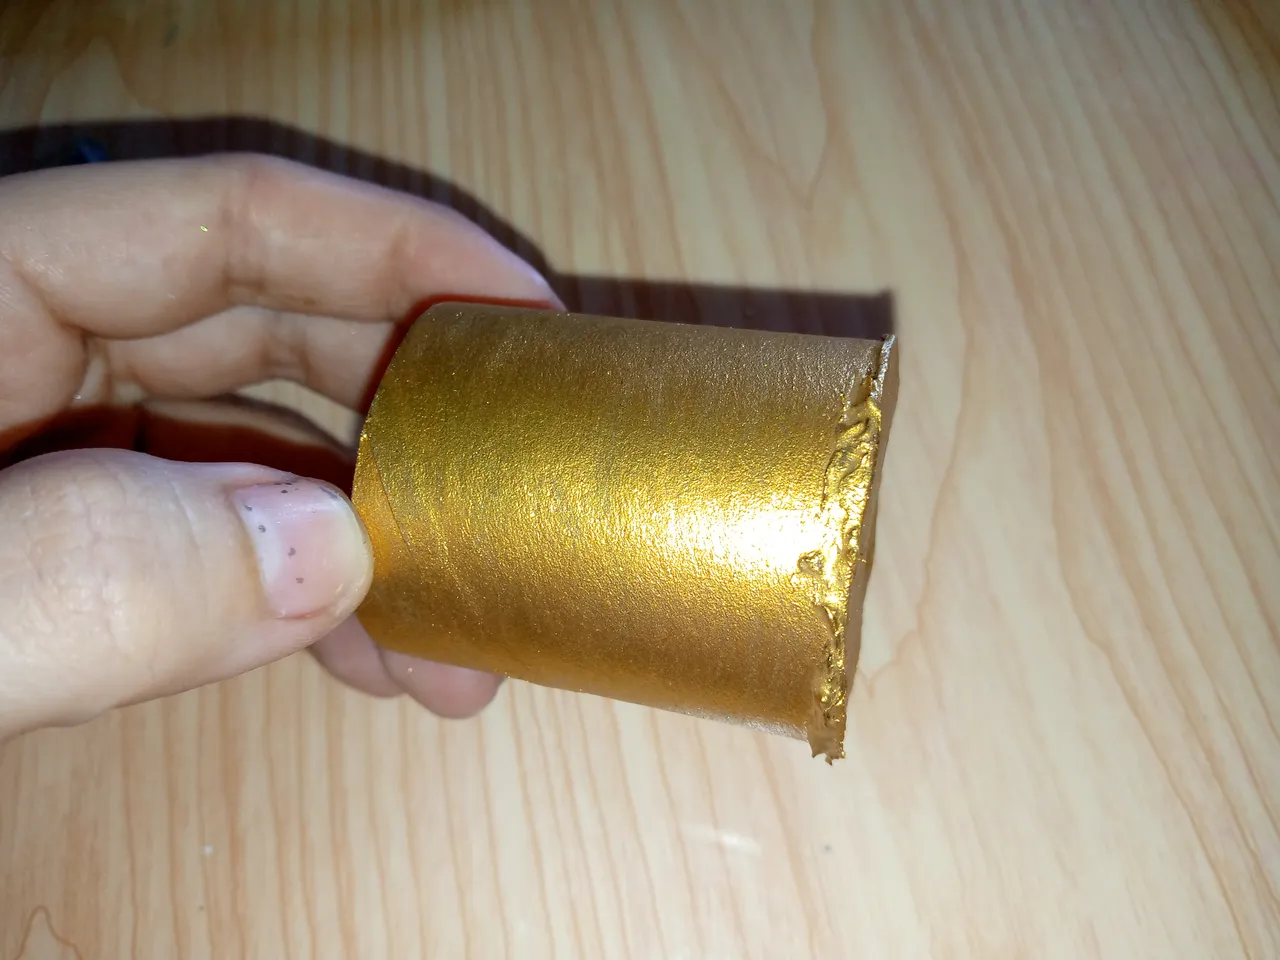
Paso 02
Step 02
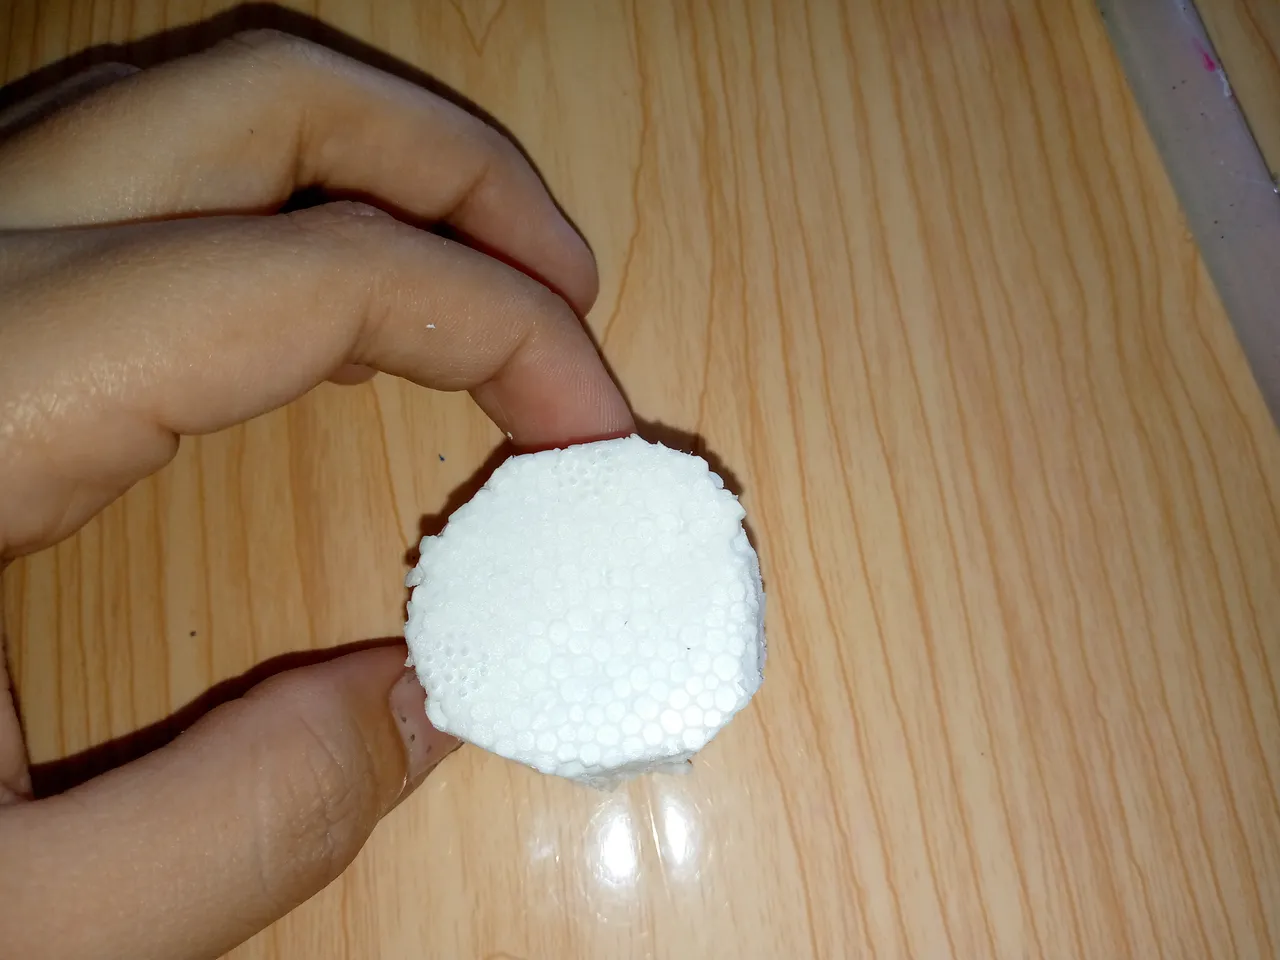
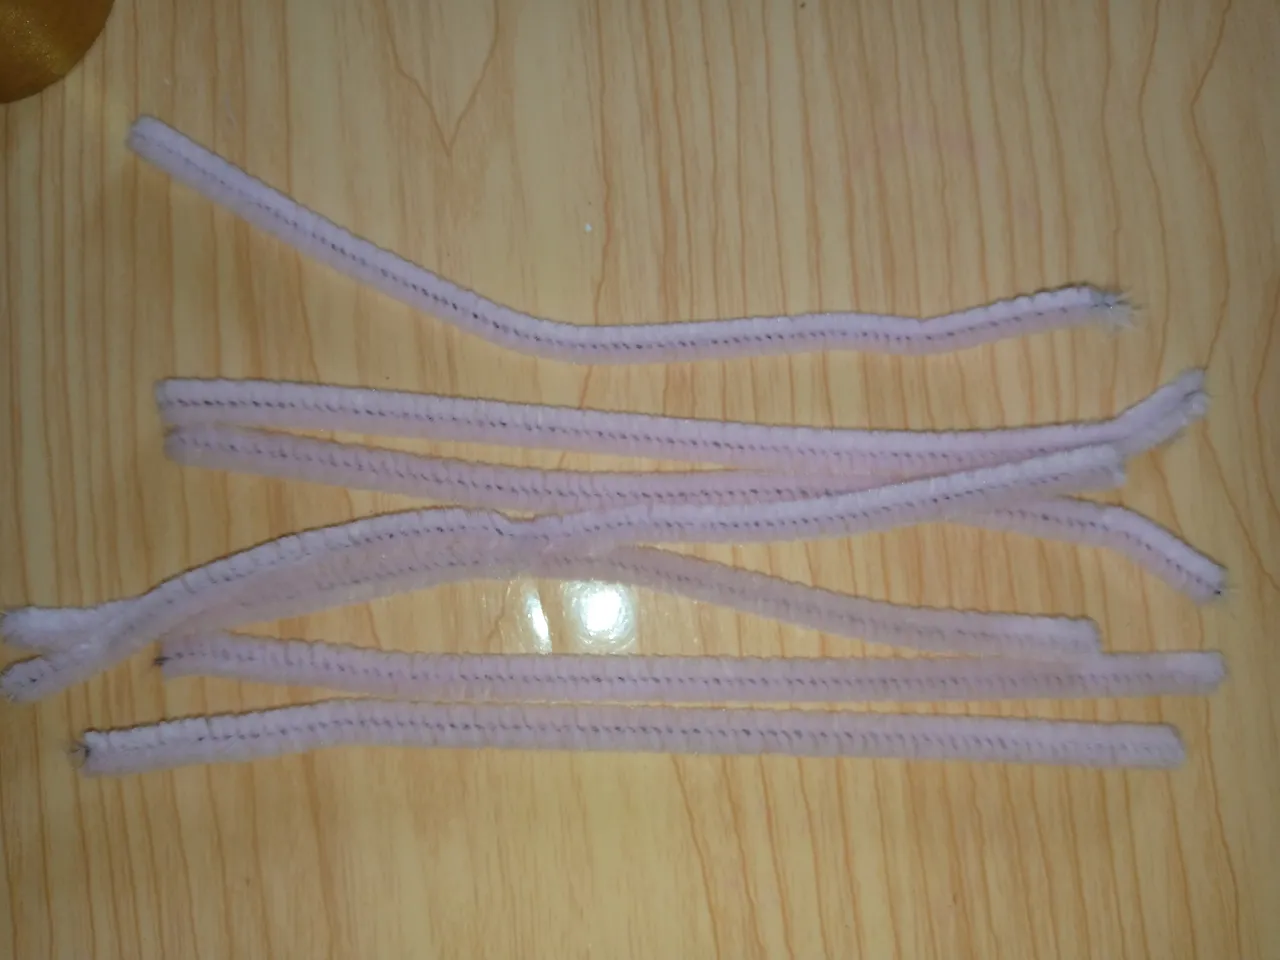
With the piece of styrofoam we will cut a cylinder that we will insert inside the pot so that when we insert our flower it does not fall, we glue it to the bottom to hold it and we move on to paint the outside of the pot with gold paint, I went on to assemble the petals of the tulip and cut the shilling in half that I would be using for the petals.
Paso 03
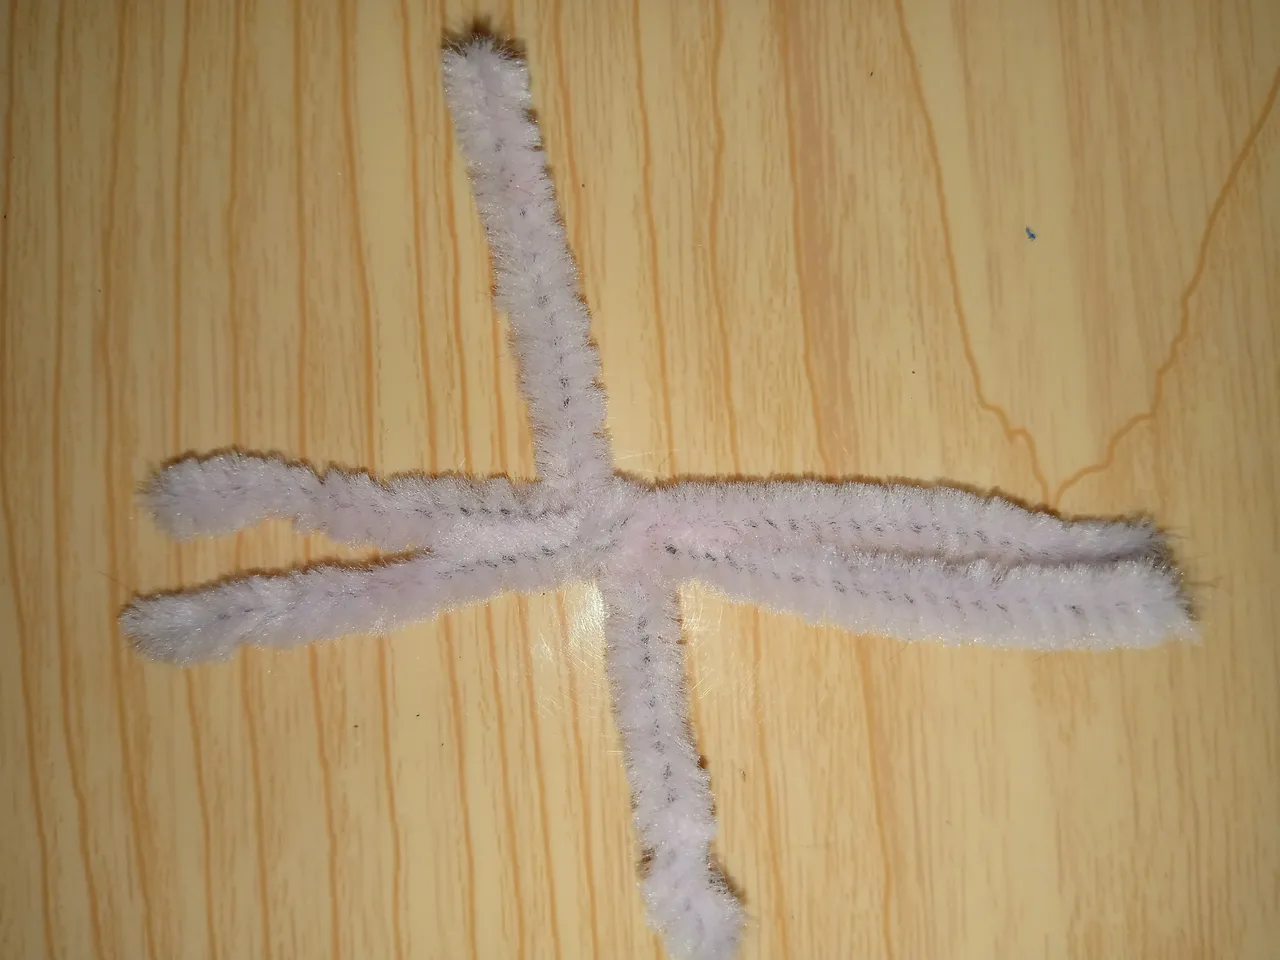
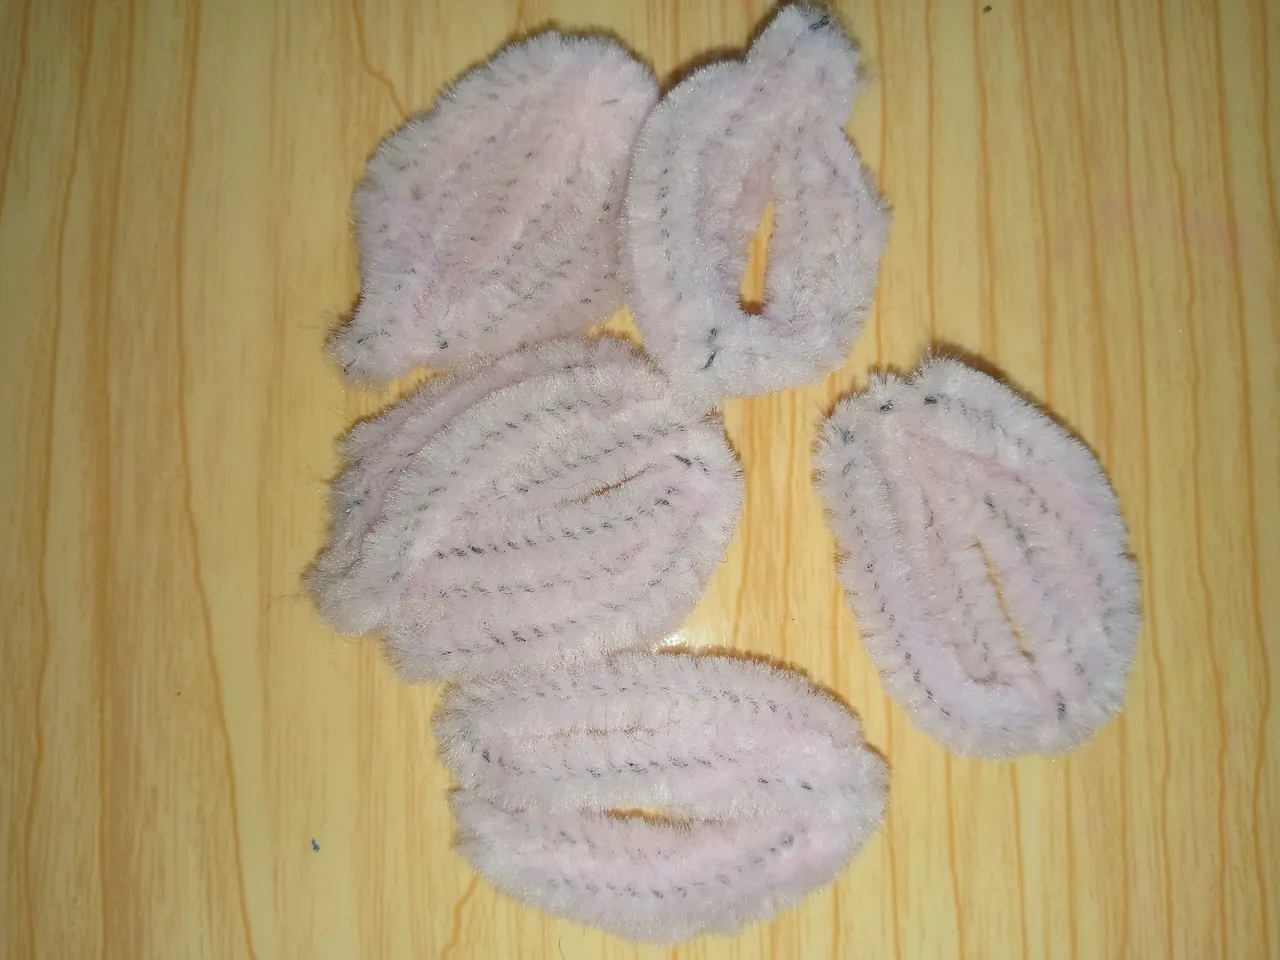
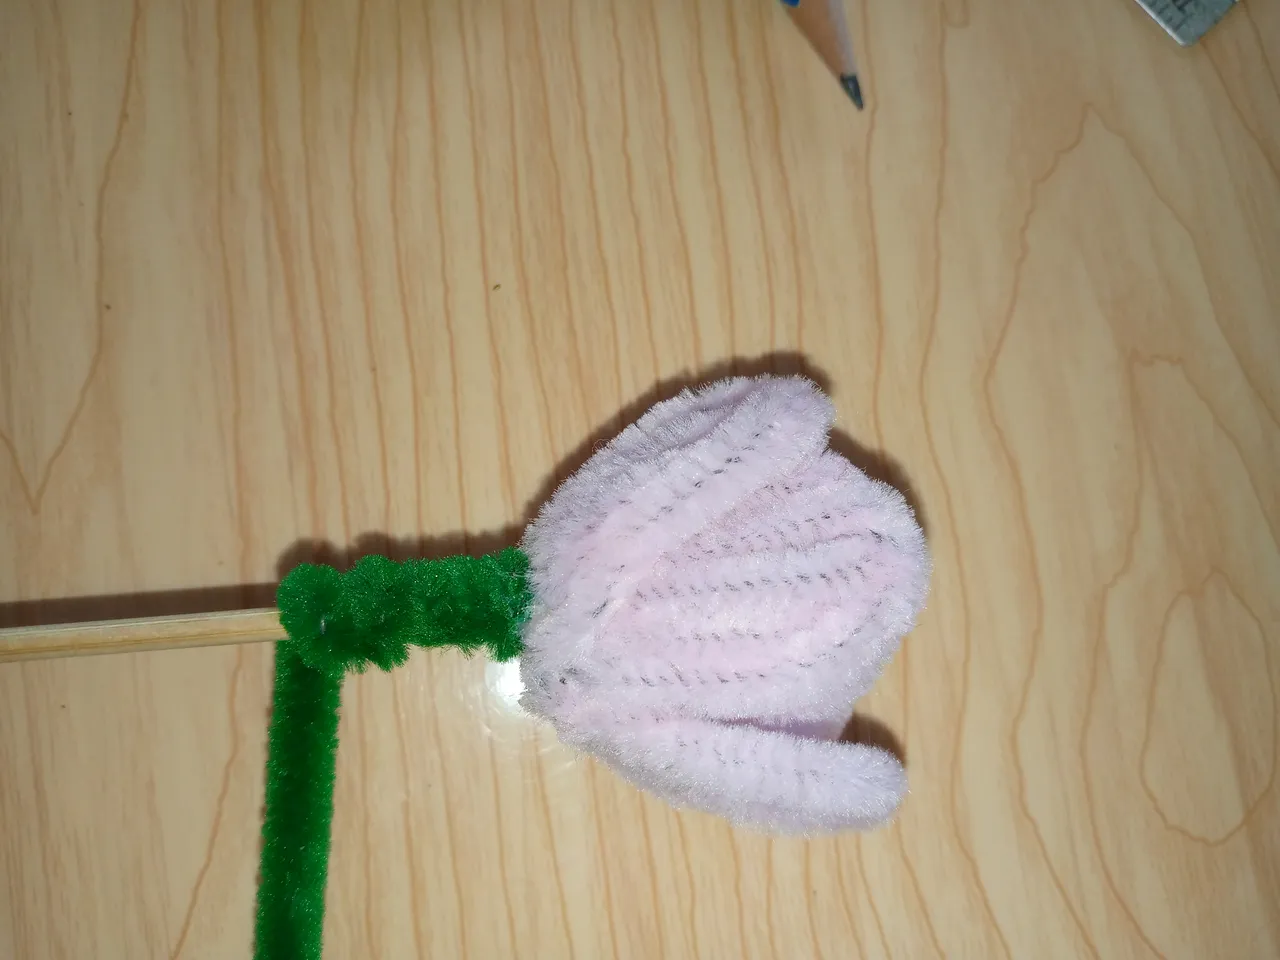
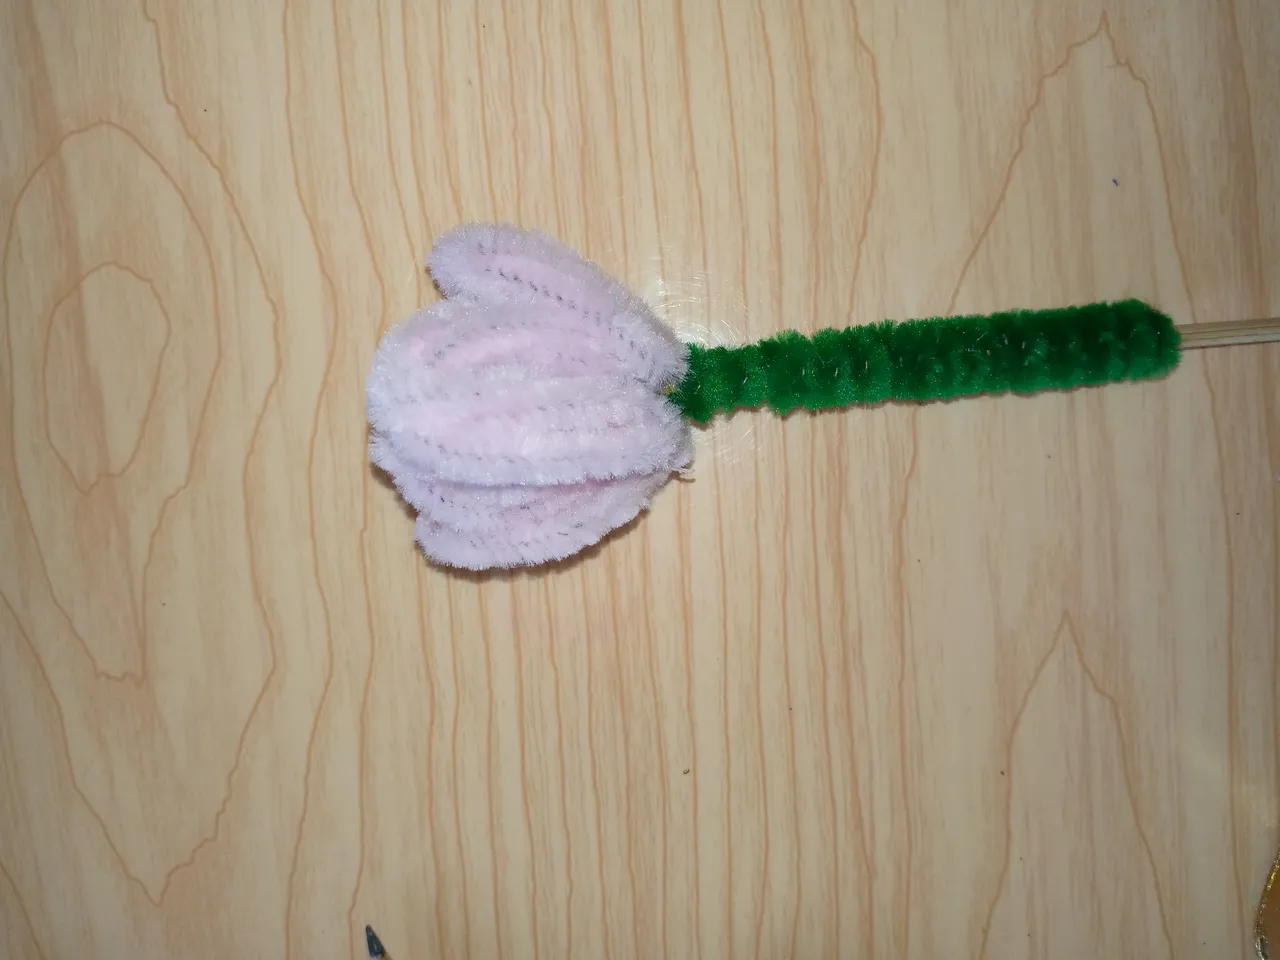
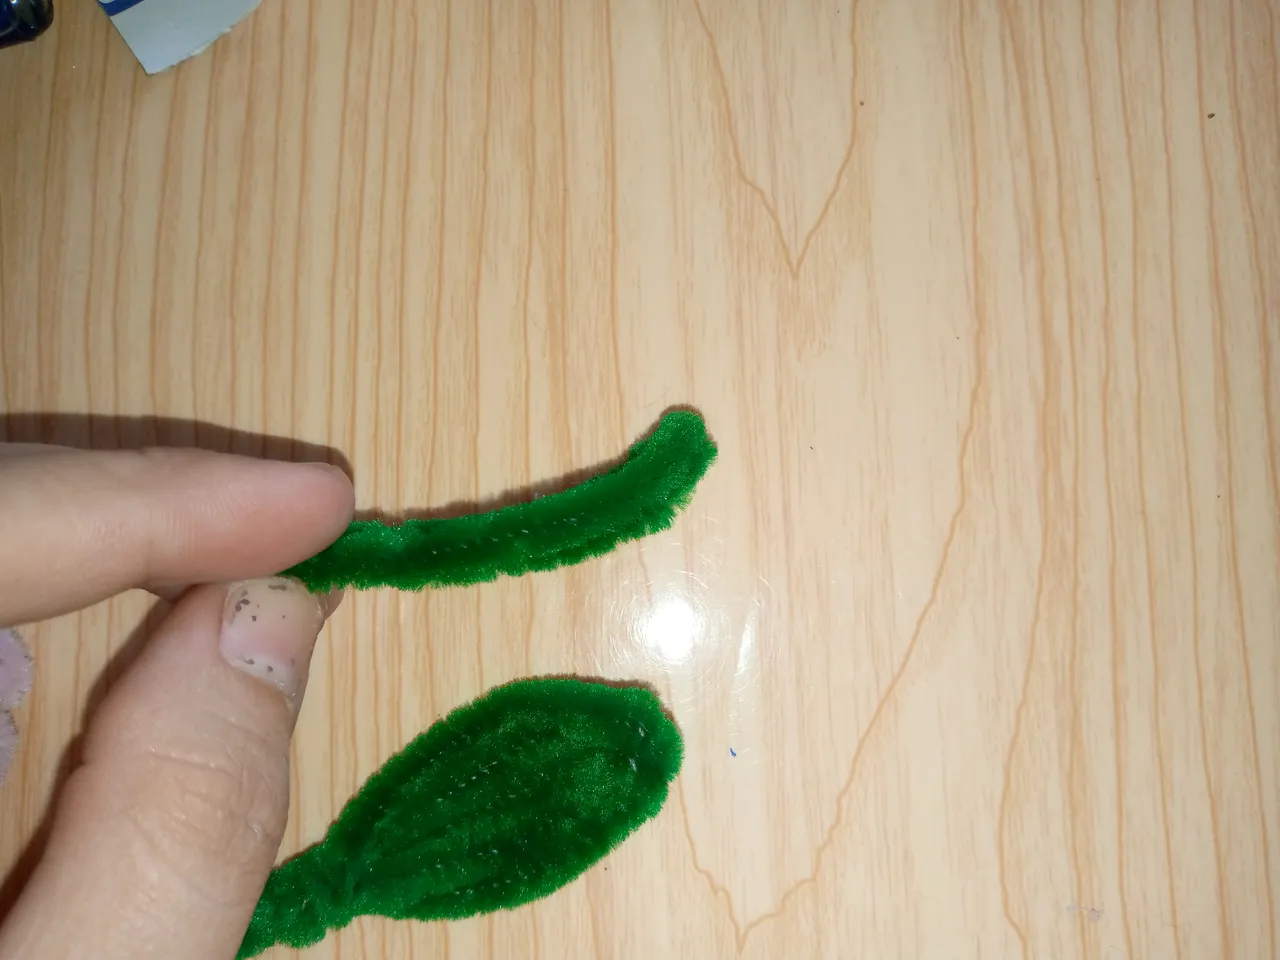
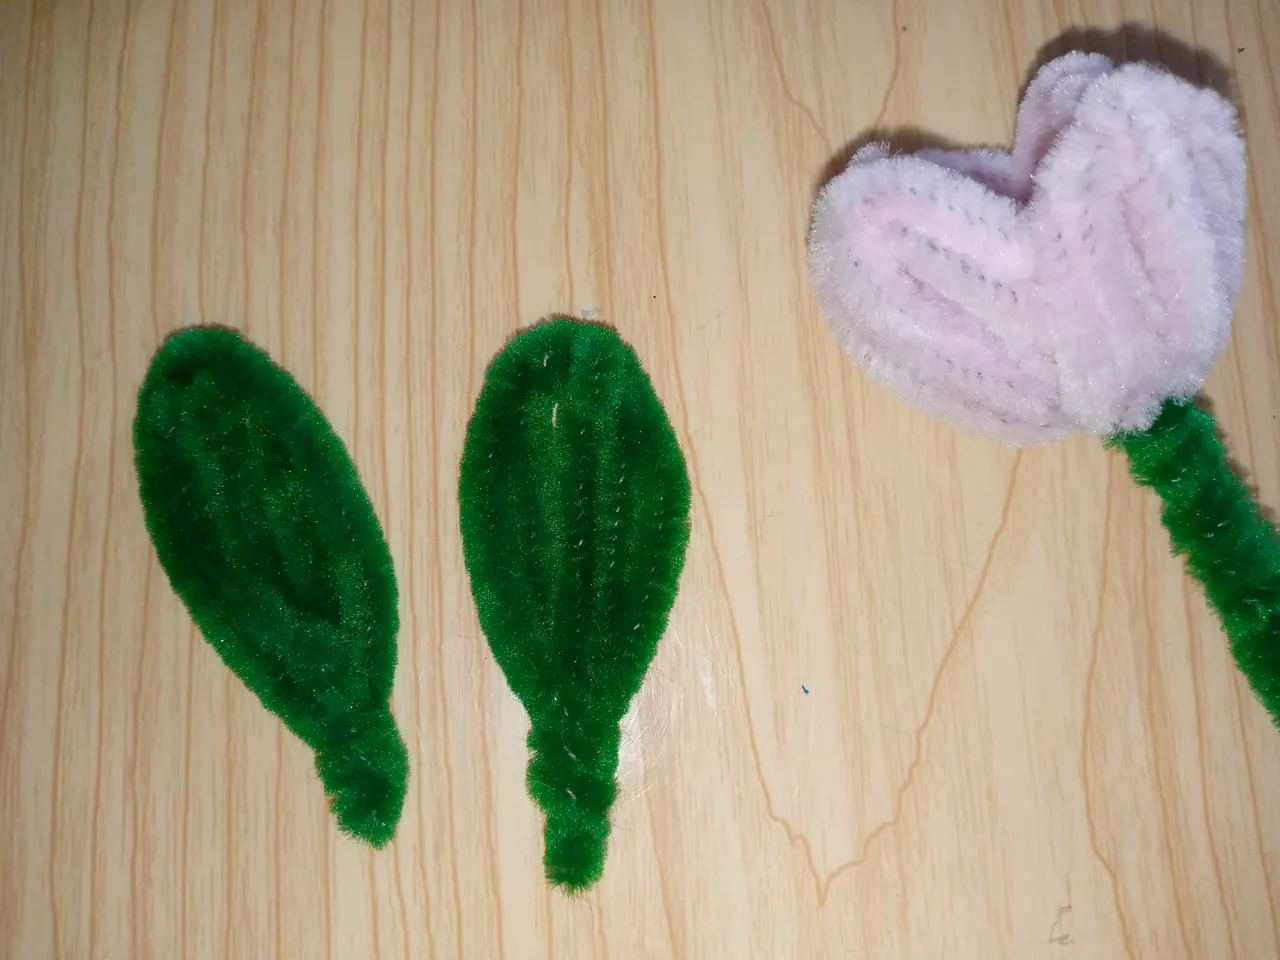
Step 03
I will be placing two and one in the center, we turn it inwards and bend the other chenilles on the sides downwards giving it the shape of a petal, the tulips are somewhat pointy on top and we can do this with our fingers the shape of each petal on top, then I will assemble the flower on the wooden toothpick arranging the petals on their corresponding sides, to cover the toothpick we will use a green chenille, we glue it on top just below our petals and we begin to roll the chenille all the way down forming the stem, we make the two leaves just as we did the same process to assemble the flowers, two chenilles in the center, I place one, I fold it to adjust and I give the leaf an elongated shape.
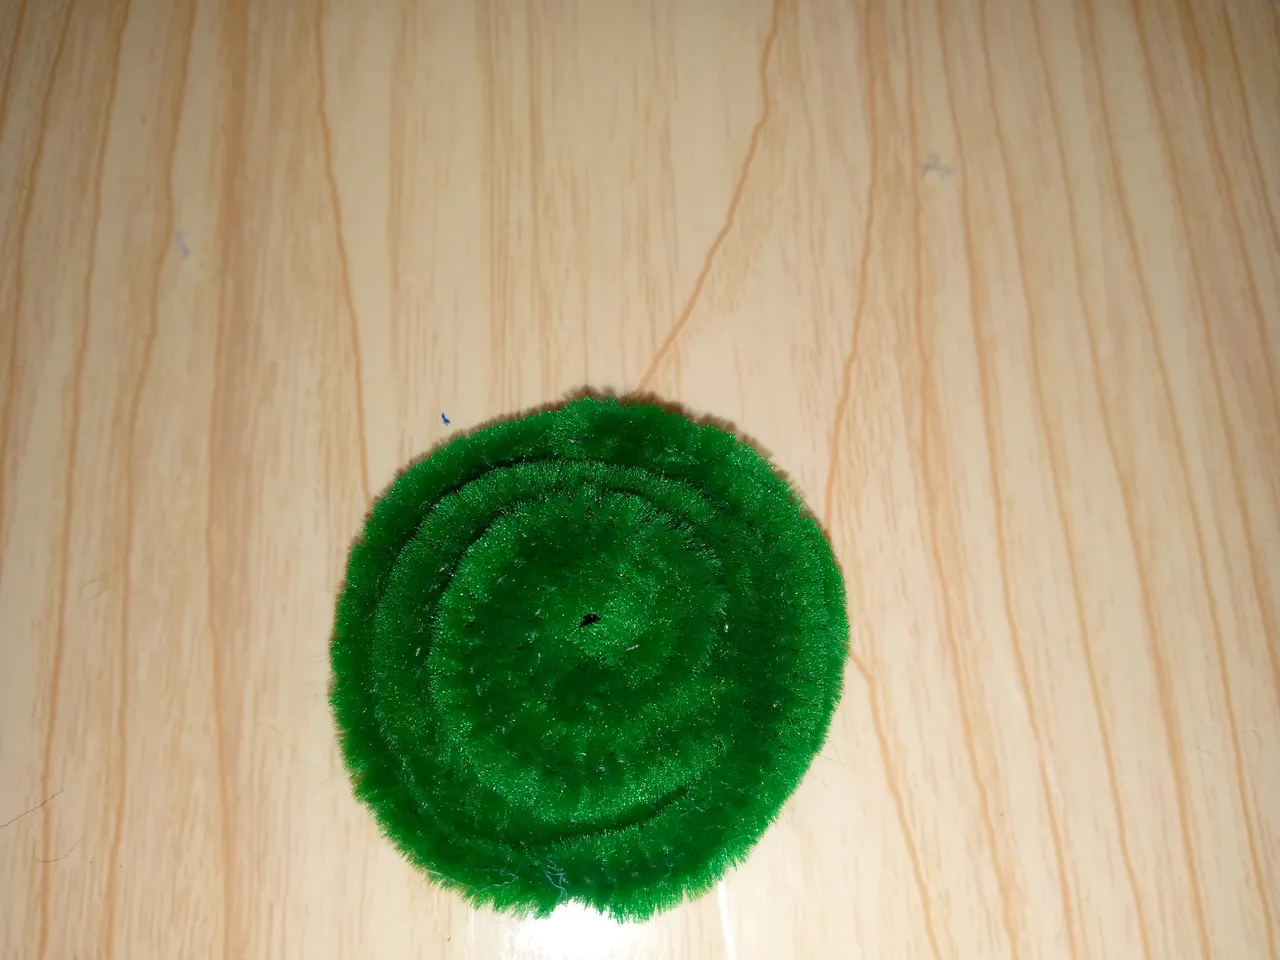
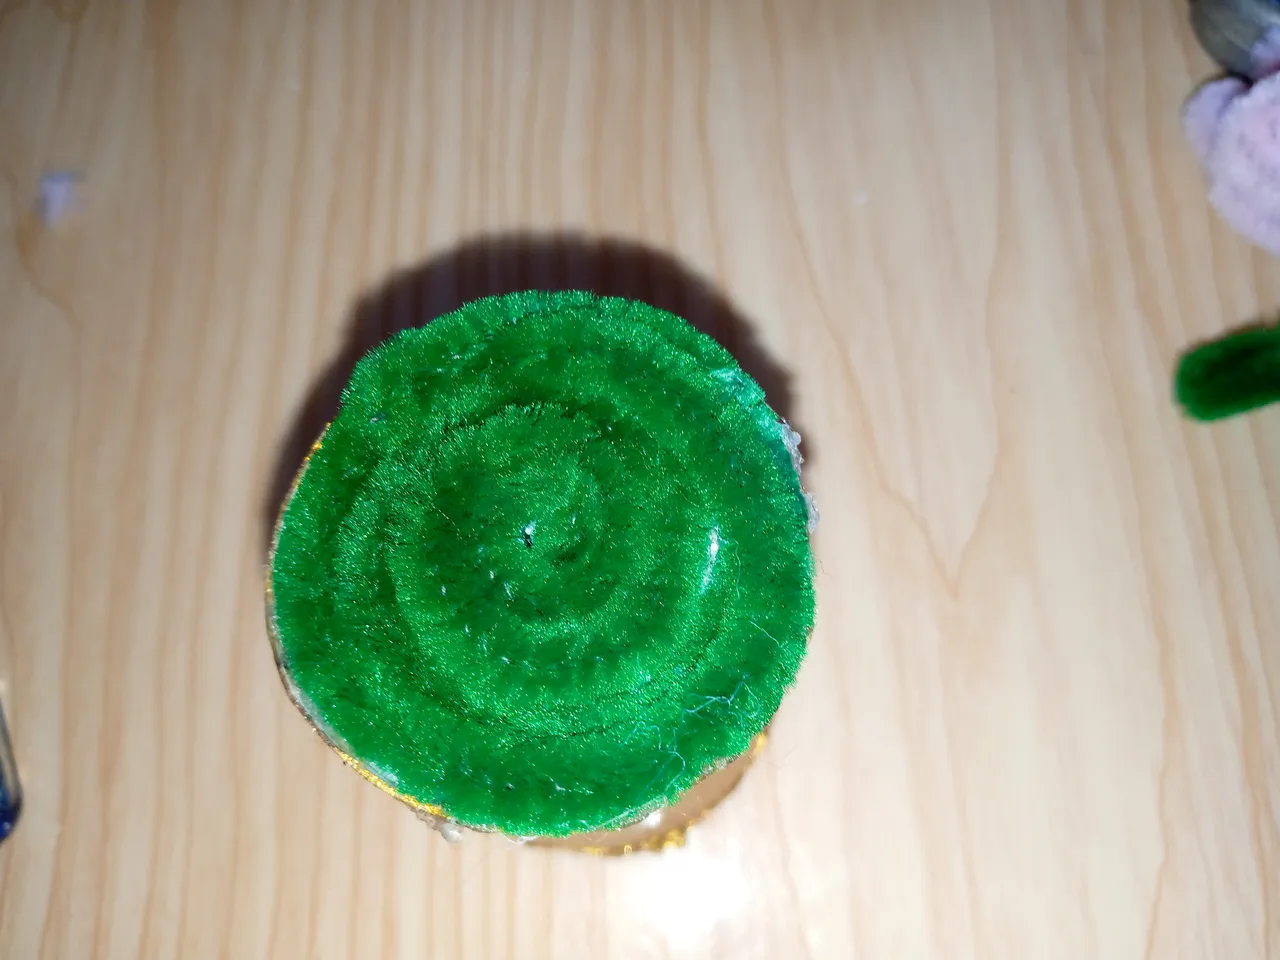
Paso 04
Step 04
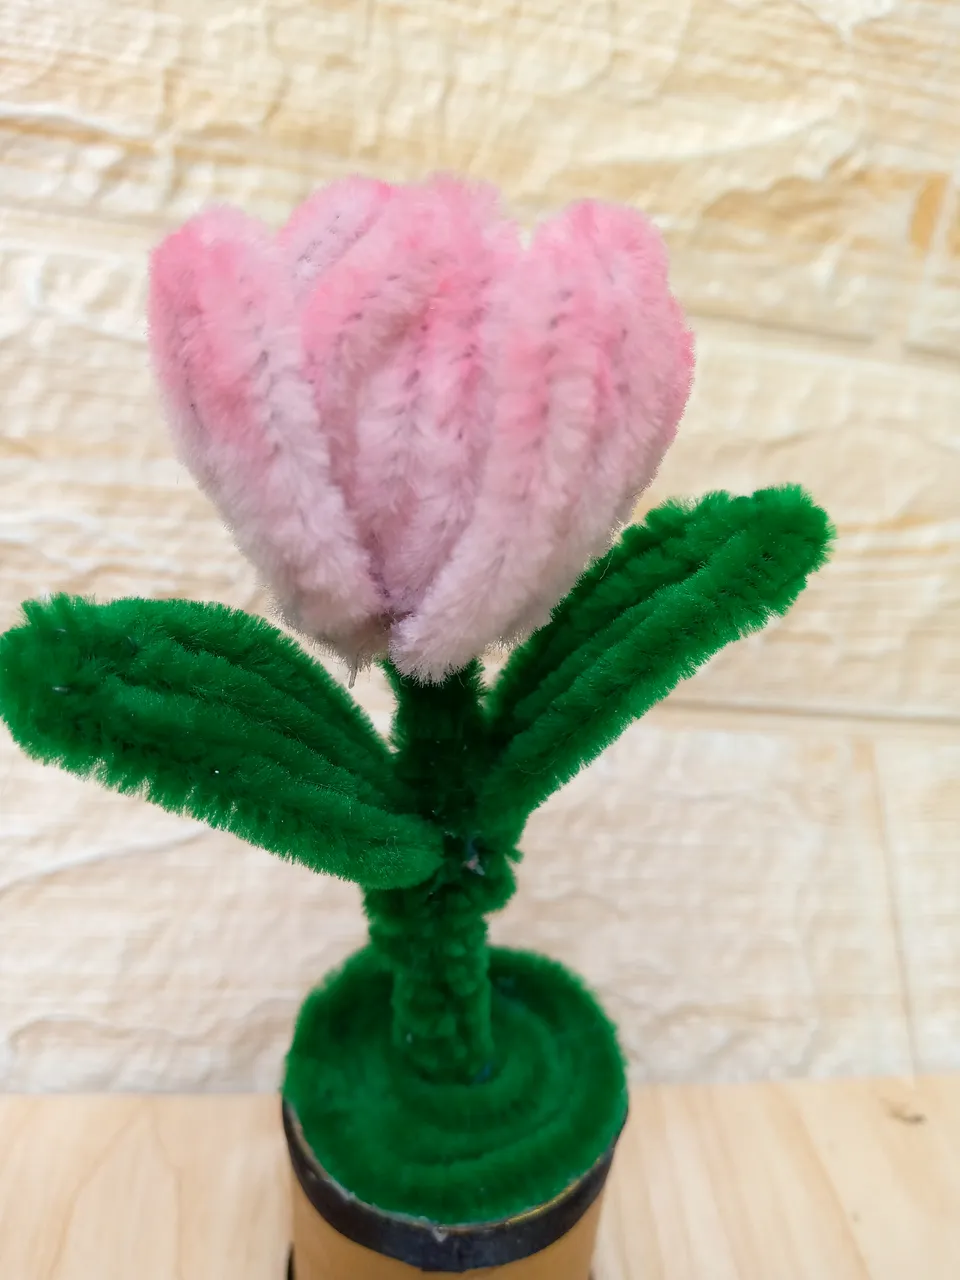
To finish, we make a spiral with green chenille and we will stick it right on the top of the flowerpot to simulate the grass under the tulip and we will introduce the tulip and we will place the leaves, then with a fuchsia-colored shadow and a brush we will blur the top of the tulip to give it more realism and this is how we finish it.
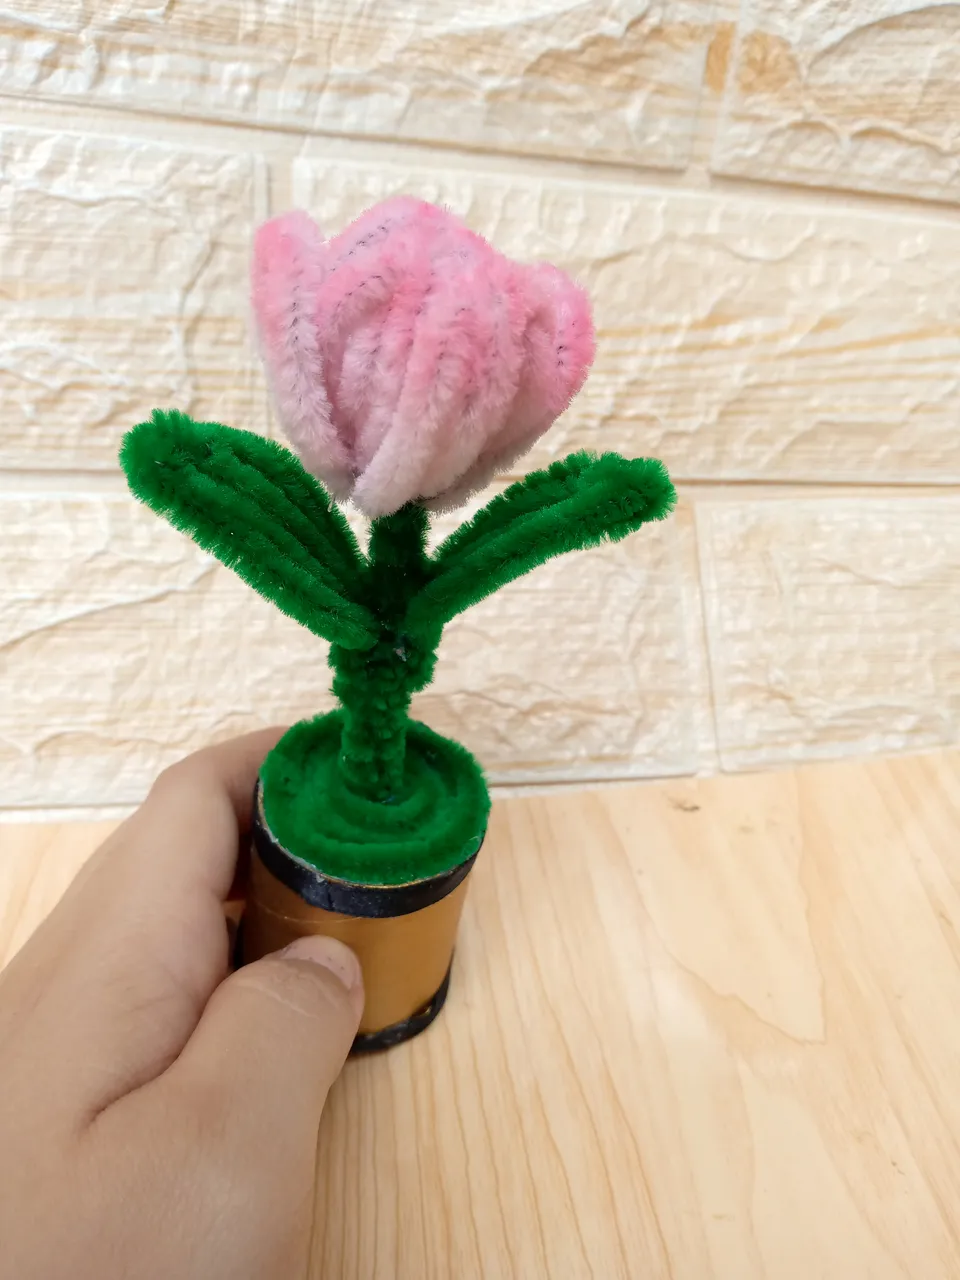
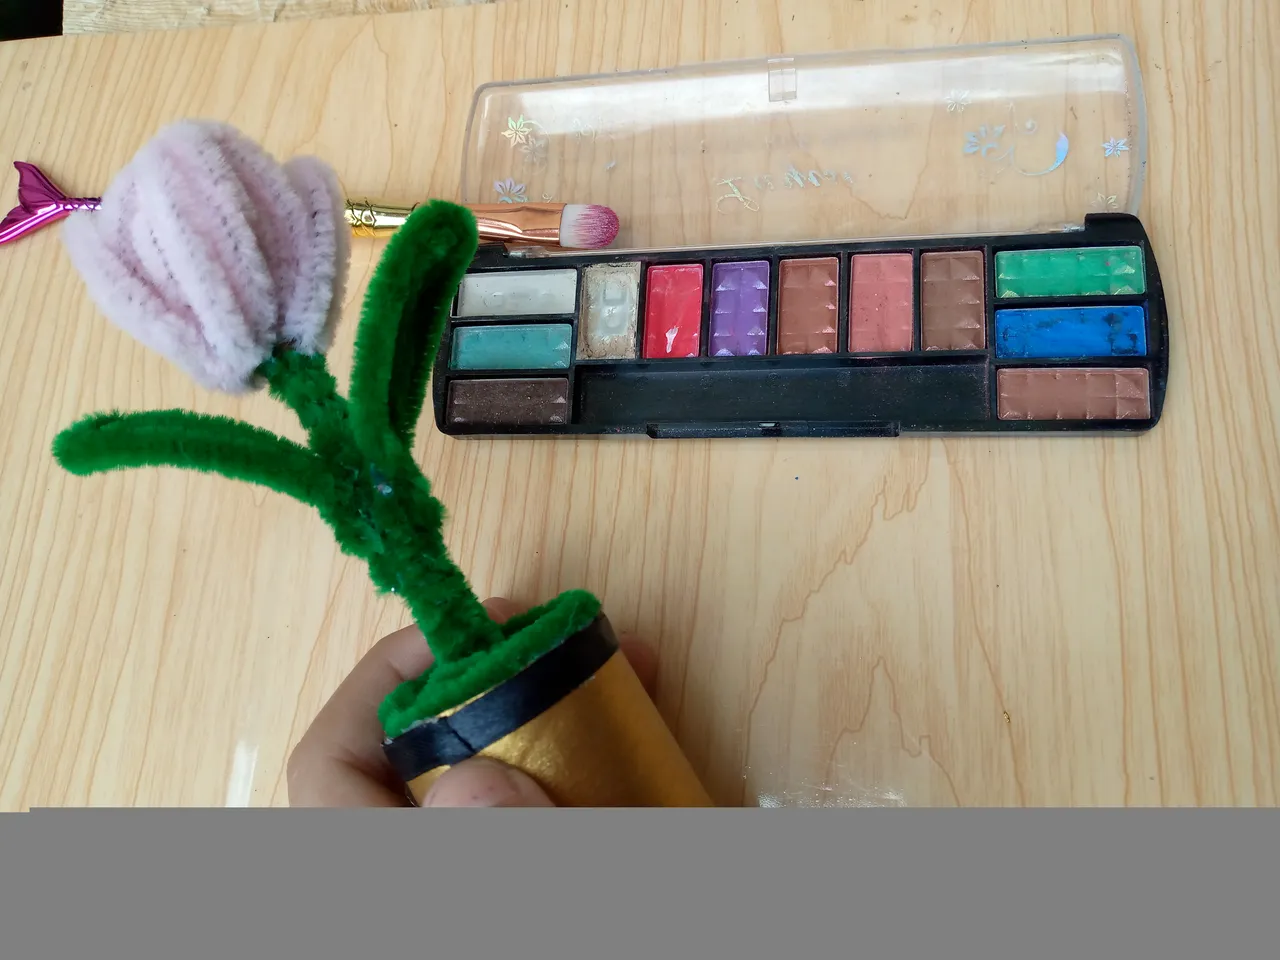
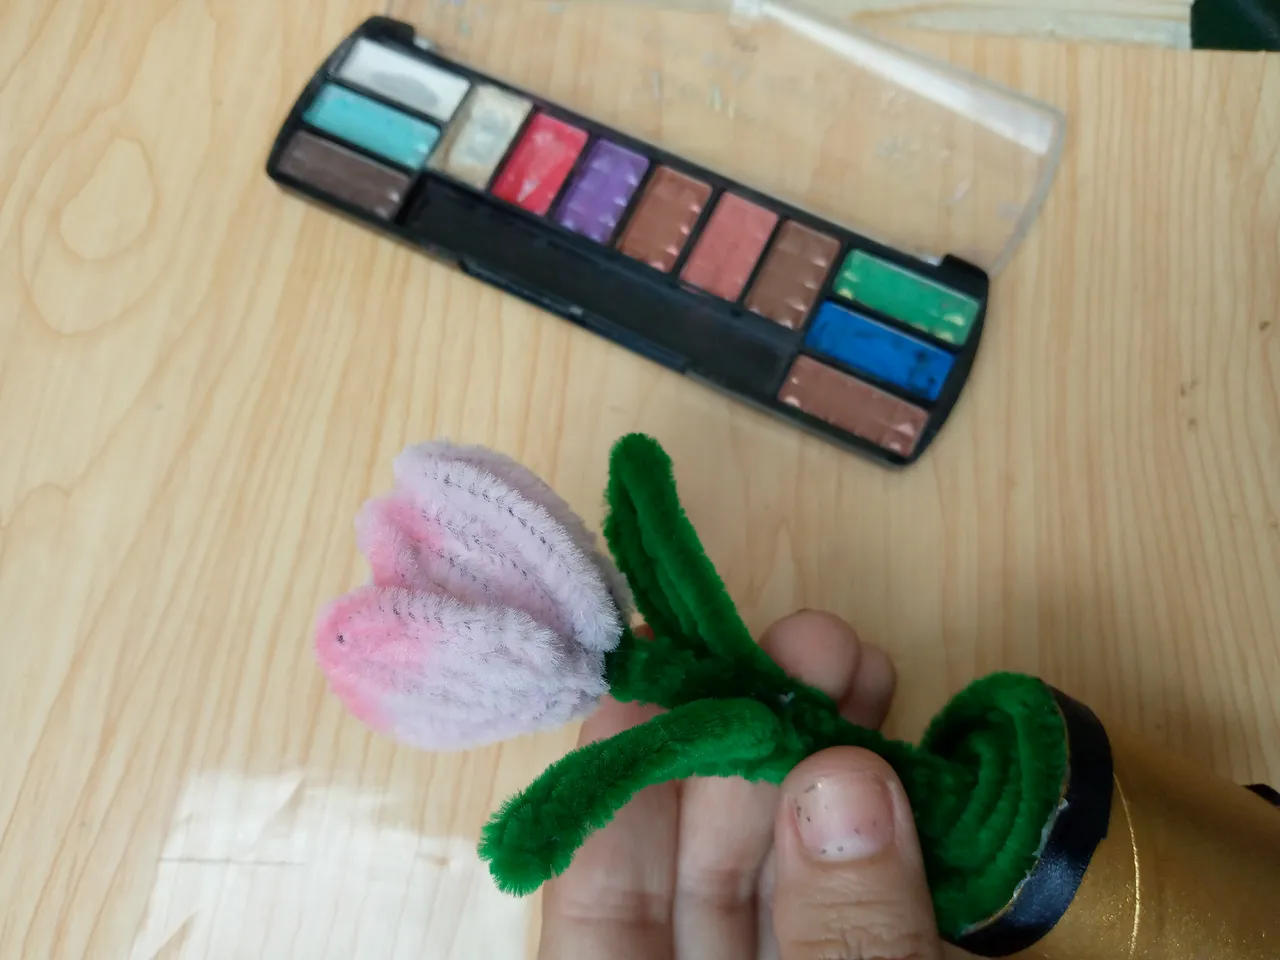
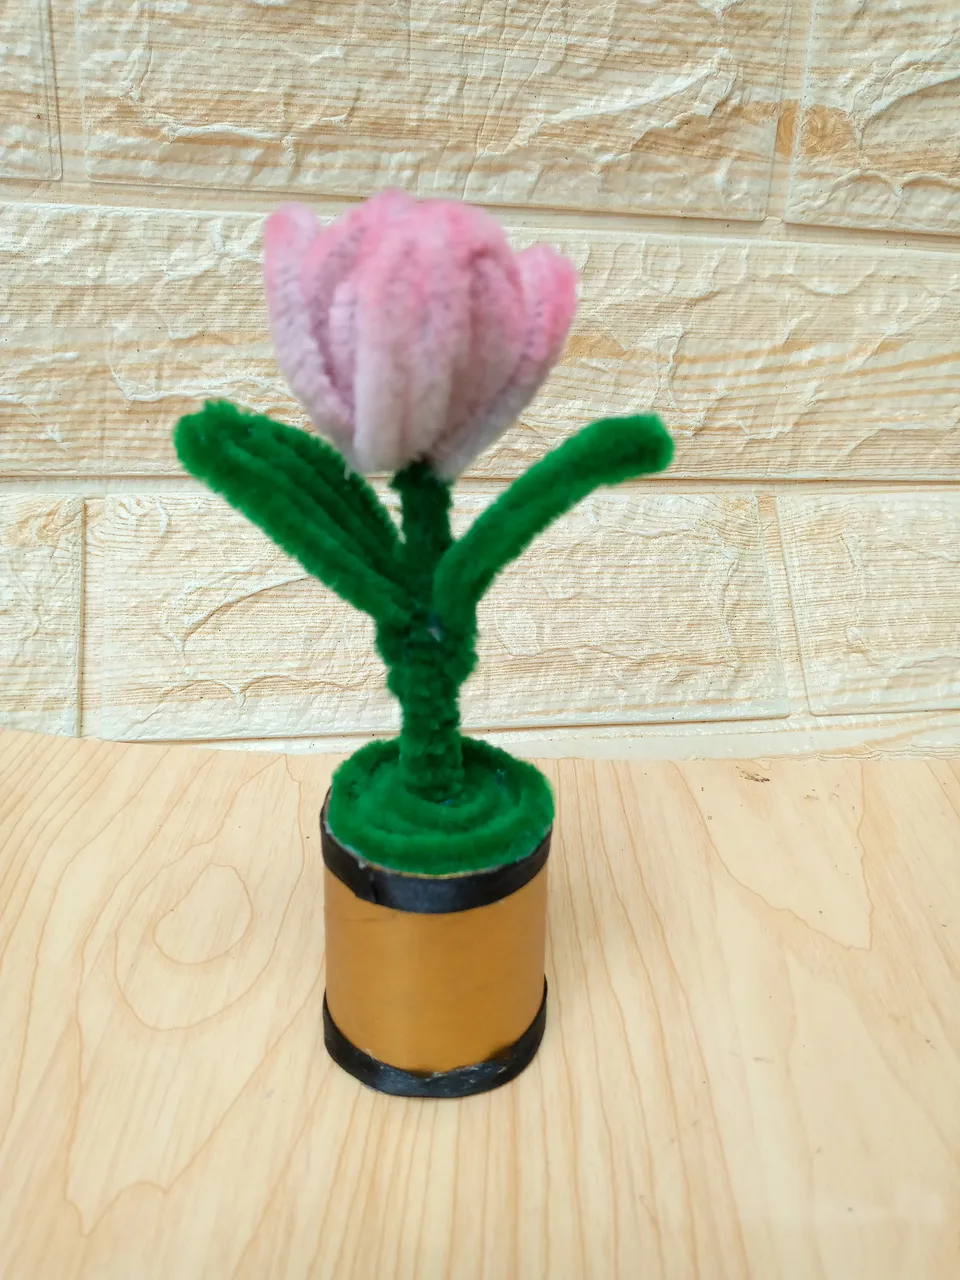
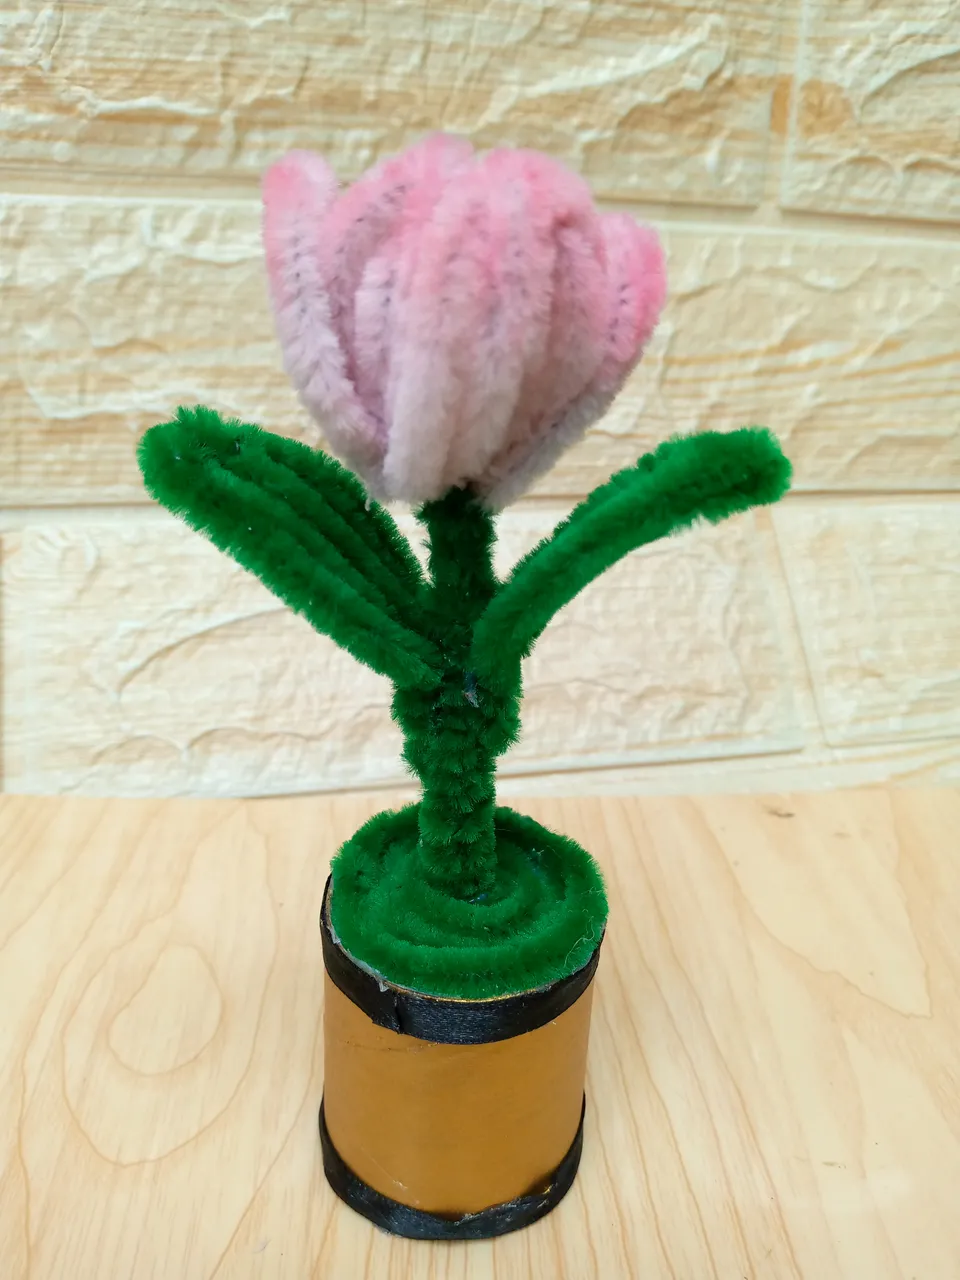
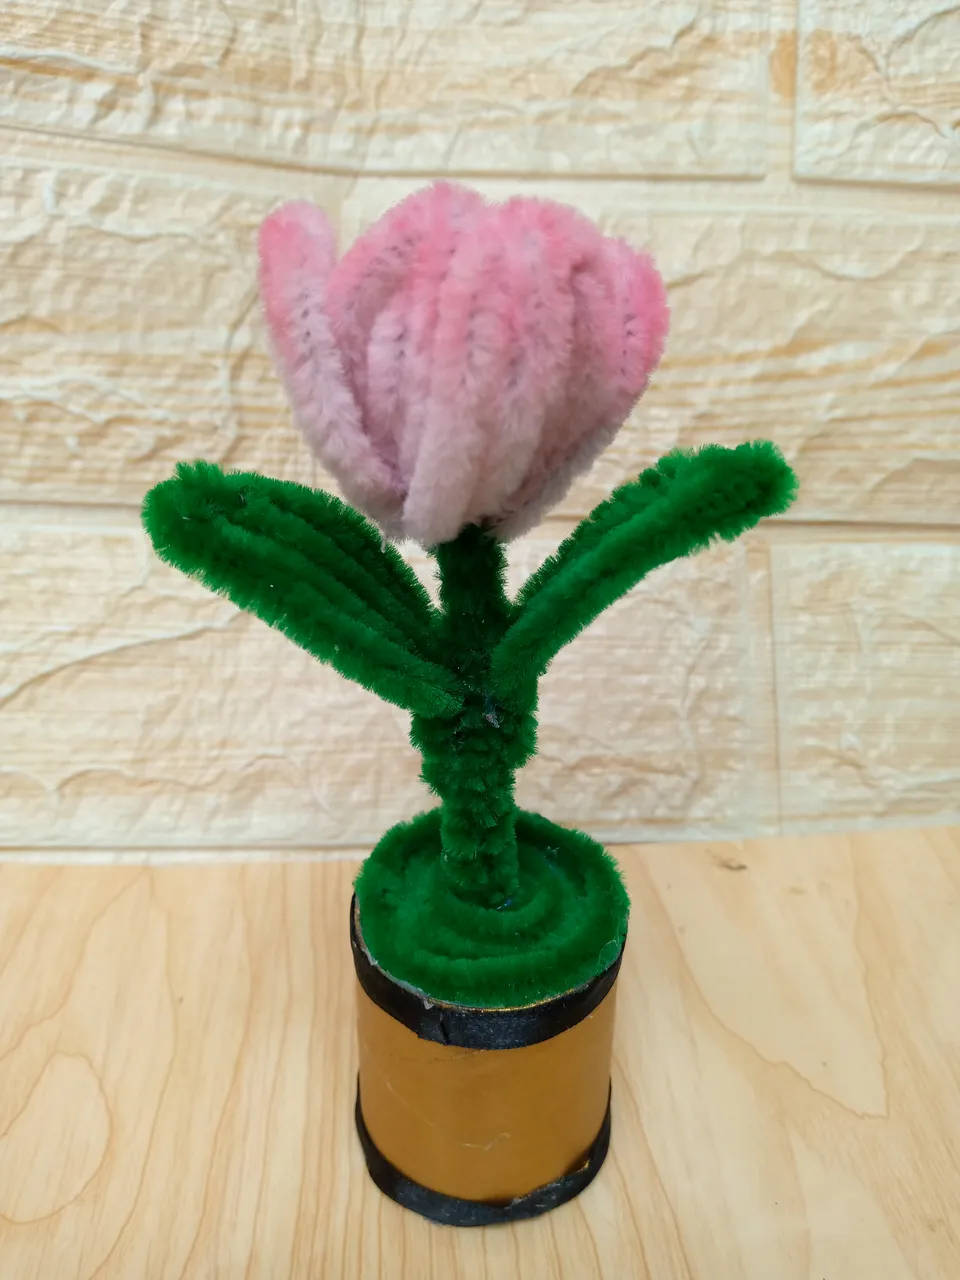
Resultado:// Result:
I hope you liked it and this is what the final result of this ornament looks like and the tulip looks very pretty, thank you for appreciating this blog and I say goodbye to you until another next tutorial.☺️

Creating things with love 🌷❤️
🦋✨ All the images in this publication are my author ,📱taken with my TecnoSpark8C cell phone |📸Photos edited in PicsArt and Canva. Text translated in Google Translate.