
Hello, good evening friends! I hope you are having an incredible night, I'm a little tired because these days I haven't felt so well but oh well, I'm giving it my all to not lose the many ideas that I've had in mind this week, it's been a while since I practiced drawings on paper, I can tell you that it has been difficult for me lately to get down to drawing, my time is not the same as it was when I was a teenager now I have more occupations and responsibilities but the same thing and spending some time making drawings doesn't stop me from occasionally enjoying this hobby a lot, my favorite hobby of all time which is drawing even though I have to work with my needlework, fabrics and threads I also find time to have fun.
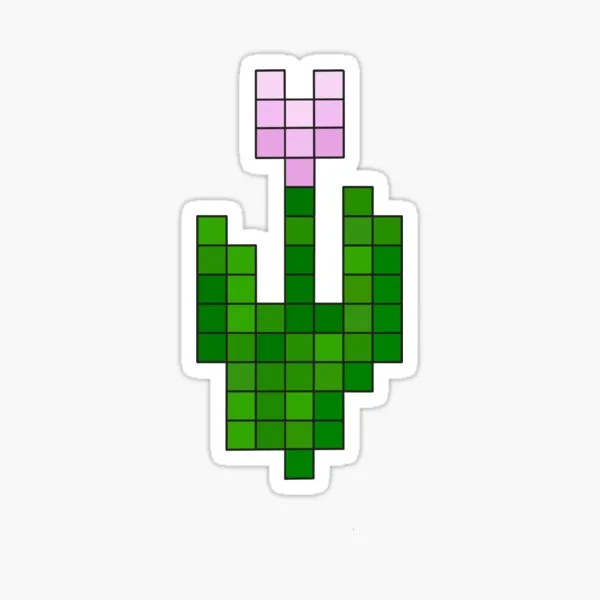
I don't know if you have noticed that as a result of the new Minecraft live action movie, this video game has become a trend, and especially the things that you can find within the game, the trends vary between the characters such as Minecraft objects to its wide nature, the flowers, the trees and the mushrooms, I have seen that the Minecraft painting pictures and the mushrooms have gone viral, and as if that were not enough, the bees, which are my favorites, I used to play this game a lot for a while and the truth is that it is a little entertaining as well as addictive from my perspective, no, hahaha, but I did spend a lot of time playing games, connected with my cousins and creating worlds, also making use of the tools in survival mode in Minecraft.
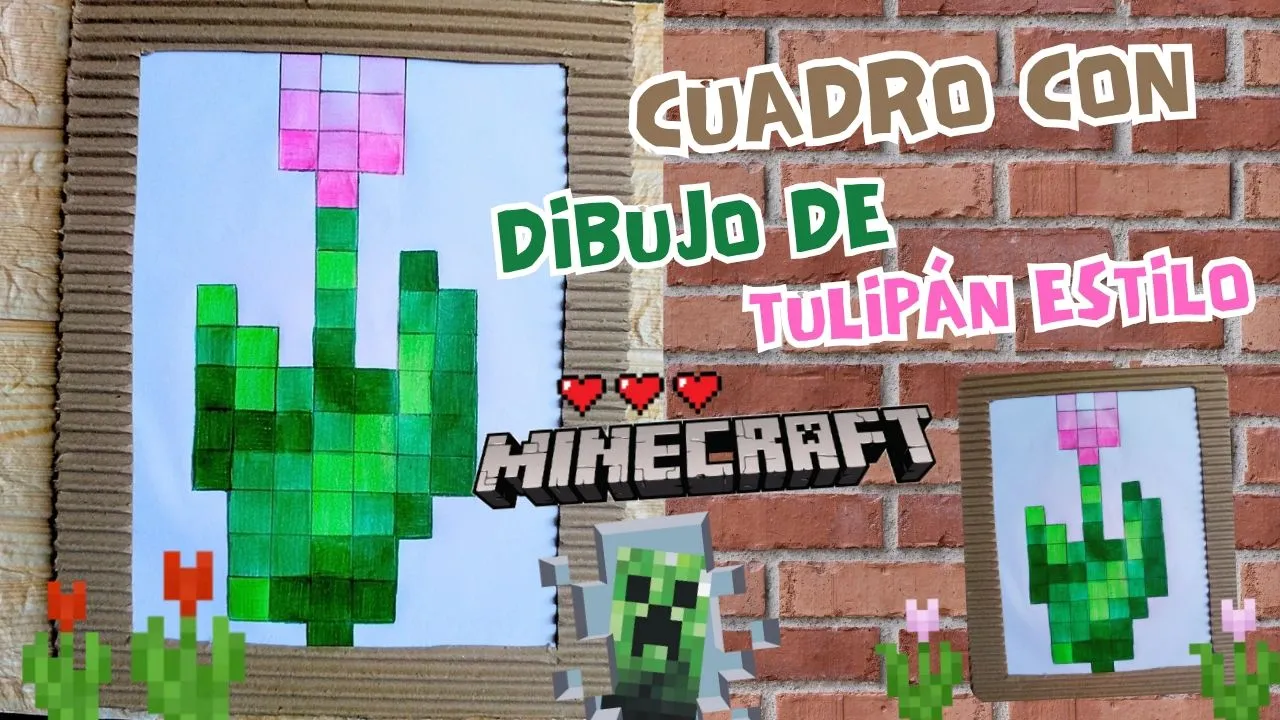
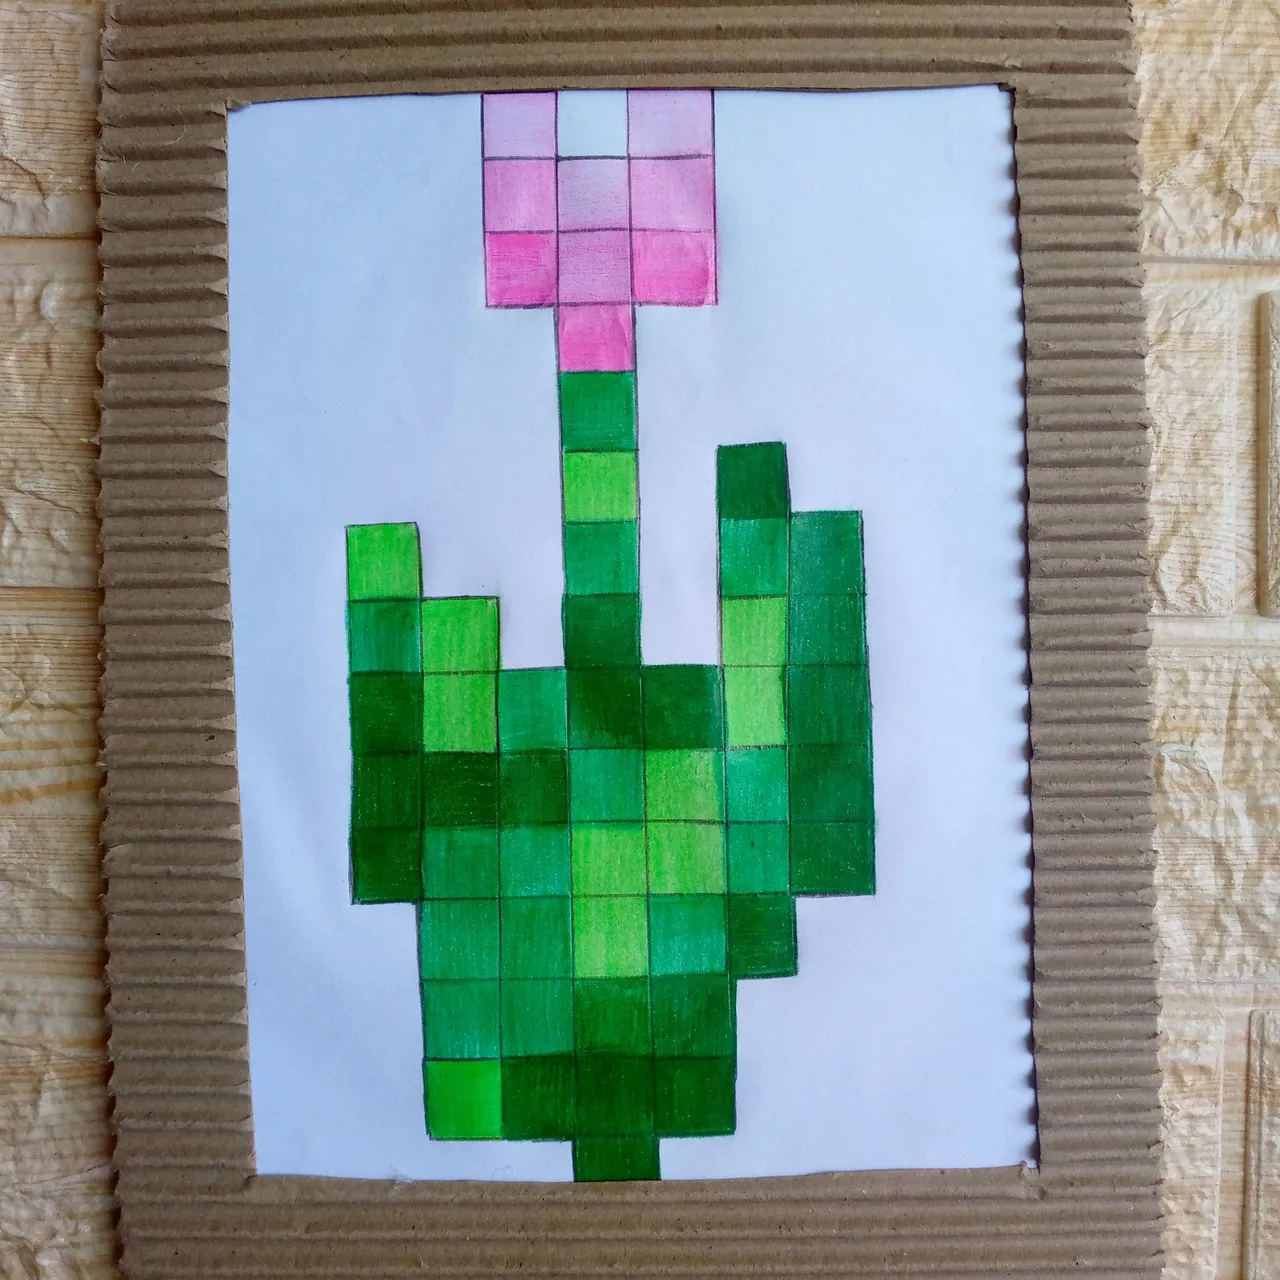
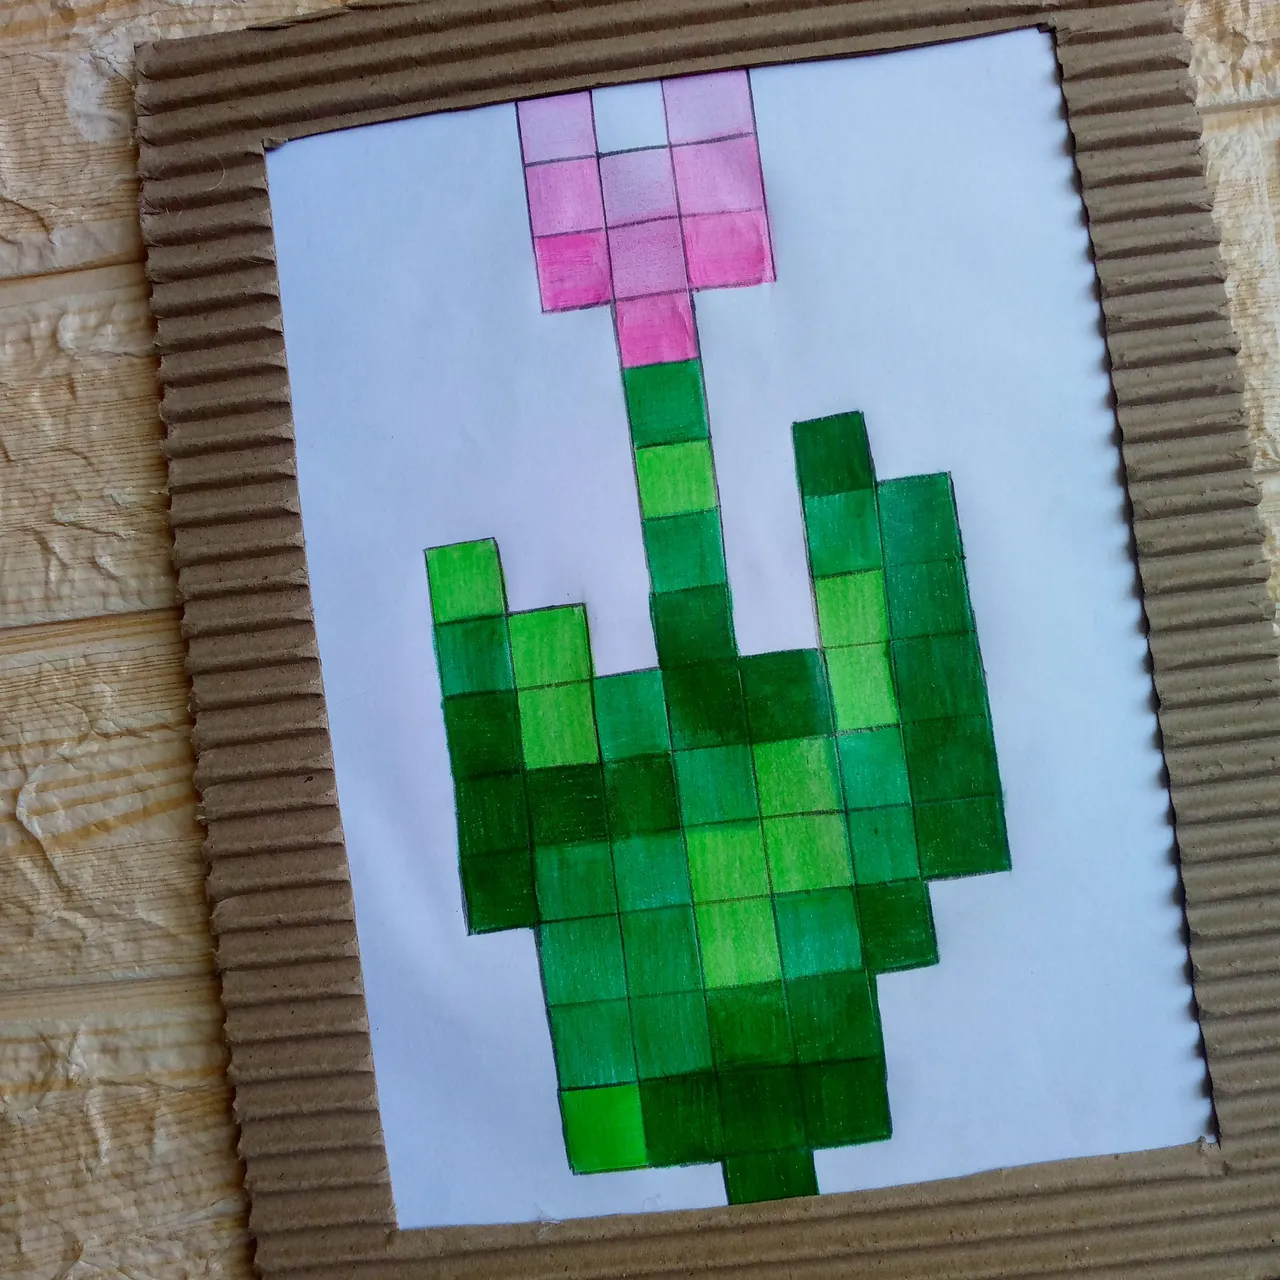
I got creative today to make a picture with recycled material like cardboard from a box and well using a little creativity I was guided by the plants that are in Minecraft and I wanted to choose a nice tulip and thus decorate the wall of my room and well, more than making a Minecraft tulip as decoration, it looks really beautiful, if you really like this aesthetic you will like to know how I did it and I hope you don't leave here without seeing how I did it, I hope you like it🌷✨.
Materiales:// Materials:
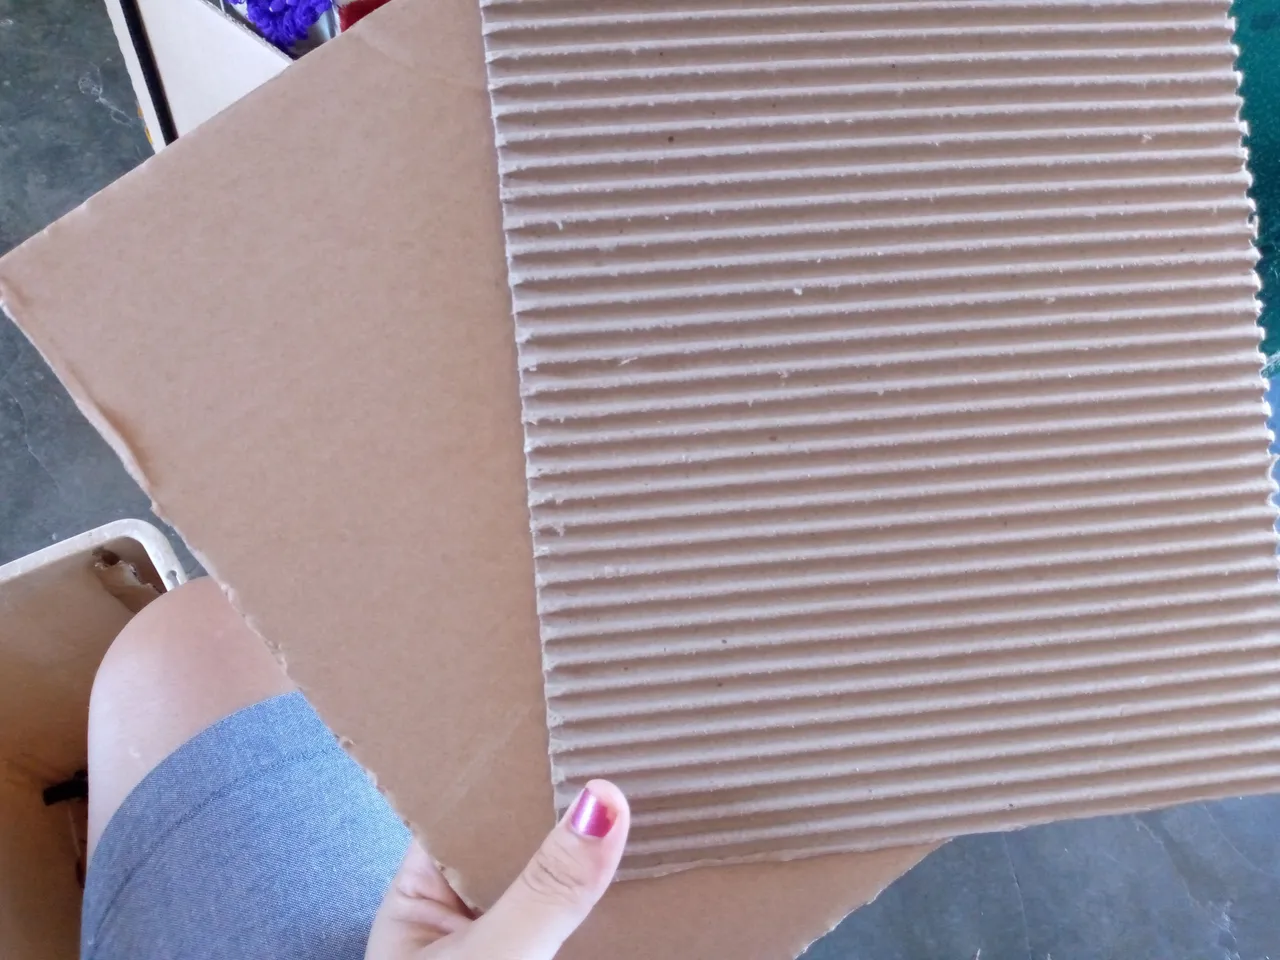
- Cartón reciclado de caja que no uses
- Tijera
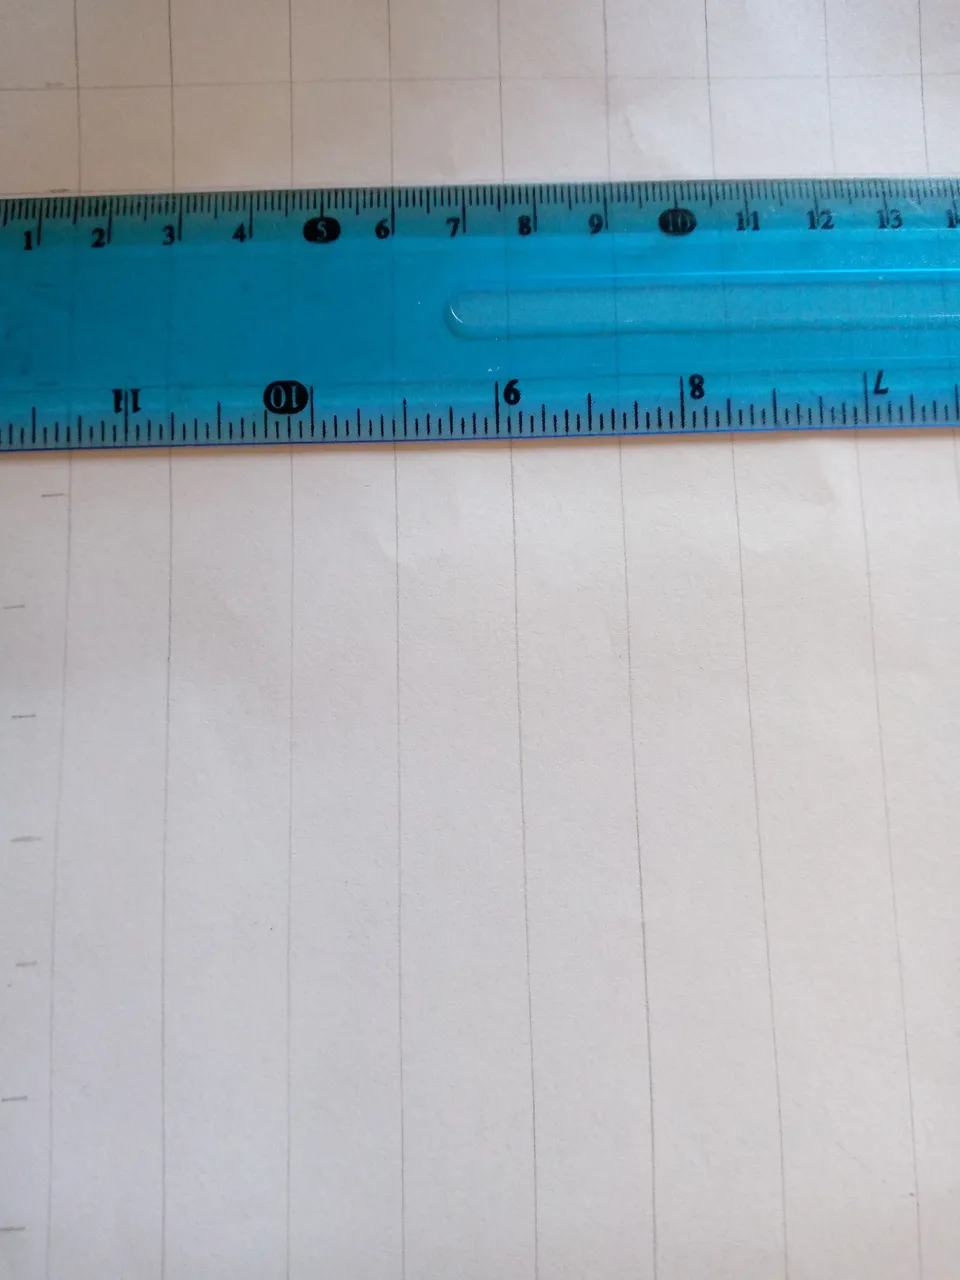
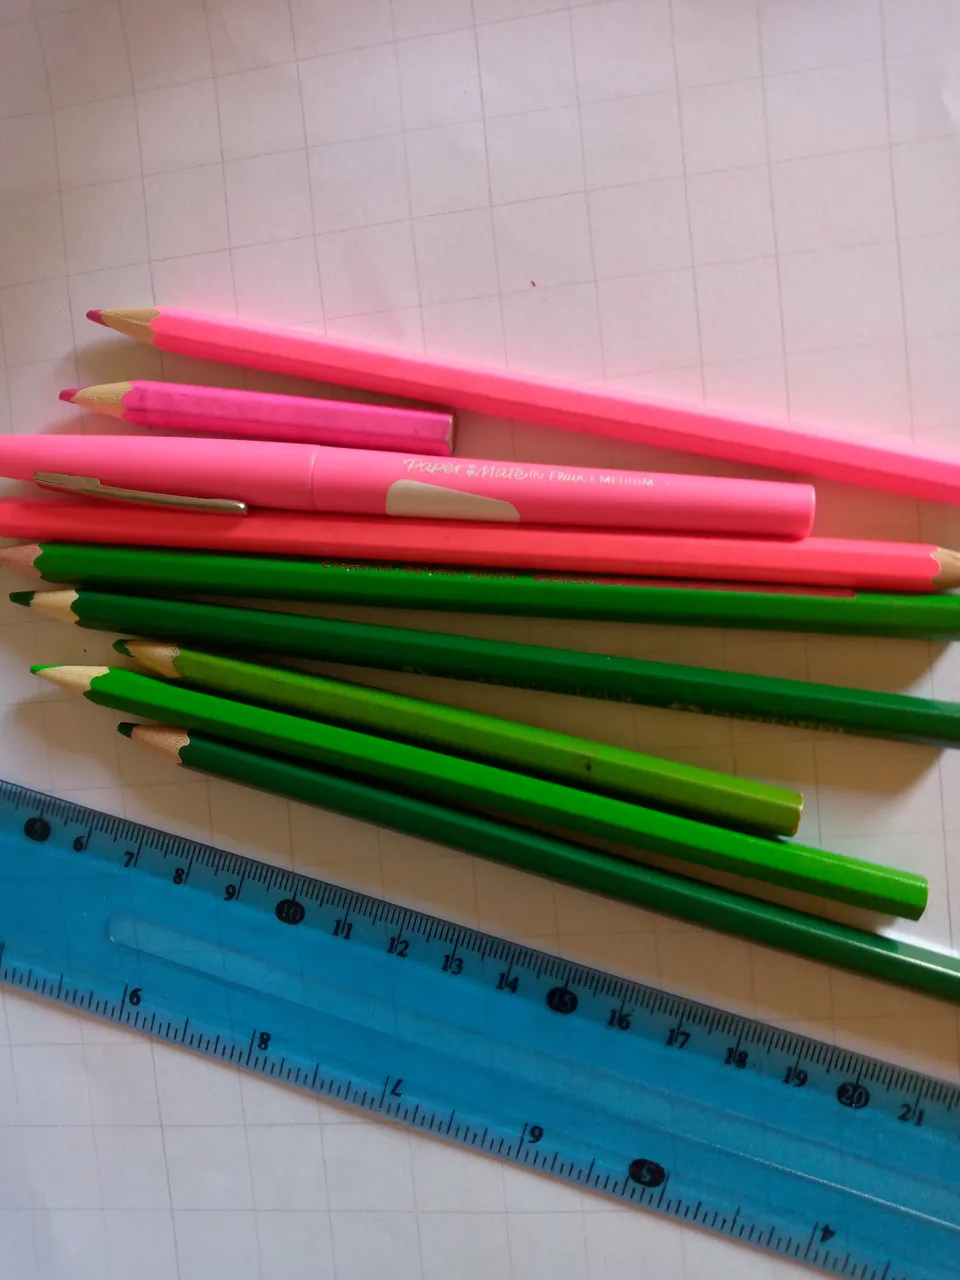
- Regla
- Colores
- Lápiz
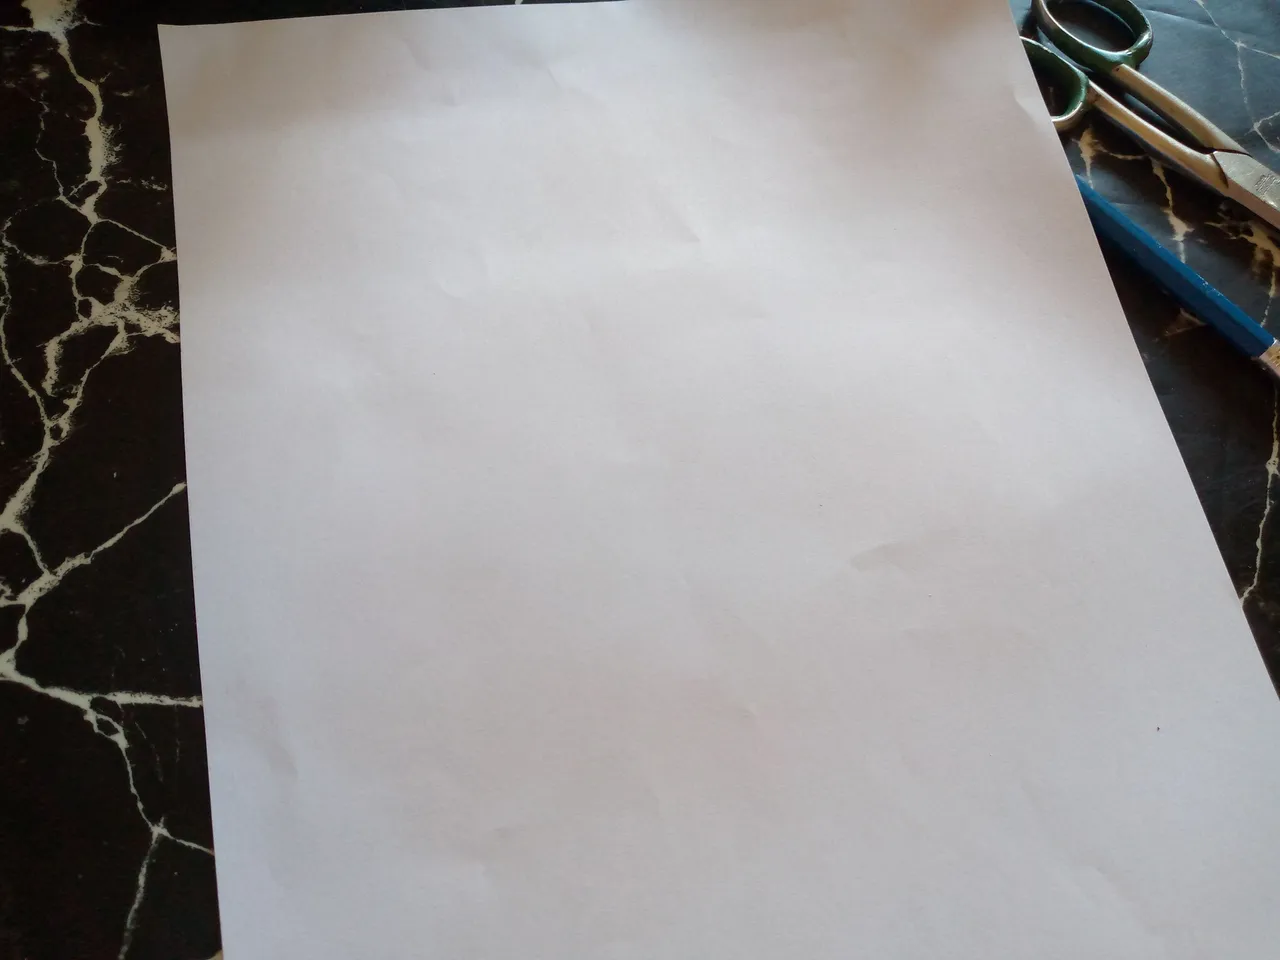
- Hoja blanca
- Silicón
- Borrador y sacapuntas
- Recycled cardboard from a box you don't use
- Scissors
- Ruler
- Colors
- Pencil
- White paper
- Silicone
- Eraser and sharpener
Pasos a seguir://Steps to follow:
Paso 01
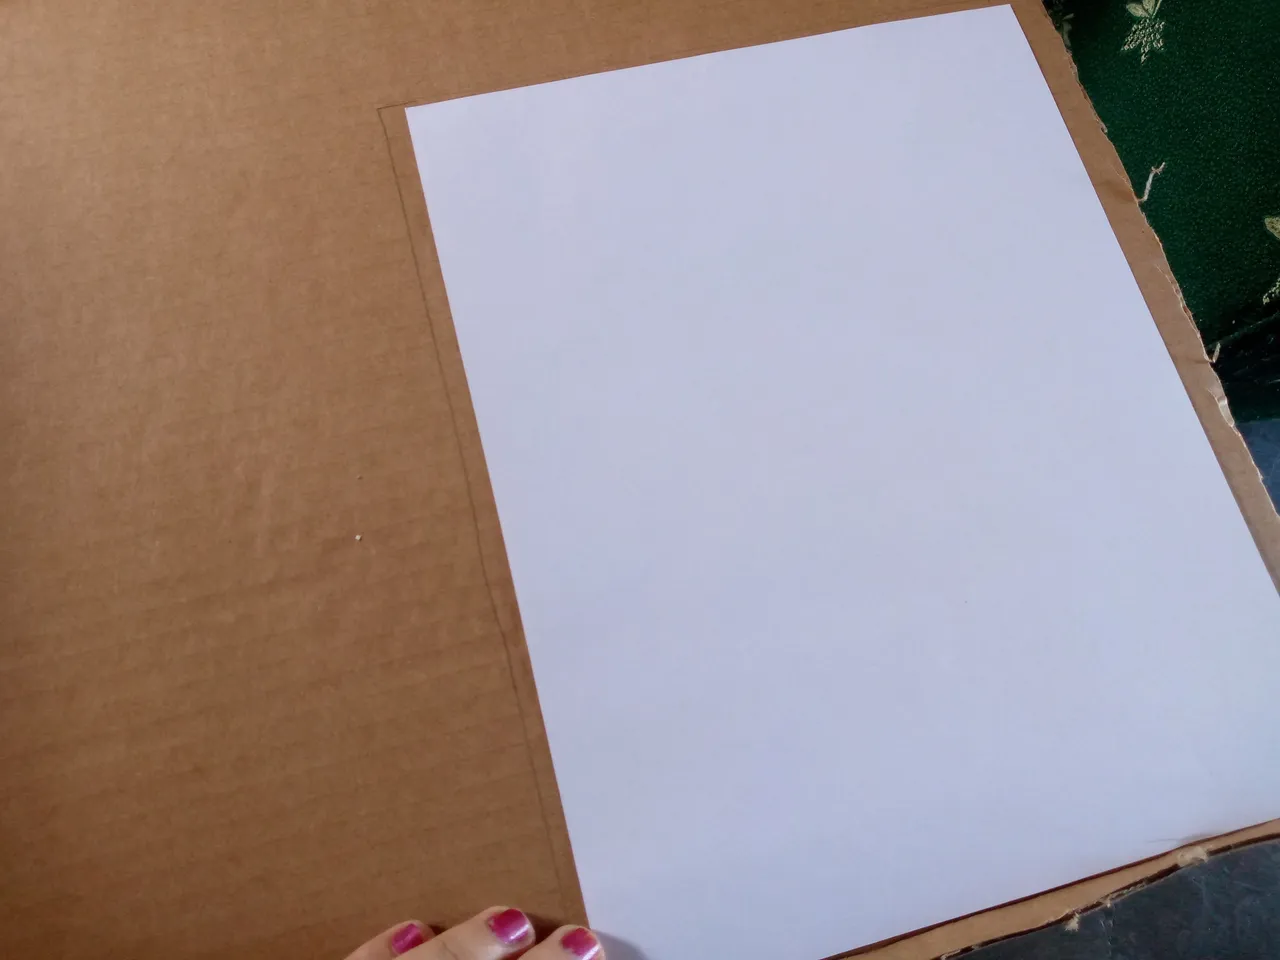
Step 01
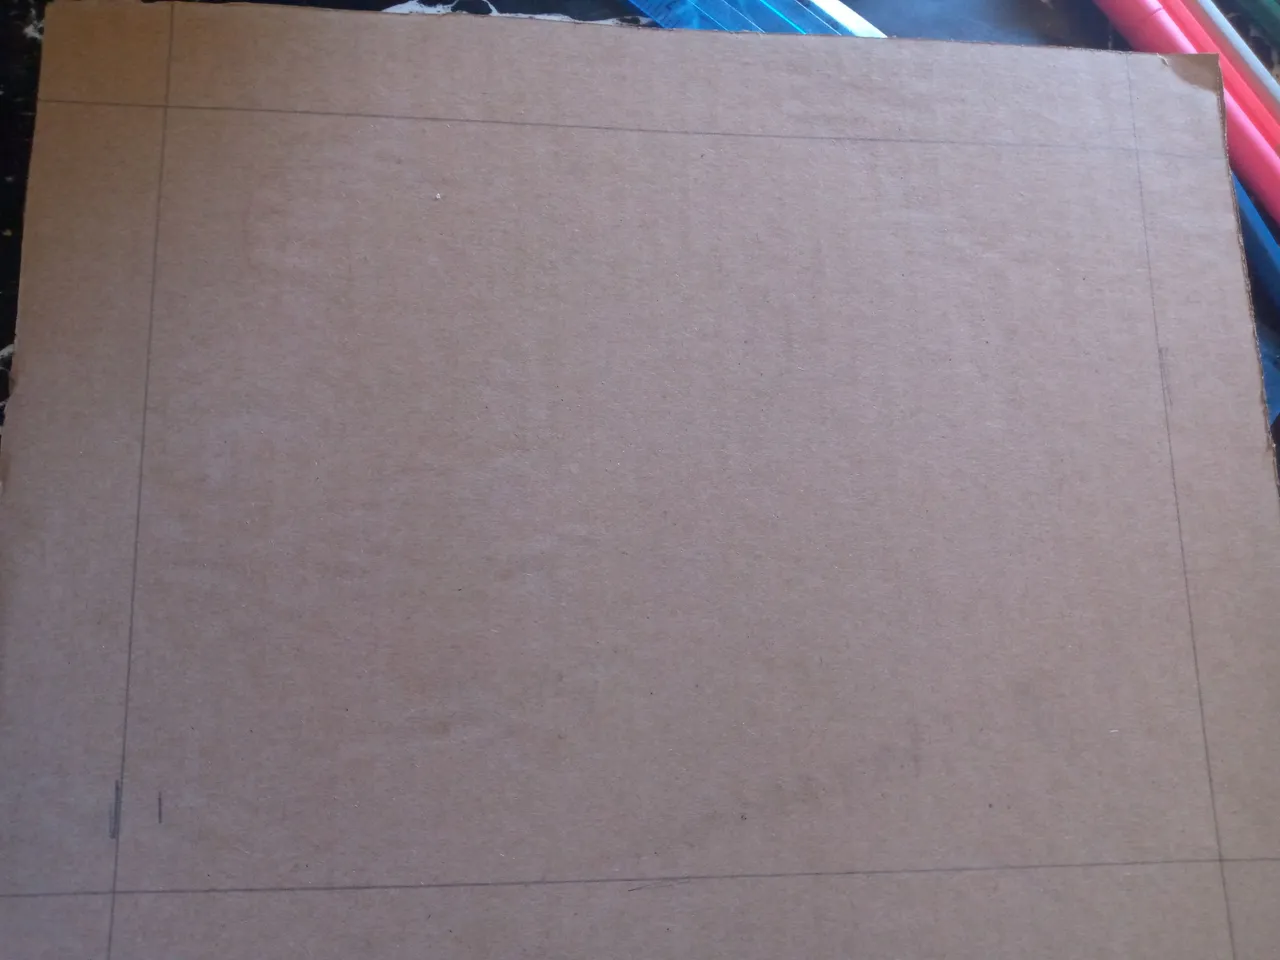
Before starting to make the design of the drawing I took the white sheet as a measurement and placed it on the cardboard because I will be making the frame we will cut two pieces of the same size from the white sheet of cardboard and one piece of cardboard we will be removing a small thin part from the top to be able to leave the cardboard with texture this will make our frame look like a brick effect.
Paso 02
Step 02
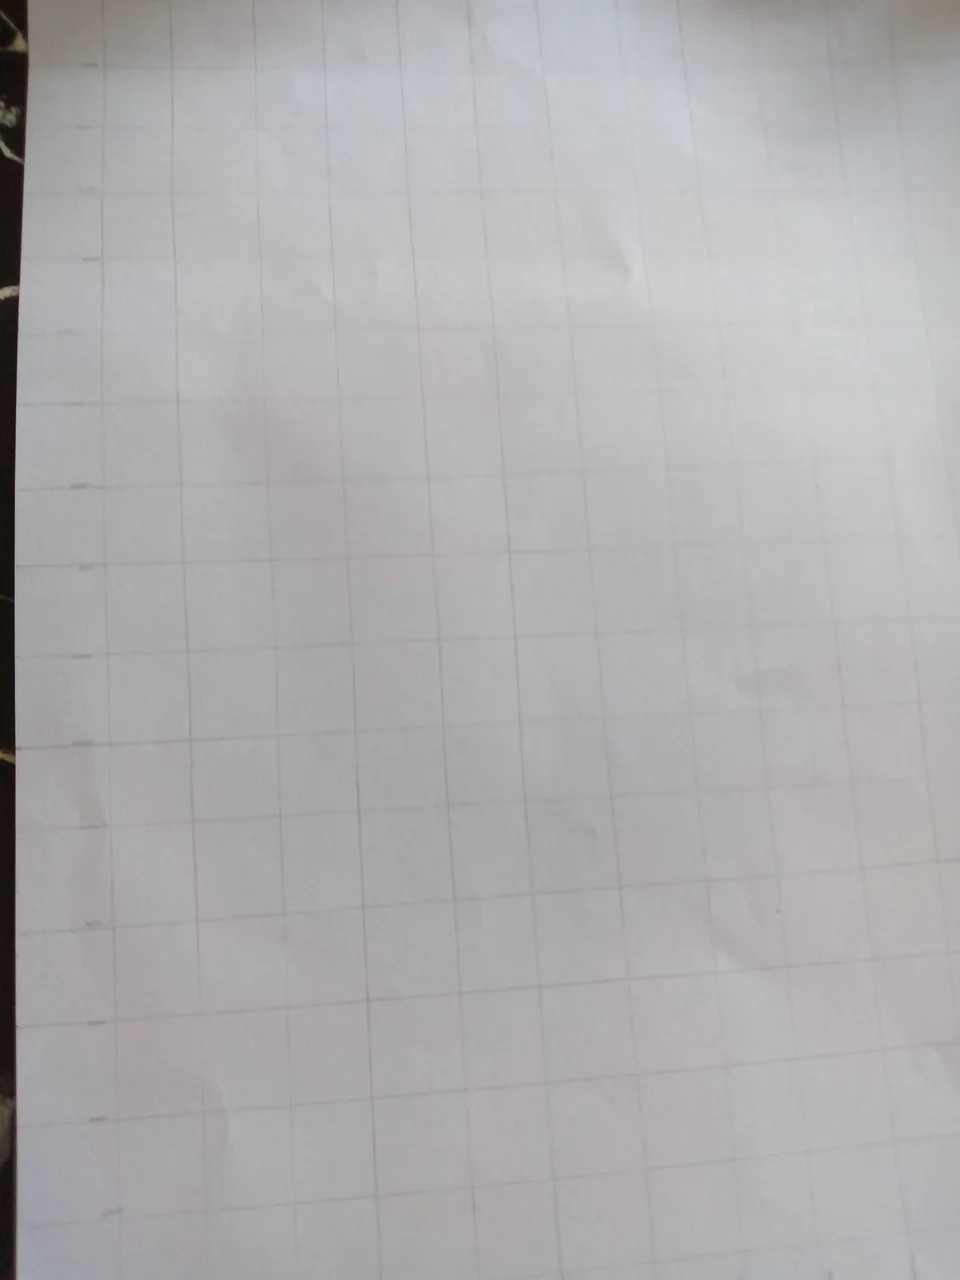
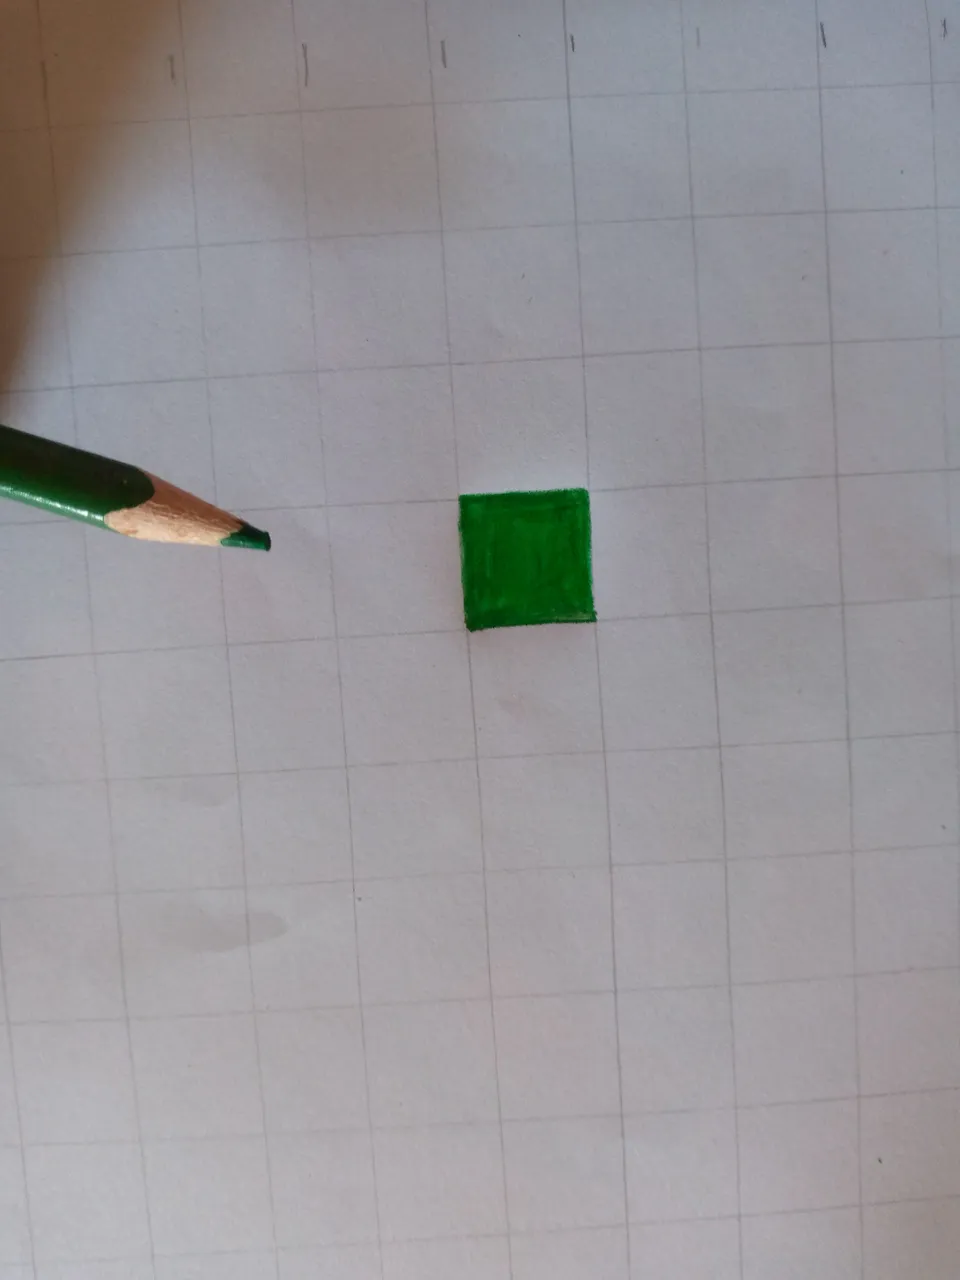
As you know, Minecraft is not Minecraft without the square pixel effect, so to make the tulip with this design we will be making a complete grid on the sheet. You may wonder how this process is, it is very easy, my friends. We will only be taking our pencil and ruler and we will mark 1 cm from top to bottom and thus we will mark 1 cm of space from left to right, then from top to bottom, from one side to the other, then with the pencil we make vertical lines.
Paso 03
Step 03
I then proceed to make horizontal lines without pointing the pencil too much but doing it lightly so that when erasing these lines the idea is that they do not leave marks. We take the color tones to make such as green in intense, medium and light tones, the same with pink, we will only use those color tones.
Paso 04
Step 04
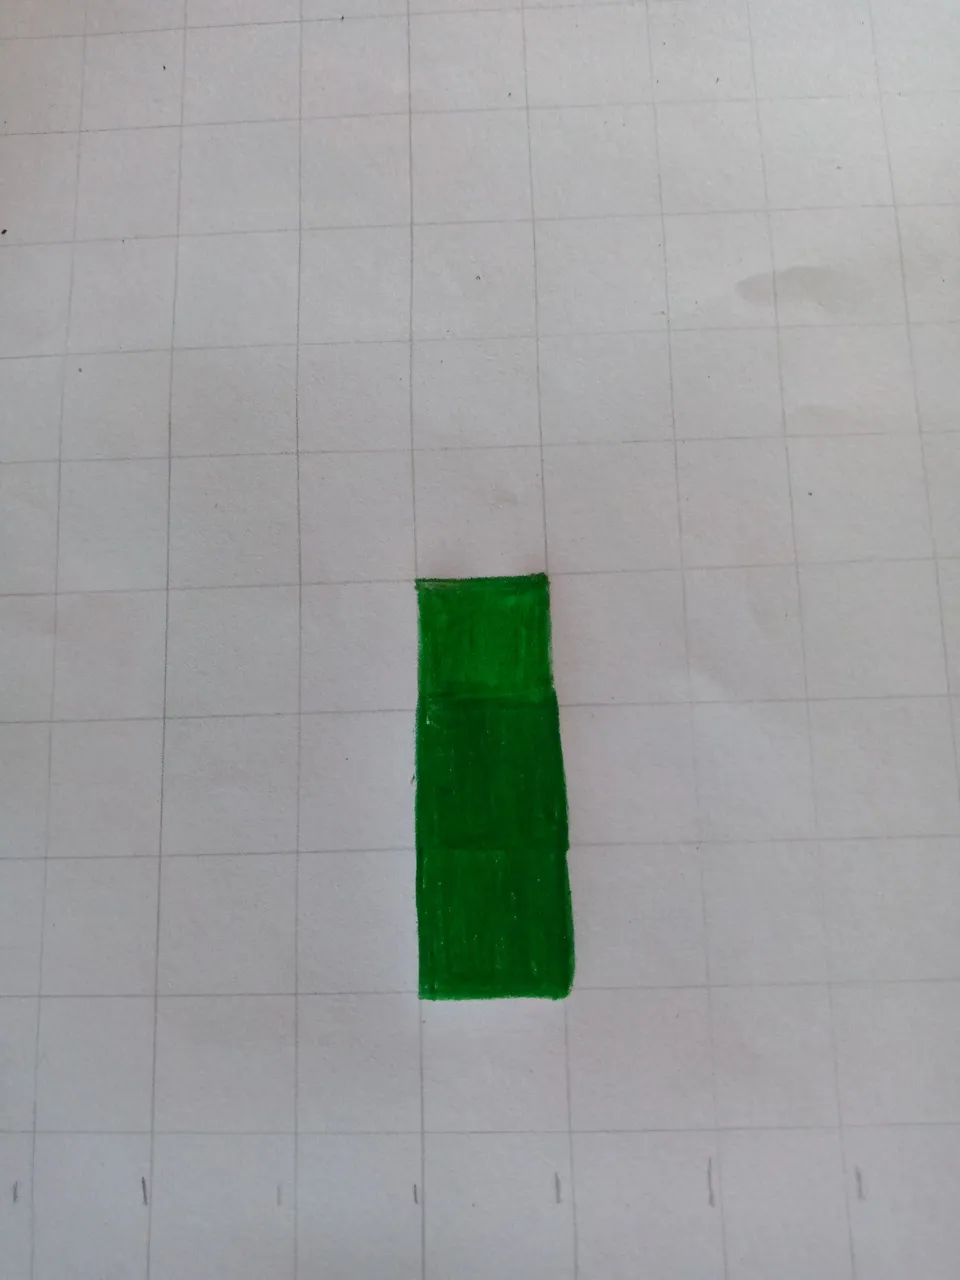
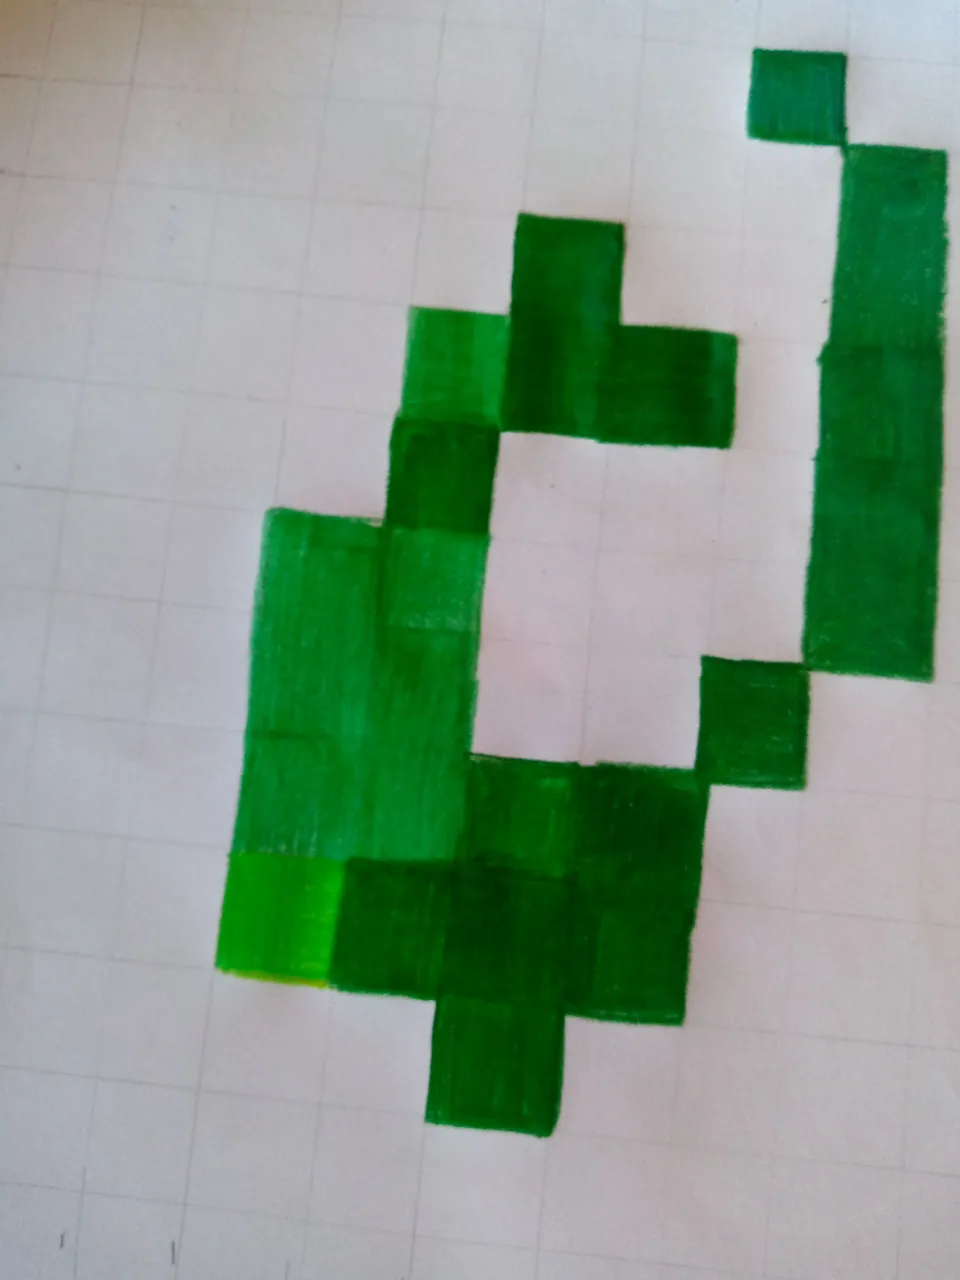
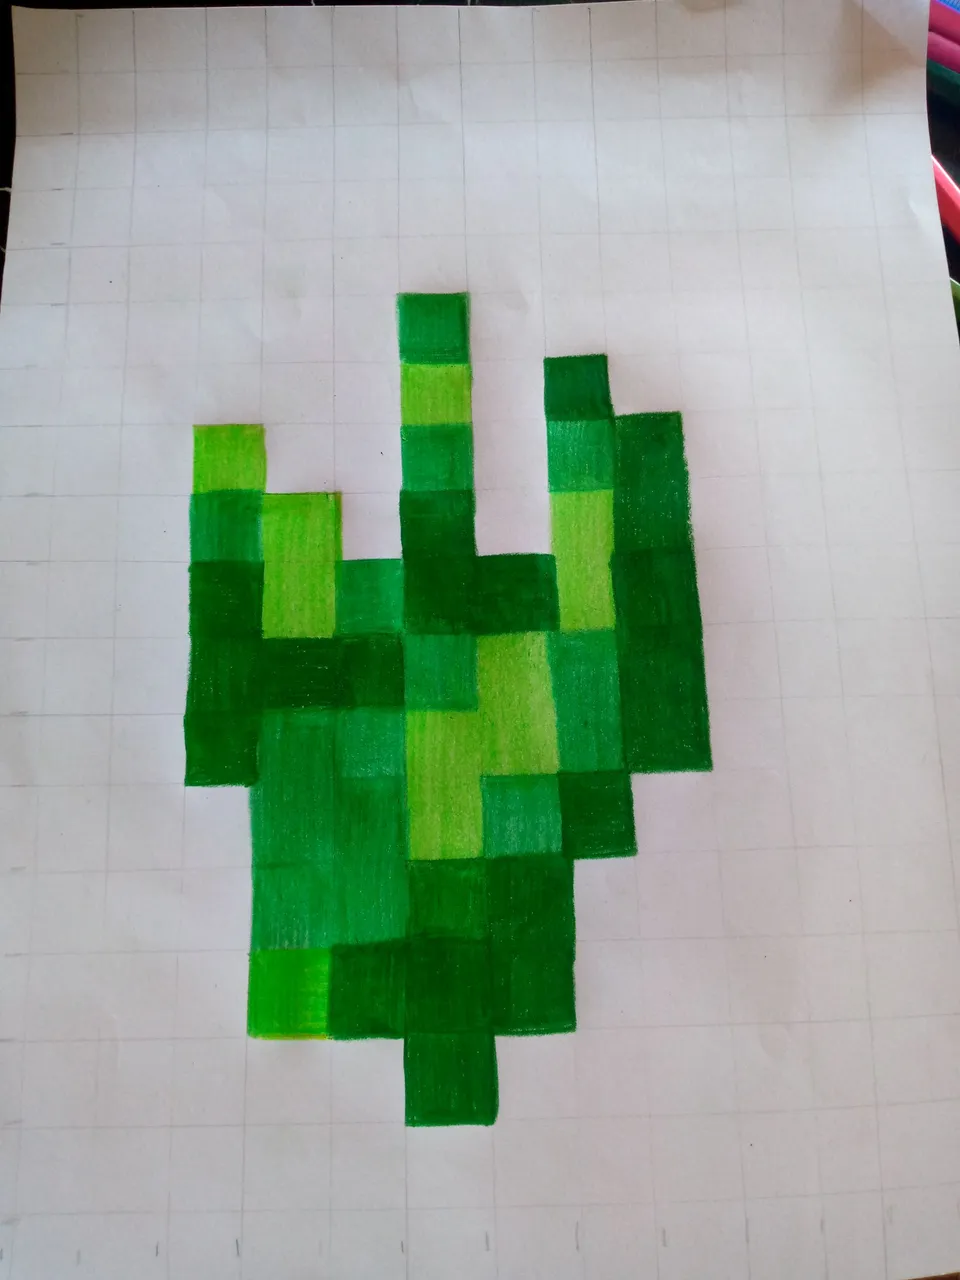
So once the grid is ready, we begin to draw the first square in an intense green tube. Remember to place four squares upwards right in the middle and draw it. We continue to be guided by the sequence of colors, since we begin with the part of the leaves below the tulips and always in this part the color is more intense due to the shadows.
Paso 05
Step 05
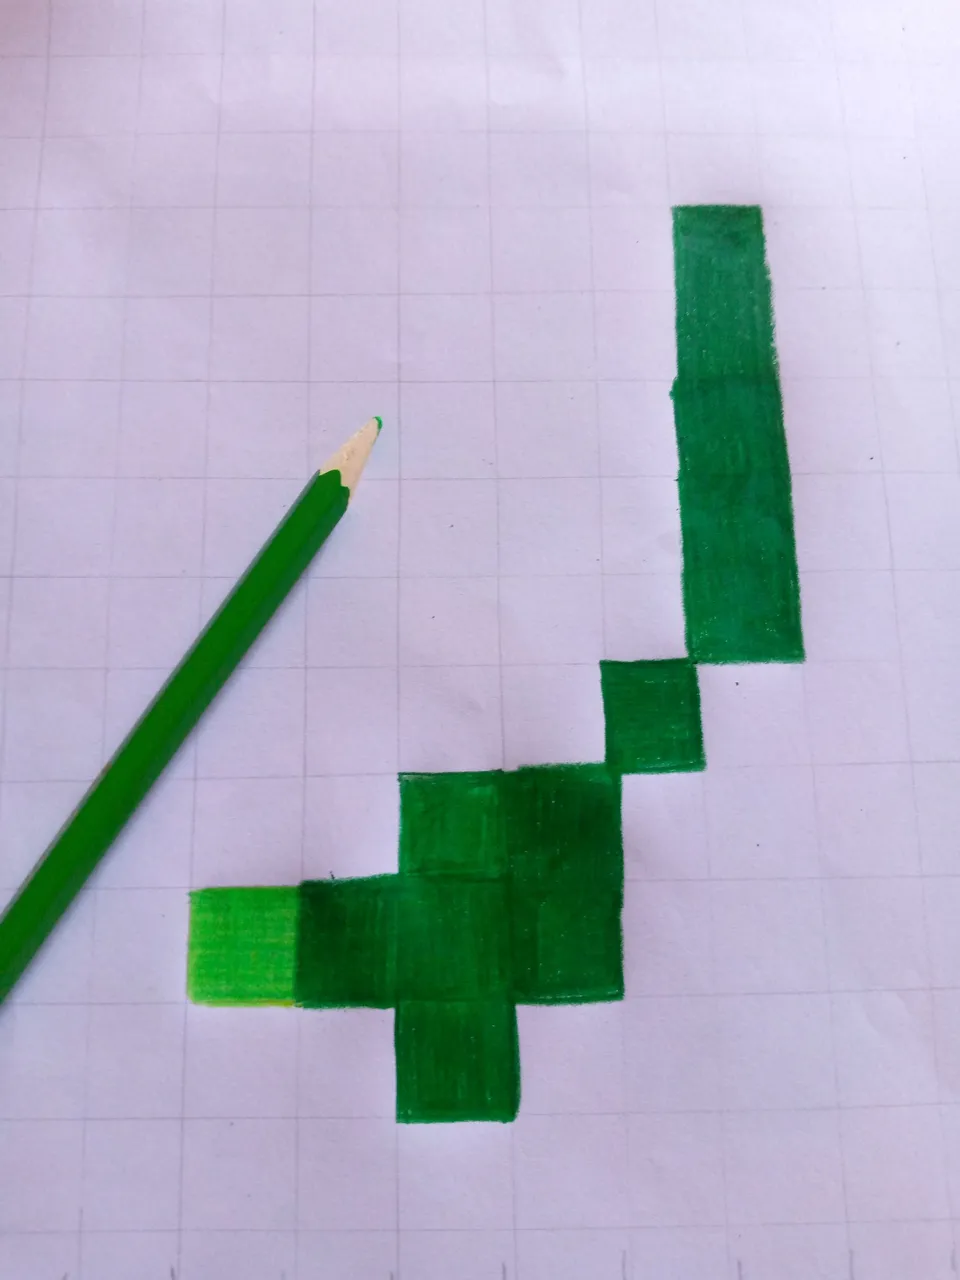
We continue drawing the other squares upwards with the same intense green tone on the left side, the light green colour since in that area the clarity of the tulip is more appreciated, we fill other squares on the stem with an intense green colour and the rest we fill them in green in a medium term of colour, this will greatly enhance the effect.
Paso 06
Step 06
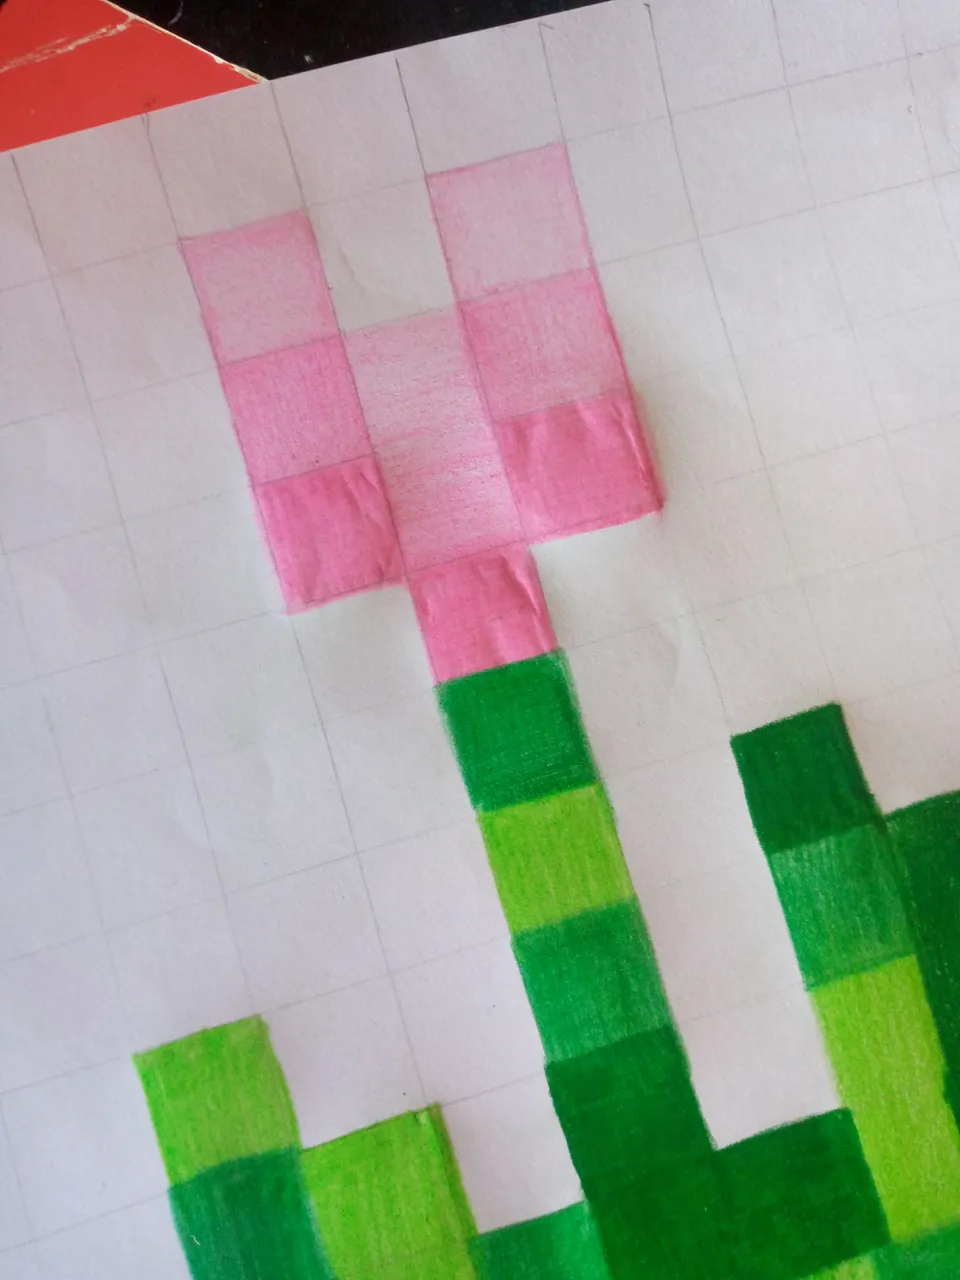
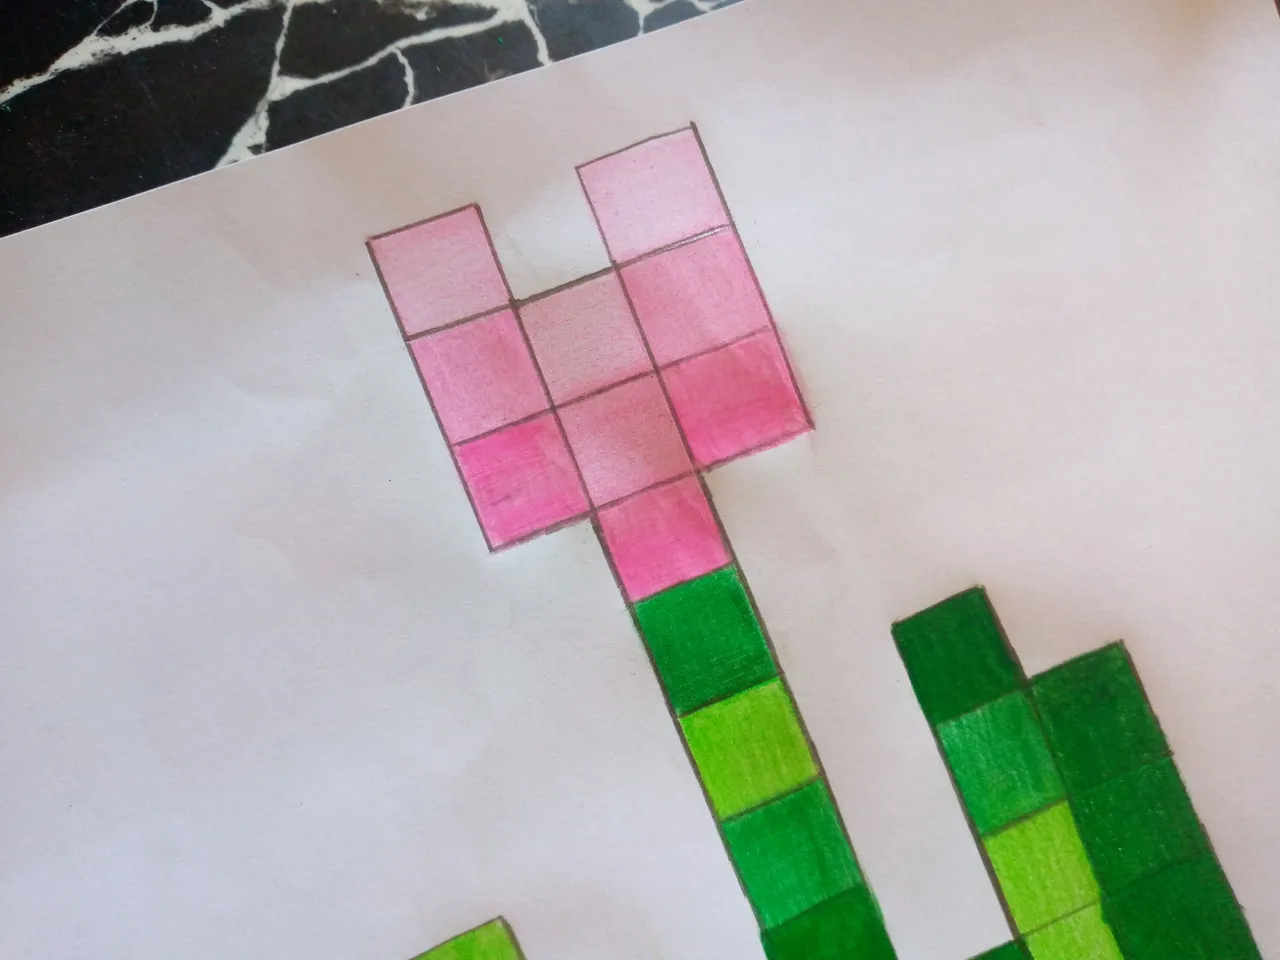
For the tulip petals we will begin by drawing in an intense shade of pink the first square in the center of the green square of the stem and one on the right side above skipping a white square and another on the left side skipping another white square, we continue this sequence as much as the second color that comes up which is the middle term in pink the lightest one up should have two squares on both sides and one in the middle below, in this way we have the tulip, with the number 2B pencil we fill in the lines a little intensely with the pencil to highlight the squares both on the outside edge and those on the inside.
Paso 07
Step 07
Finally, it's time to take one of the pieces of our cardboard and we'll be cutting the center for the frame with scissors, we'll stick the drawing with silicone to the base of one of the pieces, then we'll stick the edge of the frame on top and then our work is done.
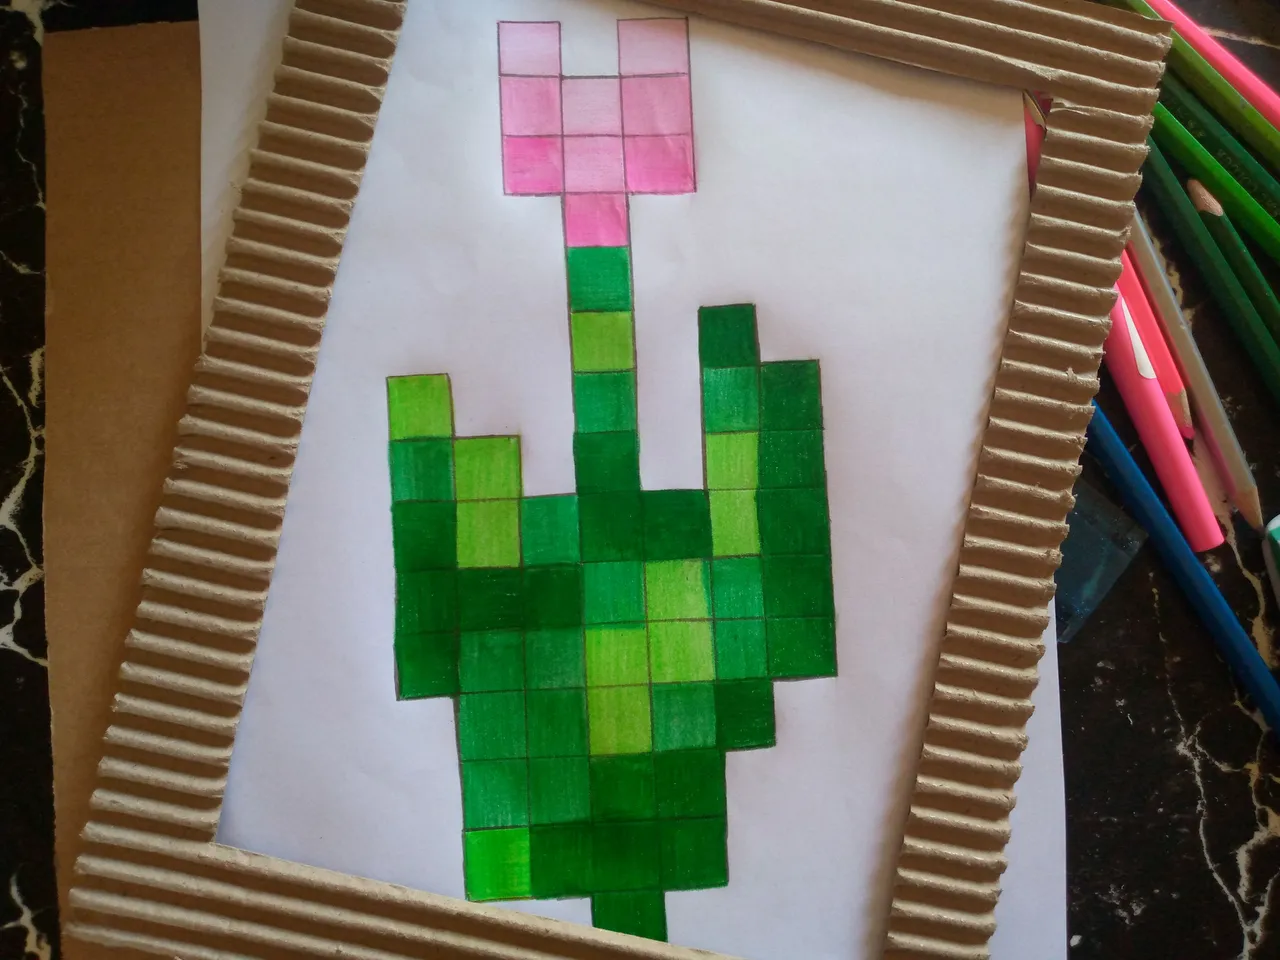
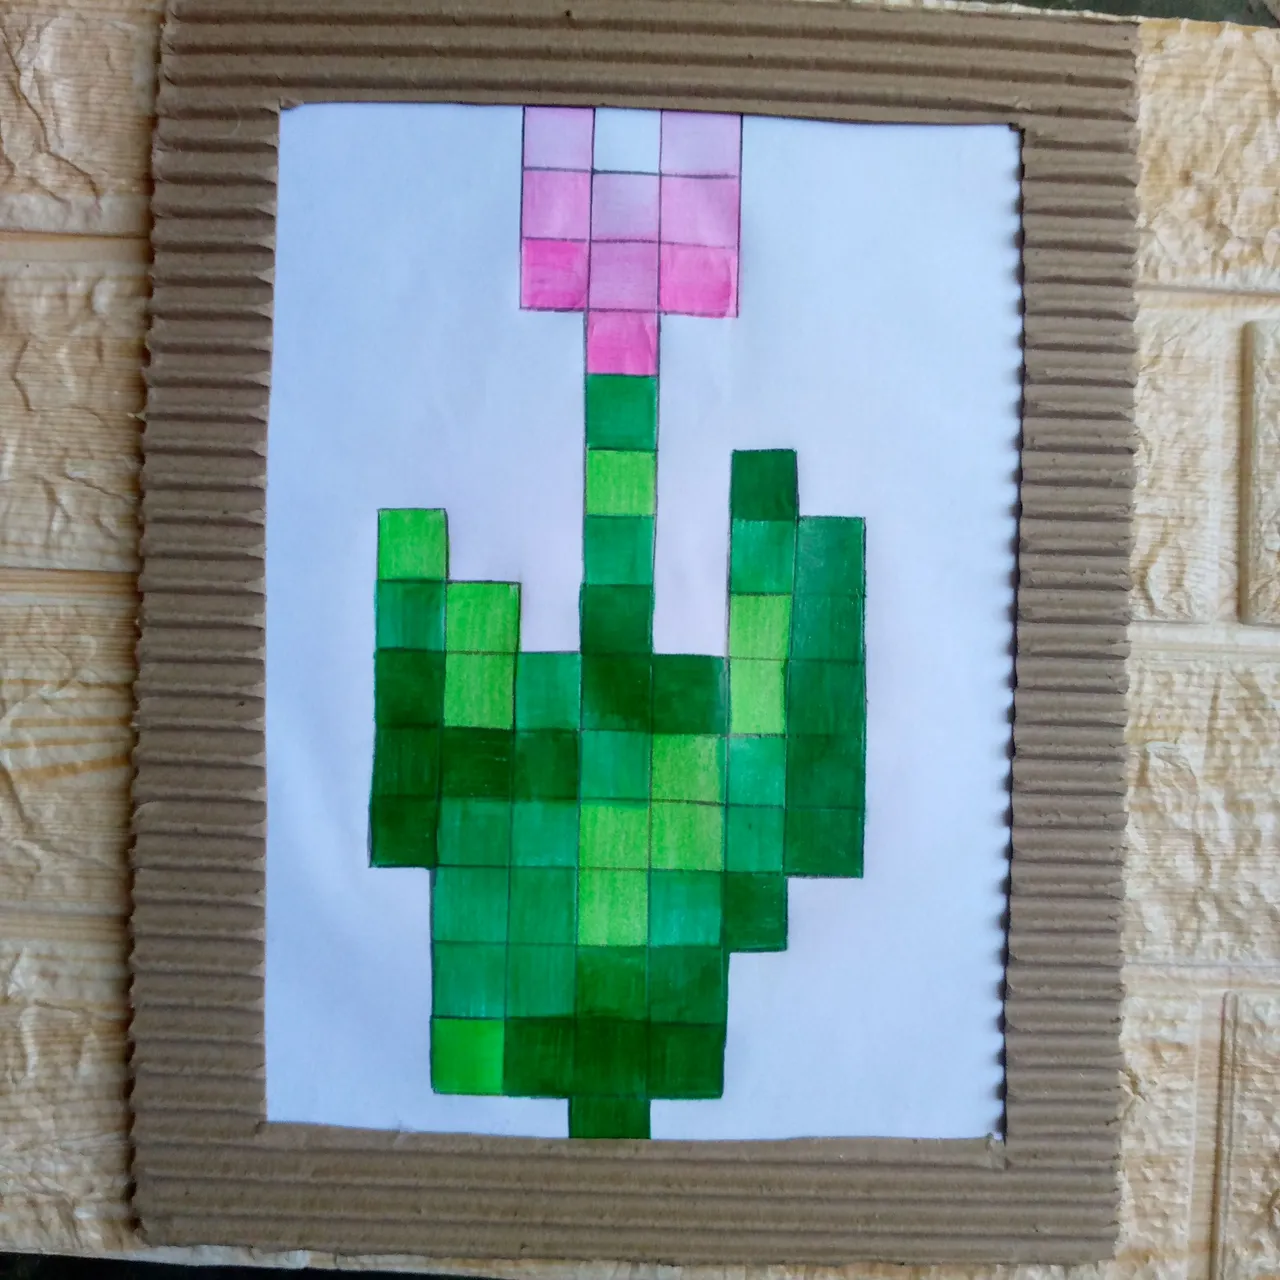
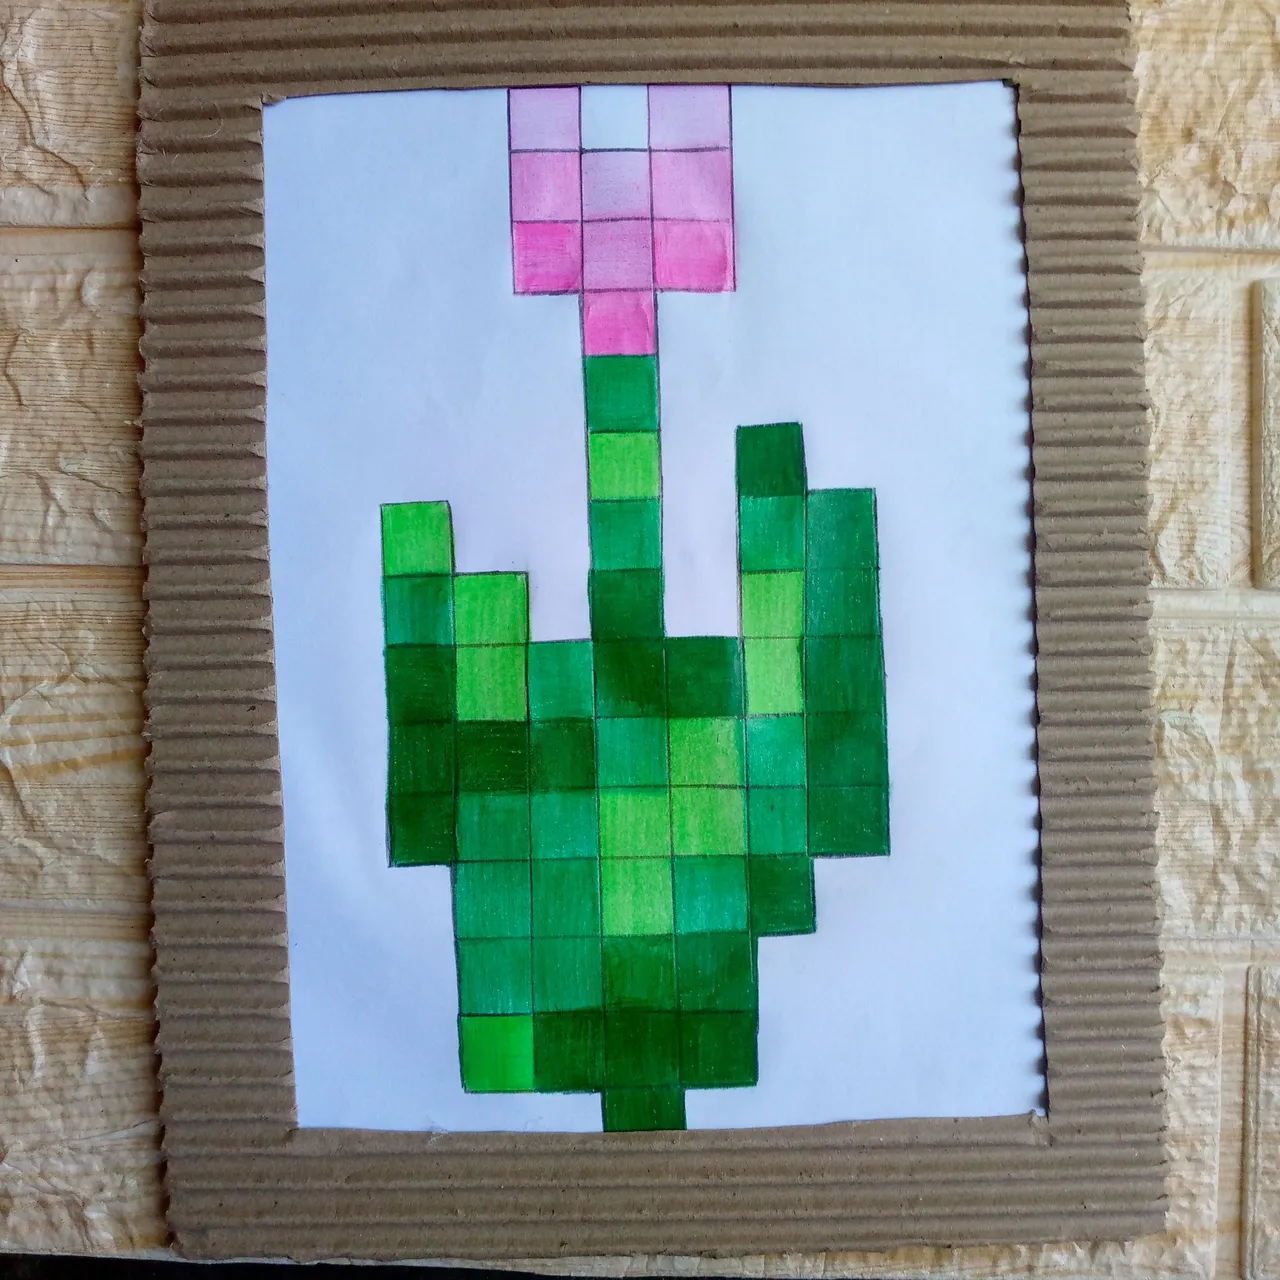
Resultado:// Result:
Tell me you don't want to see how I make other crafts and drawings with Minecraft aesthetics...🤭 because I really enjoyed this process a lot and well I would be happy to know that you did too, in case you decide to do this idea, save the tutorial, it will help you a lot, I hope you have a happy night and this is where this material has come to an end, I hope you have a nice rest and that you enjoyed the process a lot, until tomorrow, greetings friends 🙋🏻♀️, see you in another upcoming blog.

Creating things with love 🌷❤️
🦋✨ All the images in this publication are my author ,📱taken with my TecnoSpark8C cell phone |Text separators made in PicsArt | 📸Photos edited in PicsArt and Canva. Text translated in Google Translate.