Hello, dear readers
It’s woodworking time!
Buen día, estimados lectores.
¡Es hora de trabajar!

The other cuatro is on hold until I can work on its finish. So it is basically done. For the moment take a moment to look at the progress of this experiment.
El otro cuatro está en pausa hasta que pueda laquearlo. Básicamente, está completo. Por el momento, vean el progreso de este experimento.
I send greetings from my makeshift workshop
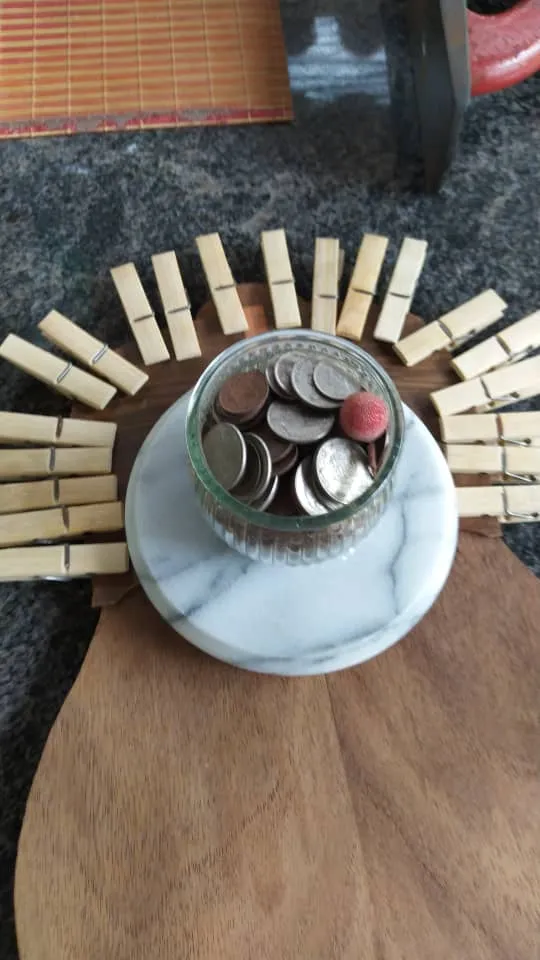
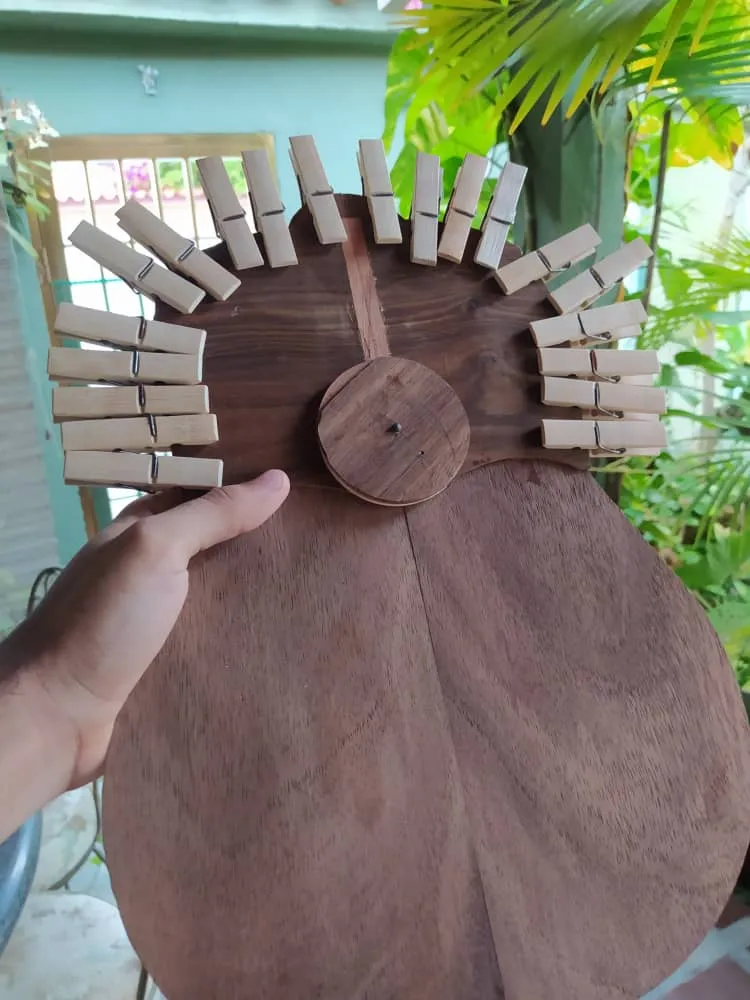
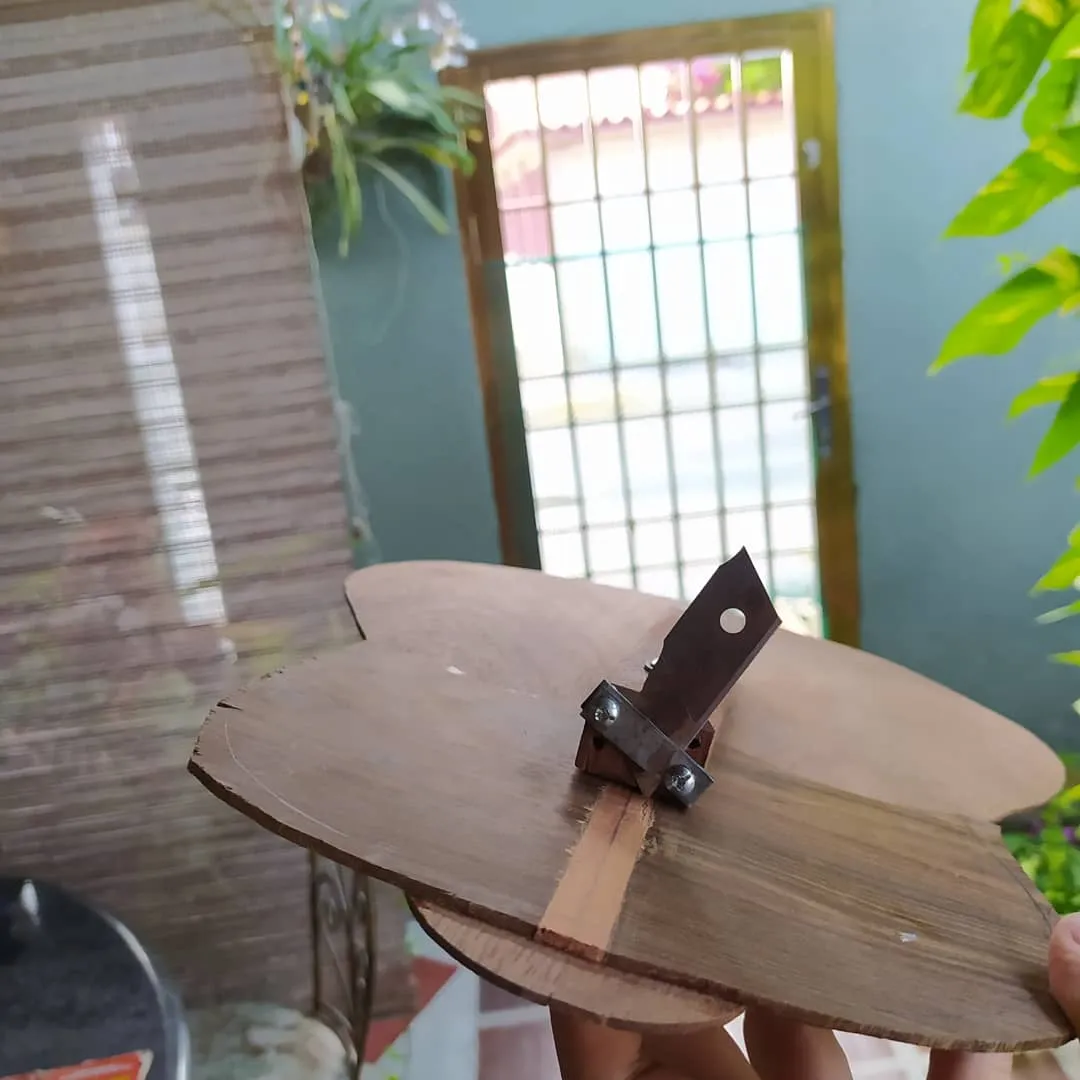
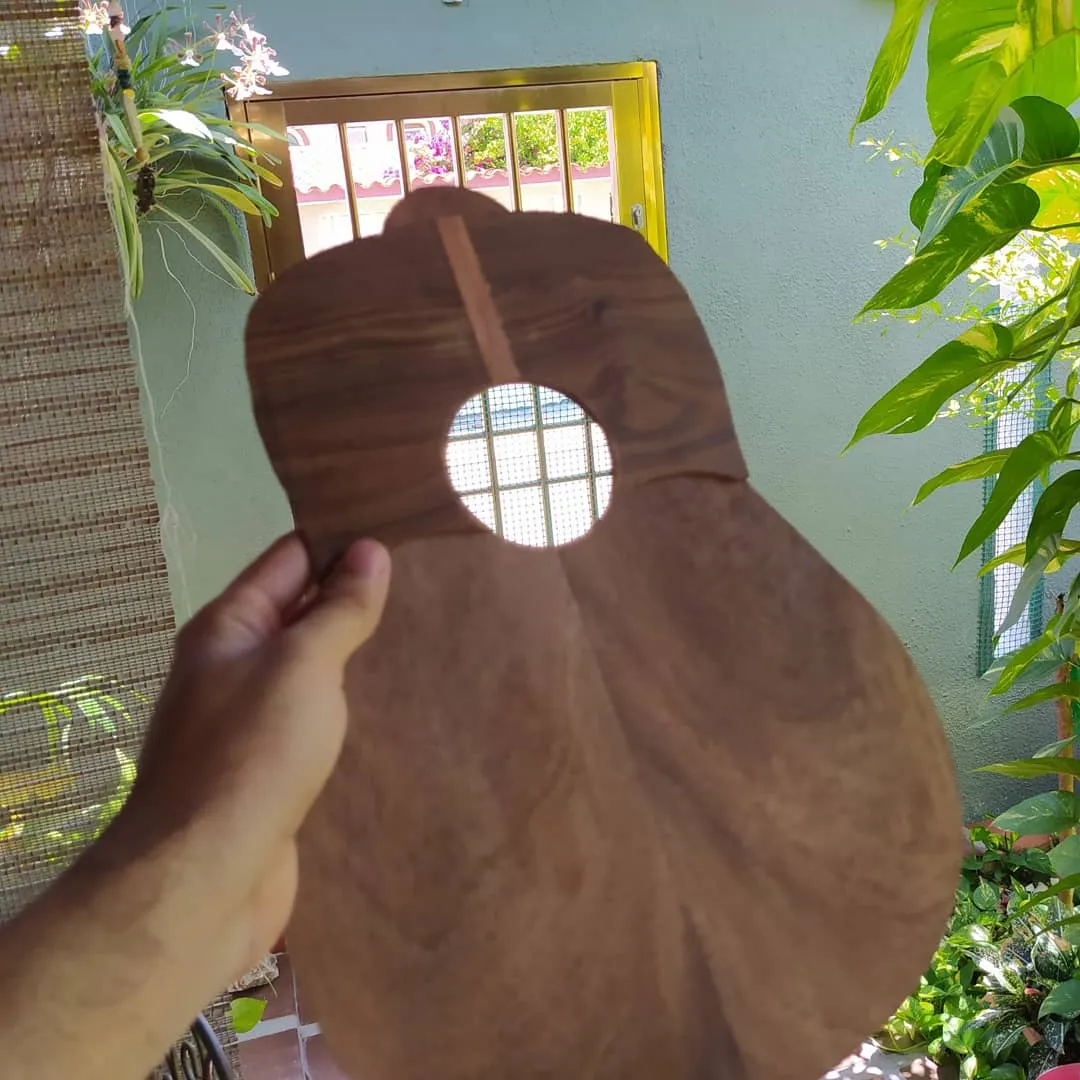
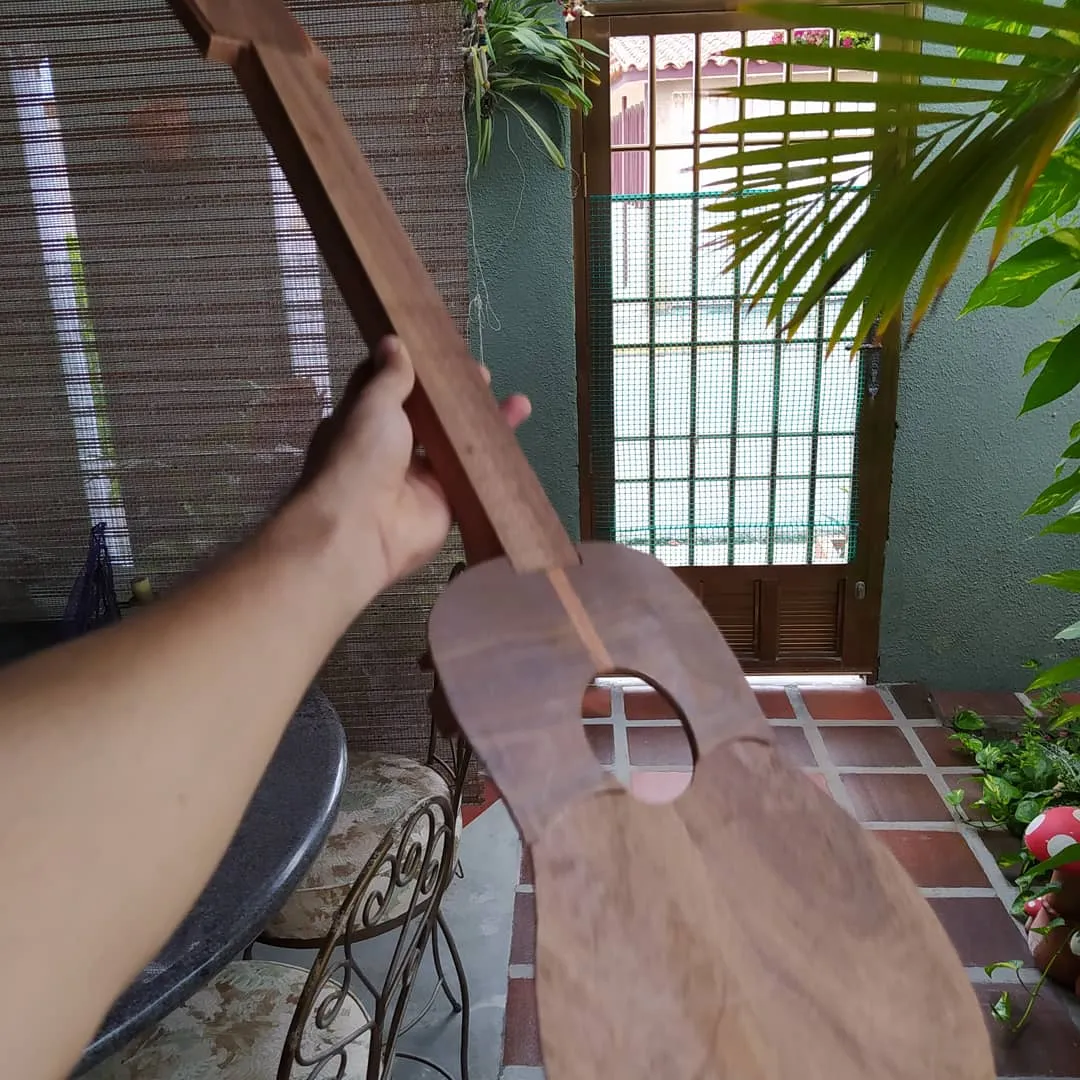
Let's start getting this strumming guard in place. I have seen now differente ways of doing this and havinf less trouble, but those will be applied to future instruments. For the time being, I'm using the resources at hand to join the sound board and this piece tightly. The thing you see on top in the last picture is my new circle cutter, a tool that made its debut on this process.
Comencemos por pegar el golpeador. He visto muchas nuevas maneras de hacerlo y no tener tanto problema, pero esas quedarán para instrumentos futuros. Por los momentos, estoy usando los recursos necesarios para que la tapa armónica y esta pieza quedan bien pegadas. Lo que ven encima de esto en la última foto es mi compás de corte nuevo, una herramienta que acaba de hacer su debut en el taller.
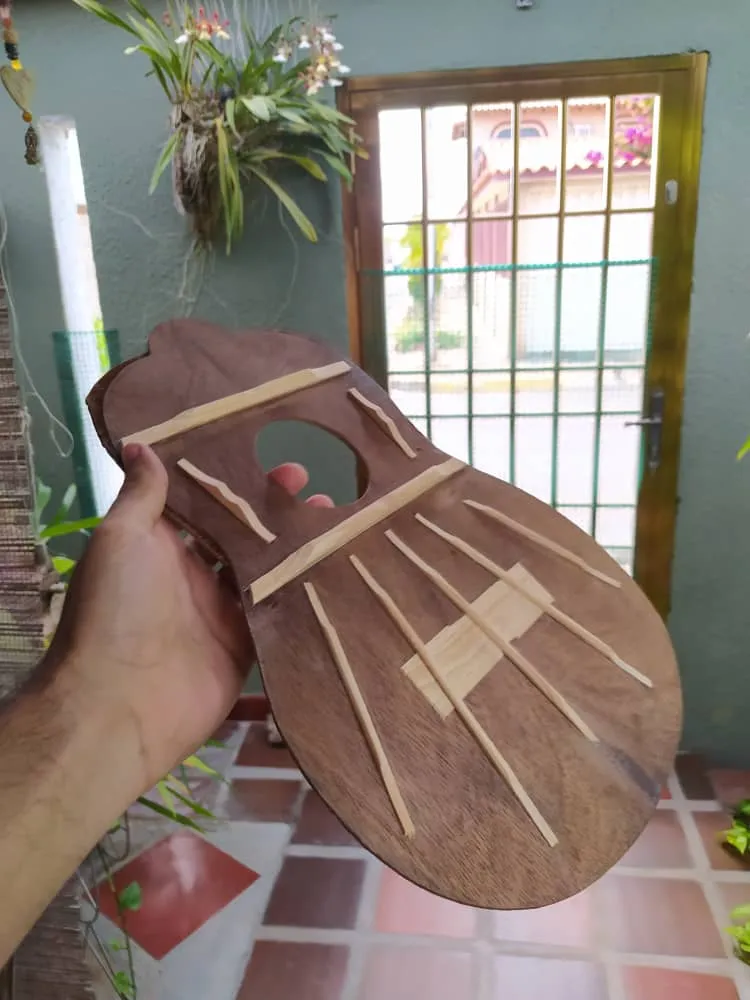
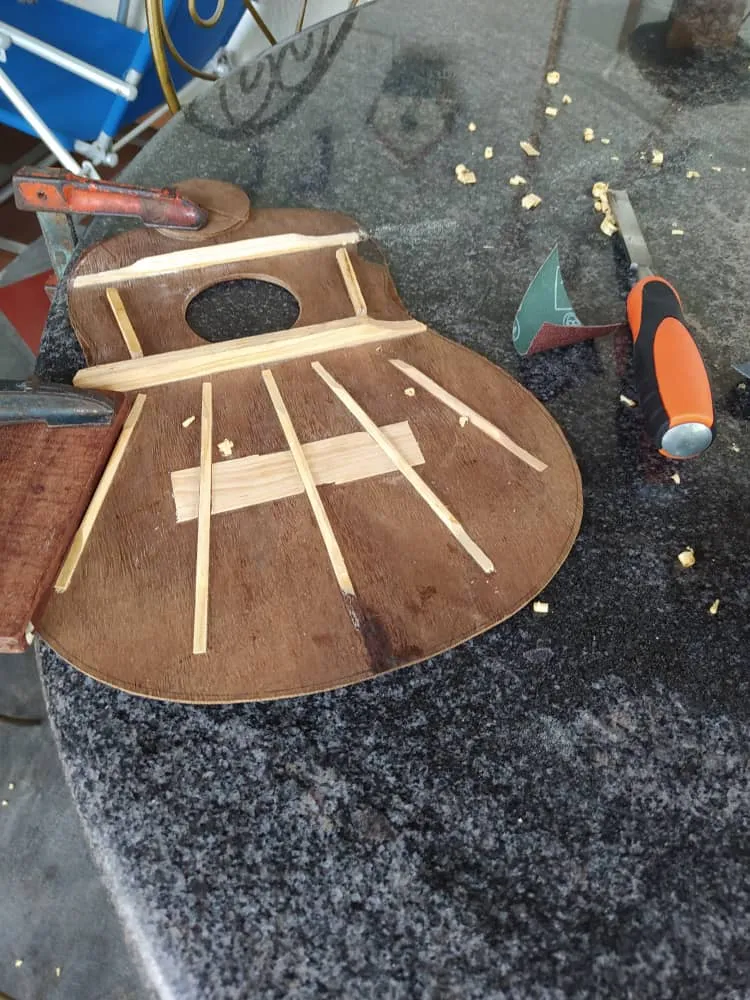
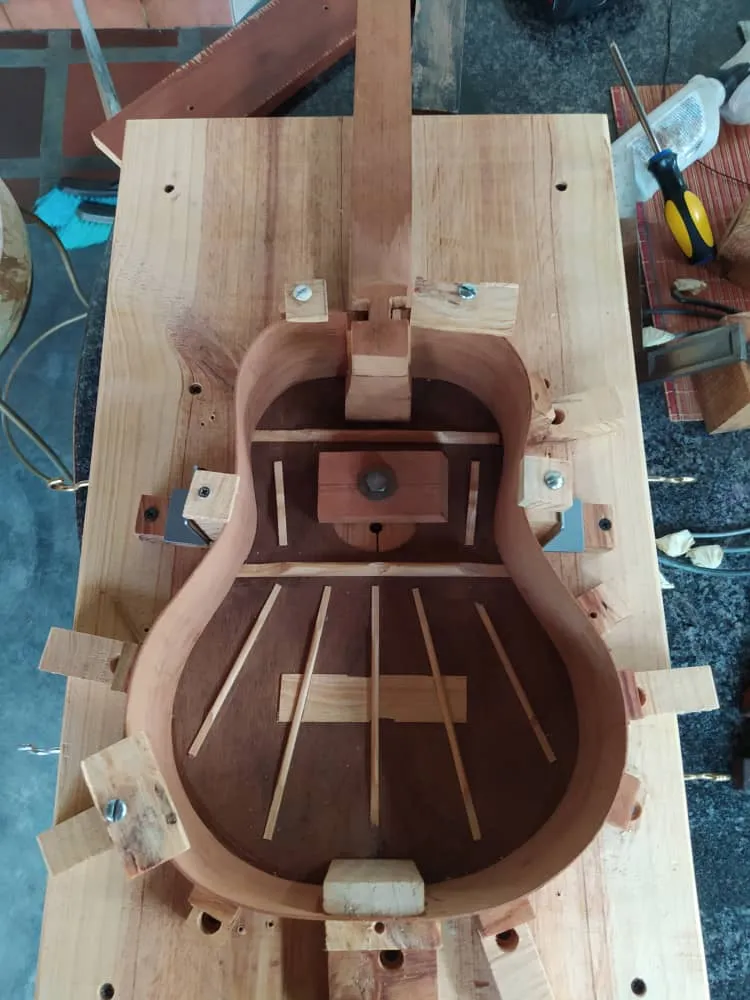
Here's the other side of the sound board. Nothing too fancy about the layout, just a classic fan. Struts carved carefully. However, some of the ends broke free from the piece. This could be a problem, but it just means the board will vibrate more in certain parts.
Aquí está la otra cara de la caja armónica. Nada muy elegante sobre esta configuración, solo un abanico clásico. Las varetas fueron labradas con cuidado. Sin embargo, algunas partes salieron disparadas durante este proceso. Esto podría ser un problema, pero solo implica mayor libertad para que la tapa armónica vibre.

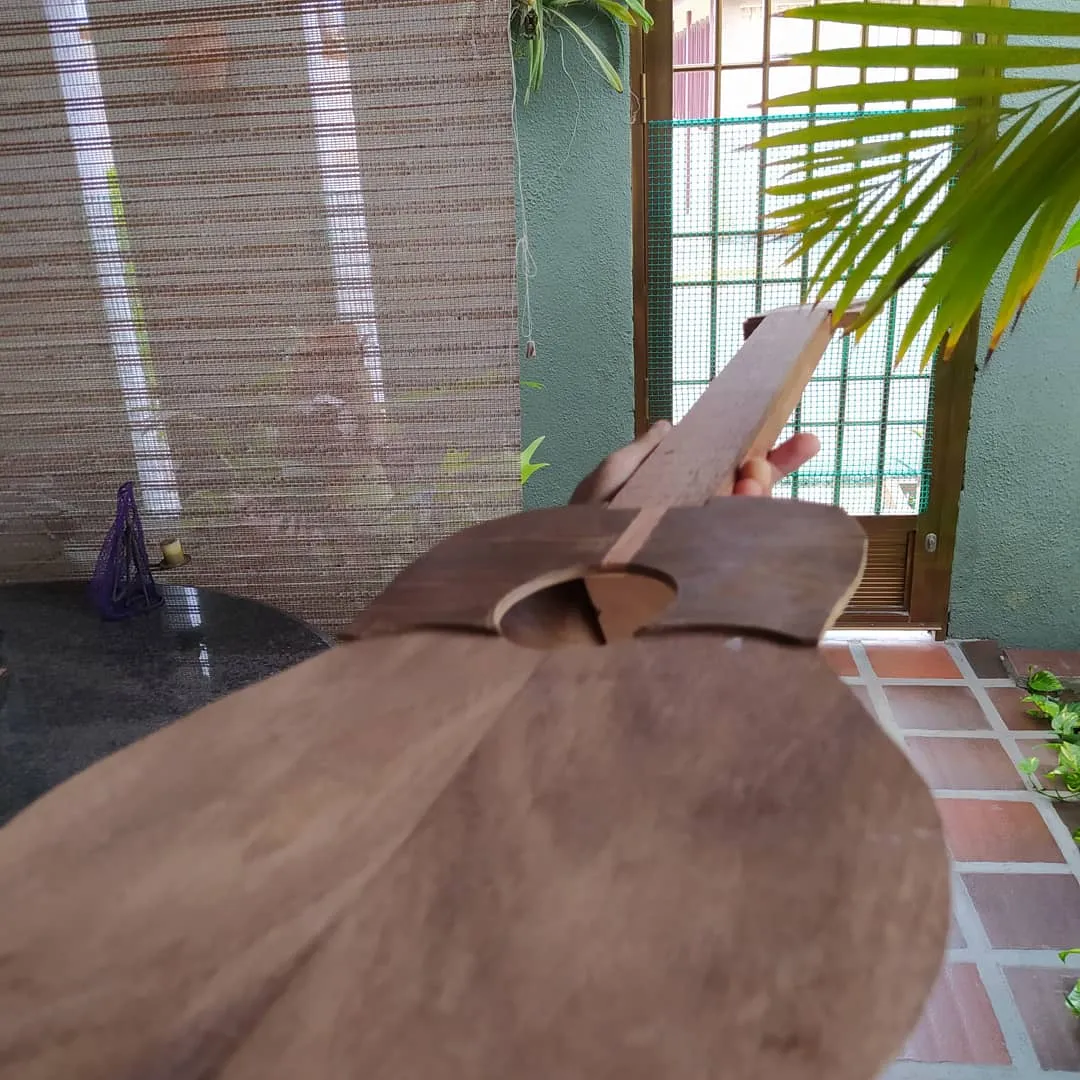
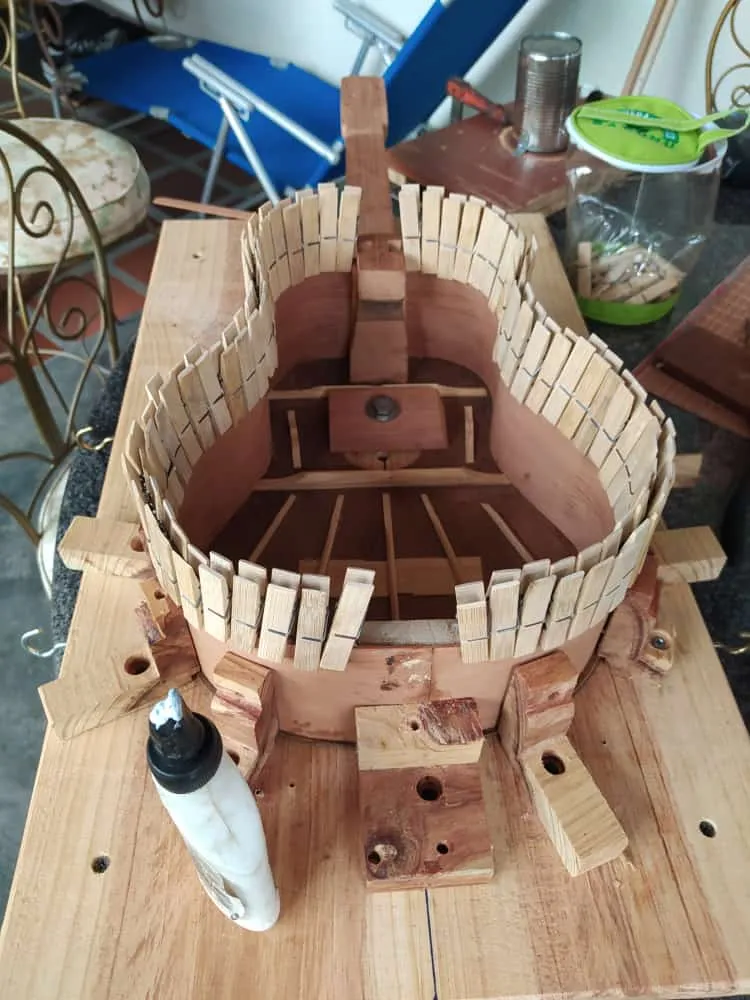
Once all the reinforcements and struts have been carved, it's time for assembly. With the help of a ruler and some guiding lines, a piece of the sound board is removed to make room for the fretboard. Then we use a weight or clamps to keep it in place. Lines are used to make sure sound board and neck are aligned.
Después de labrar los refuerzos y el abanico, es tiempo de ensamblar. Con la ayuda de una regla y unas línea de guía, se remueve una pieza de la tapa armónica para darle espacio al diapasón. Luego, utilizamos un peso o prensas para mantenerlo en su lugar. Las líneas son para asegurarse que el mástil y la tapa armónica estén alineados.
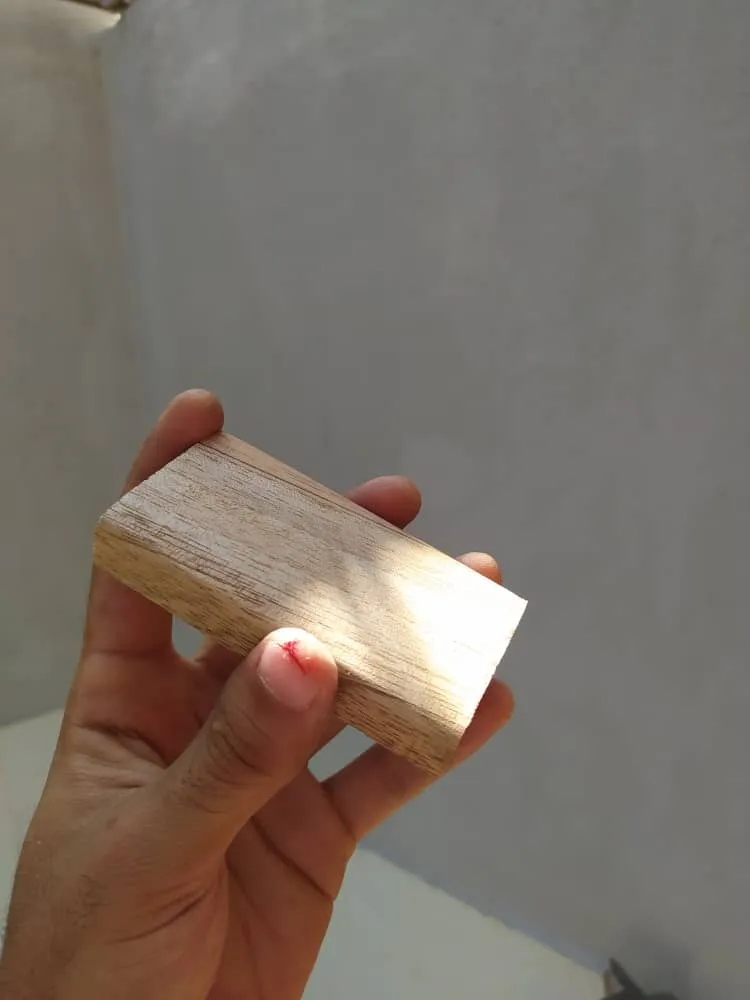
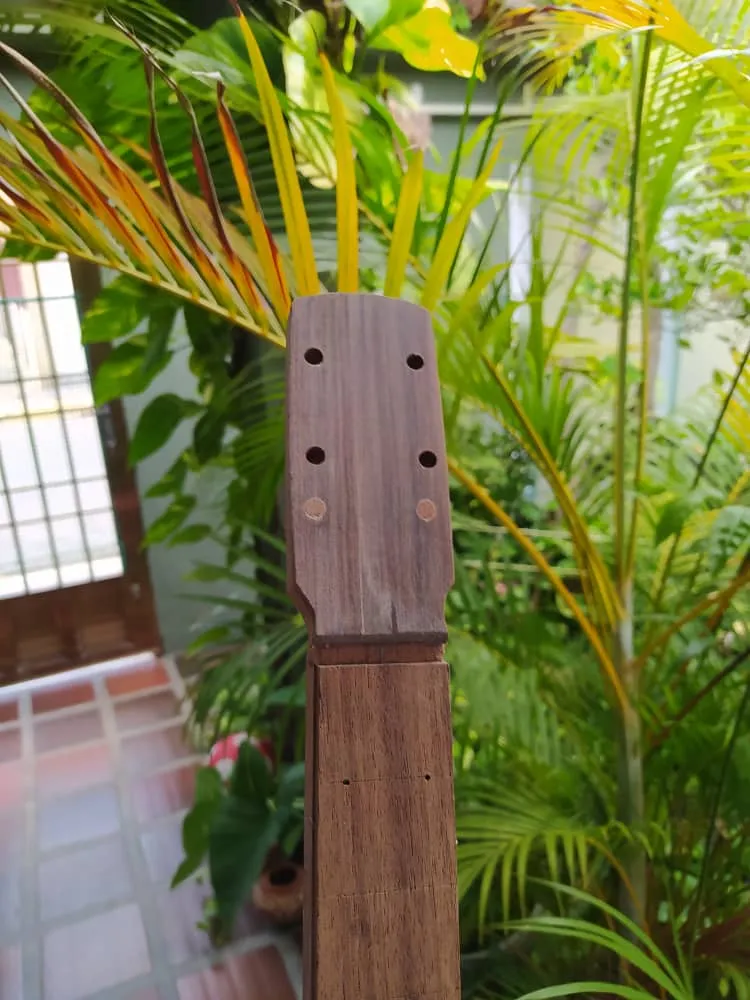
Before turning to the sides of the instrument, here are some details that needed fixing. The head stock didn't have a design and was too thin. That was fix adding another layer of wood and getting a simple design. There was also the need to fix some holes that weren't placed in the correct spot for the tuning pegs. The other thing is the internal heel. This time is to show how you need to be firm while using saws or you could get a cut worse than this one.
Antes de ir a los aros, es necesario mostrar algunas cosas que necesitaban arreglo. La pala era muy delgada y no tenía diseño. Esto se solucionó agregando otra capa de madera y terminando con un diseño simple. También hubo que rellenar un par de hoyos para las clavijas porque estaban en una mala posición. Lo último es el tacón interno. Esto es para demostrar cómo hay que ser firme al usar serruchos o puedes terminar con una cortada peor que esta.

If this pictures look the same, there's no problem. They are not. The sides are hydrated and then bent using heat. If you have a mold, you let them rest there so they can resto from the pressure while keeping their new shape. That's what I'm doing here, The first picture is after bending the sides. The latter is when they were ready for glue.
Si estas fotos parecen iguales, no hay problema. No lo son. Los lados se humedecen y luego se doblan usando calor. Si tienes una moldura, puedes dejarlos descansar ahí para que mantengan su forma nueva. Eso es lo que estoy haciendo aquí. La primera foto es justo después de doblarlos. La siguiente muestra cuando fueron pegados.

Before turning to the sides of the instrument, here are some details that needed fixing. The head stock didn't have a design and was too thin. That was fix adding another layer of wood and getting a simple design. There was also the need to fix some holes that weren't placed in the correct spot for the tuning pegs. The other thing is the internal heel. This time is to show how you need to be firm while using saws or you could get a cut worse than this one.
Antes de ir a los aros, es necesario mostrar algunas cosas que necesitaban arreglo. La pala era muy delgada y no tenía diseño. Esto se solucionó agregando otra capa de madera y terminando con un diseño simple. También hubo que rellenar un par de hoyos para las clavijas porque estaban en una mala posición. Lo último es el tacón interno. Esto es para demostrar cómo hay que ser firme al usar serruchos o puedes terminar con una cortada peor que esta.
That is all for this entry. Thanks a lot for reading. See you in the next chapter.
Eso es todo por esta ocasión. Gracias por leer. Nos vemos en el próximo post.
All the pictures used in these post were taken with my phone.
Todas las fotos en este post fueron tomadas con mi teléfono.
Previous entries: 1