

We have come back these Bongos for some of the last bits of work in the shape of the instrument. Follow along this new entry of Woodworking Wednesdays to watch the step by step process of making this instrument.
Let's dive in!
Make it even
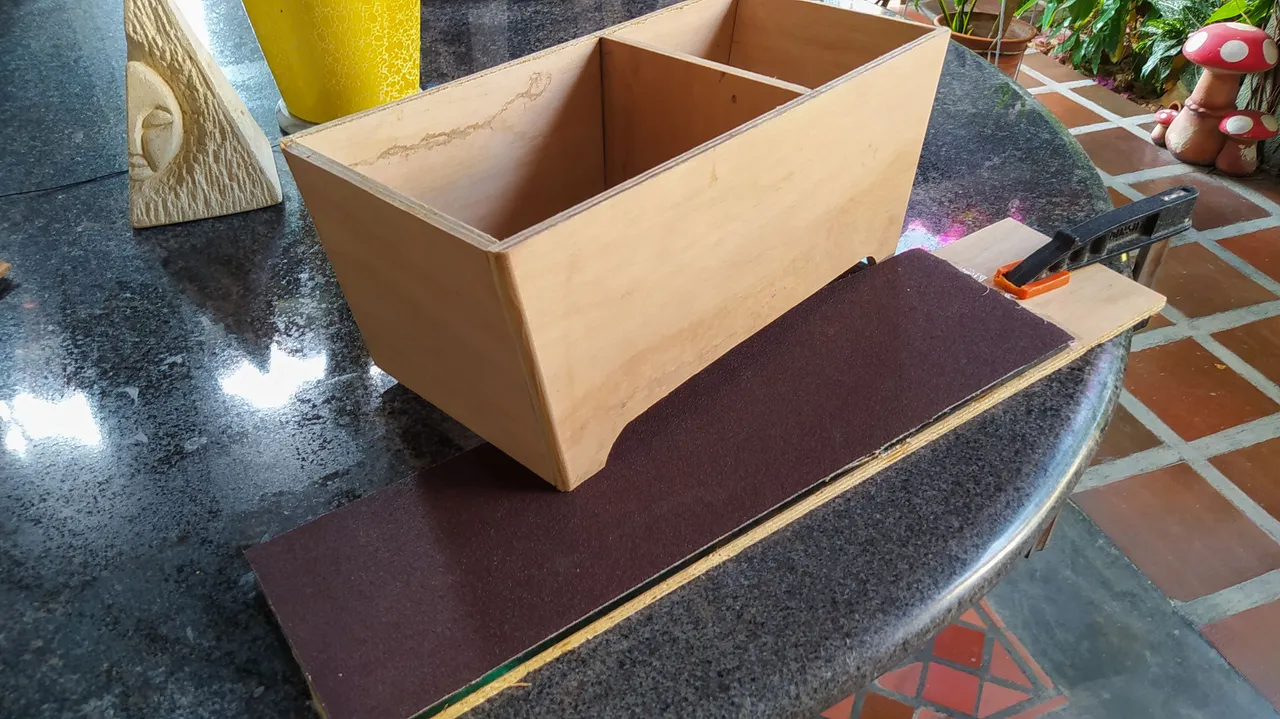
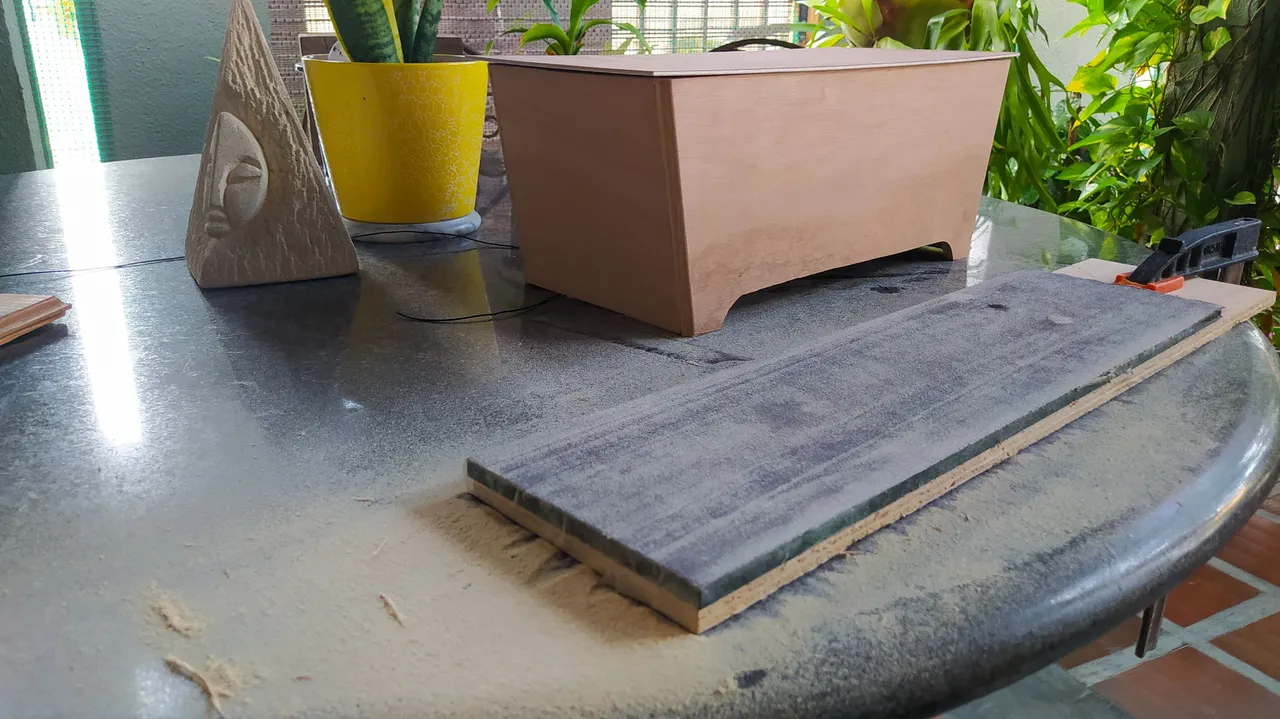
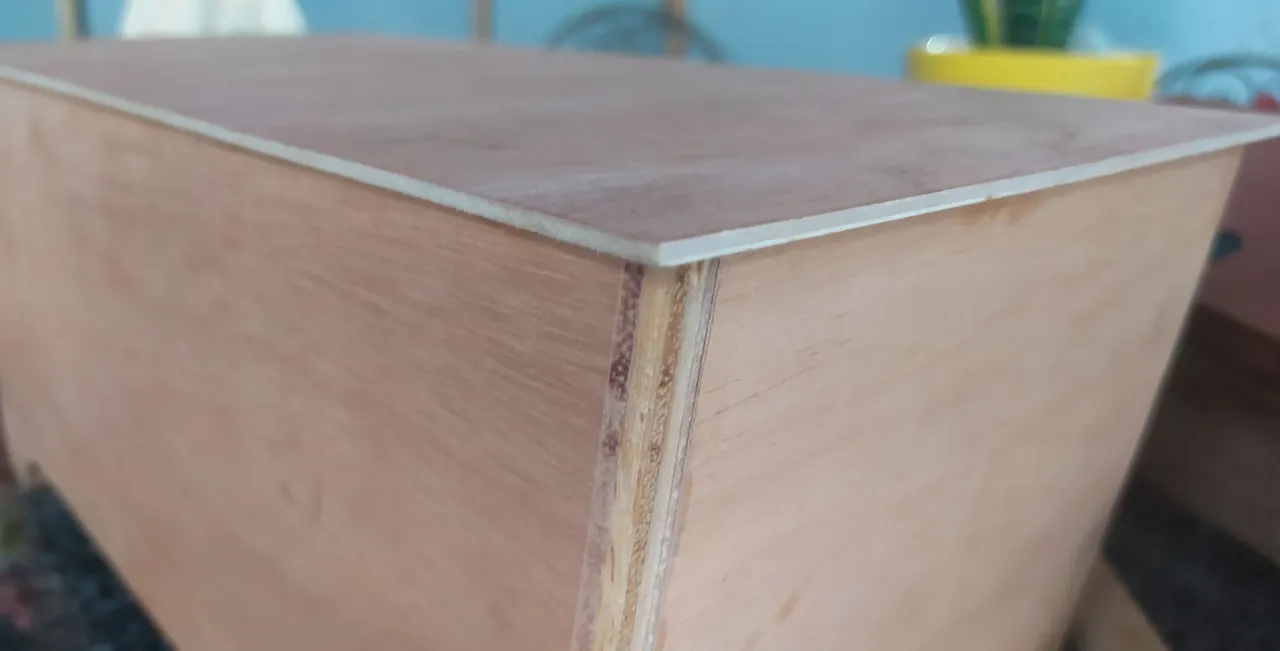
We start of by making both the top side and the bottom side even. We don't want any rocking on the Bongos if we set them on a table. Also, the top side is the most important as we have yet to glue the part that's gonna be used for playing the instrument.
Making use of our newly made sanding board, we can flatten both sides of the Bongos. To make sure we are ready, we just need to let the instrument rest on a flat surface to see if it rocks to any side from its base. To check on the top side, we just place the piece of plywood that's gonna act as the patch and see if there is not any space between both parts. Then we go ahead to the gluing process.
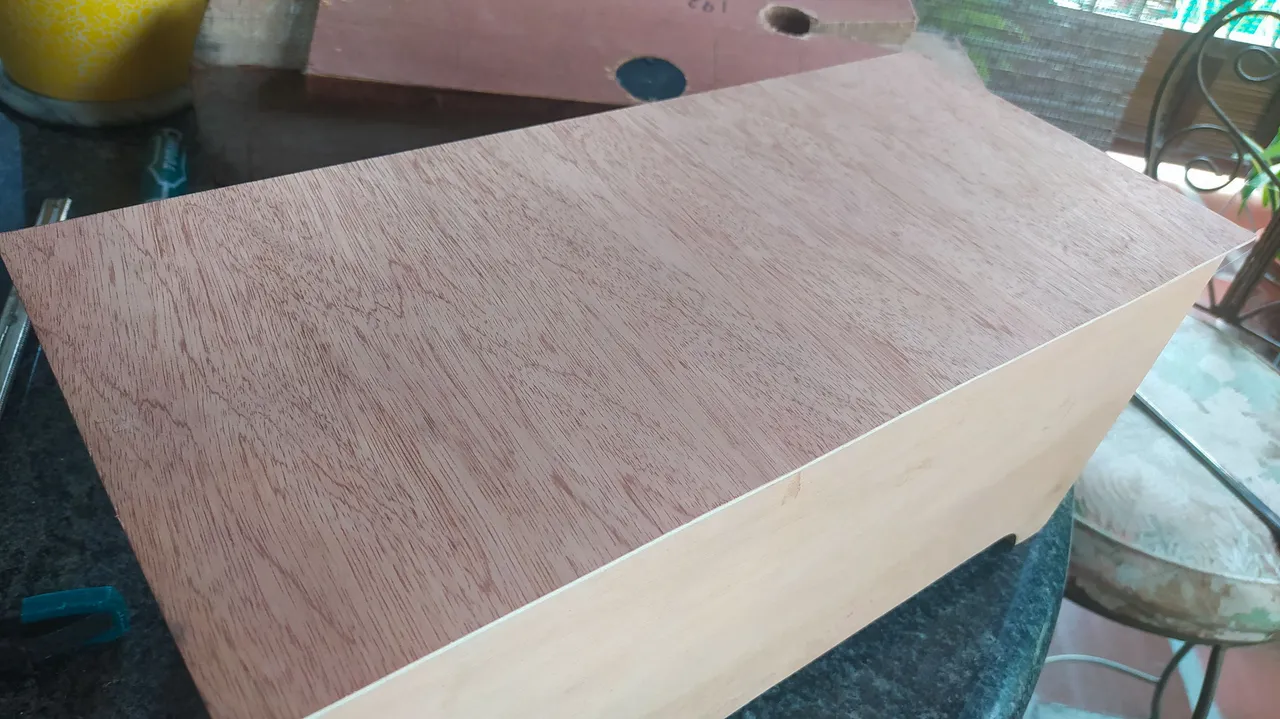
Top goes on

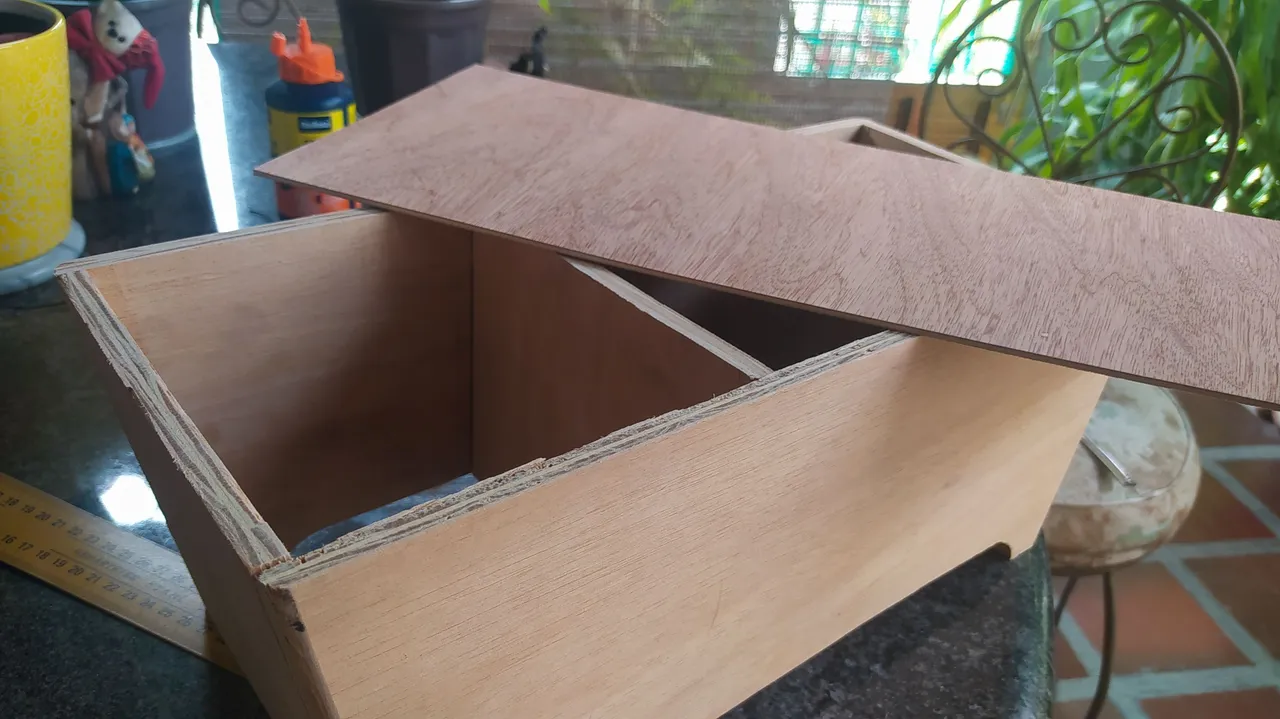
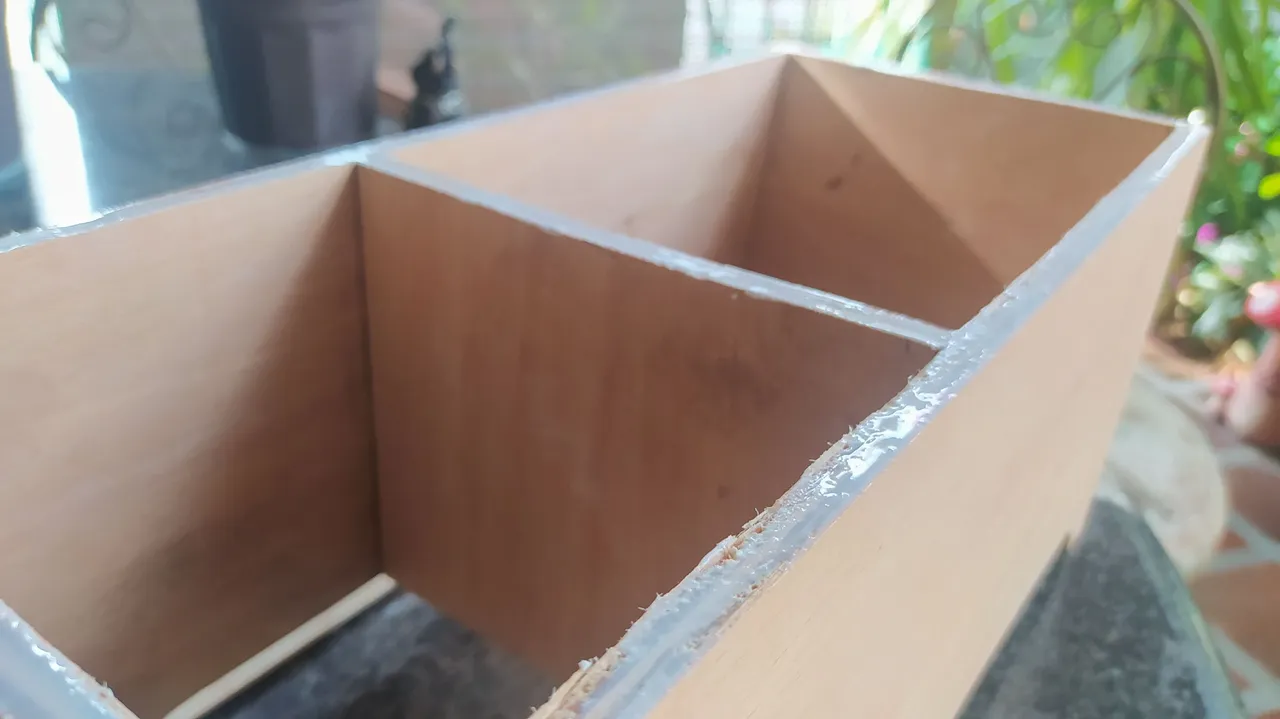
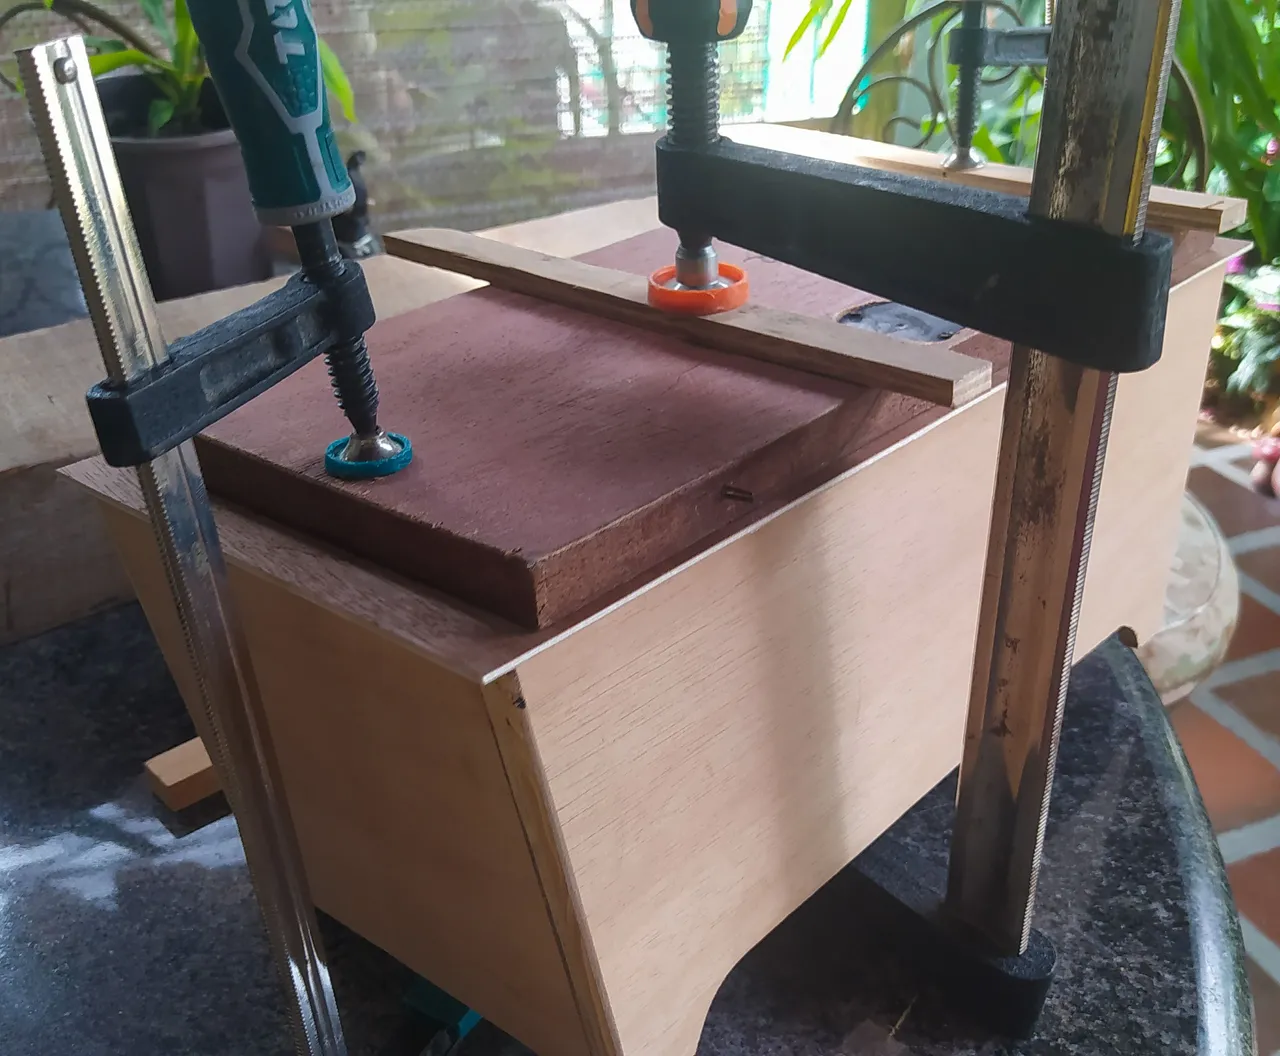
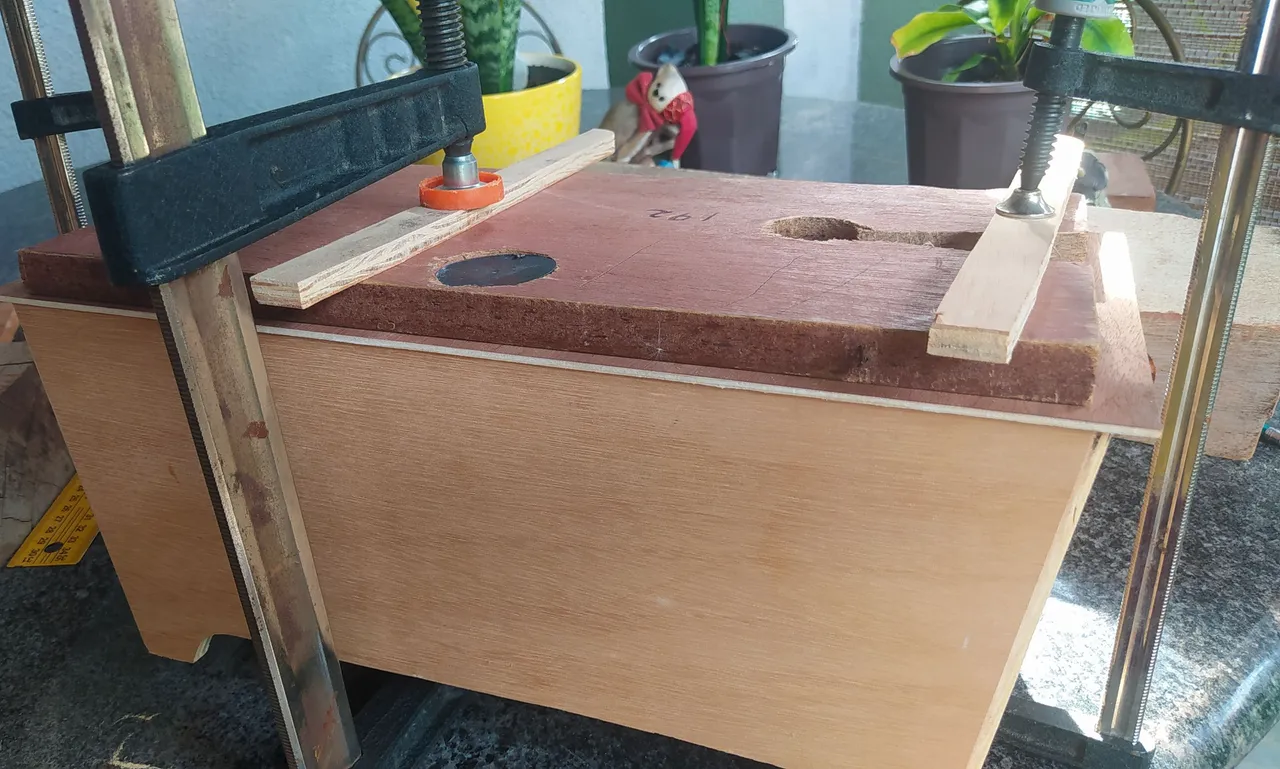
Gluing the top gets tricky since I don't have enough clamps and need to make up for this issue. Easily enough, we just need to place something that helps us increase the surface area for the pressure the clamps can make over the whole top. Since we just need the borders and the piece that divides the drums, we can apply all the pressure we need without having too much trouble.
However, there's always the need to be cautious. As we apply pressure, the top might move. Fortunately, the piece is a bit bigger that the base so this is accounted for on the process, but we want to keep a certain amount of fly over the borders so it can be trimmed later.
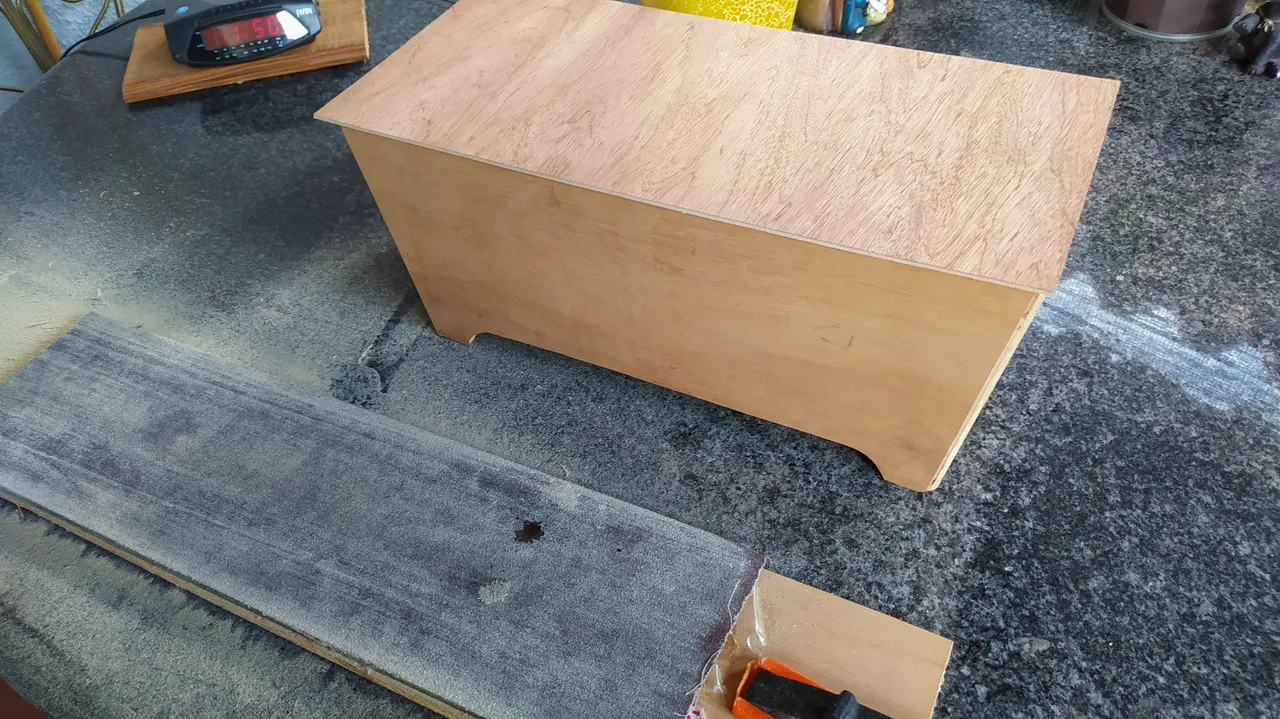
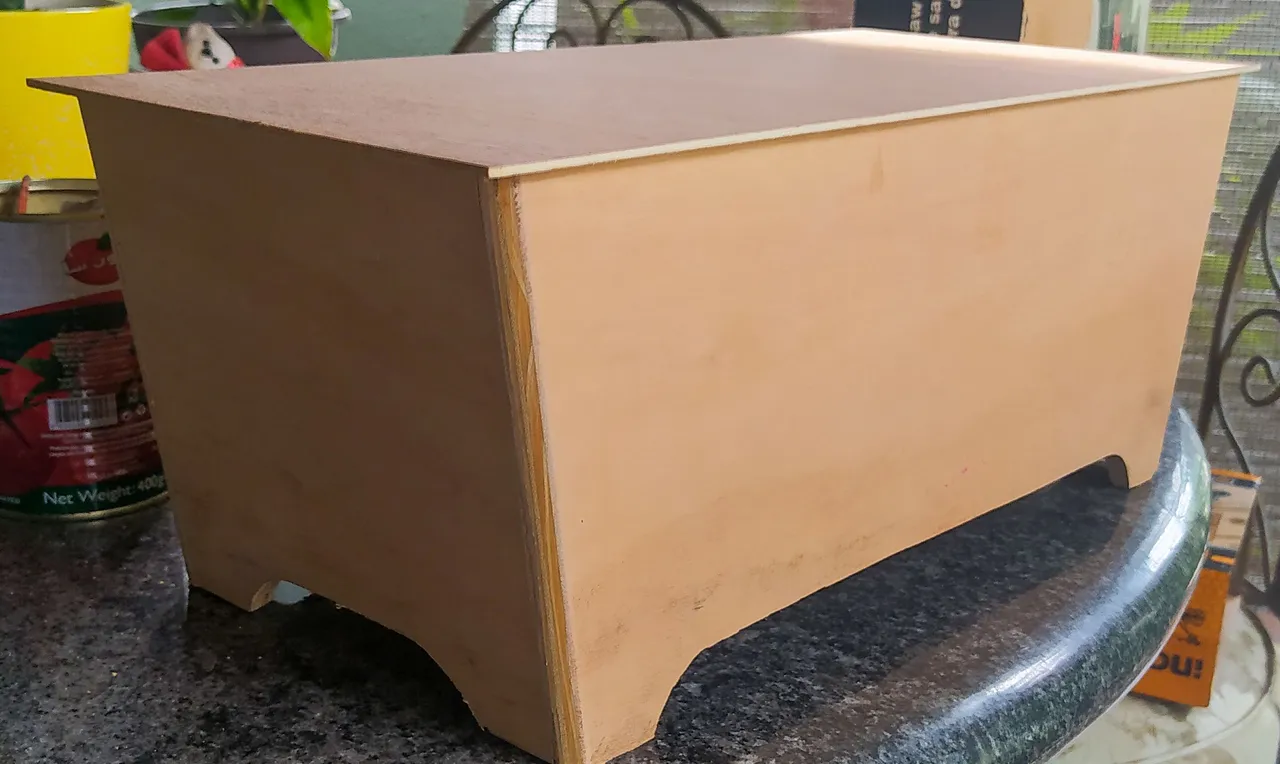
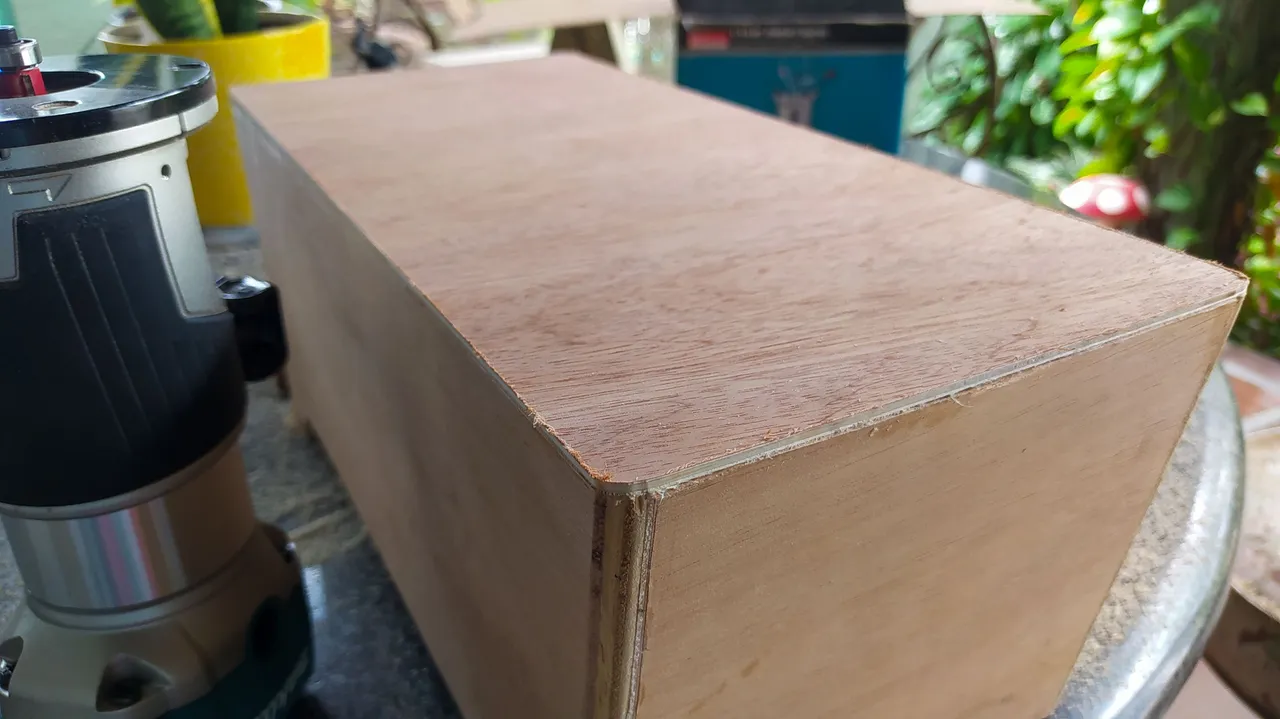
With the lid, the Bongos are ready to produce sound.
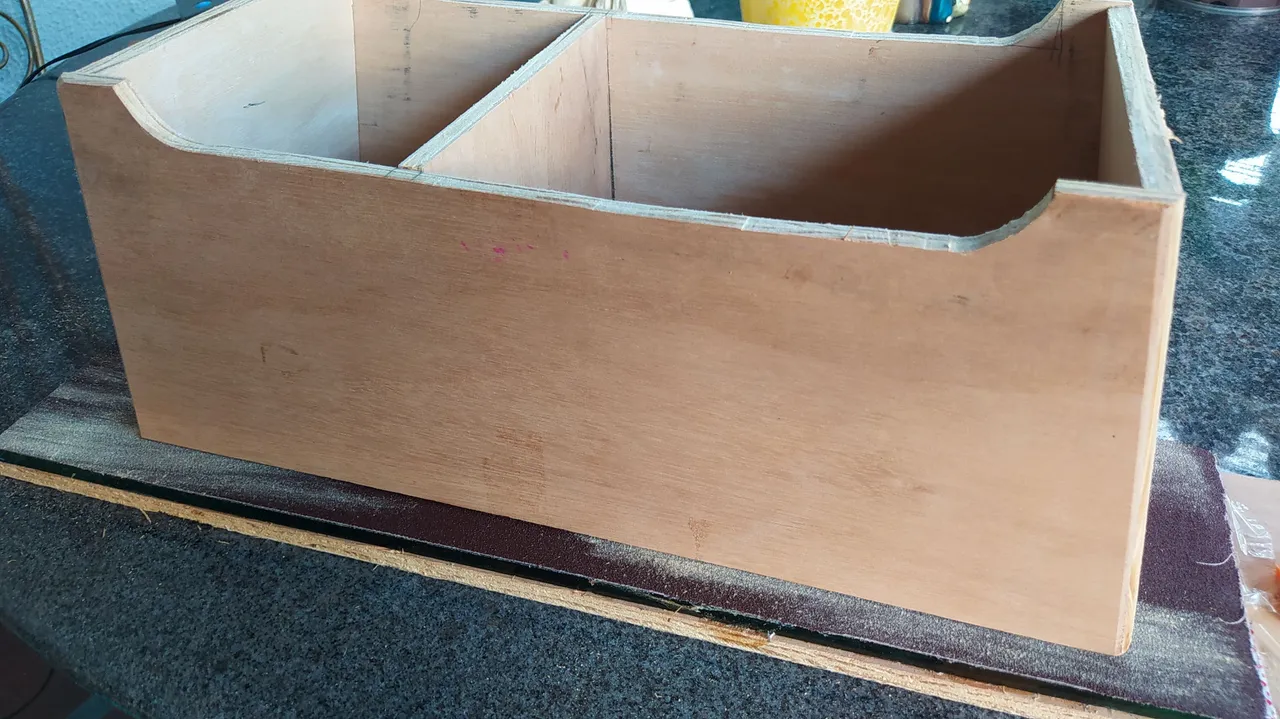
Trim it
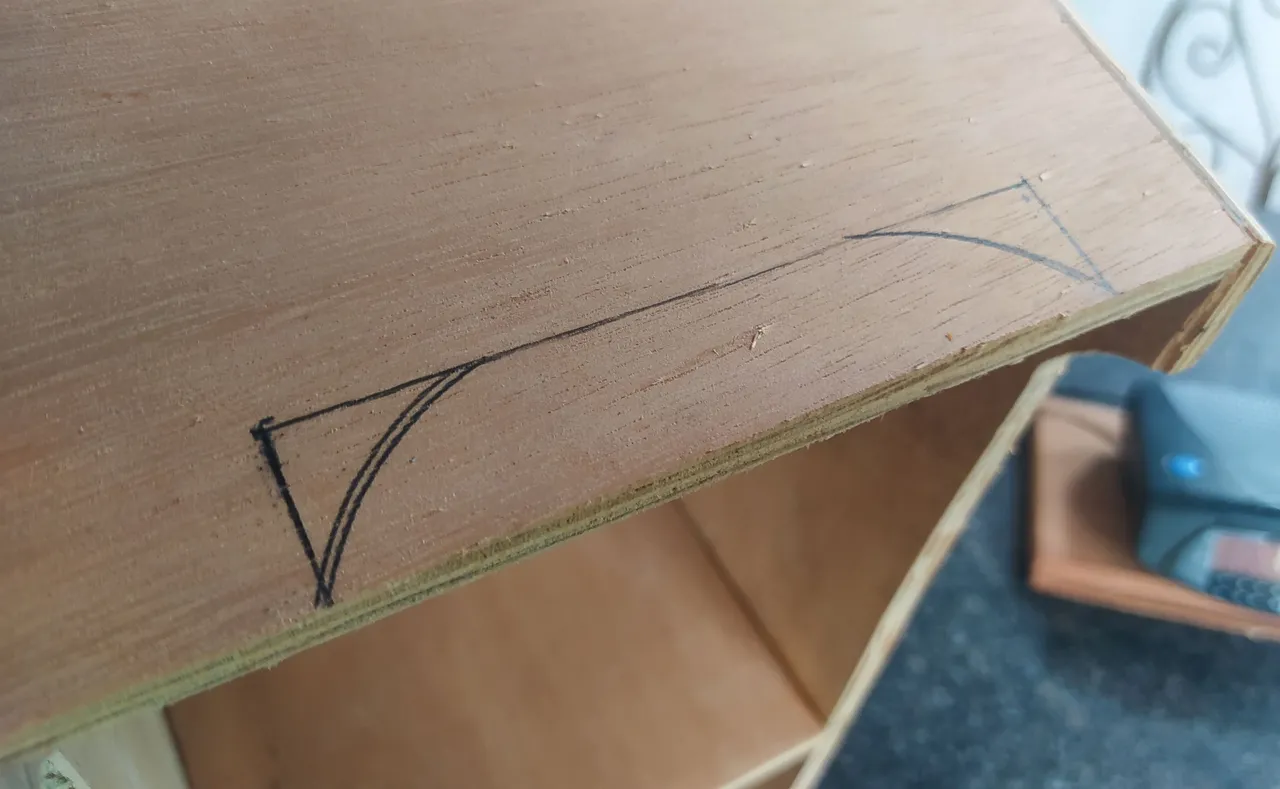
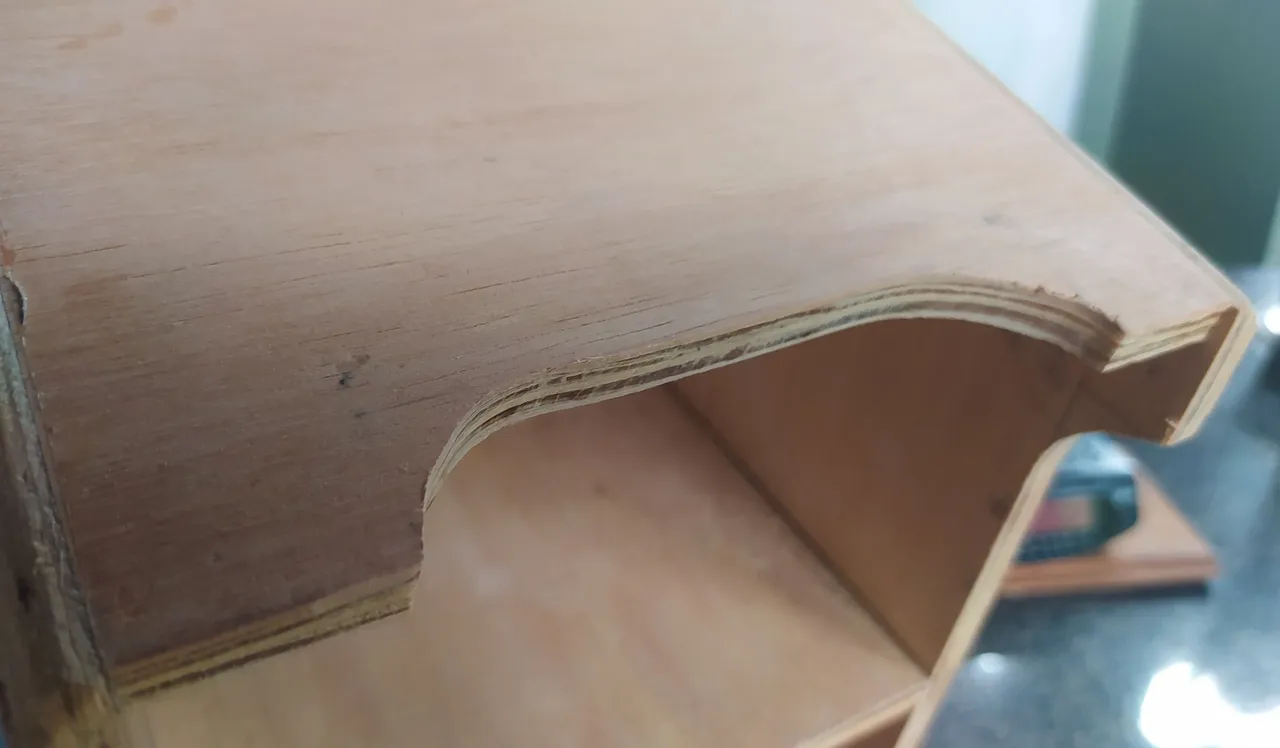
After it is glued, we can go ahead and finish some of the aesthetics of the Bongos. I made a mistake gluing yo top first before making this cut on the shorter side. This is a way to pick up the instrument easily. The problem with having the top glued first it's that it become difficult to clamp it to the tables to make these cuts. But with a little thought I was able to do it.
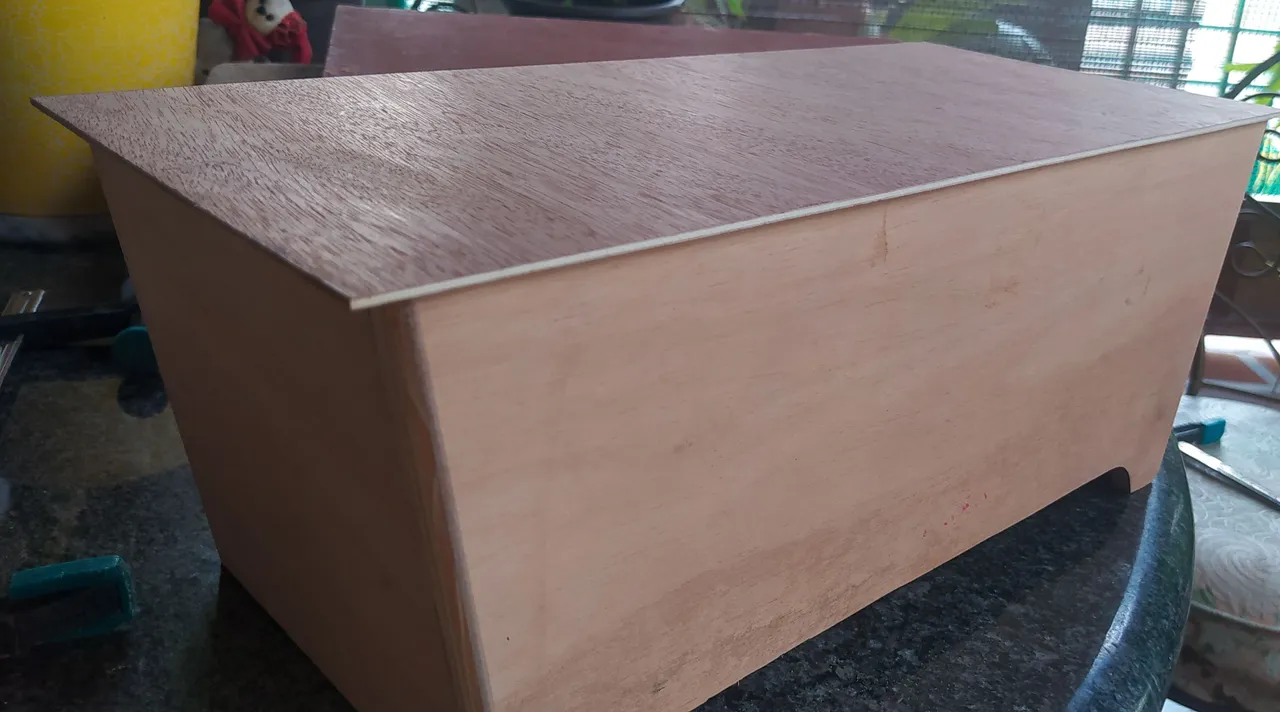
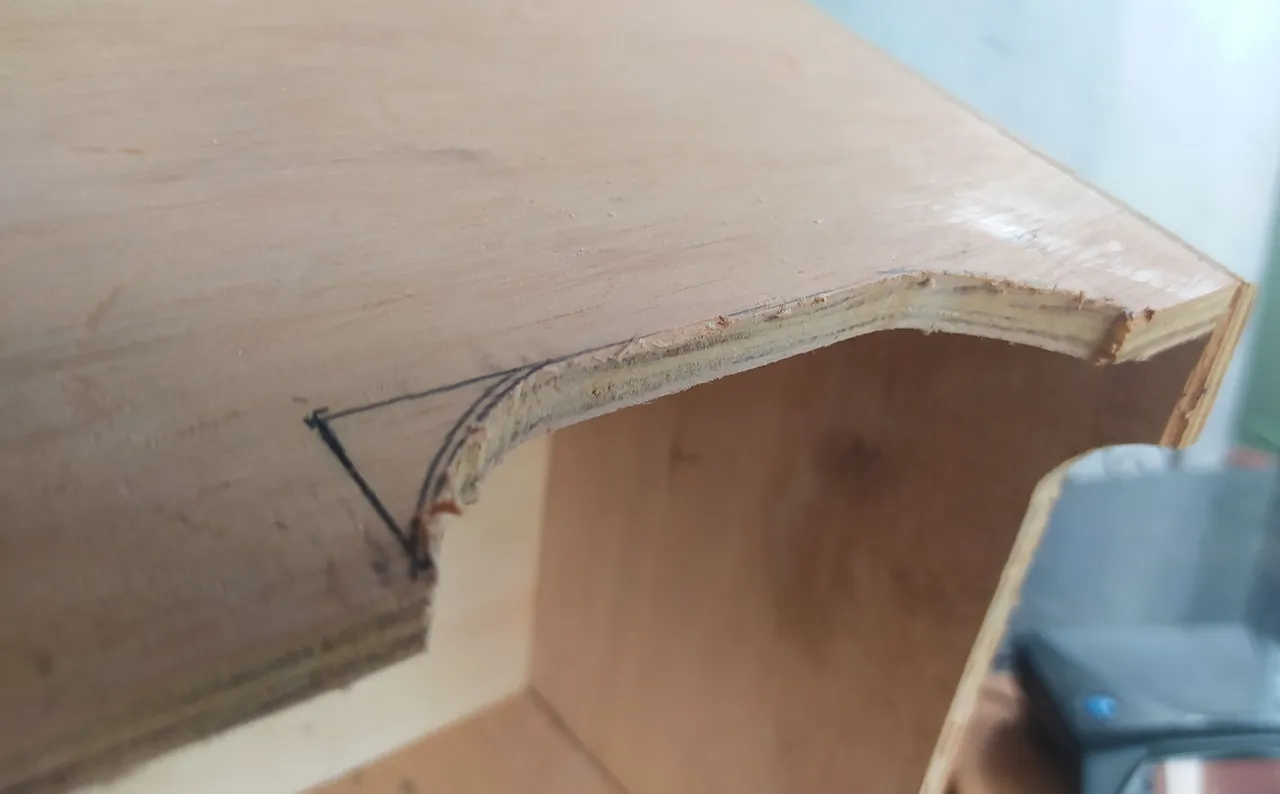
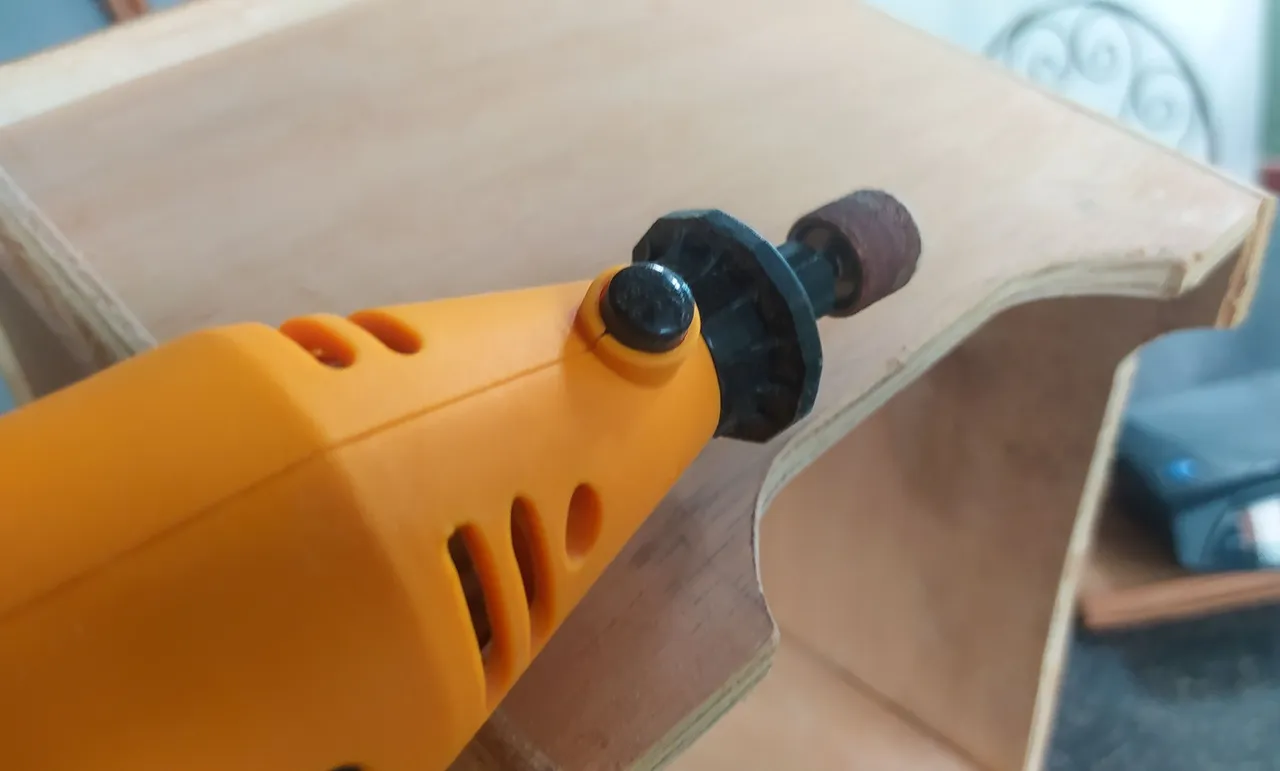
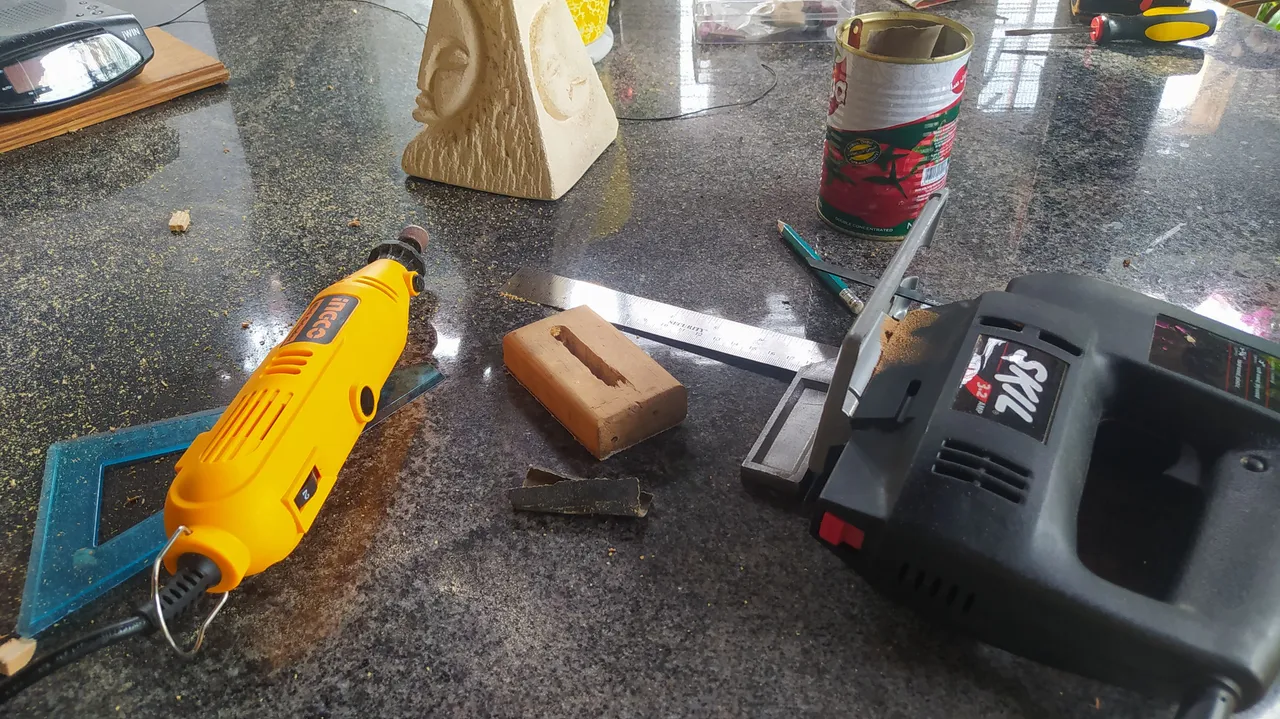
The cut has similar dimensions to the ones made on the longer sides. So, we make our pencil marks and proceed to cut it with a jigsaw. Then, we trim the uneven parts of the cut with our rotary tool.
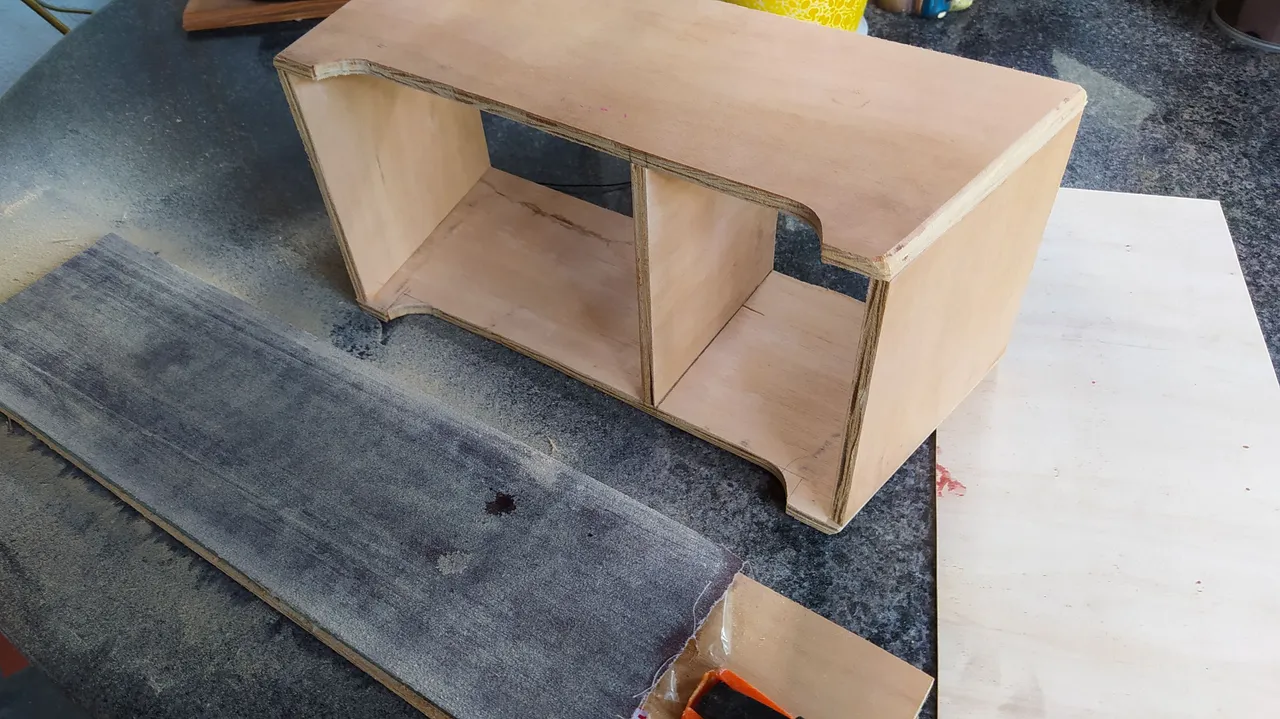
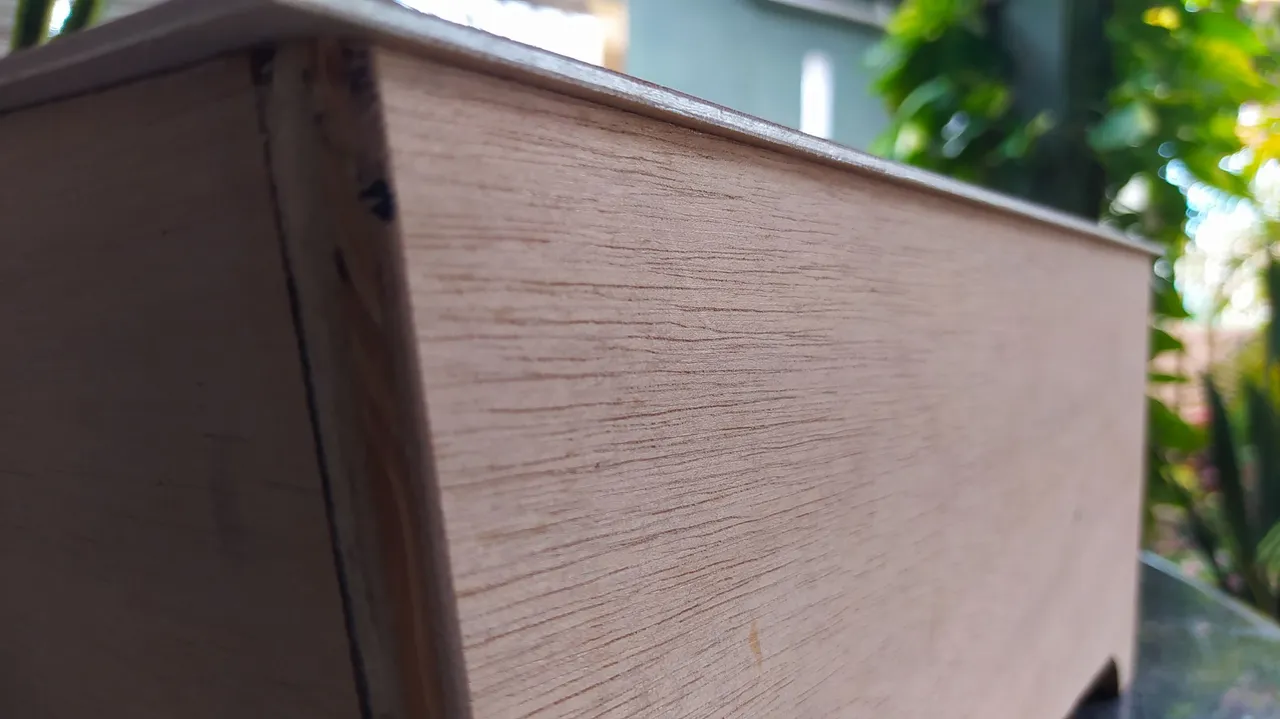
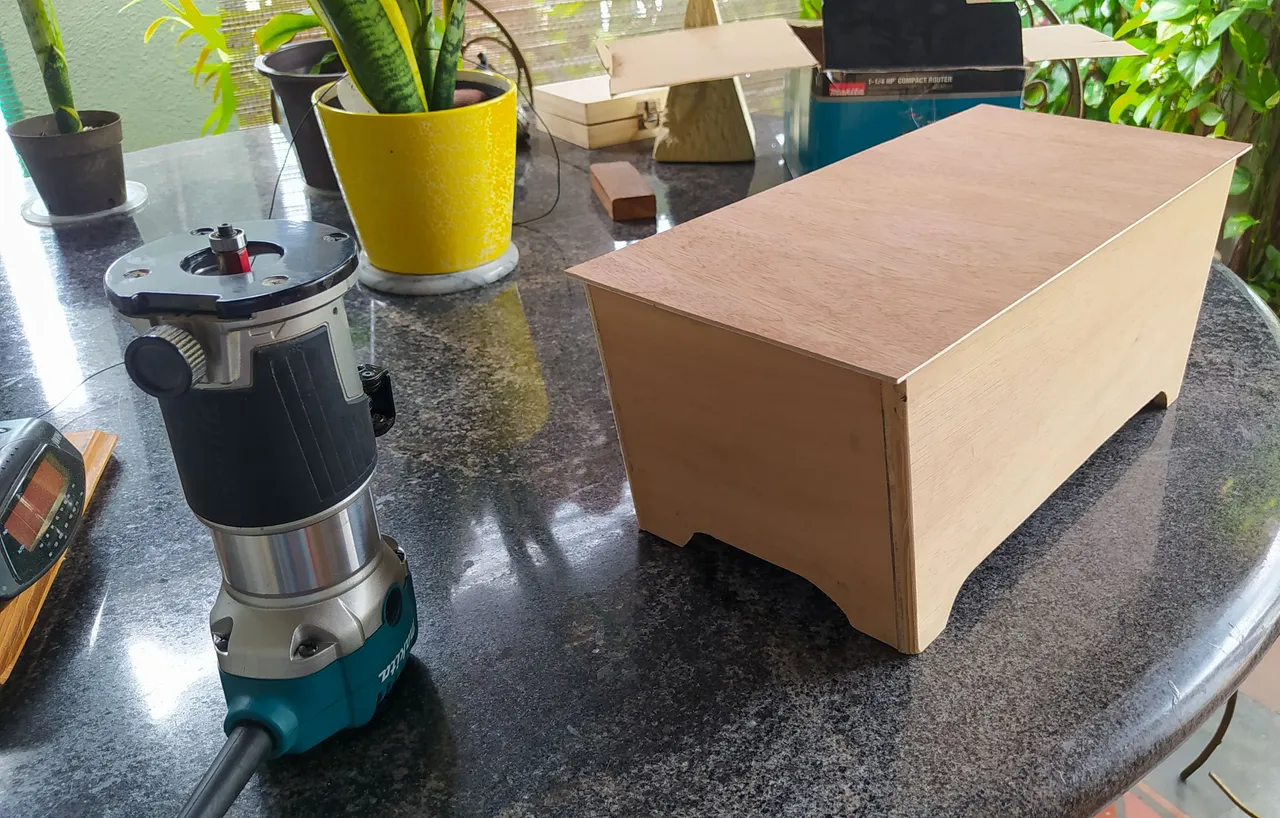
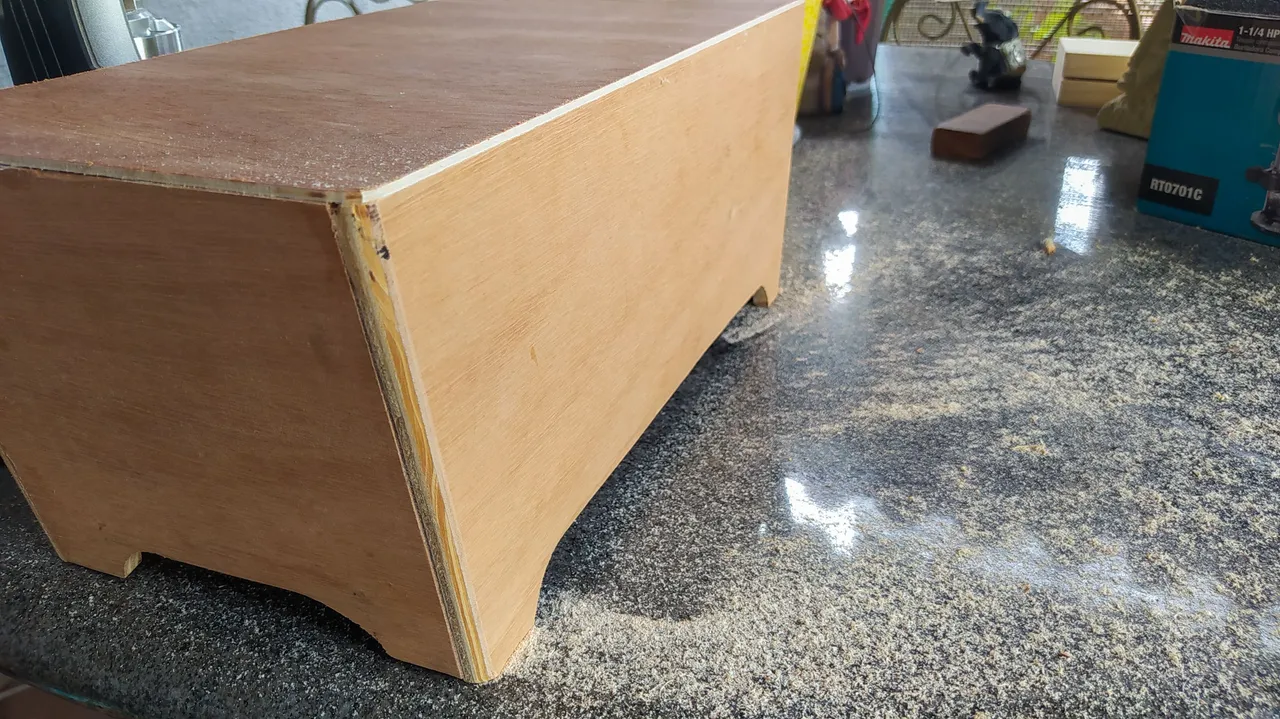
We can move ahead to the setup of our router with its copying bit to remove the excess from the edges of the top. With a few passes, we can copy the shape of the Bongos' base on the top. Then, we change the bit for a corner rounding one. This way we can remove any sharp edges that could hurt the musician while playing this instrument.
With these steps we are ready almost ready. What's missing from the build is merely aesthetic. We need to sand the whole Bongos and decide what kind of finish will the applied. Stay tuned for that part.
Thanks a lot for reading. Feel free to drop any questions on the comment section. I'll see you again next time!
Bongós II
Volvemos con estos Bongós para darle un último retoque en su forma. Sigan leyendo para enterarse de qué cosas nuevas se han hecho durante estos días. Esto es Miércoles de Carpintería, donde paso a paso, vemos el proceso de construcción de un instrumento.
¡Vamos allá!
Aplanar
Vamos a empezar el trabajo apalnando tanto la parte de arriba como la parte de abajo. No queremos que los Bongós se muevan sobre una superficie plana. Además, aplanar la parte de arriba es muy importante porque todavía tenemos que pegar el terciado que hará de parche en este instrumento.
Para esto, vamos a hacer uso de nuestra herramienta nueva: el panel de lija. Así podemos trabajar estas dos caras de los Bongós. Para aegurarnos de qu estamos listos, solo tenemos que apoyar el instrumento en una superficie plana para ver si tiene algún desnivel en la base. Para la parte de arriba, solo tenemos que colocar el terciado encima y revisar si hay algún especio entre ambas partes. Luego, hacemos los ajustes pertinentes. Cuando hayamos finalizado, podemos continuar con el proceso para pegar la tapa.
Colocando la tapa
Pegar la tapa se complica un poco so no tenemos prensaaa suficientes. Pero solo hace falta pensar un momento para dar con la solución. No hay tantos puntos de contacto. Así que si utilizamos algo para distribuir la presión de las prensas, no tendremos problemas para lograr pegar este pedazo de contraenchapado. Solo tenemos que asegurarnos de aplicar presión en la parte que divide los tambores.
Obviamente, hay que tener cuidado. Al aplicar presión, podemos mover la chapa. Afortunadamente, esta es más grande que la base. Esto se toma en cuenta para el proceso de pegado. Necesitamos tener algo de exceso hacia los bordes. Esto se puede retirar posteriormente.
Con esta tapa en su lugar, los Bongós están listos para sonar.
Rebajar
Después de pegar la tapa, podemos terminar con otros detalles estéticos en el instrumento. En mi caso, cometí un error al pegar la tapa antes de hacer unos cortes en la parte angosta del instrumento. Esto funciona como un tipo de asa para cargar los Bongós cómodamente. El problema de no hacerlo antes de llegar la tapa es que se vuelve más complicado sujetar el instrumento a la mesa. No es imposible solo un poco más problemático; pero no es algo que no tenga solución.
Estos cortes son similares a los que se hicieron en las partes largas de base. Así que luego de hacer nuestras marcas con lápiz, podemos cortar con una caladora. Después, nivelamos el corte con nuestro rotamil.
Ahora, podemos preparar nuestra fresadora con nuestra fresa copiadora para cortar el exceso de la tapa. Al terminar de pasarla, podemos cambiar la fresa por una de redondeado de esquinas para quitarle cualquier filo que pudiera lastimar al músico que toque el instrumento.
Al completar estos pasos, estamos caso listos. Solo quedan los aspectos estéticos del proyecto. Hay que lijar todo el instrumento y decidir con qué vamos a hacer el acabado. Manténgase atentos para esa parte.
*Muchas gracias por leer. No duden en dejar su comentario si tienen preguntas u opiniones. ¡Nos veremos en la próxima oportunidad!
Thanks a lot for reading. Feel free to drop any questions on the comment section. I'll see you again next time!
Fotos/Photos and Video 📹 📷: taken by me (Redmi Note 8)
Portada/Thumbnail 🖼️: by me, created with Canva.
Edición/Editing 🎬: by me, made with Capcut.

Follow me on Instagram for enquires and commission.
If you'd like to help the workshop grow, you can make a donation here. You can find me at discord as bertrayo#1763