Hello everyone

Greetings to you all my lovely friends, lovers of creativity, members of this great community and hive at large, its a great day and a lovely tome out here, i hope you are all doing great, it is my pleasure to share with you today the cutting and sewing process of this simple scrunchie head band made from pieces of fabric for my little friend as a gift.

Wonder my little friend, is a smart and beautiful little girl that always like to come to greet me after Sunday service in church, i have promised to make a a headband for one of her outfit and thank God i remembered today to usef this piece of fabric to make a simple head band for her just as promised to be delivered to her in church on Sunday and i know she will like and appreciate it.
This is the simple step by step process to achieve this below
From the pieces of fabric I have with me, i measured and cut out 25 x 10"

It was folded together and was sewn on my sewing machine

I used my pressing iron to neatly iron it open on the seam allowance

It was turned inside out and pressed with the seam line in the middle and i sew on 0.5" on the left and right from the center on a straight line

I cut out an elastic band of 0.5 x 12" and it was inserted in the loop at the middle and was secure on both ends


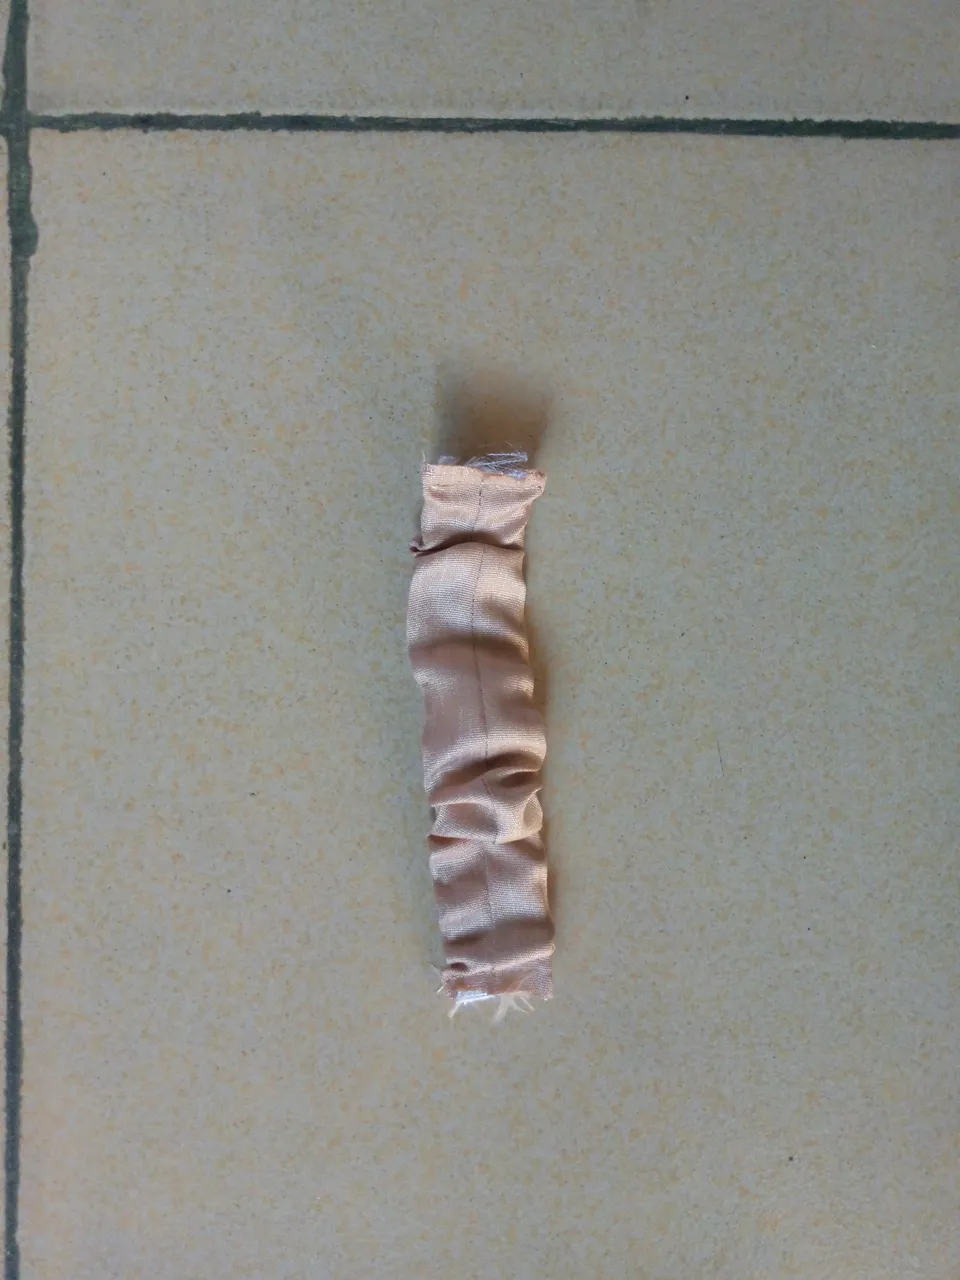
I cut out another small piece of 3 x 8" from the remaining fabric

It was folded and sewn together after which it was turned inside out and neatly ironed
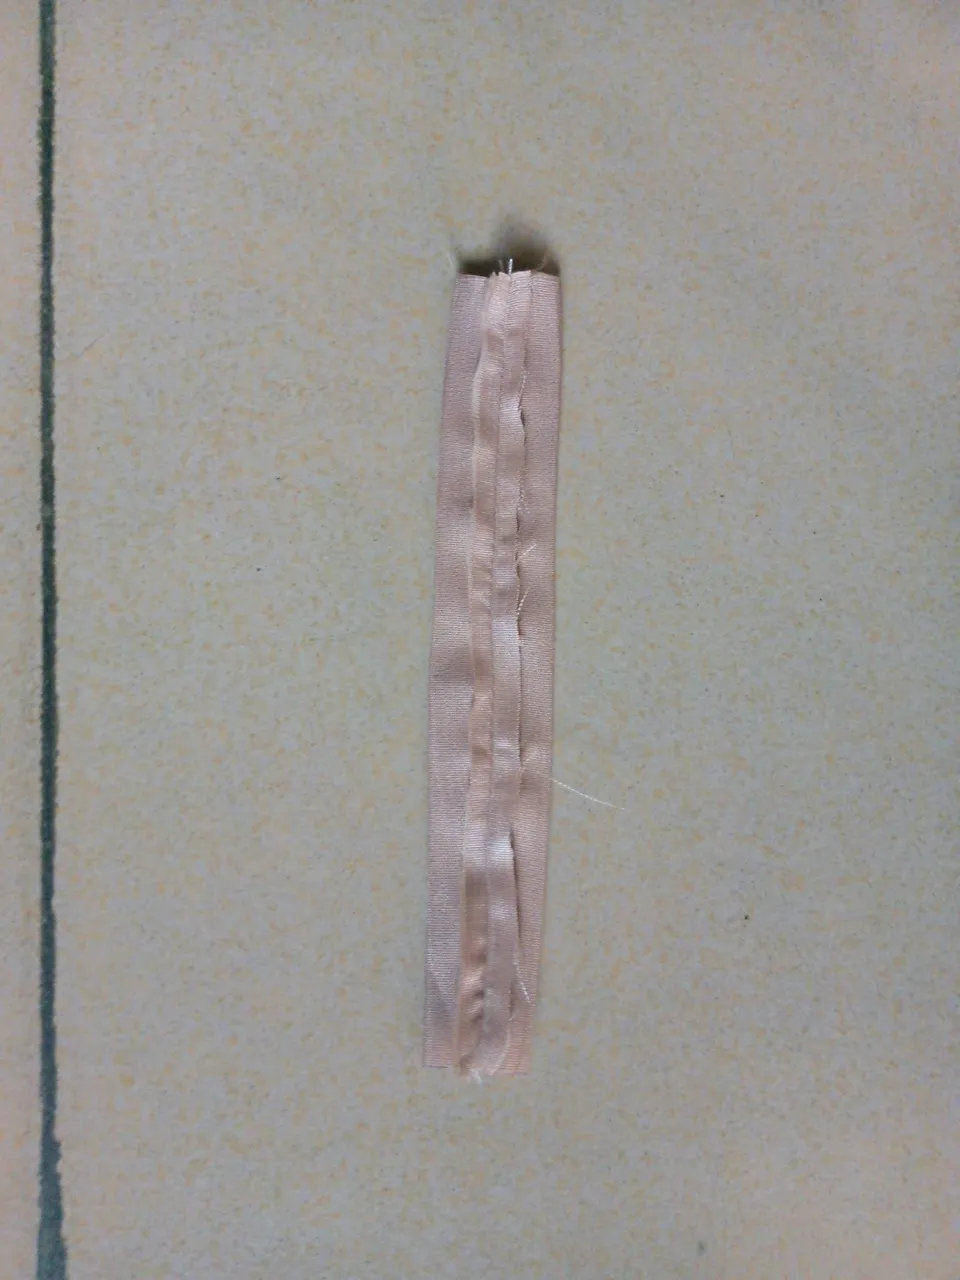
I cut out and insert an elastic band of 1 x 5" and inserted it in the small piece
It was placed on the main piece right side to right side, folded together and sewn on both sides just as seen below.
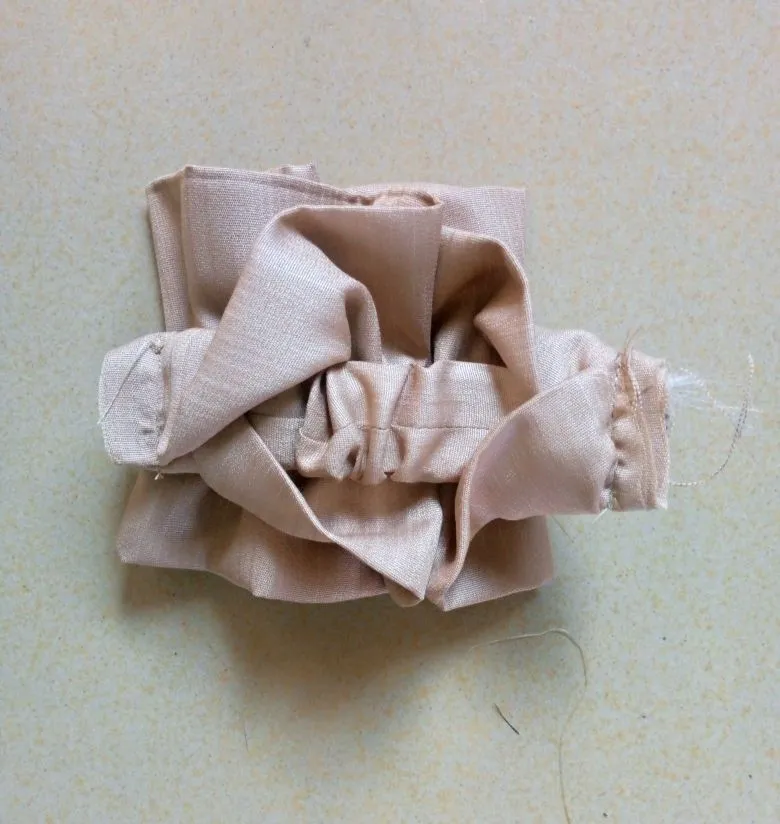
It was sewn to secure both sides and was turned to the right side.
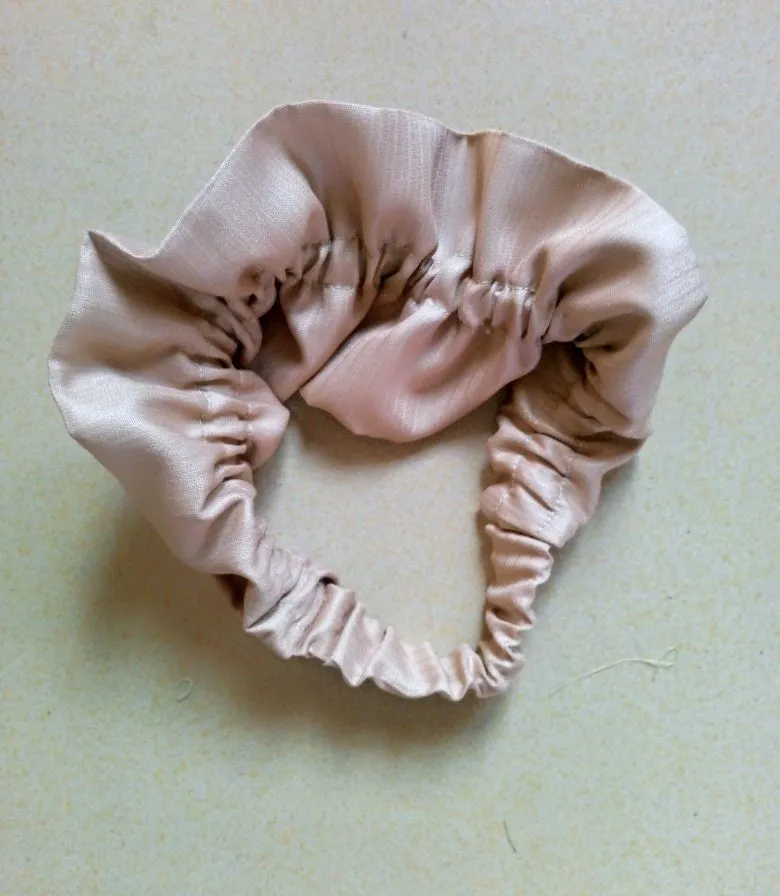
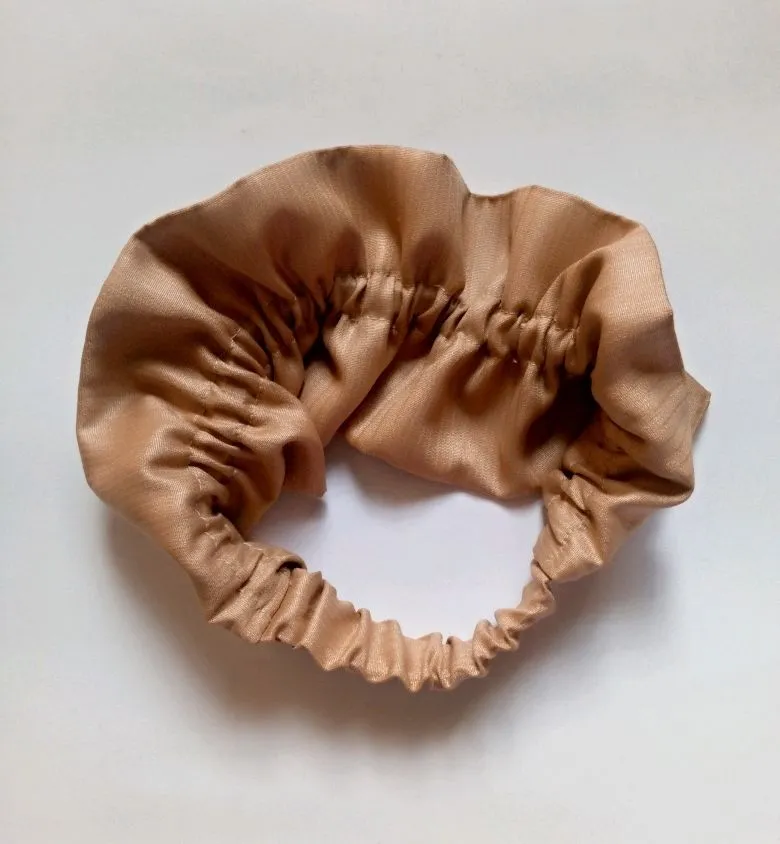
This is the final and beautiful outcome, I hope you like the simplicity of the scrunchie head band I made for my little friend (Wonder) for her hair as an accessory.