Dearest DIY and home-adjustment friends!
This is a post around the moving AGAIN of my platform bed - which in the past 10 years has been in multiple forms in multiple different rooms... A couple of days ago it looked like this:
And then like this, with the dressings off of it:
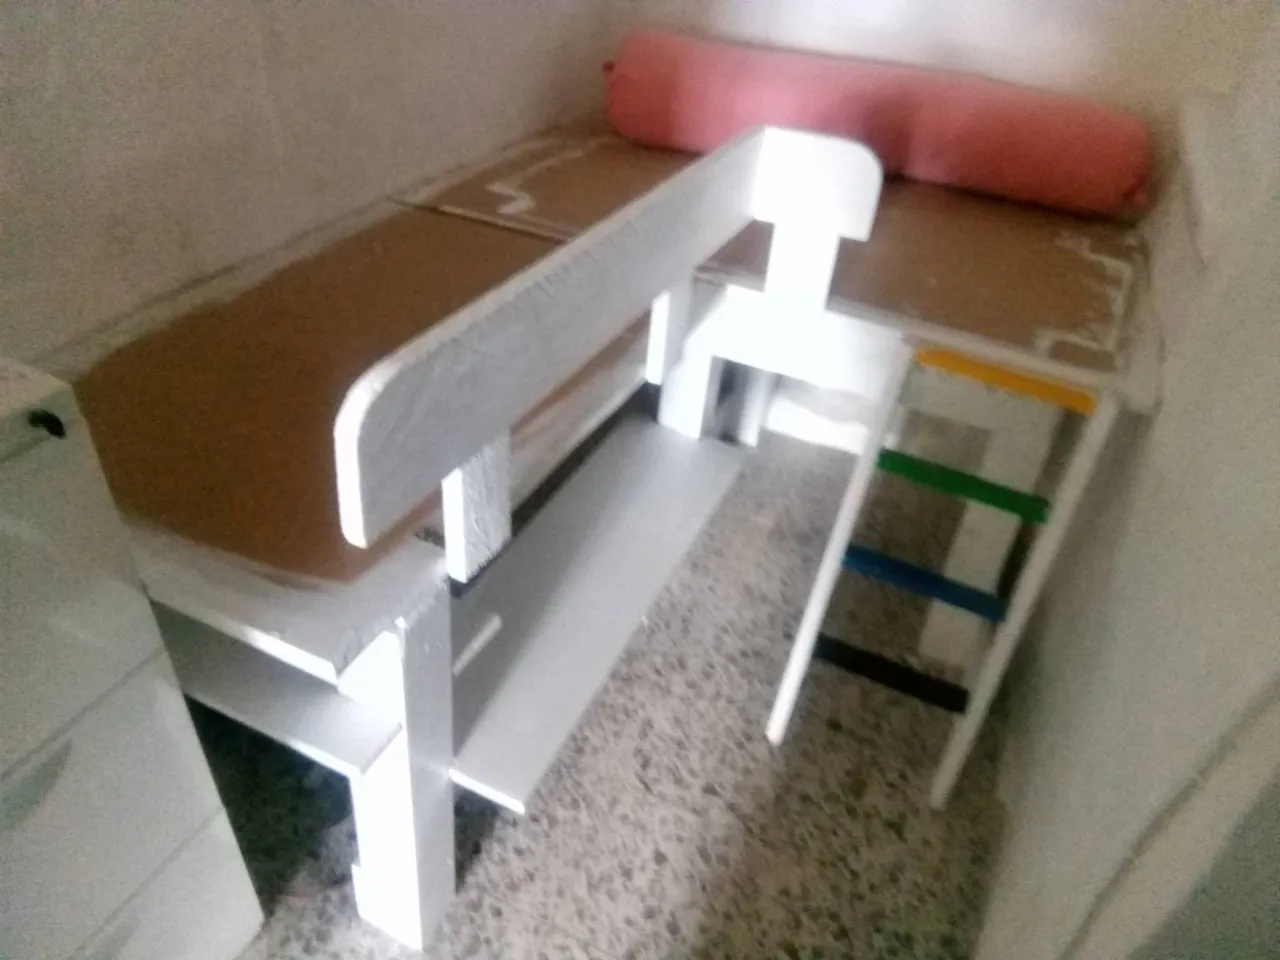
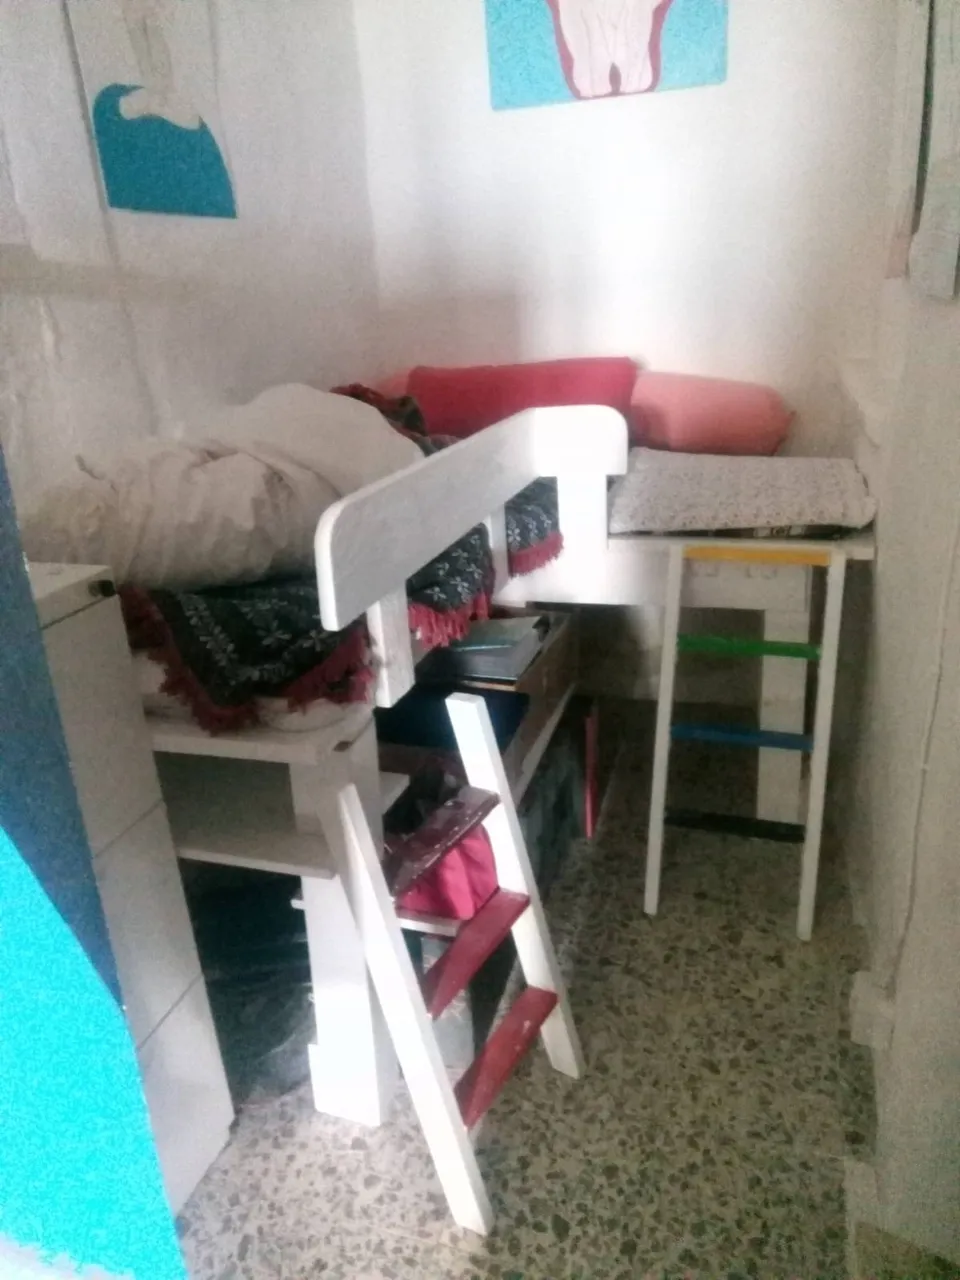
As you can see above, it was a single+ bed: for sleeping one person, with an extra cushioned area to the right hand side, for sitting and reading or suchlike, in.

I wanted to put it into this space (above), which is the old chapel room, in this beautiful medieval home, The Arthouse. So I began by taking one piece of it at a time, and unscrewing it, then carrying it from one side of the house to the other.
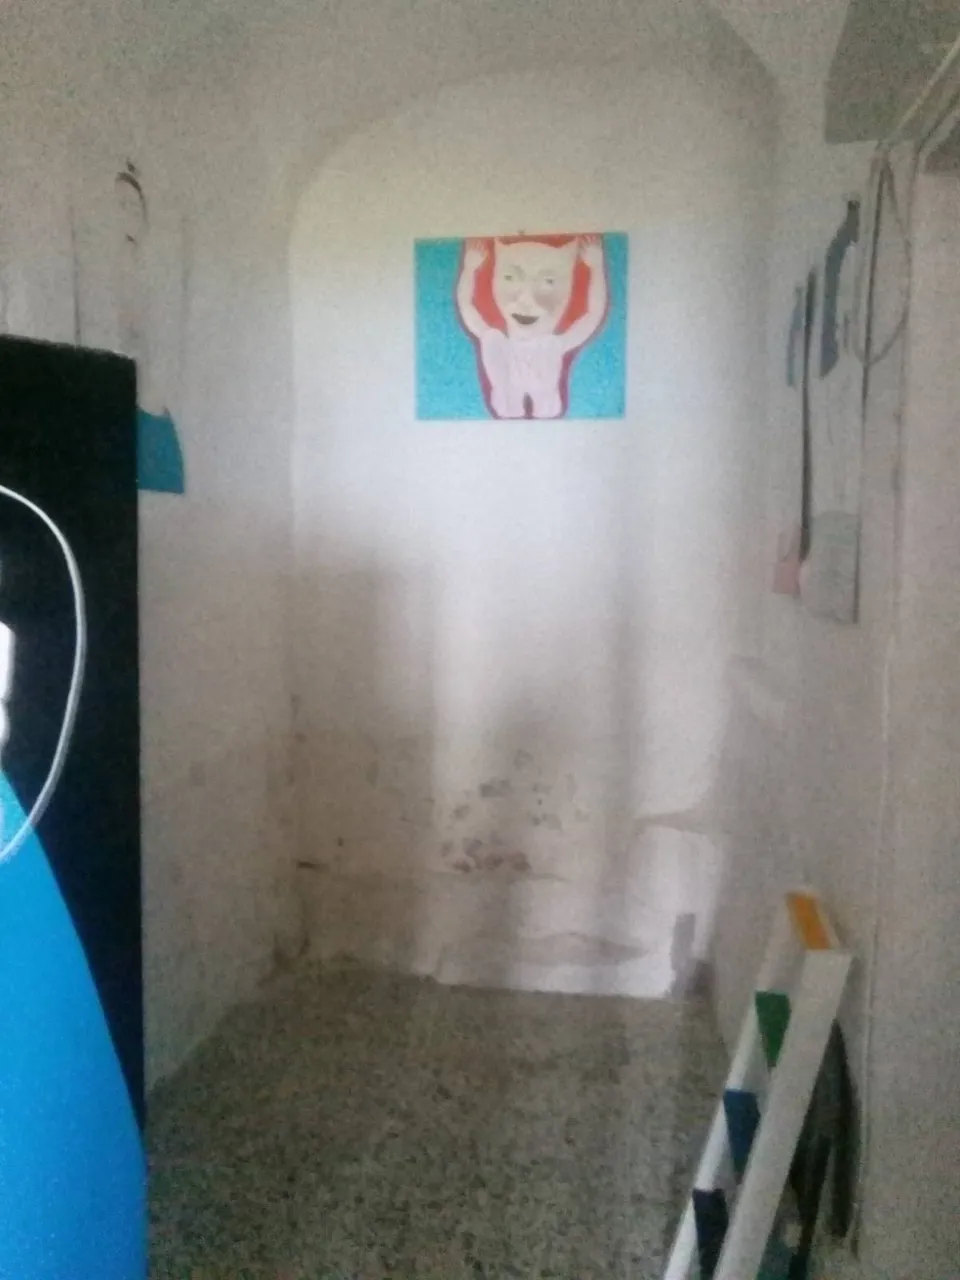
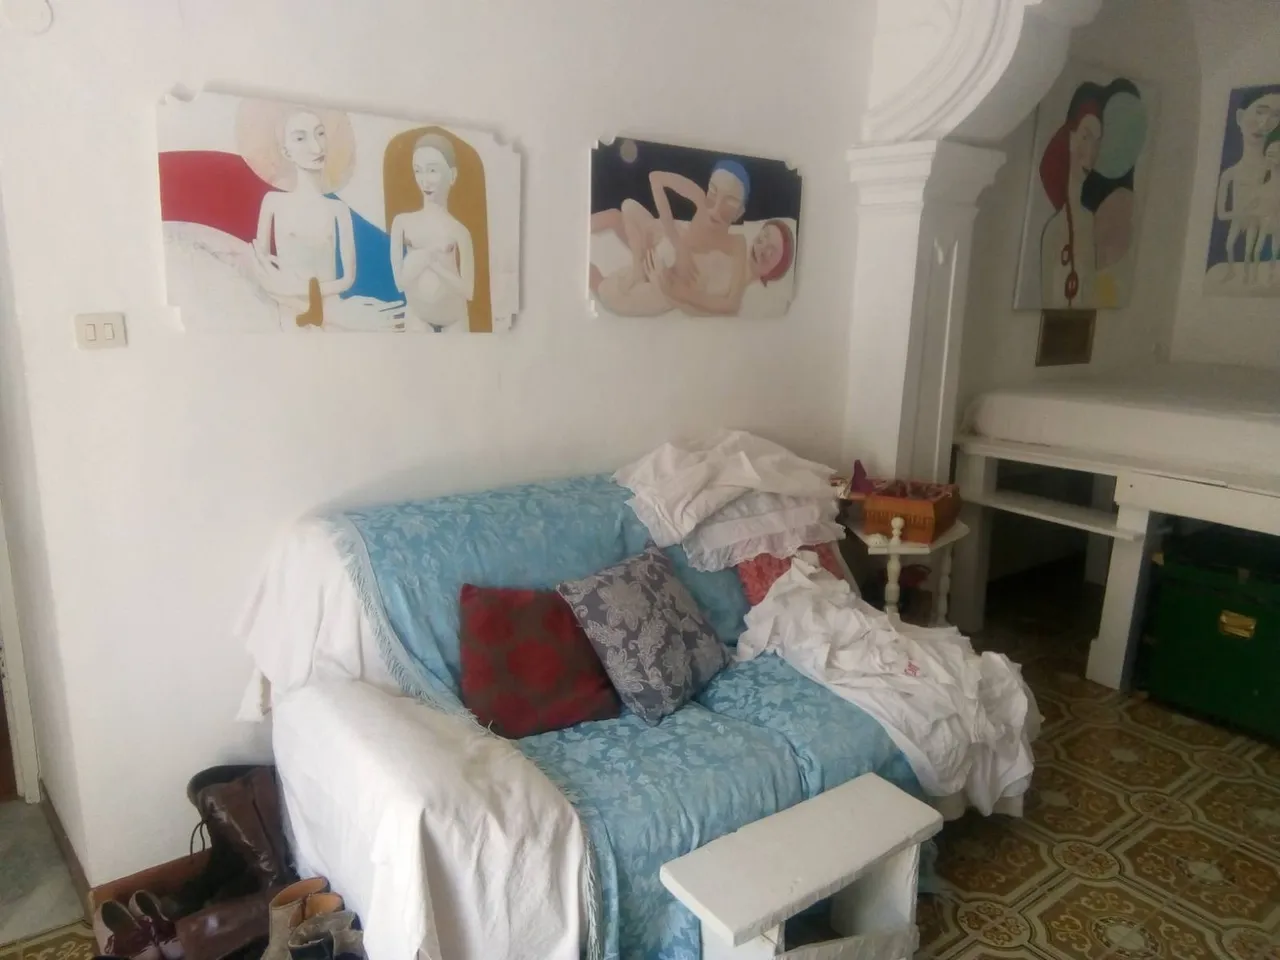
This is the backroom empty of the bed. It's a fabulous room which I had set aside as the child's room, but having my recent pregnancy not progress beyond 6.5 months, this now needs to be a resting and reading or e.g. podcasting room. The house's needs have changed a lot over the 13 yrs I've been here: now I want a guest bed both for volunteers - see this article about volunteering with me here in south Italy! - and for co-creation/ healing guests, when I set up my art residencies again. This backroom is behind my bedroom and studio, and I already moved a gorgeous big armchair in there: it's a nice cool space in summer.
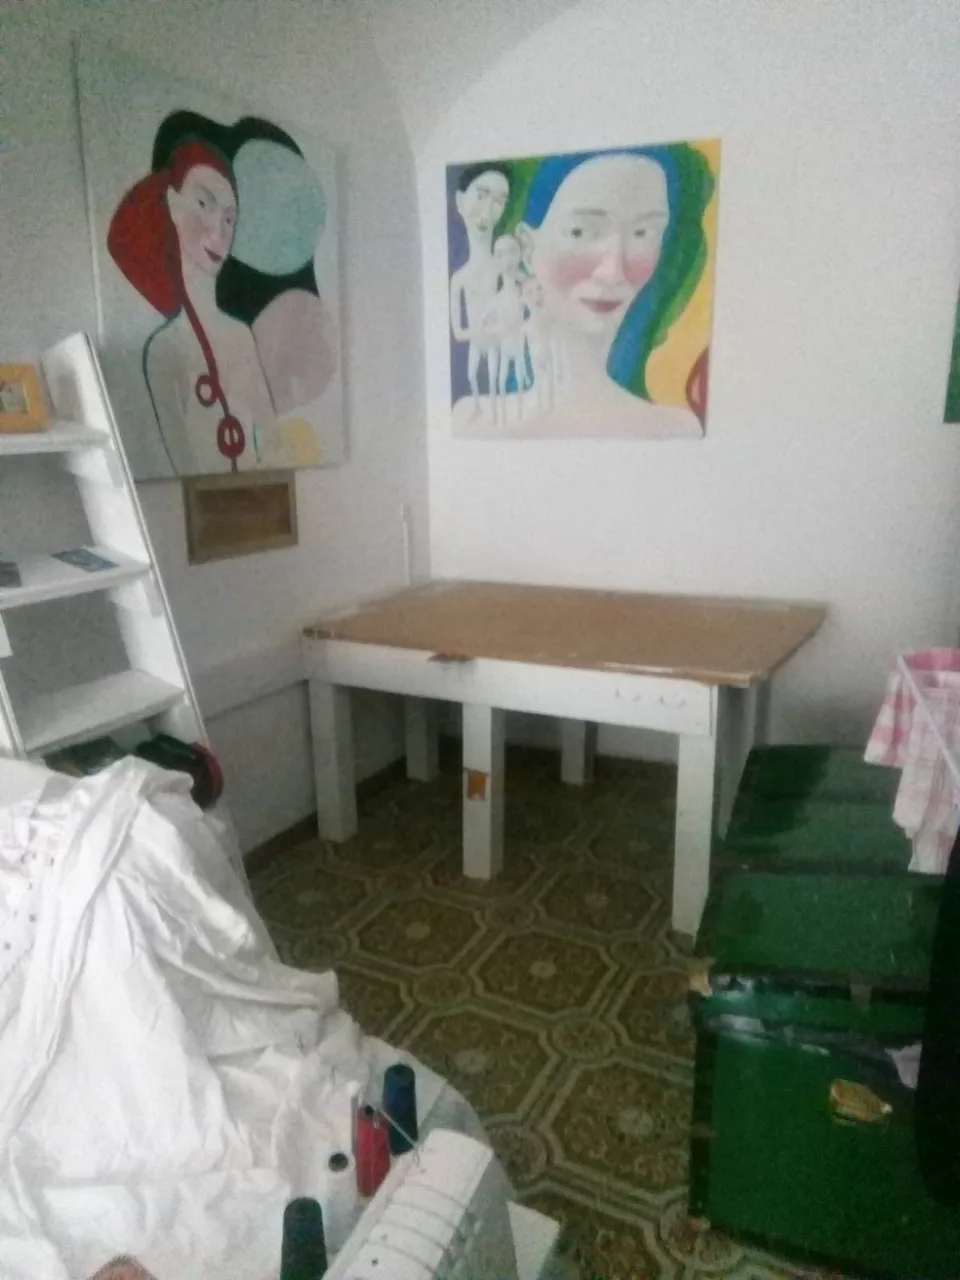
The chapel room also functions as a living room and my sewing room, which is the other half of it:
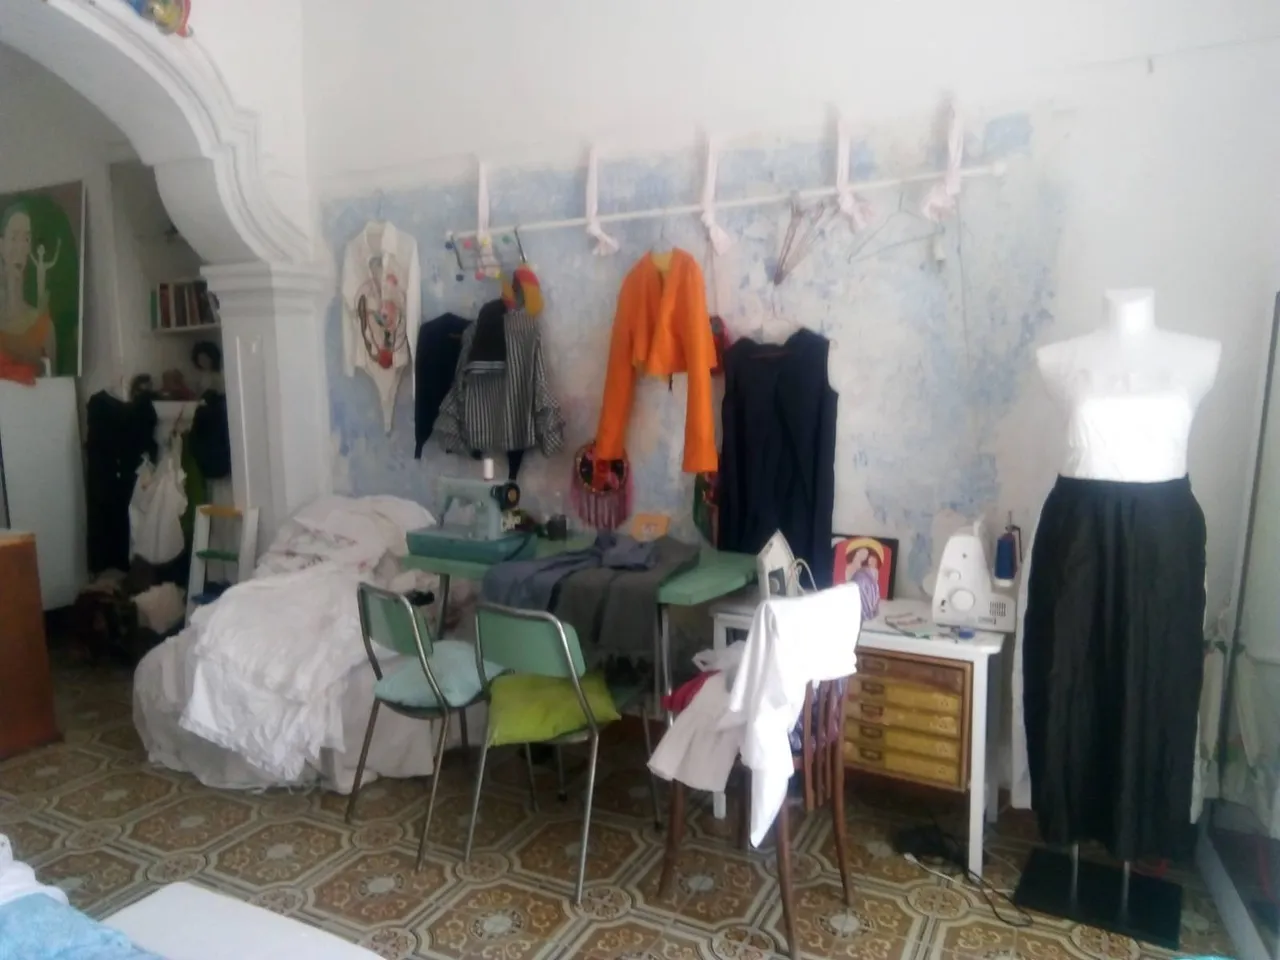
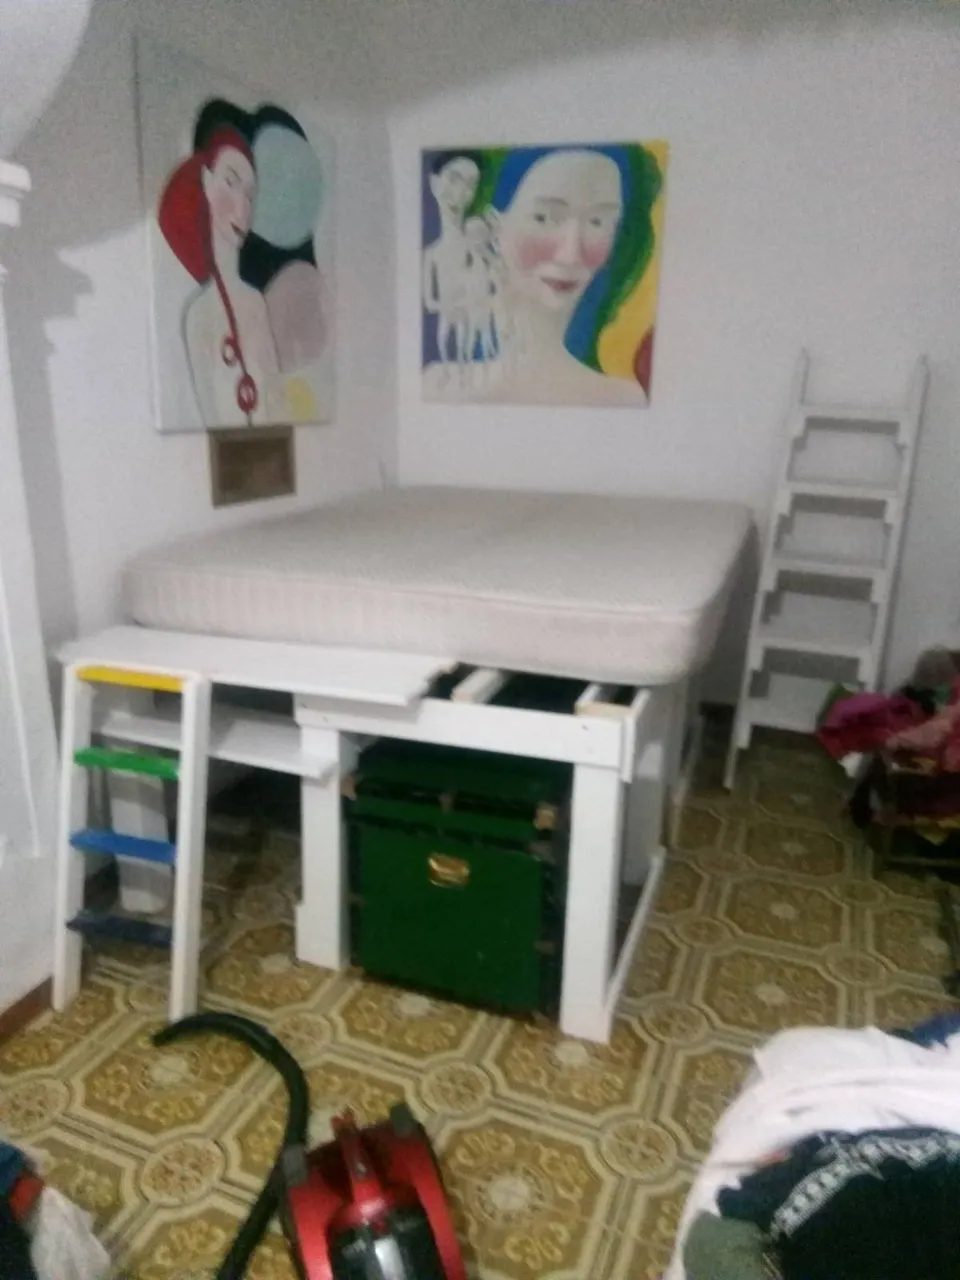
So I needed the new bed, which also had to accomodate the new gifted mattress that I recently acquired, to also function as a storage space underneath it - like it had in the other room.
There were QUITE A FEW steps between having it in the other room and getting through here - but I was sweating and straining to get such heavy boards both unscrewed and carried through!
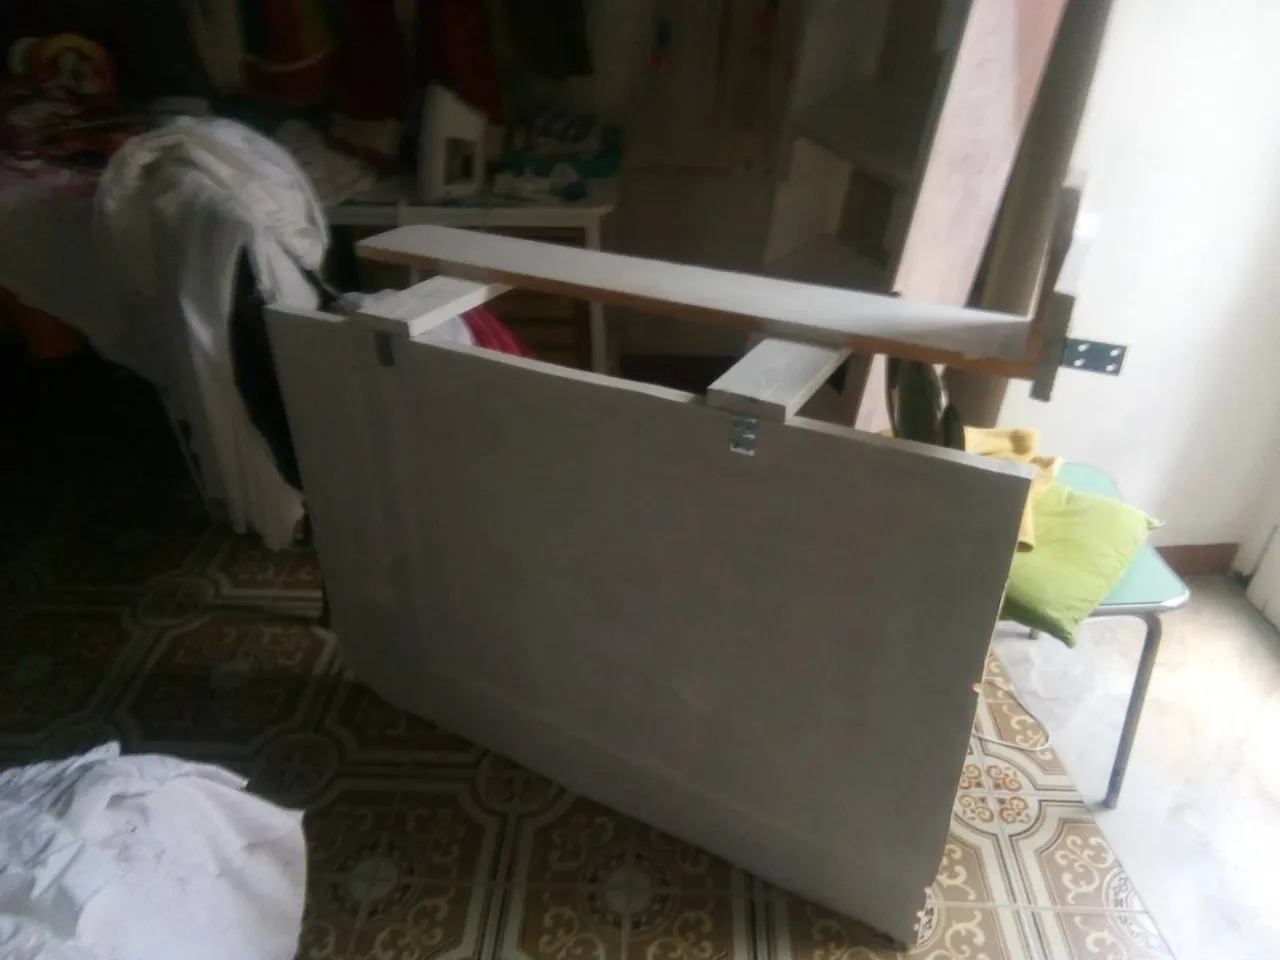
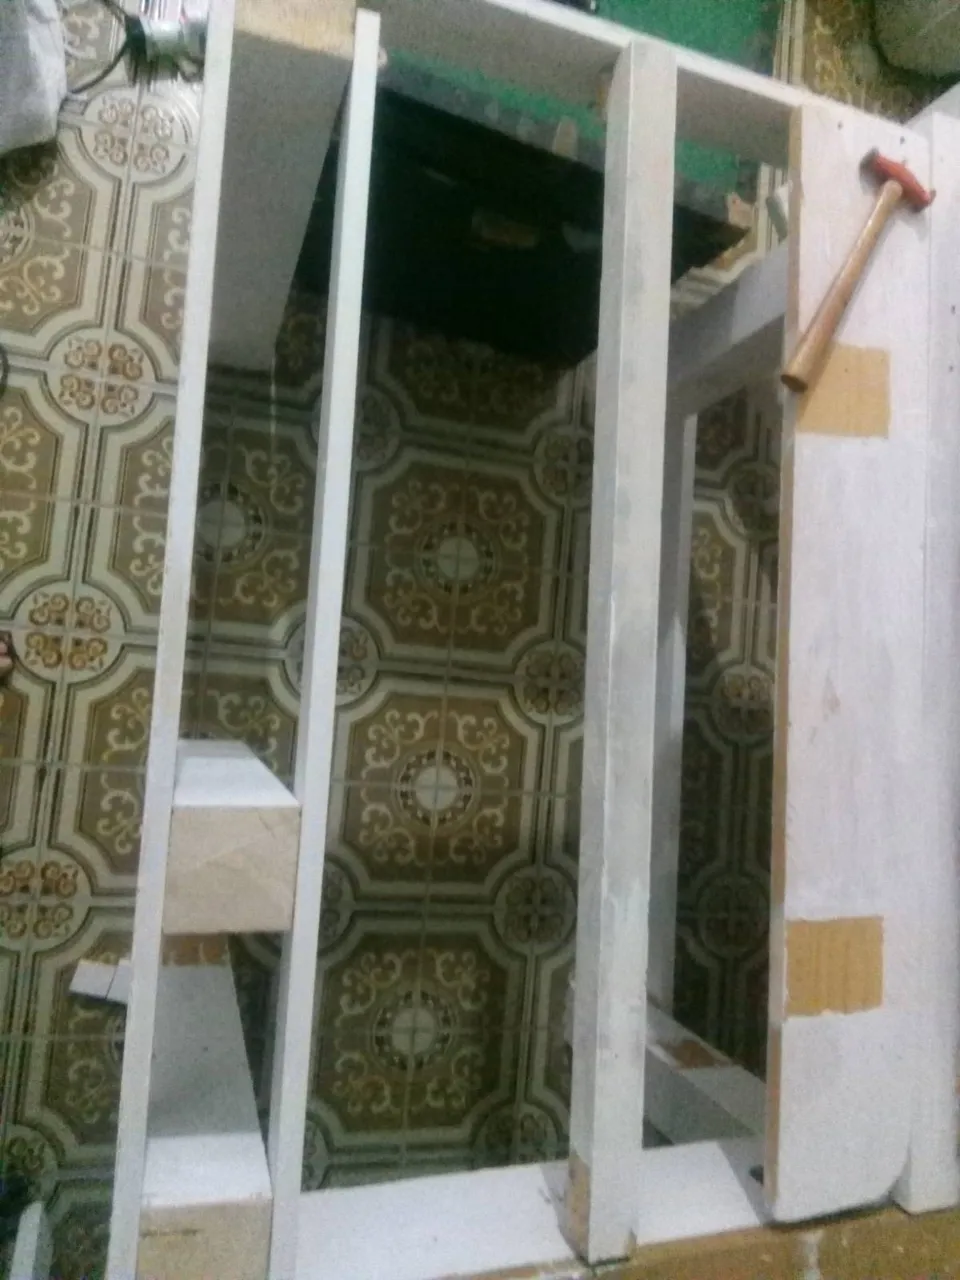
The whole structure had to be taken apart into small enough pieces, to get them through the doors between the rooms.
AND I had to figure out what the last quarter of the bed was going to be constructed from, as I had cut it up before, and made one quarter into a painting!
So I popped down to the cellars and deconstructed these room dividers, which I'd already decided to declutter the lower bathroom from...
I took them all apart, and re-used the upright beams, as well as several of the planks - and lots of the screws.
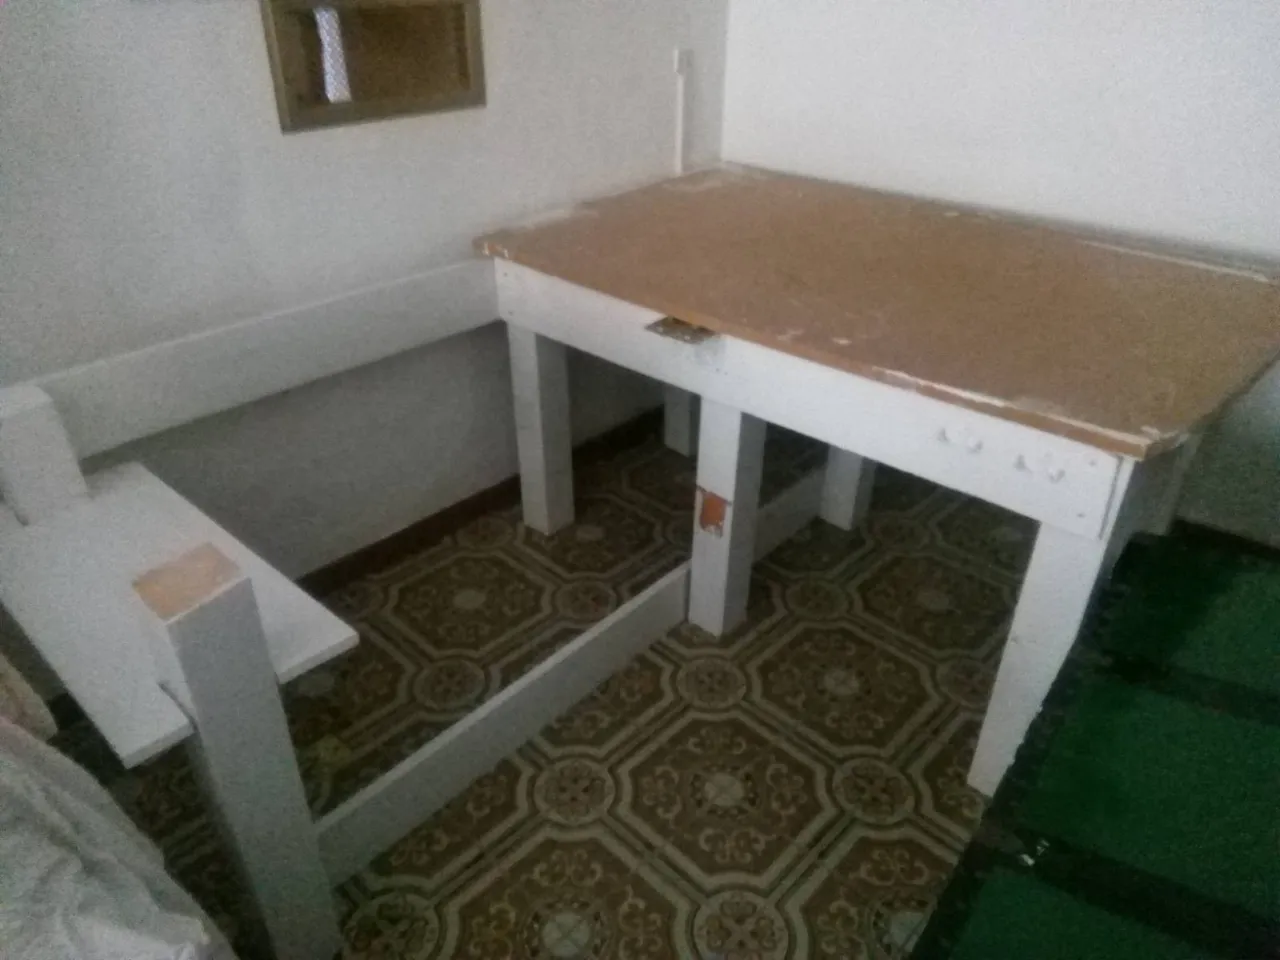
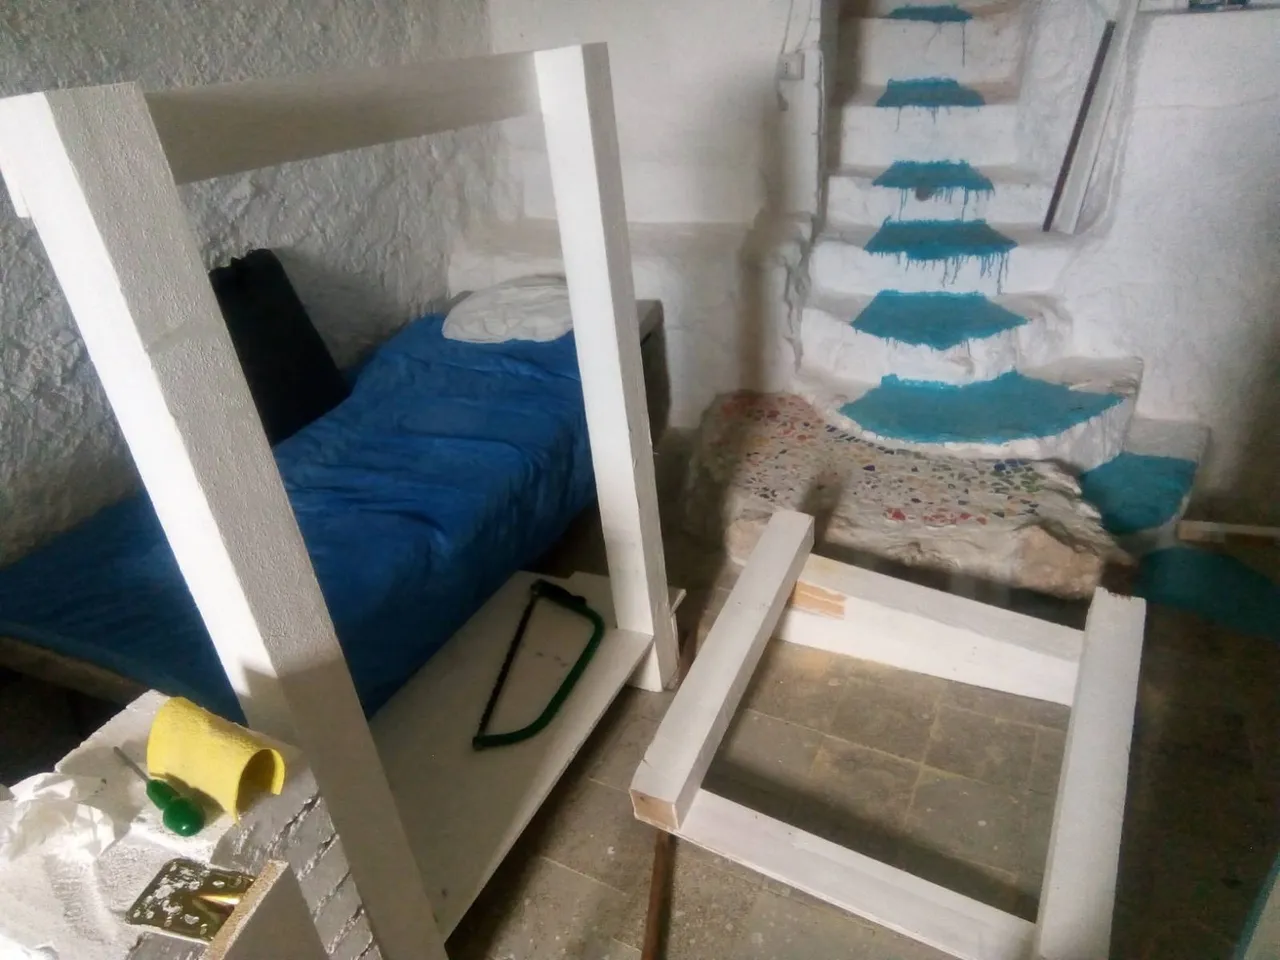
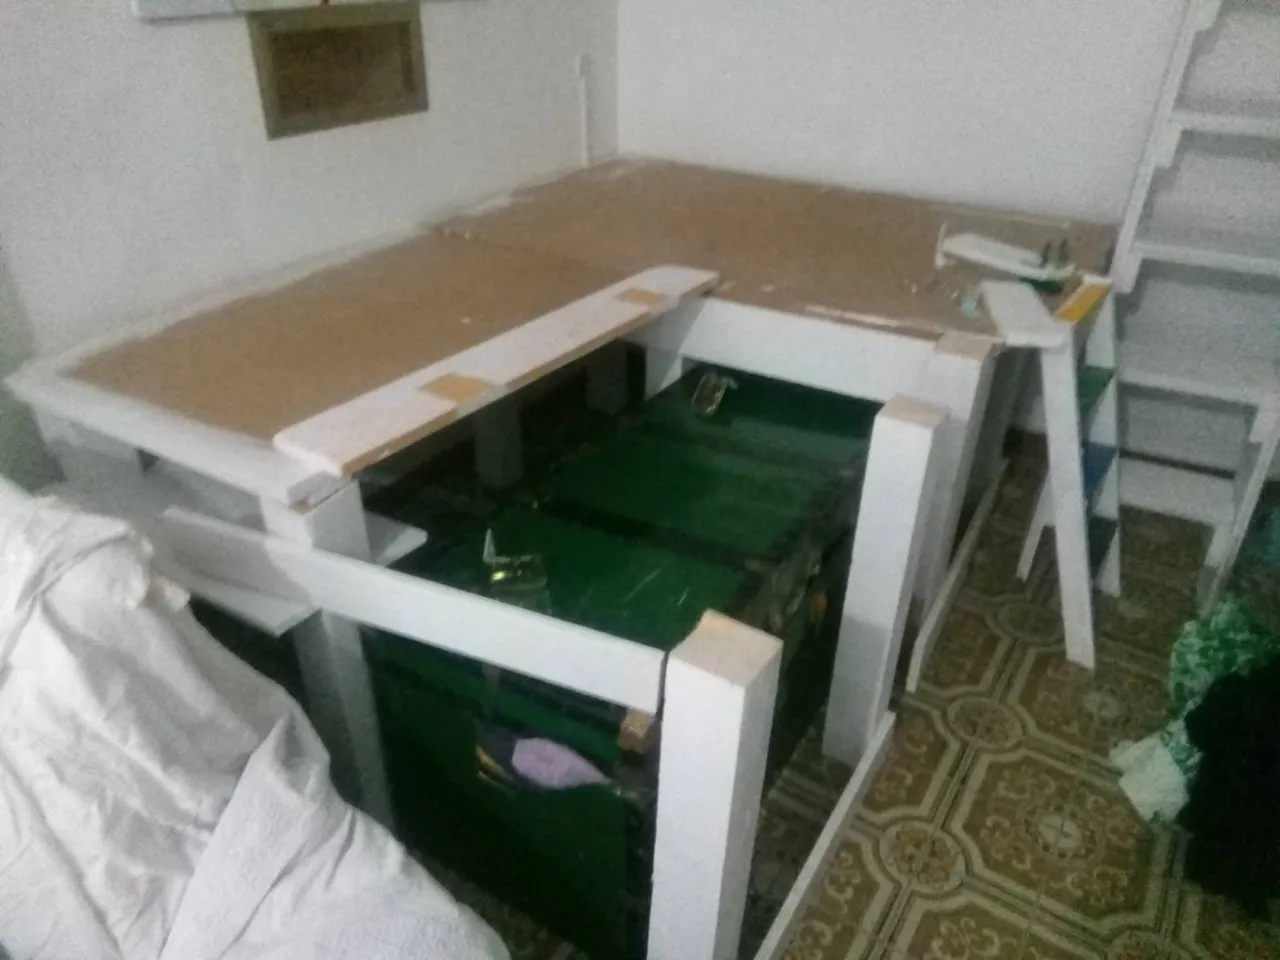
As you can see from the below photo, this allowed me to set up some supports for the last quarter of the bed; changing it from a single + to a double, to fit the new mattress (which has been waiting patiently for the last month or two, for me to find a solution!)
This solution was very complex and improvised, as you'll get a sense of from the photos. I do not work in a linear fashion, ever! It took two full days to complete the whole structure, and to re-organise and clean the spaces around the new bed (and the space left by the old one).
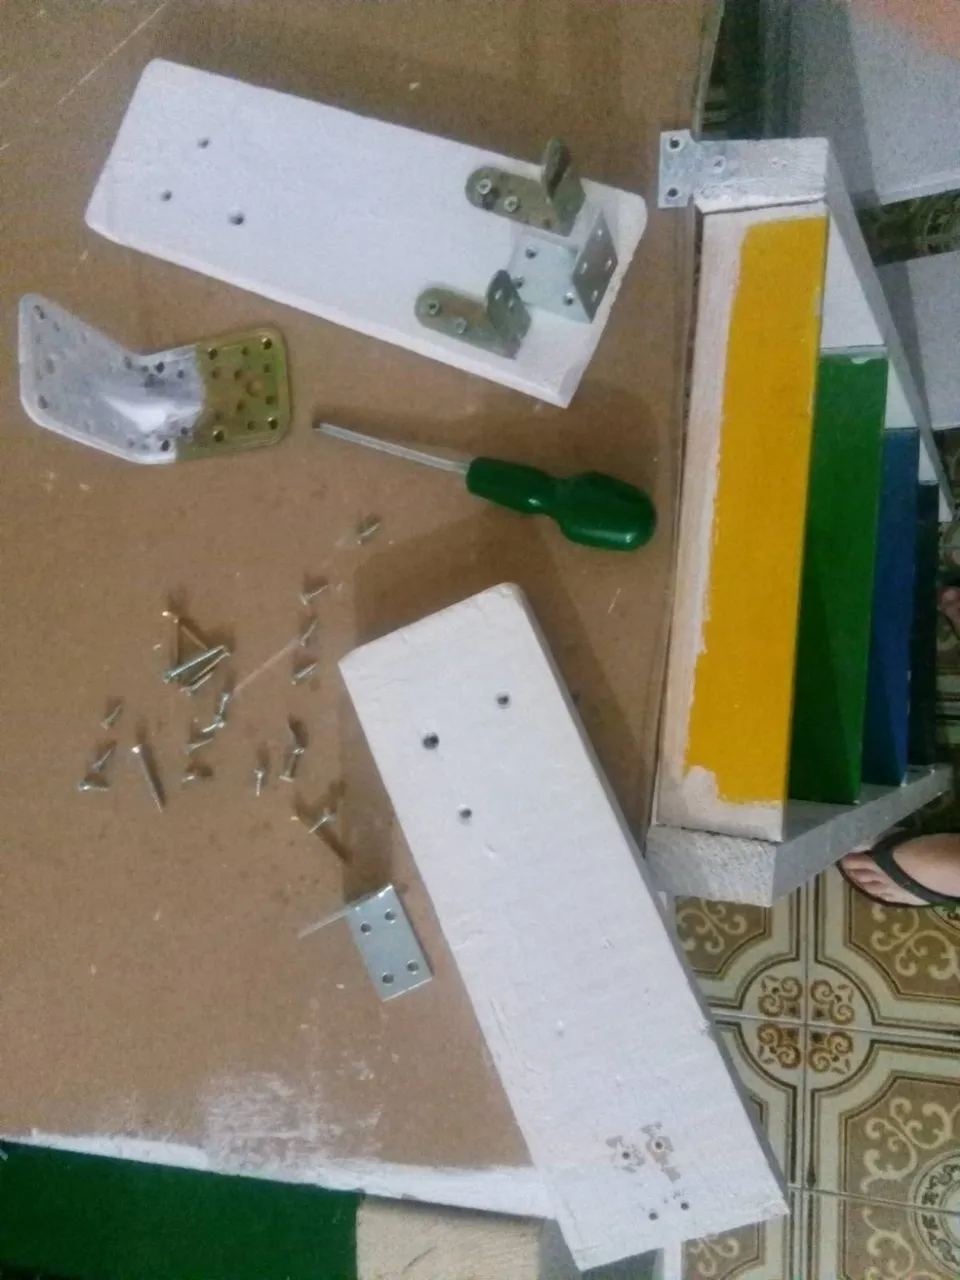
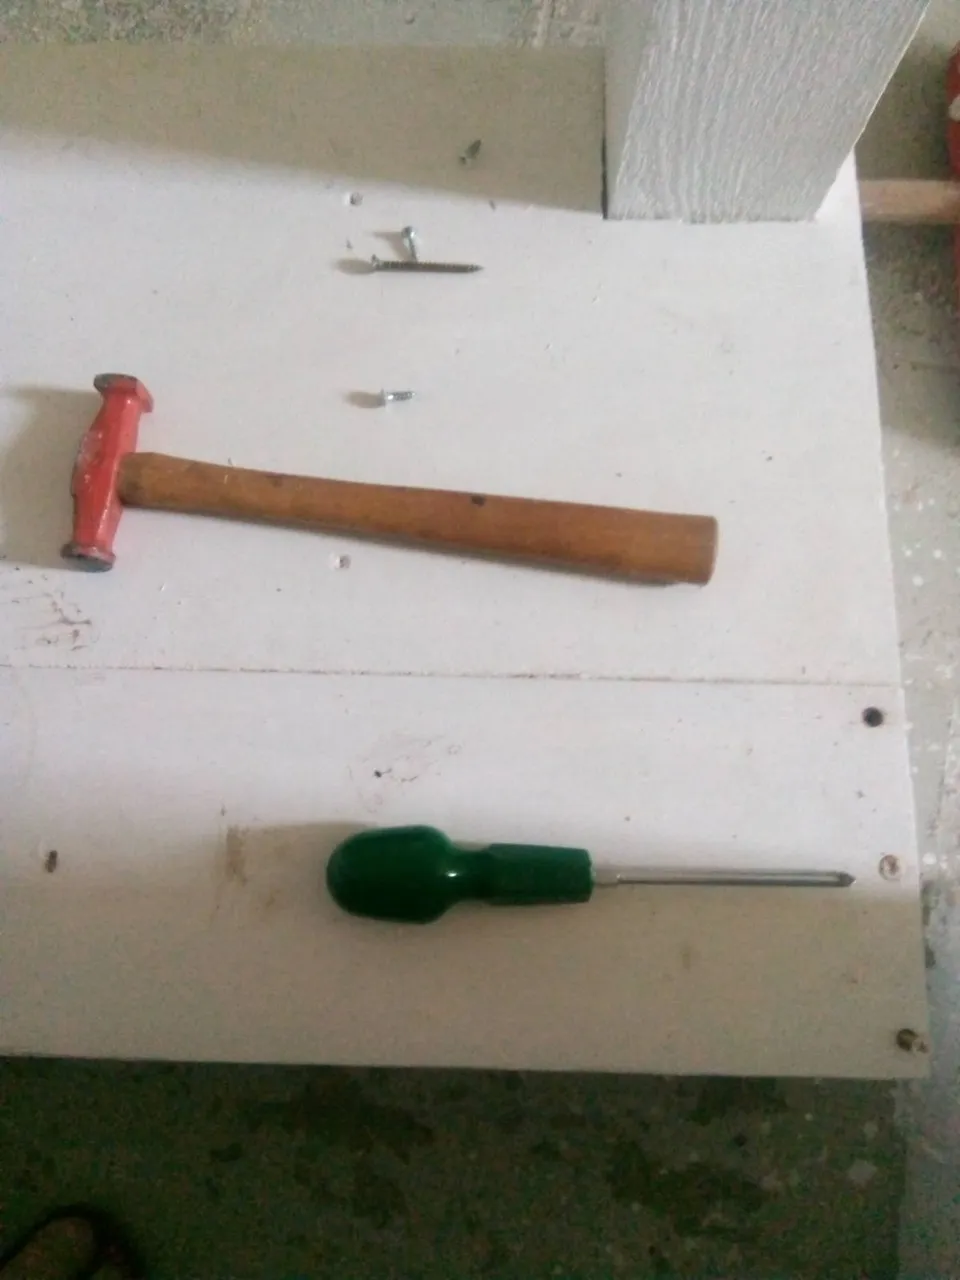
The many screws that I salvaged - hooray!
Adding cross-planks, for stability: improvisation does not mean sloppiness or floppy solutions! My platform beds always are extremely solid - much more substantial than anything you'd buy in a flat-pack from e.g. a big scandinavian warehouse shop!
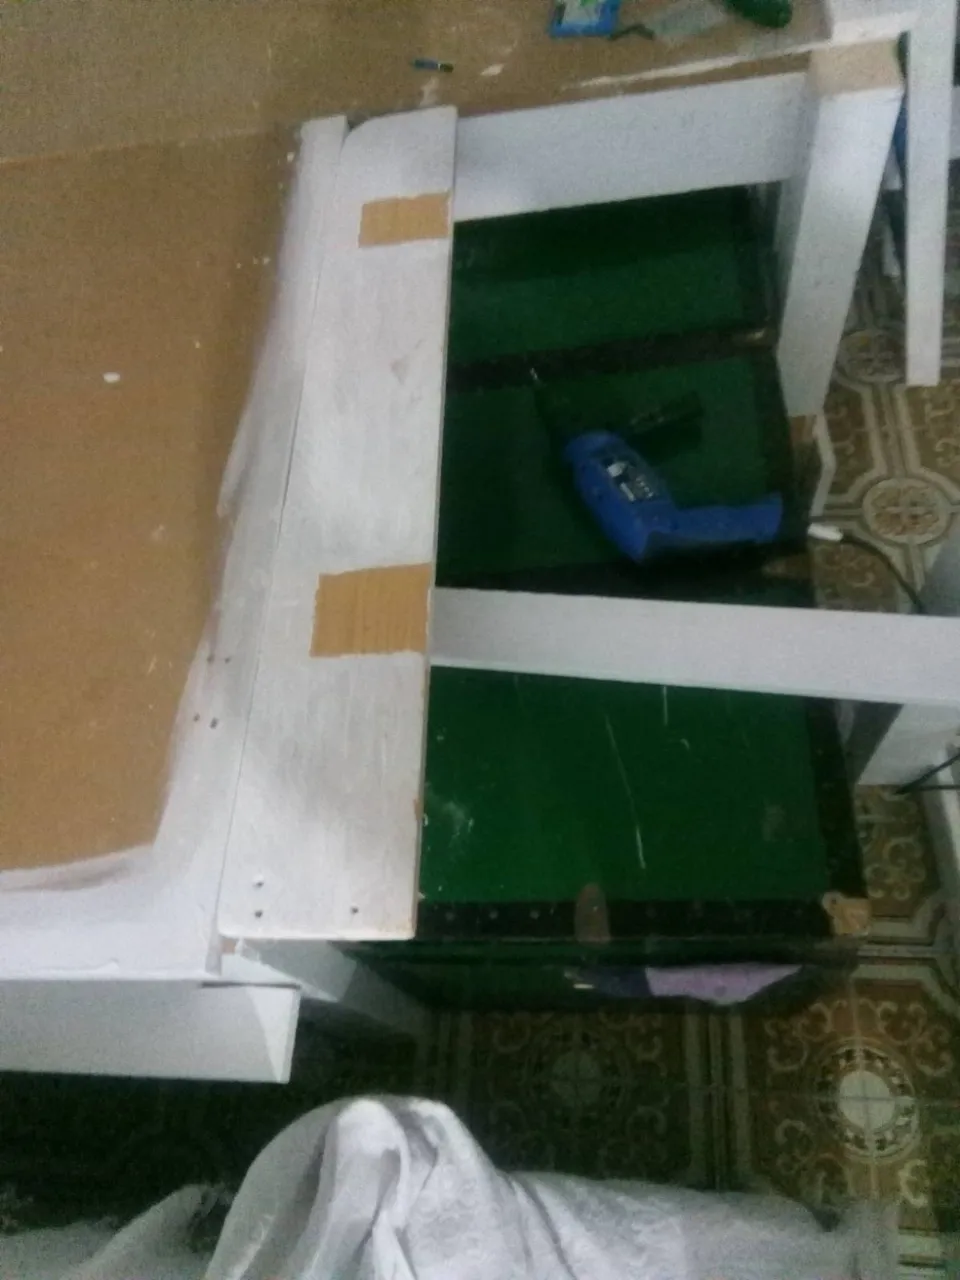
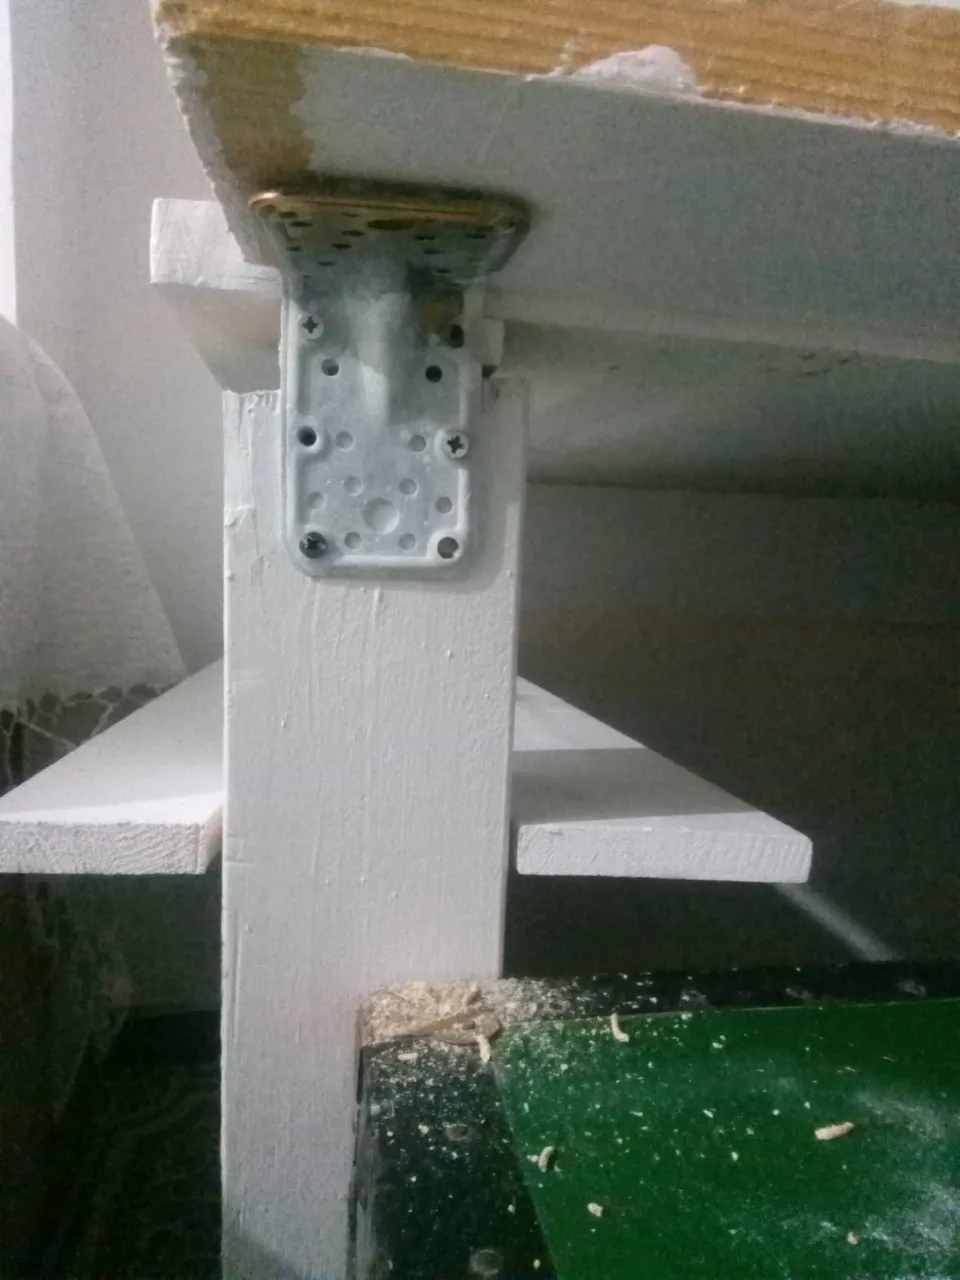
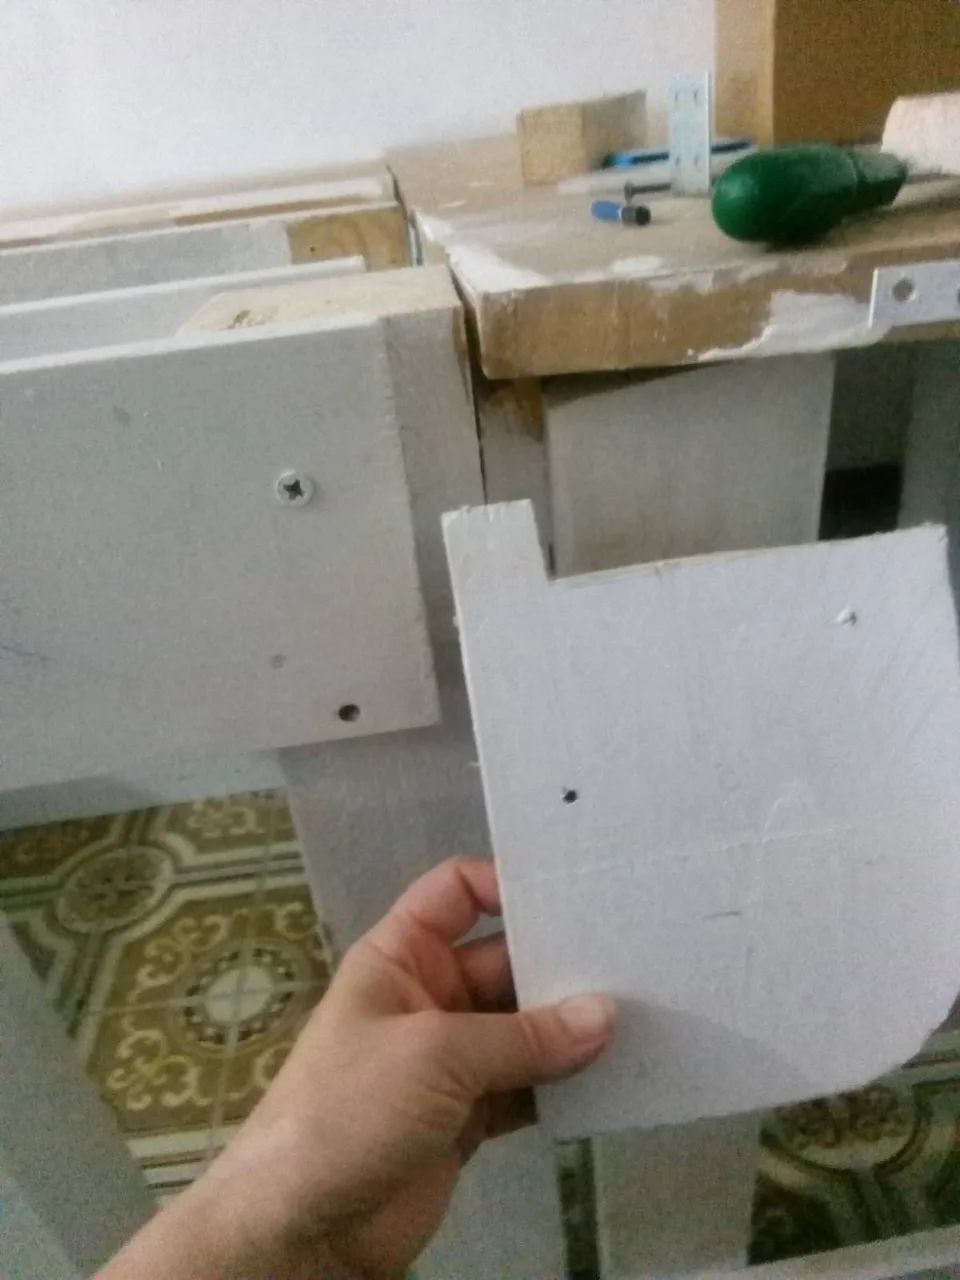
I used one of the big brackets that you see in the screws photo up above, to place this white curve-cornered plank into the side of the 'last quarter' space; it was an important stabilising element, which I took from the old side-bar of the single bed.
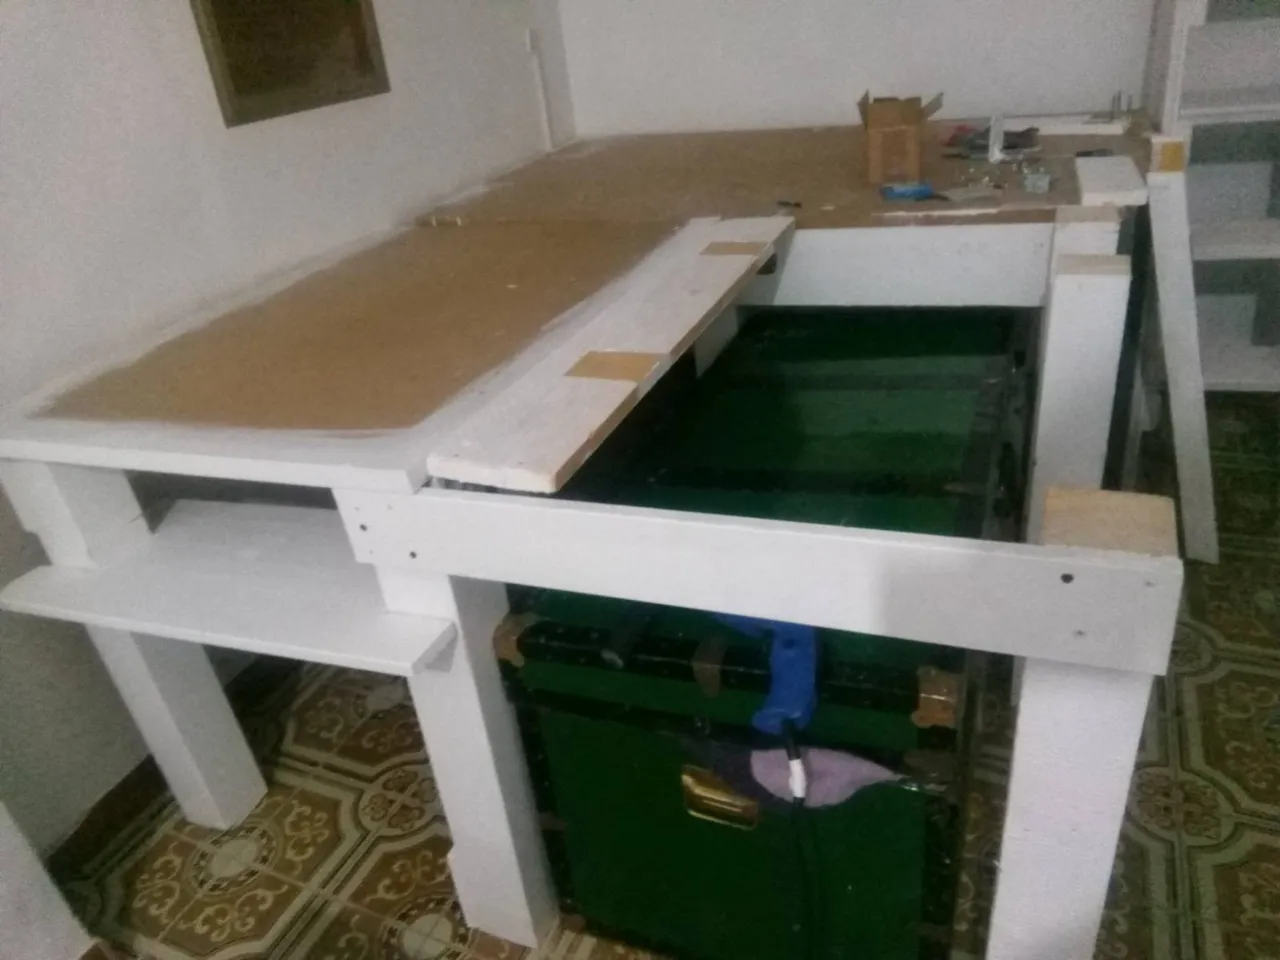
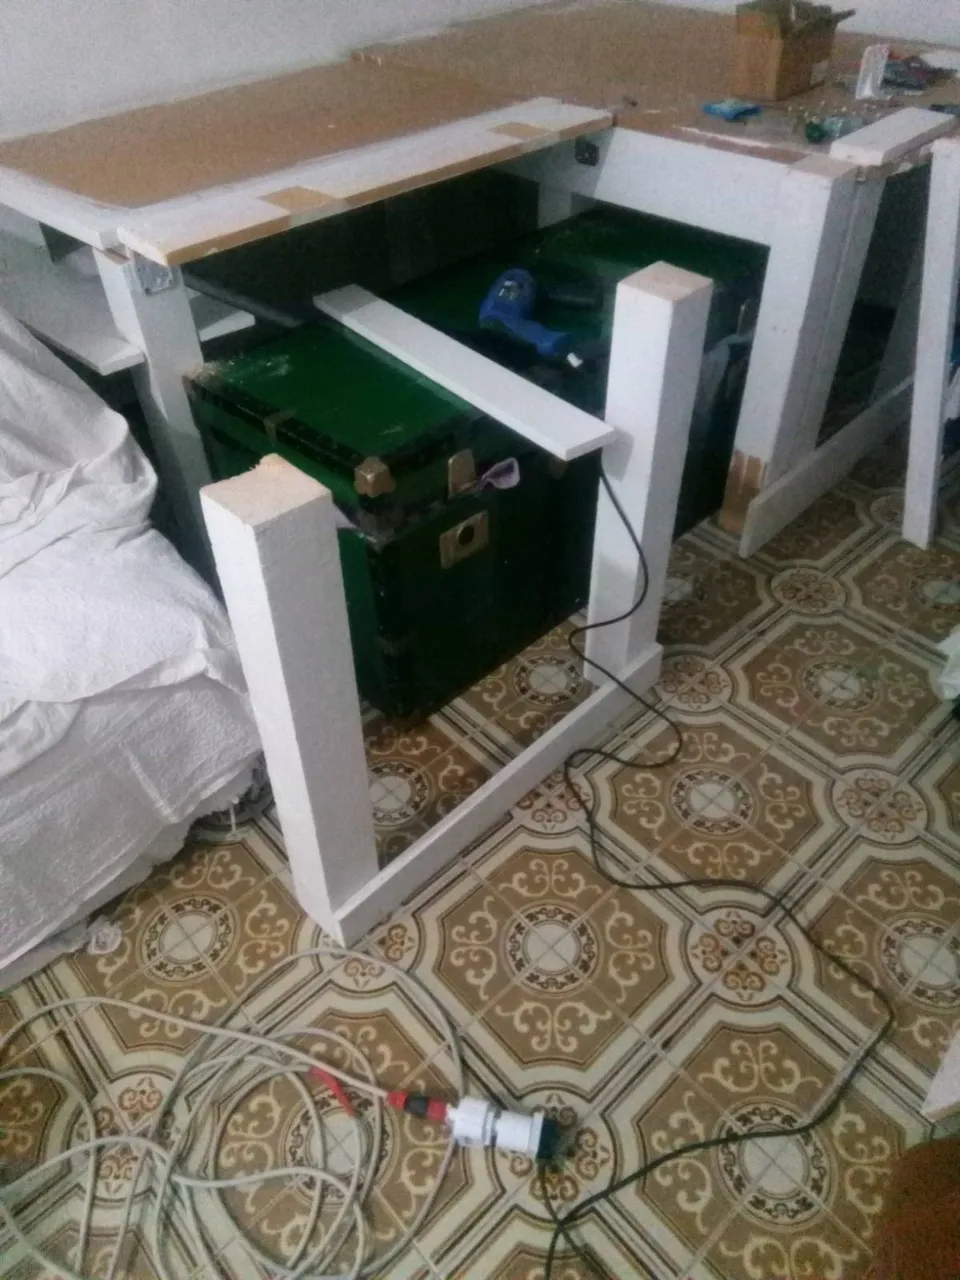
And as you can see here, I am trying to create a secure structure whilst leaving space for this big tea-chest to fit neatly under the bed. There is tons of space under the bed, though I'm leaving one side for guest luggage and storage.
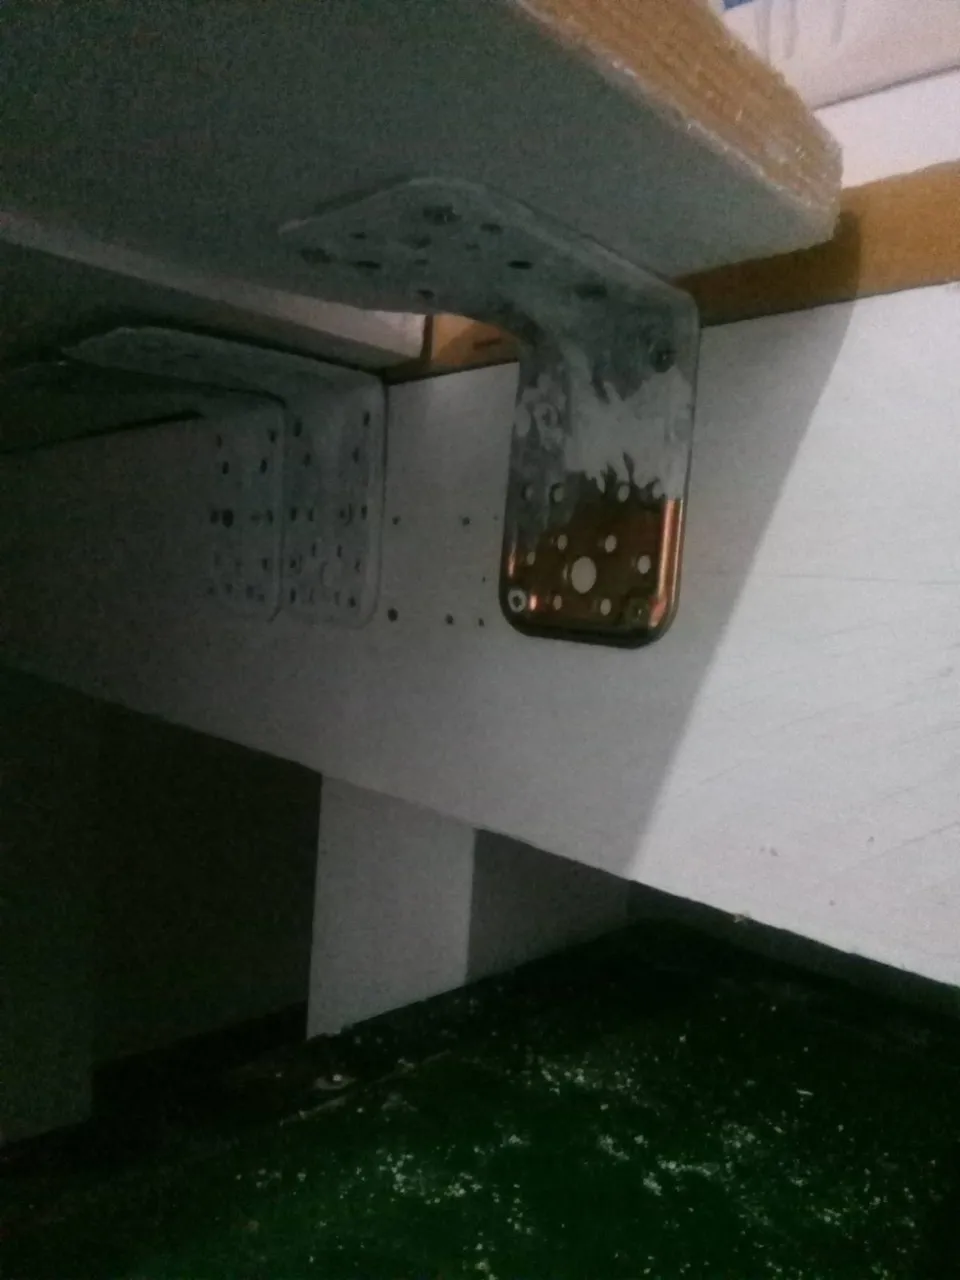
These are the brackets I mentioned. They were quite expensive initially, but have been used multiple times for different projects, and have earned their expense many times over. I love brackets like this which will take a lot of weight. You can do such amazing things with brackets!
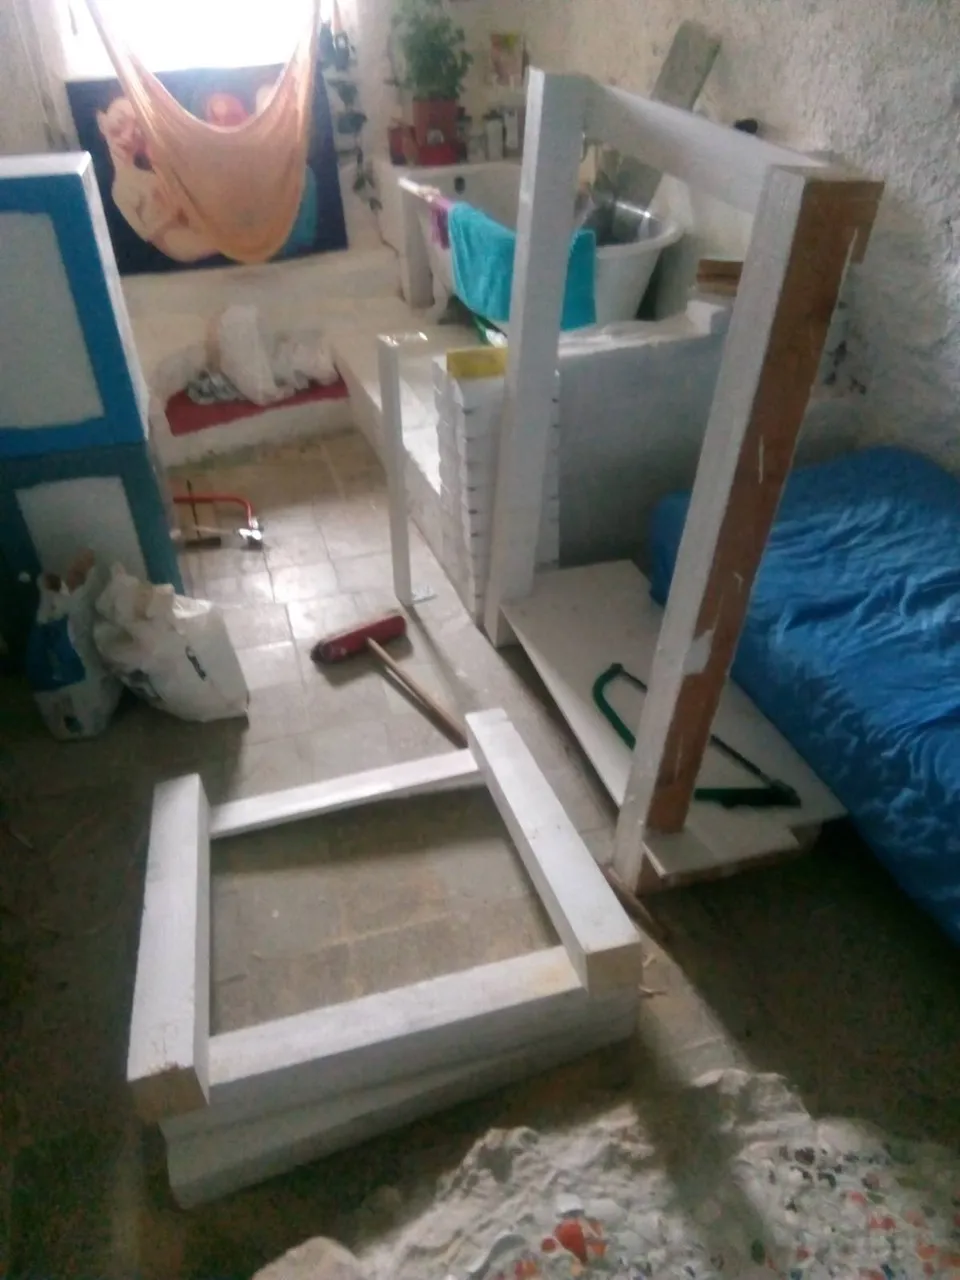
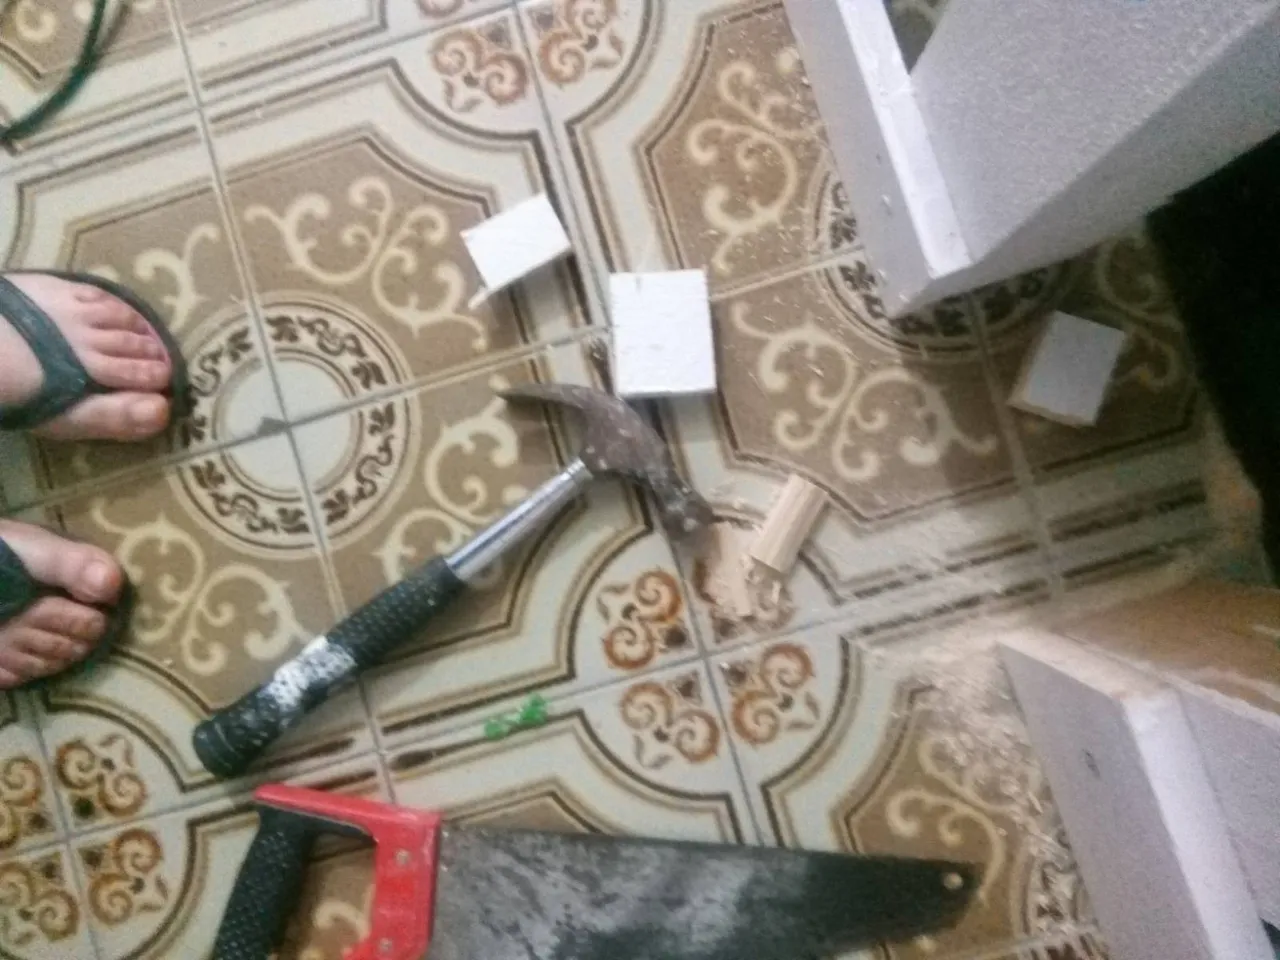
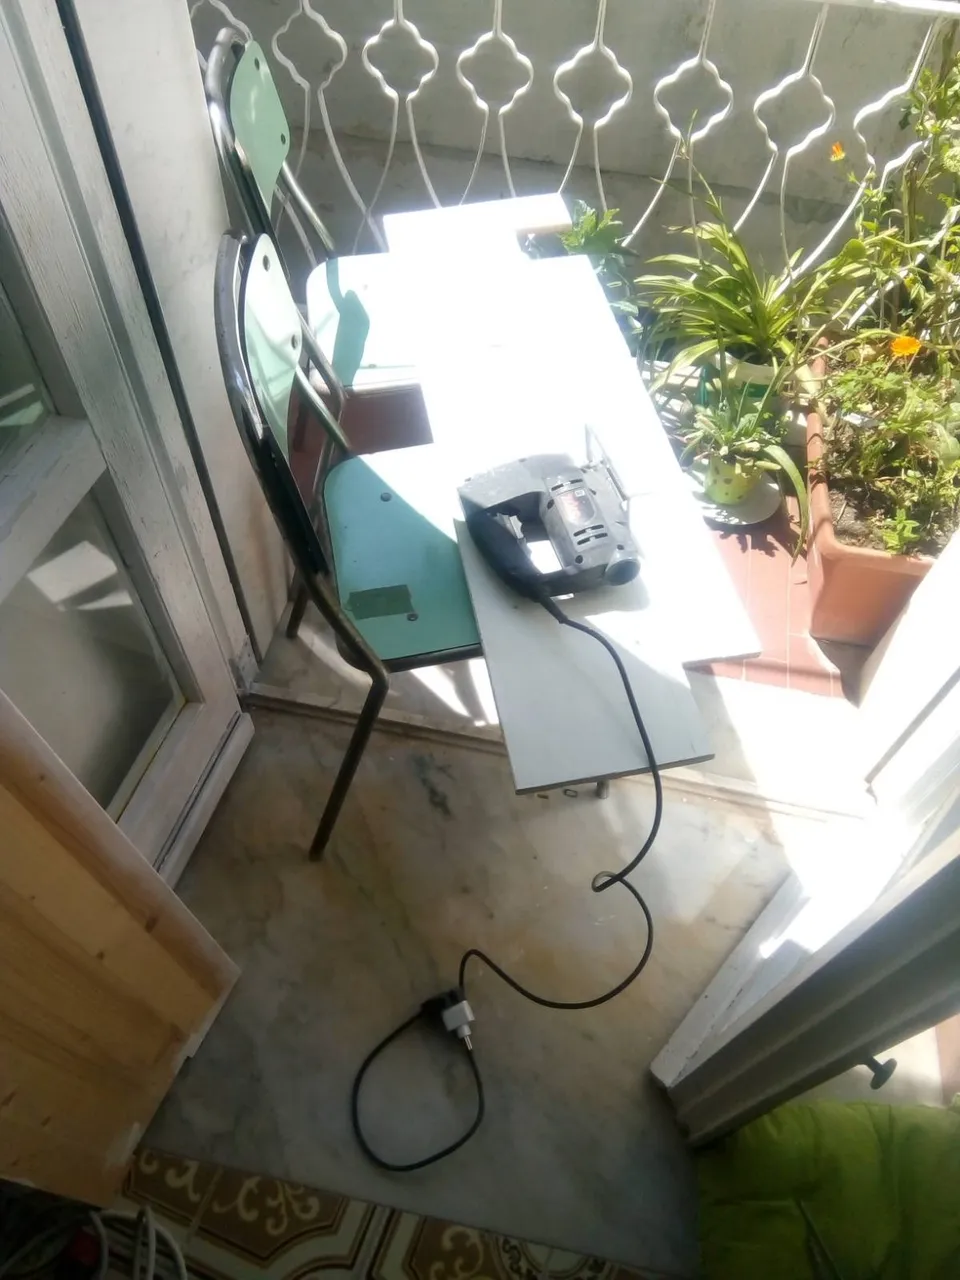
The room was quite cluttered whilst I was working, and the other rooms are rather full too, so there was no moving things out of the way whilst I drilled or sawed! I did take stuff out on the balcony for the messy electrical saw procedures, though.
An illustration of the creative chaos, and the many pieces that went into the new structure.
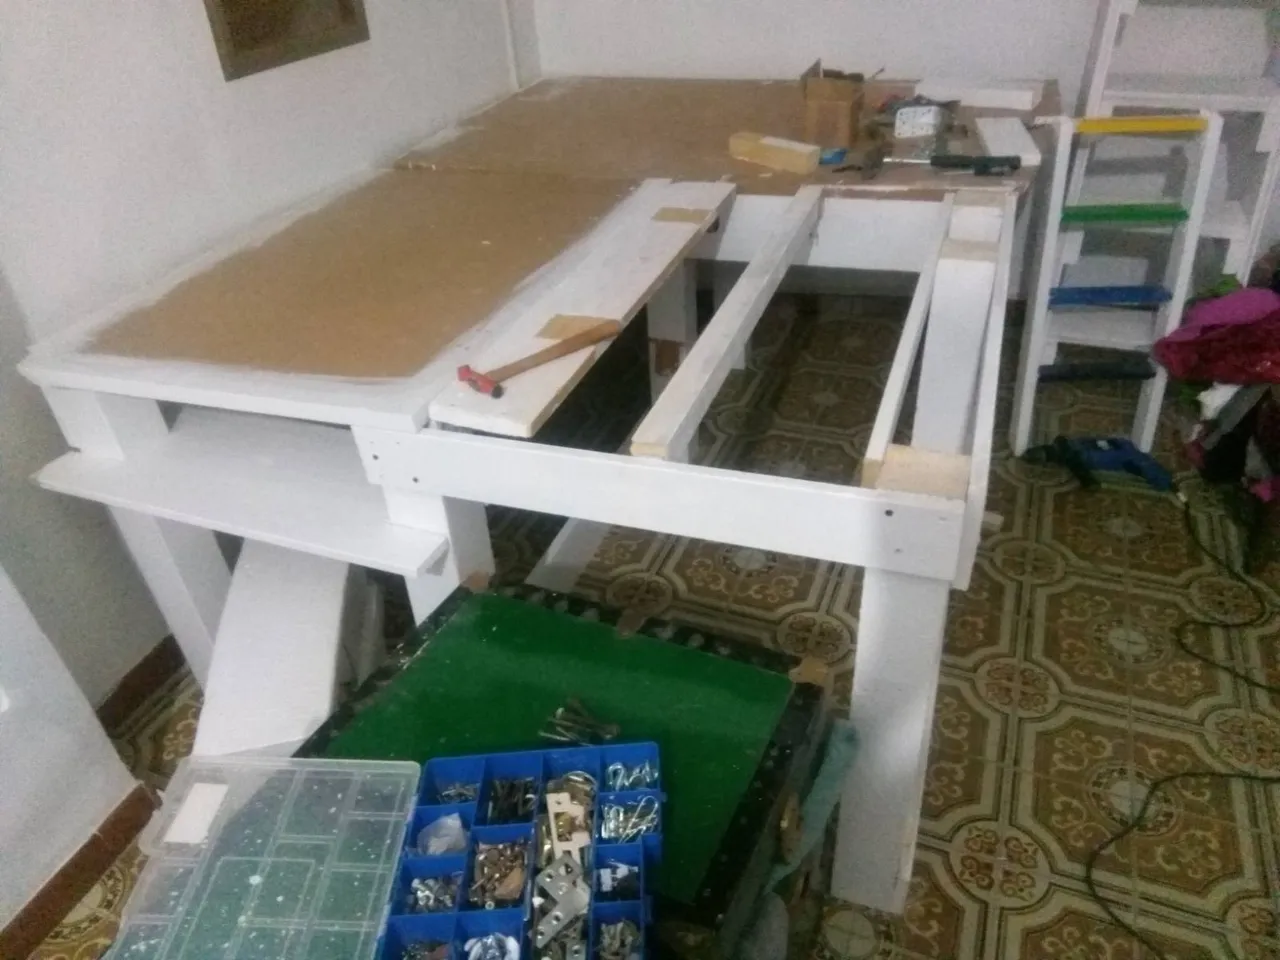
Now you can see where I am adding cross-bars and planks in the vertical position. This part is to support the mattress directly.
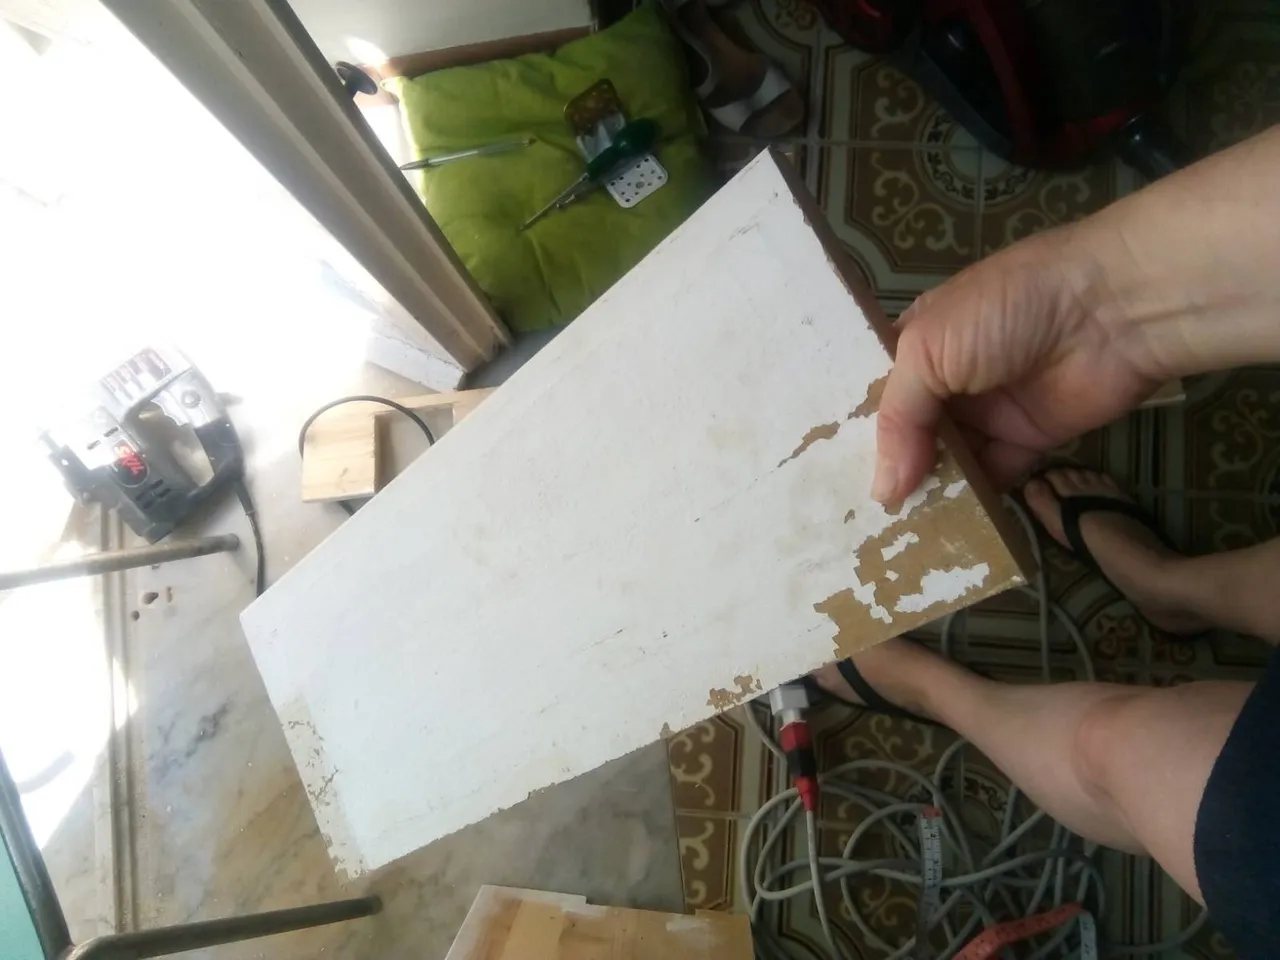
Just cutting a nice end piece to cover a less-attractive space between the big square beams: I am not so pedantic about finishing, but some areas look much better without all the workings visible.
These are my ever-present flipflopped feet, which appear in most of my garden and house-adjustment posts! Just to prove that it's me doing all this hard work!
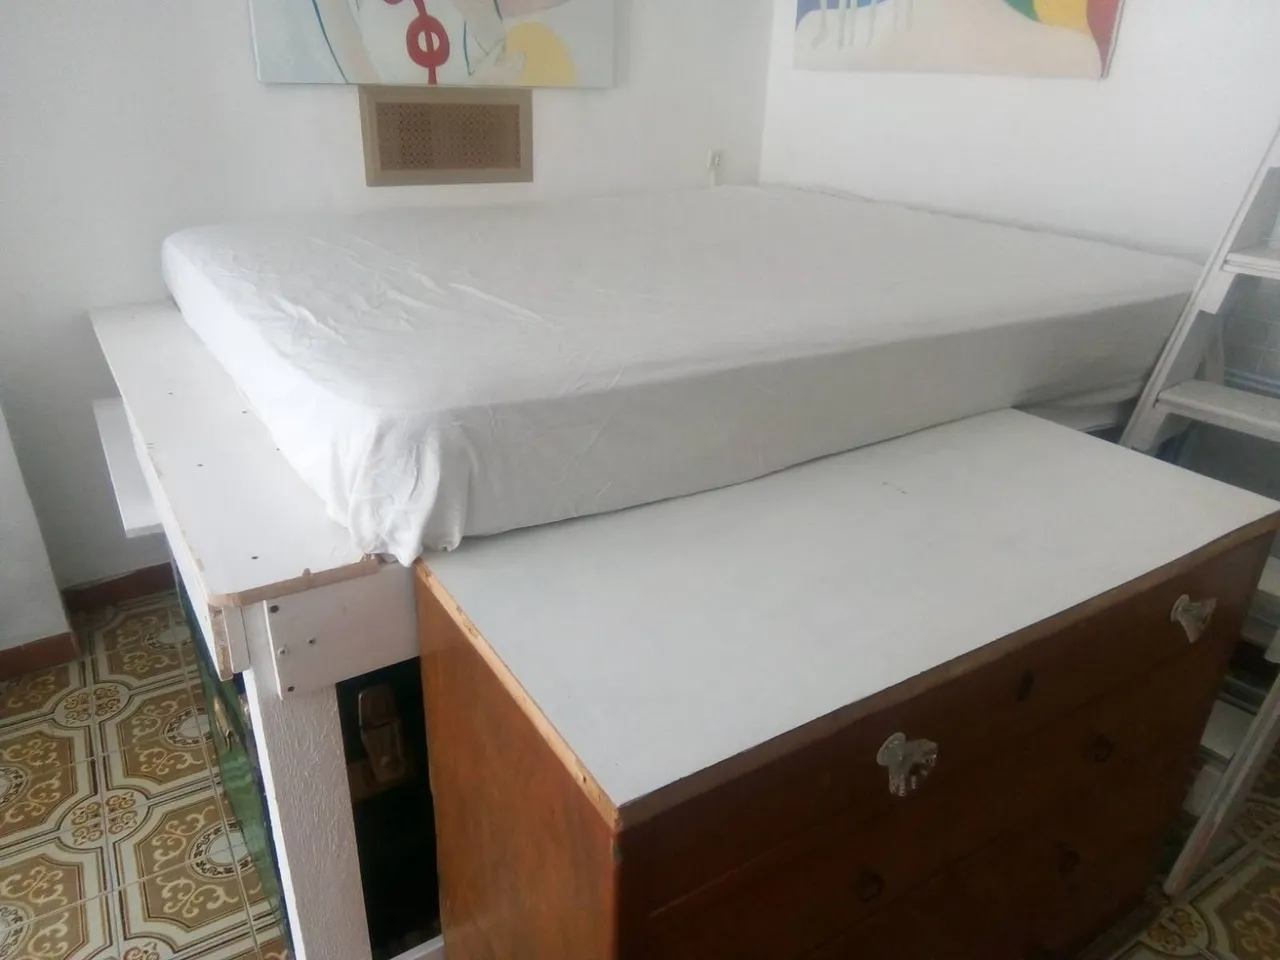
This is it almost ready to have the mattress put on it: very exciting moment!
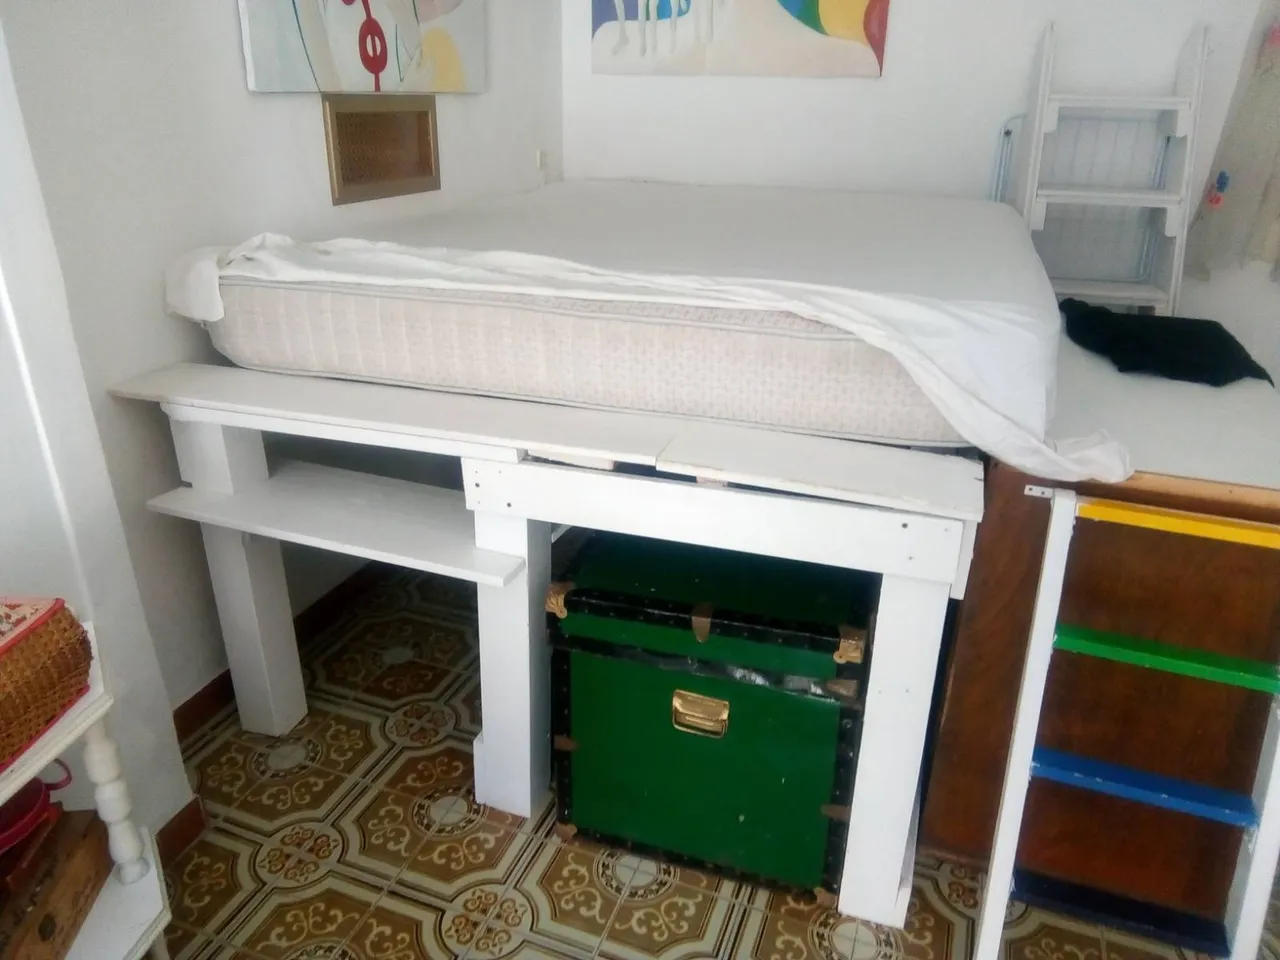
And the temporary completion - until the next day, when I added the end-plank, to make a kind of shelf at the foot of the bed, and to neaten up that area.
Then this morning, I started up early, sawing the long planks for this shelf, and adding another panel to neaten up the end, which is the most visible part of the bed from the rest of the room.
I don't like using power tools! But the finished effect is very satisfying, and it prevents aching limbs from excessive sawing, of course.
Nice, eh! This is the bed mostly completed - at least the structure of it - and I was just laying the planks to see how the shelf would look, and before screwing them down. I was going to add another shelf to the lower left, but decided to keep it open for easier access to the big storage space underneath. I love making use of all the space in a room like this - not just the floor space - it is vital in having myriad creative passions, and so lots of projects on the go at once: having the right space to make certain things is most essential to my happy artist life!
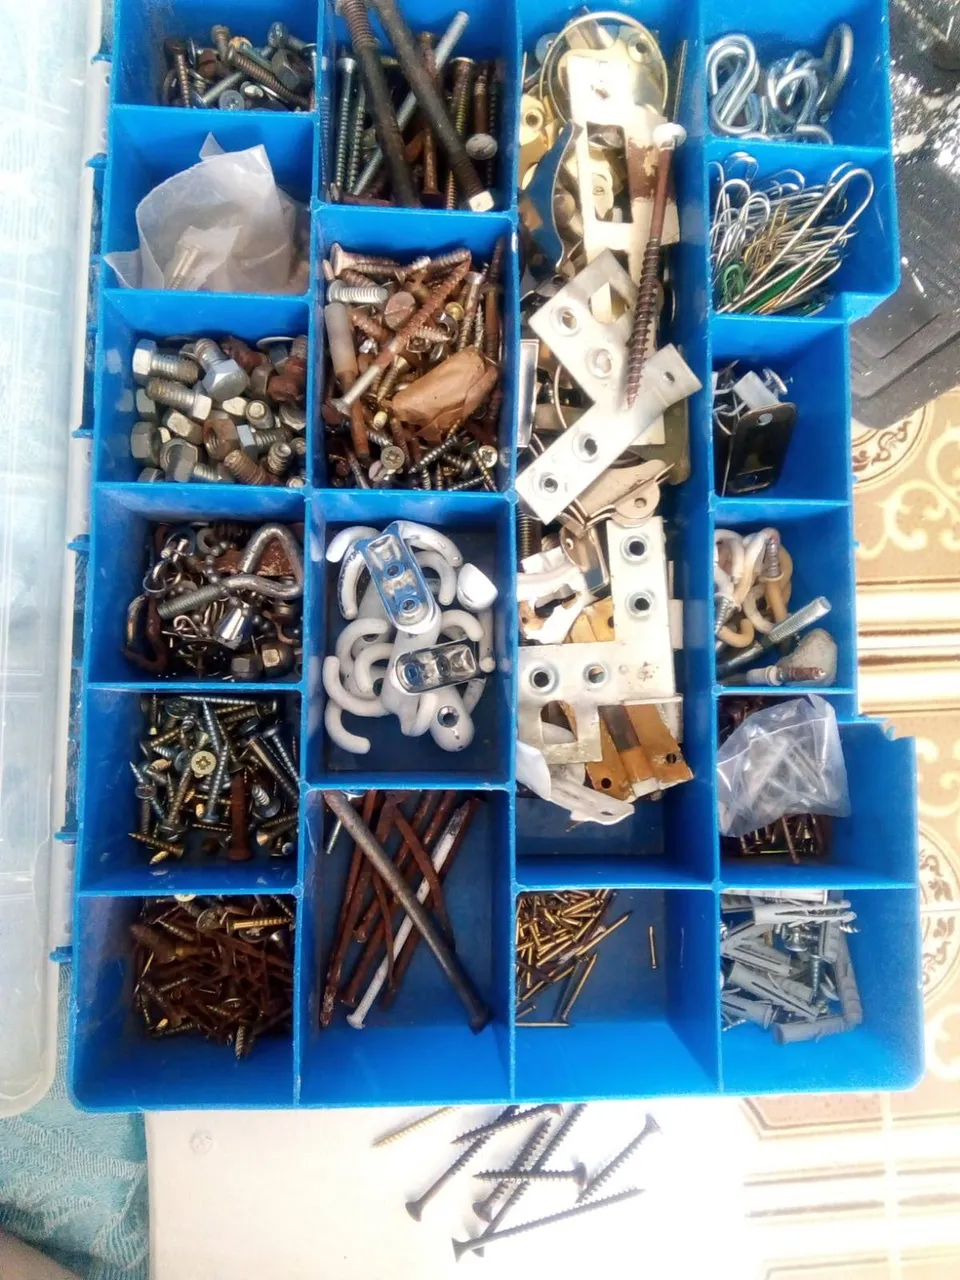
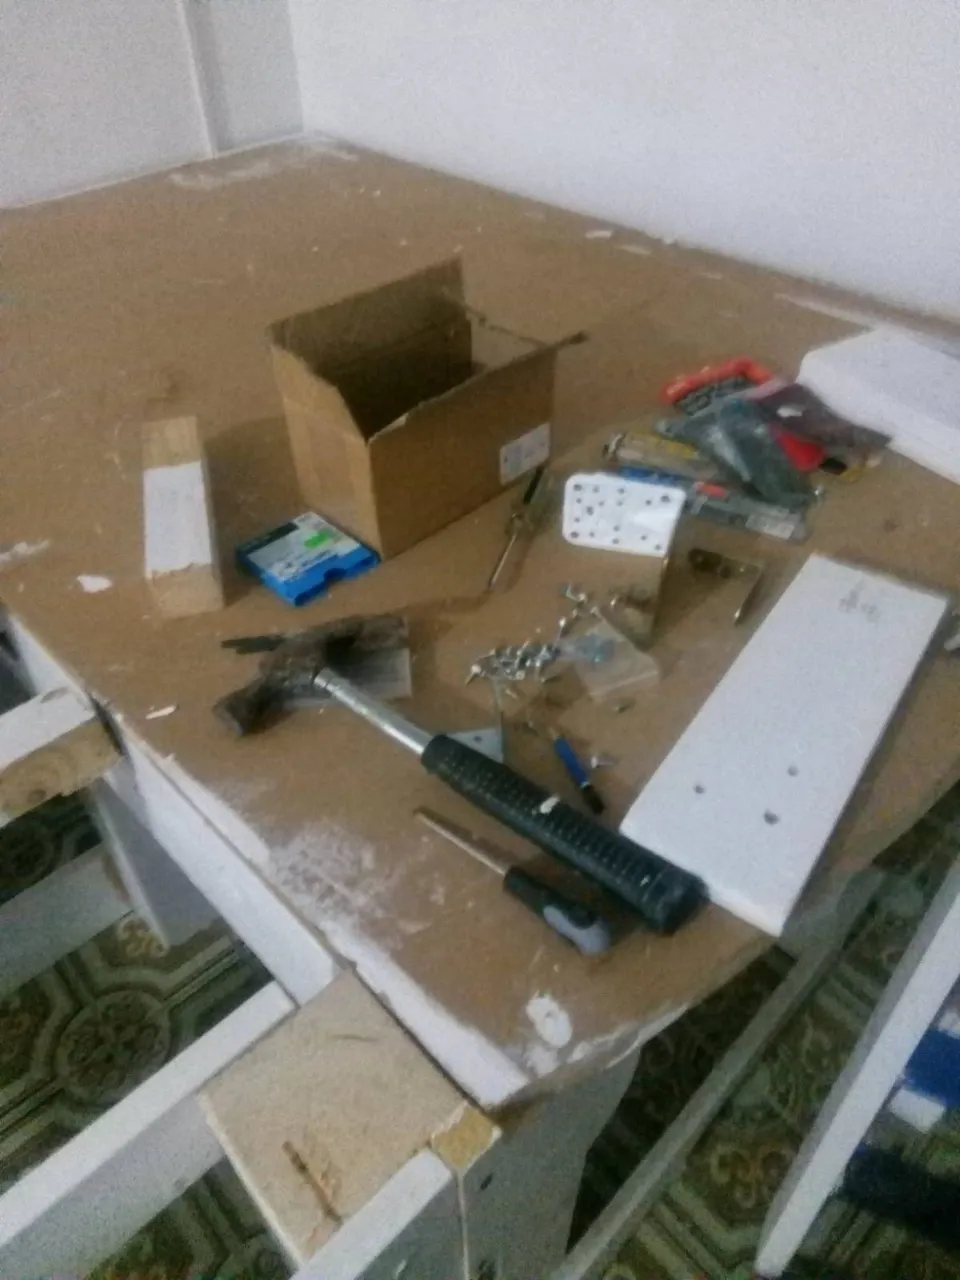
Another thing that makes me very happy: a full toolbox, abundant with all the bolts and screws and stuff that means I can do a project like this and not even have to stop to visit the ferramento to buy a necessary extra bit. This is one of 3 toolboxes that I am the proud owner of: the smallest one.

Final touches to the shelf: finding the right spots on the two planks, to add the right screws, to have them make the shelf solid enough.

Then I machine-sawed the wee curve on the corner, to avoid a sharp corner that one might bump into: I hate that! I like to sand or cut a corner into a curve, to make everything softer for living with.
And that is the new platform double-bed; in place and ready to go - I saged the space today, and will add some nice essential oils to the mattress, to bless it - then some beautiful cushions and covers.
Today I am quite worn out and have been mostly resting, after finishing the last shelf this morning...
Wishing you all the utmost satisfaction and pleasure, in all your DIY ventures!