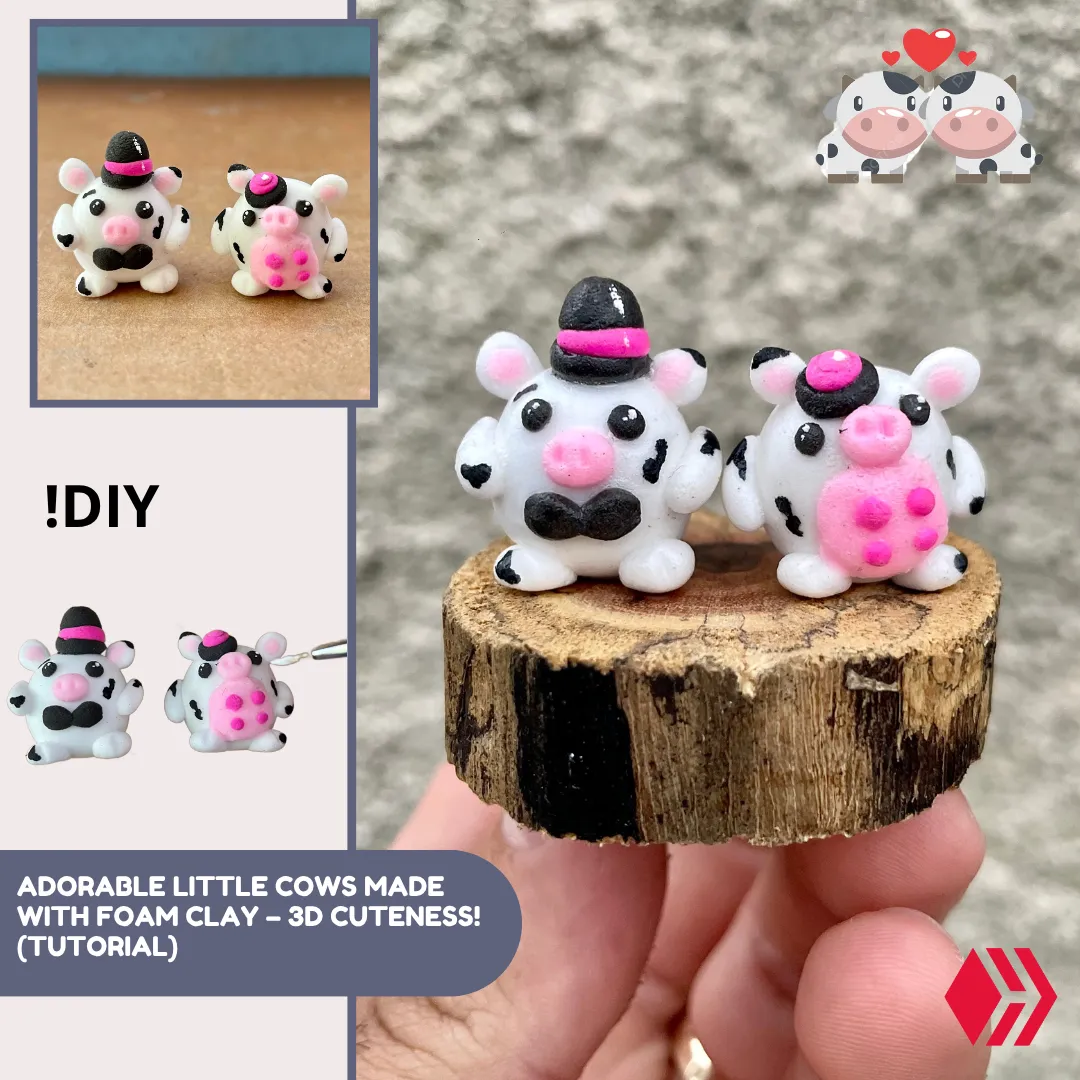
Hello DIYHub family! 🌙 Good evening, craft lovers and handmade art enthusiasts! Today, I’ll show you how to make an adorable animated couple of cows using moldable foam clay – perfect for a Valentine’s gift 👩🏻❤️👨🏻. I hope you love this creation as much as I do, and I’m thrilled to share my experience working with this flexible material. Let’s get started!
Hola!! Buenas Noches 🌙 familia @diyhub, amantes de los trabajos manuales y artesanías, el día de hoy les enseñaré a realizar con foami moldeable (foam clay) una adorable pareja animada de vaquitas para un regalo de enamorados 👩🏻❤️👨🏻. Espero les guste la creación, a toda la comunidad en general y yo súper contento en presentarles mi experiencia con este material flexible. ¡Acompáñame!

In the following I will show you step by step the realization of my work. To begin with, I will mention all the materials used:
A continuación les mostraré paso a paso la realización de mi trabajo. Para empezar, mencionaré todos los materiales utilizados:
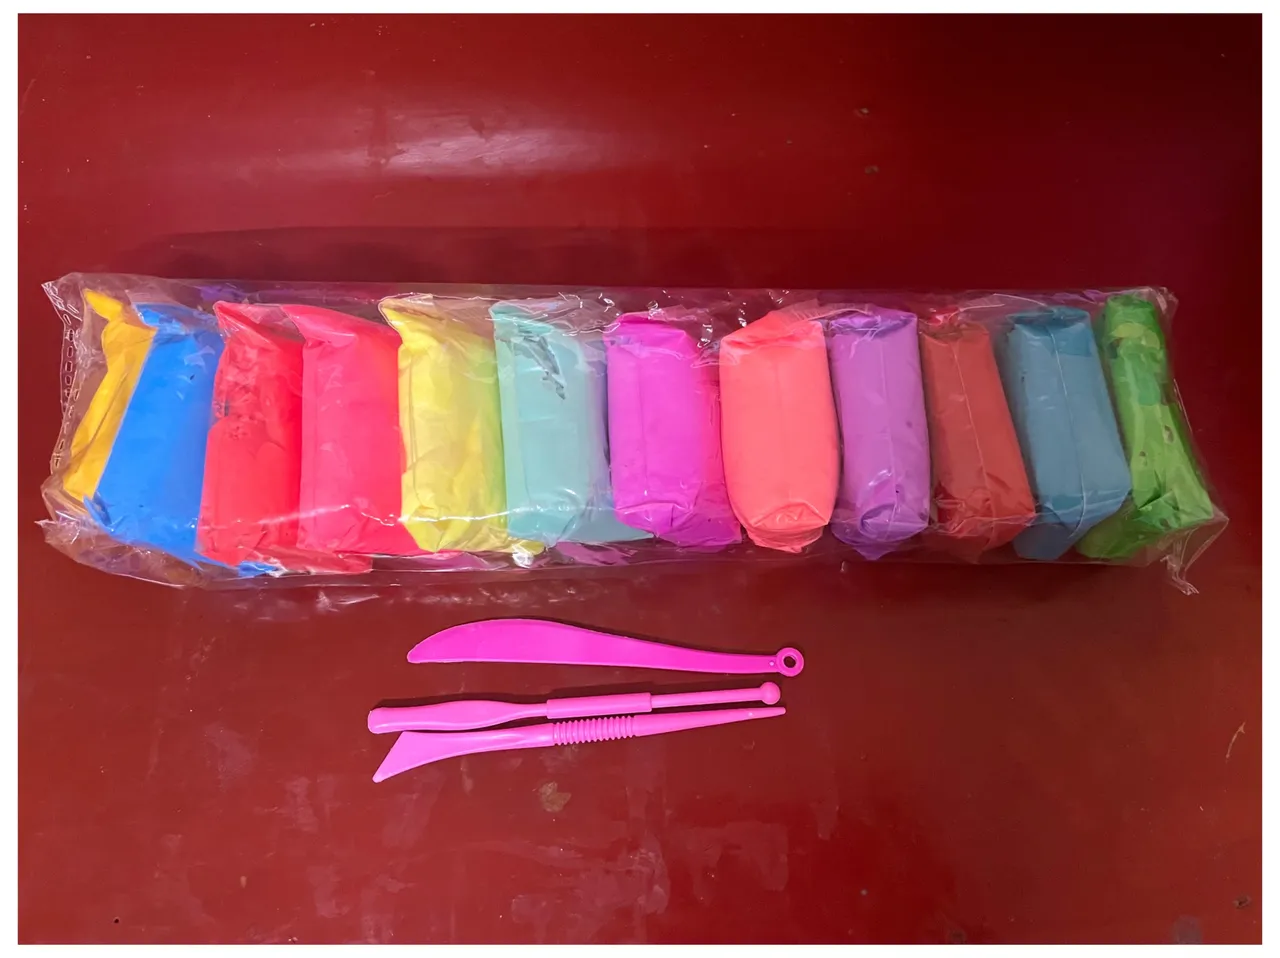
Materiales / Materials
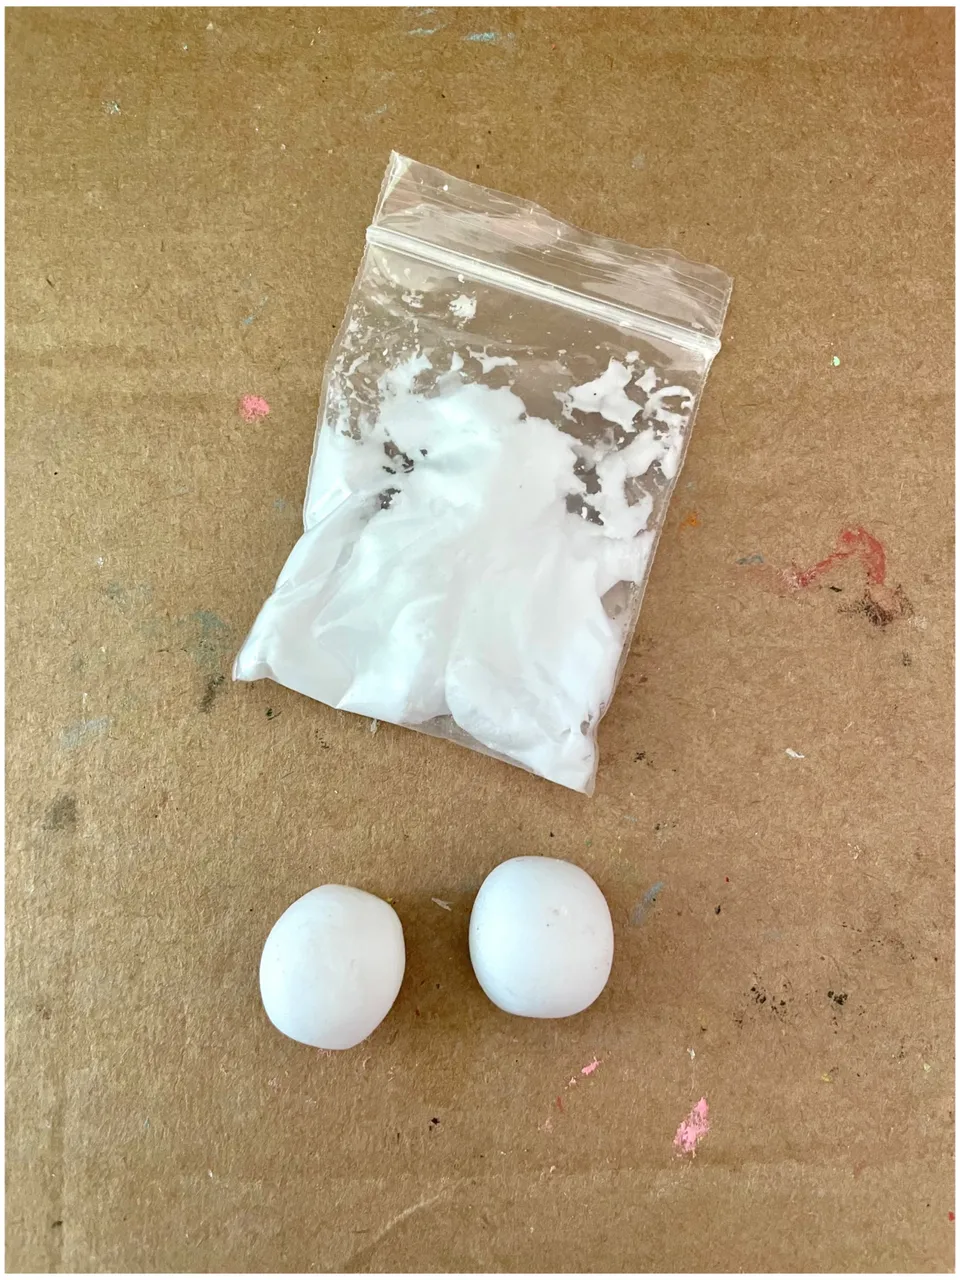
STEP / PASO 1
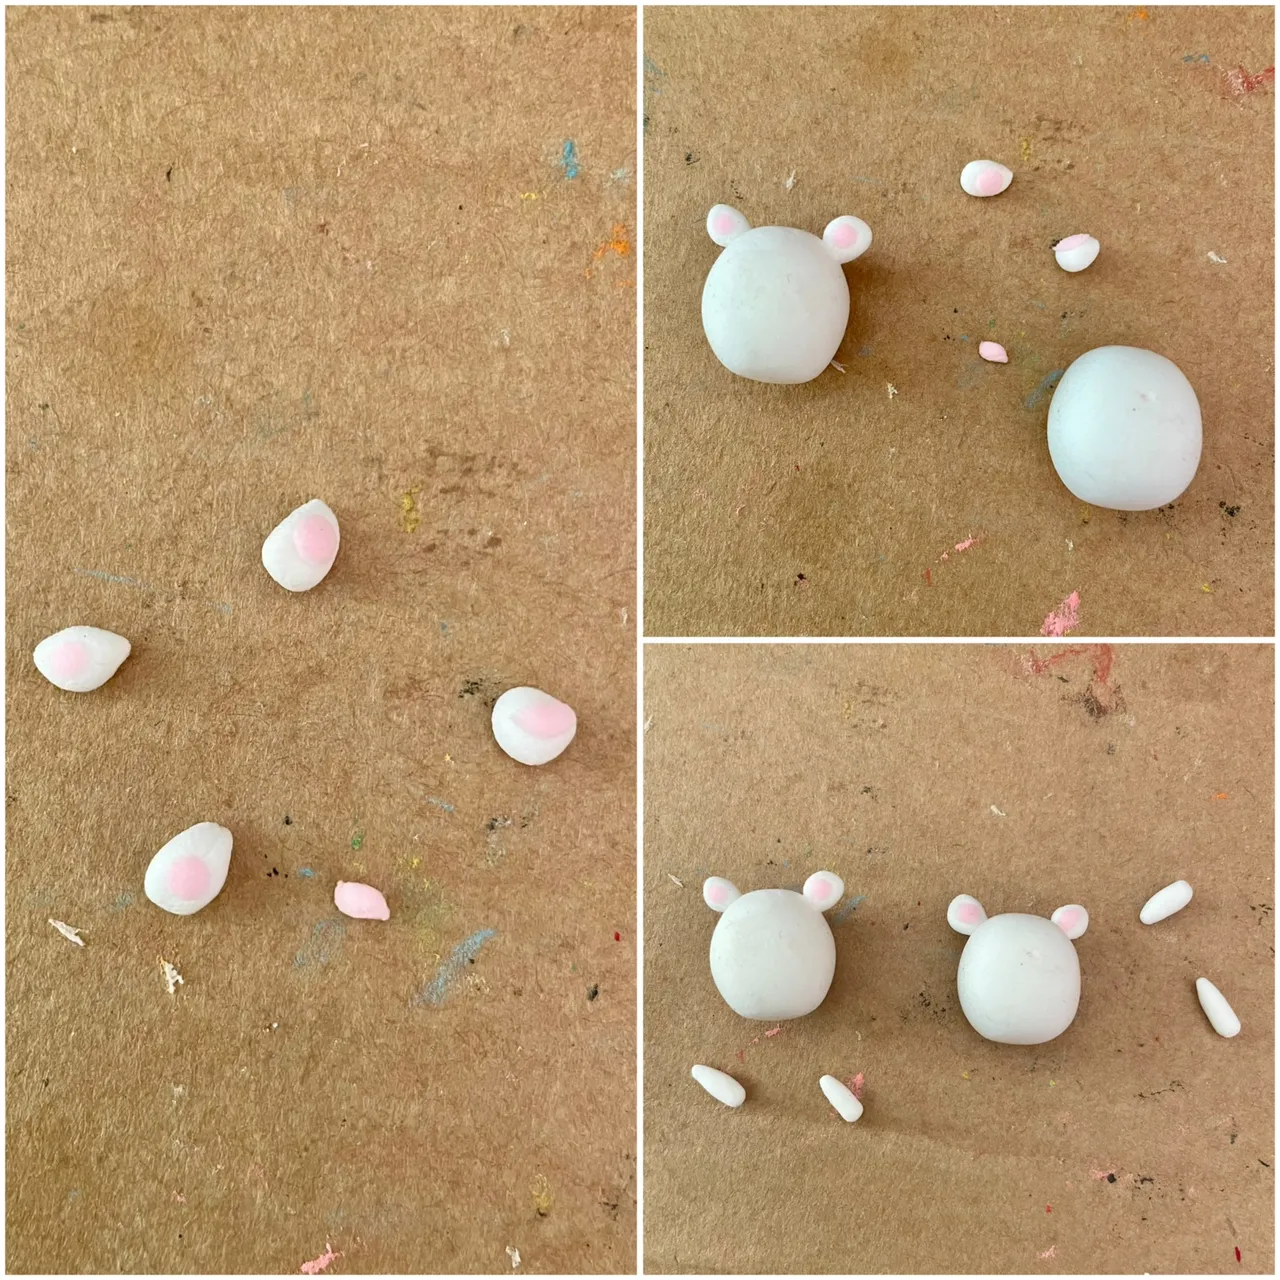
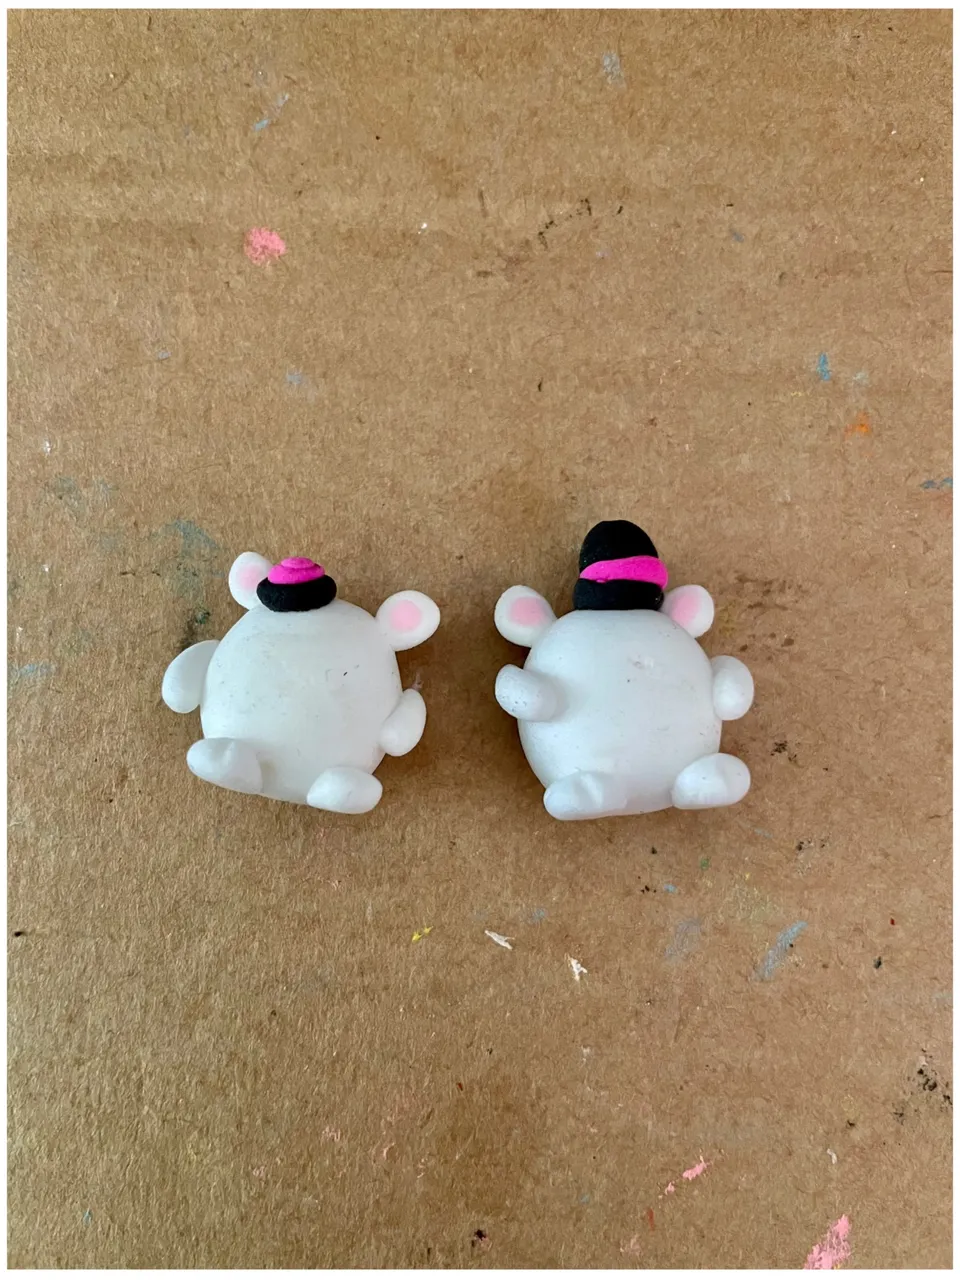
In the initial phase, I start by taking a portion of clay in white color for the body of the animated ones. Then, with his hands he molded each color into balls, giving them a curious finish.
En la fase inicial, comienzo tomando una porción de arcilla en color blanco para el cuerpo de los animados. Luego, con las manos moldeó cada color en forma de bolas, dándoles una terminación curiosa.
STEP / PASO 2
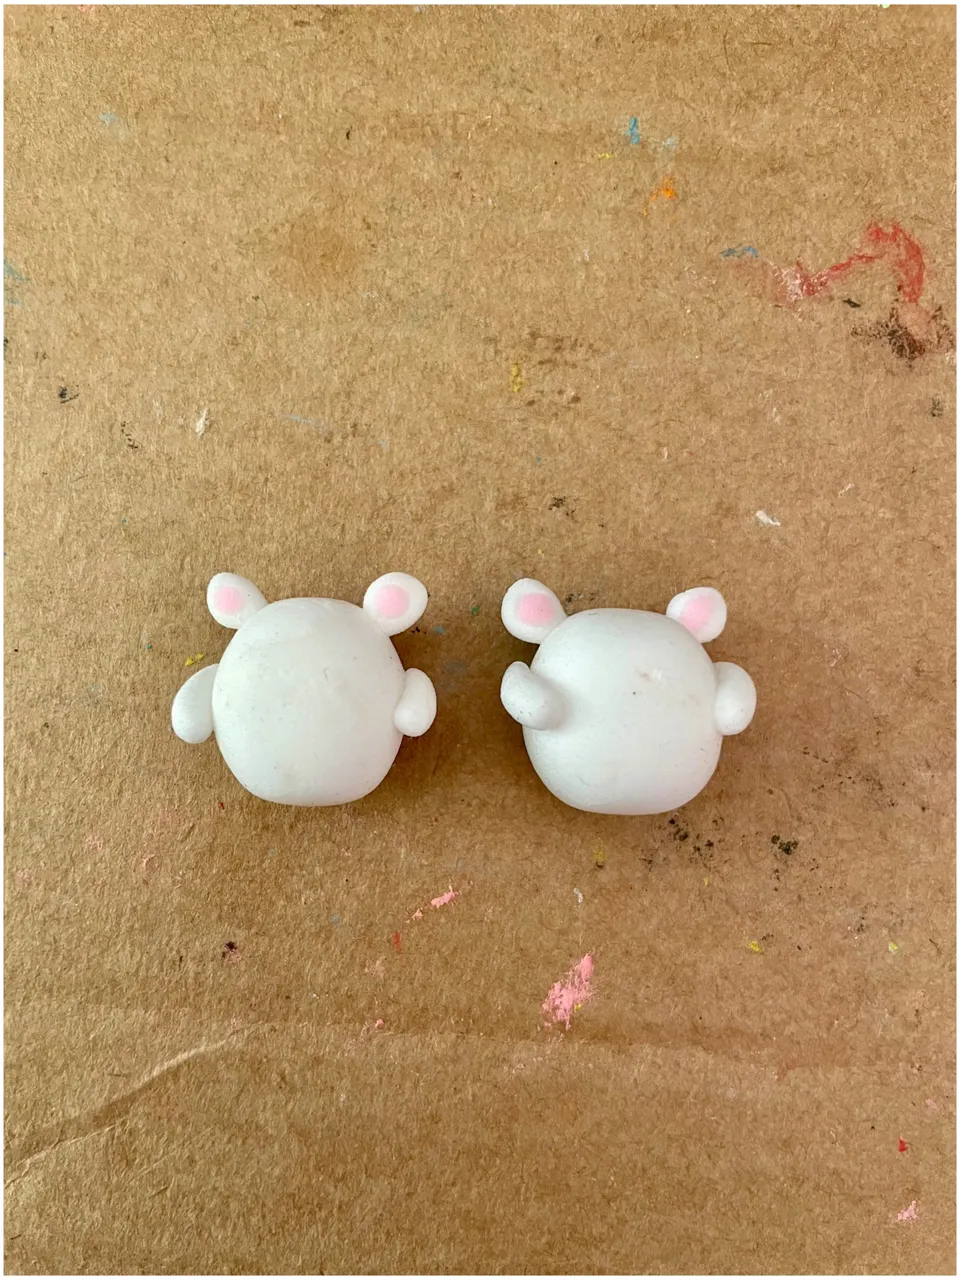
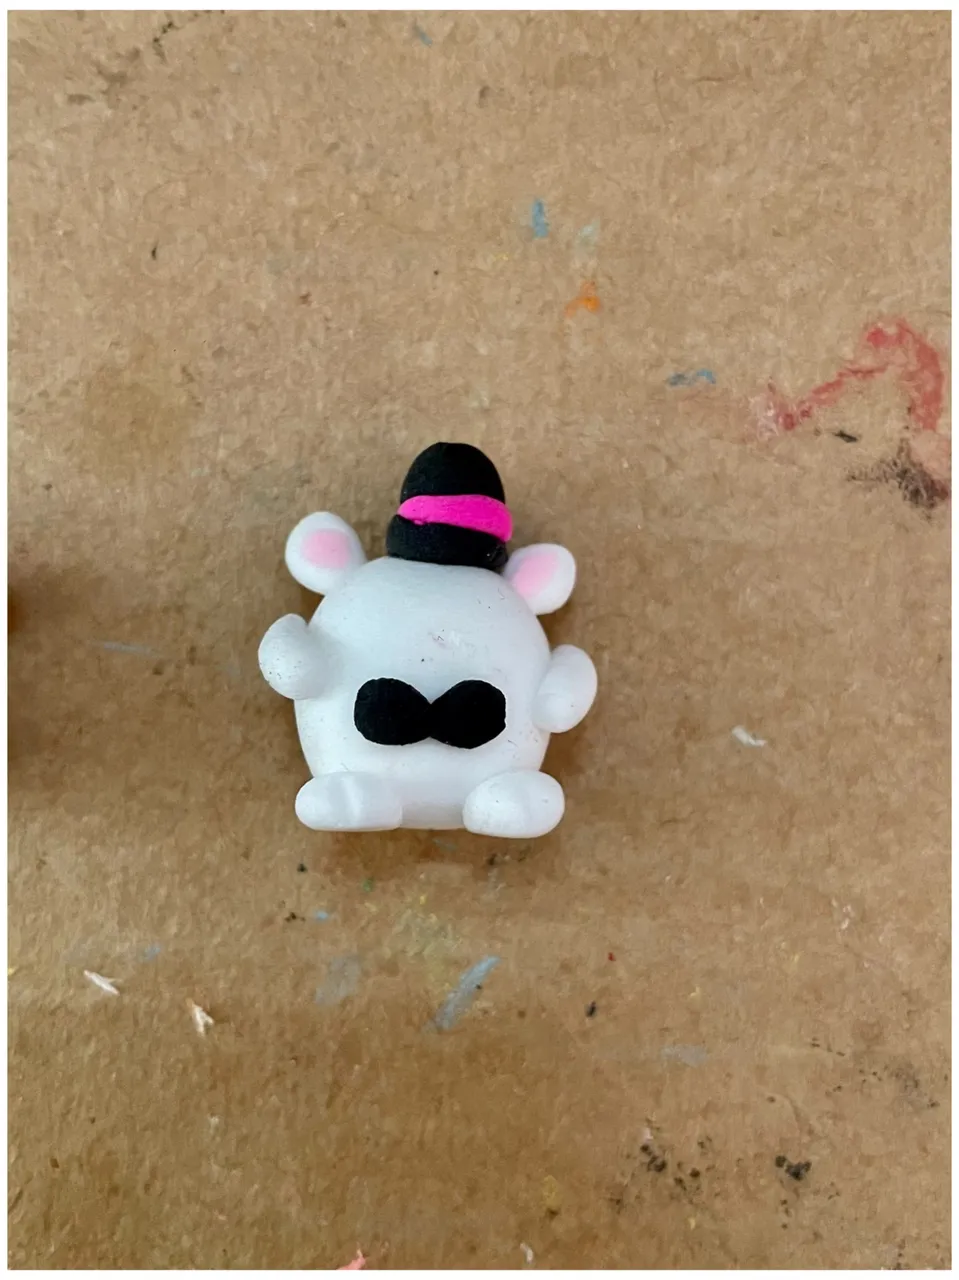
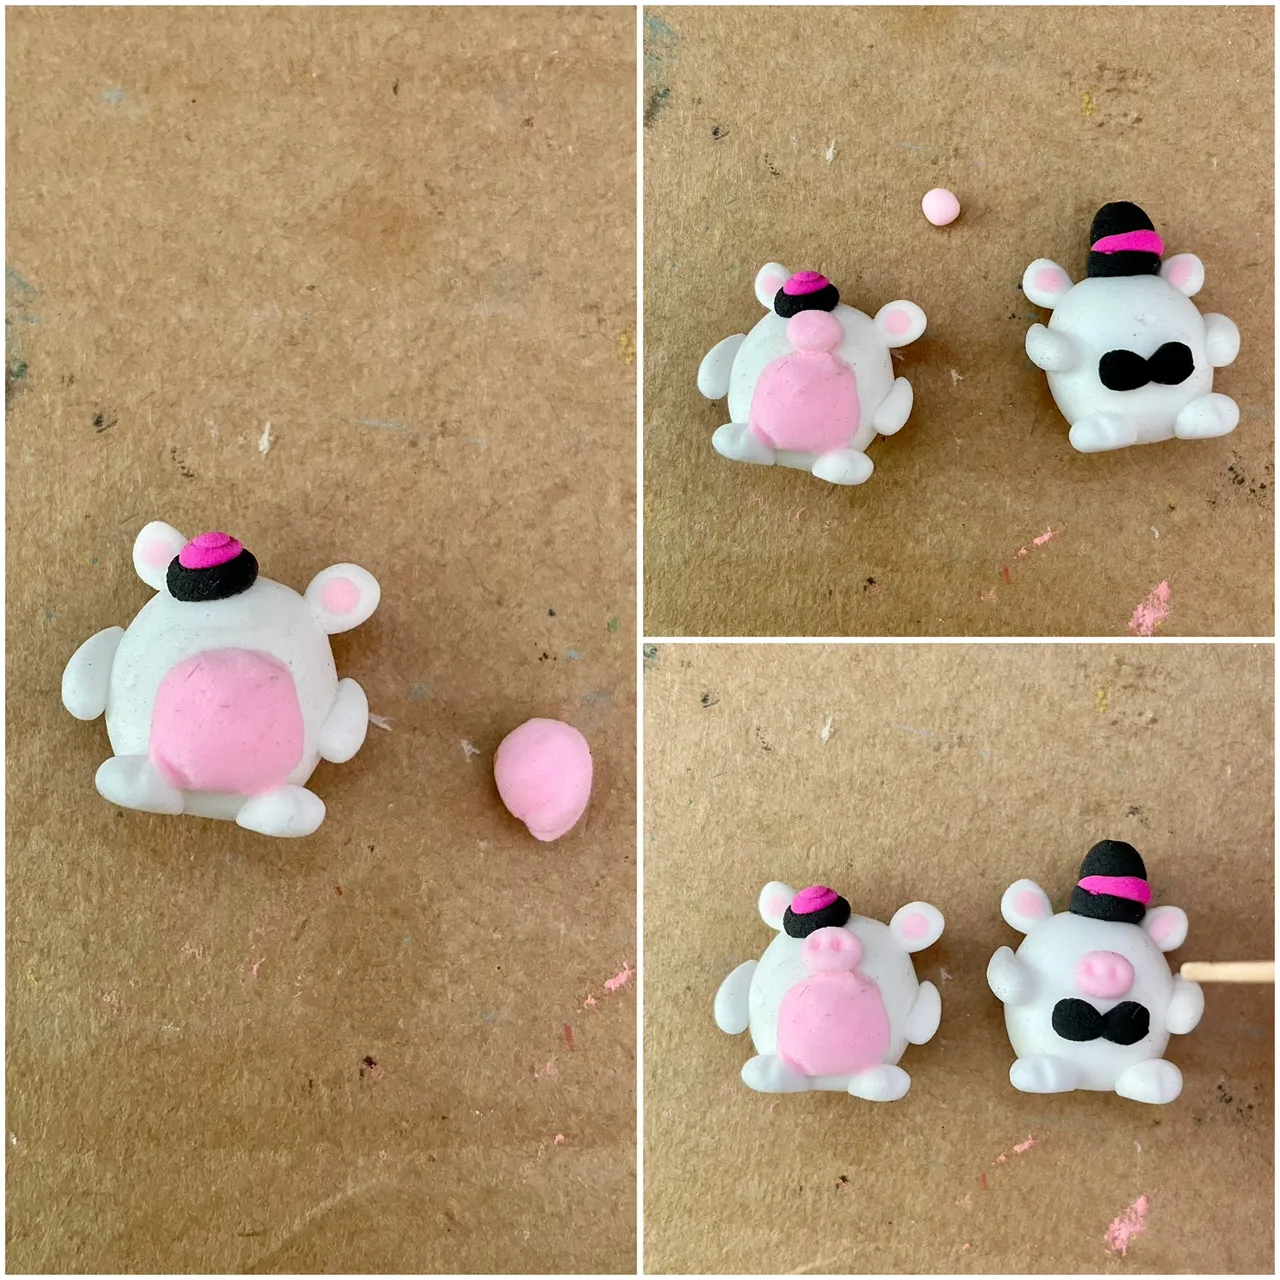
Next, I’ll carefully shape each part of the figurines 🐮—their heads, ears, legs, snouts, udders, and little hats—always putting my heart into every detail!
Seguidamente, desarrollo las piezas del cuerpo en las figuritas 🐮, su cabeza, sus orejas, sus patas, hocico, ubre y sombreritos, siempre dando lo mejor de mi.
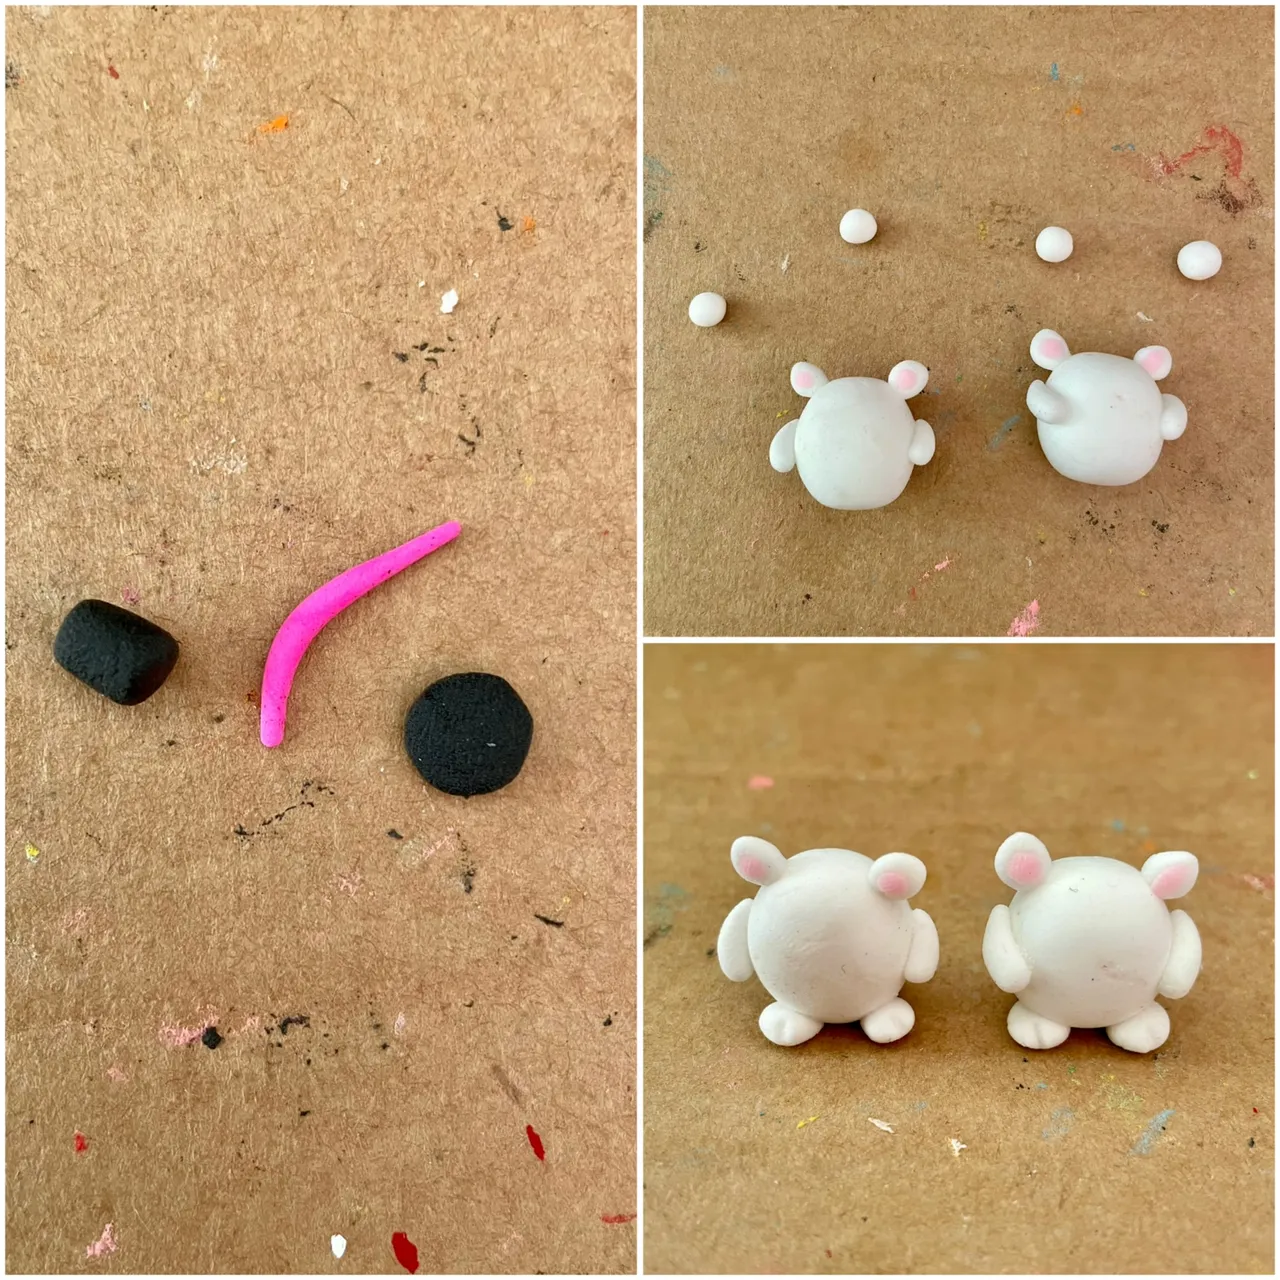
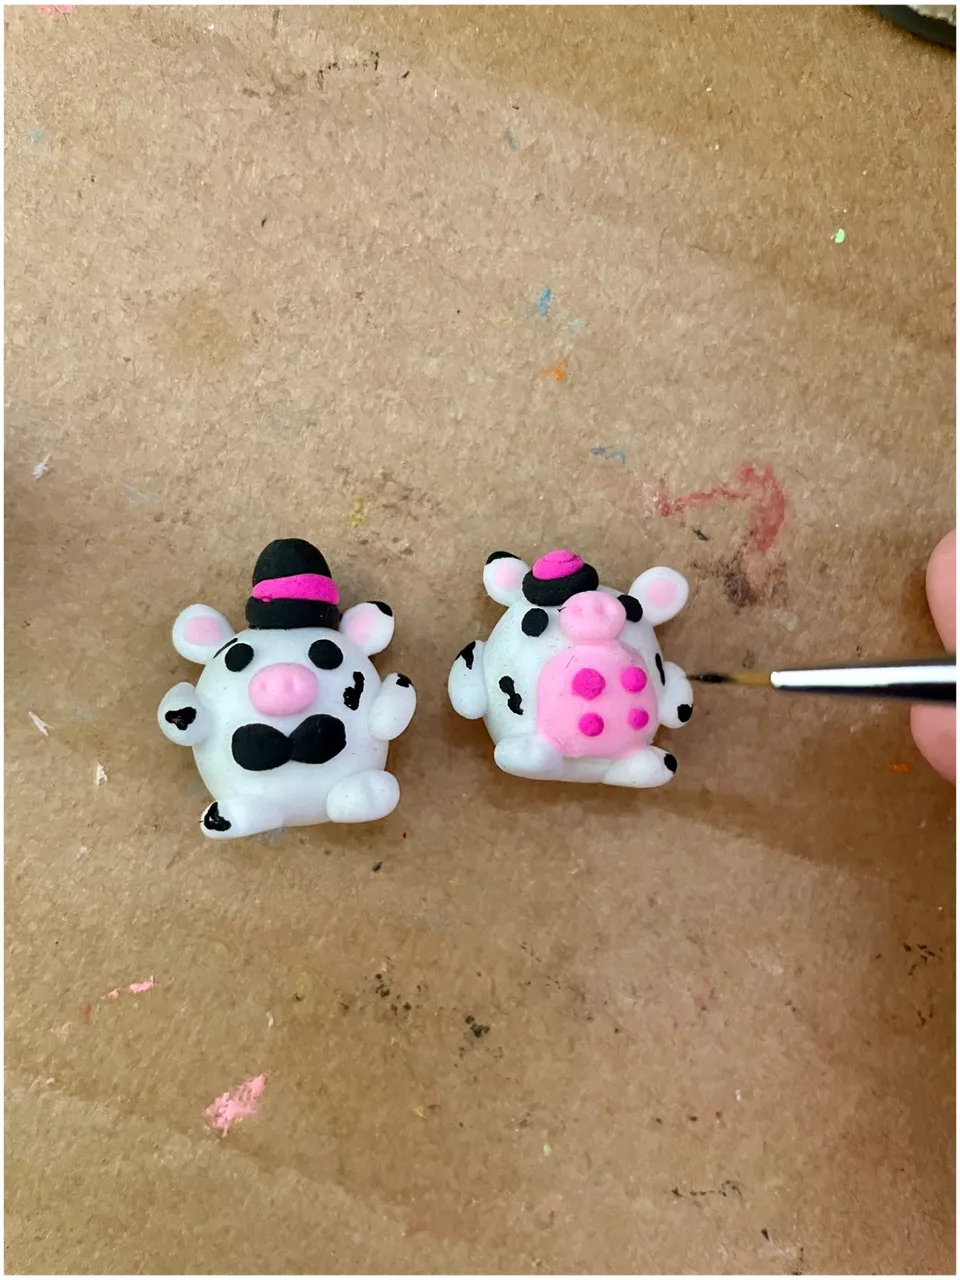
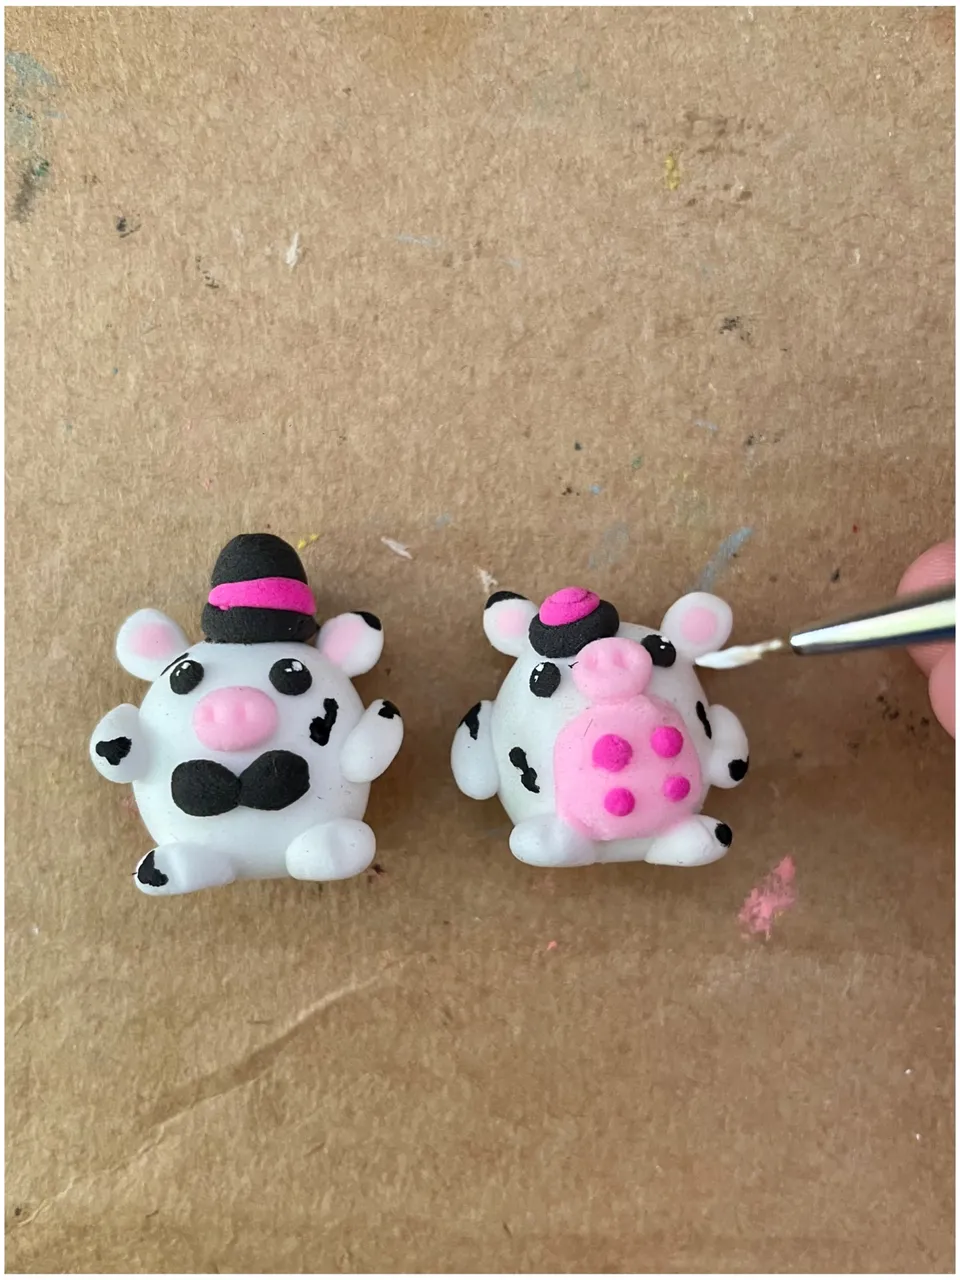
STEP / PASO 3
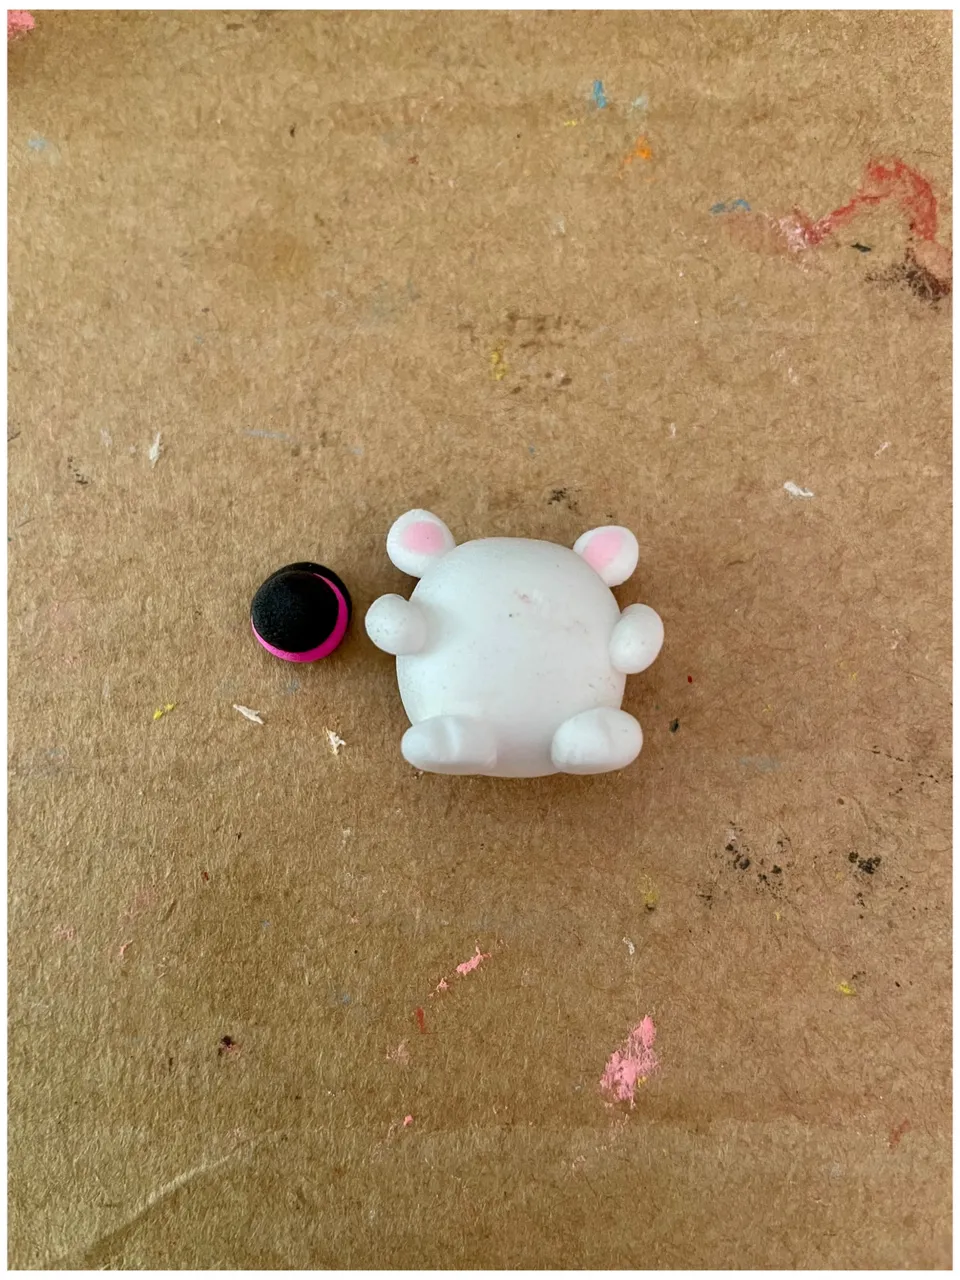
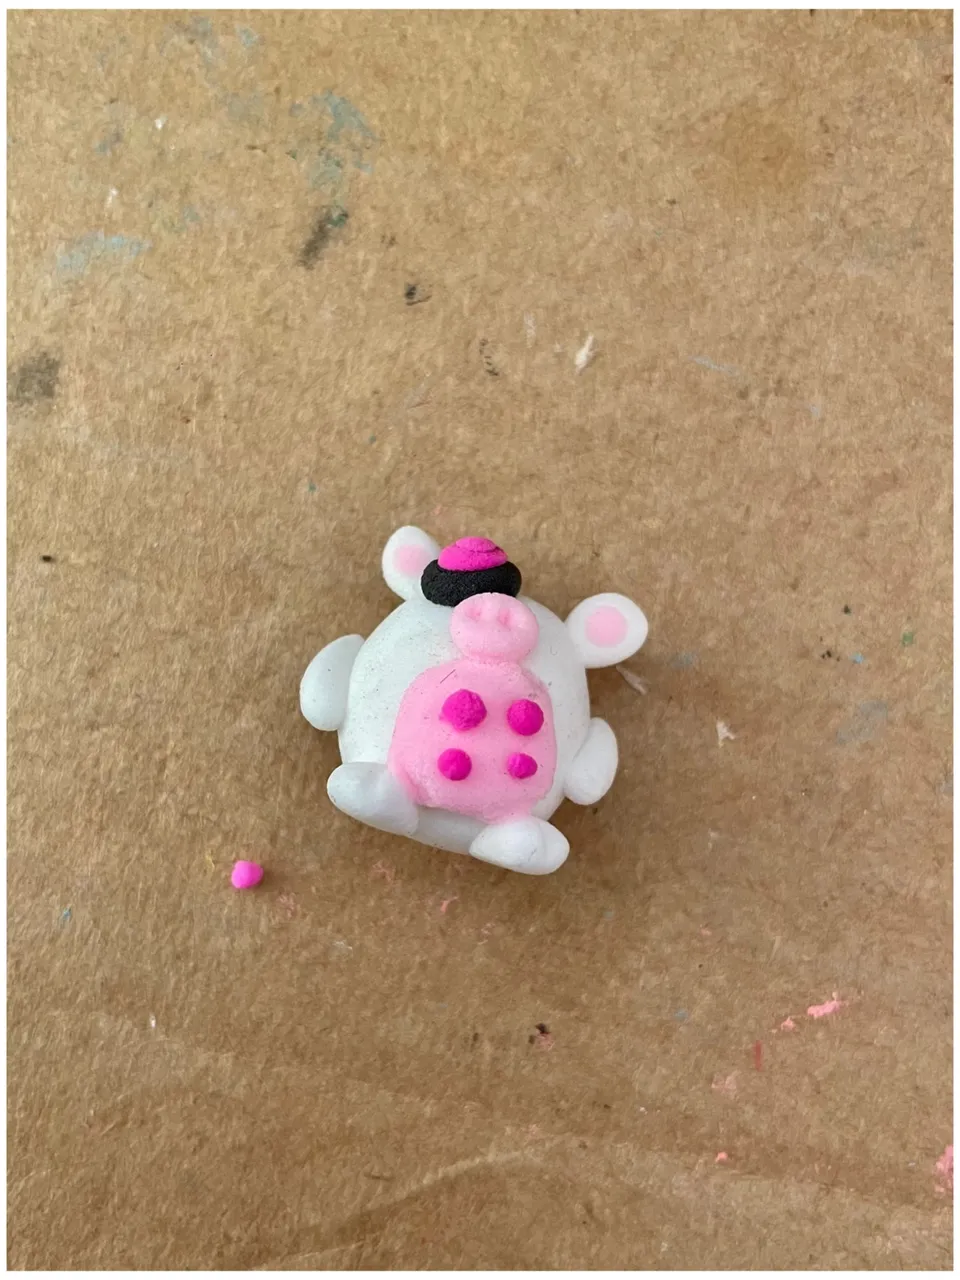
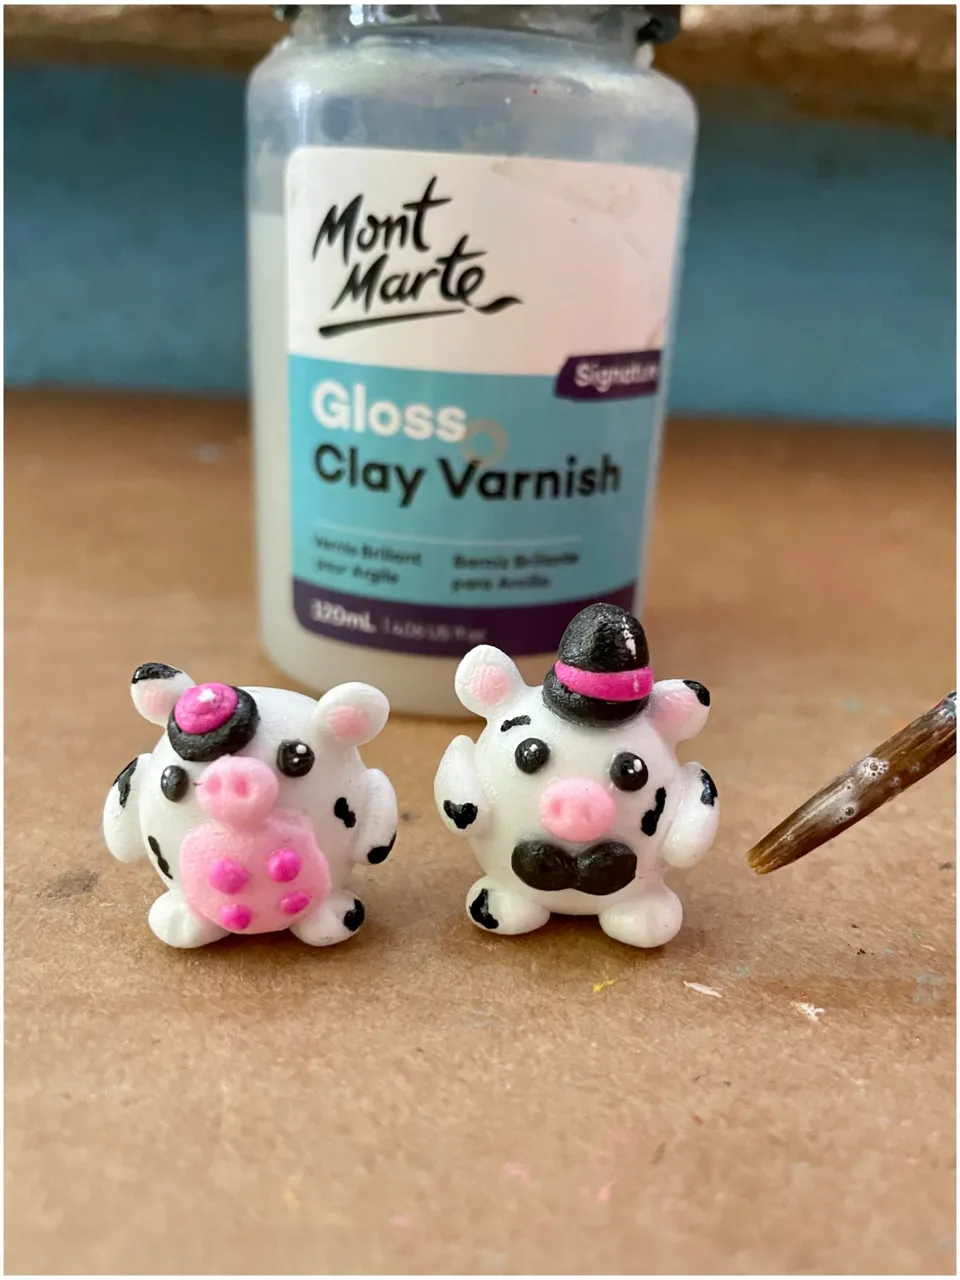
Finally, we’ll add the eyes and final touches to their faces using white and black for that lively sparkle! Then, we’ll seal everything with a coat of acrylic clay varnish to give them extra charm and durability. Fair warning—this part is a bit more intricate since the tiny details require patience when molding. But trust me, the result is worth it!
Ya por último, realizamos los ojos y retoques finales en sus caras, utilizando los colores blanco y negro para el brillo de ambos animados, además pasamos a agregar una pasada de barniz acrílico clay para darle más originalidad. Este diseño es un poco más complejo, pues son más pequeñas las partes a la hora de moldear.

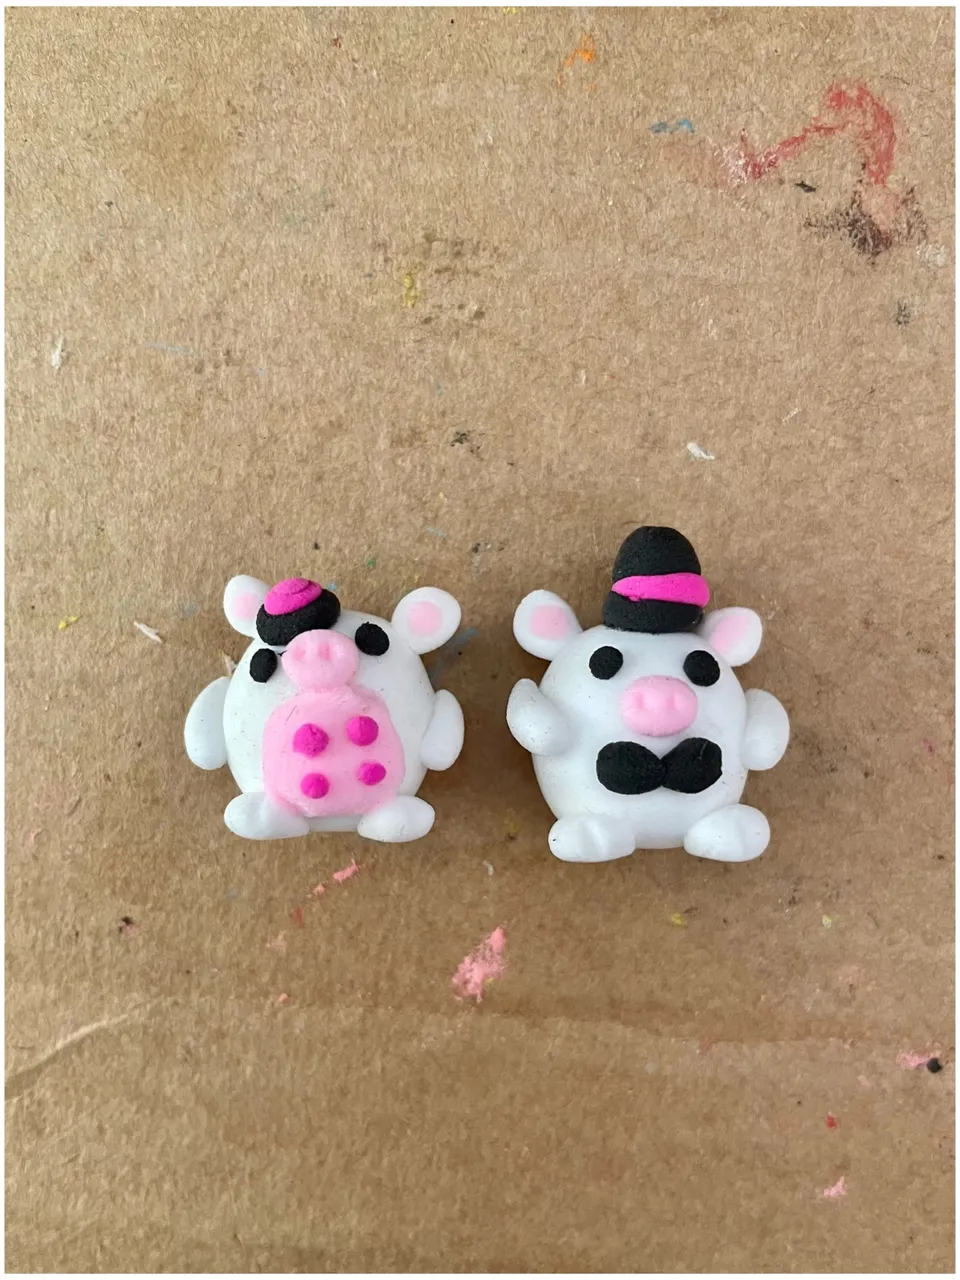
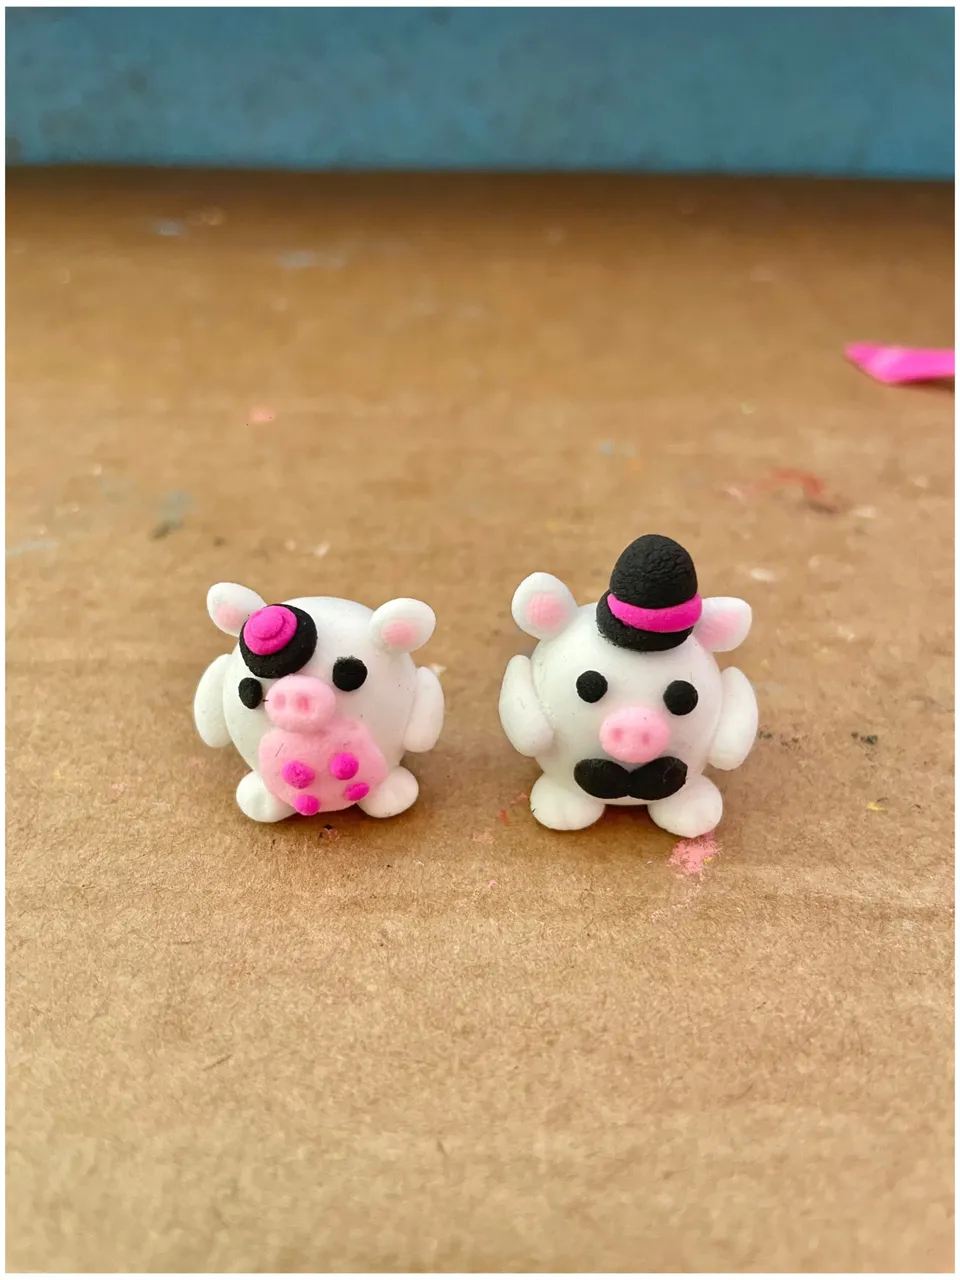
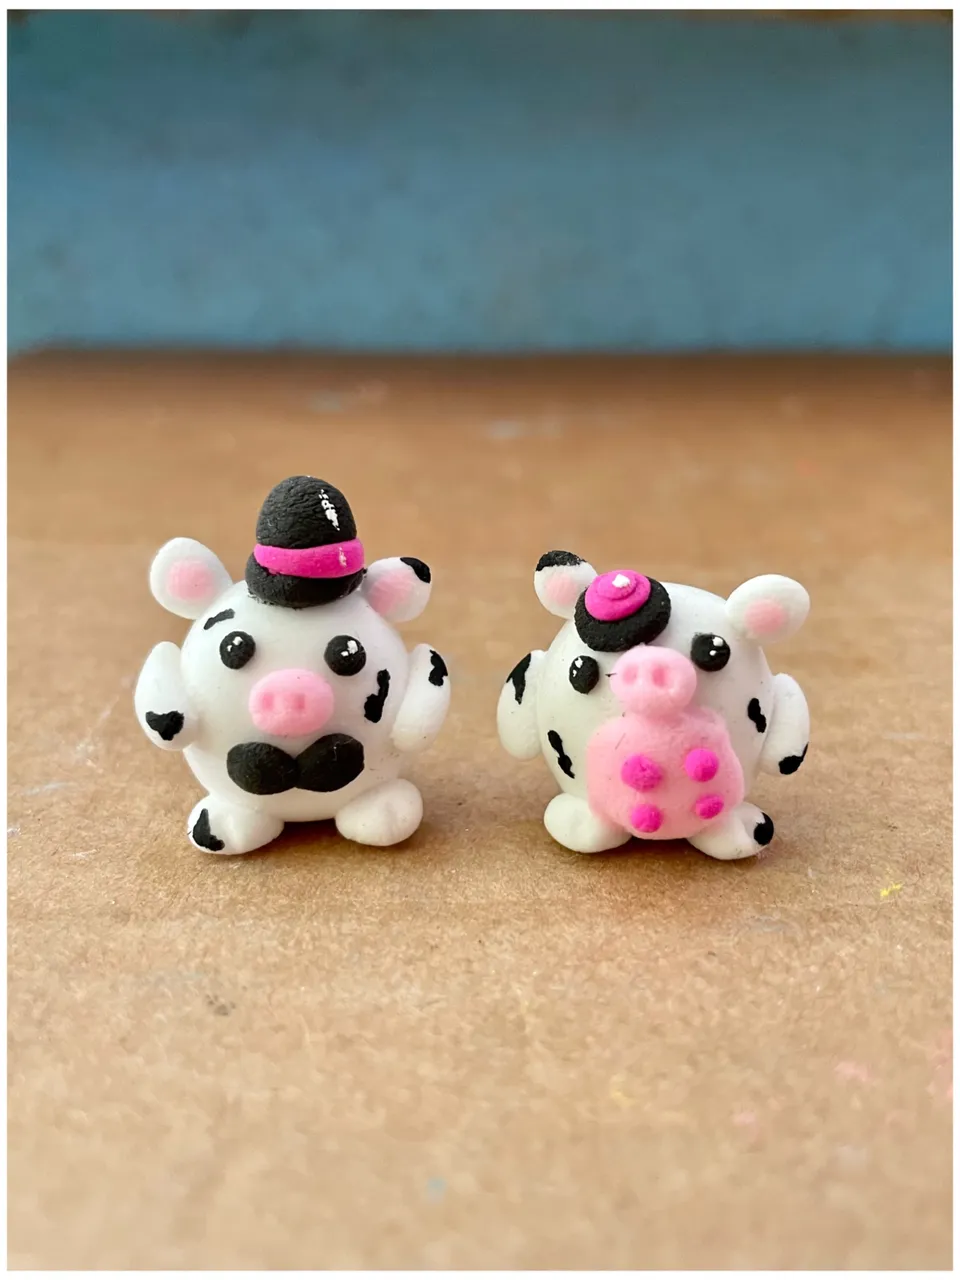
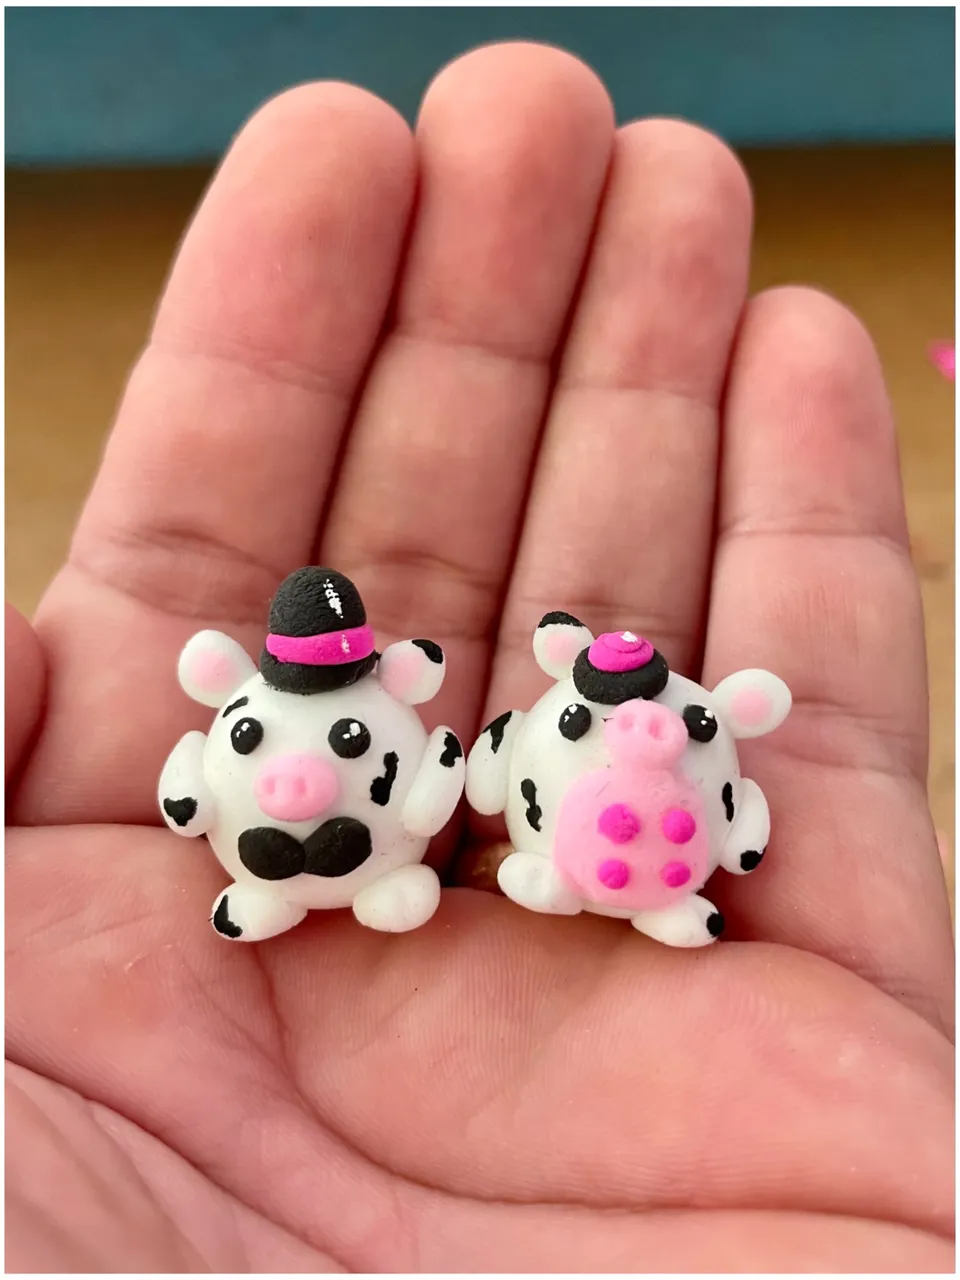
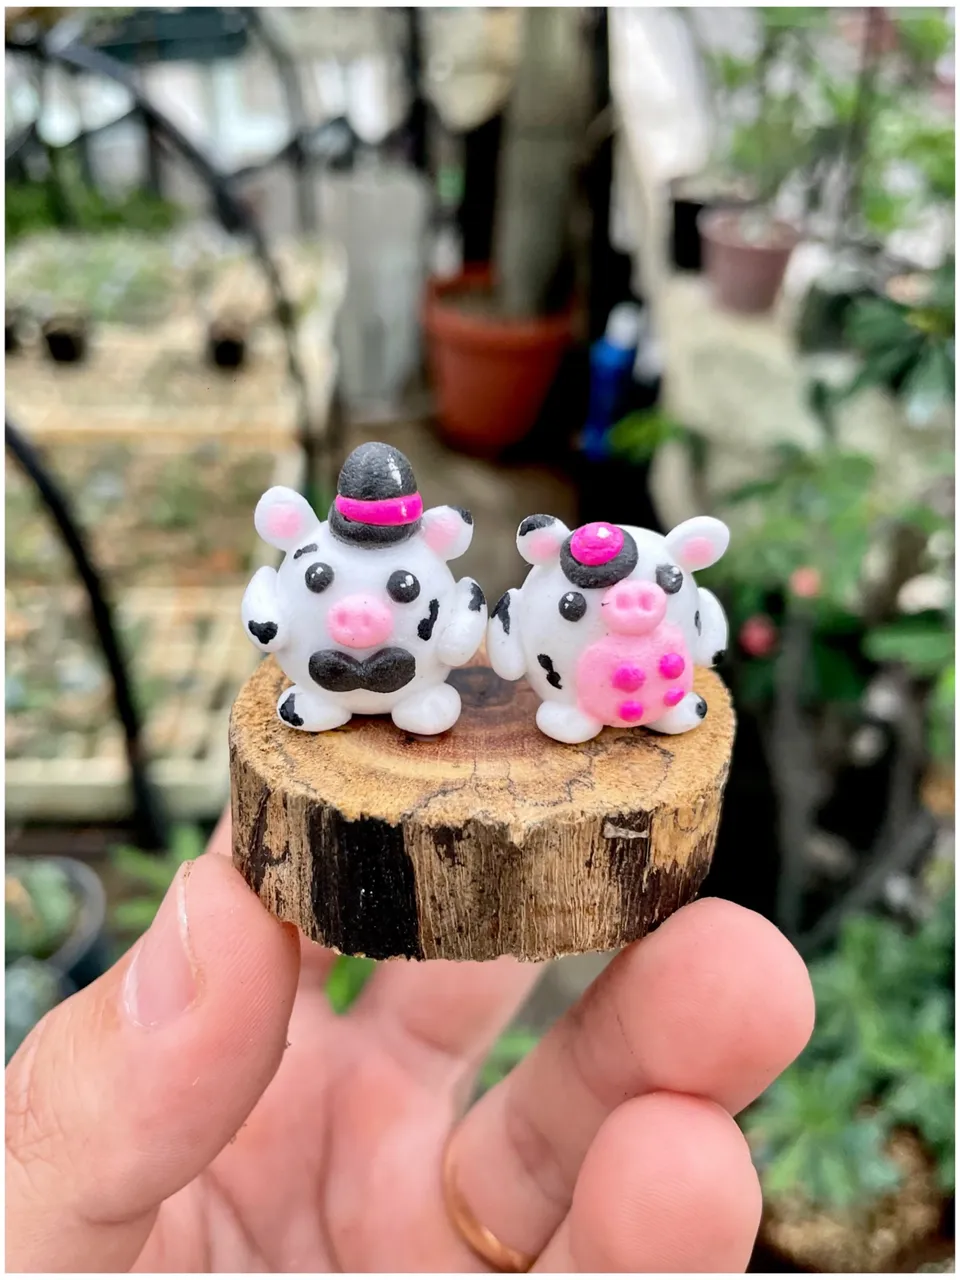
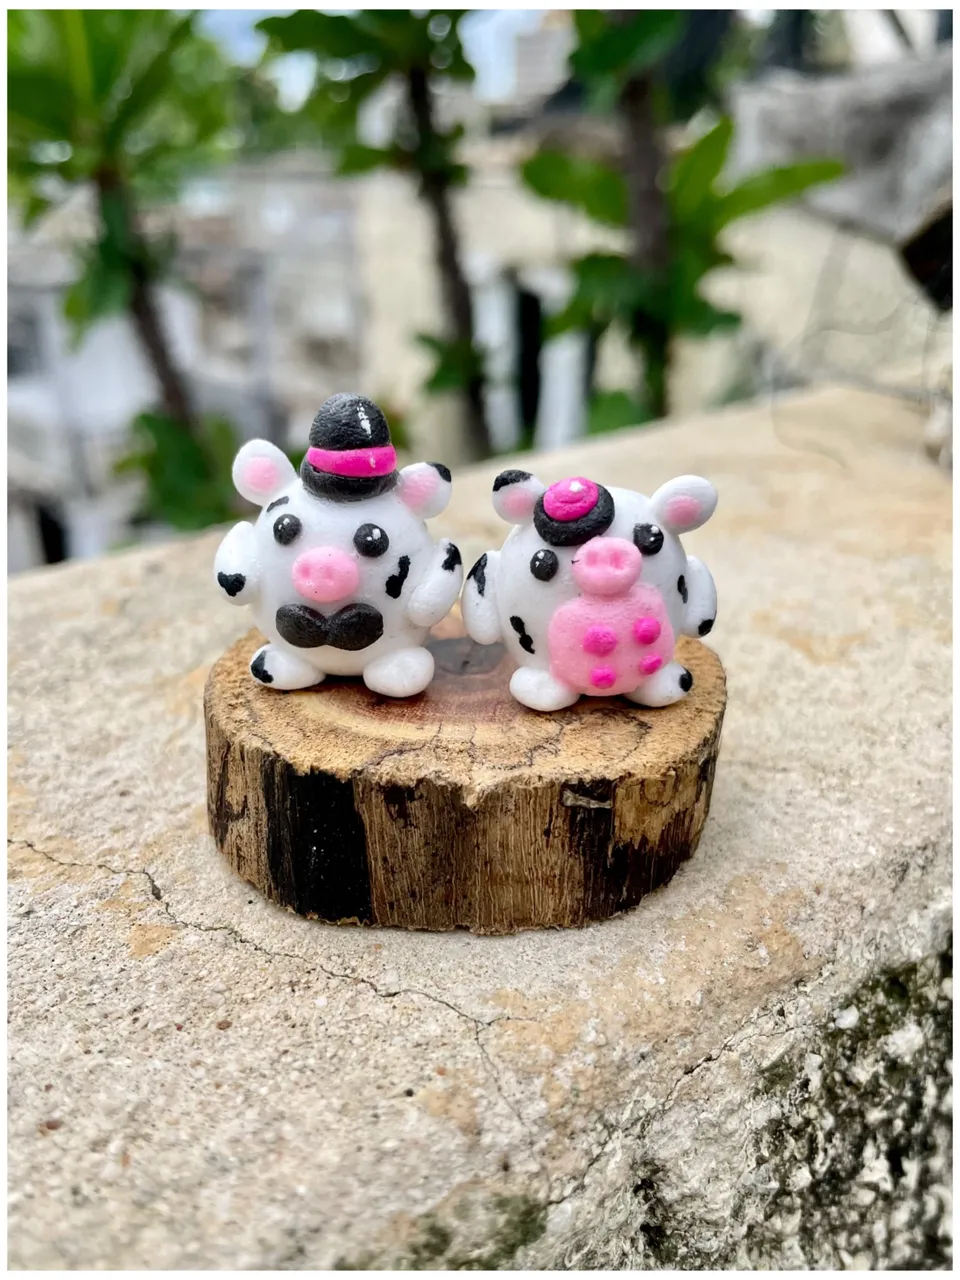
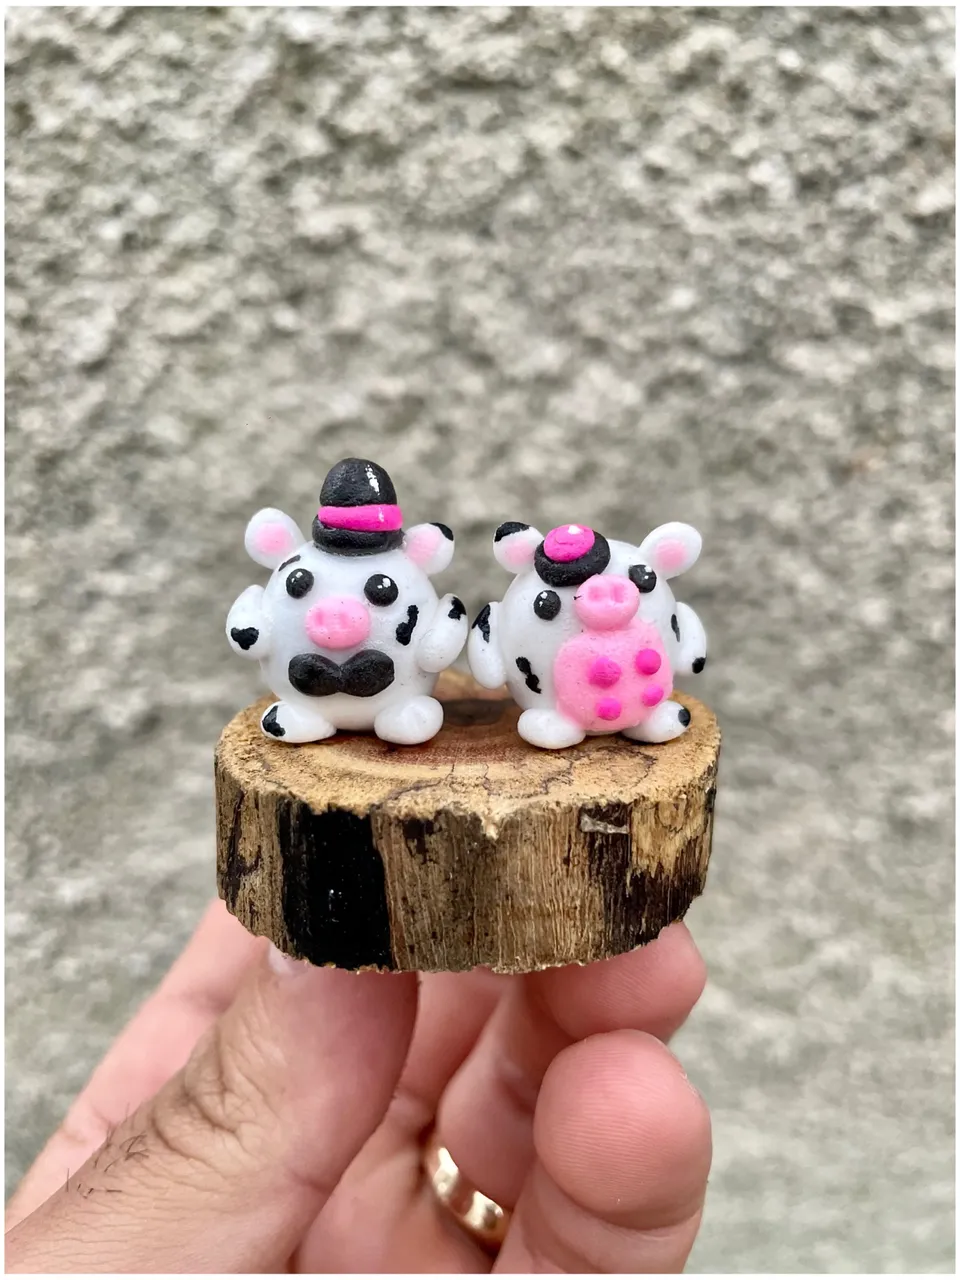
Final result / Resultado final
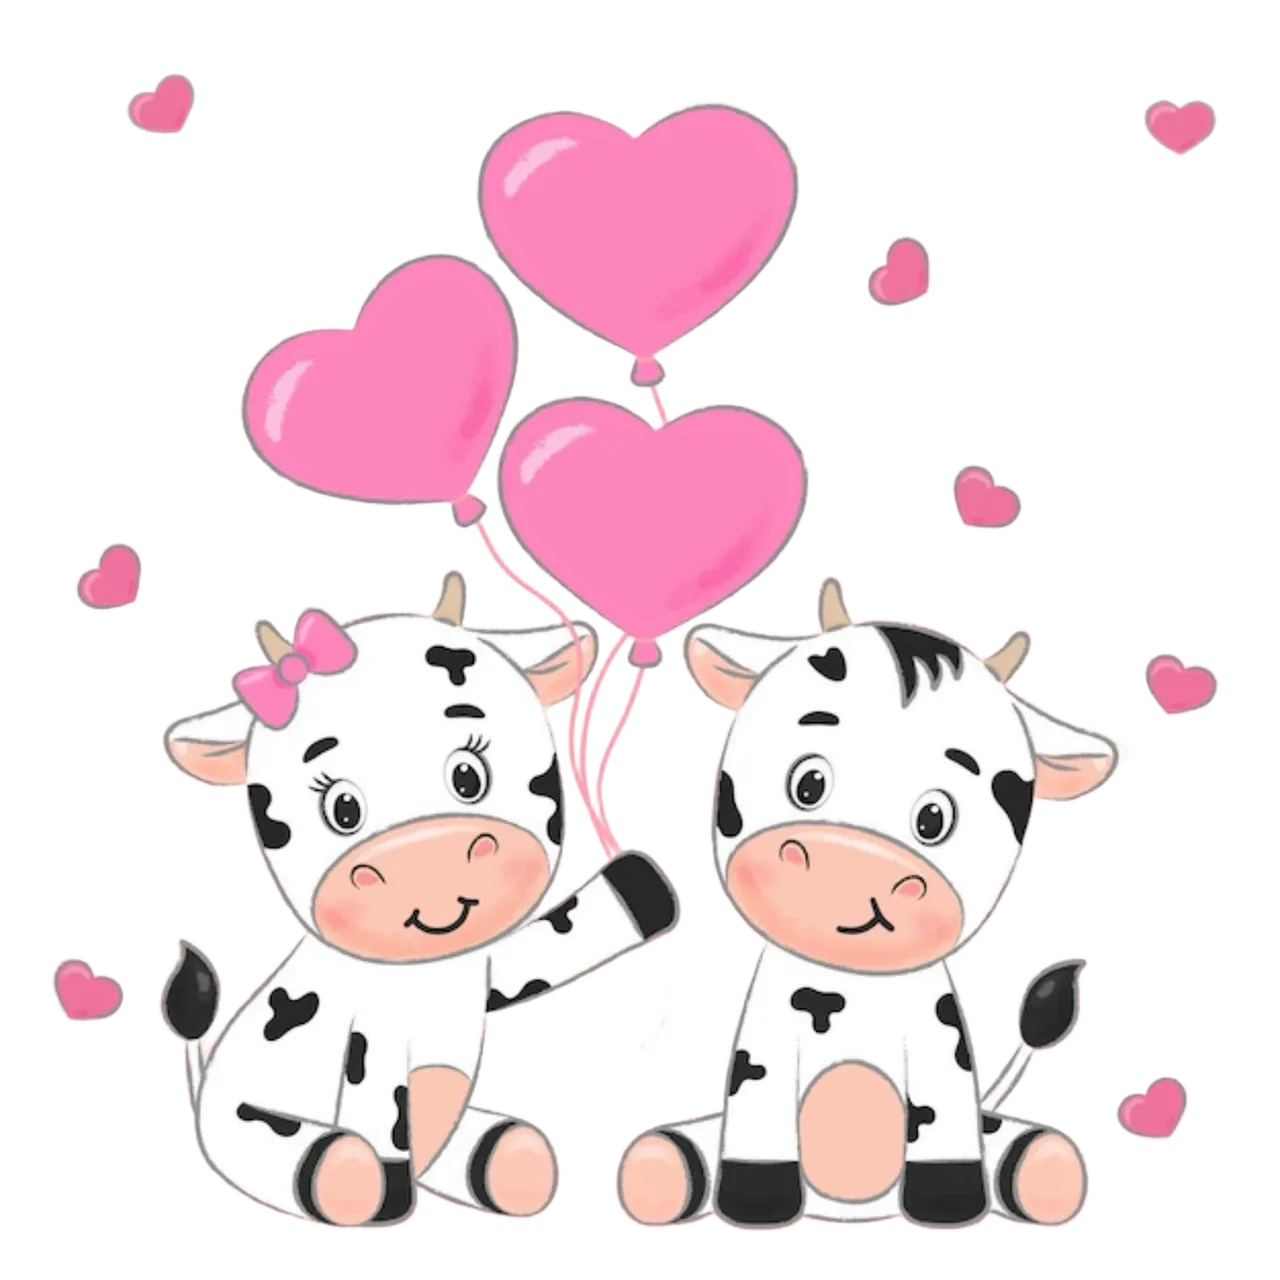
It should be noted that this design was searched on Pinterest; but the realization of the animations are made by me, with dedication to make them look more beautiful in your home or bedroom.
Cabe destacar que este diseño fue buscado en Pinterest; pero la realización de los animados son hechos por mí, con dedicación para que luzcan mas bonitos en tu hogar o dormitorio.
If you liked it, don't forget to leave a comment and follow me for future posts. I'd love to know your opinion and ideas for the next one. Regards
Si te ha gustado, no olvides dejar tu comentario y seguirme para próximas publicaciones. Me encantaría saber tu opinión e ideas para el siguiente. Saludos
