¡Bienvenidos a mi blog!
Hola a todos los miembros de esta linda comunidad #diyhub,espero que se encuentren bien en unión familiar. Dios todopoderoso los cuide y libre de todo mal.
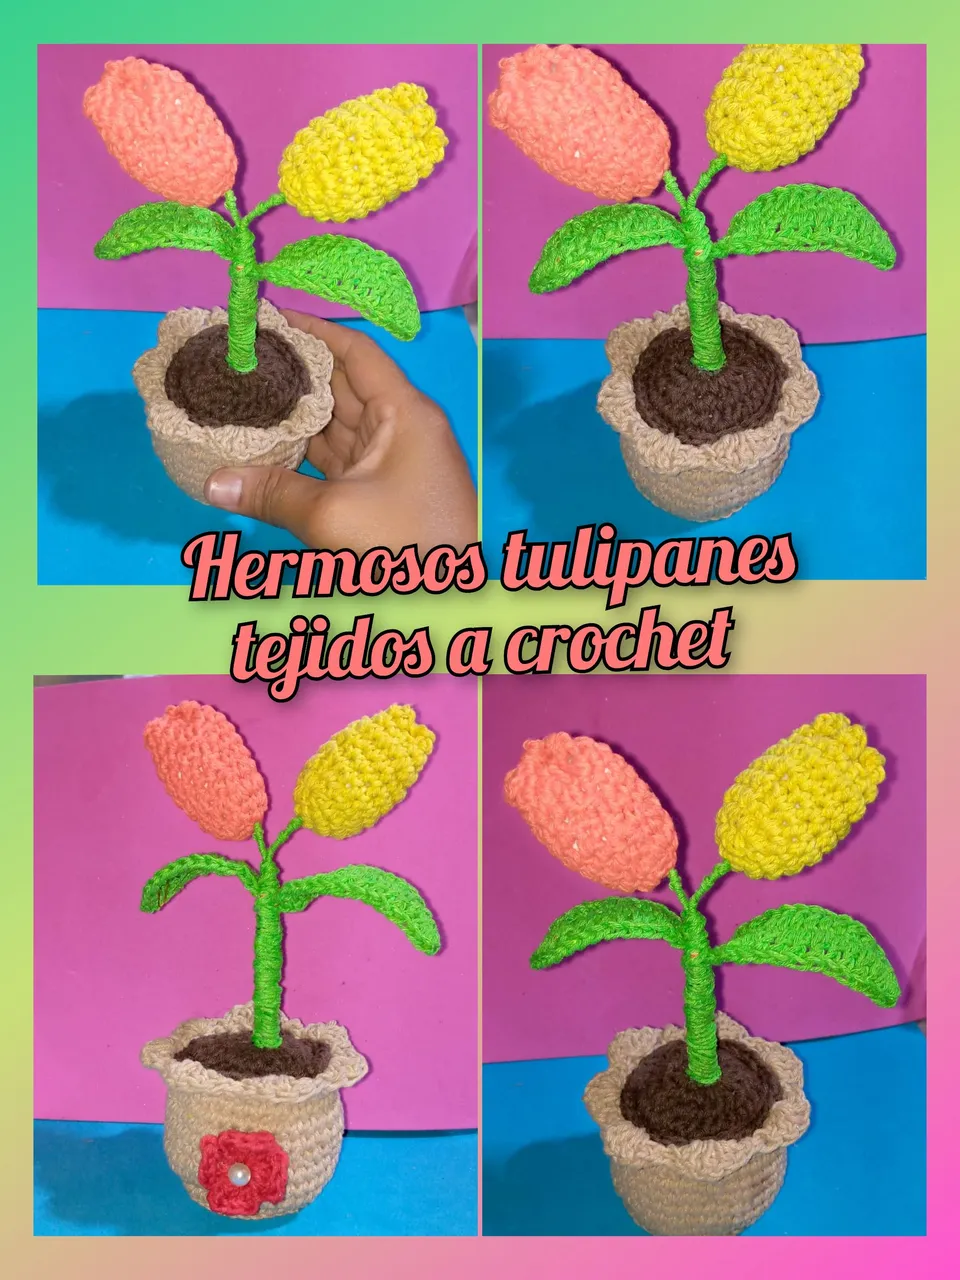
Hoy quiero mostrar por medio de un tutorial como tejer unos lindos tulipanes 🌷🌷 con su maceta. Muy fáciles de hacer . Especial para regalar en cumpleaños o a cualquier personas que sea de nuestro agrado. Con tan solo saber unos puntos bajos, altos, cadenas y deslizado.Se pueden tejer muchas cosas que deseemos .
Con estos lindos tulipanes podemos adornar cualquier parte de nuestro hogar , e incluso nuestra cocina. Sin más, vamos al paso a paso.
Welcome to my blog!
Hello to all the members of this beautiful community #diyhub,I hope you are well in family union. God almighty watch over you and deliver you from all evil.
Today I want to show through a tutorial how to weave some cute tulips 🌷🌷 with their pot. Very easy to make . Special to give away on birthdays or to any person who is to our liking. With just knowing a few low stitches, high stitches, chains and slipped.You can knit many things that we want .
With these pretty tulips we can decorate any part of our home, and even our kitchen. Without further ado, let's go to the step by step.
¡Hermosos tulipanes!
¡Hermosos tulipanes!
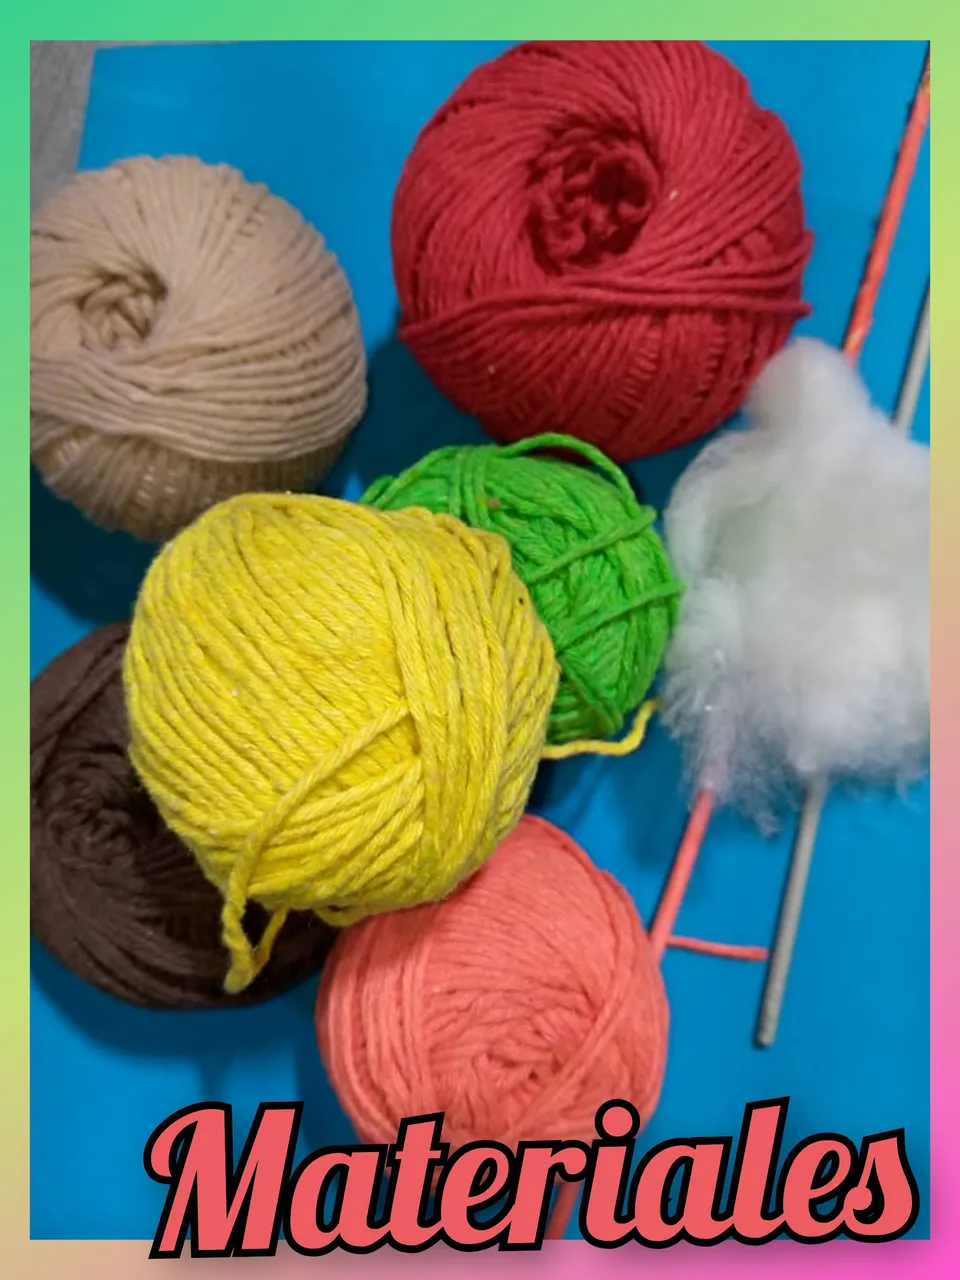
Materiales que se necesitan para la realización de los lindos tulipanes 🌷🌷:
- Hilo de colores: amarillo, rojo,rosado, verde , marrón y beige.
- Aguja de tejer. Número 3.
- Aguja lanera.
- Alambre.
- Relleno.
- Palo de altura.
- Silicona líquida.
- Tijera.
- Pinza.
Materials needed for the realization of the beautiful tulips 🌷🌷:
- Colorful yarn: yellow, red,pink, green , brown and beige.
- Knitting needle. Number 3.
- Wool needle.
- Wire.
- Filling.
- Height stick.
- Liquid silicone.
- Scissors.
- Tweezers.
Paso a paso para la realización de los tulipanes,🌷🌷:
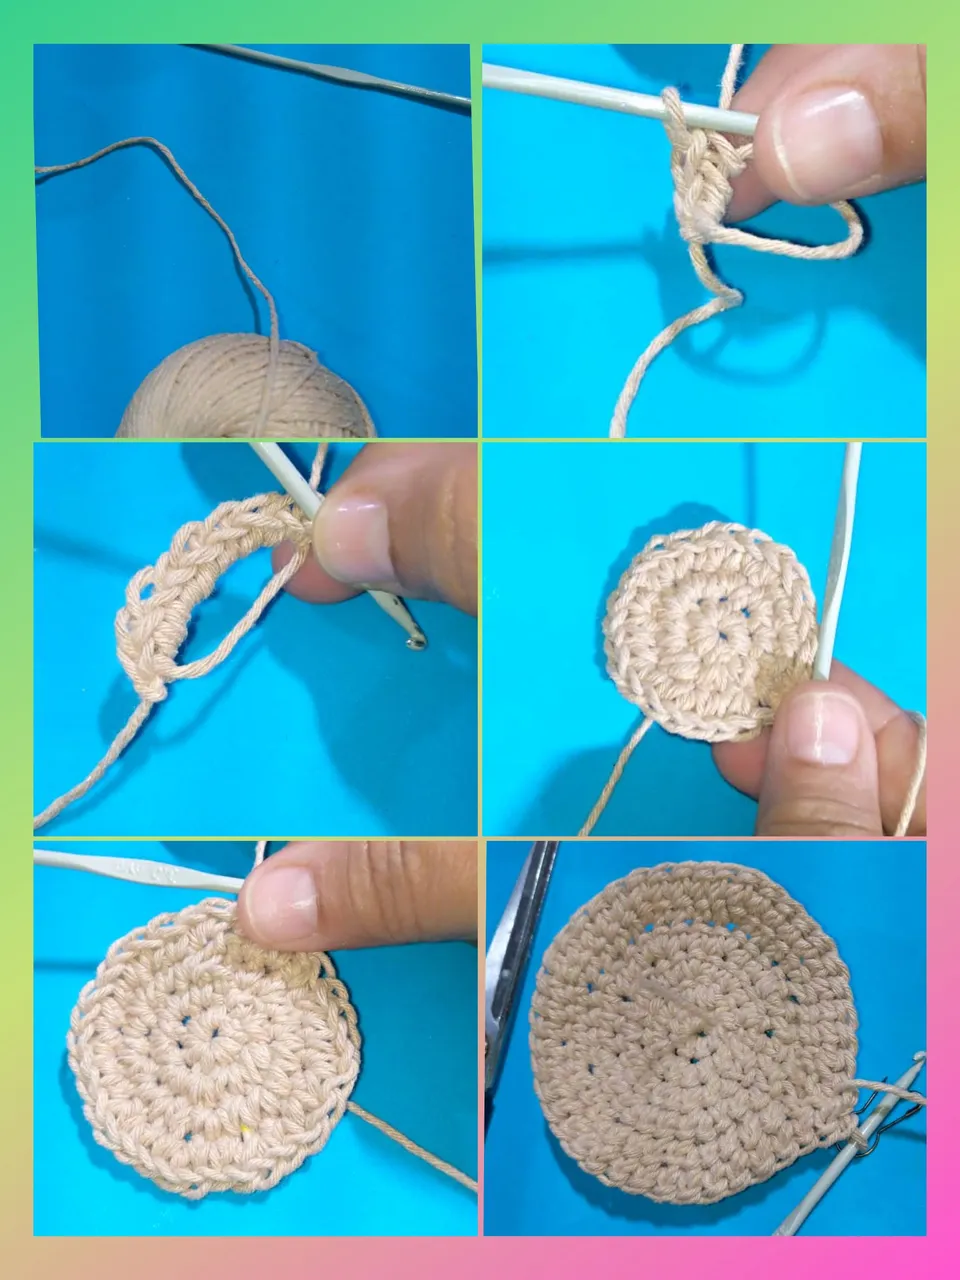
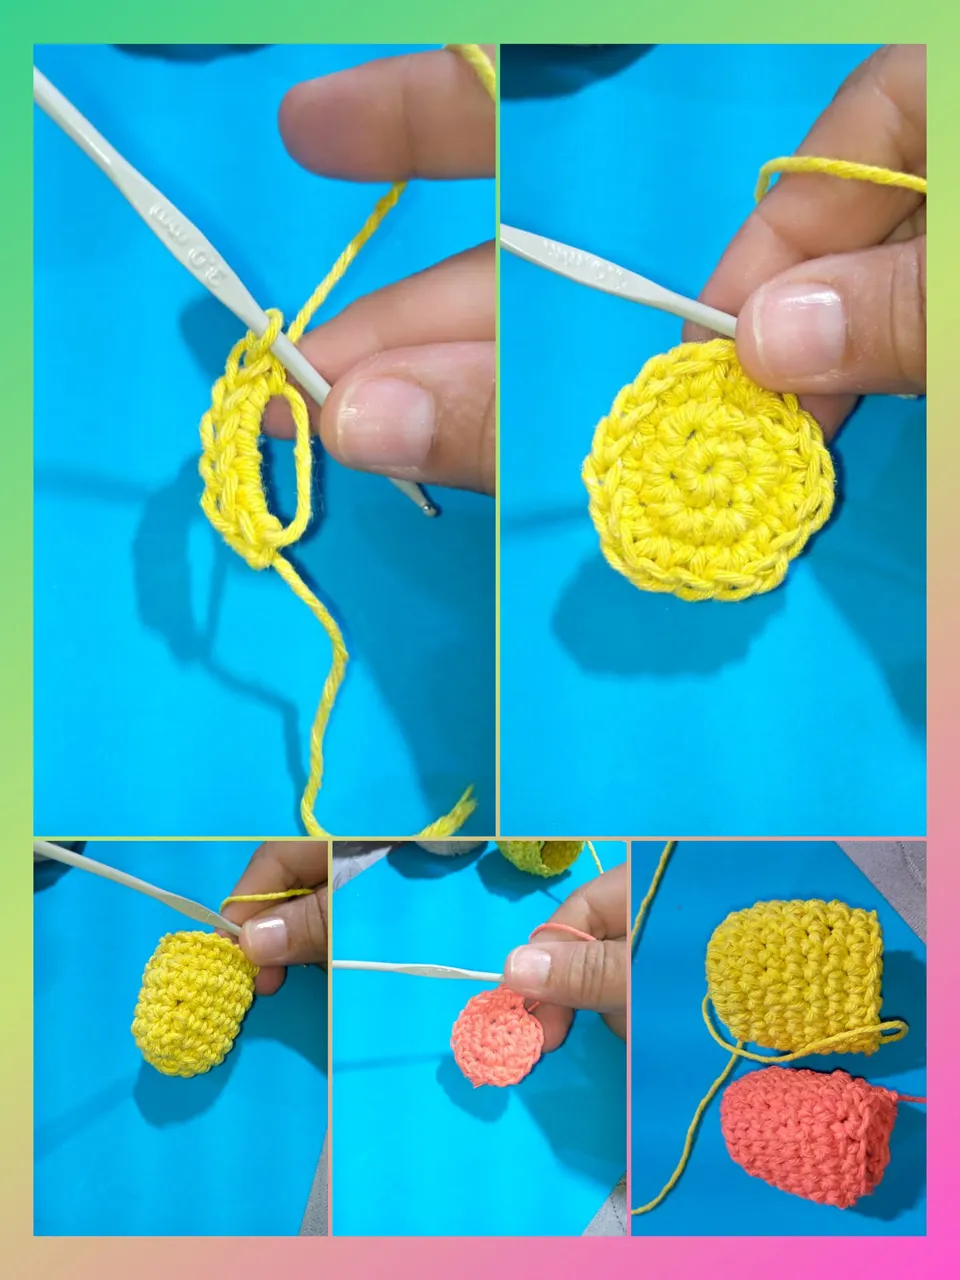
- Tomamos el hilo beige y la aguja para comenzar a tejer la maceta: hacemos un anillo mágico,dentro del anillo metemos 6 puntos bajos , cerramos el anillo con un punto deslizado. Segunda vuelta : 2 puntos bajos en cada puntos , hacemos aumento par aún total de 12 puntos. Tercera vuelta: levantar una cadena, en ese mismo punto hacer otro punto bajo. En el siguiente hacer un punto bajo ,en el siguiente otro punto bajo y en el otro un aumento, para esta vuelta serán 18 puntos bajos.
- Para la cuarta vuelta: dos puntos bajos y aún aumentó para un total de 24 puntos bajos ,pero en esta vuelta solo tomarán el hilo de atrás.
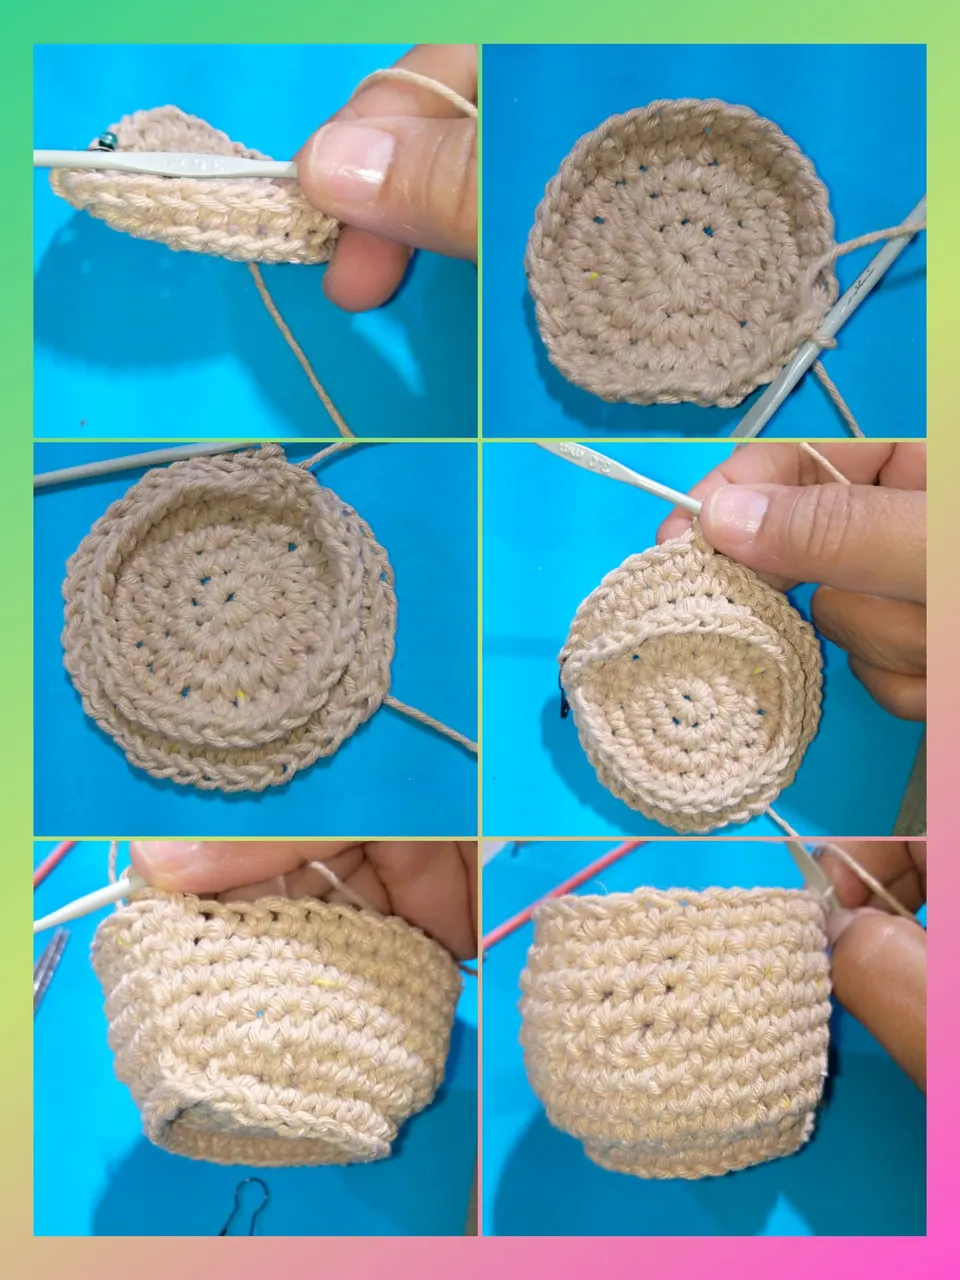
- Para la quinta vuelta se hace tres puntos bajos y un aumento,serán 30 puntos , así será hasta la vuelta 10.
- Luego levantan una cadena , en el punto siguiente hacer 5 puntos altos, en el siguiente un punto deslizado. Así se hará en toda la vuelta. Ya lista la maceta.
Step by step for the realization of the tulips,🌷🌷:
- We take the beige yarn and the needle to start knitting the flower pot: we make a magic ring,inside the ring we put 6 low stitches , we close the ring with a slipped stitch. Second row: 2 single crochets in each stitch, we make an even increase of 12 stitches. Third row: raise a chain, in the same stitch make another single crochet. In the next stitch make a single crochet, in the next stitch another single crochet and in the next stitch an increase, for this row there will be 18 single crochets.
- For the fourth row: two single crochet and one more increase for a total of 24 single crochet stitches, but in this row you will only pick up the yarn from the back.
- For the fifth row: three single crochet and one increase for a total of 30 stitches, and so on until row 10.
- Then pick up a chain, in the next stitch make 5 double crochet stitches, in the next stitch a slip stitch. This will be done in the whole round. The pot is ready.
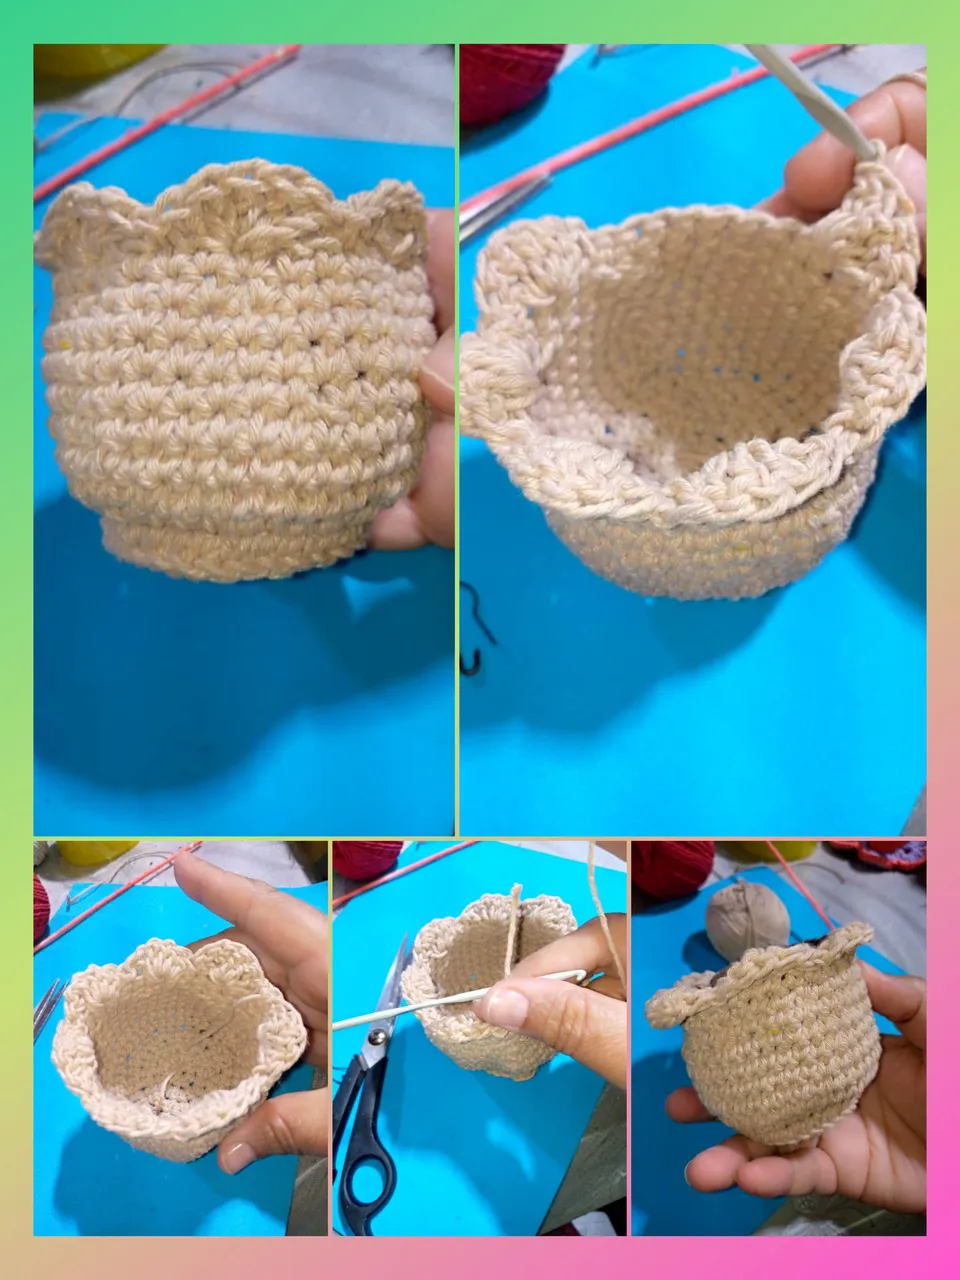
- Para hacer la tapa de la maceta: un anillo mágico dentro del anillo meter 6 puntos bajos. Cerrar con punto deslizado, luego hacer aumento en cada uno de los puntos, segunda vuelta,12 puntos.
- Tercera vuelta : 18 puntos , un punto bajo y un aumento.
- Cuarta vuelta: dos puntos ,luego un aumento, total 24 puntos. Y quinta vuelta : 30 puntos bajos. Con esto hacemos la tapa.
- Rellenamos la maceta y con una aguja lanera vamos cosiendo la tapa.
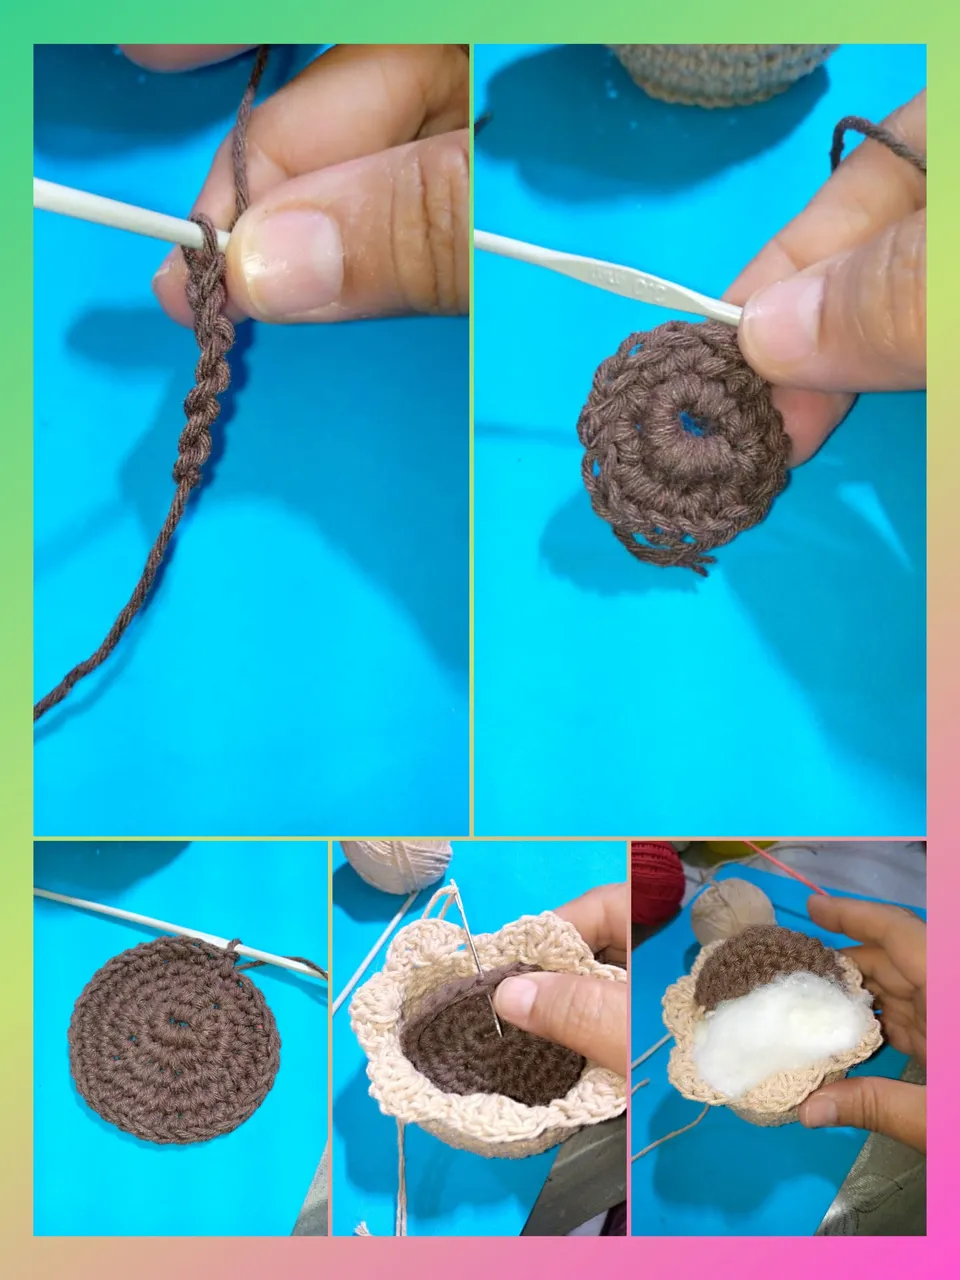
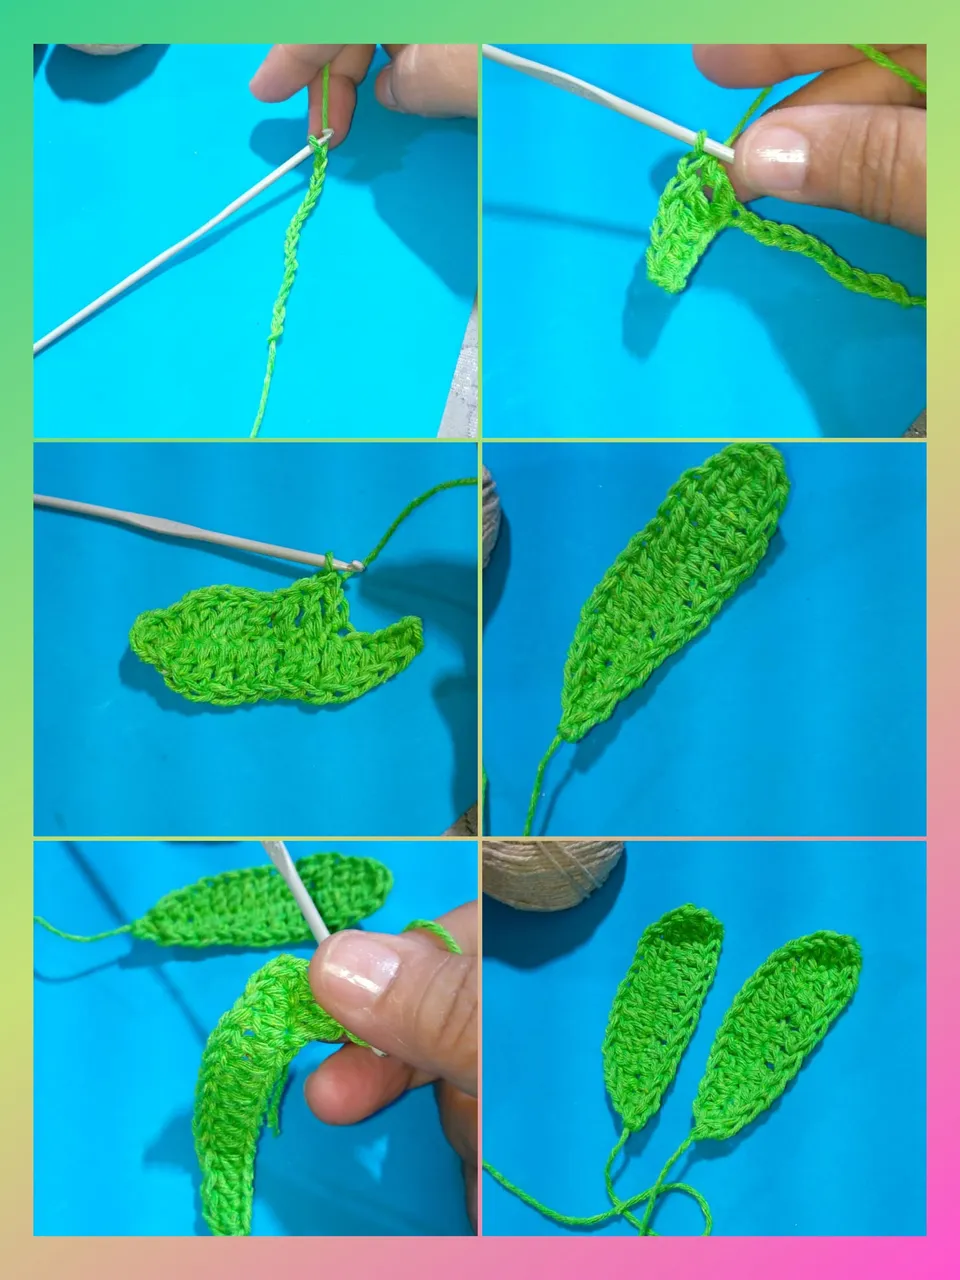
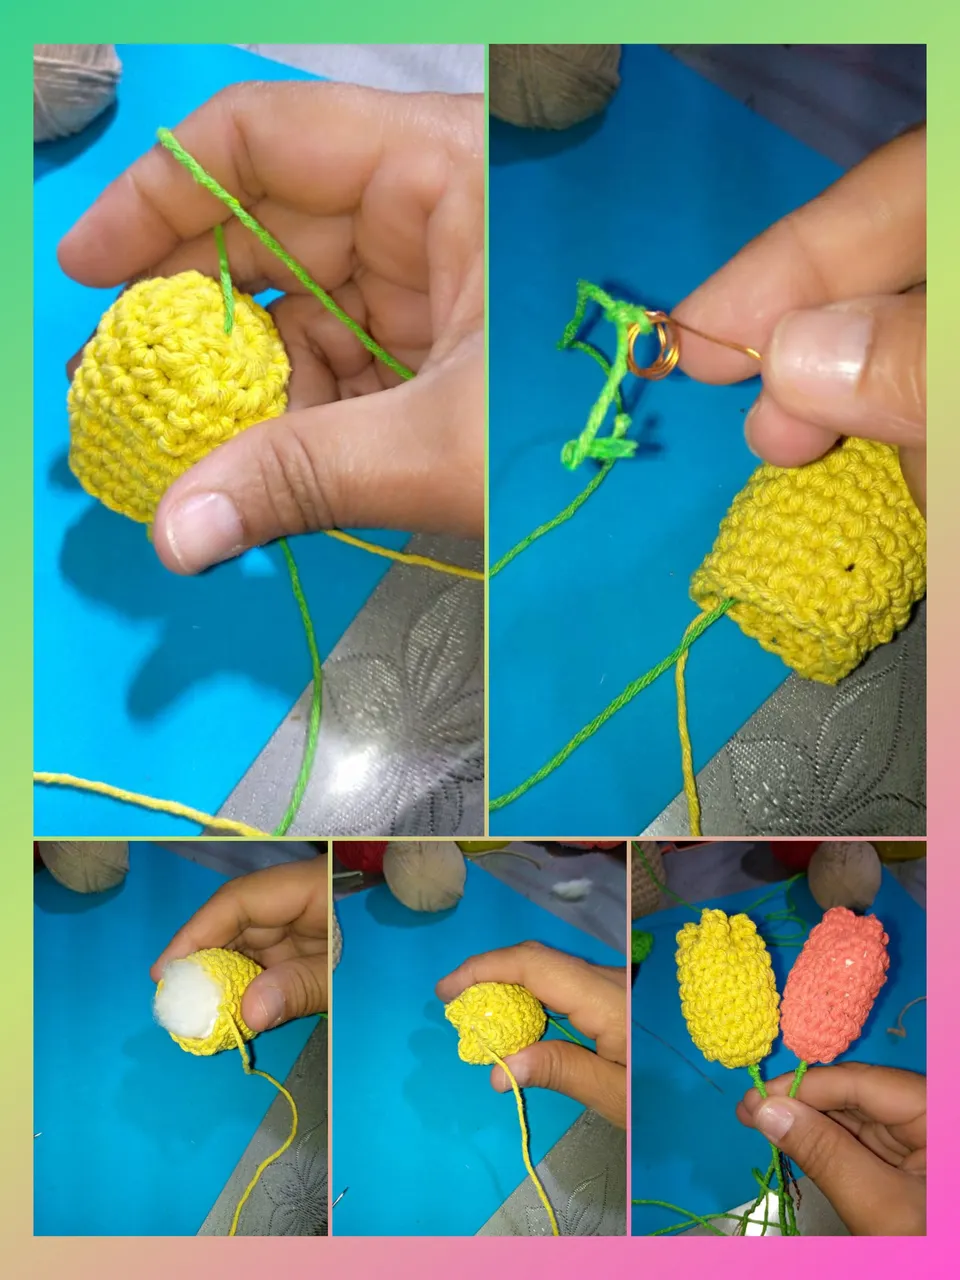
Ahora tenemos las hojas, hacemos doce cadenas en la cadena dos, hacer un punto bajo ,un punto medio alto en el siguiente, luego 8 puntos altos, un punto medio alto y termino con punto bajo. Del otro lado de la hoja, hacer la misma secuencia. Hacer dos hojas. - Para hacer los tulipanes, hacer una anillo mágico, meter dentro del anillo 6 puntos bajos, para la segunda vuelta, aumento en cada uno de los puntos , 12 puntos. Así va a realizar punto por punto en la tercera hasta la vuelta 12. Asturias se hacen los tulipanes. Luego con la aguja y con el alambre se acomoda para meterlo por el medio del tulipán y aguantar con el hilo verde.
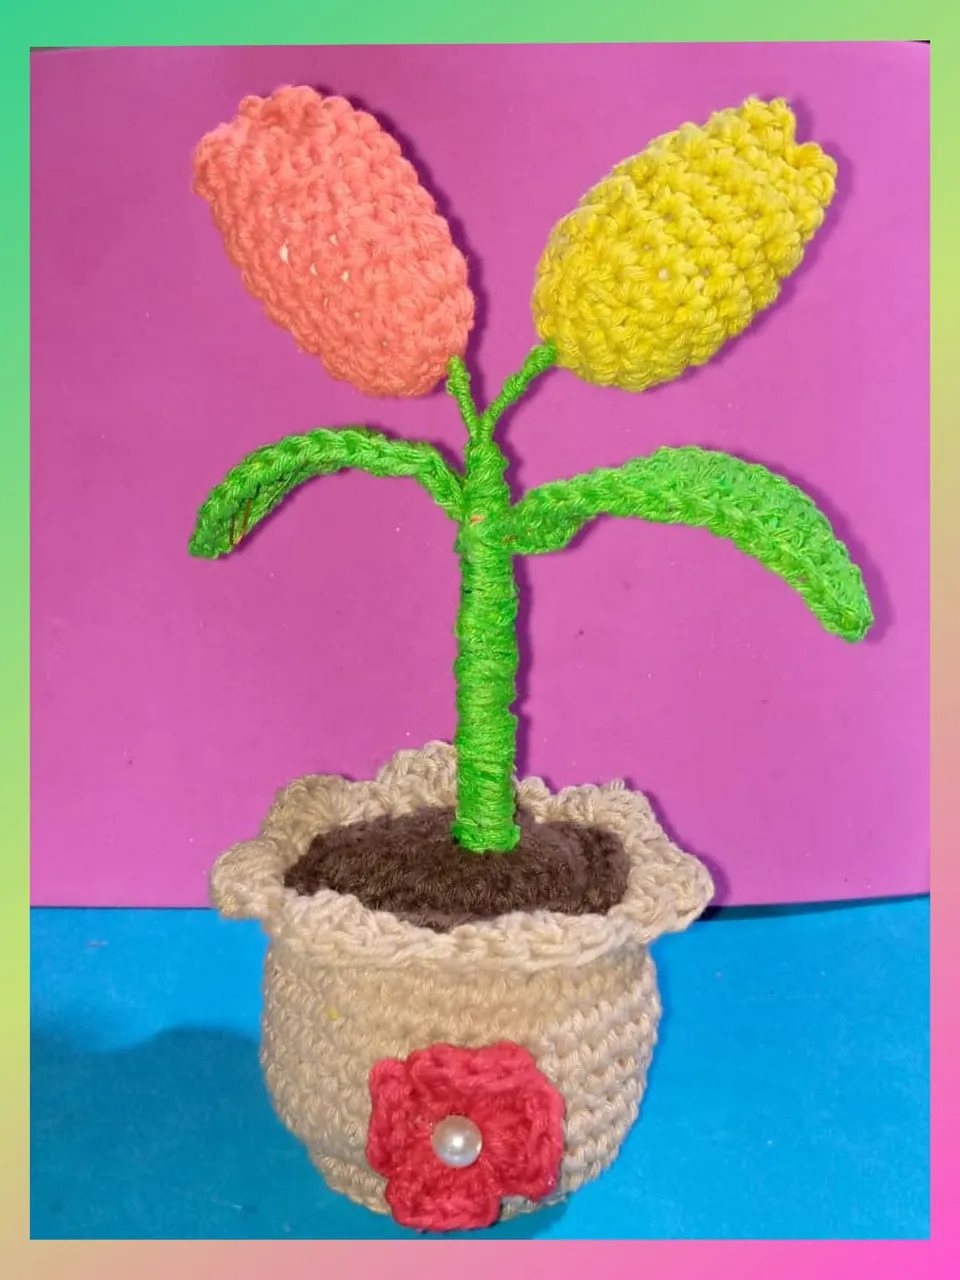
- Para hacer la florecita que lleva la maceta , hacer un anillo mágico y meter 5 puntos altos, un punto deslizado, 5 puntos altos y un punto deslizado , hasta tener cuatro pétalo, esto se hace con hilo rojo. - Por último ir acomodando cada una de las partes, utilizando el alambre , la silicona líquida y el palo de altura.
- To make the lid of the flower pot: a magic ring inside the ring put 6 single crochet stitches. Close with slip stitch, then increase each stitch, second row, 12 stitches.
- Third row: 18 stitches, one single crochet and one increase.
- Fourth row: two stitches, then increase one stitch, total 24 stitches. And fifth row: 30 single crochet stitches. With this we make the lid.
- We fill the pot and with a wool needle we sew the lid.
Now we have the leaves, we make twelve chains in chain two, make a single crochet, a medium high stitch in the next one, then 8 high stitches, a medium high stitch and finish with a single crochet. On the other side of the leaf, do the same sequence. Make two leaves. - To make the tulips, make a magic ring, put inside the ring 6 single crochet stitches, for the second row, increase in each of the stitches, 12 stitches. So will perform stitch by stitch in the third to the 12th row. The tulips are made in Asturias. Then, with the needle and the wire, you will place it in the middle of the tulip and hold it with the green thread.
- To make the flower that carries the pot, make a magic ring and put 5 high stitches, a slipped stitch, 5 high stitches and a slipped stitch, until you have four petals, this is done with red thread. - Finally go arranging each of the parts, using the wire, the liquid silicone and the height stick.
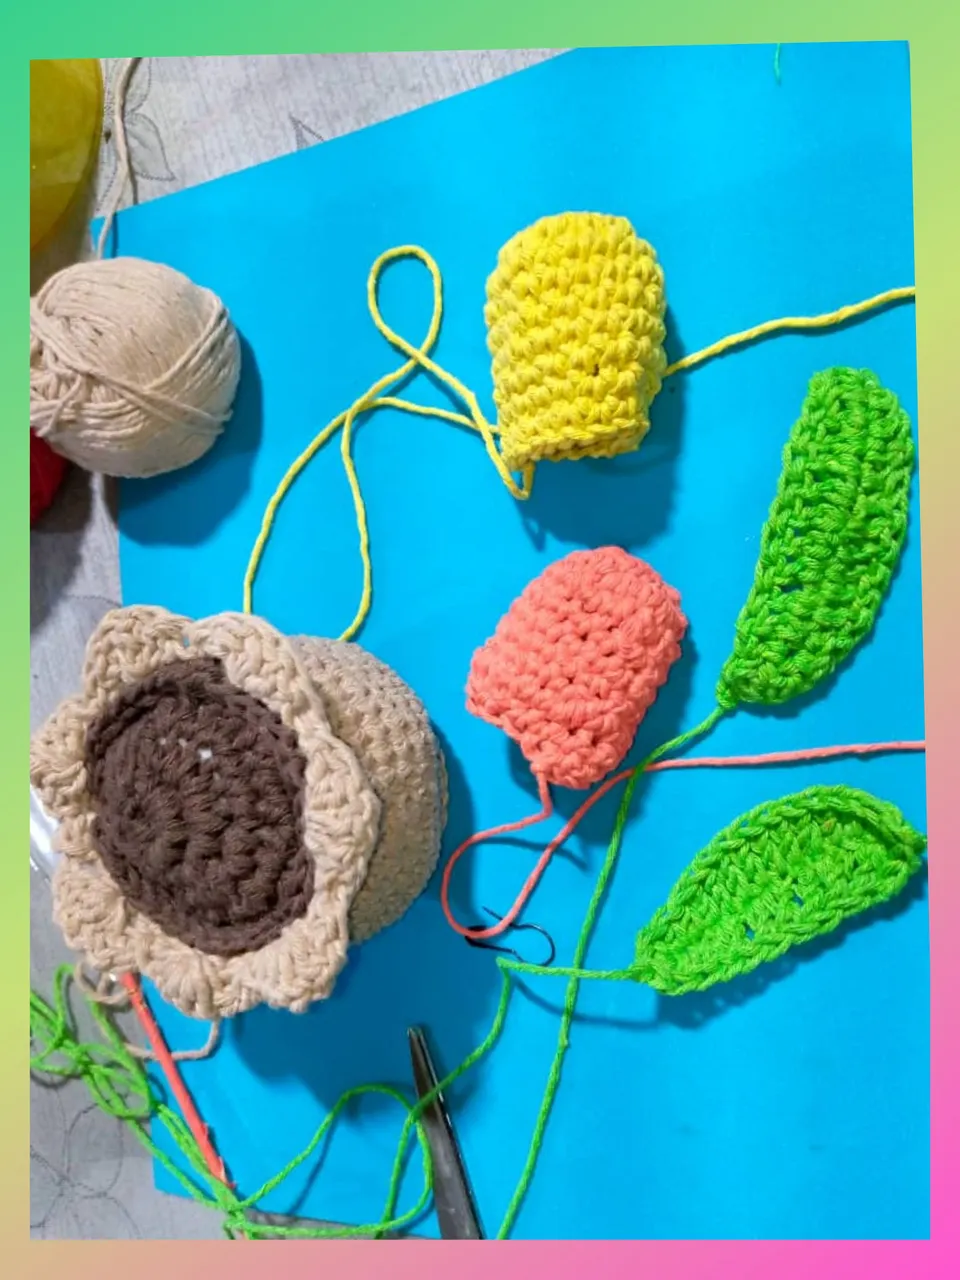
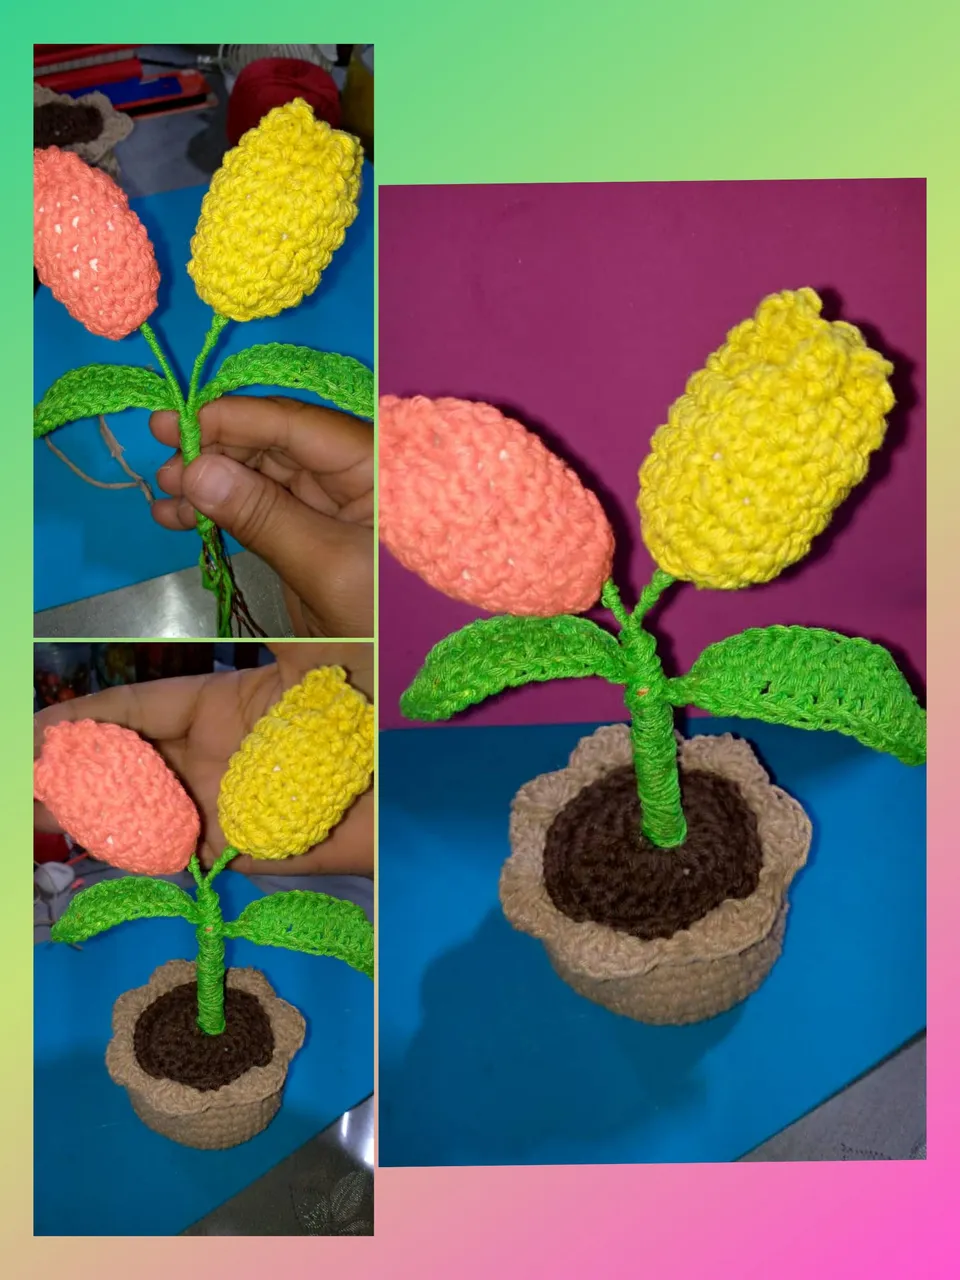
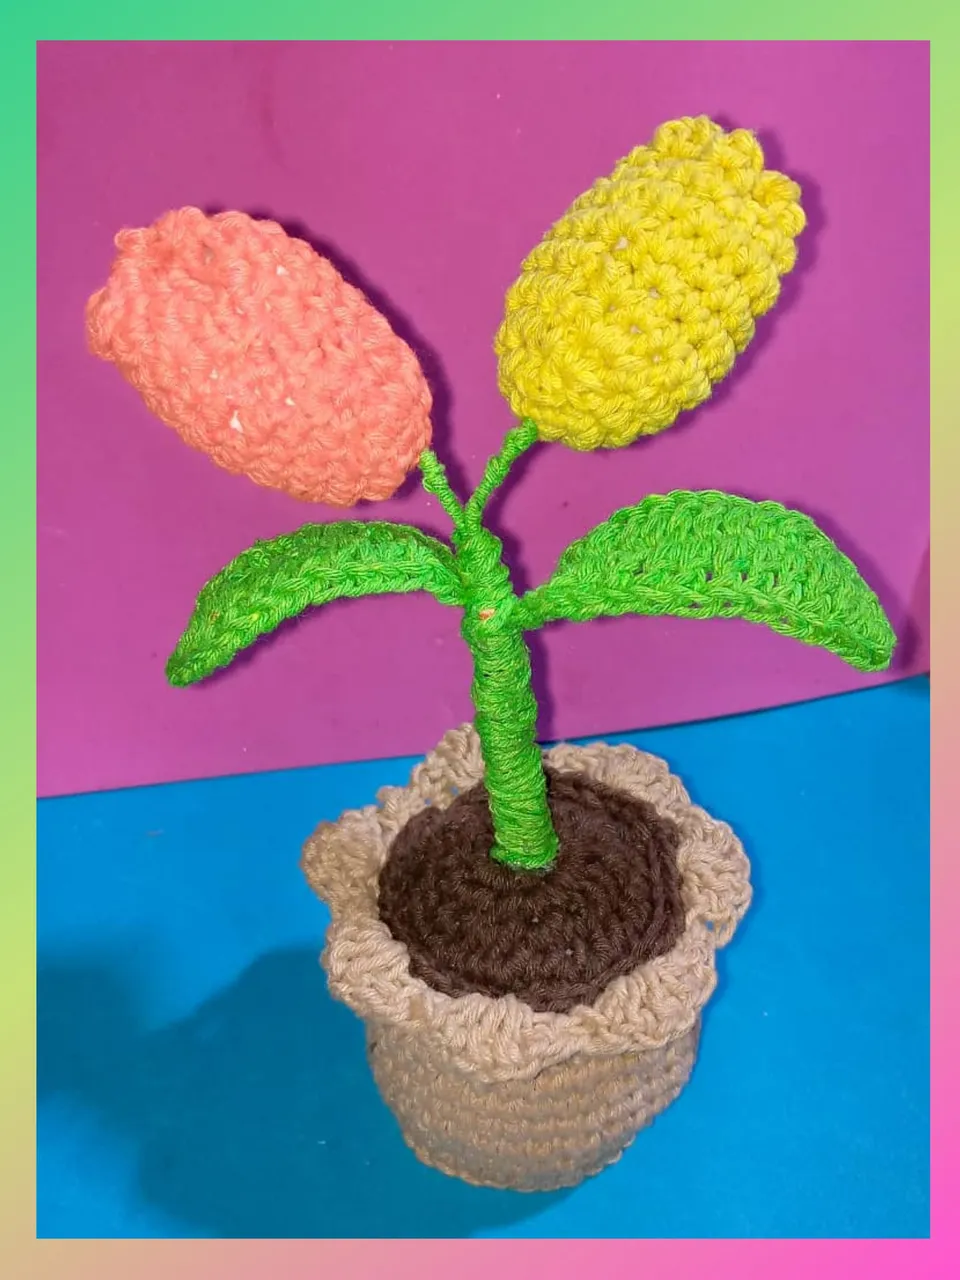
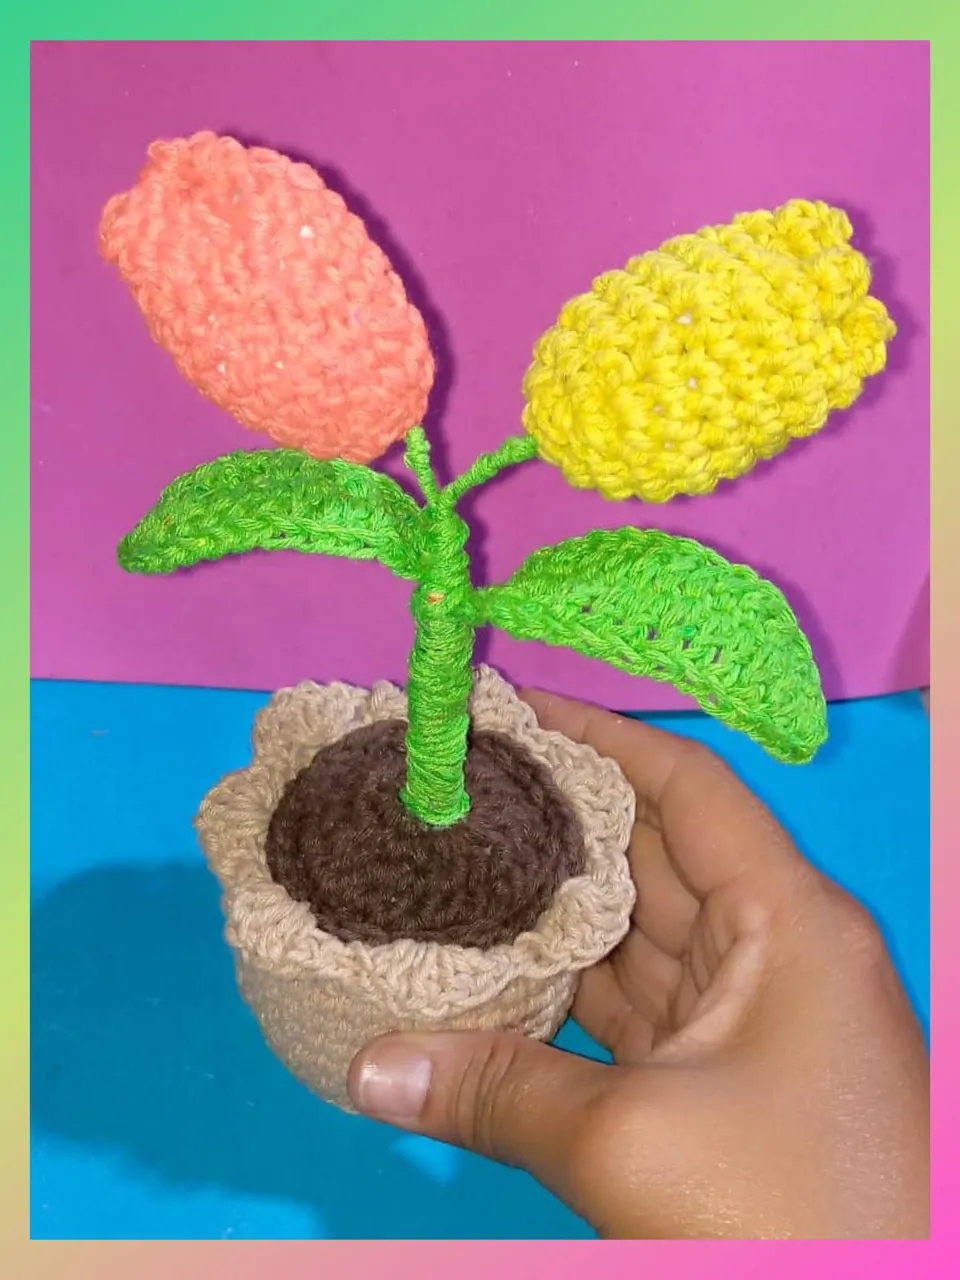
Aquí el resultado final de los lindos tulipanes 🌷🌷,espero sea de su agrado.
Here is the final result of the beautiful tulips 🌷🌷, I hope you like it.

Gracias por leer mi post ,las fotos son mías, tomada con teléfono infinix, editados con incollage y traducido con Deepl.
Thanks for reading my post ,the photos are mine, taken with infinix phone, edited with incollage and translated with Deepl.