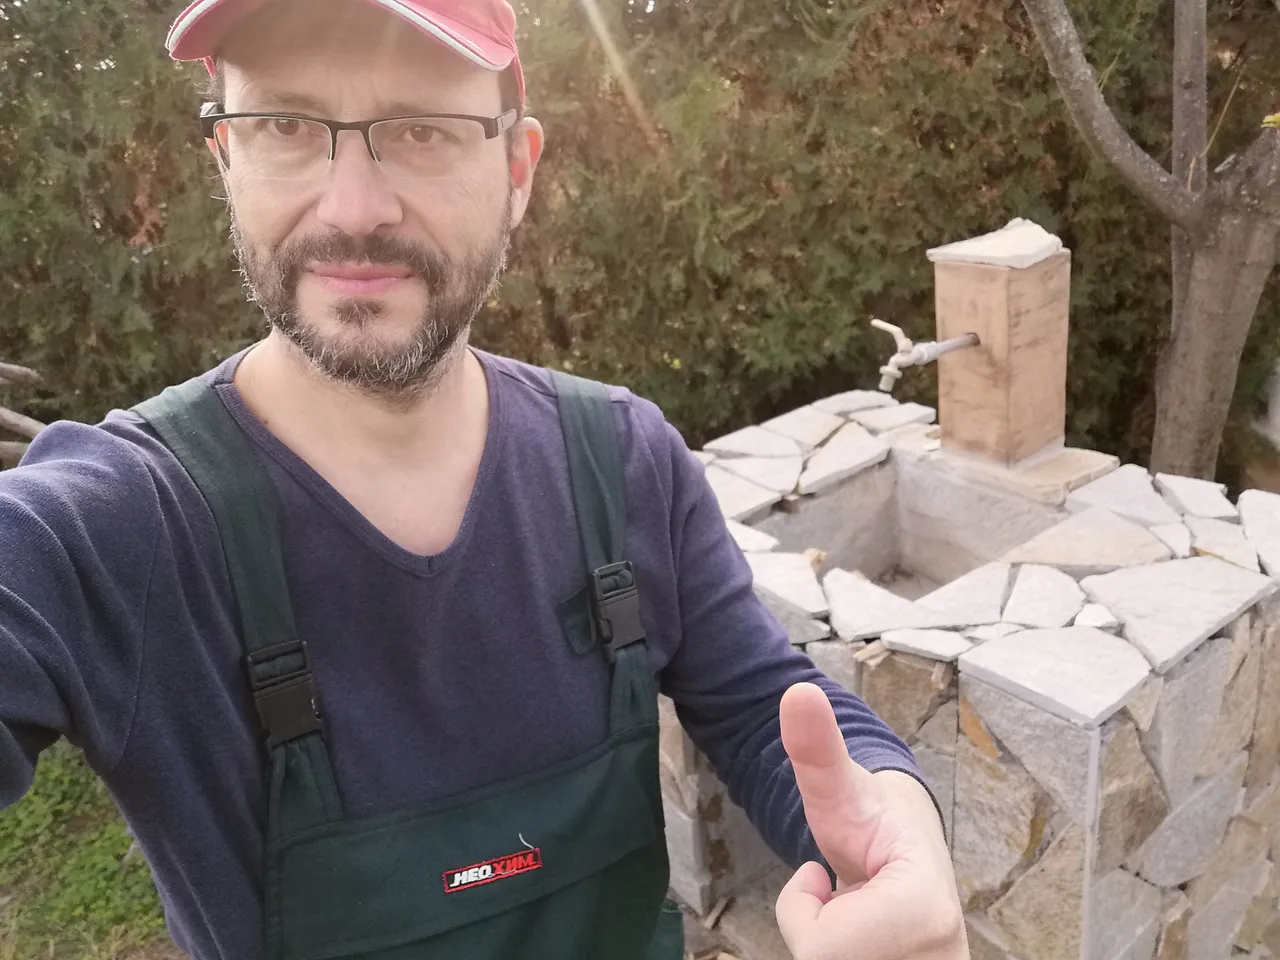
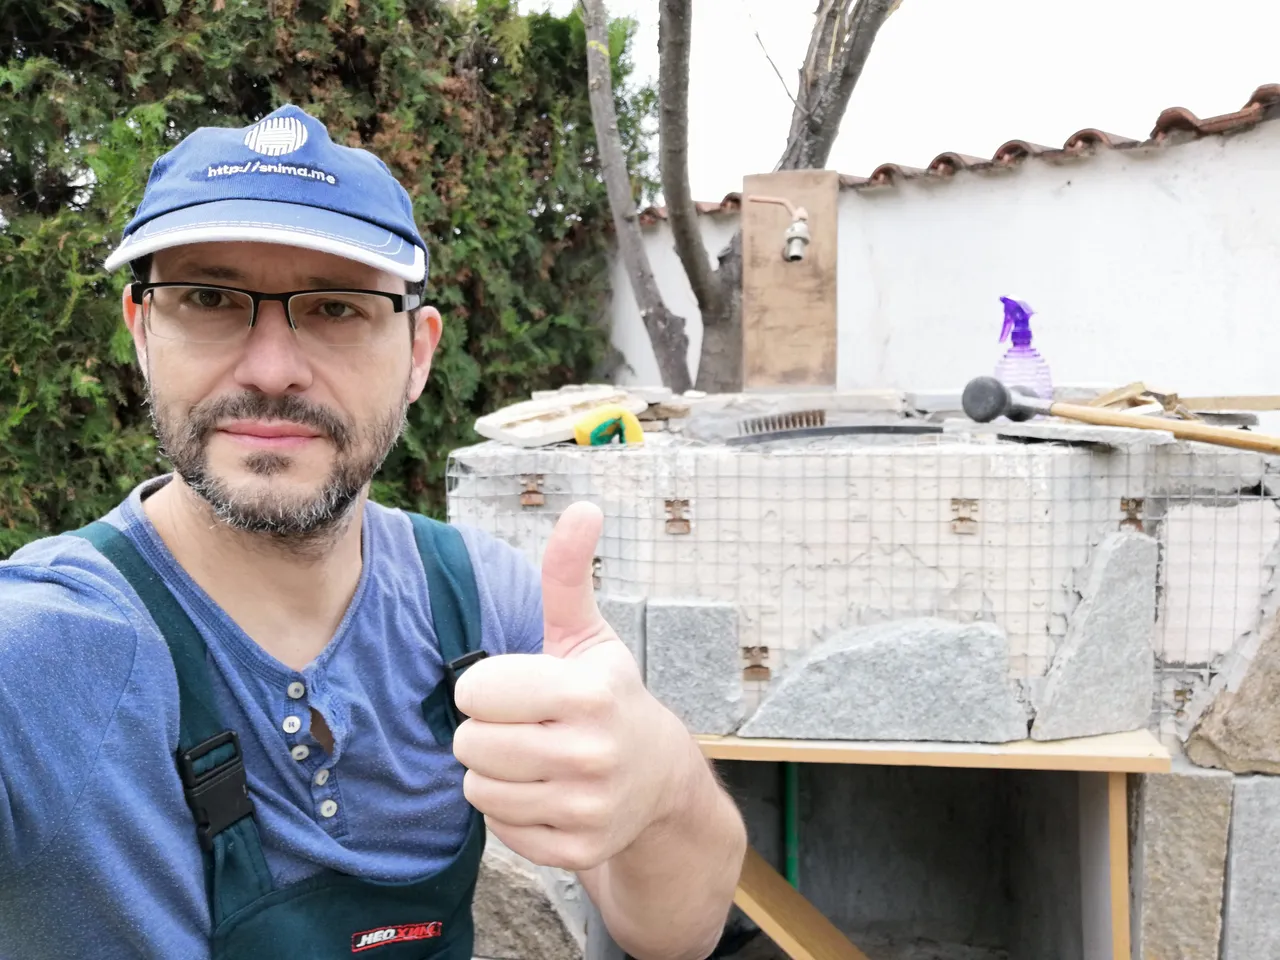
The lockdown caused by Covid this year resulted in much more hours spent statically, seating in front of my computer. This was first of the reasons for me to start something new and completely atypical. What you see in the first photo, the selfie below, is a satisfied version of me and one of the final steps of Phase I of my small side masonry project that I decided to finance with real (FIAT) money I gained from my activities on HIVE :)
Now let me walk you retrospectively through to process :)
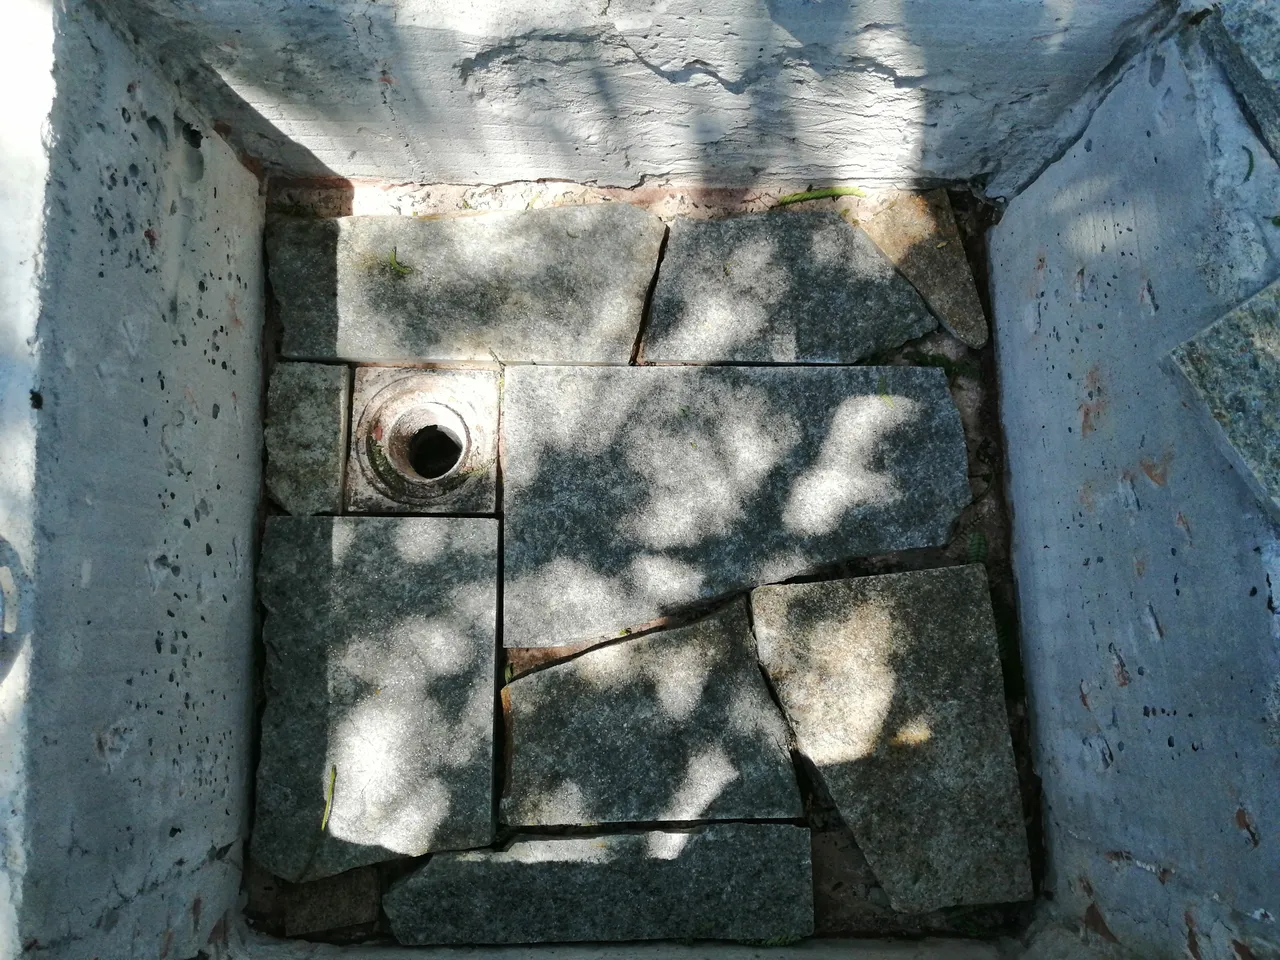
Initially the garden fountain looked very ugly to me. I even didn't bother to take a photo of it before executing half of the demolition works. I didn't like the tiles, everything was so crooked. However, the second reason to initiate this reconstruction was the nasty hidden leak that was slowly eating the concrete. Once I demolished the upper part of the fountain I figured out that there was a connection that wasn't hot-glued properly and the whole rear part of the fountain was wet and covered in mold. This was at the point of connection of the green and grey pipes.
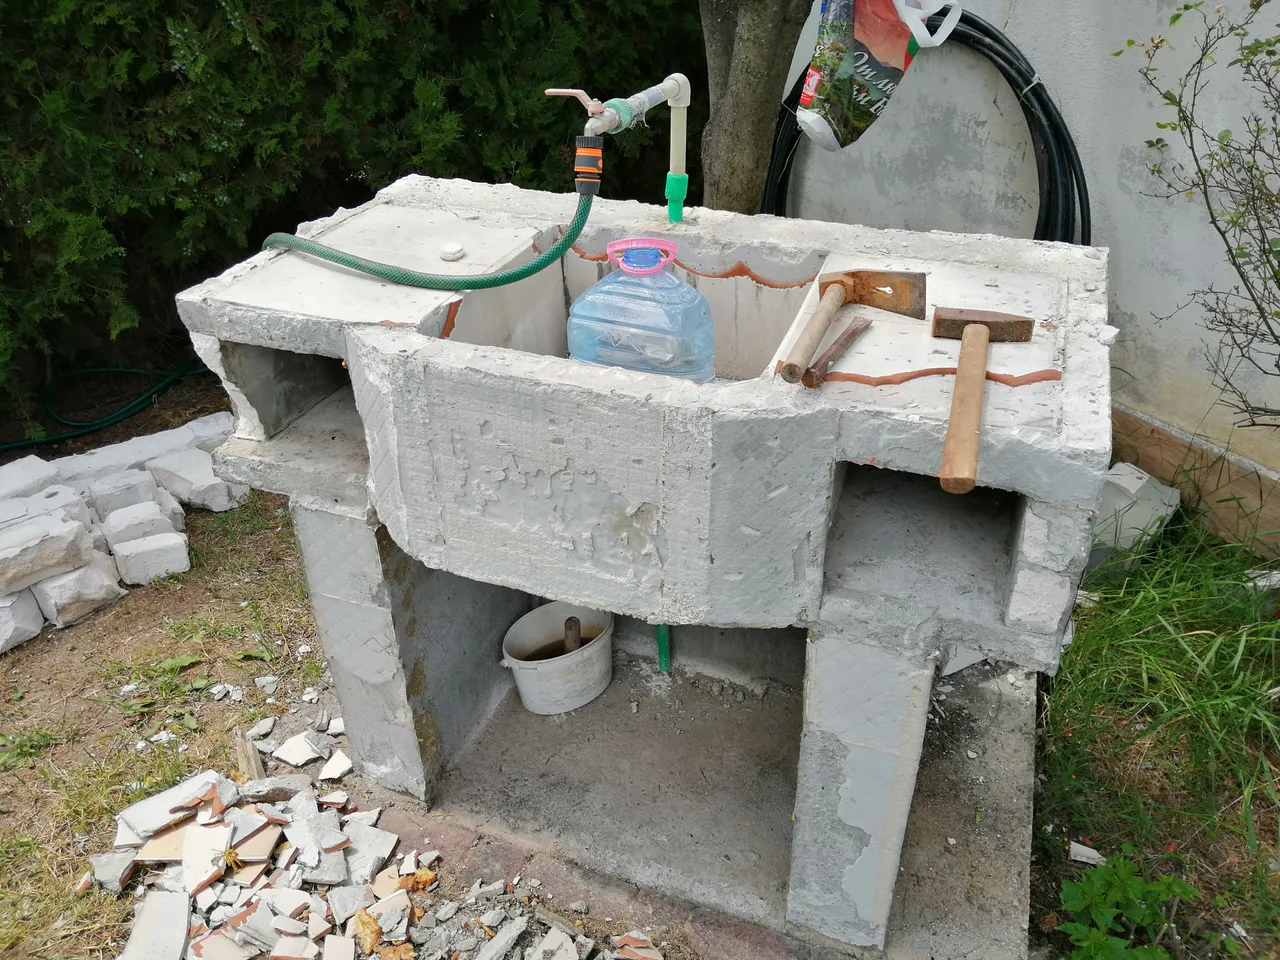
At the end of the demolition works the fountain looked like this:
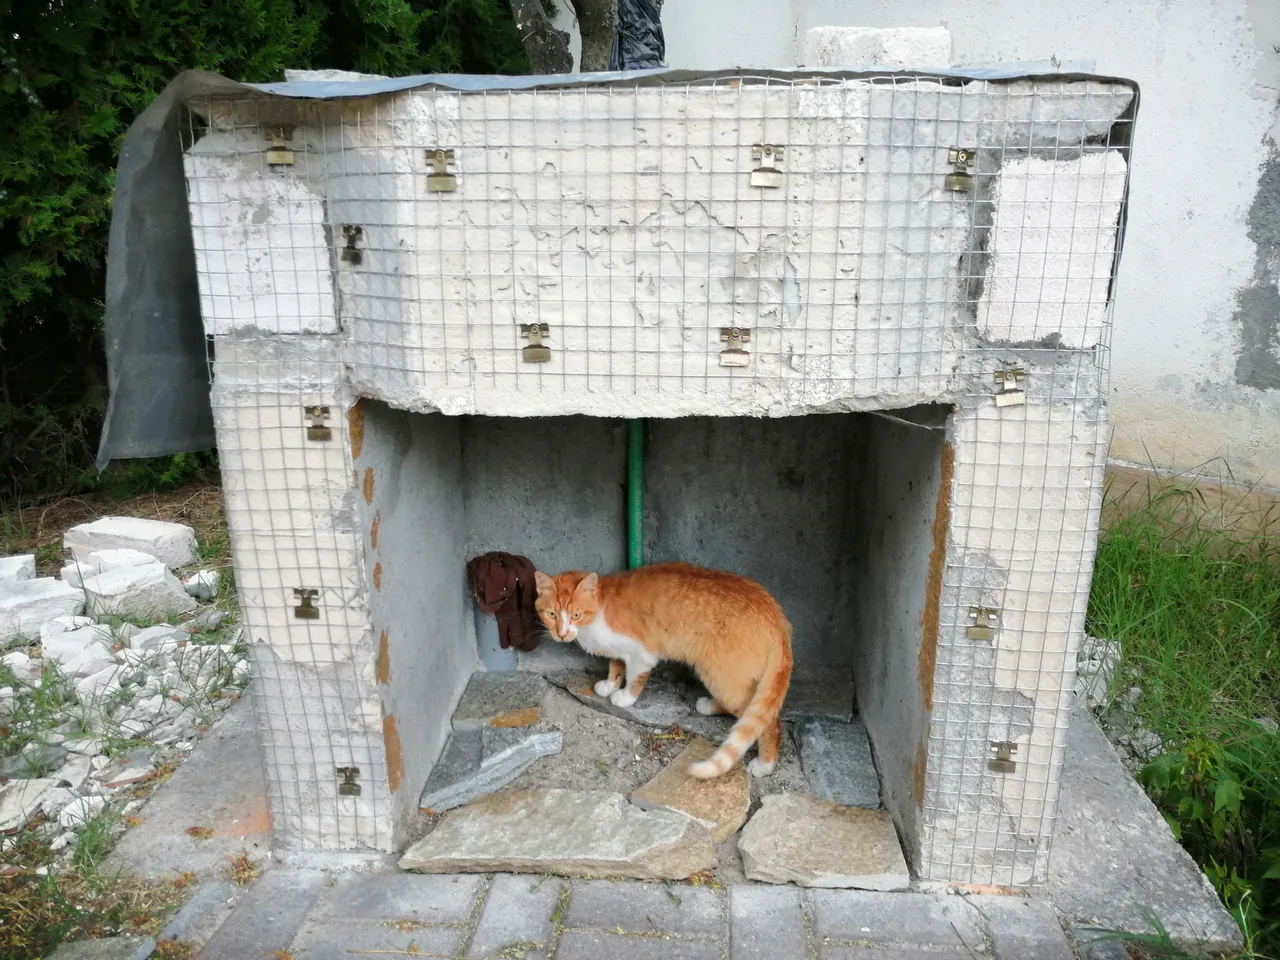
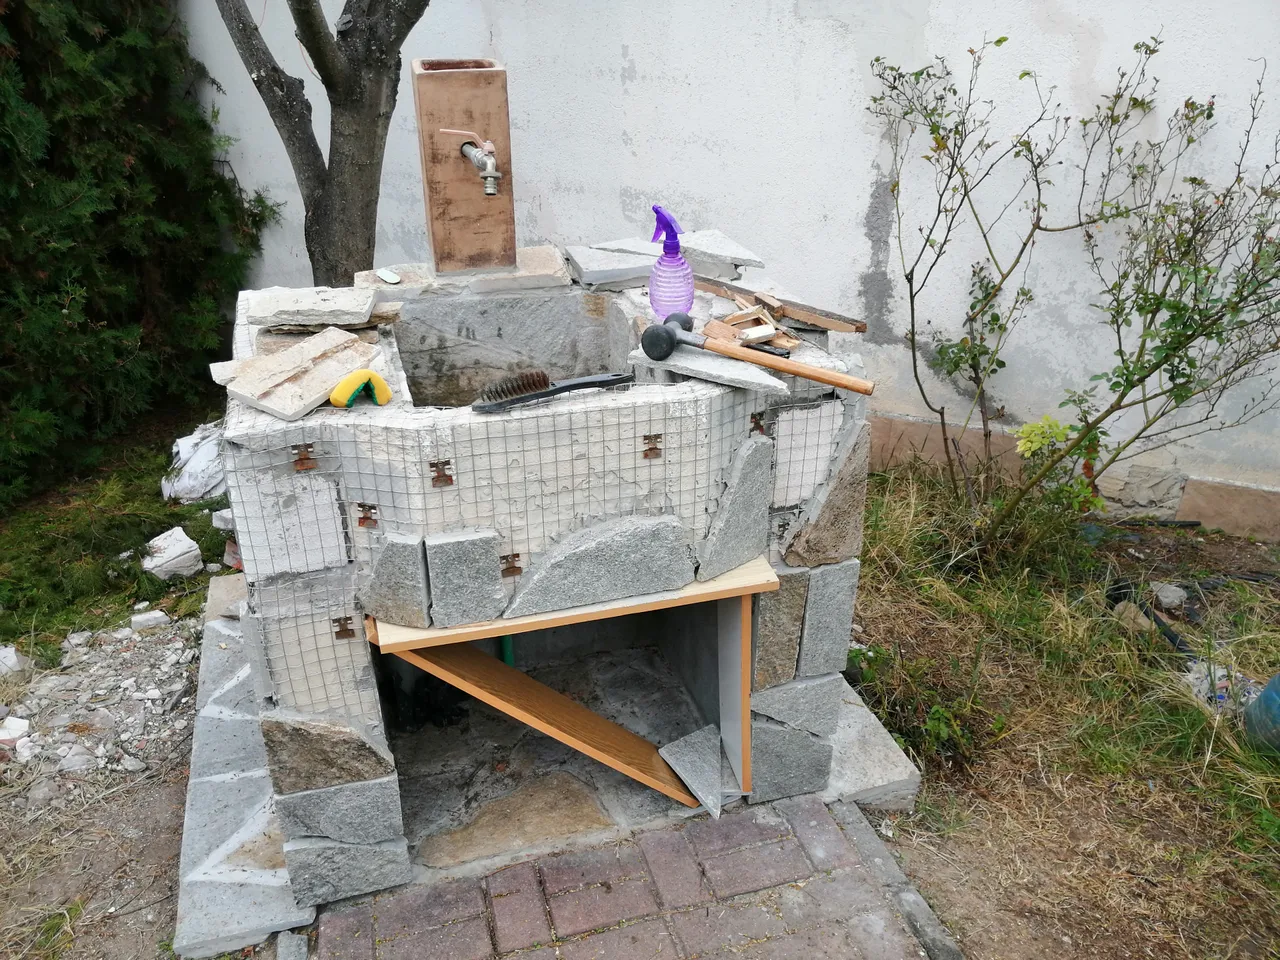
The next step involved filling the side gaps with bricks and putting a wired net to hold firmly the natural stone tiles that I decided to use, as they are quite heavy.
I was getting some inspections from time to time by the curious local authorities :)))
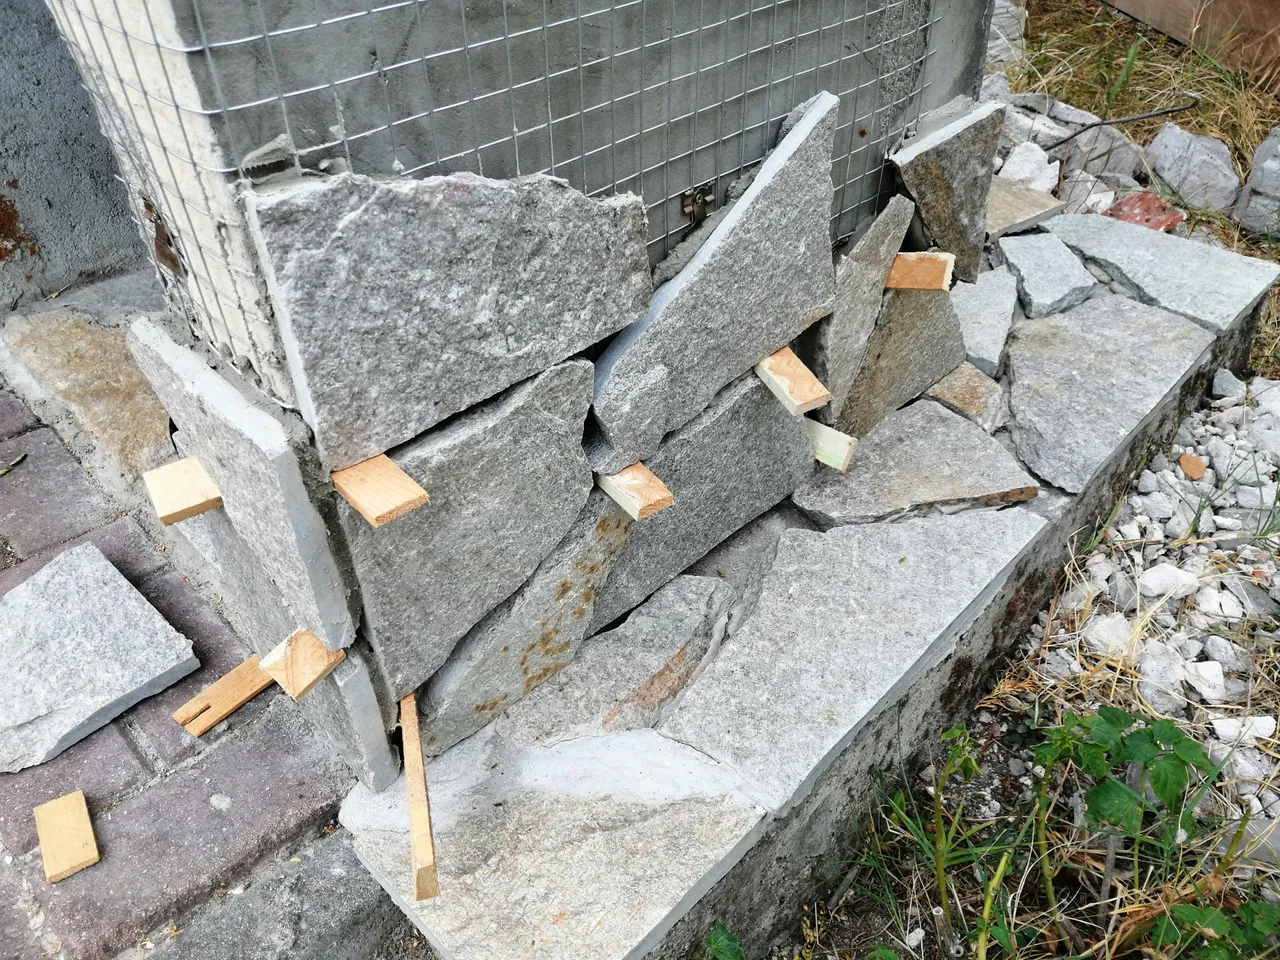
I decided to use natural stone tiles having irregular shape. In Bulgaria, they are extracted from the ground and then cut in rectangles. The pieces that break during the process look much more natural to me and when used they give much more "artistic" outlook but of course, are very hard to be fit as the right "puzzle parts". For example, picking those 10 pieces below (out of 8 square meters of raw material) took me more than two hours! The good thing is their price is much better compared to their rectangular "brothers". At the time I bought them, a square meter of the "irregulars" costed EUR 2.5, compared to the EUR 12.5 of the m2 of the right-shaped stone tiles.
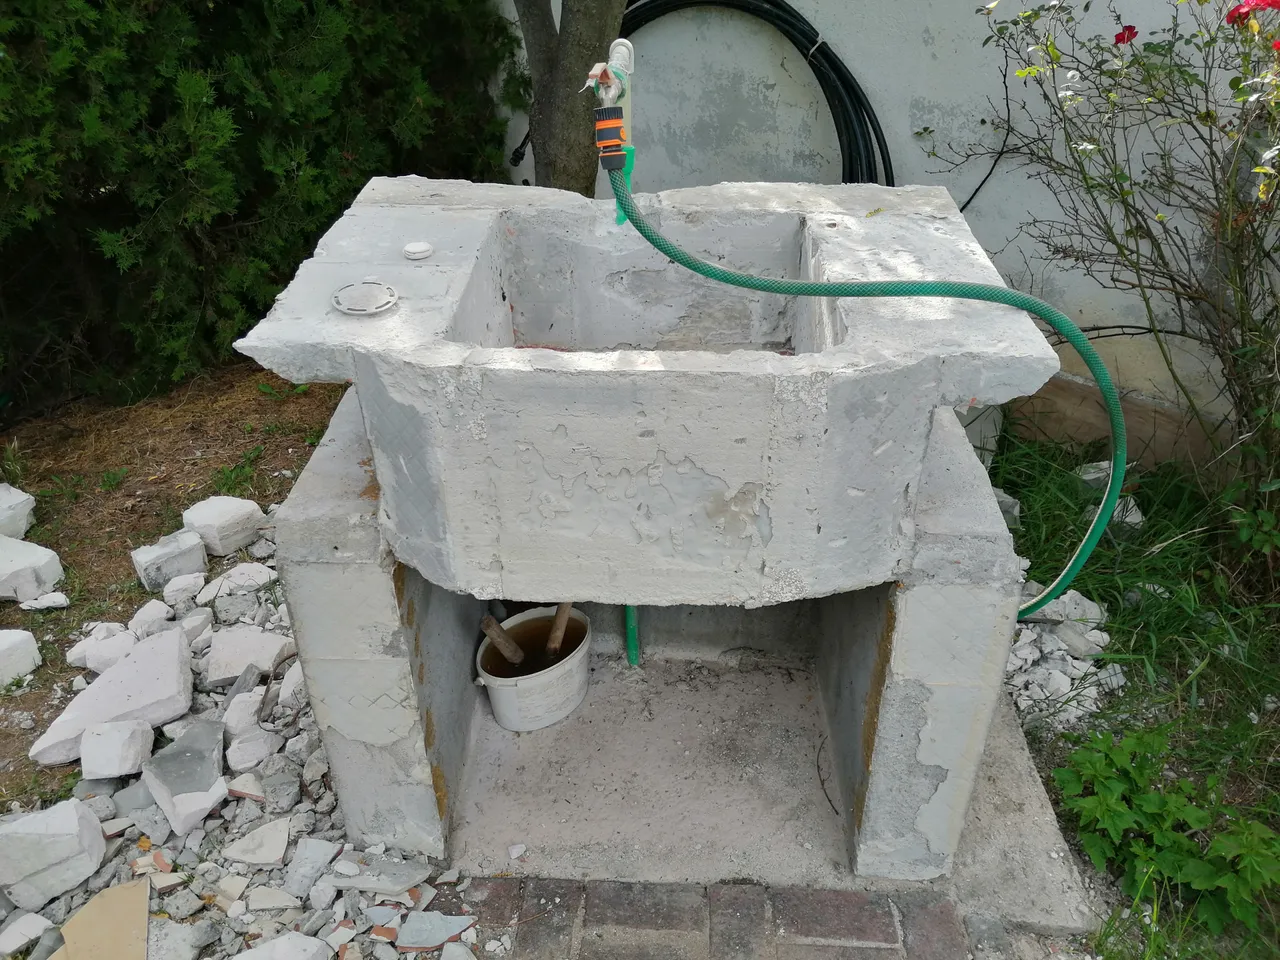
Few days later and here you could see the newly hot-glued pipe parts and the inner part built, the cradle, as I needed to put a tap so we have water in the garden.

I went to a local ceramic artisan factory to pick an item to hide the upper part of the pipes. The place is very interesting, I may write a separate post about it if you're interested ;) Just let me know. Here is a quick snap from there.

I picked an earthen square vase and we drilled two holes in it to accommodate the pipes. There was running water so I continued with putting more tiles:
The process was very slow as I wasn't able to put more than one row per day as those tiles are really heavy and I had to give some time for the cement glue to dry.
All the time I used some old clothes and hats of mine, so no HIVE spent on that matter, LMAO.
I left few things for Phase II:
- wrap the outer part of the pipe with hemp rope,
- plaster the rear part of the fountain,
- buy pots and plant flowers for decoration,
- build a small wooden front door to hide the storage compartment visible now.
I plan to use the income from this post to buy better and more beautiful earthen pots :)
So here is the short list of approx. expenses so far:
- new pipes and connectors: EUR 10
- stone tiles: EUR 20
- vase: EUR 20
- tools: EUR 20
- cement glue; cement and marble flower for filling the gaps; wired net: EUR 30
- labor : PRICELESS :)
Total: EUR 100
I plan to execute Phase II in the spring when the minimal temperatures are above 10 degrees C :) So stay tuned :) All your support is much appreciated :) Any questions, please let me know :)
Copyright: Damian Hadjiyvanov, Light Captured
My photo site: https://hadjiyvanov.com/
You are on Hive already? If not, what are you waiting for? Register and start earning crypto for sharing your passion: https://hiveonboard.com?ref=lightcaptured
For licensing my photos, please drop me a message on Discord: lightcaptured#2698
Thank you for all the support!
Have a great photo! :P