Hola hola! Saludos comunidad DiyHub, espero se encuentren bien y que hayan disfrutado de este fin de semana junto a sus seres queridos, descansado y o realizando las actividades que más les guste, por otra parte espero esta nueva semana sea de muchas bendiciones para cada uno de ustedes, en esta oportunidad me encuentro por aquí para compartir mi participación en el concurso de arte Splinterlands semanal.
Hello hello! Greetings DiyHub community, I hope you're all well and that you enjoyed this weekend with your loved ones, resting and doing whatever activities you enjoy the most. I also hope this new week brings many blessings to each and every one of you. This time I'm here to share my participation in the weekly Splinterlands art contest.
En esta oportunidad para el concurso de arte Splinterlands semana 357 me inspiré en la carta de Archer Koi, esta criatura del agua se manifesta en forma de pez en varios colores, me ha gustado mucho como se ve a simple vista así que decidí recrearlo en una figura utilizando los limpiapipas. Ha sido un reto ya que primero debo observar bien la fotografía original para poder llevarlo a la creatividad.
This time for the Splinterlands week 357 art contest, I was inspired by the Archer Koi card. This aquatic creature manifests itself in the form of a fish in various colors. I really liked how it looks at first glance, so I decided to recreate it in a figure using pipe cleaners. It was a challenge since I first had to look closely at the original photograph before I could bring it to life.
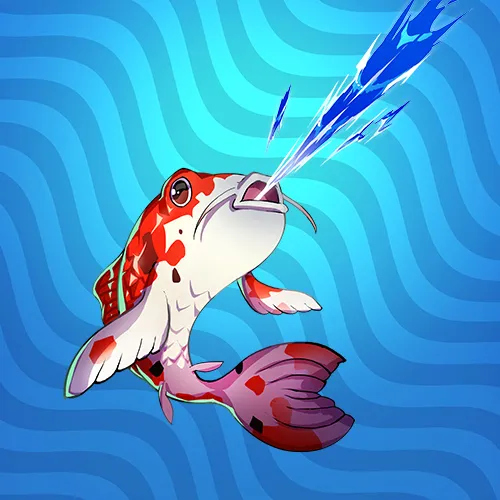
Archer Koi
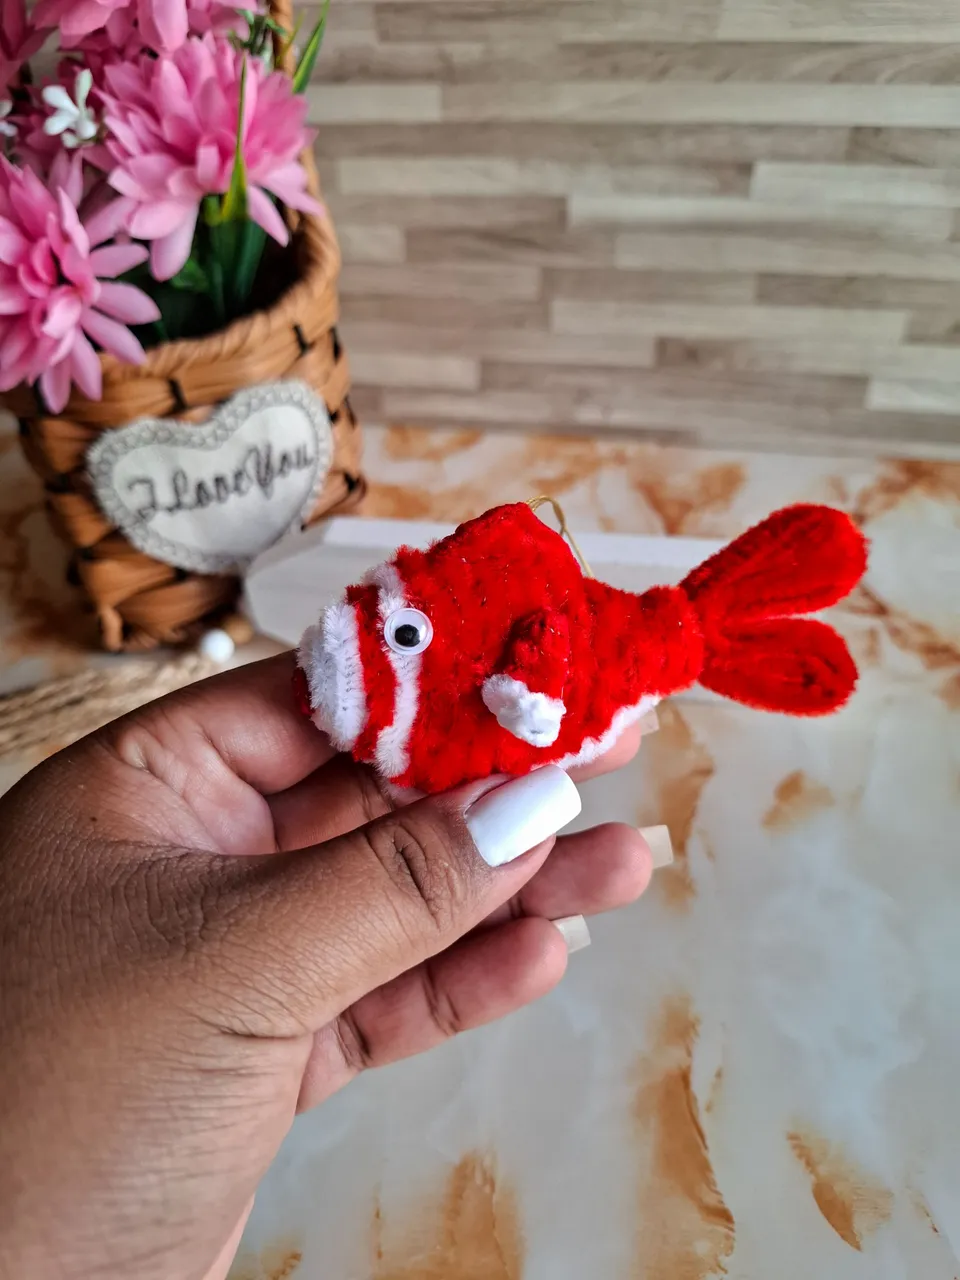
Para recrear al Archer Koi, utilicé limpiapipas en color rojo y blanco, esta figura en forma de pez la puedes utilizar como colgante también, es algo fácil de realizar solo tendrás que tener un poco de paciencia para realizar la forma de pez, al final verás como queda súper bonita y con un color rojo vibrante, espero les guste, a continuación les muestro los materiales y el paso a paso.
To recreate the Archer Koi, I used red and white pipe cleaners. You can also use this fish-shaped figure as a pendant. It is easy to make; you just need a little patience to create the fish shape. In the end, you will see how beautiful it looks and with a vibrant red color. I hope you like it. Below I show you the materials and the step-by-step instructions.
| Materiales | Materials |
|---|---|
| Limpiapipas rojo | red pipe cleaner |
| Limpiapipas blanco | white pipe cleaner |
| Papel aluminio | aluminum foil |
| Tijera | Scissors |
| Silicón | Silicone |
| Algodón | Cotton |
| Ojitos | Little eyes |

Paso a paso / Step by step
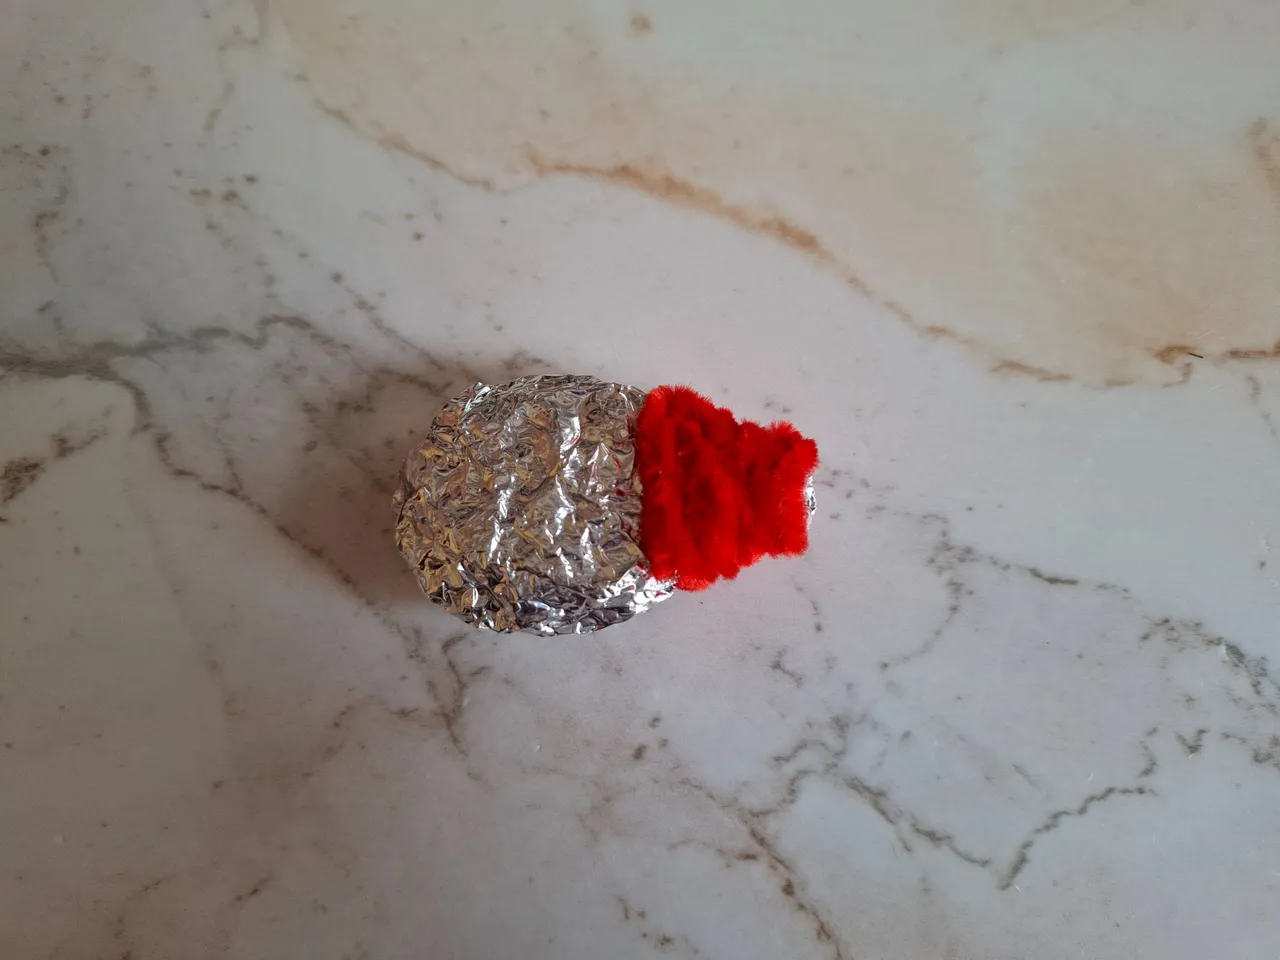
El primer paso que vamos a realizar será formar la base de nuestra figura que será un pez, para esto voy a cortar un cuadro de papel aluminio y en el centro colocamos el relleno que será el algodón, ahora voy a cerrarlo y formar una bolita alargada en la punta, con ayuda de las manos la aplanamos un poco, seguido de esto procedemos a colocar otro cuadro de papel aluminio para dar grosor a la figura.
The first step we are going to take is to form the base of our figure, which will be a fish. To do this, I am going to cut a square of aluminum foil and place the filling, which will be the cotton, in the center. Now I am going to close it and form an elongated ball at the tip. Using my hands, flatten it a little. After this, we proceed to place another square of aluminum foil to thicken the figure.
 |  |  |
|---|
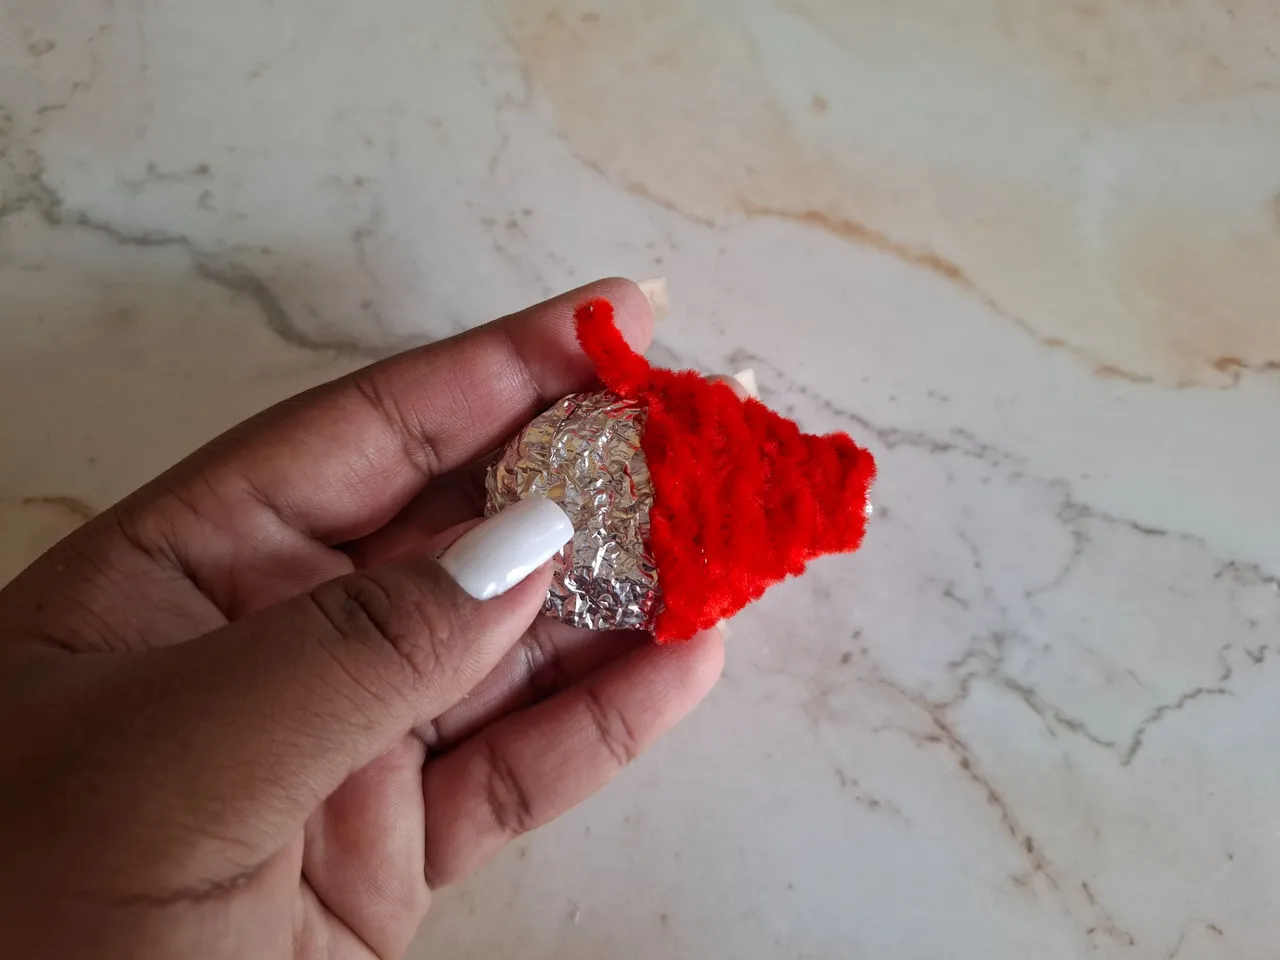
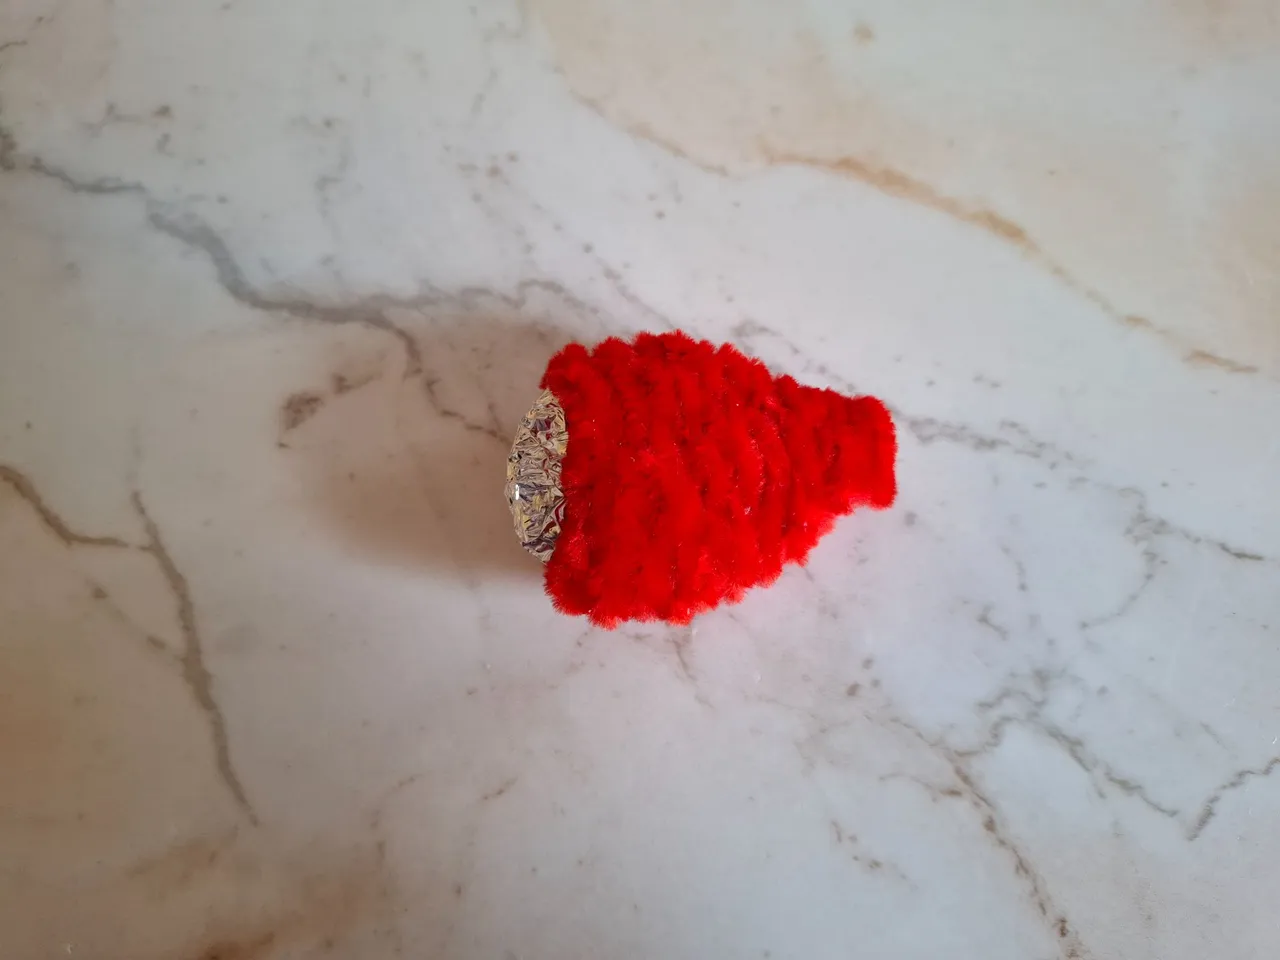
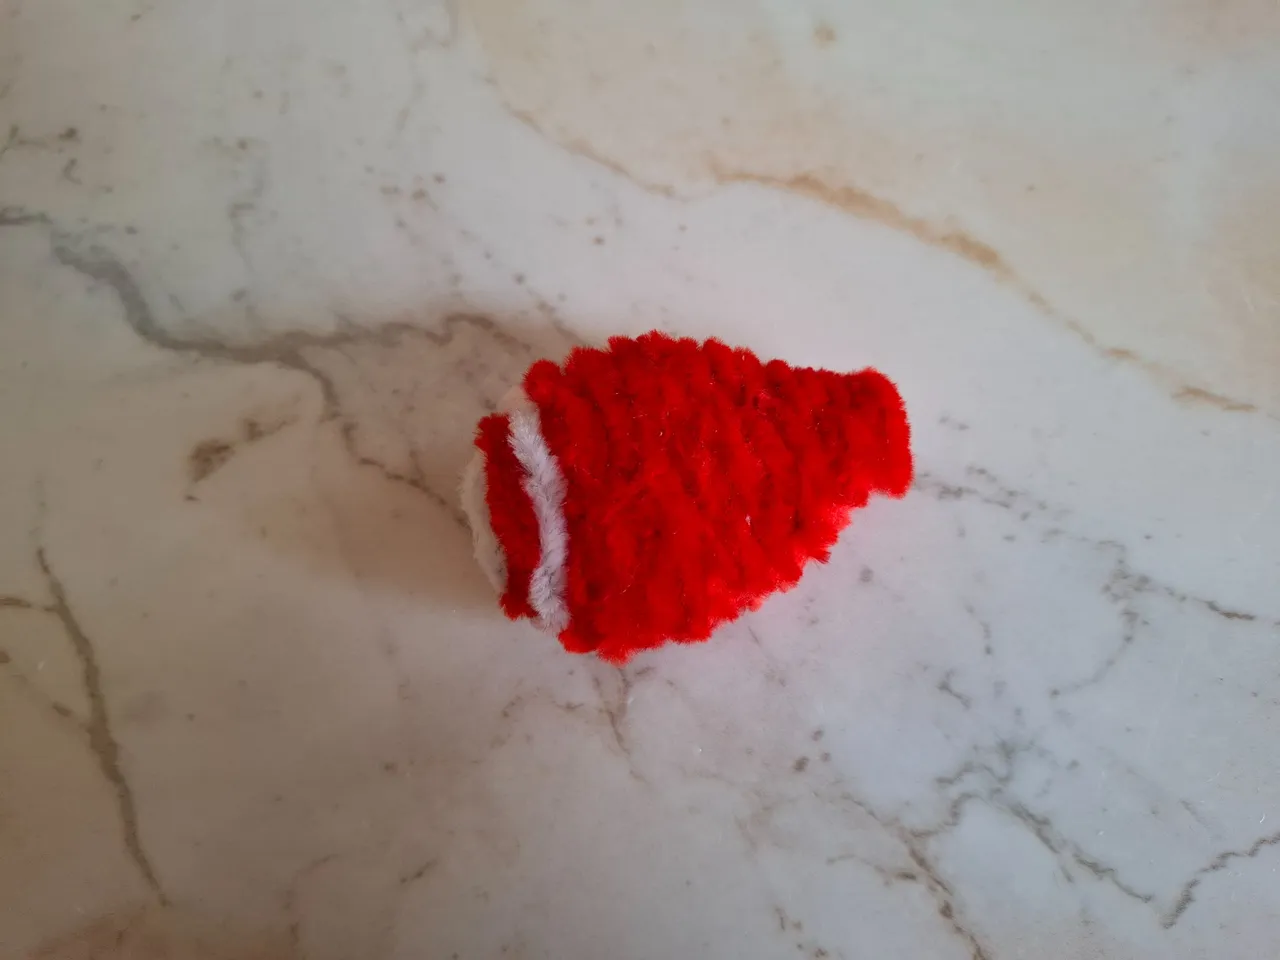
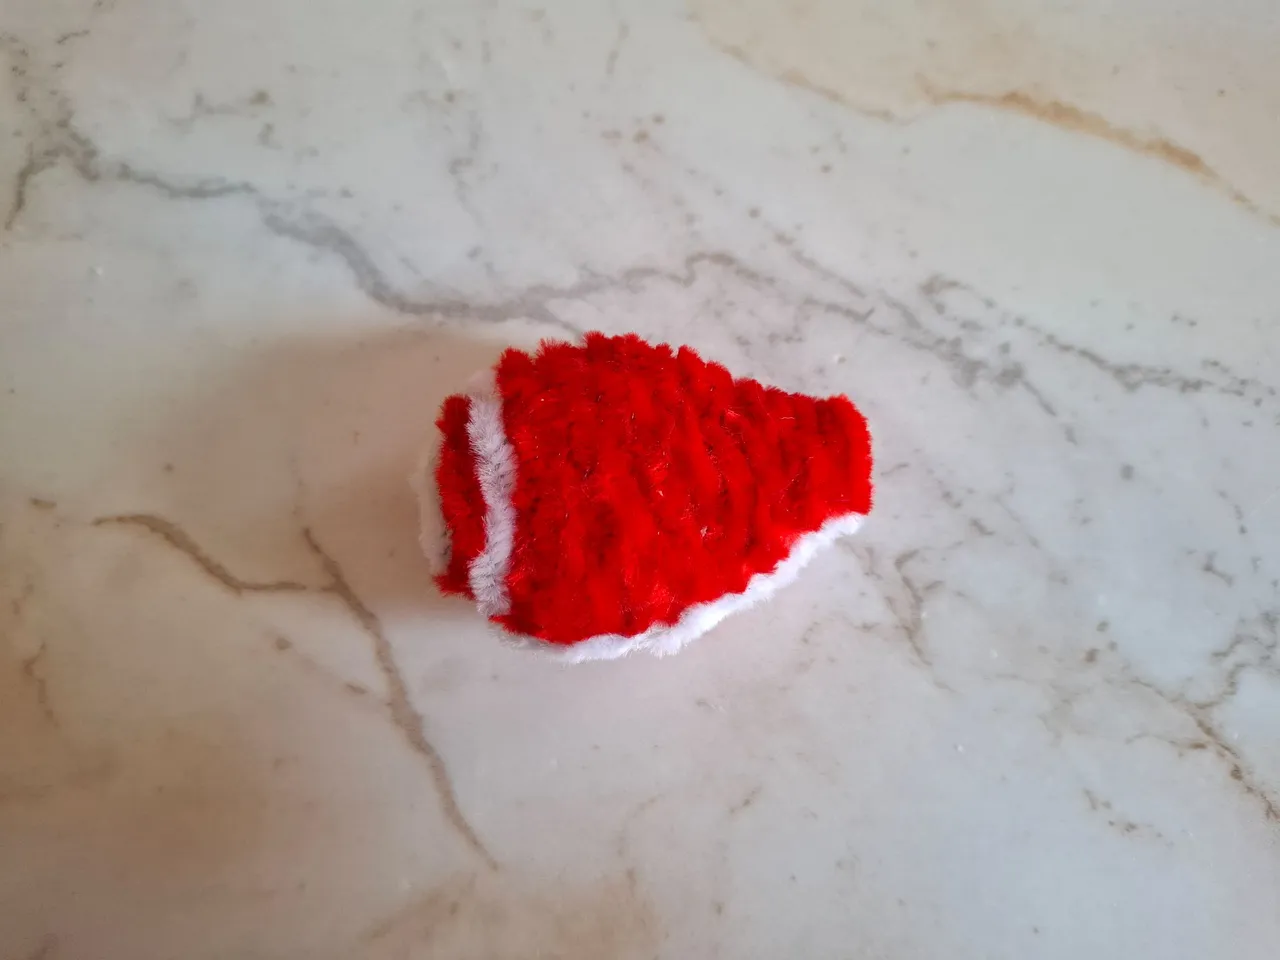
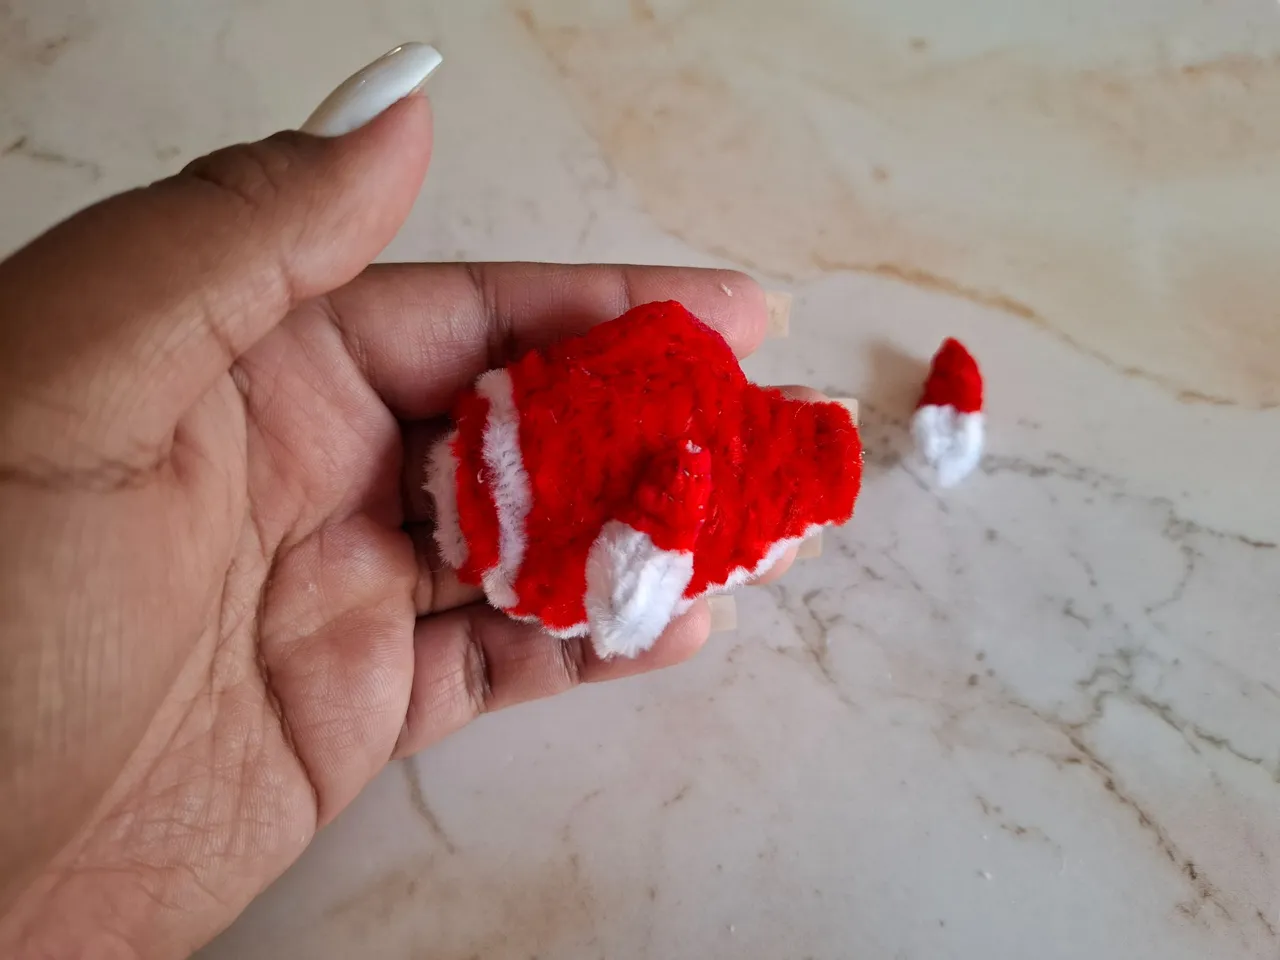
El siguiente paso será enrollar los limpiapipas color rojo en un palillo, voy a comenzar a cubrir desde la punta hasta el centro, de allí vamos progresando hasta cubrir por completo la figura, utilicé aproximadamente 4 limpiapipas color rojo, ahora voy a colocar una franja de limpiapipas blanco cerca de la cabeza y en la boca.
The next step will be to roll the red pipe cleaners around a toothpick. I will start covering them from the tip to the center, from there we will progress until the figure is completely covered. I used approximately 4 red pipe cleaners. Now I will place a strip of white pipe cleaners near the head and in the mouth.
 |  |
|---|
 |  |
|---|
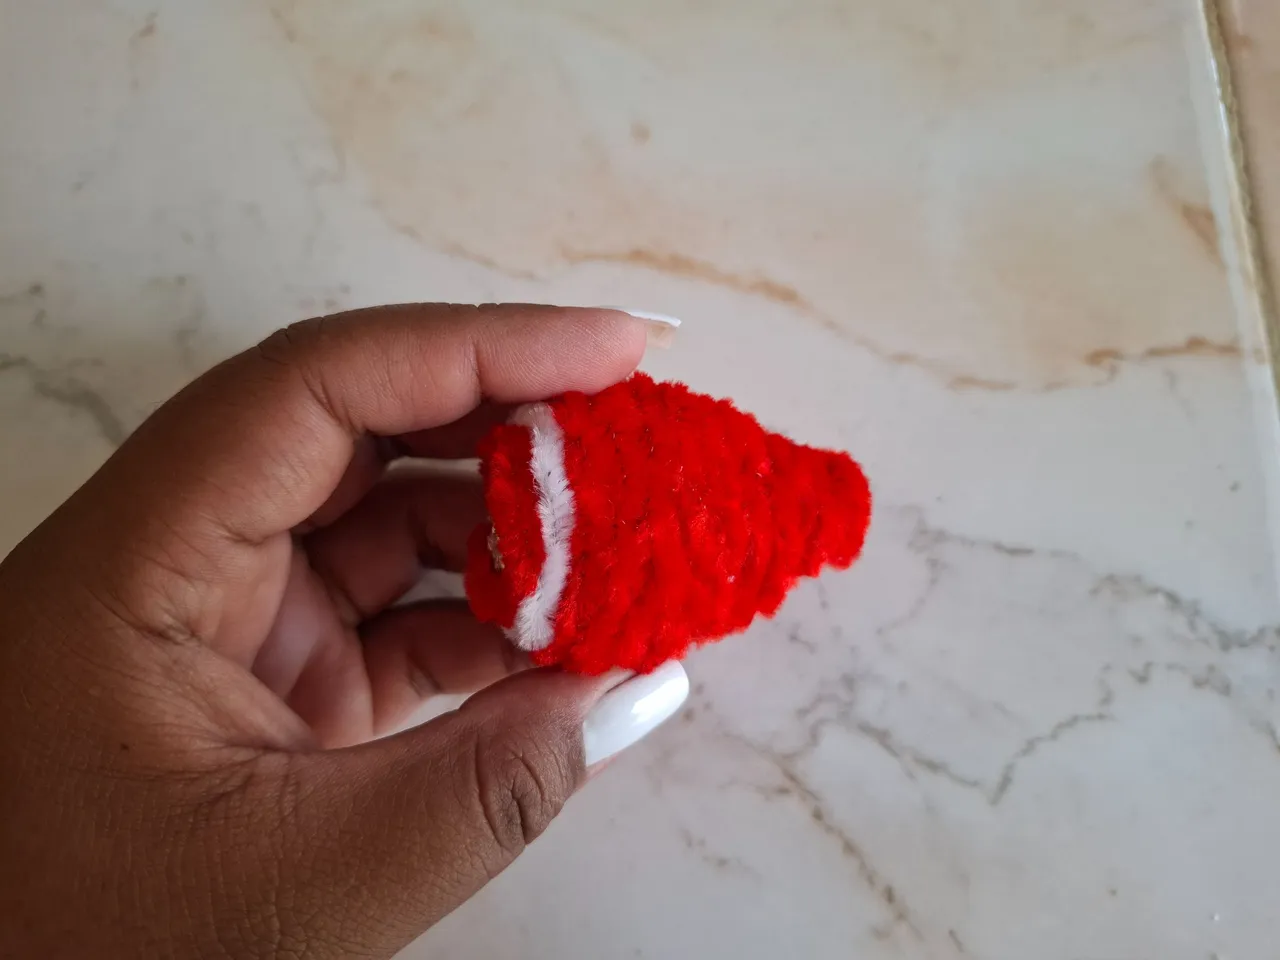
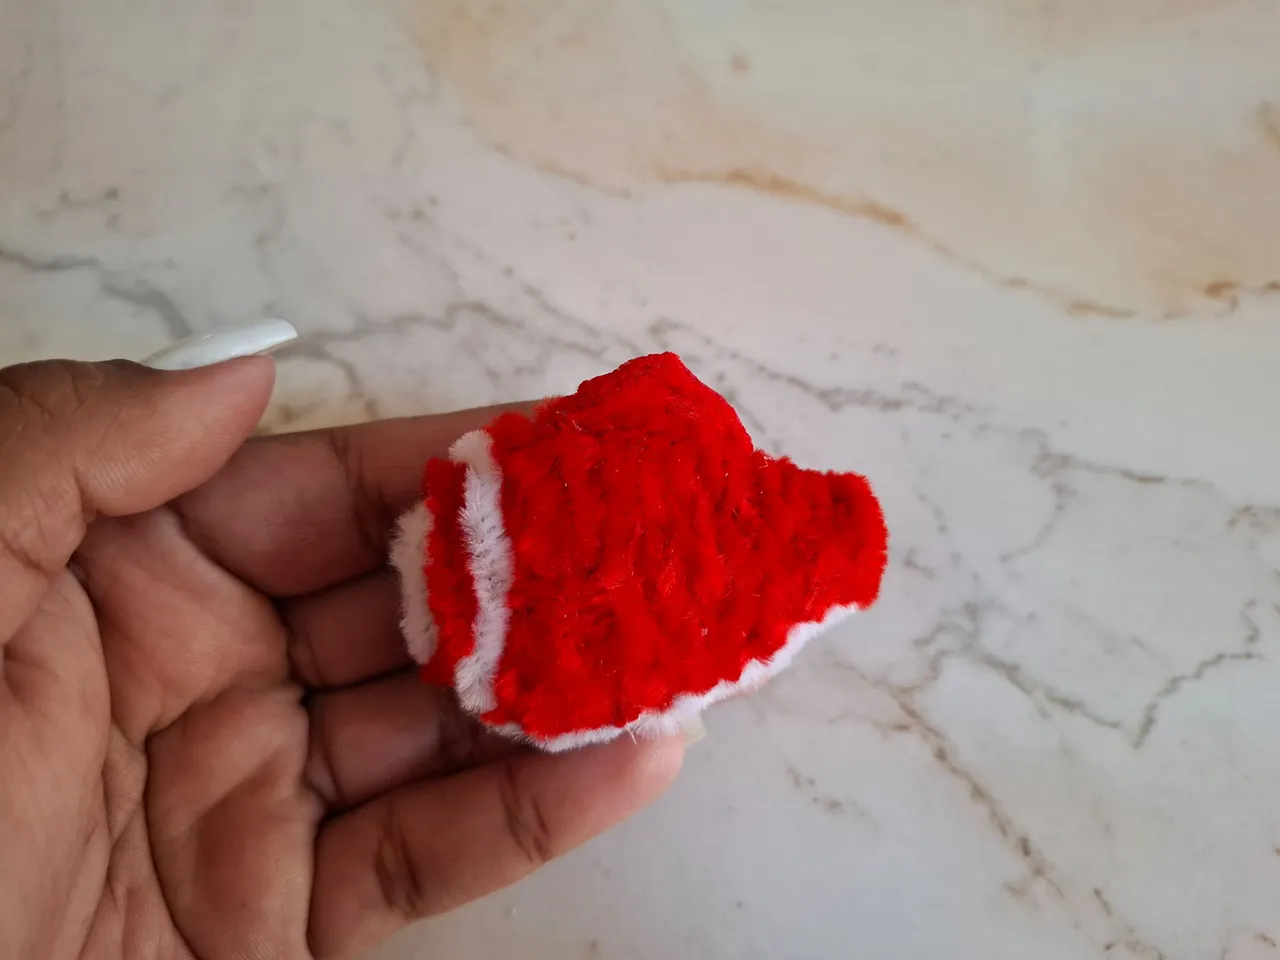
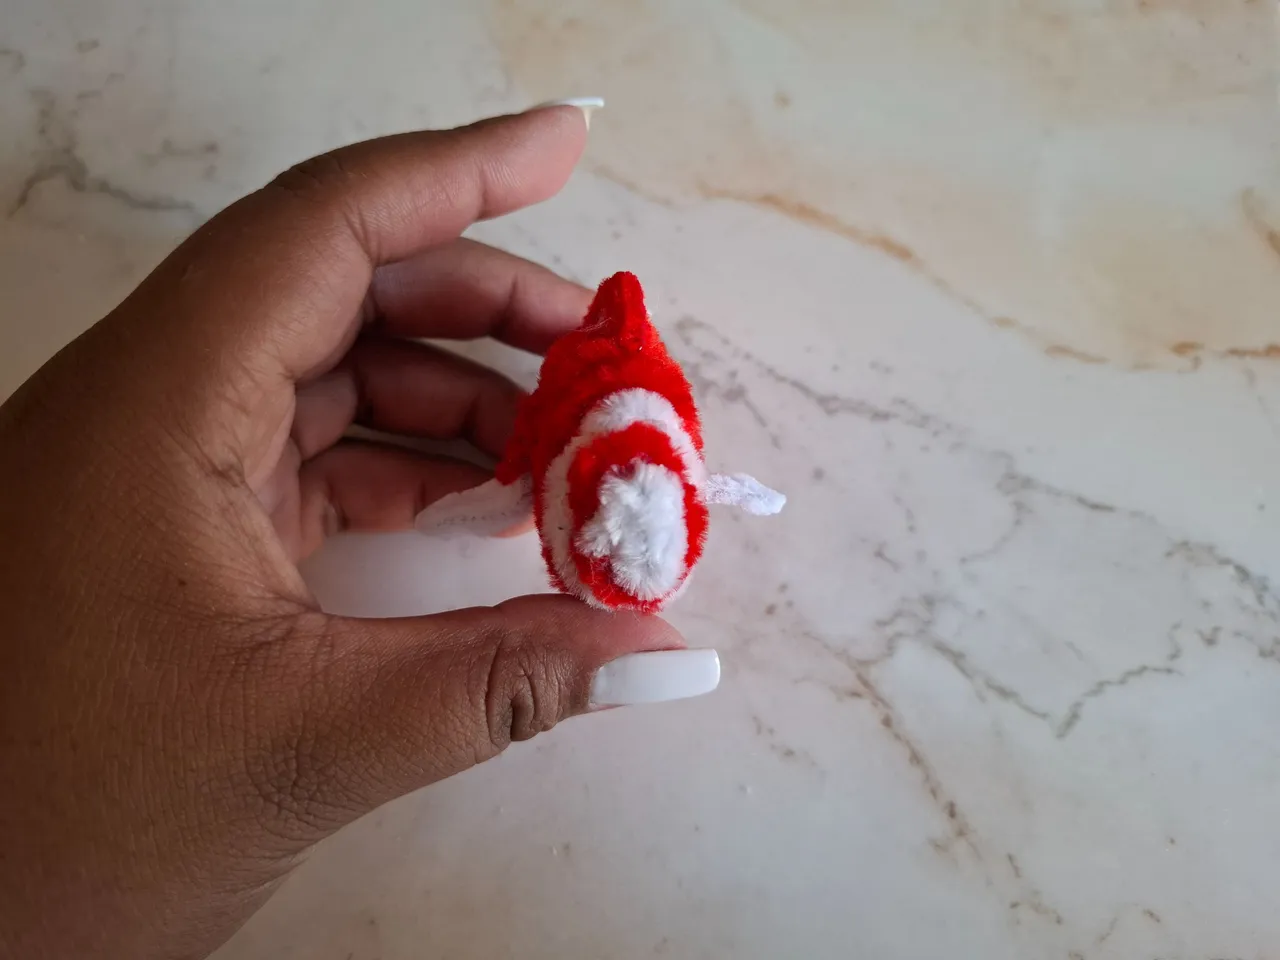
También voy a colocar un limpiapipas blanco en la parte inferior del cuerpo, ahora voy a realizar las aletas, para esto comencé formando un triángulo pequeño y lo pegamos en la parte superior.
I'm also going to place a white pipe cleaner on the bottom of the body, now I'm going to make the fins, for this I started by forming a small triangle and glued it on the top.
 |  |
|---|
 |  |
|---|
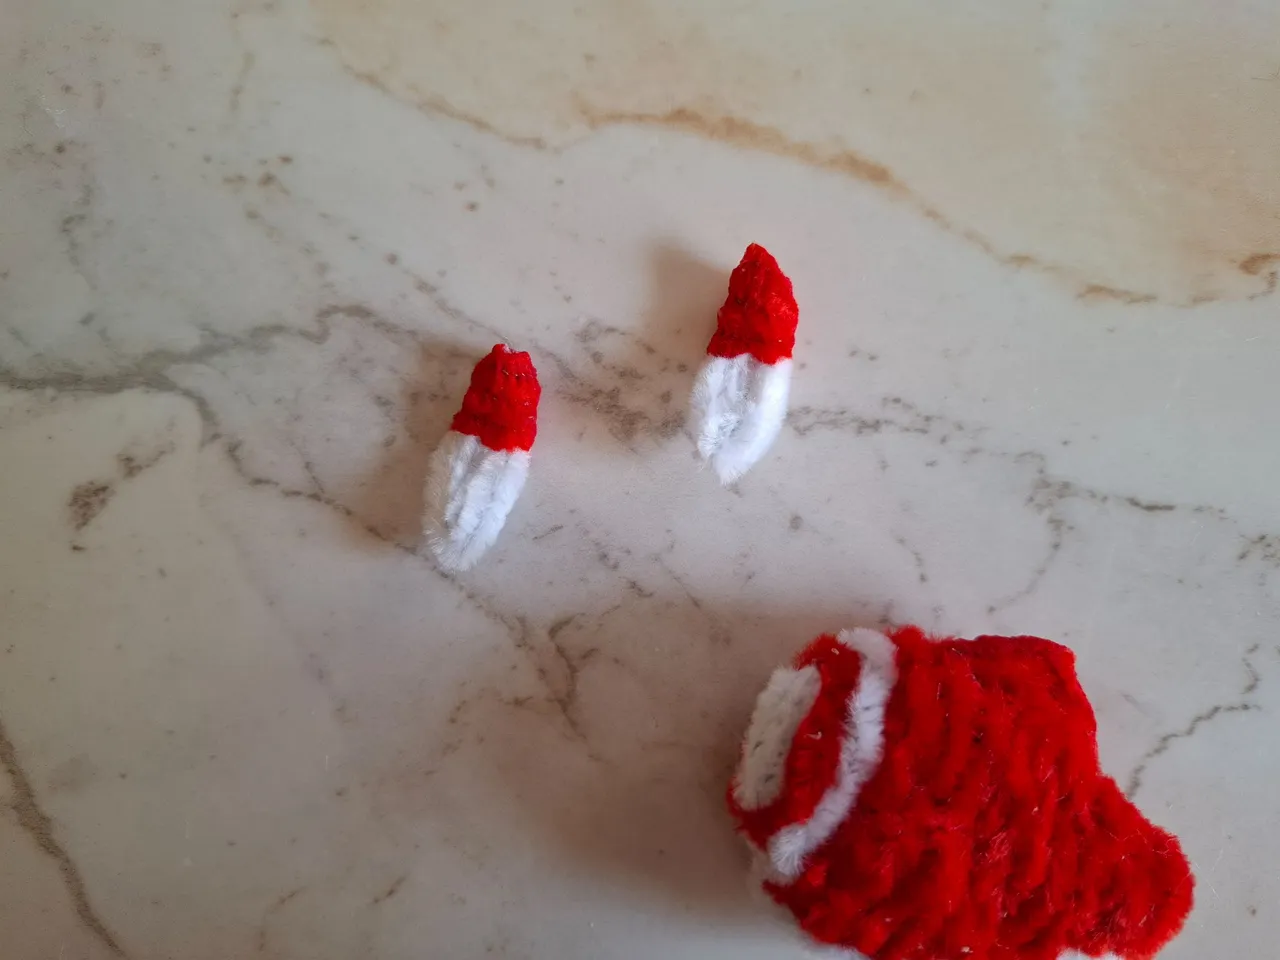
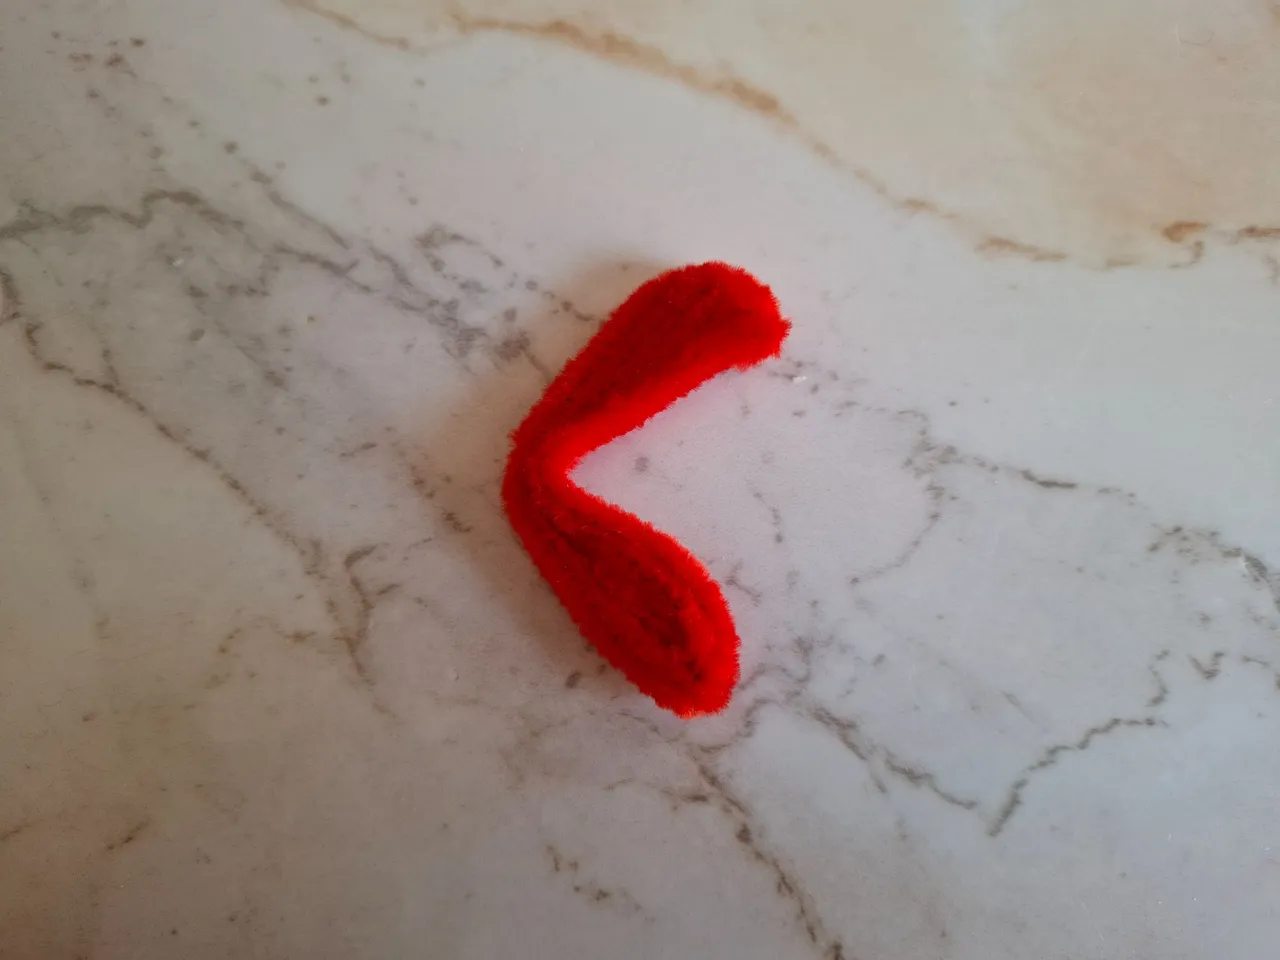
Para las aletas de los laterales, doblamos el limpiapipas blanco y cubrimos con color rojo hasta la mitad, de estas igual realizamos dos y las ubicamos en los lados, para la cola voy a tomar el limpiapipas, lo vamos a doblar y damos varias vueltas.
Luego voy a doblar está franja y veremos cómo en el centro queda una separación, la pegamos junto a la parte que ya tenemos lista del pez, y con otro limpiapipas rojo cubrimos en el centro de la cola para dar más volumen.
For the side fins, we fold the white pipe cleaner and cover it halfway with red. We'll make two of these and place them on the sides. For the tail, I'll take the pipe cleaner, fold it, and twist it a few times.
Then I'll fold this strip over, and we'll see how it forms a gap in the center. We'll glue it next to the part of the fish we already have ready. With another red pipe cleaner, we'll cover the center of the tail to give it more volume.
 |  |
|---|
 |  |
|---|
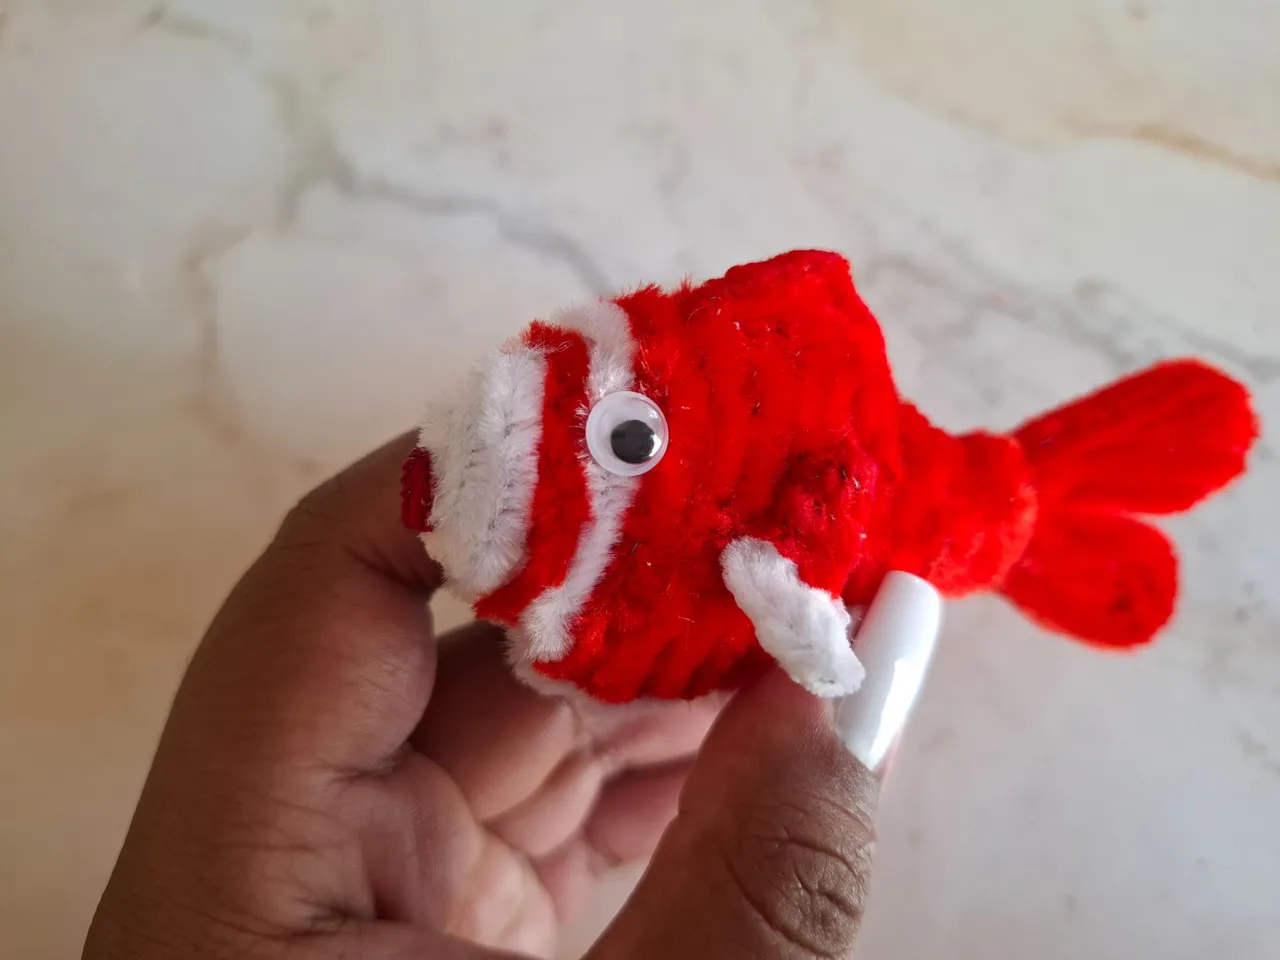
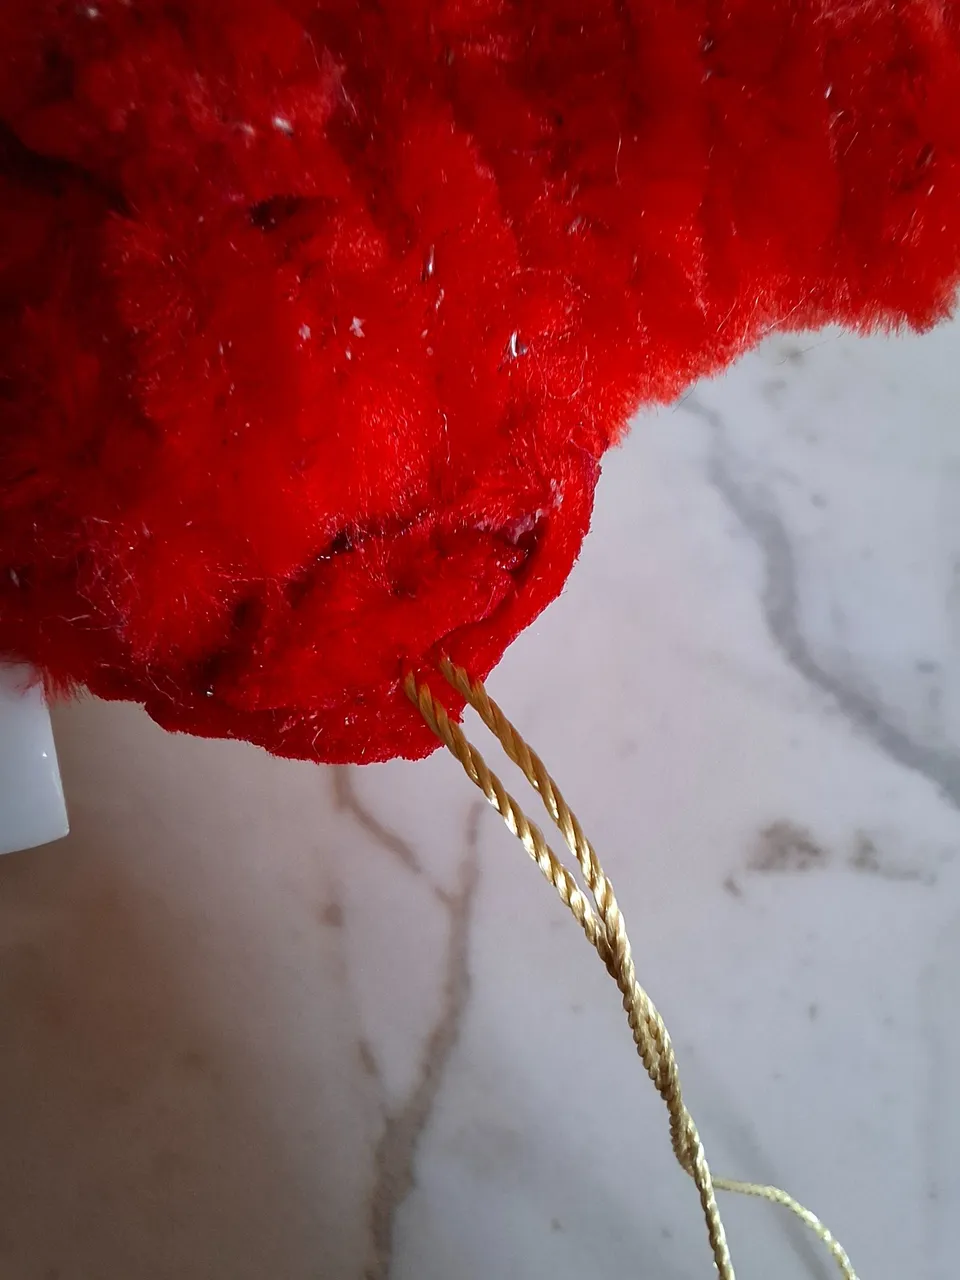
El siguiente paso de trata de cubrir los detalles de la boca con el limpiapipas blanco, coloqué los dos ojitos móviles en cada lado y con un pequeño limpiapipas rojo le quemé la pelusa para formar la boca, también colocamos una tira dorada para utilizar como colgante, para ello vamos a pegar con silicón caliente cerca de la aleta superior y encima colocamos otro retazo de limpiapipas para fijar mejor y que no se despegue.
The next step is to cover the details of the mouth with the white pipe cleaner. I placed the two googly eyes on each side and with a small red pipe cleaner I burned the fluff to form the mouth. We also placed a golden strip to use as a pendant. To do this, we will glue it with hot silicone near the top fin and on top we place another piece of pipe cleaner to better fix it and prevent it from coming off.
 |  |  |
|---|
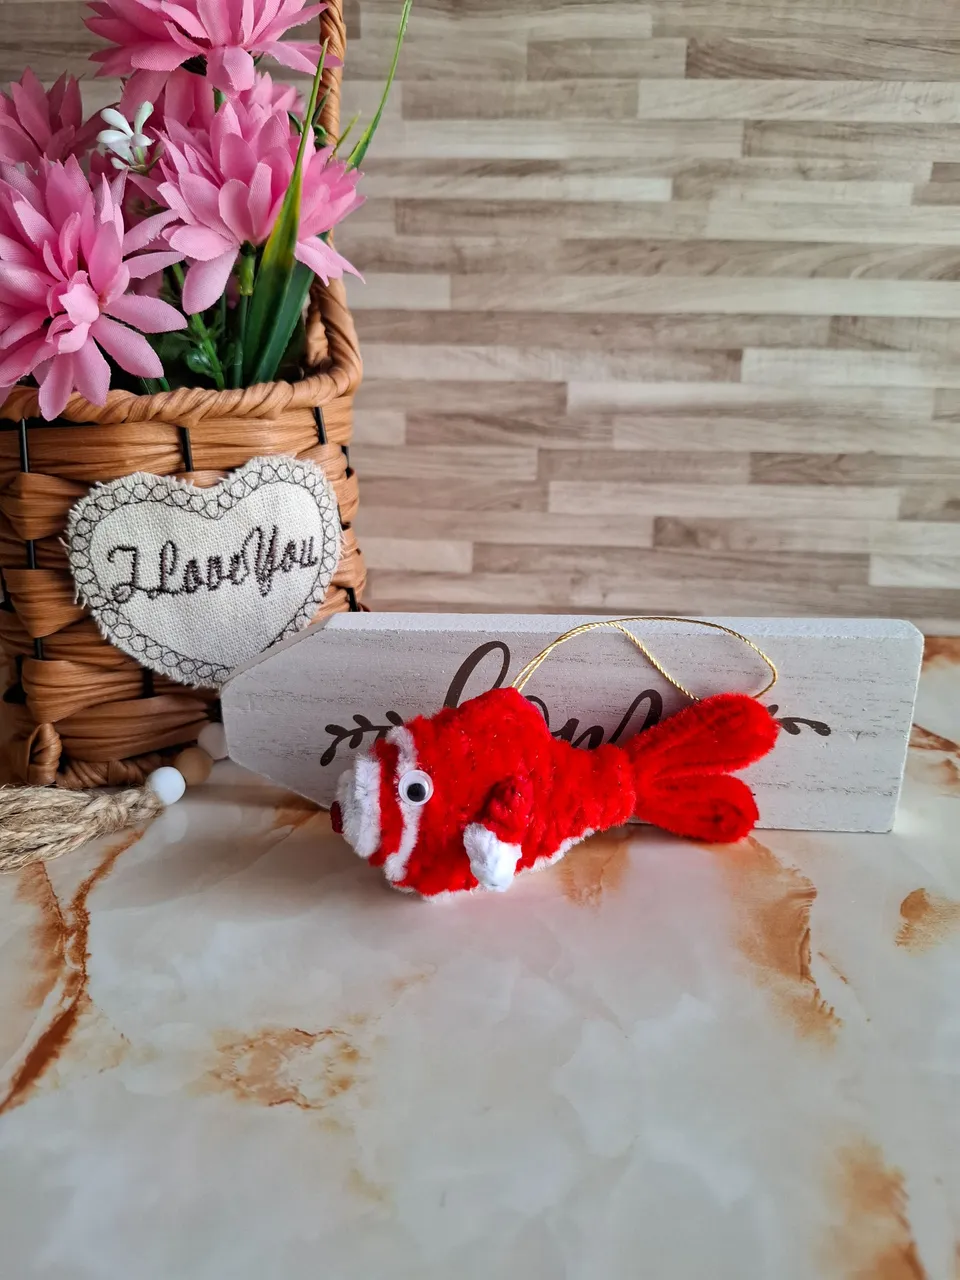
Y de esta forma terminé la figura del Archer Koi, dure aproximadamente unas 3 horas en terminarlo haciendo algunas pausas, espero les haya gustado el resultado final, me siento muy feliz de compartir esta idea para la comunidad Splinterlands, muchas gracias por visitar mi publicación nos vemos en una próxima oportunidad con más ideas creativas.
And this is how I finished the Archer Koi figure, it took me approximately 3 hours to finish it, taking some breaks, I hope you liked the final result, I feel very happy to share this idea with the Splinterlands community, thank you very much for visiting my publication, see you next time with more creative ideas.