Hello my very dear Hivers friends! It's a new day and I come with the best energies to share with you an interesting creative idea that I was using for myself during my trip. When we travel and we carry luggage in hold, then we have to pick it up on the strap and if someone else bought your same model of suitcase and in the same color, well, it can get really confusing, that's why I decided to customize my suitcase and today I share you my experience below.

Imagen creada por mí en Canva / Image created by me in Canva
Materiales:
- Maleta de tela
- Pinceles
- Pinturas (al frío, textiles, acrílicas, etc.)
- Lápiz de color blanco
- Paleta para mezclar colores
- Cartón o papel
- Accesorios (peluches o lo que gustes)
Procedimiento:
Para iniciar, necesitaremos una bonita maleta de tela del color de nuestra preferencia, en mi caso, elegí morado porque me encanta y porque me pareció que no era tan común, de hecho, les adelanto que en todo mi viaje (tomé dos vuelos para llegar a mi destino) solo coincidí con otra maleta igual.
Materials:
- Cloth suitcase
- Brushes
- Paints (cold paint, textile, acrylic, etc.)
- White color pencil
- Color mixing palette
- Cardboard or paper
- Accessories (stuffed animals or whatever you like)
Procedure:
To start, we will need a nice fabric suitcase of the color of our preference, in my case, I chose purple because I love it and because I thought it was not so common, in fact, I advance you that in all my trip (I took two flights to reach my destination) I only coincided with another suitcase like it.
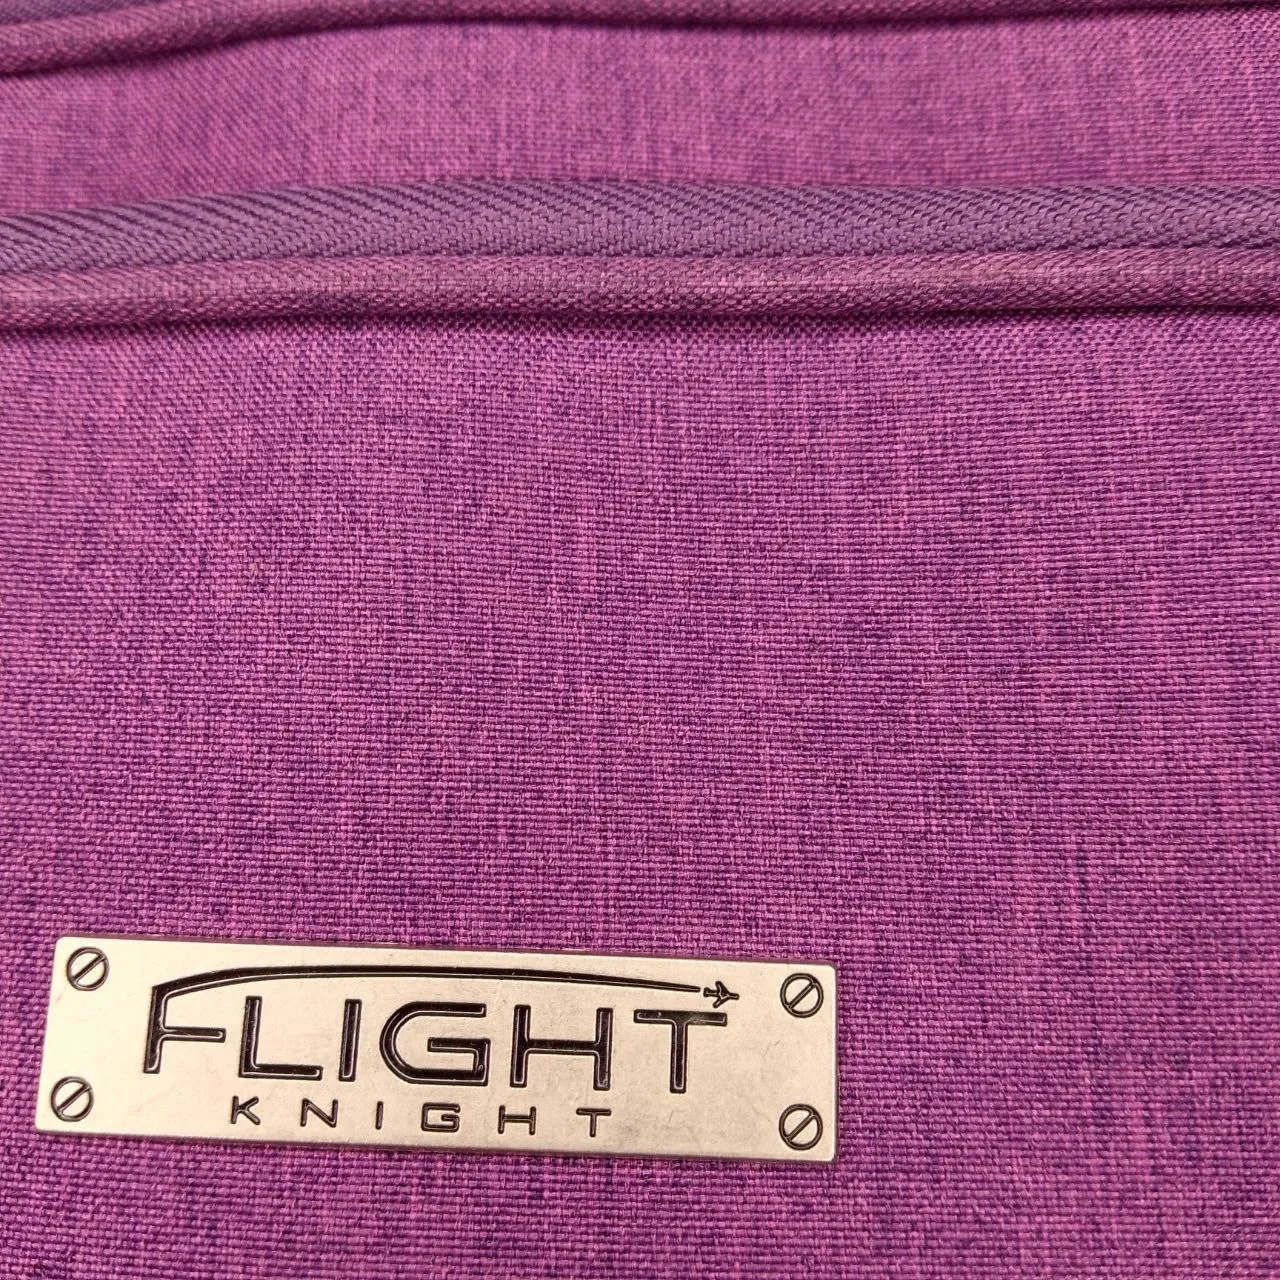
Mi maleta / My suitcase
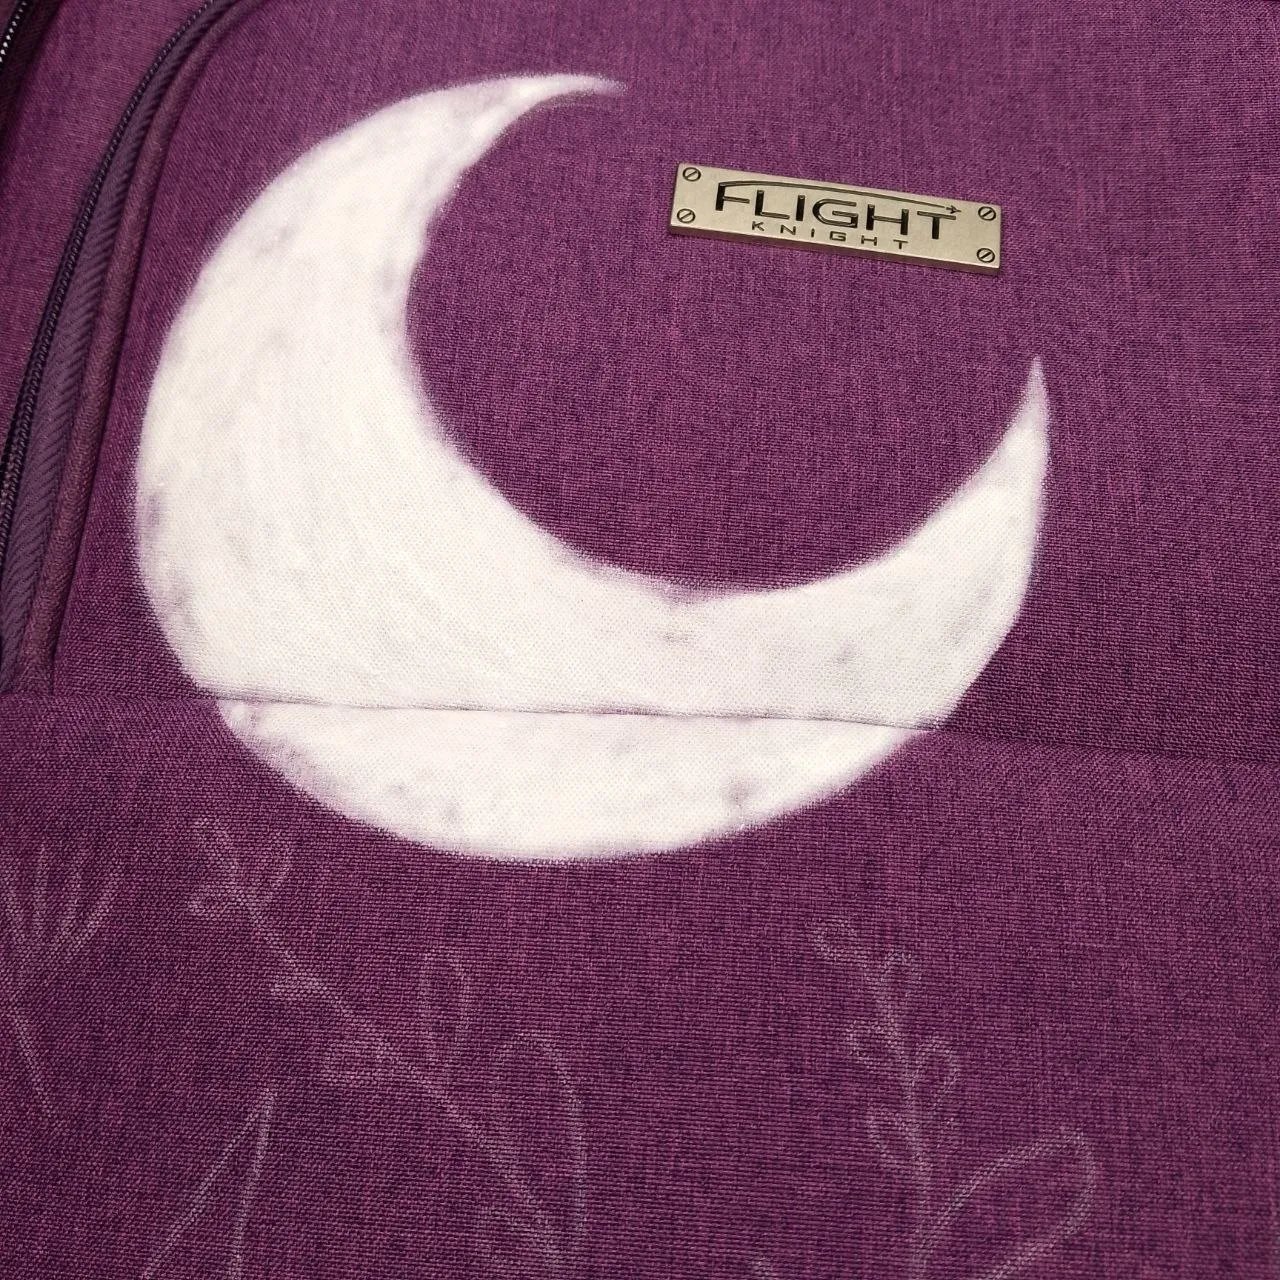
Ahora tomaremos un lápiz de color para dibujar todo nuestro diseño, yo usé un color blanco porque el fondo es oscuro, pero si tu maleta fuera de un tono claro puedes usar un lápiz de un color más bien oscuro.
Now we will take a colored pencil to draw all our design, I used a white color because the background is dark, but if your suitcase was of a light tone you can use a pencil of a rather dark color.
 |  |
|---|
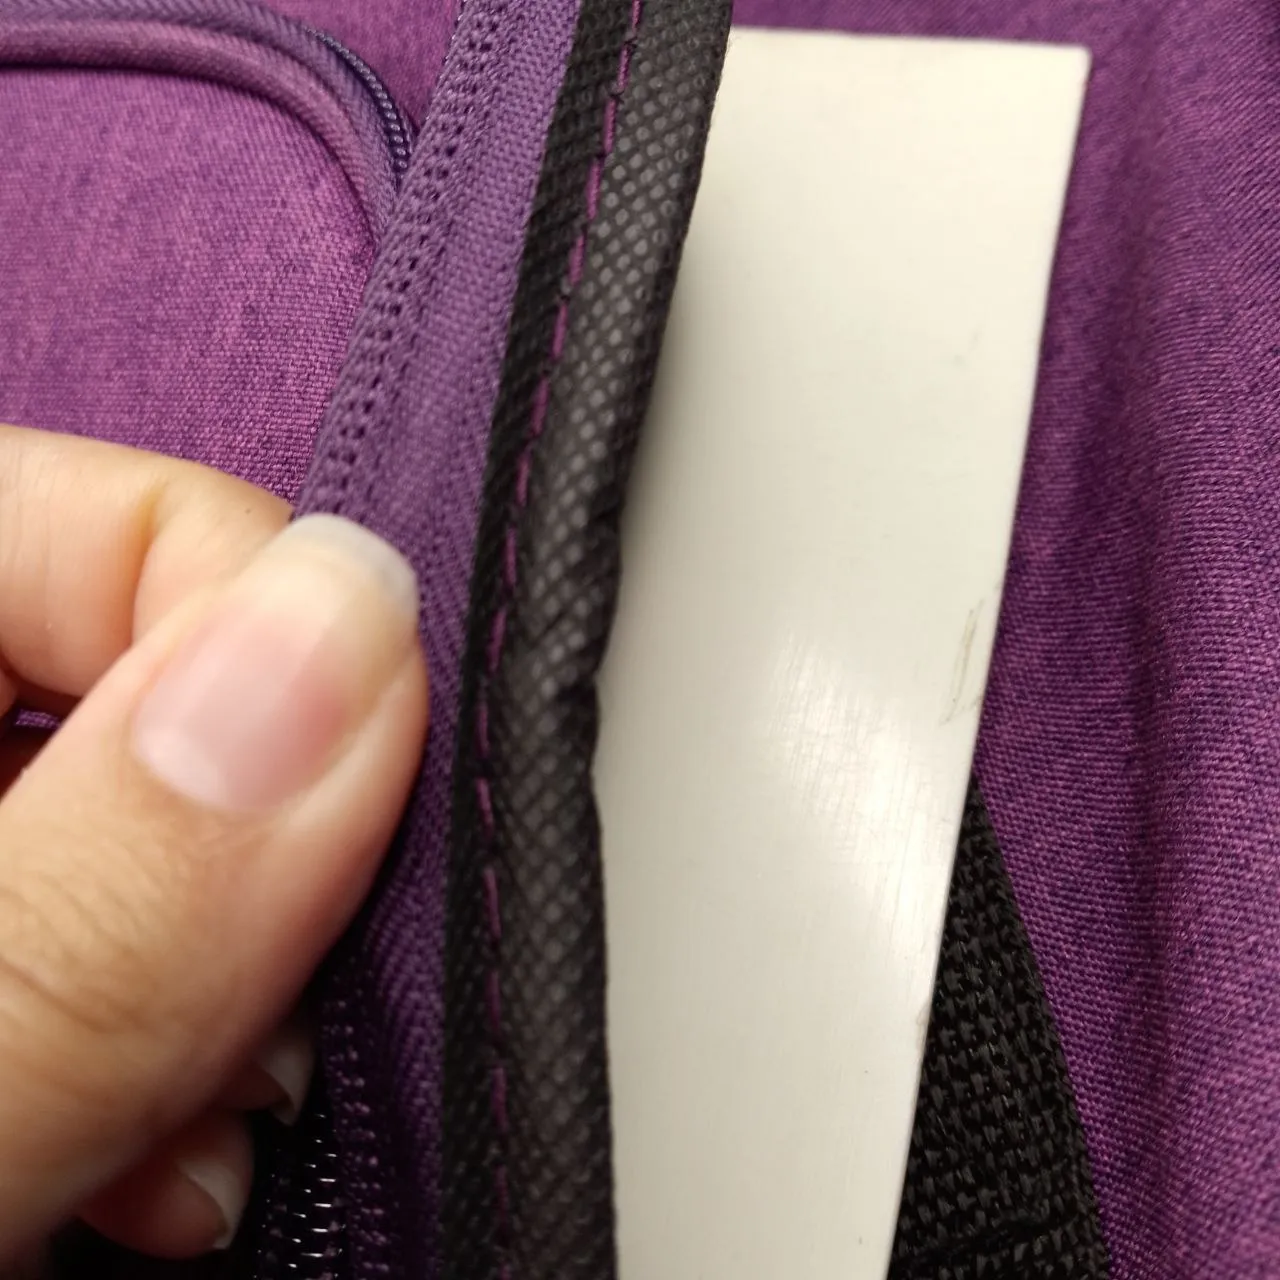
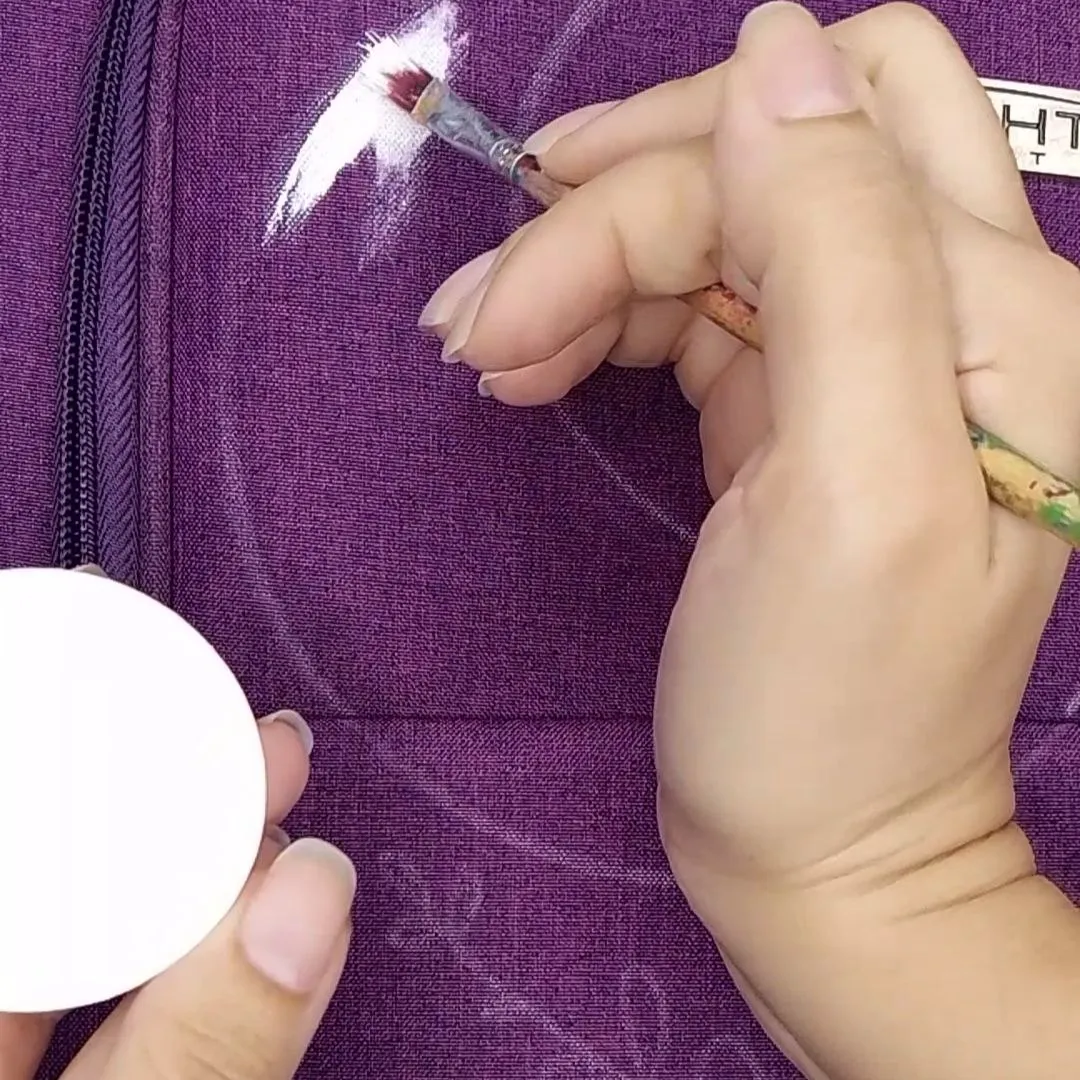
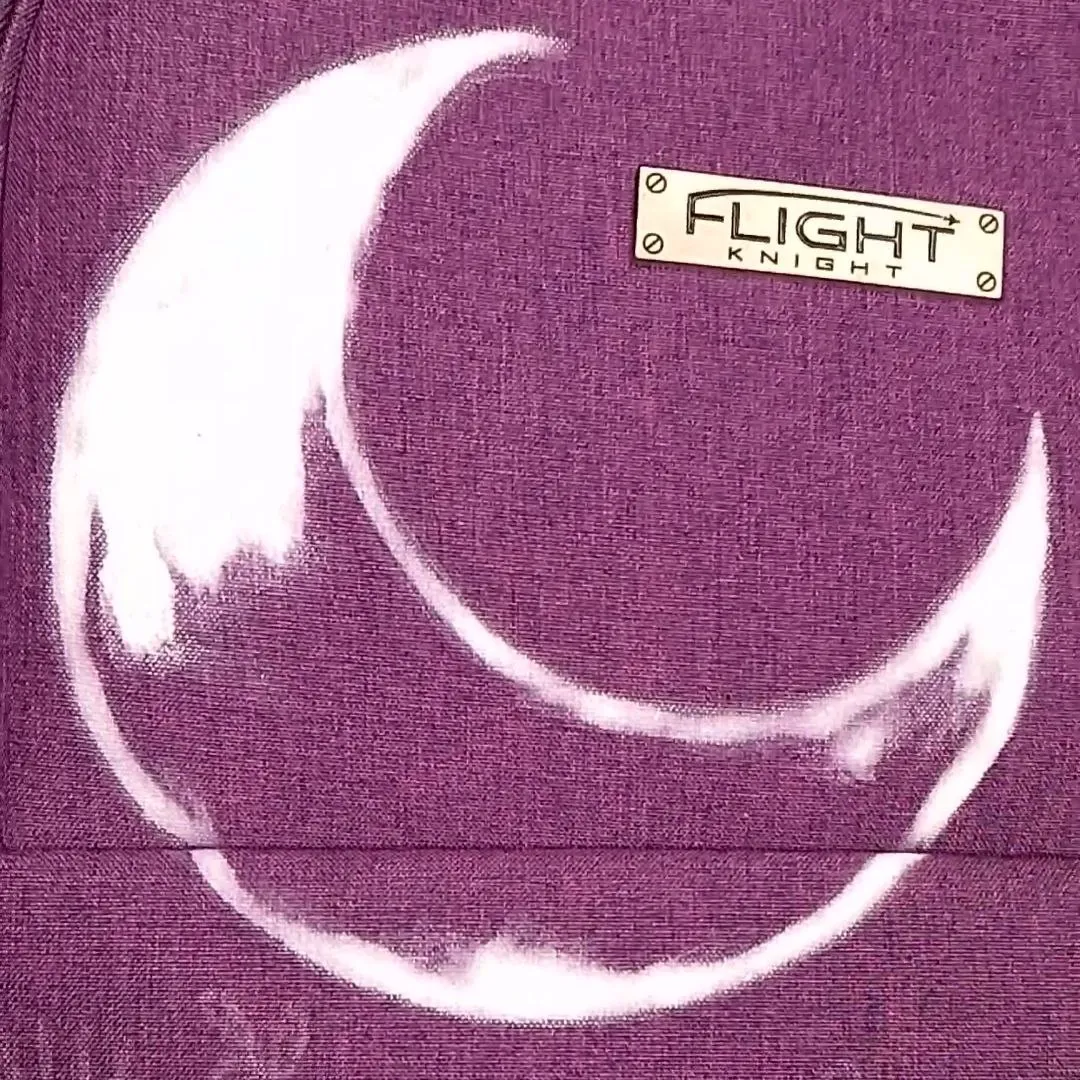
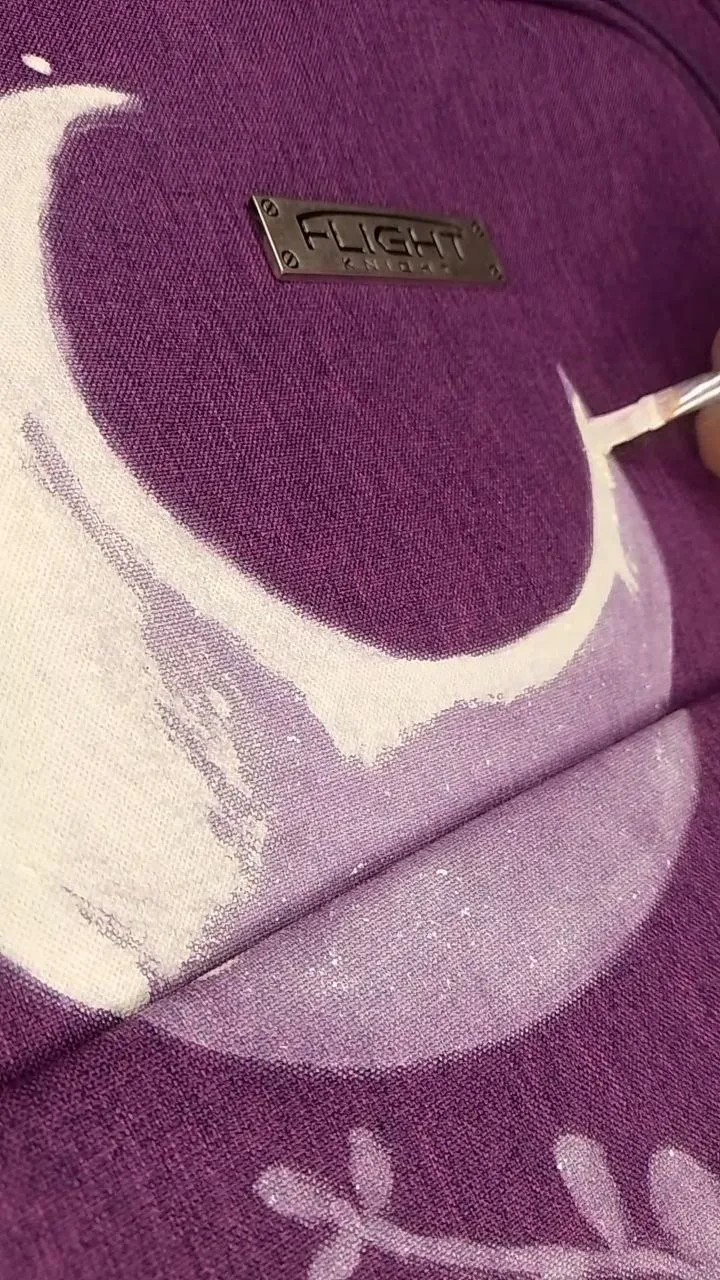
Luego coloqué mi superficie de trabajo detrás de la parte delantera de la maleta, puesto que como era la primera vez que hacía esto, me daba miedo que se corriera la pintura hacia adentro (risas) y así empecé a rellenar todos los espacios dibujados con pintura al frío blanco, esto con el propósito de que los colores definitivos pudiesen “agarrar” totalmente y no se perdieran con la oscuridad del fondo original.
Then I placed my work surface behind the front of the suitcase, since it was the first time I did this, I was afraid that the paint would run inside (laughs) and so I began to fill all the drawn spaces with white cold paint, this with the purpose that the final colors could “grab” completely and not be lost with the darkness of the original background.
 |  |
|---|---|
 |  |
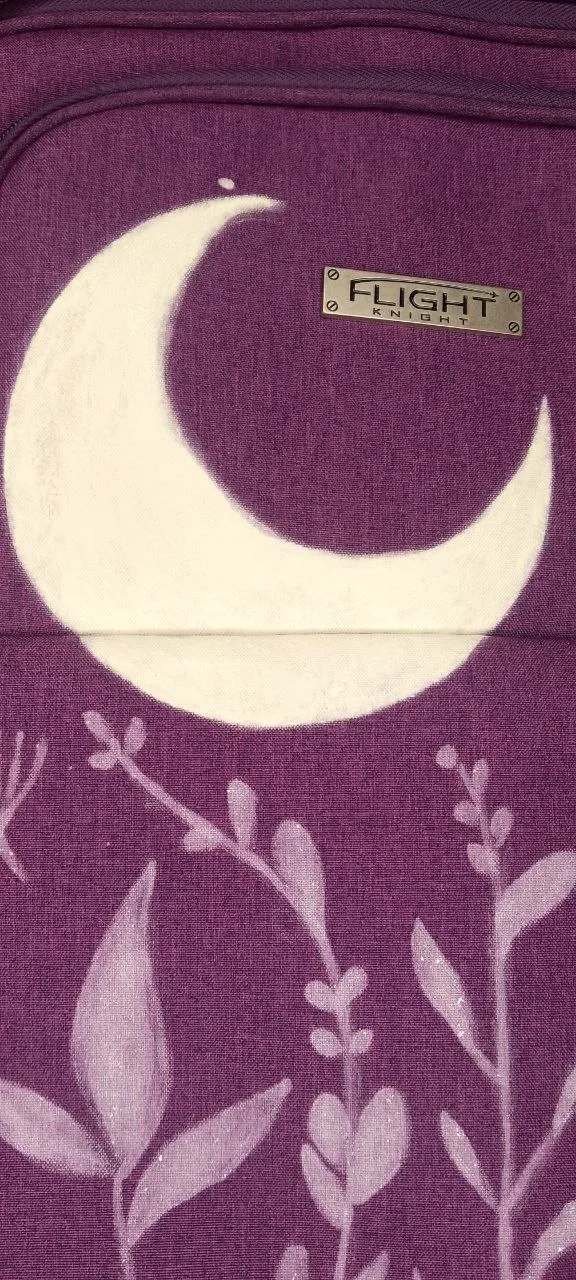
Base blanca / White base
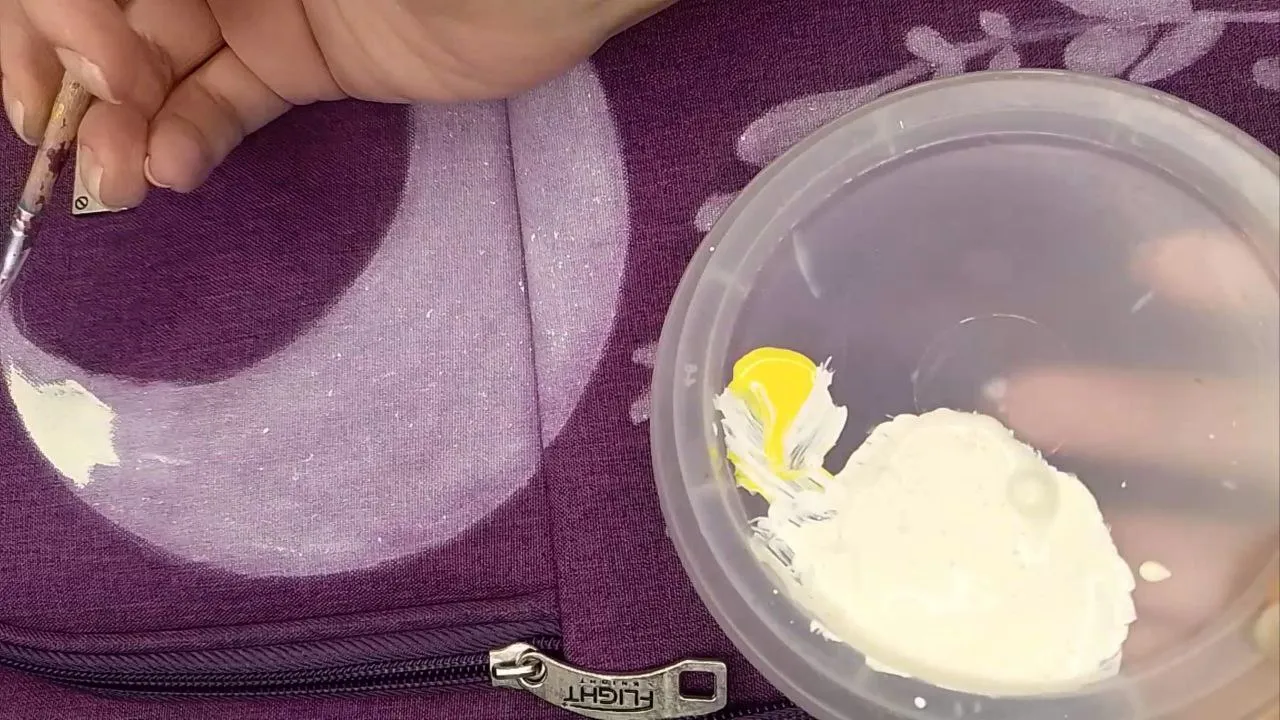
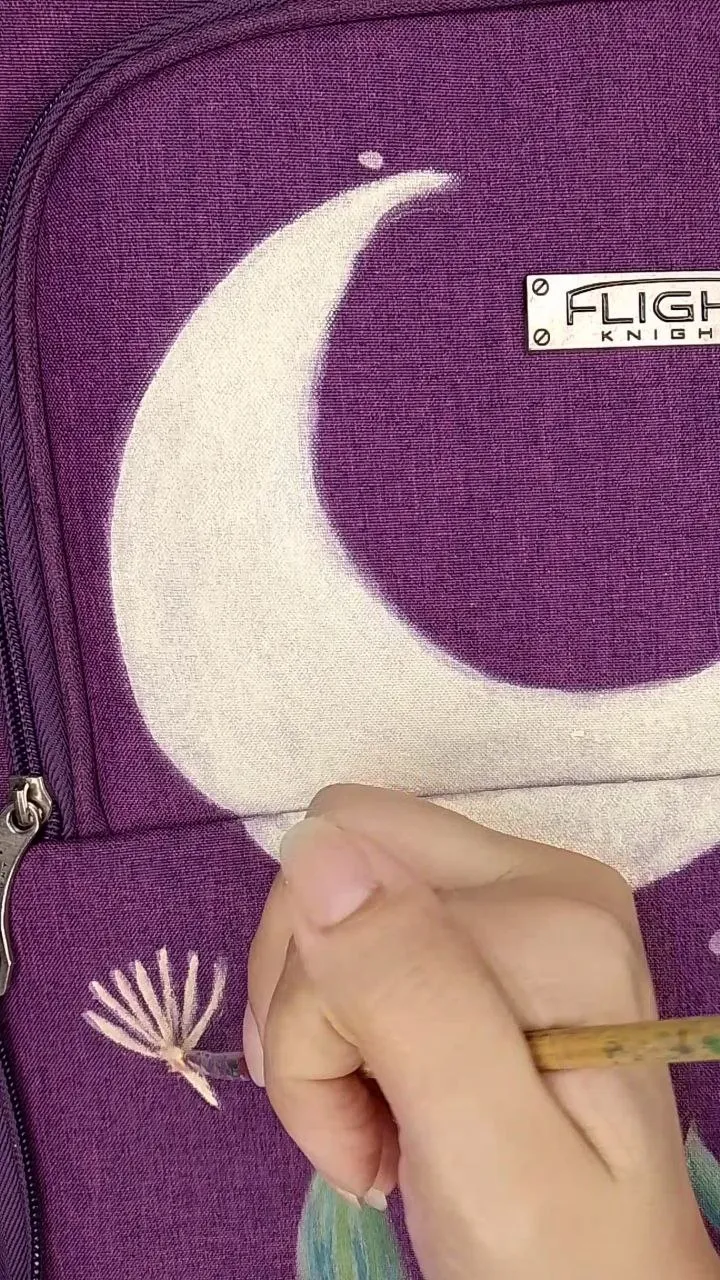
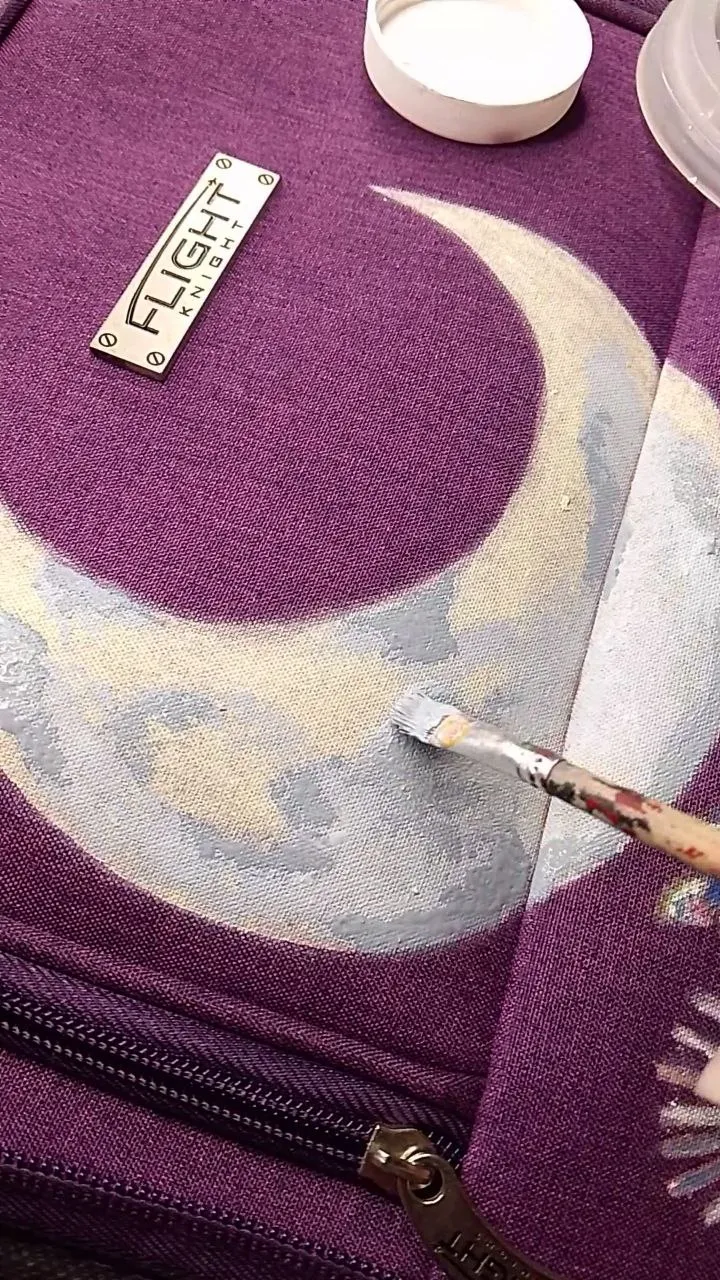
Ahora procedemos a agregar el color base de la Luna, que es un tono amarillo crema muy claro.
Now we proceed to add the base color of the Moon, which is a very light creamy yellow tone.
 |  |
|---|
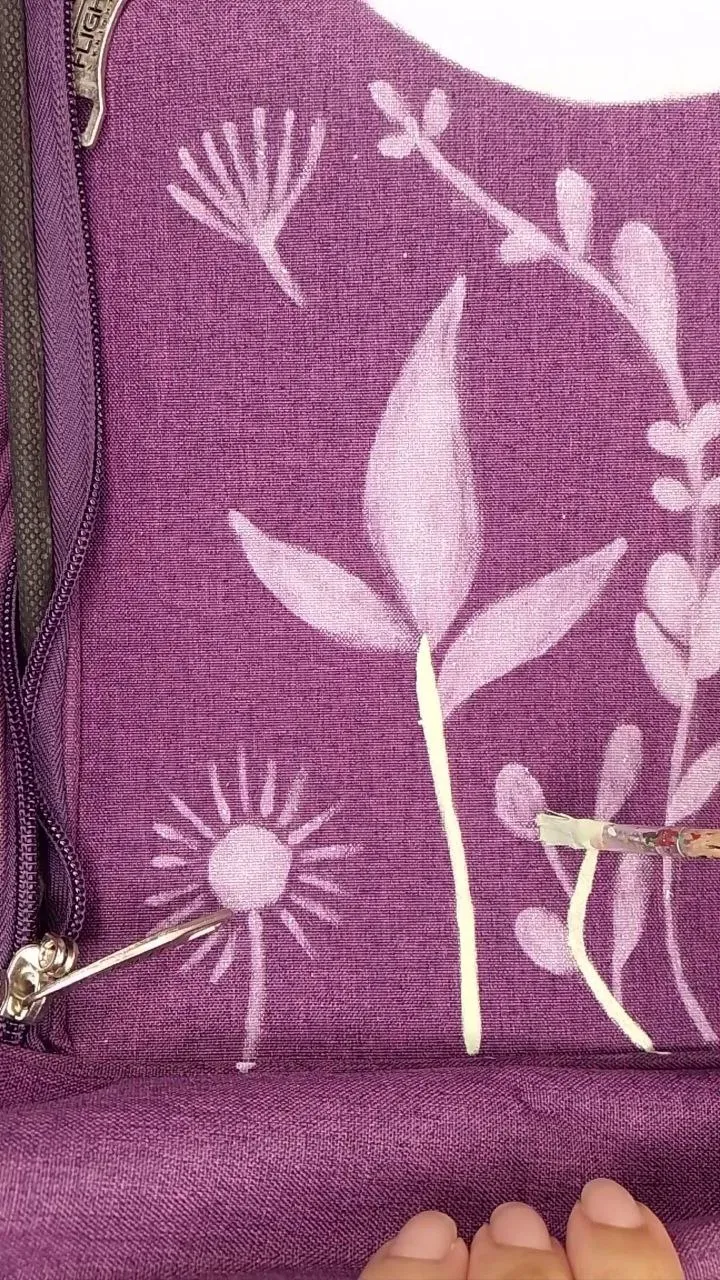
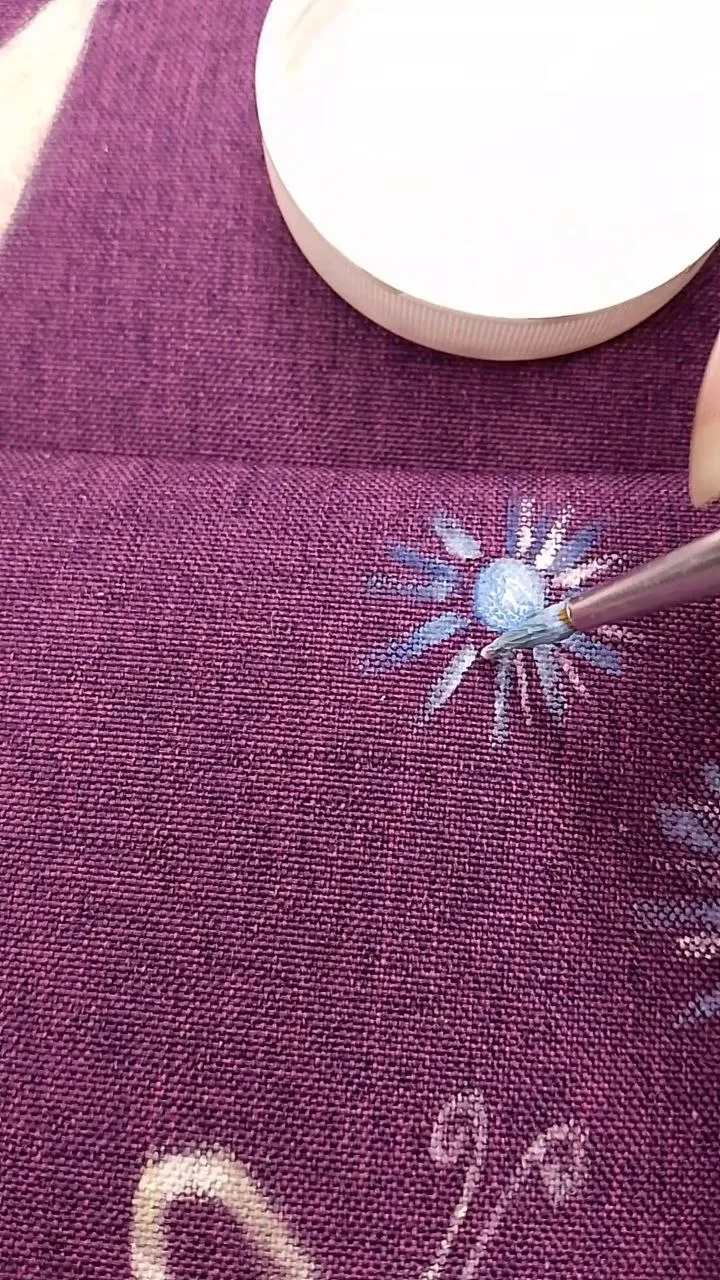
Es momento entonces de ir añadiendo el base verde claro de los tallos de las plantas, porque sí, el concepto de este diseño es “naturaleza y fantasía”; aquí se puede ver el progreso hasta el momento, como voy combinando amarillo y azul para formar distintos tonos de verdes también para las hojas e incluso como empleo el mismo azul puro para crear más profundidad.
It's time then to add the light green base of the plant stems, because yes, the concept of this design is “nature and fantasy”; here you can see the progress so far, as I combine yellow and blue to form different shades of green also for the leaves and even how I use the same pure blue to create more depth.
 |  |  |
|---|
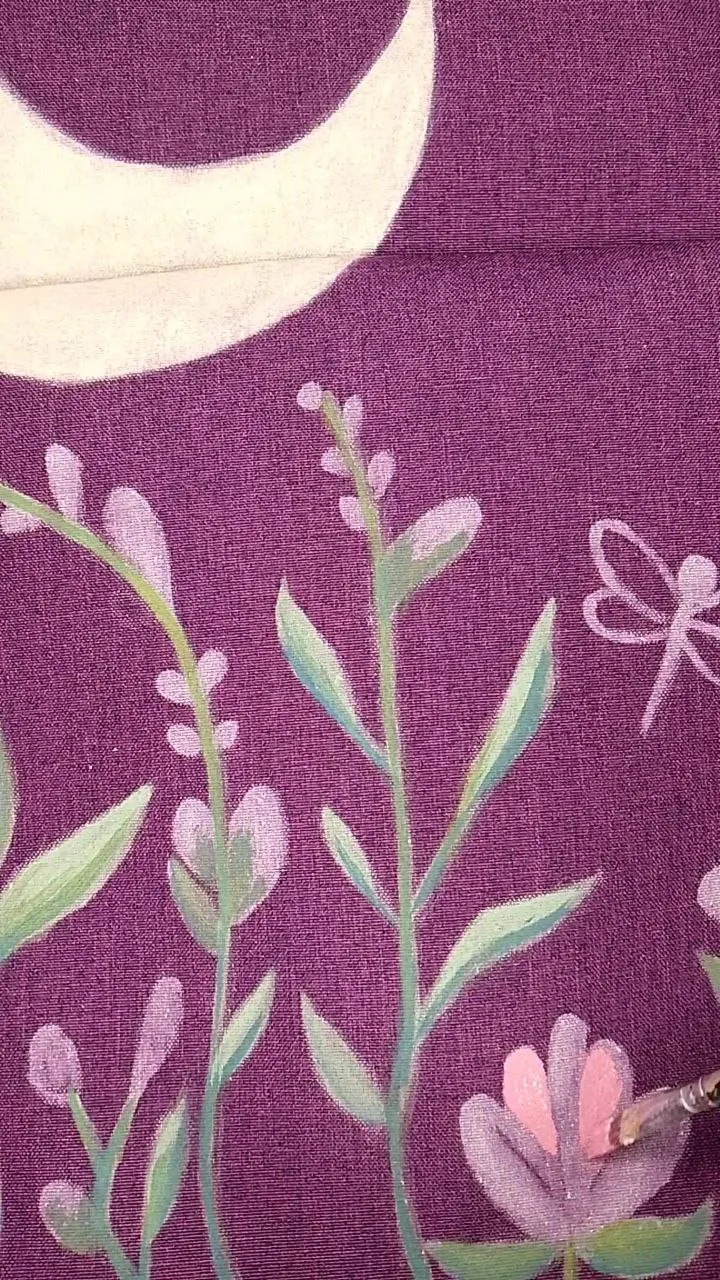
Ya en este punto voy dando color a las flores. En esta he utilizado tonos rosados, su forma me recuerda un poco a la flor de loto. También añado el color base de este diente de león que va flotando, seleccioné una naranja crema para él.
At this point I am giving color to the flowers. In this one I used pink tones, its shape reminds me a little bit of the lotus flower. I also add the base color of this floating dandelion, I selected a creamy orange for it.
 |  |
|---|
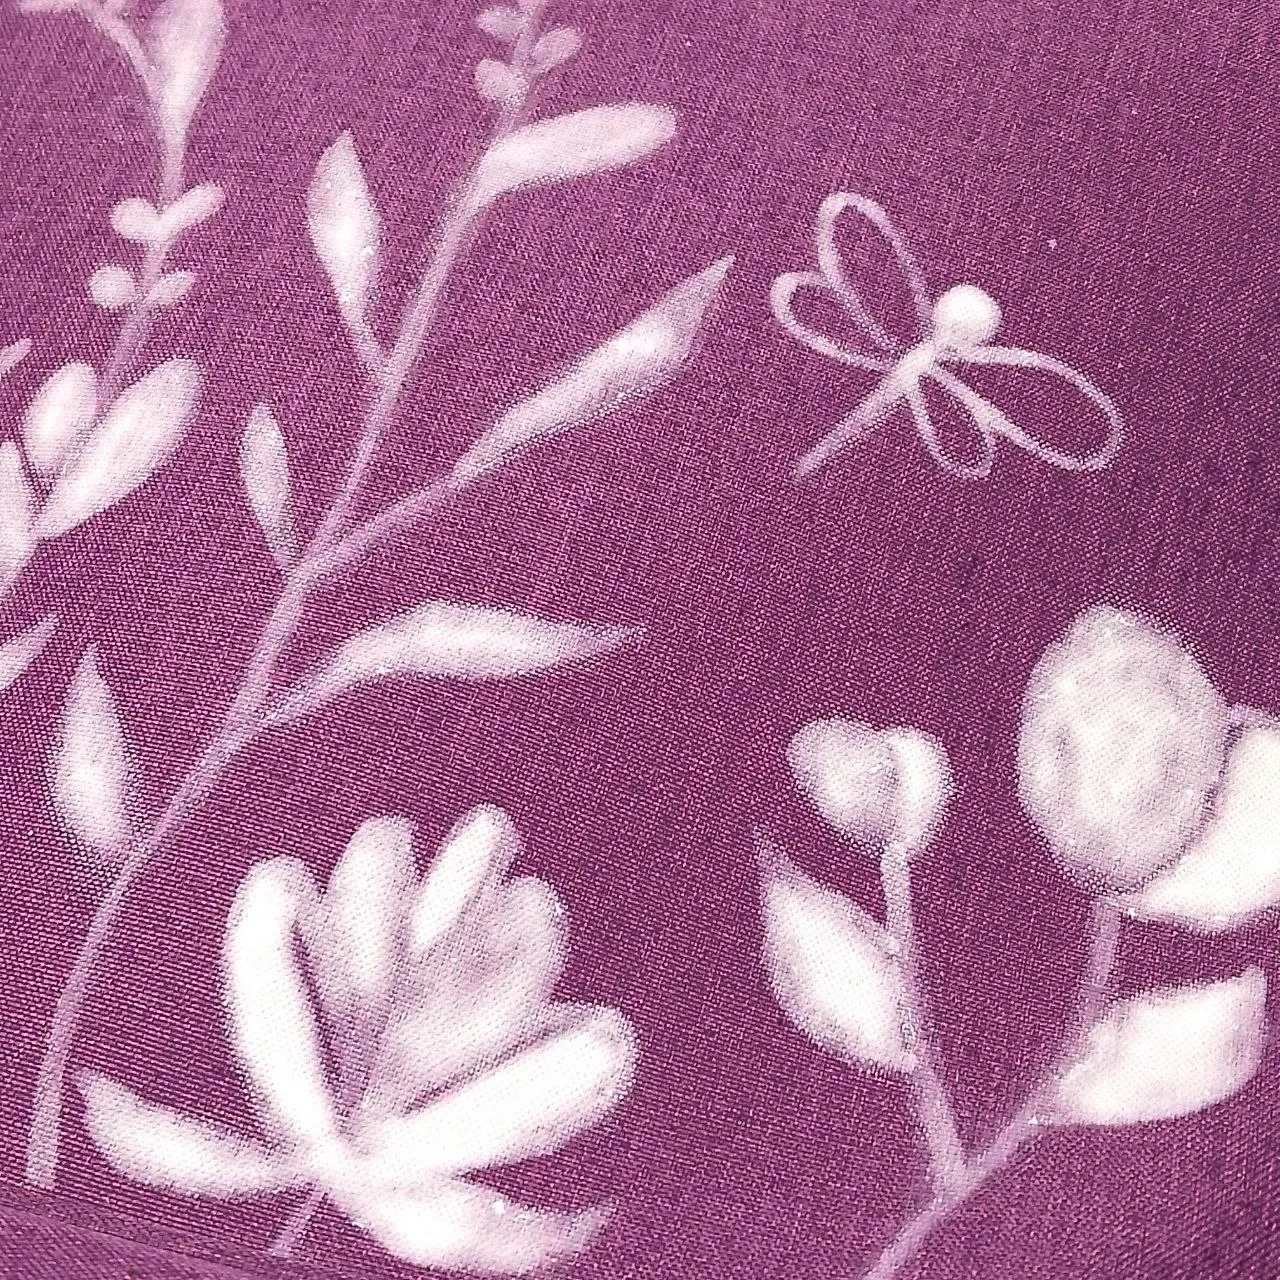
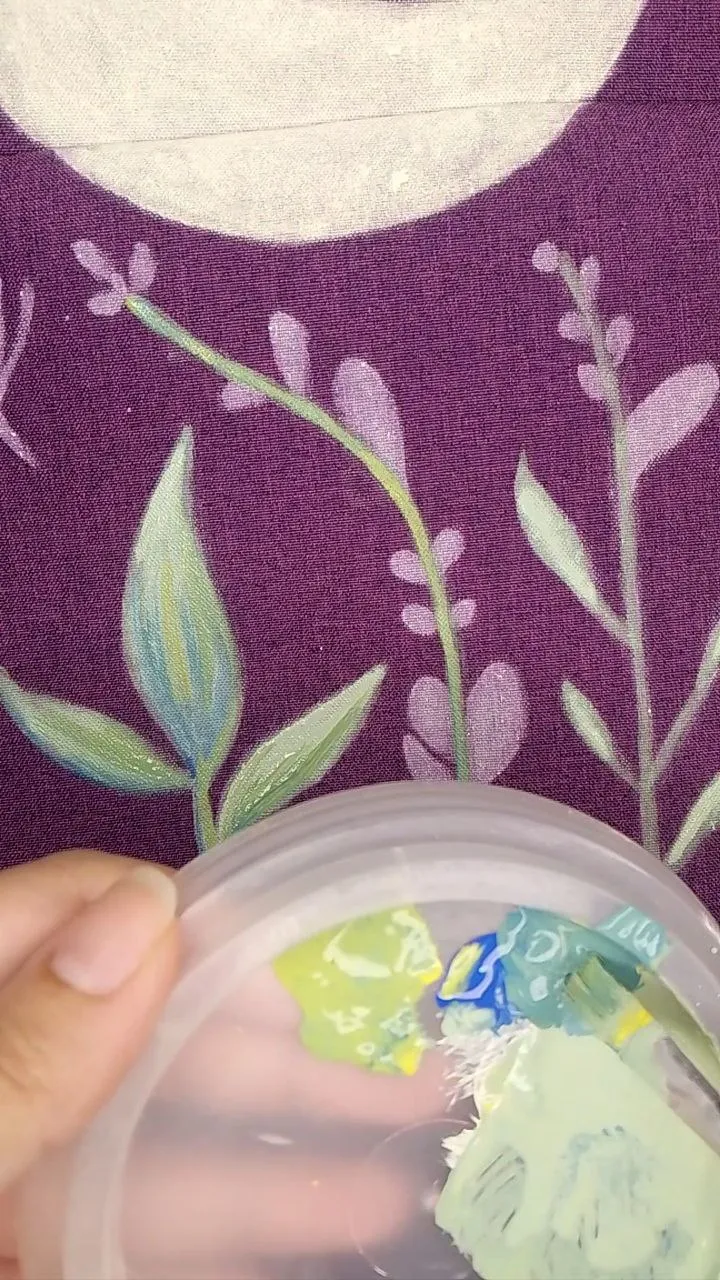
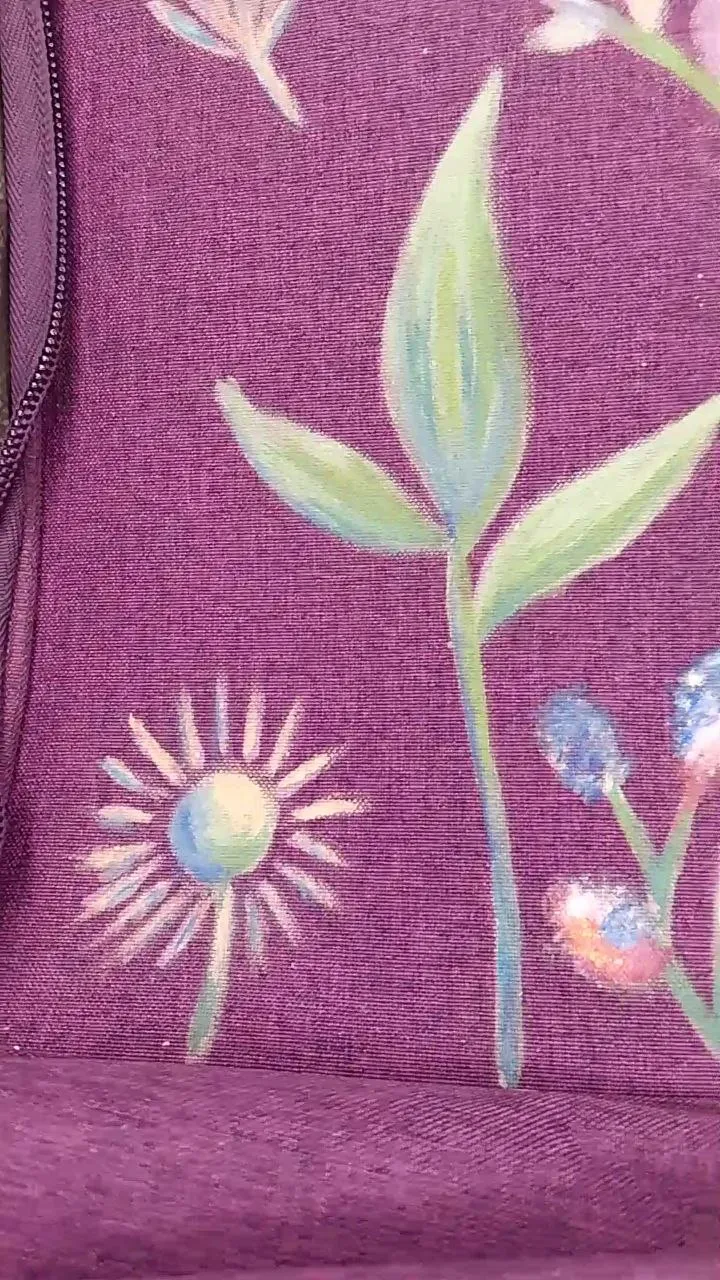
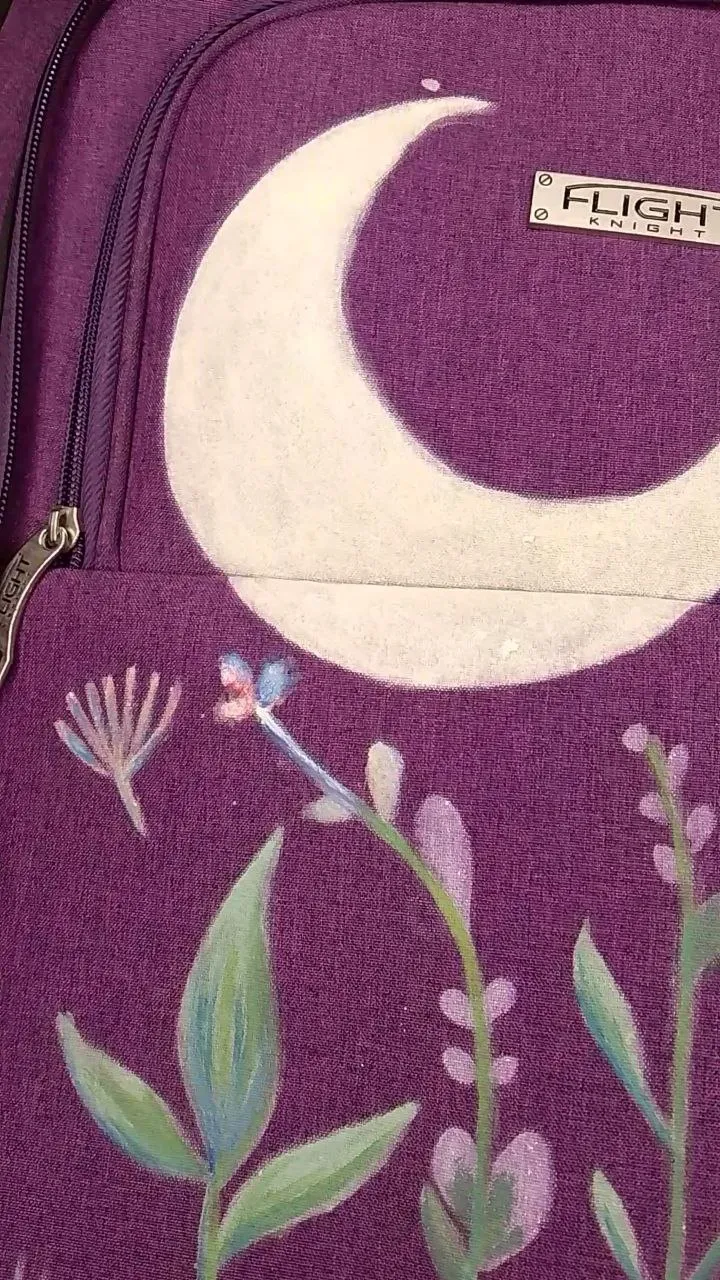
En las siguientes fotos podemos ver cómo va el progreso en distintas secciones de la maleta y como juegan los distintos colores y blancos para aportar tonos muy de fantasía con hermosas luces.
In the following photos we can see how the progress is going in different sections of the suitcase and how the different colors and whites play to bring very fantasy tones with beautiful lights.
 |  |  |
|---|
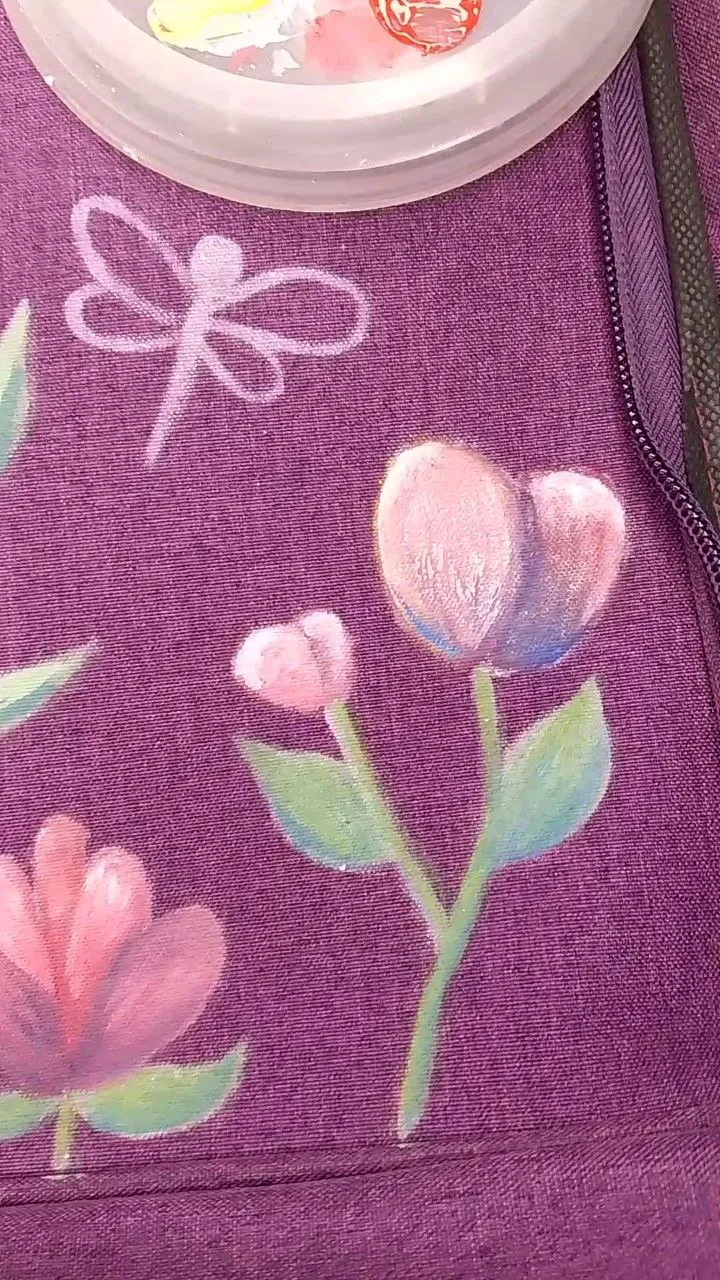
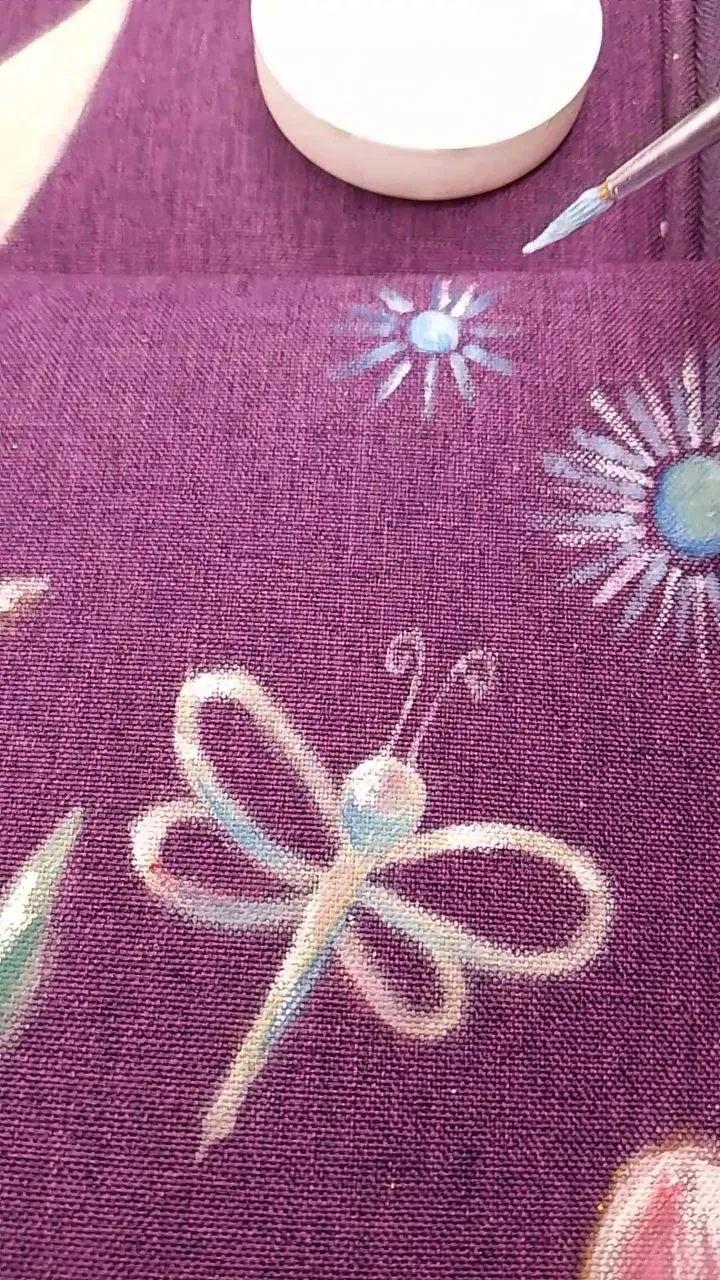
La libélula es una de las partes que más disfruté de este diseño porque es mi insecto favorito y por alguna razón, también amé pintar ese diente de león flotante en tonos azules.
The dragonfly is one of the parts I enjoyed most about this design because it is my favorite insect and for some reason, I also loved painting that floating dandelion in shades of blue.
 |  |
|---|
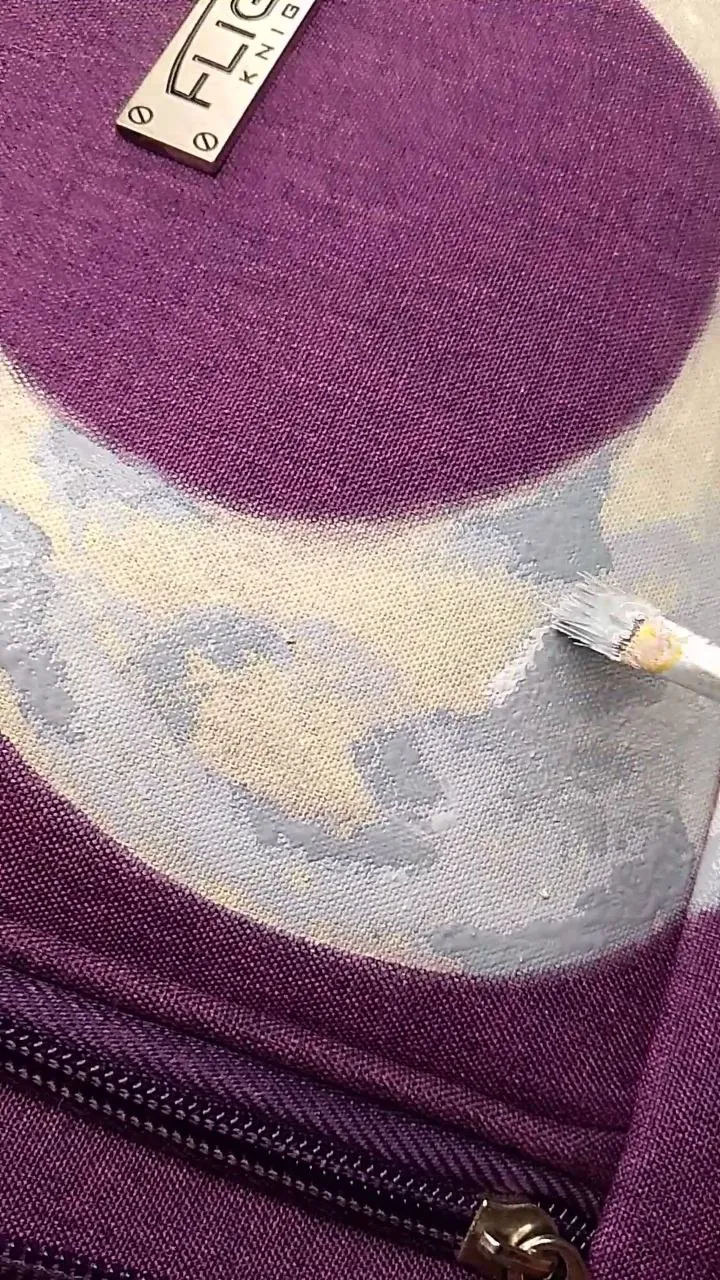
Finalmente, añadimos los detalles de la Luna correspondientes a los cráteres, estos fueron realizados con distintos tonos de grises para así poder crear las distintas profundidades de los mismos.
Finally, we added the details of the Moon corresponding to the craters, these were made with different shades of gray in order to create the different depths of the craters.
 |  |
|---|
Y para terminar definitivamente, necesitamos un cielo estrellado, por lo que doblé varias veces un papel y llené el pincel de pintura blanca y golpeando uno contra el otro en la parte de la brocha del papel, logré unas estrellitas gorditas que parecían fugaces, luego hice algunas más pequeñas con un cepillo de dientes.
And to finish definitely, we need a starry sky, so I folded several times a paper and filled the brush with white paint and hitting one against the other in the brush part of the paper, I got some chubby little stars that looked like fleeting, then I made some smaller ones with a toothbrush.
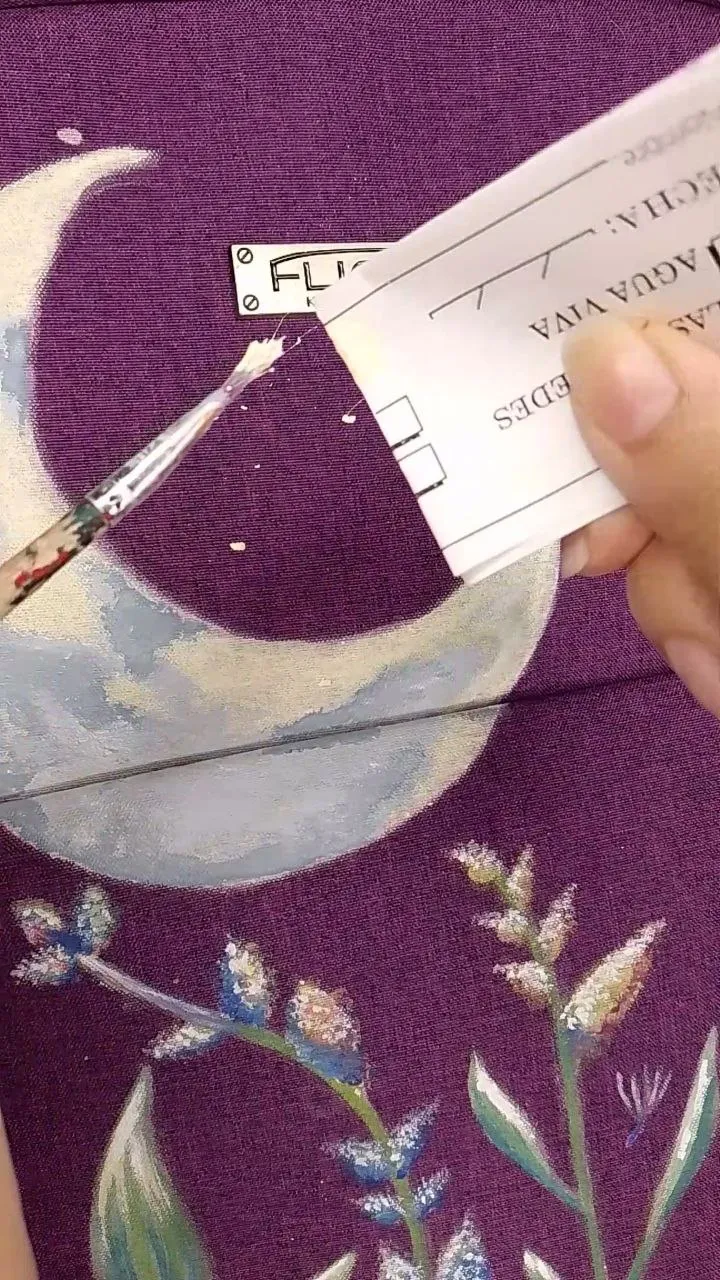
Haciendo estrellas / Making stars
Y este es el resultado final, como pueden ver, además le agregue en la parte superior un peluche y una tarjeta que contenía algunos de mis datos de contacto en caso de pérdida.
And this is the final result, as you can see, I also added at the top a stuffed animal and a card containing some of my contact information in case of loss.
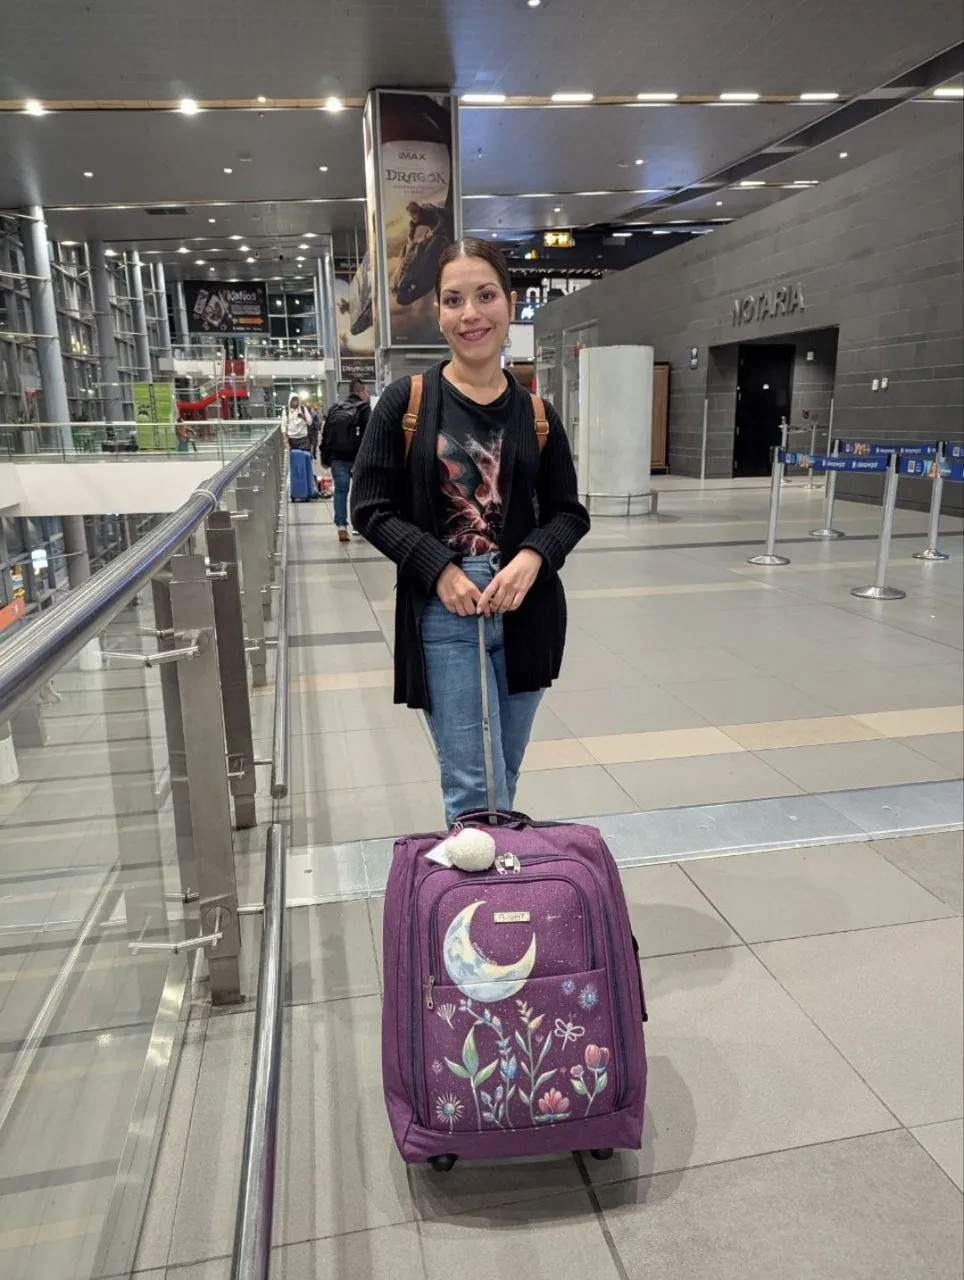
Resultado final / Final result
Comentarios finales:
Yo utilicé pintura al frío y me fue bastante bien, pero seguro si usas pintura textil sea aún más duradero tu diseño.
La foto final fue tomada luego de dos vuelos, por lo que puedo asegurar que el diseño resistió muy bien.
El peluche es totalmente opcional, pero créanme que es en verdad muy útil para reconocer tu equipaje si tu maleta viene boca abajo en la correa (risas). También puedes usar alguna otra cosa, como una cinta de un color llamativo por ejemplo.
Final comments:
I used cold paint and it did quite well, but I'm sure if you use textile paint it will be even more durable your design.
The final photo was taken after two flights, so I can assure you that the design resisted very well.
The stuffed animal is totally optional, but believe me it is really very useful to recognize your luggage if your suitcase is upside down on the strap (laughs). You can also use something else, like a brightly colored ribbon for example.
¡Muchas gracias por leerme!
Thank you so much for reading me!
Fotografías propias, tomadas con mi Tecno Spark 10C.
Traducido al inglés con DeepL.
Own photographs, taken with my Tecno Spark 10C.
Translated to English with DeepL.