A creative creation always promotes the care of the environment. It is a real pleasure to prepare a work of art using different techniques. Preparing yourself to experience such a work of art can be done by adding some beautiful thoughts. Let us follow the world of art and prepare a pair of slipper shoes. An art truly allows you to show respect.
step by step making tutorial slippers (shoes)
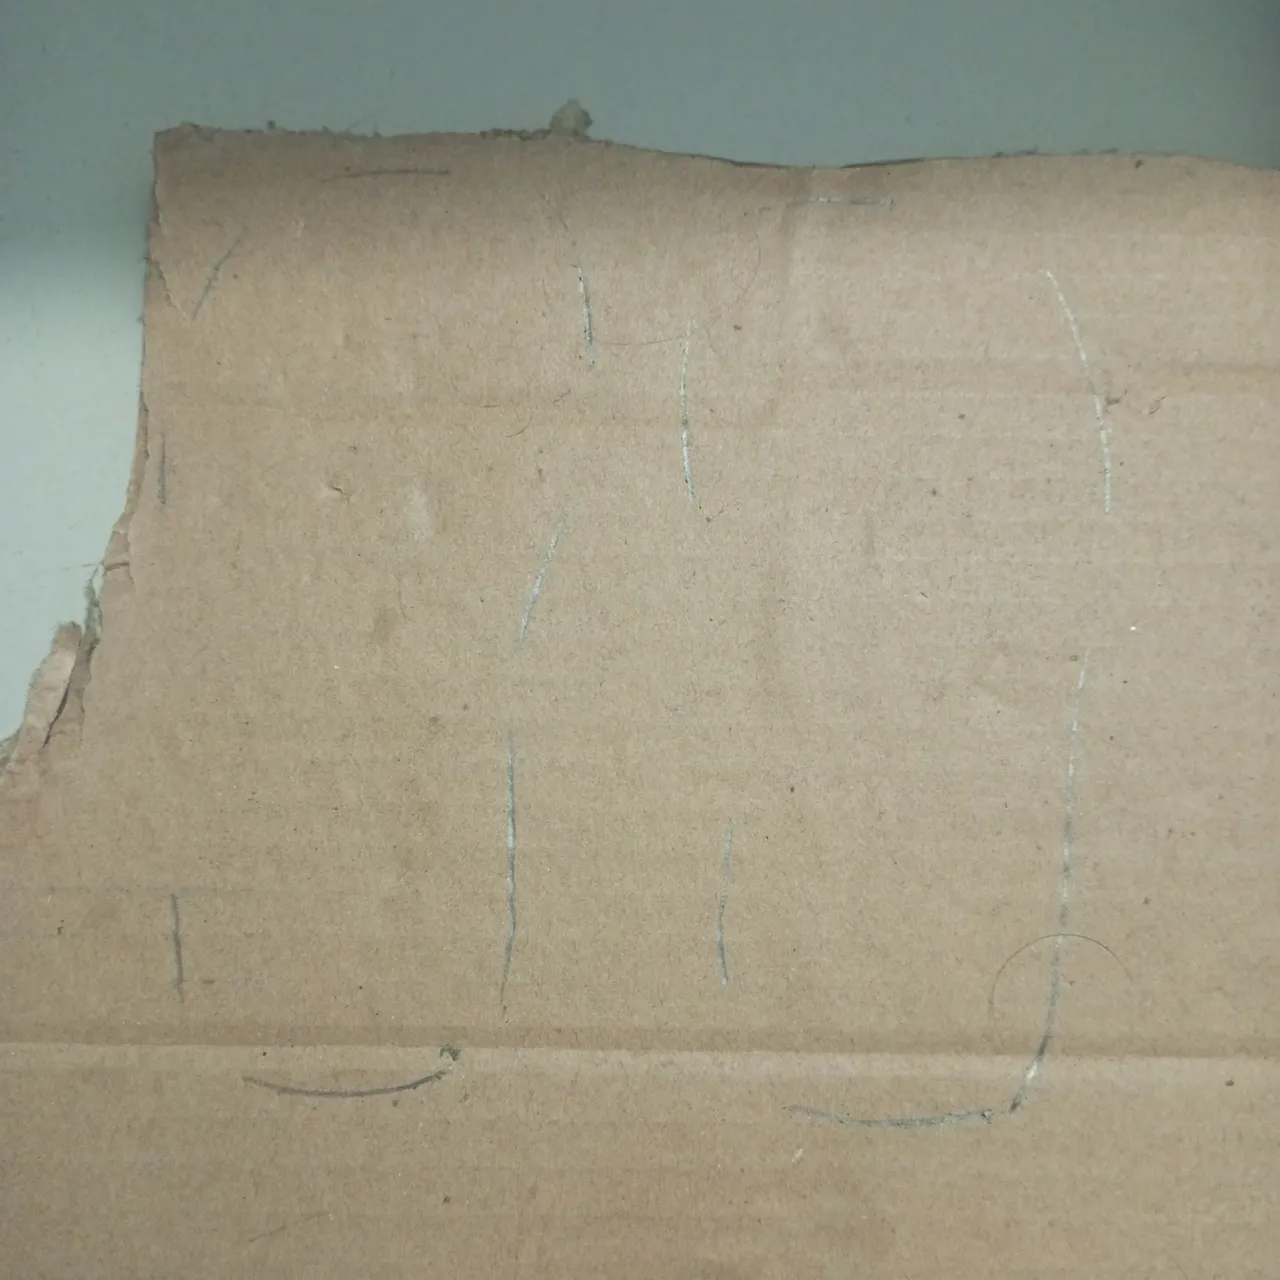
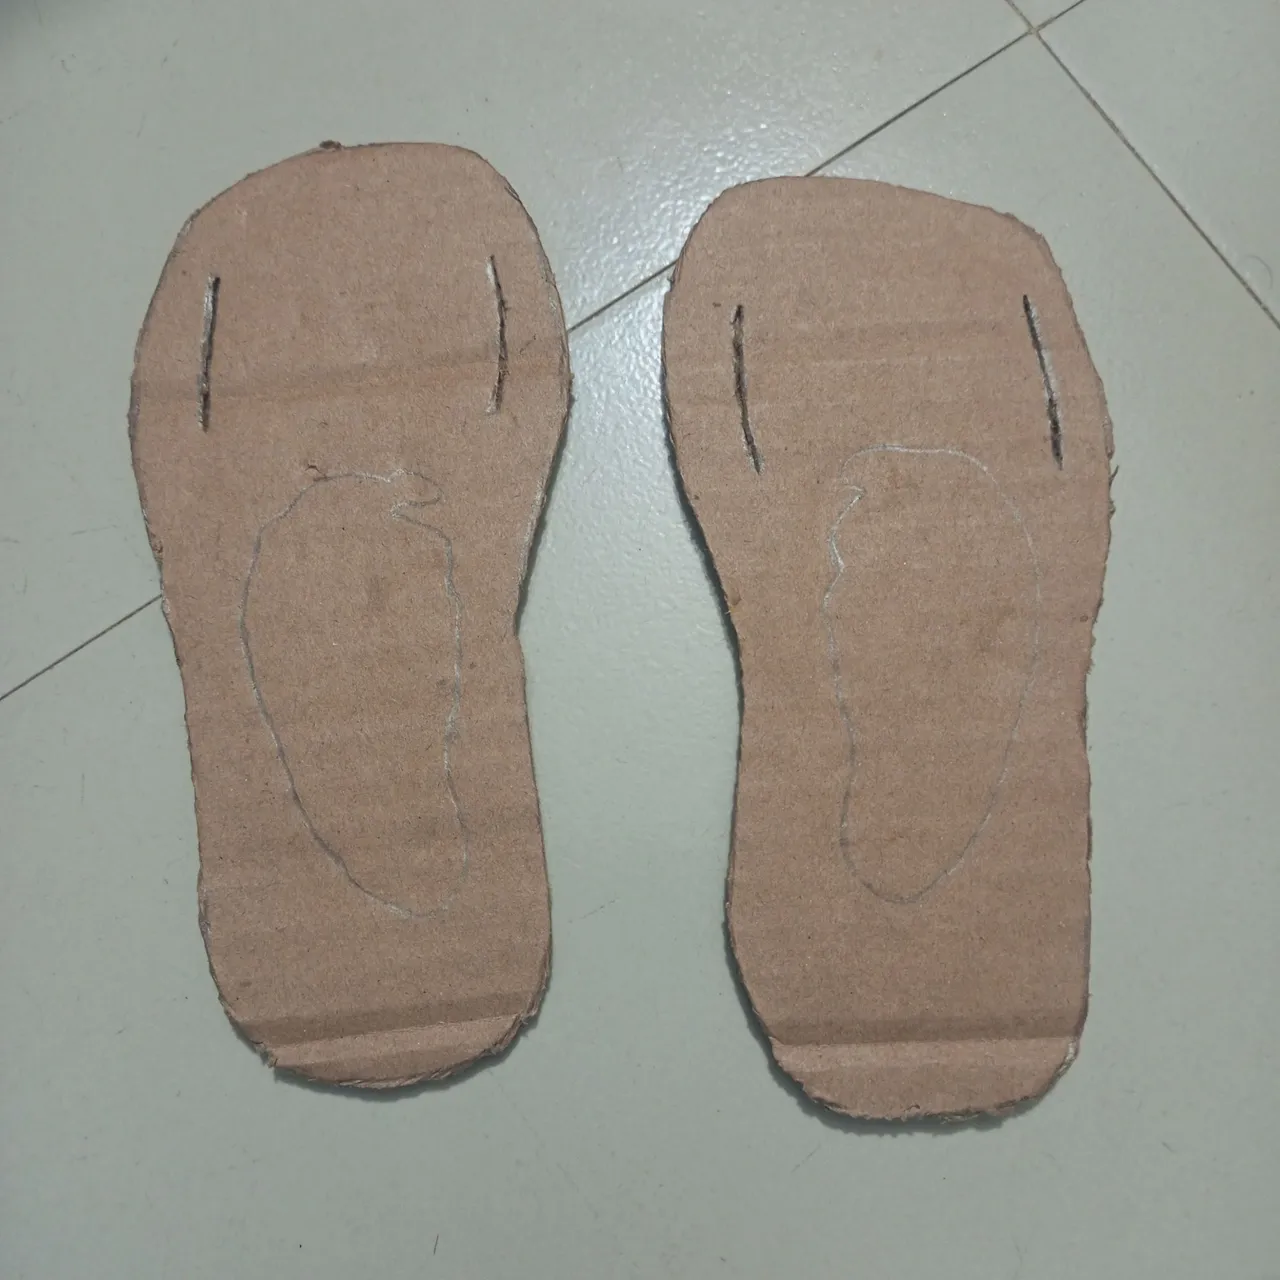
First, I gathered all the tools. Then, I drew small drawings of my daughter's footprints on a thick and heavy card board using a 2B pencil.
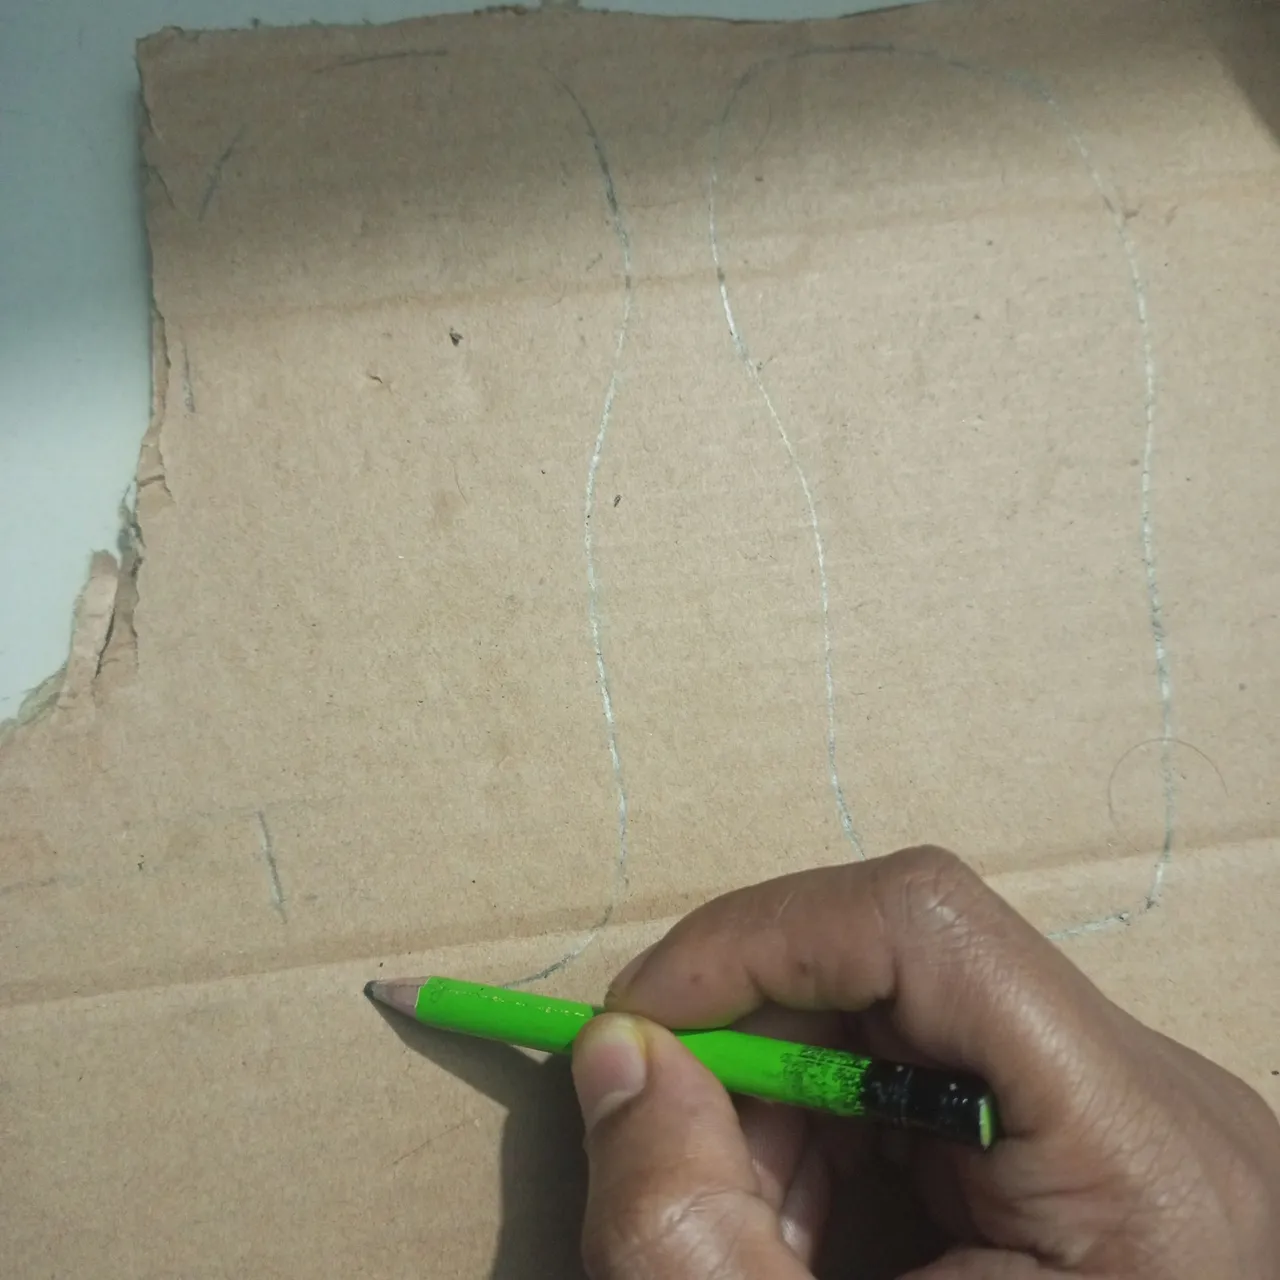
Later, I am trying to draw the remaining parts using a 2B pencil.
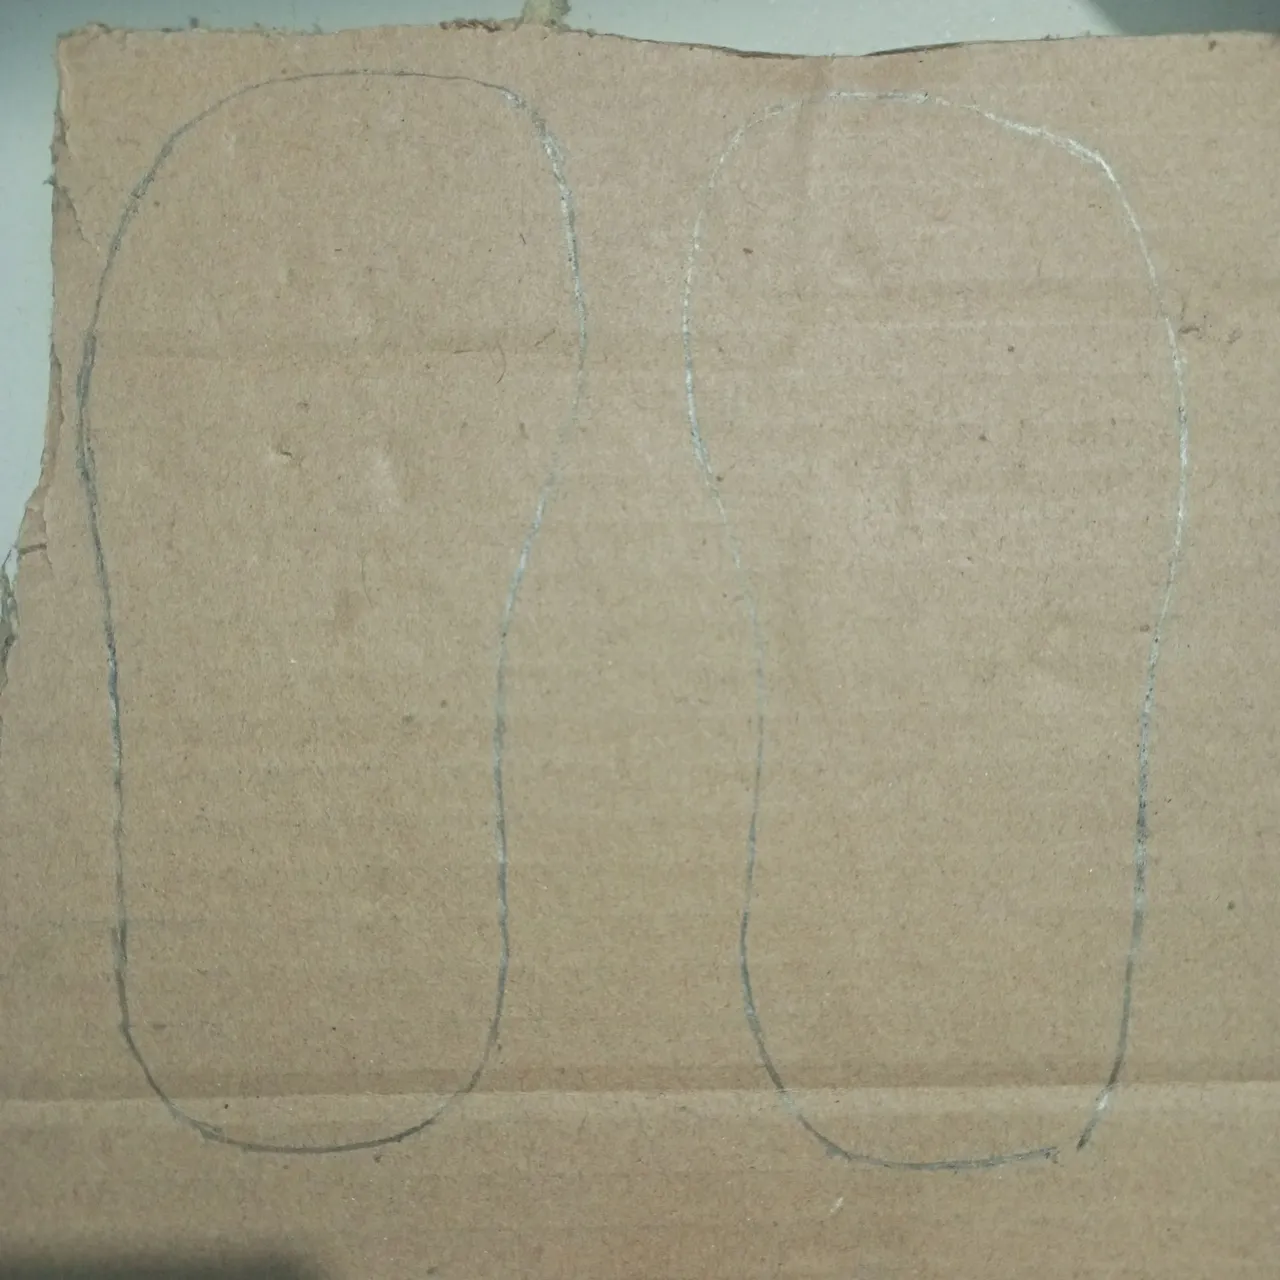
However, it was really difficult to design a pair of shoes that were completely scaled to fit the shape of the foot. However, I will try to make these shoes to fit my daughter's feet.
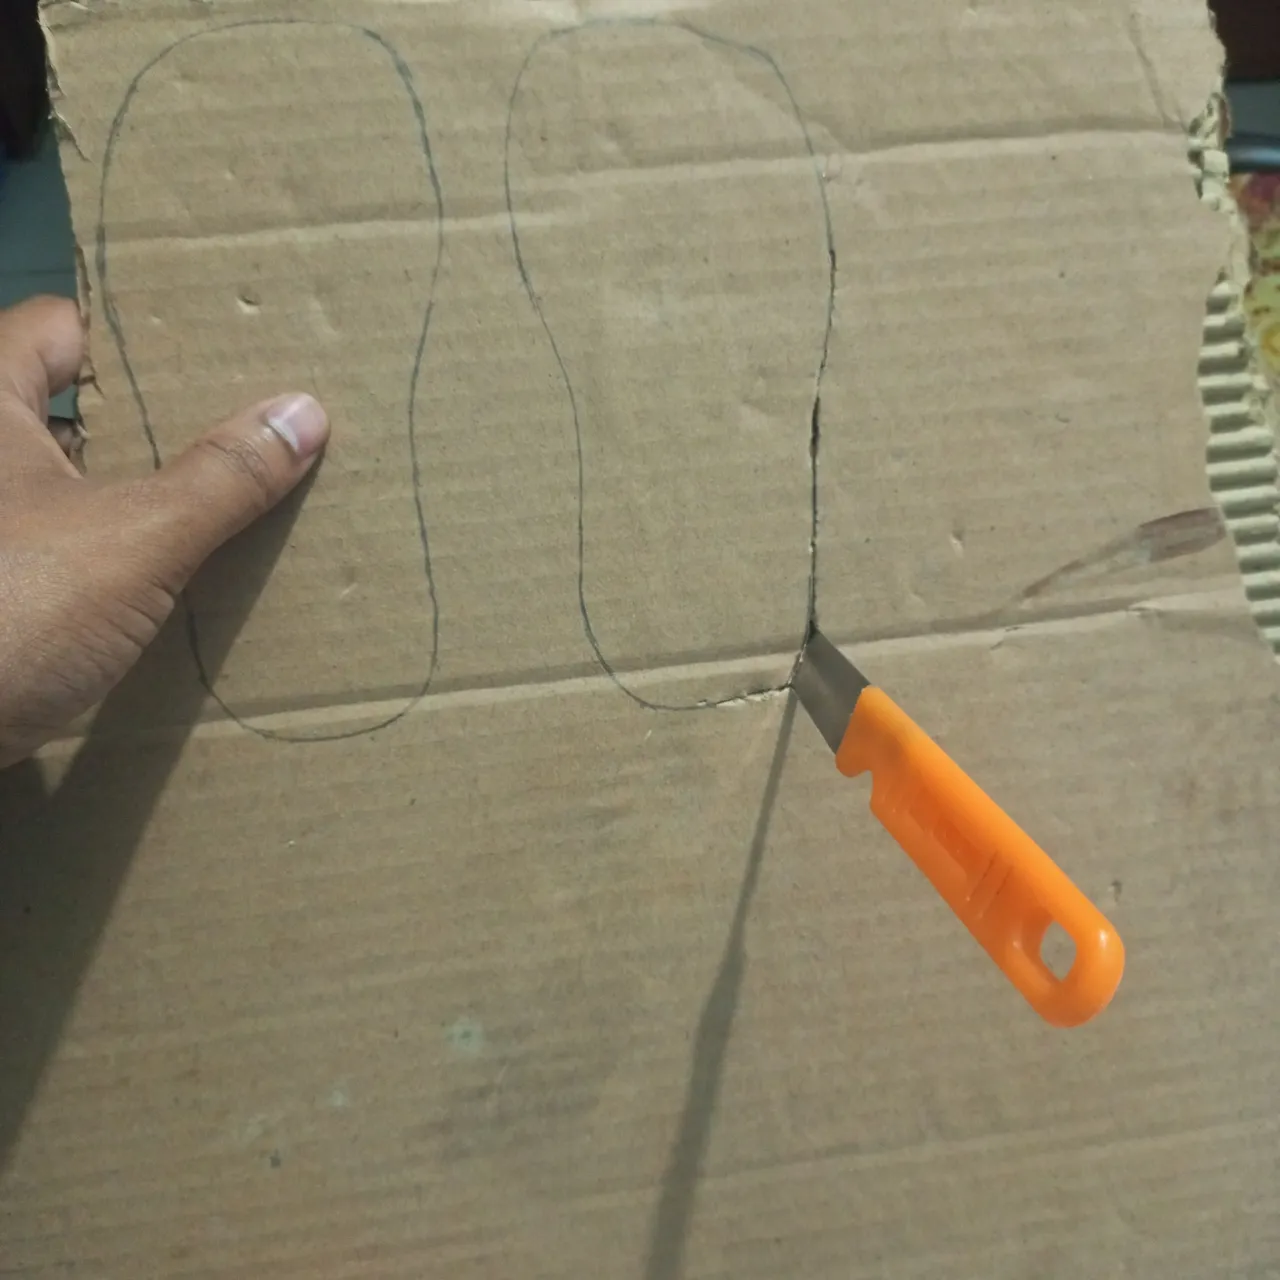
Here I have cut out this amazingly designed shoe design using a knife. But while cutting, of course I tried to cut according to my drawing. At the same time, I was very careful.
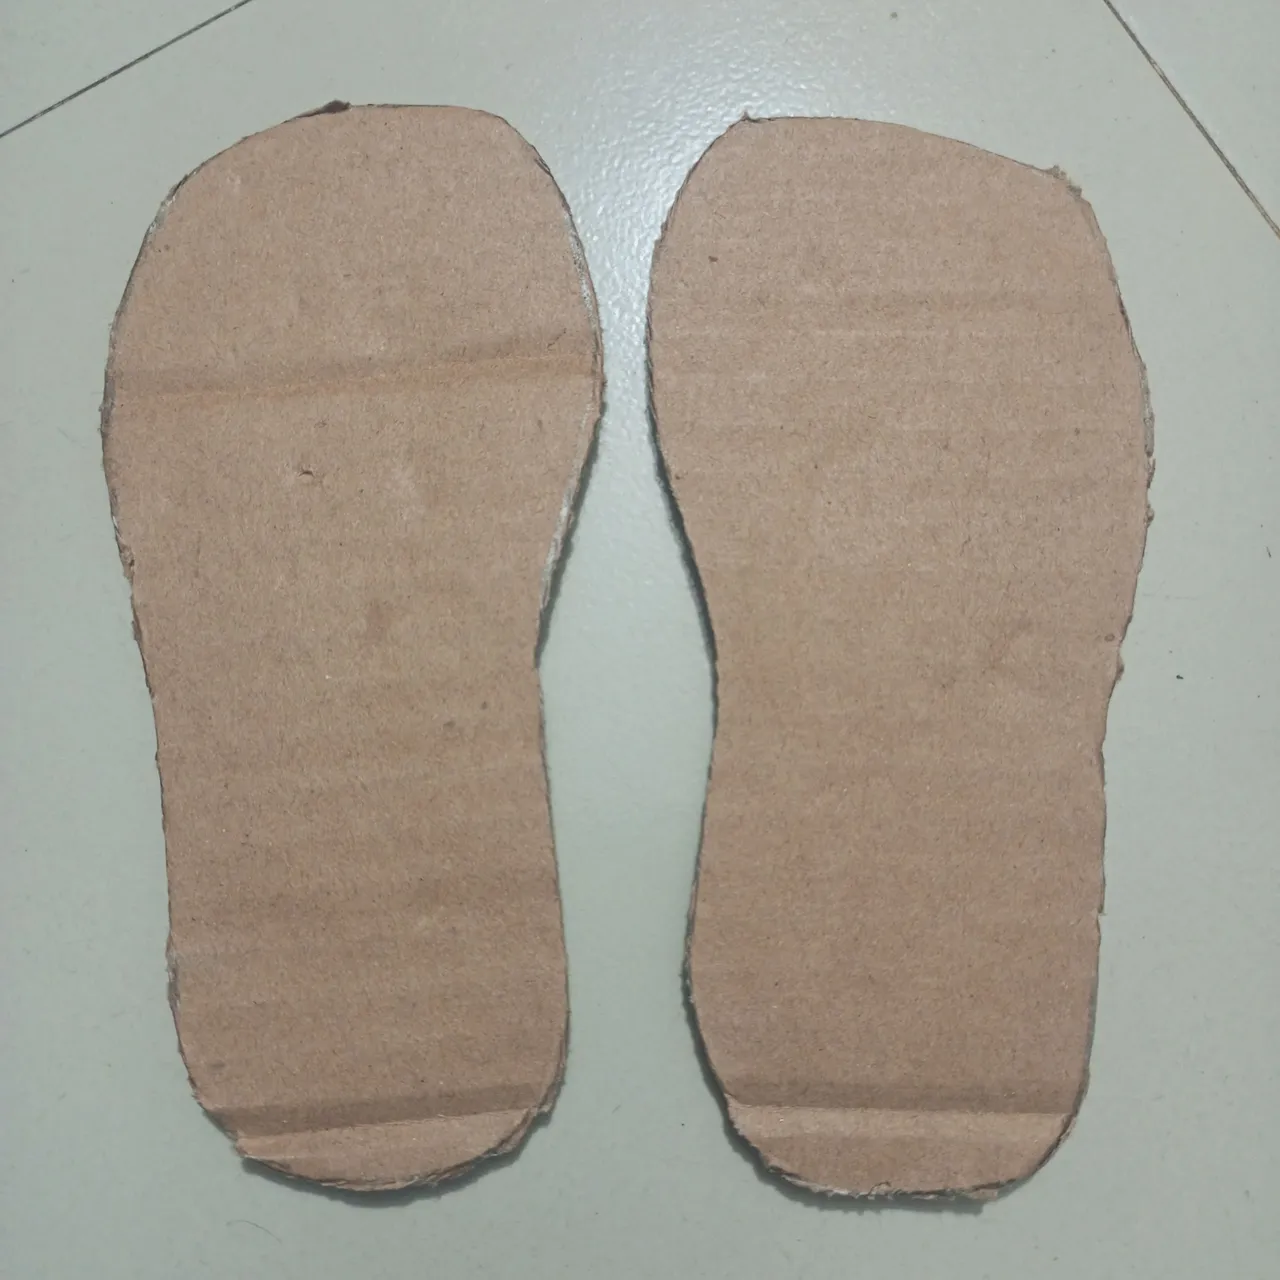
Here you can see a great pair of slippers or shoe shapes are ready by cutting cardboard. Let's follow the next step.
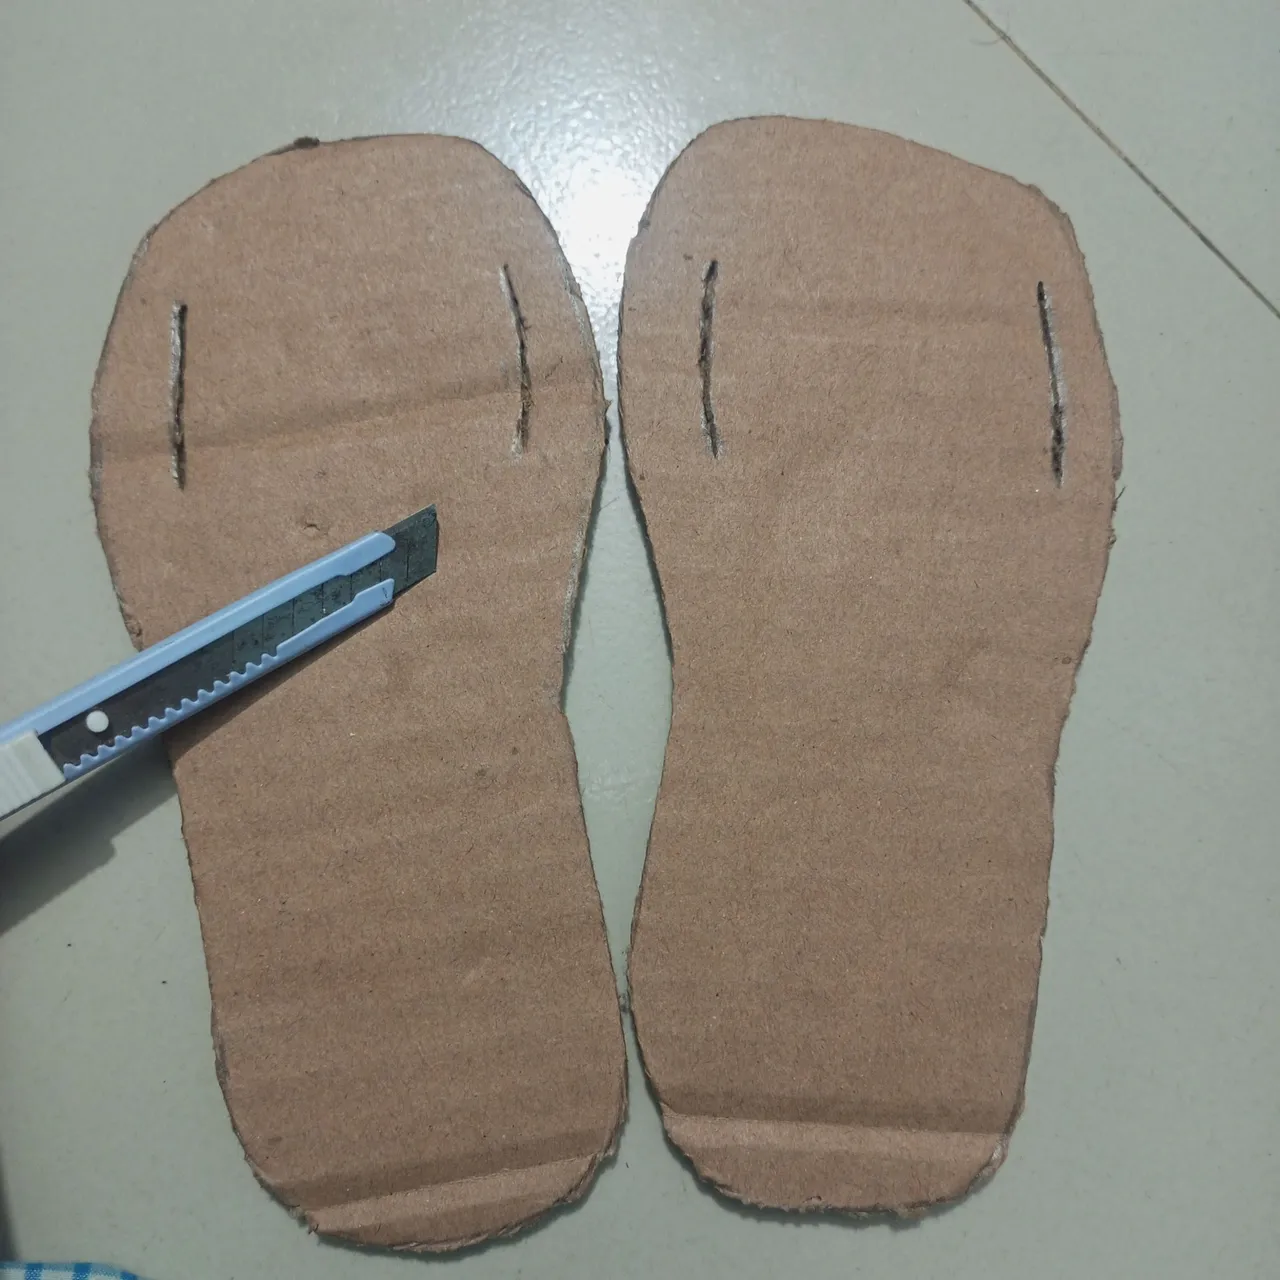
In this step, I drew a beautiful design 6 centimeters long on both sides of the shoe, and then cut the upper jute part according to that design using an ant cutter.
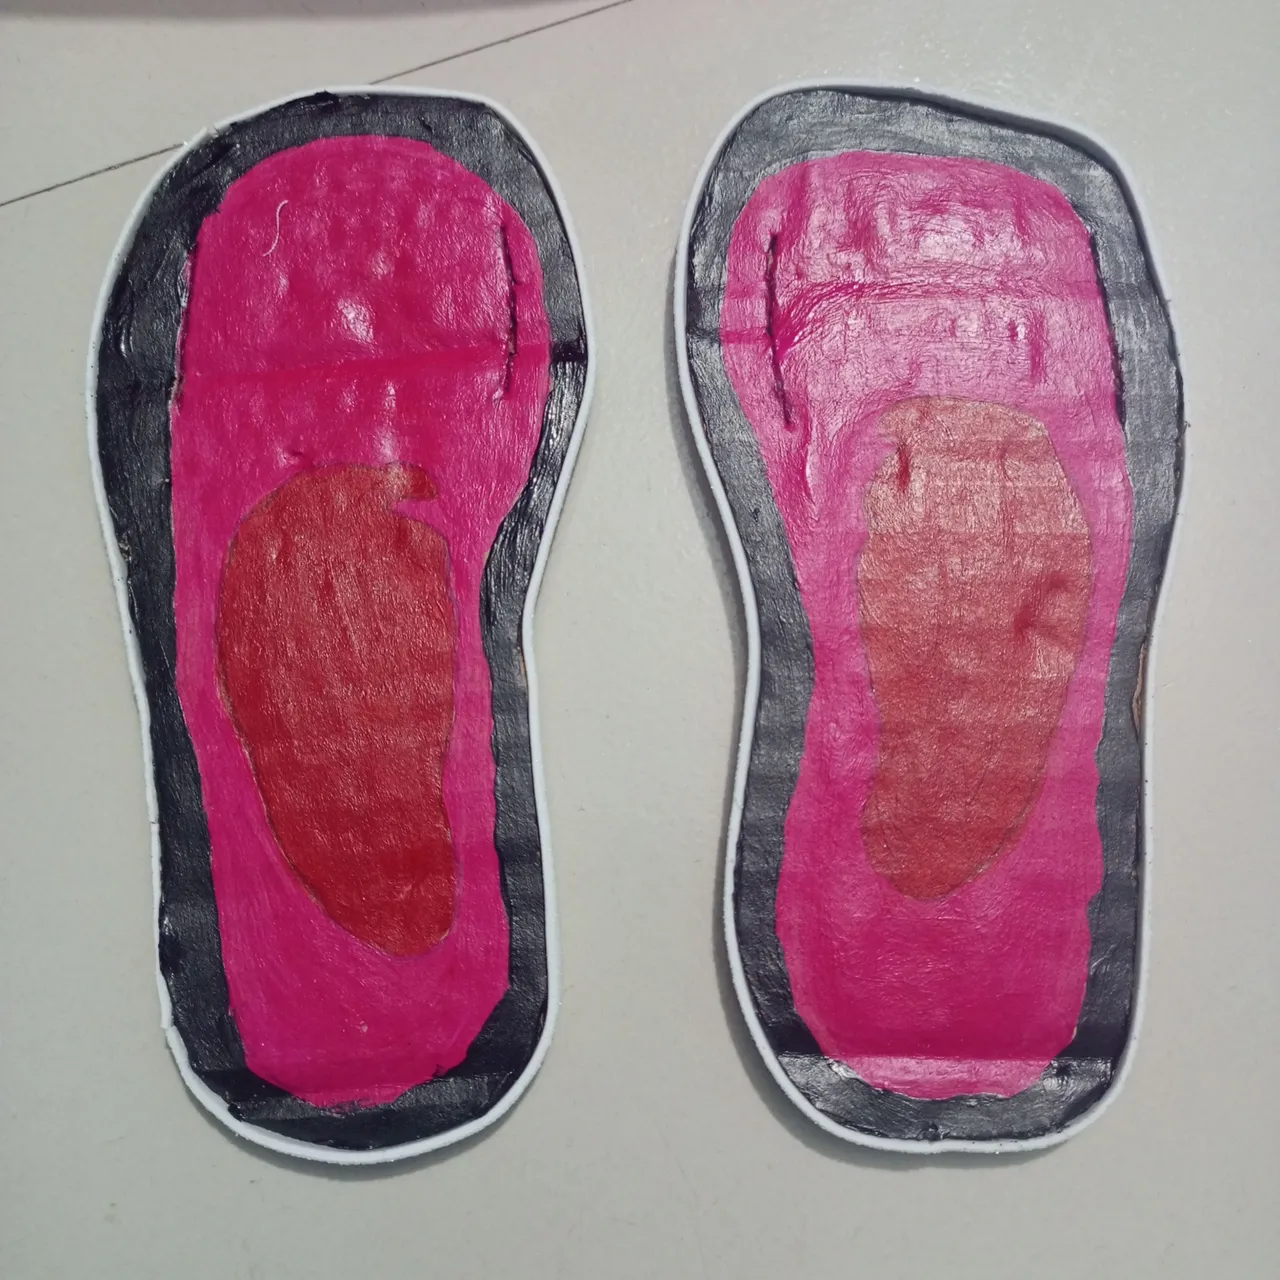
Next, I tried to draw a beautiful design in the middle of the shoe, like a mango seed. Here, I just used a pencil to correct the designs on the sides.
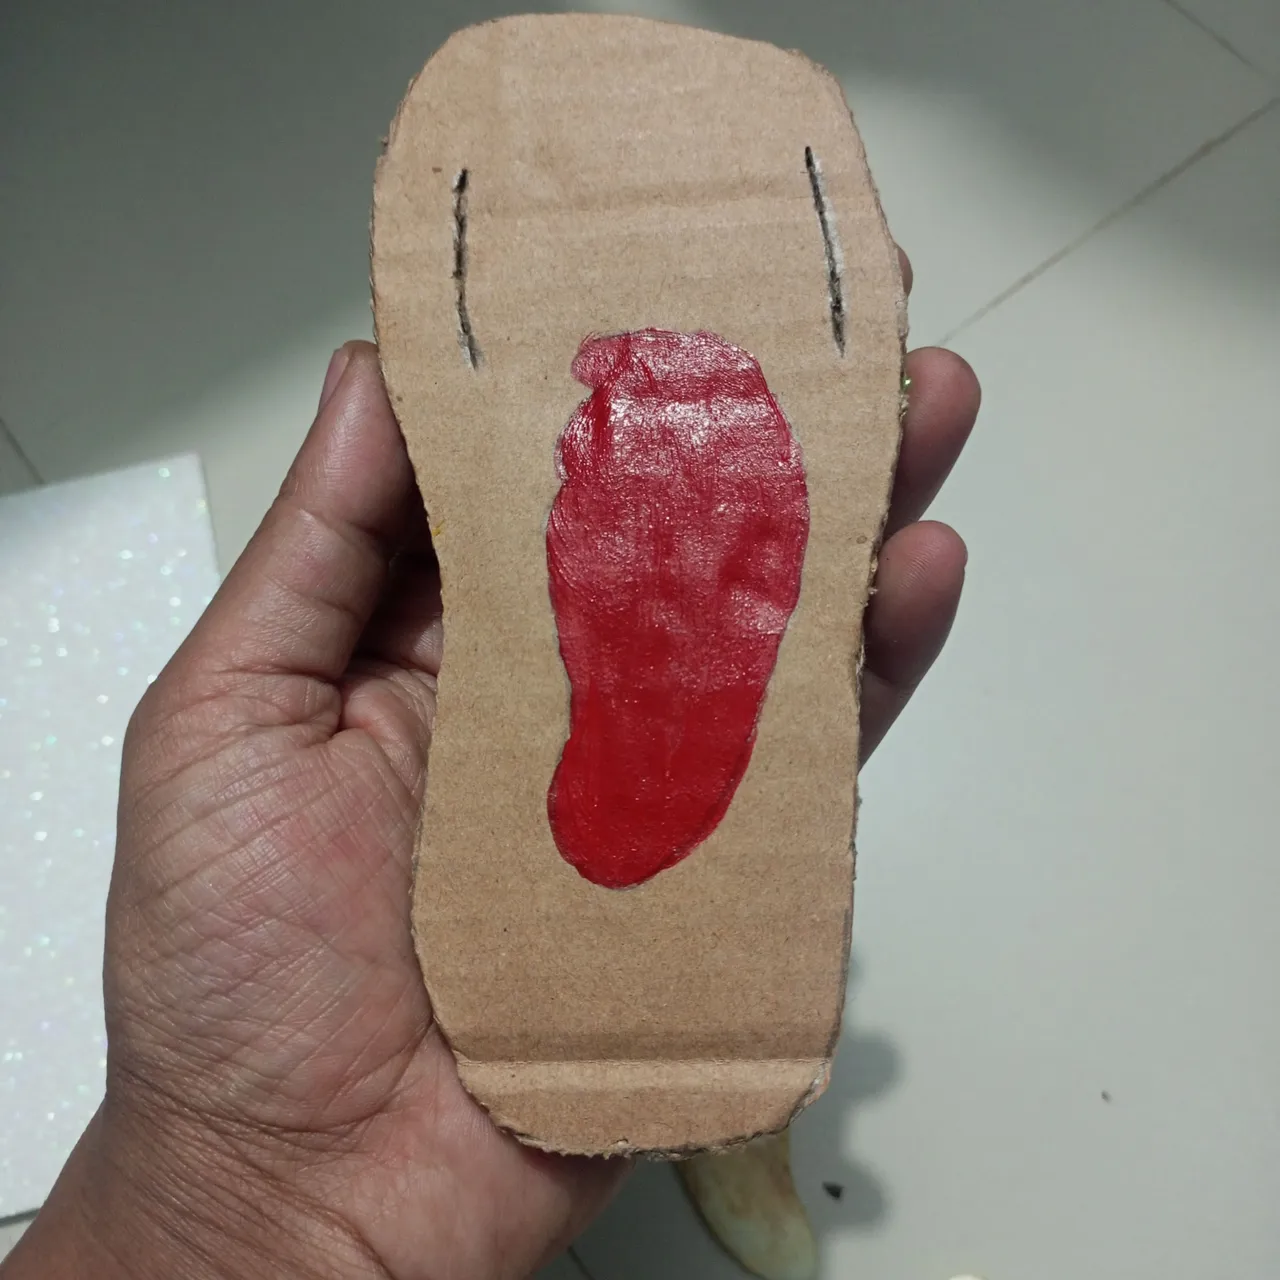
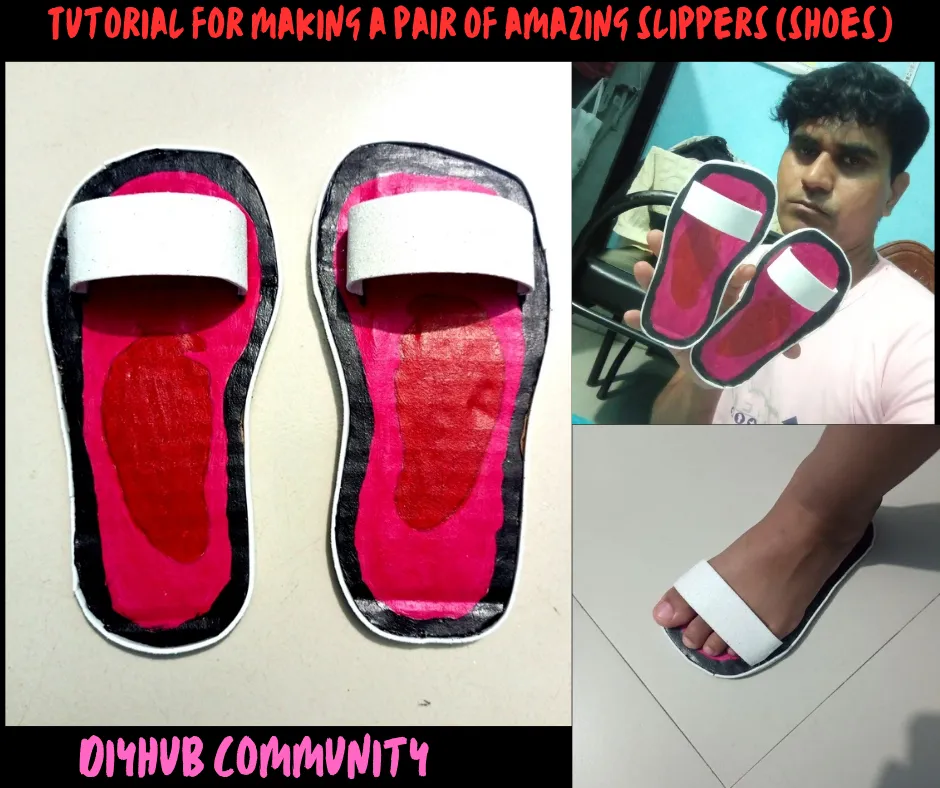
Later, I painted the middle part red using acrylic paint. My corner really likes red and has many red clothes. I am just trying to match. I am just trying to show you how much skill is needed to make a pair of shoes after carving them myself.
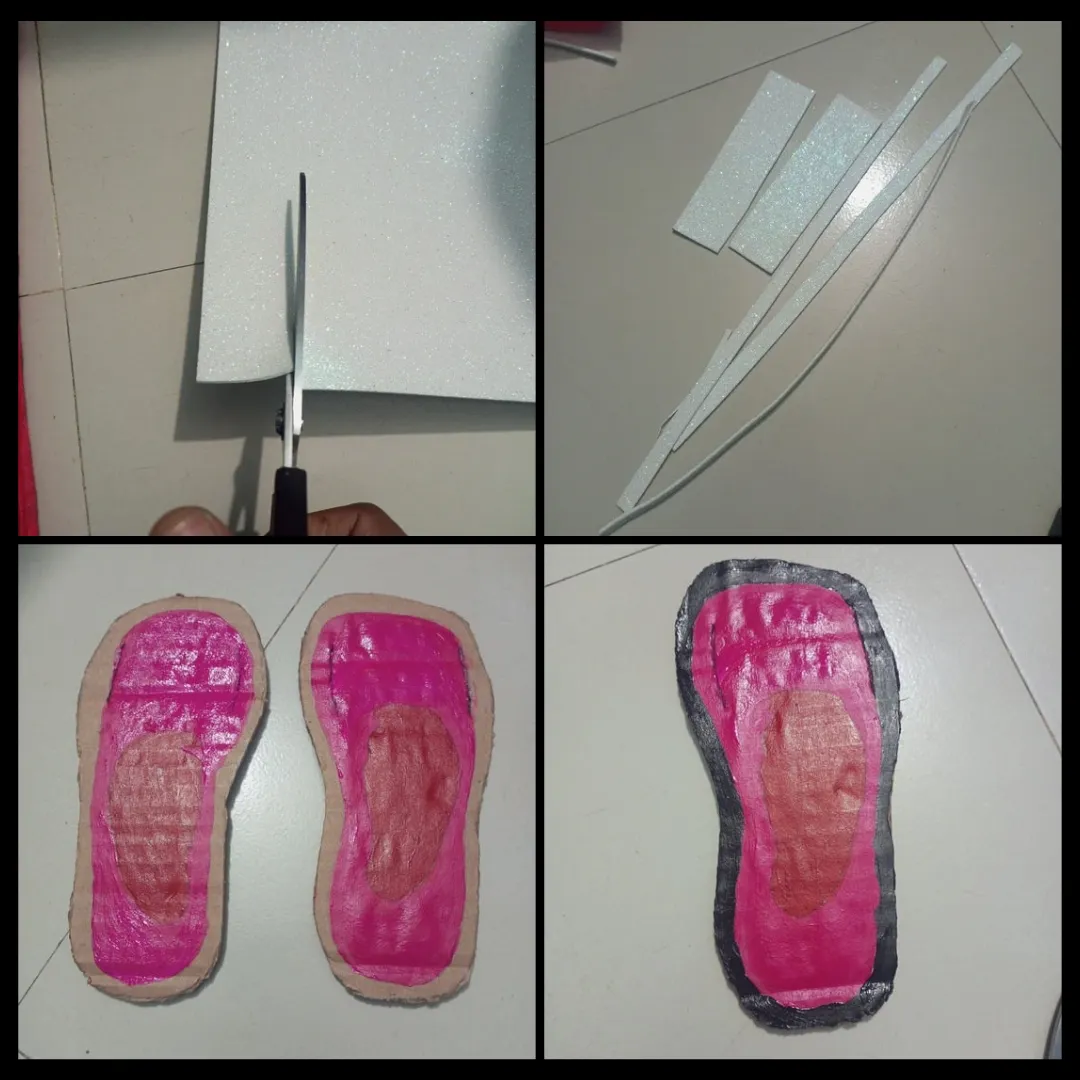
In this step, first I took the glitter paper. I am interested in making shoelaces in the front part with this white glitter paper. And I am working on cutting the beautiful design of the surrounding part with scissors. I cut two 22×3 cm white glitter papers with scissors. Then I cut the glitter paper in 1×22 cm. Later I completed the design by adding pink color and black color.
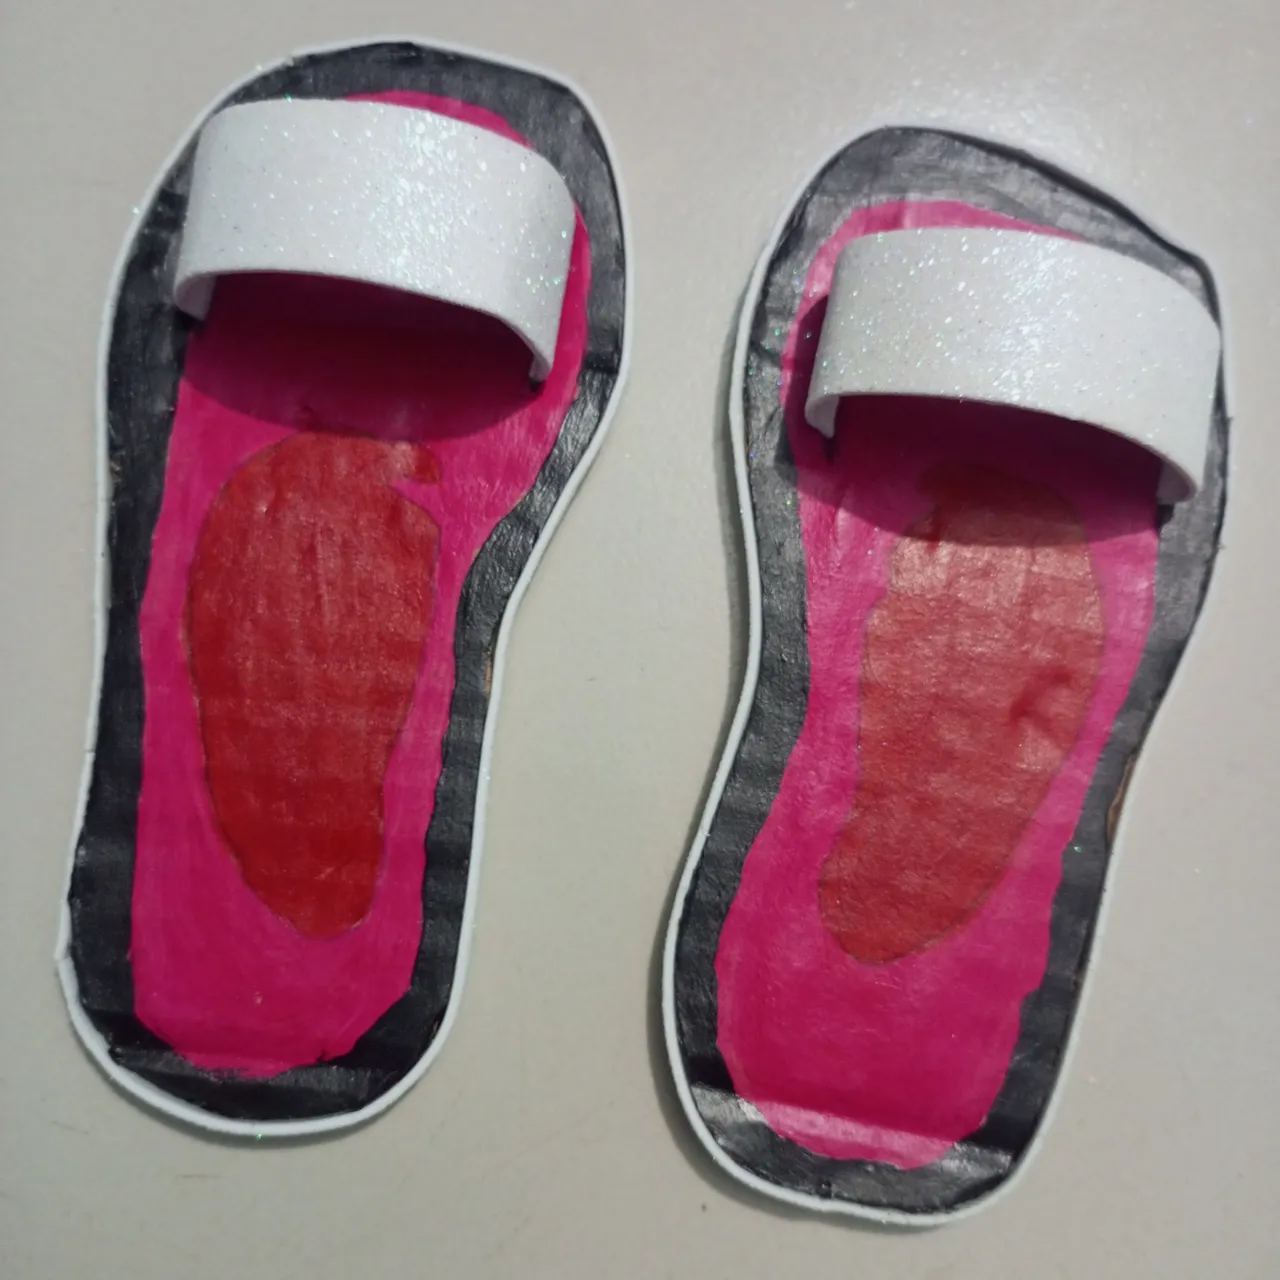
I have filled all the colors beautifully using a brush. After the coloring is complete, I have attached the 1×22 cm glitter papers to the sides using B-6000 glue.
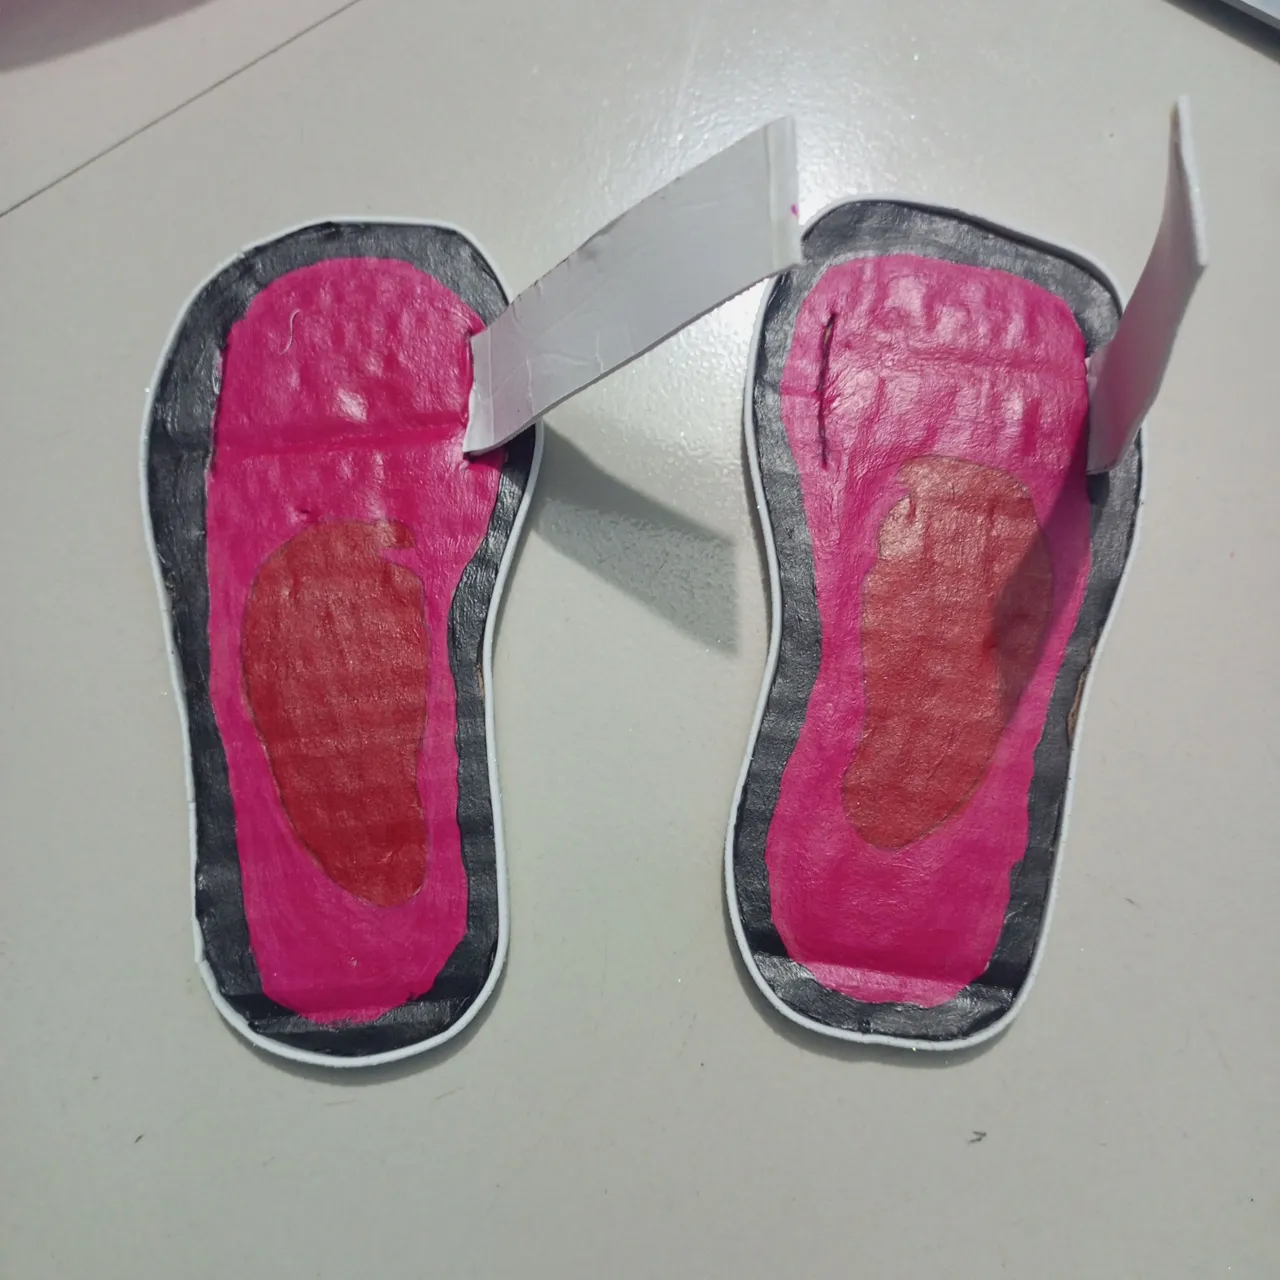
In this step, I have attached glitter paper ribbons to one side of two slippers or shoes. Also, I have attached one side by applying B-6000 glue.
Next, we have completed all the steps of making shoes by adding another lesson on slippers. So let's follow the final steps.

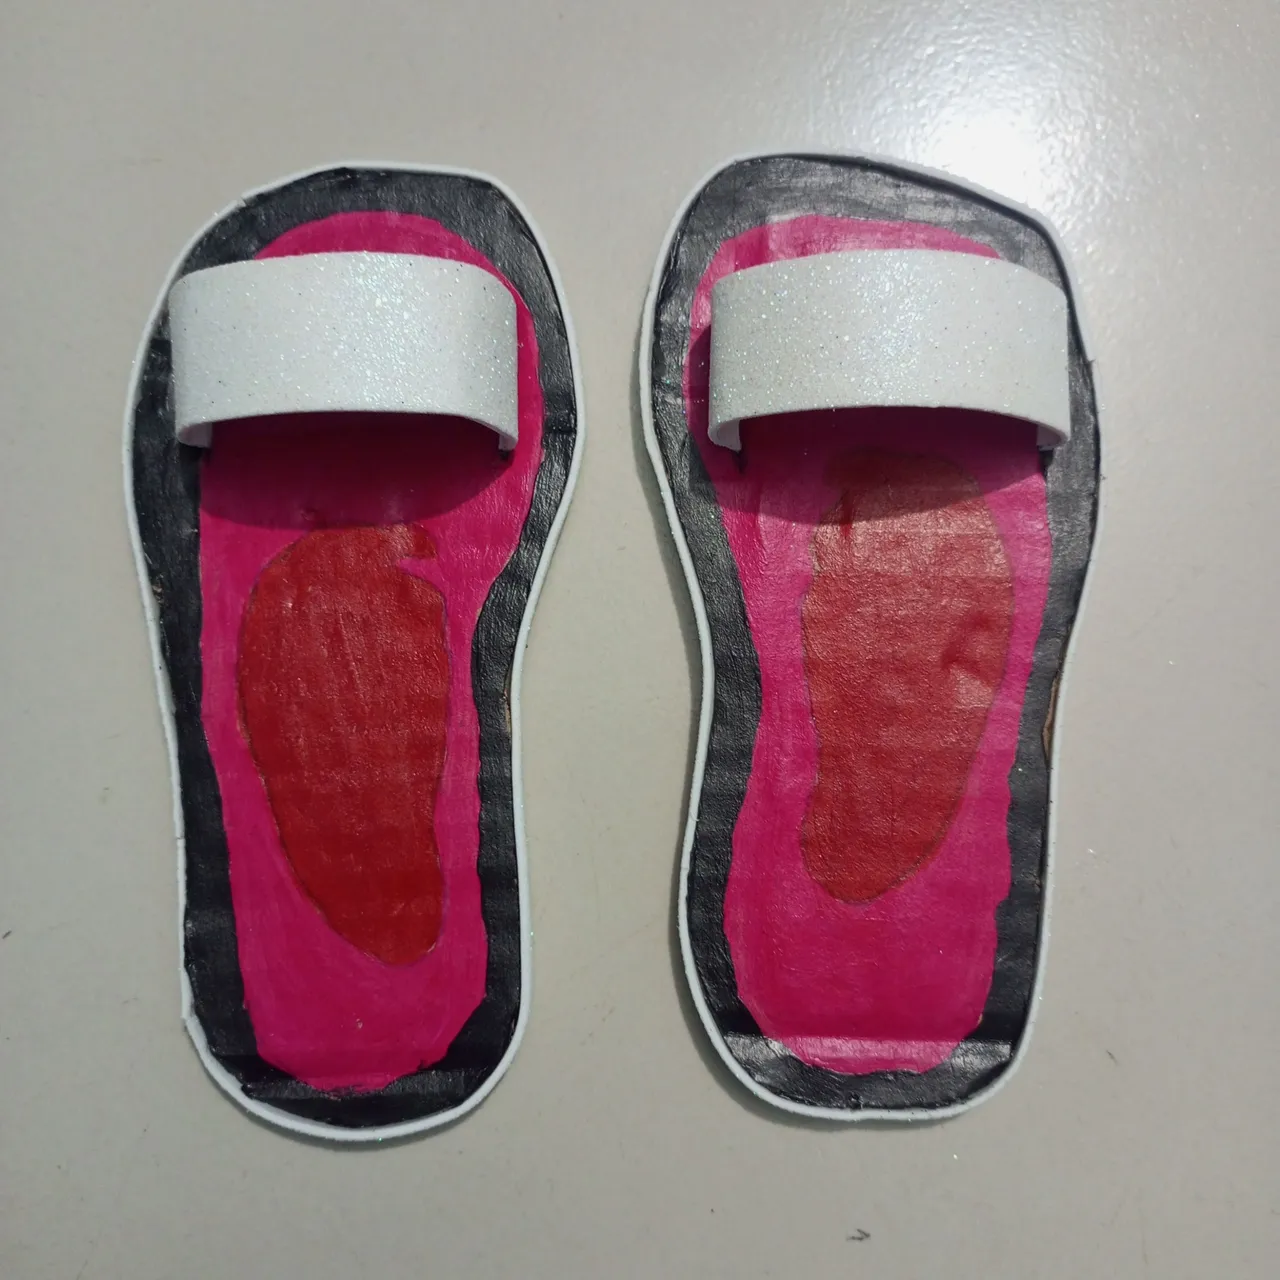
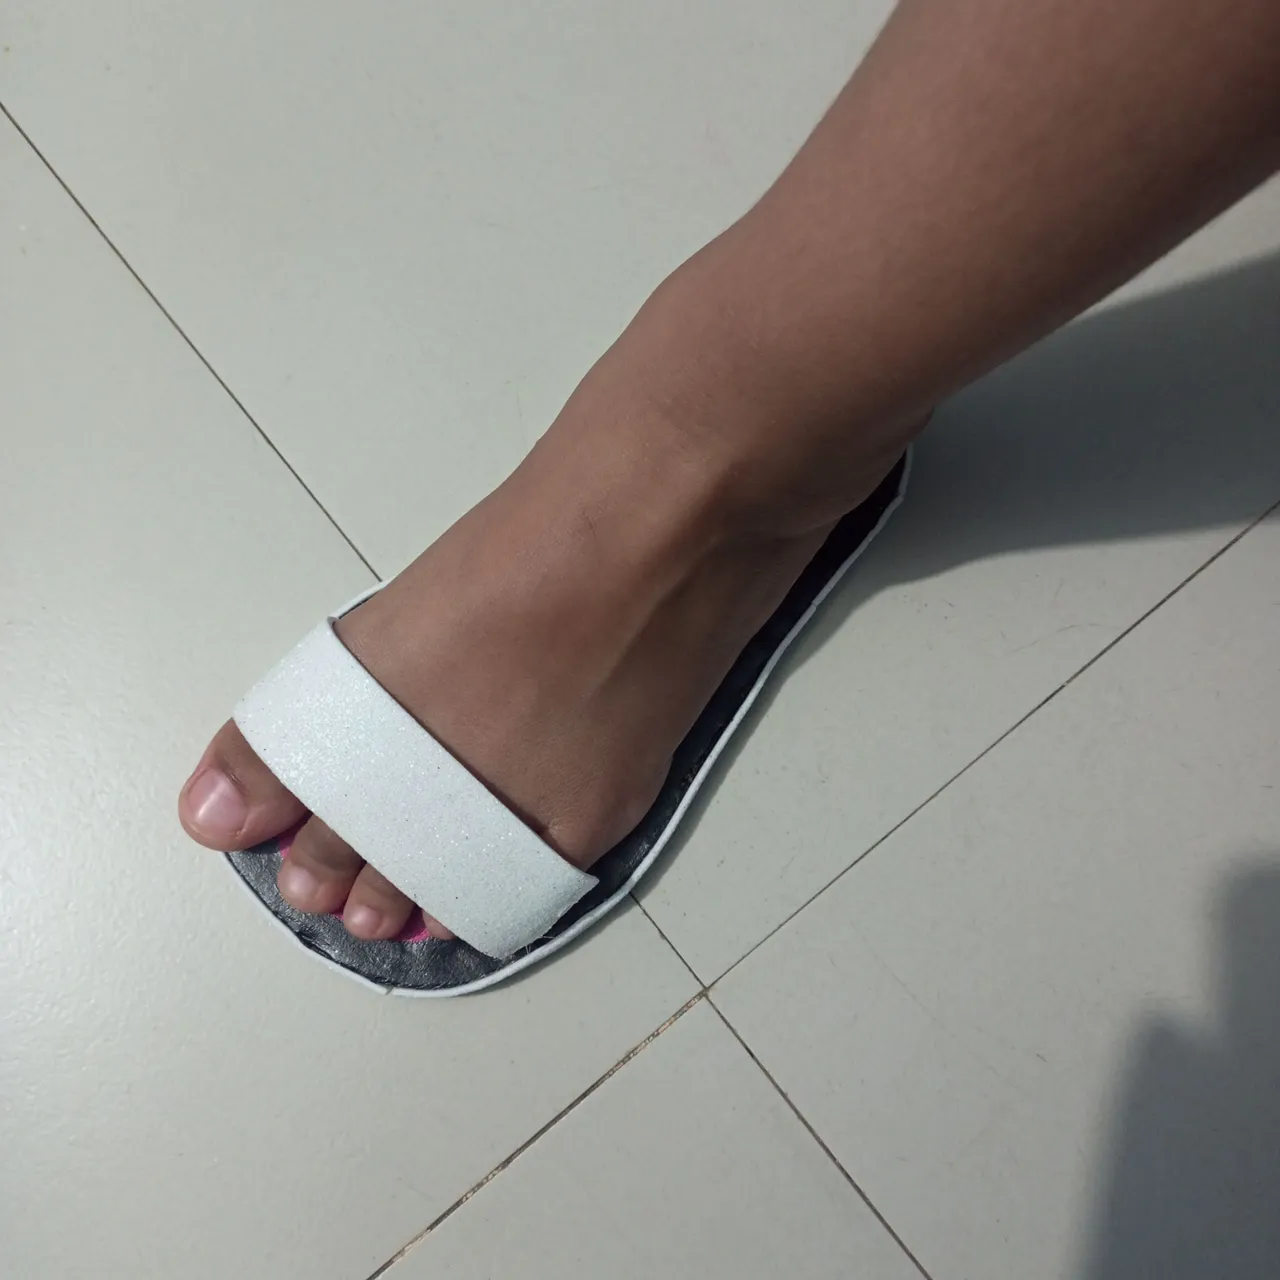
However, these shoes look very nice on my daughter's feet and she is very happy wearing them. These slippers or shoes will really play an important role for normal room use.
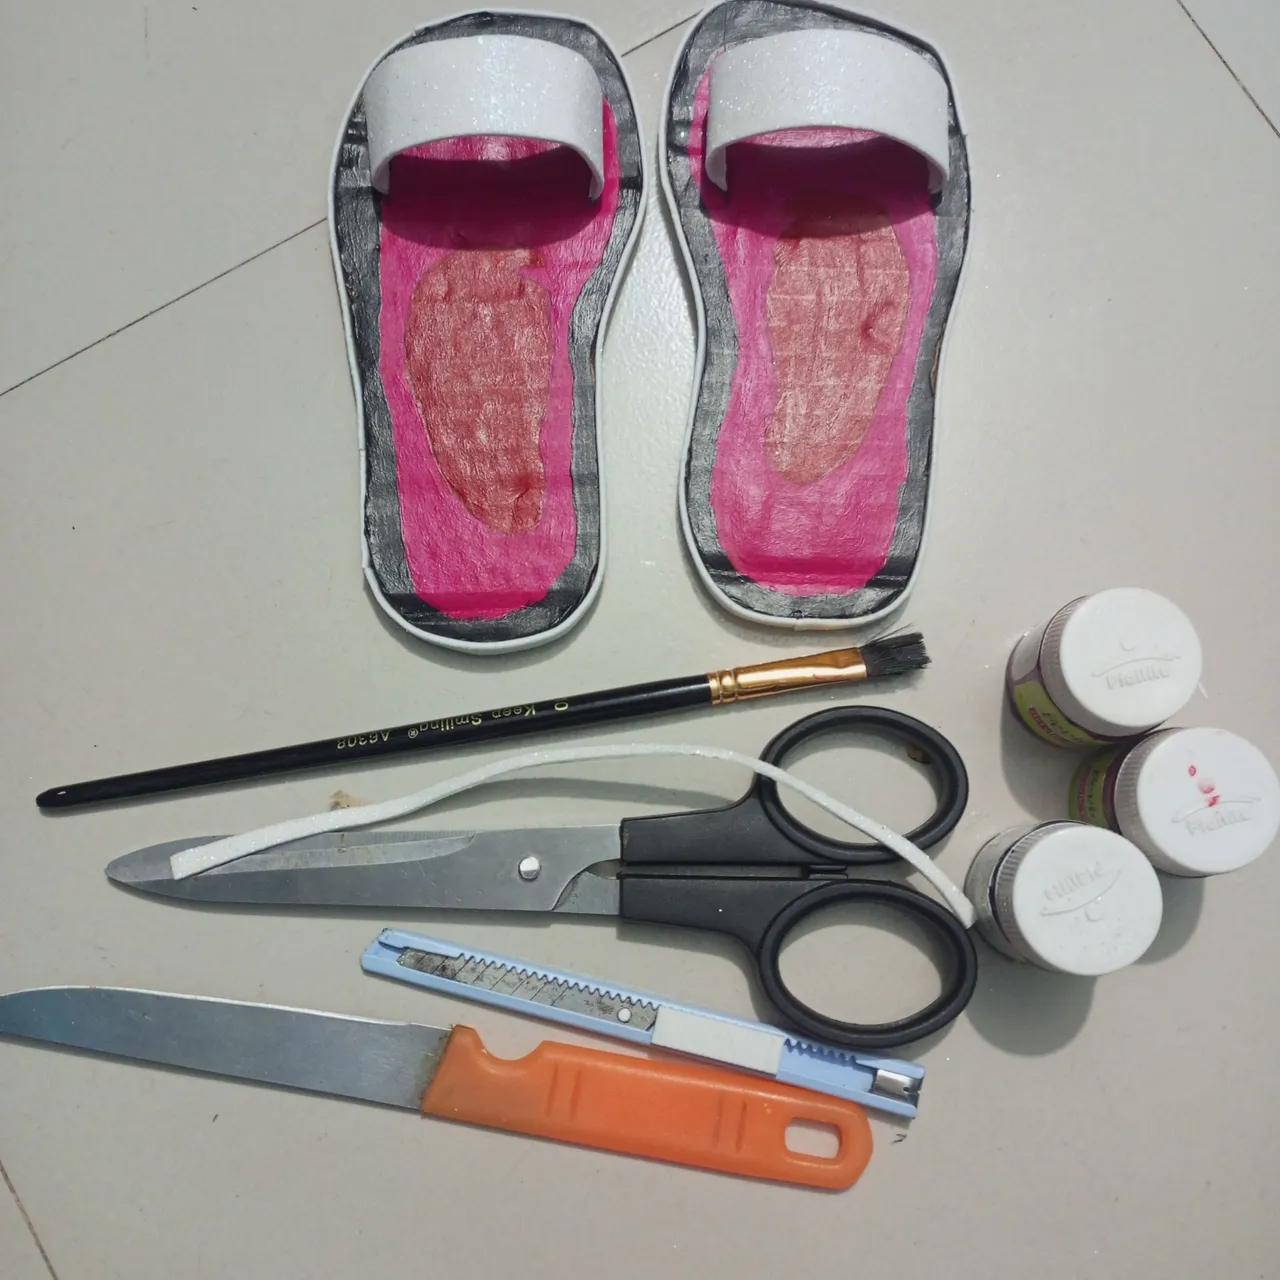
🌺Knife
🌺Cardboard
👁️Brushes
👁️Scissors
👁️B-6000 glue
👁️Anti cutter
🔵Glitter paper
🌺Acrylic colour
🌺2B pencil dark
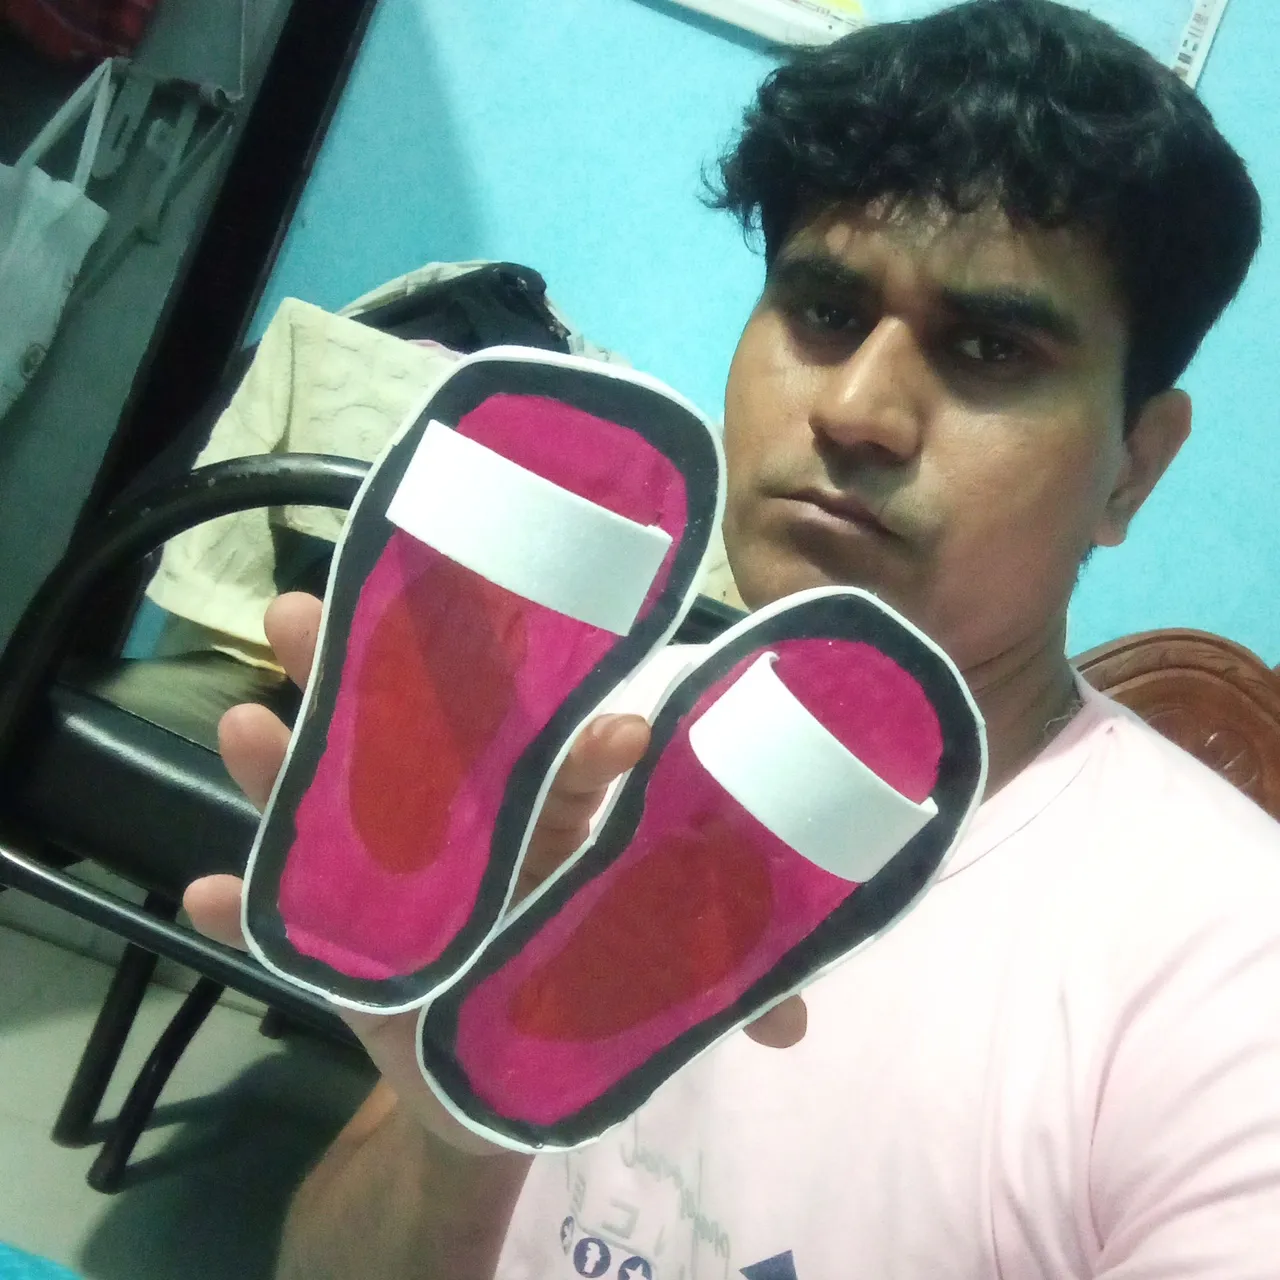
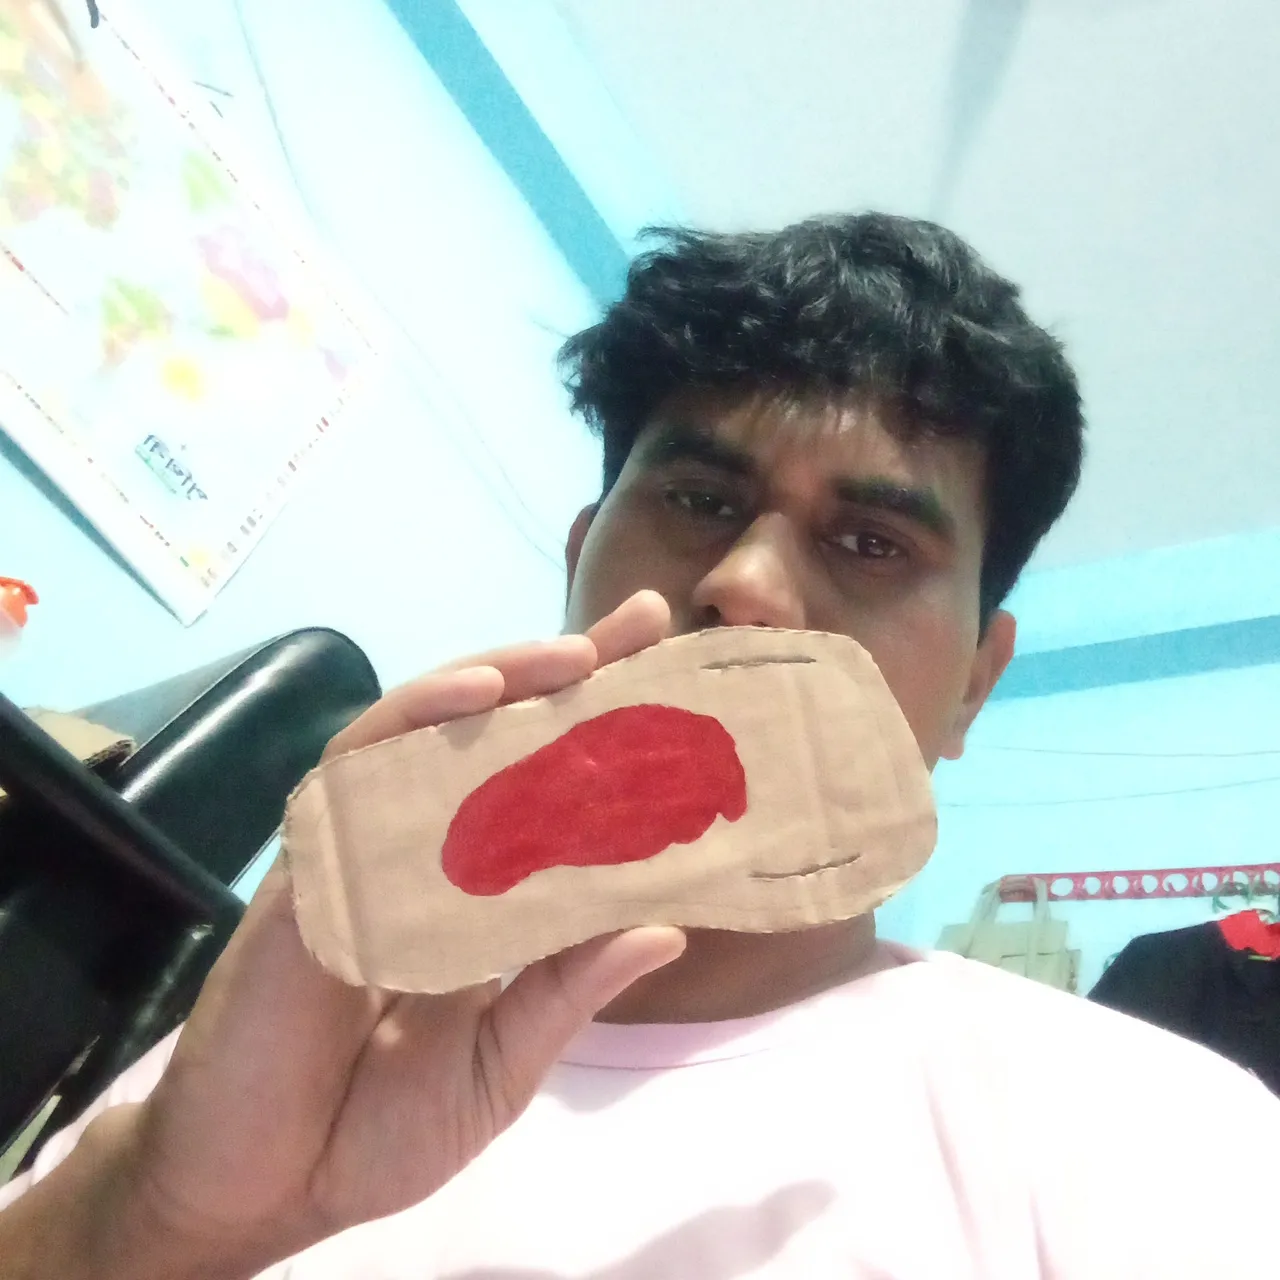
Here I am showing off a selfie with these amazing slipper shoes today and a selfie in the middle.

Thank you for reading my creative article blog .Stay safe,stay happy.i think if you find any mistake in writing or something. Please allow me to correct it.And find me on social media.
[//]:# (!worldmappin 23.752463 lat 90.380974 long Tutorial for making a pair of amazing slippers (shoes). d3scr)