A jumpsuit isn't still my ideal type of dress any day, anytime, despite adding it to my wardrobe. Although I fancy the outlook of it whenever I behold it on others, I never saw this day coming, a day of taking out of my time to sew and also wear it.

My reason for the grudge against it isn't far-fetched from the trouble one encounters whenever you want to visit the ladies. (Restroom).
Imagine pulling your dress to the lowest part of your waist solely because of that. I can't deal. Meanwhile, despite the troubles that come from wearing it, I was adamant about giving cutting and sewing it a shot. Learning new things should be an everyday thing for someone who wants to grow after all.
N.B: The illustration will be done with plain white paper; I couldn’t capture the process of making this dress because I sewed it at night, and to make matters worse, there was also no power supply.
So, thank you in advance as you make do with this.
Materials To Be Used.
- The Main Fabric
- Match Thread
- Gum Stay (for the collar and the front bodice)
- Button
N.B: I used a silk fabric to make this jumpsuit, and I think I should have made use of air stay instead of gum stay.
Silk material has no stamina and using gum stay for the collar and the front bodice was a total mistake on my side.
Body Measurement To Be Considered.
- Crotch length: There are several methods of deriving this. However, I'll recommend this particular one, which is placing the taperule from the shoulder to where the individual's crotch is.
- Half-length
- Hip circumference
- Thigh "
- Bust "
- Waist "
- Full length
The Cutting
- Cut out the half-length but make sure is a few inches above the abdomen.
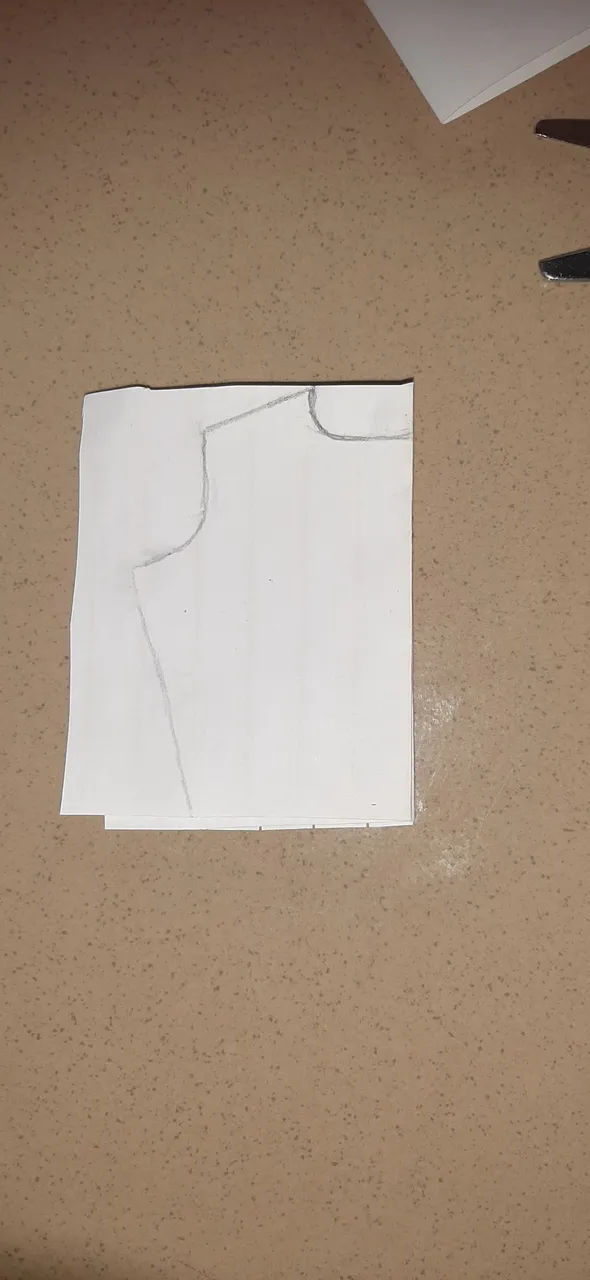
- After doing that, cut out the downward part using the remaining inches for the full length of the jumpsuit.
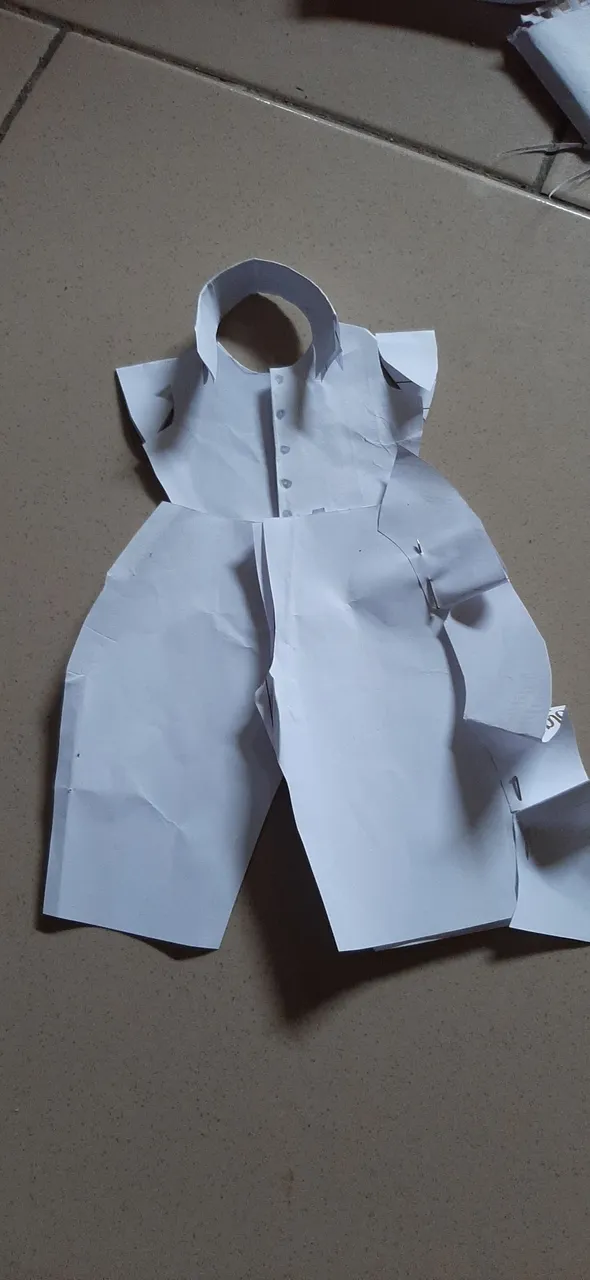
- Add about five inches extra for the front bodice of the half-length, this is for the interfacing of the neckline slash the button space.
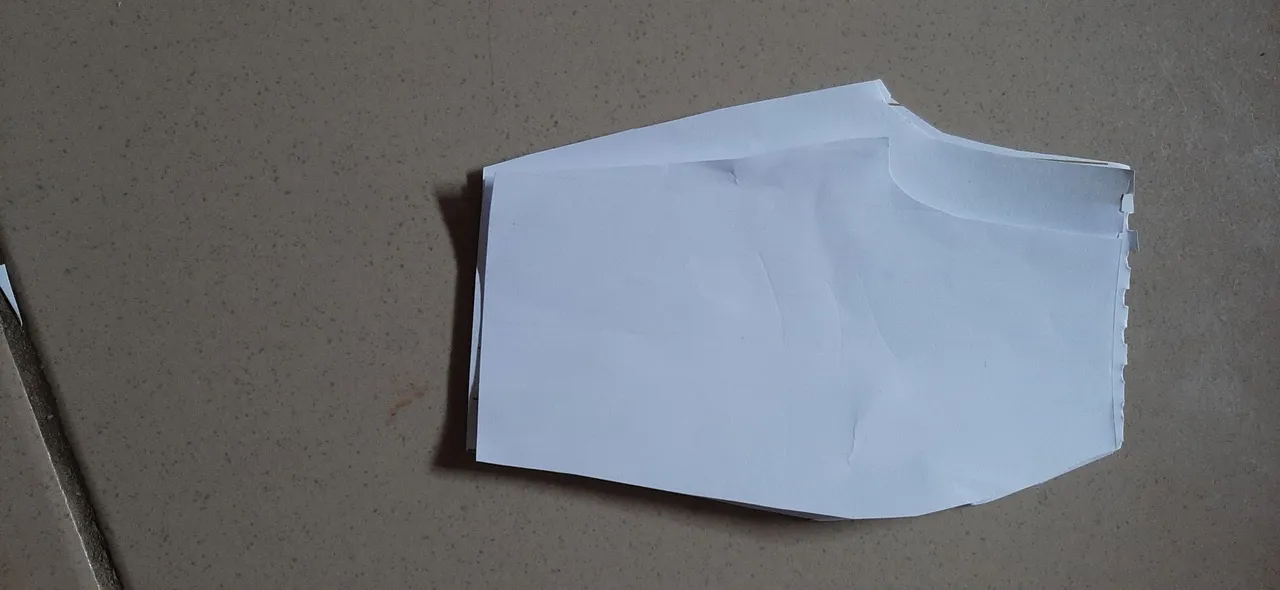
- Cut out the collar after measuring the total circuit of the neckline.

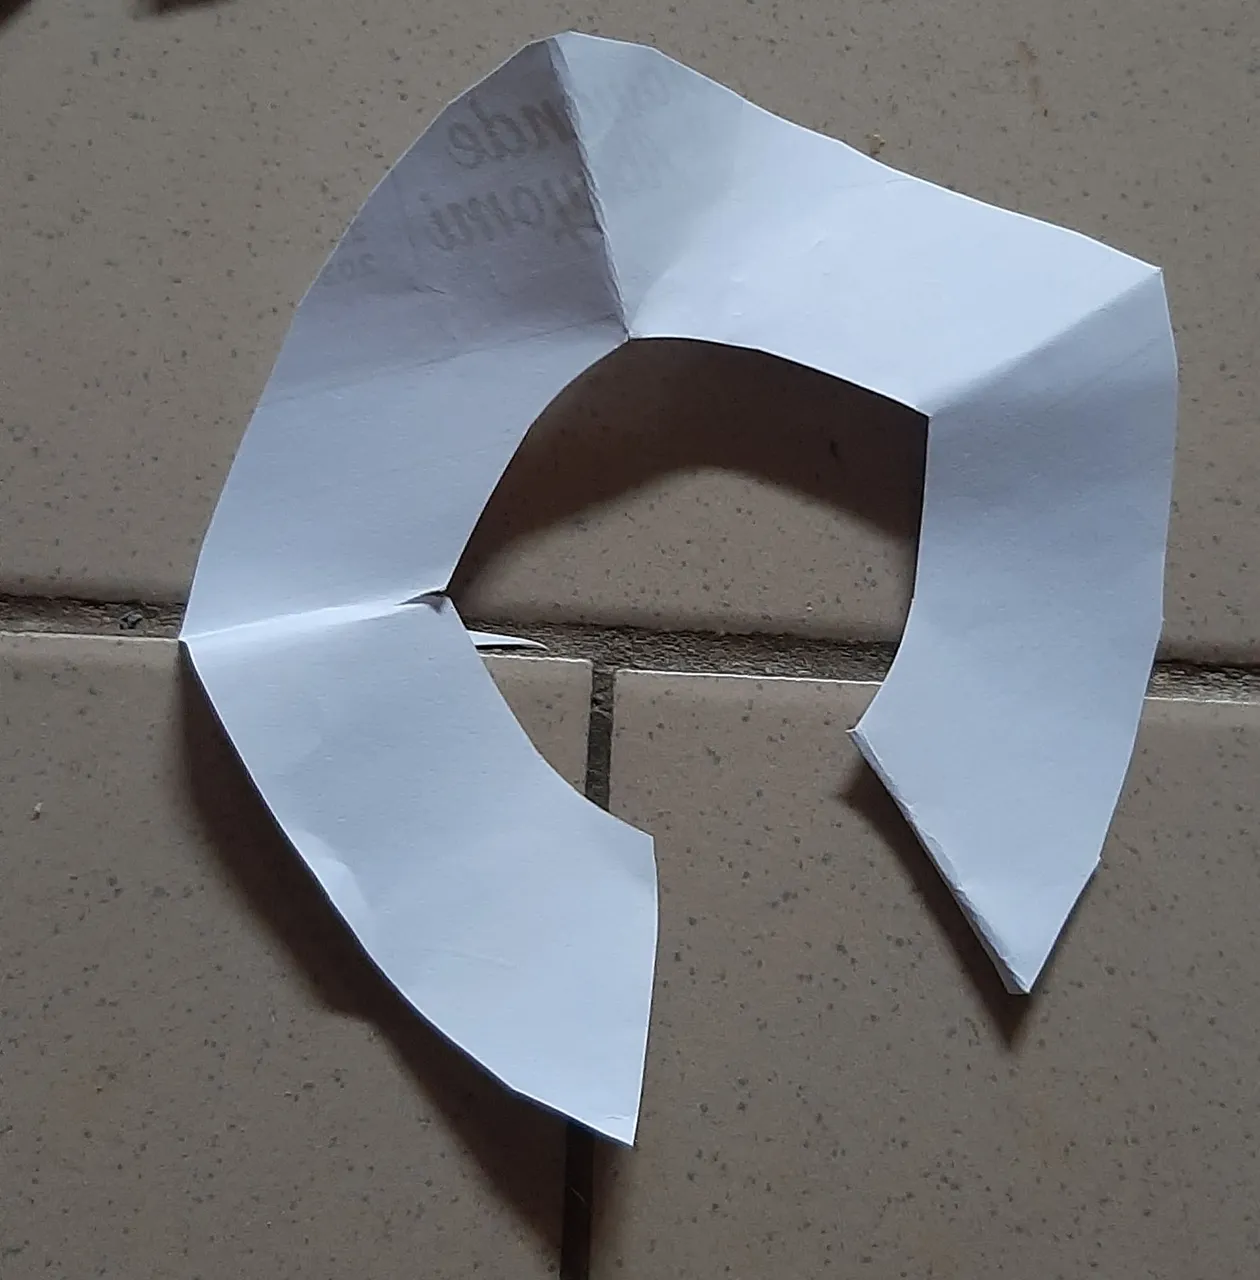
- Cut the circular flare for one of the sides of the lower part.
- Cut out the type of sleeve you want.
I did a cup sleeve for this.
The Sewing
- Place the interfacing correctly and sew it
- Join the shoulder together
- Add the collar after measuring the total neckline
- Add the circular flare by the side of the lower part
- Add sleeve to the upper bodice
- Join both the upper and the lower part together and use the exact measurement for the waistline of the upper part for the lower also.
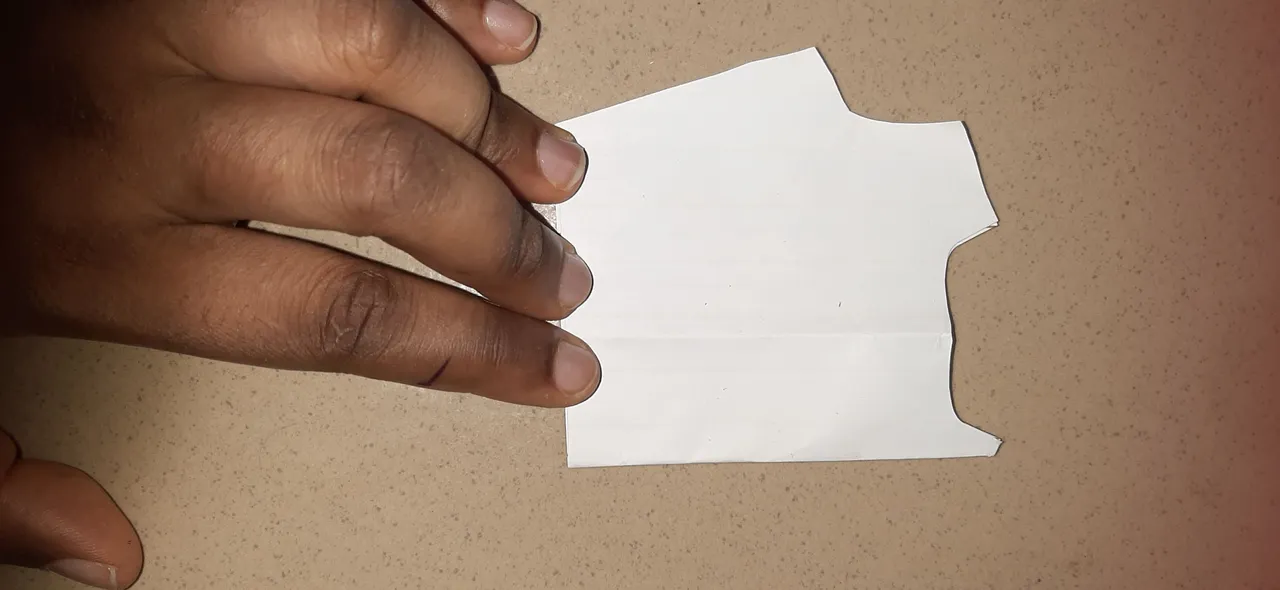
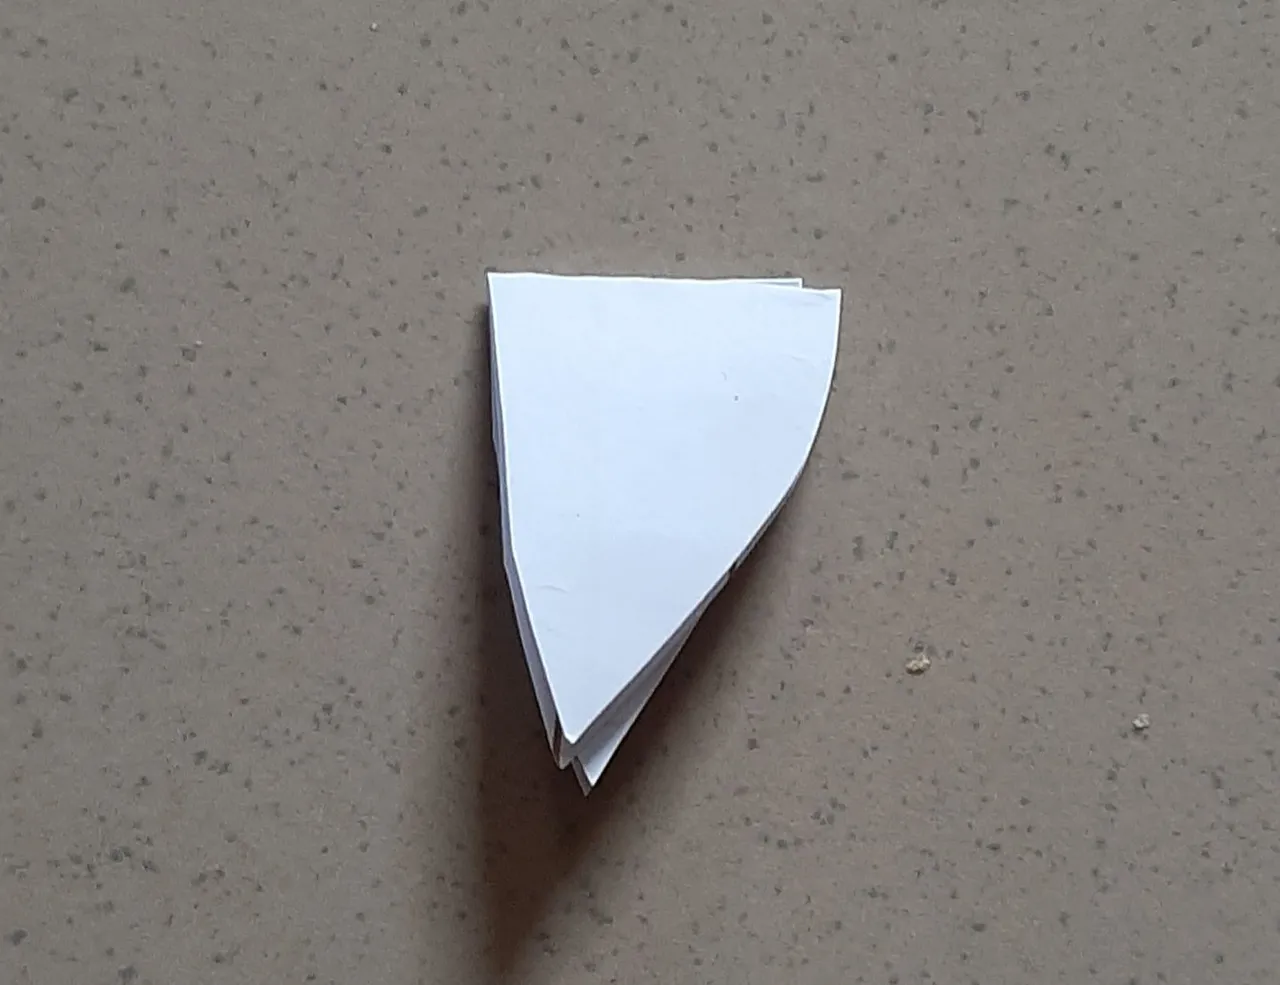
The Outcome of Paper Illustration.
The Result On Me.
Did I do justice to it for a first-timer?
All pictures are mine.

©️ Medemausi