BEARDSNEST MANOR - Construction Of The Chicken Pen - Phase 2
It's been a crazy few weeks down at Beadsnest Manor! Some of you may remember I had begun contruction repairs of our chicken coop. I conceived a plan to expand the wider coop by building additional pens within the boundary.
With no experience I had achieved a basic repair of the original pen, but now it was time to use some brain power and the right tools and materials to begin the biggest project I have ever undertaken (outside of building computers from parts).
Step 1 - The Mind Design
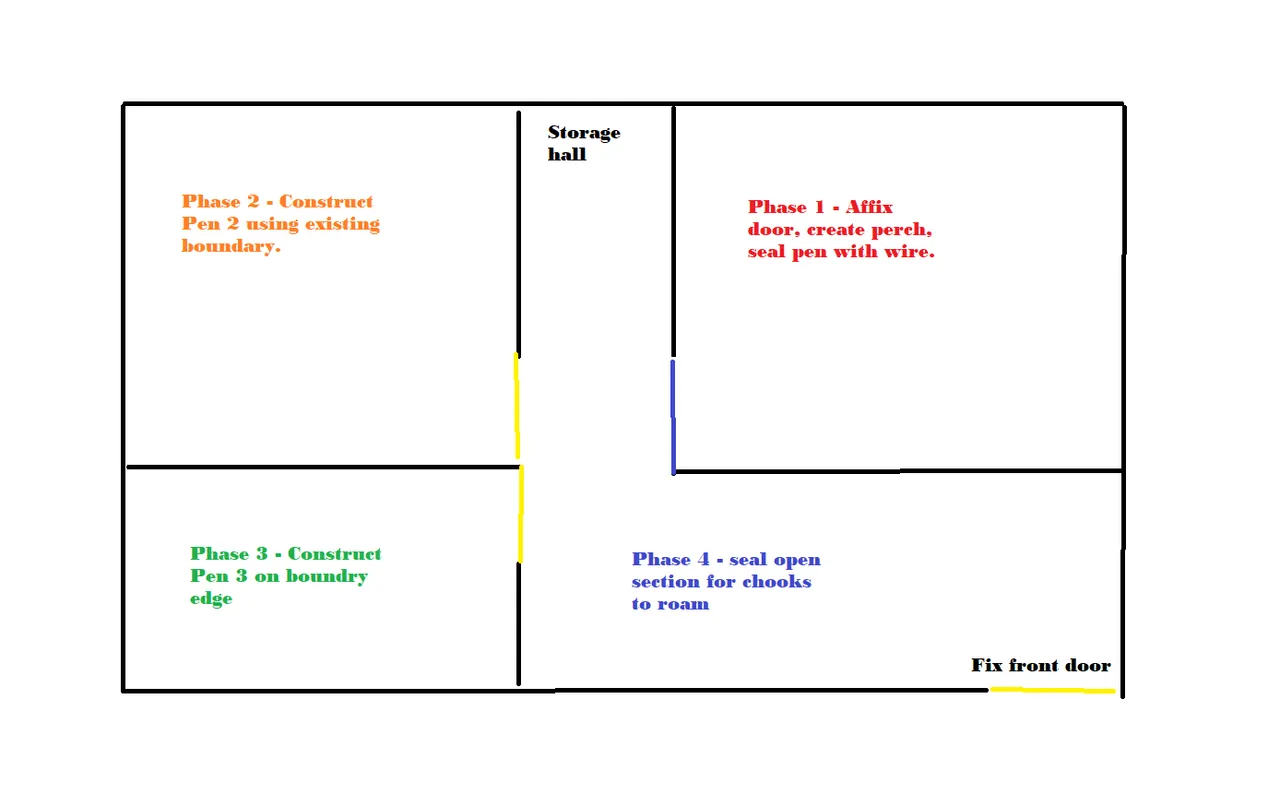
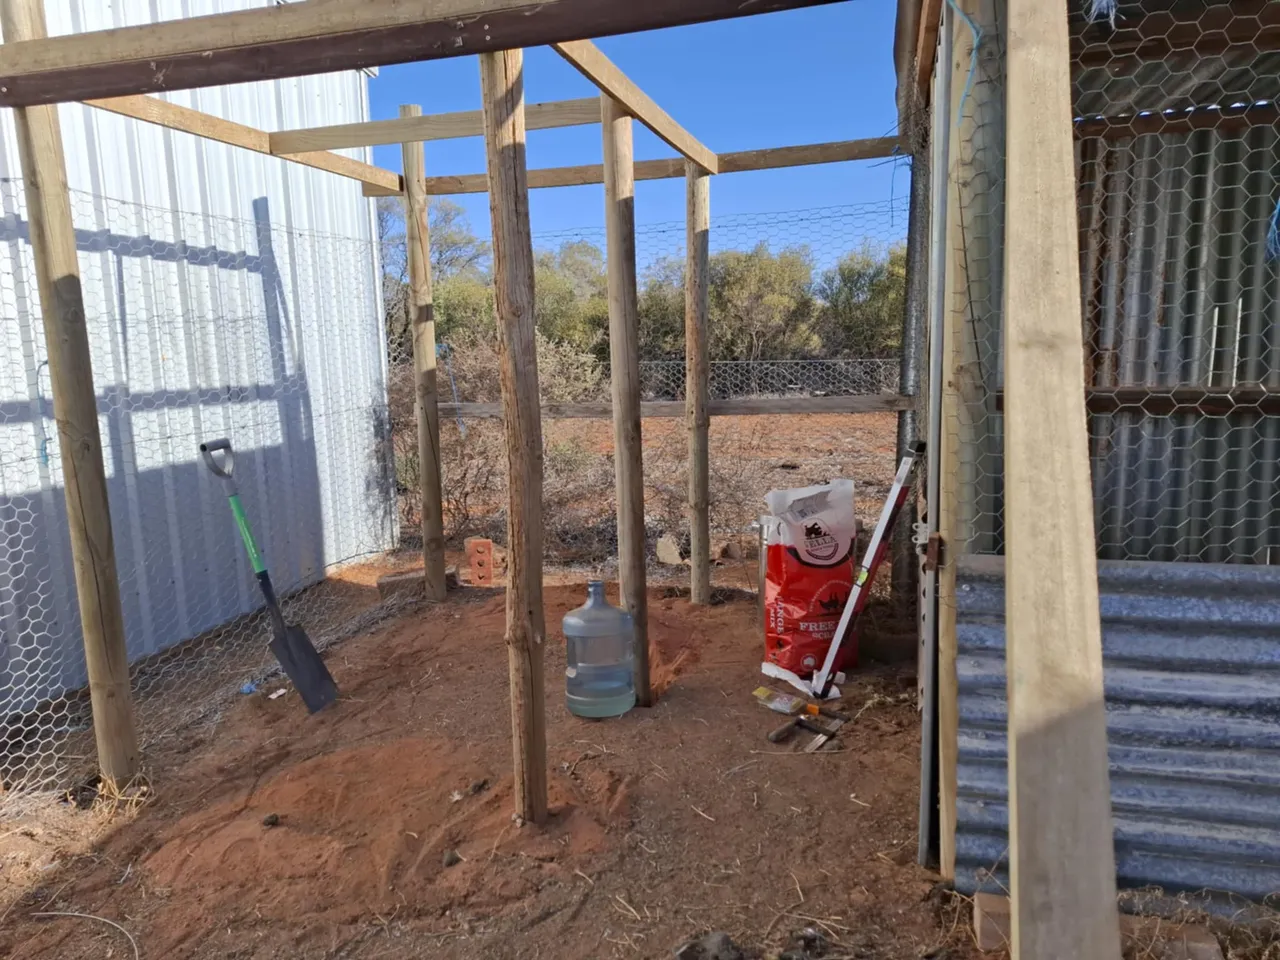
Using the rough design I had in my head at the time, later put into an actual diagram above, I decided to use the existing pen as a building reference to work with the previous design and boundary. The first step was to measure out an entry way and seat some posts and screw them into the basic frame.
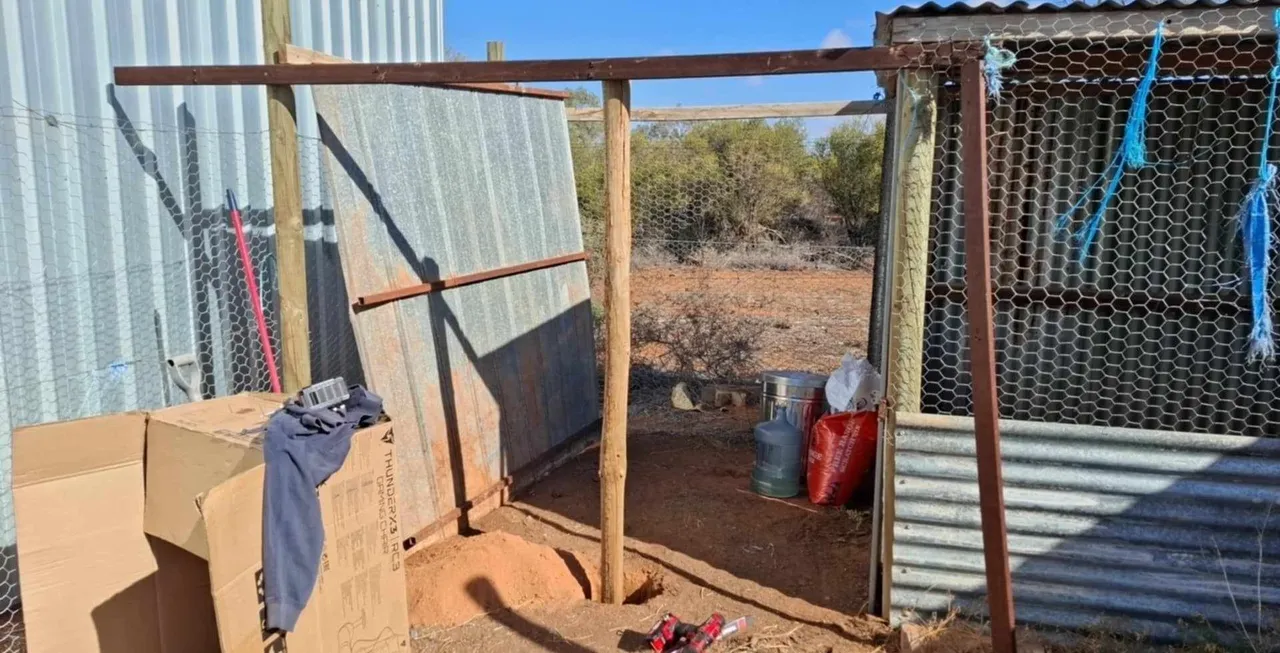
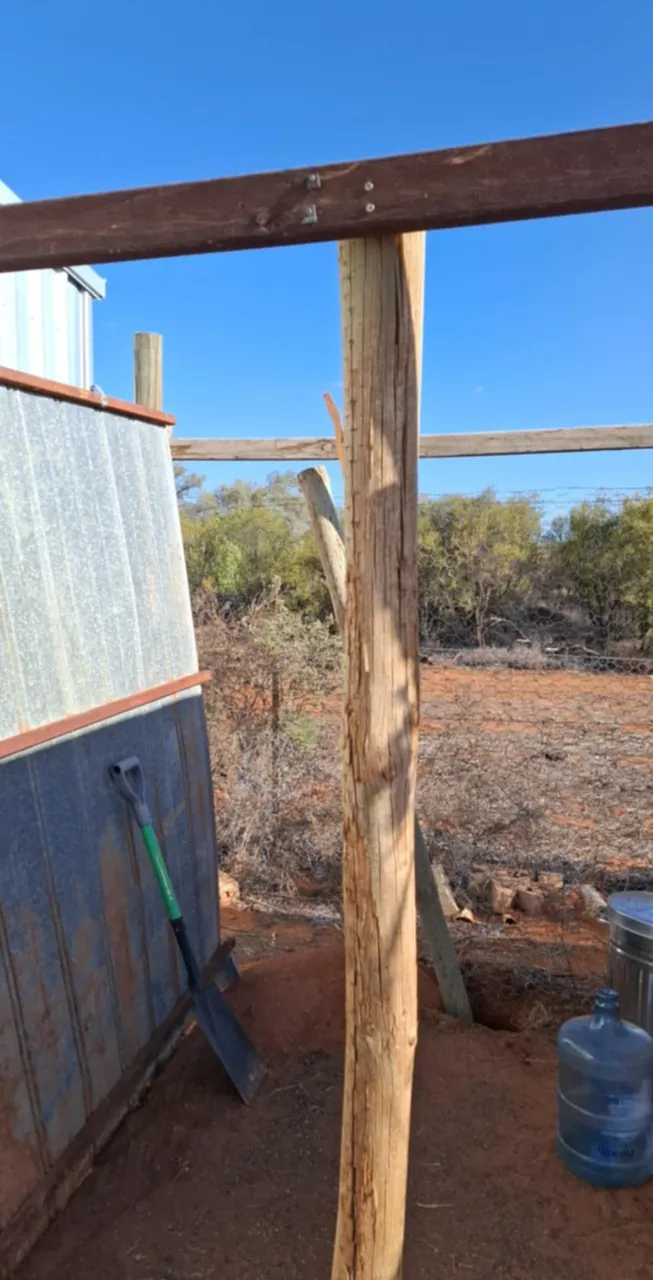
I used a shovel to painstaking chop at the hard ground until I had reached a depth of just over a foot or 40cm to match the frame height of 2 metres. This was to ensure stability for the posts to hold into the ground once filled but also a useful way to level out the posts with the frame.
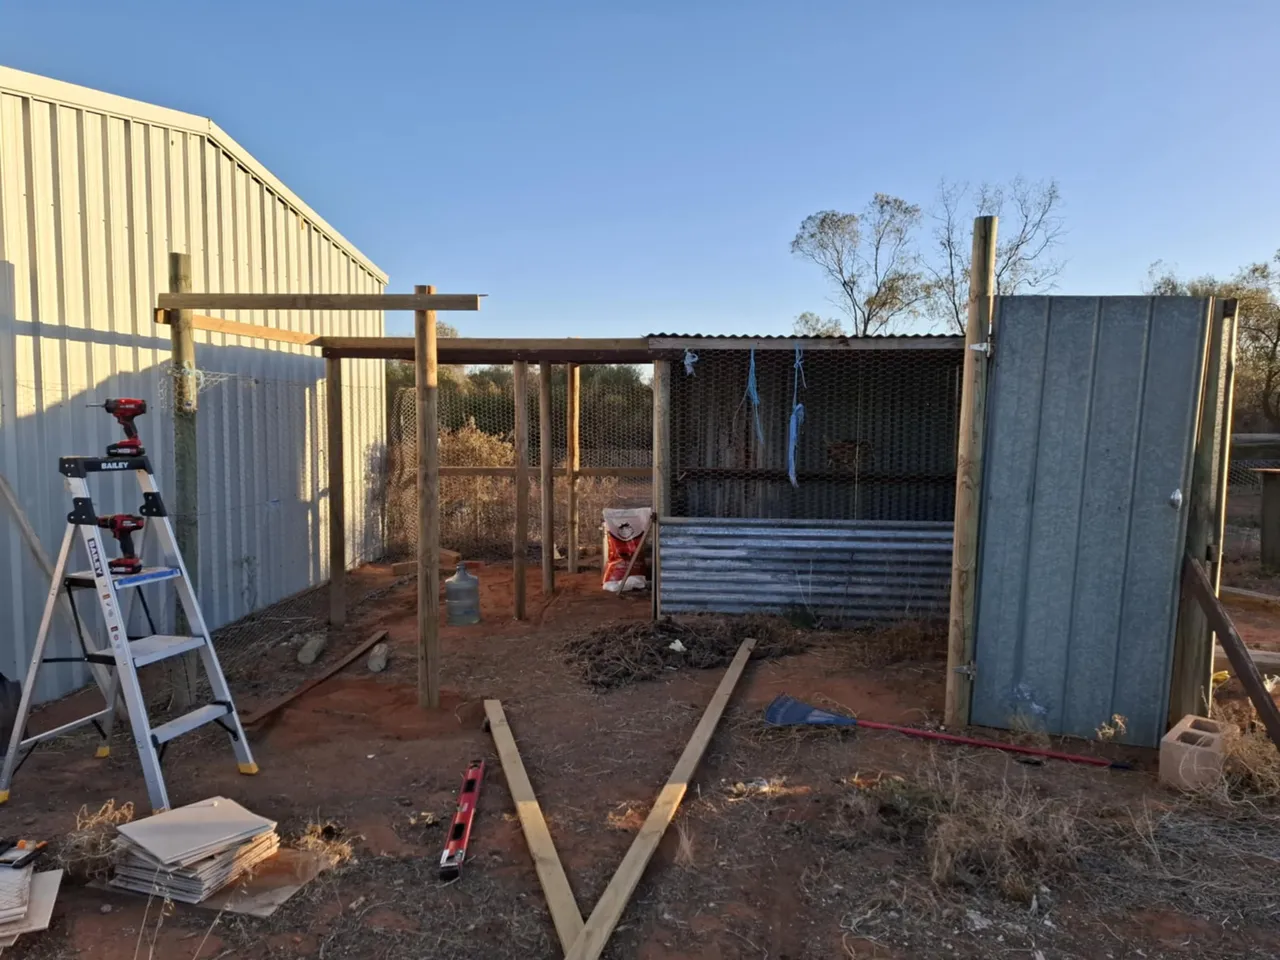
Step 2 - A Building Takes Shape
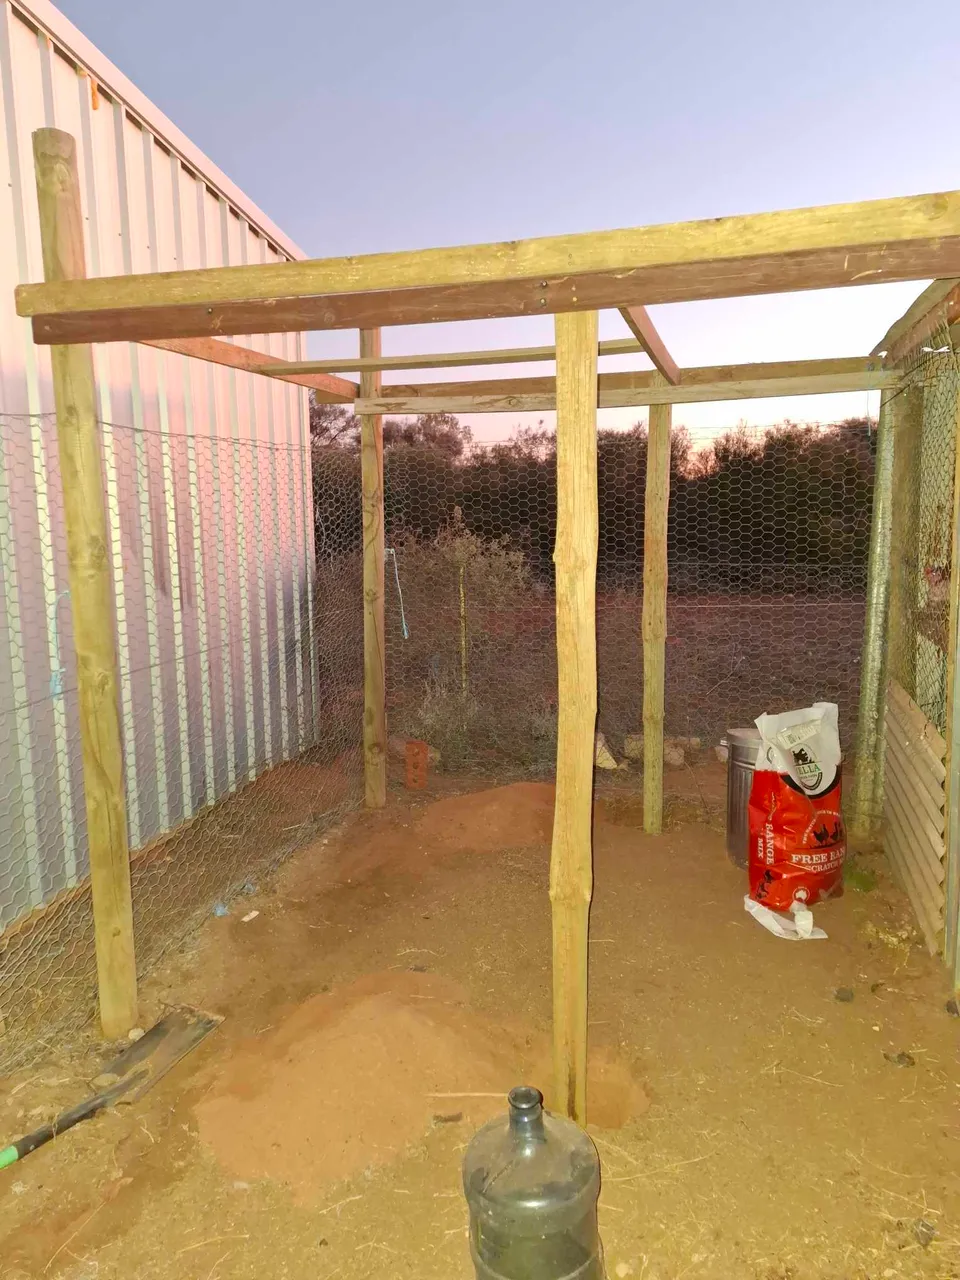
Using a combination of wood screws, drill, drill driver, measuring tape to map the new pen, a saw to cut wood and a leveller, I was able to connect the original pen to the new dwelling and give it some symmetry. I quickly realised, the 'hallway' would actually become a storage section and that I would have to make a new door to the side for the second pen.
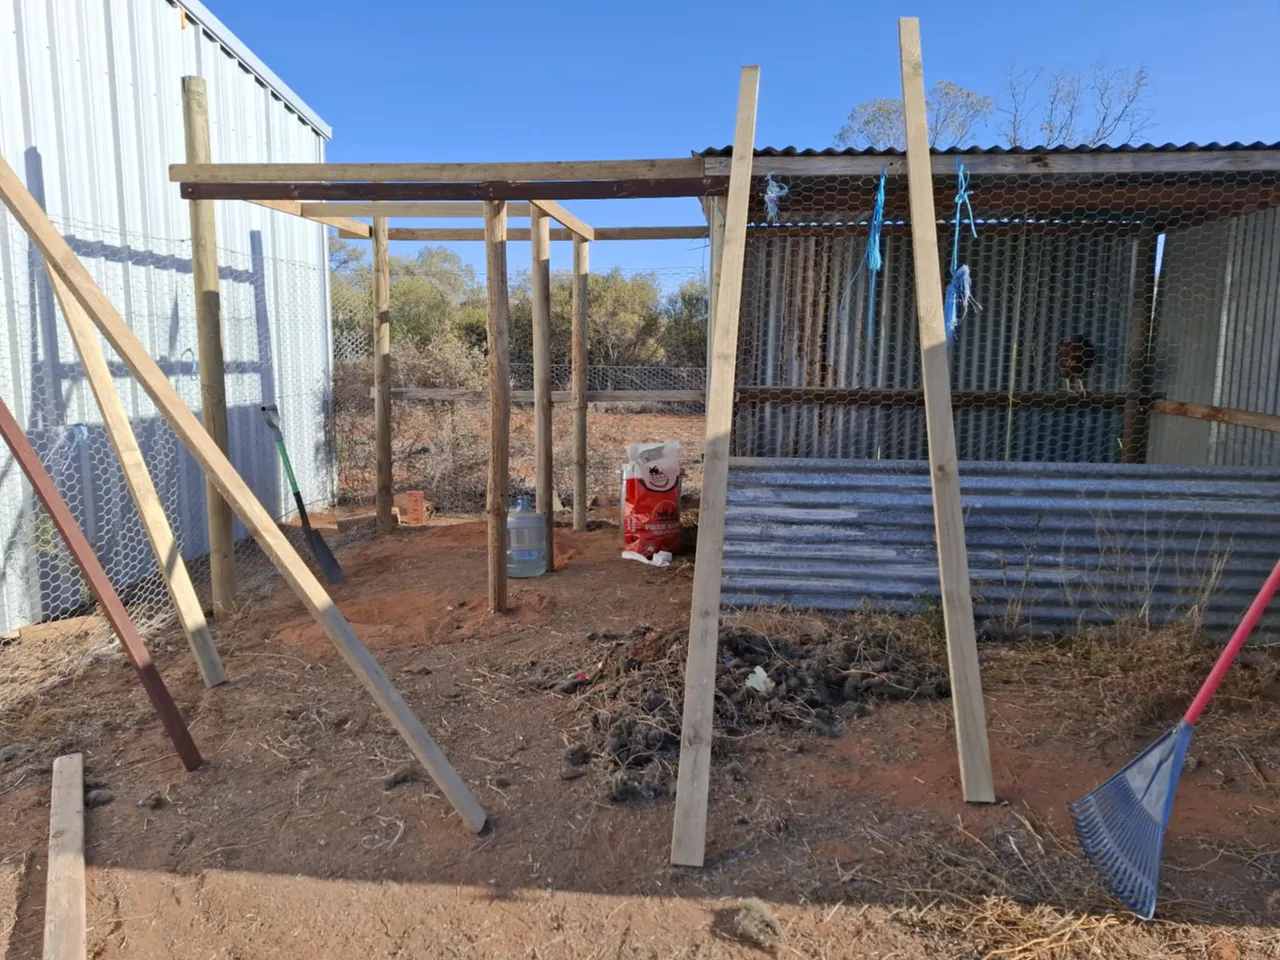
Step 3 - Creating An Adjacent Doorway
Step 3 - Creating An Adjacent Doorway
The project had begun taking on a life of it's own as I lined up an entry for the second pen. It was at this point I realised that I would need to sure up the pen with a center beam. Using the other pen as a guide and with the help of my leveller, I was able to achieve a nice mirroring effect with one exception, I had included a hallway in my design!
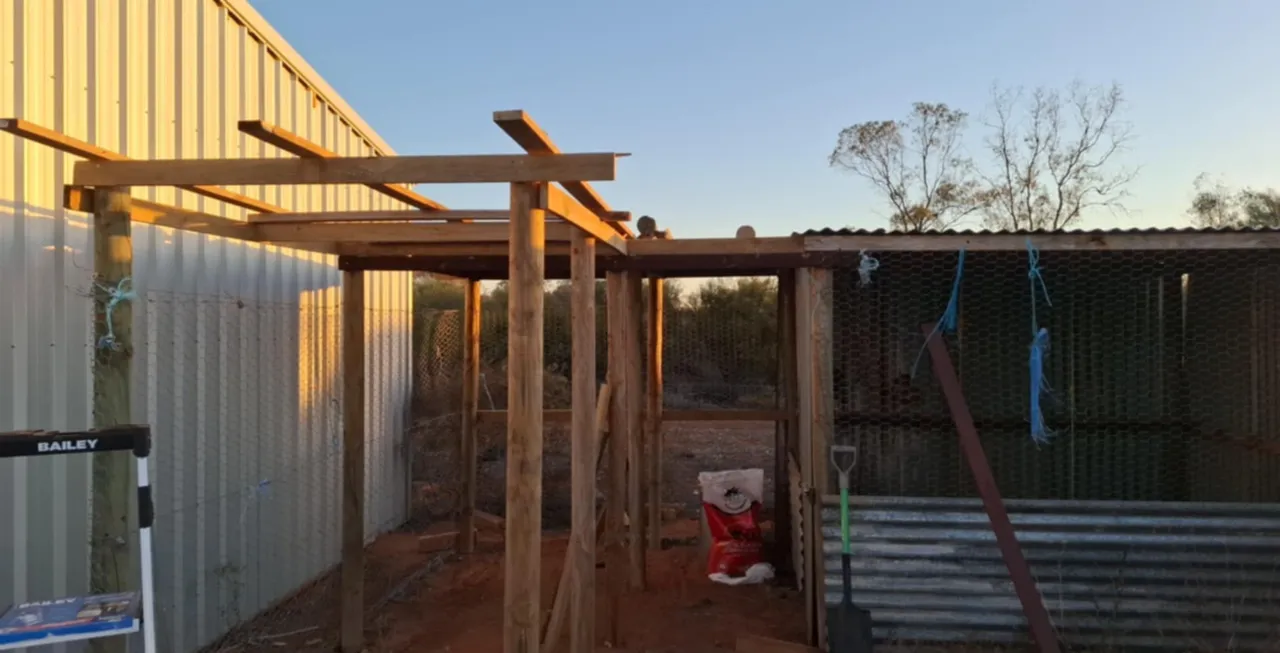
Step 4 - Phase 3 Must Begin If I Were To Achieve A Roof!
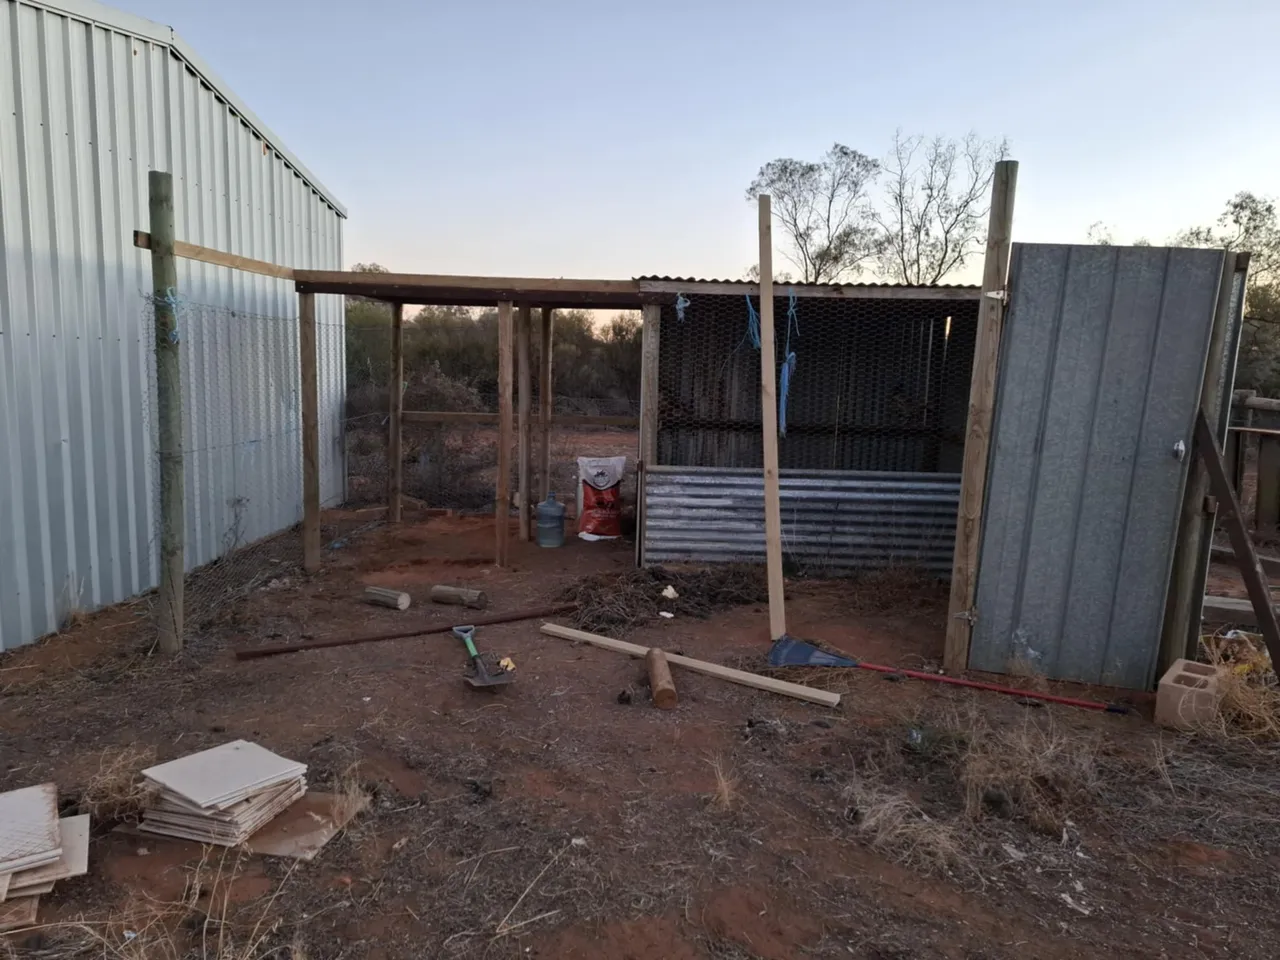
Several days had past by, but I was able to make good on the weather and also find some tin roofing! I quickly realised I would need more and even the longer lengths would have to overlap. So it was at this point I could no longer hold off beginning to construct Phase 3 frame of the build! I continued to sure up the interior with additional center beams cut and screwed into the new structure.
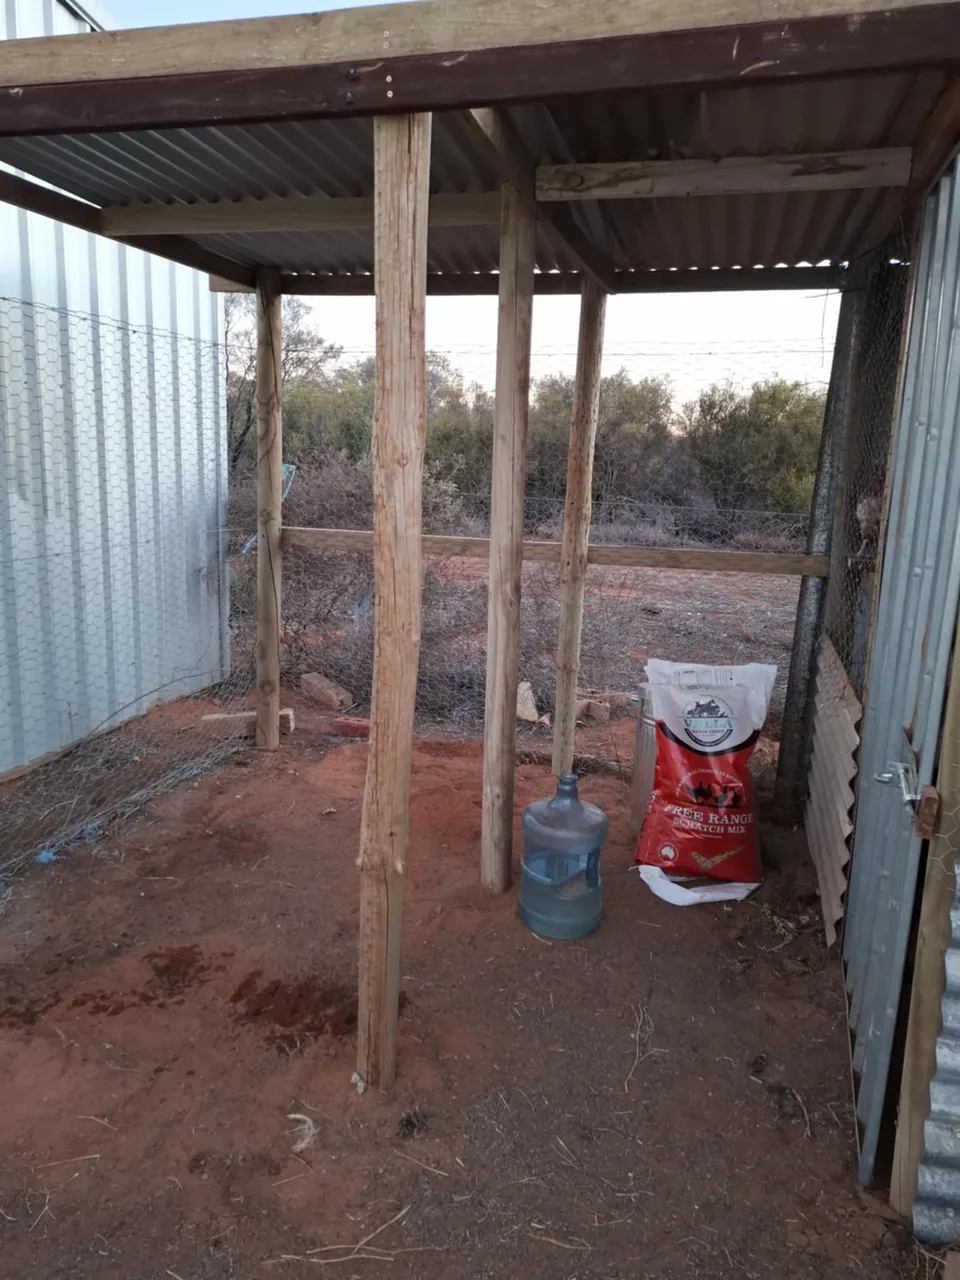

Step 5 - To Slant Or Not to Slant
I hit a conundrum. If I needed to use 2 lengths of corrugated tin for the roof, then drainage would become an issue. A friend suggested silicone would fix the leakage but that I would risk water pooling. So me full of inexperience, decided embark on a new adventure. I was to create a slanted roof frame!
After aquiring some seriously long 3m lengths of timber from the local hardware store, I came up with the theory that if I simply went one step higher, I could seat a plank at the front of Phase 3 or 3rd Pen higher and run the longer lengths down to where the 2nd row of tin would meet it, creating a gentle slope. Ironically, not realising beforehand that the idea to double up the center beam in Pen 2 would play one of the vital roles in seating this plan! But this tale begins another day!
Conclusion
Conclusion
If you have made it this far in the post, thank you soo much for following me on this journey and stay tuned for the next post where I tackle the roof with amazing results! If you would like to follow me on this journey of building a Chicken Coop at 'Beardsnest Manor' please watch out for the next post and in the meantime have a look at where it all began!
@nytehawker/beardsnest-manor-construction-of-the-chicken-pen-phase-1