Some time earlier this year, during one of our many power outages in this area, my aunt (the one with the apples and grapes from this post) had her refrigerator quit on her, and it wouldn't power back on. They went out and got a new one, and in keeping with Murphy's Law, when they returned with the new refrigerator, the old one had miraculously come back to life.
The old one had been around a while, and my aunt runs practically a commercial kitchen, so they decided to retire the old war-horse anyway, rather than take the new one back. I had been in the market for a new fridge for a while, after having two refrigerators and two freezers die on me a couple years ago, so I jumped at the opportunity to save myself a few hundred bucks.
The problem with free refrigerators, even when they work, is that they are almost always filthy, and they appear at times when you can't find anyone to help you move a refrigerator. This was no exception.
Like most large refrigerators, it had to be disassembled to get it it out of the house. I have no pictures of this debacle, suffice to say it took over an hour, and by the time it was done I was covered in sweat and a variety of less pleasant, more sticky substances.
This opportunity came during the peak of my work season, so I didn't have time to just get right to work on this. Instead, all the pieces got stashed wherever I could find room for them, and the main frame of it sat on the deck under a tarp for much of the summer. This was actually a little helpful in terms of airing out some of that 'old fridge' smell.
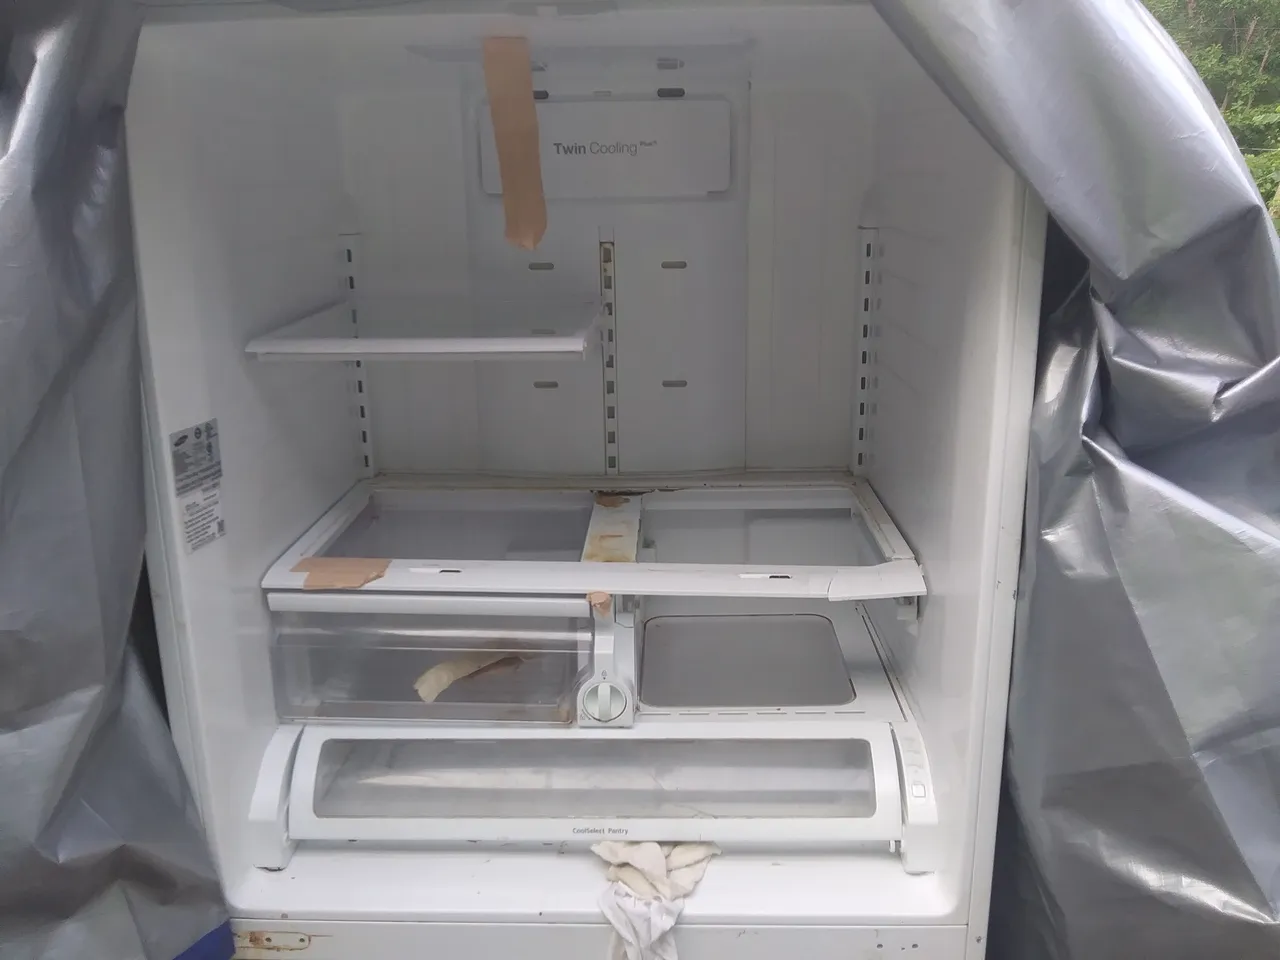
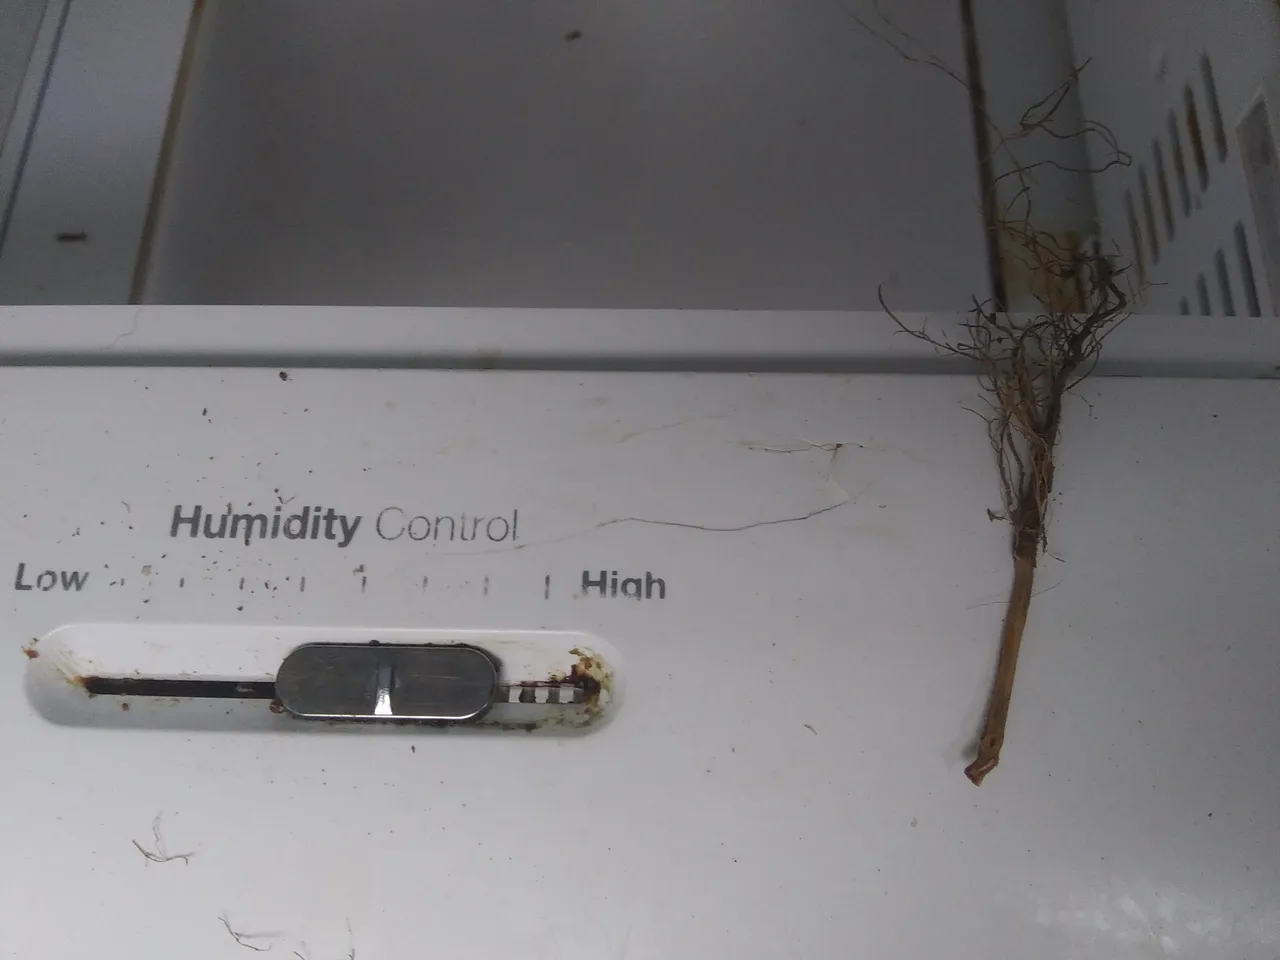
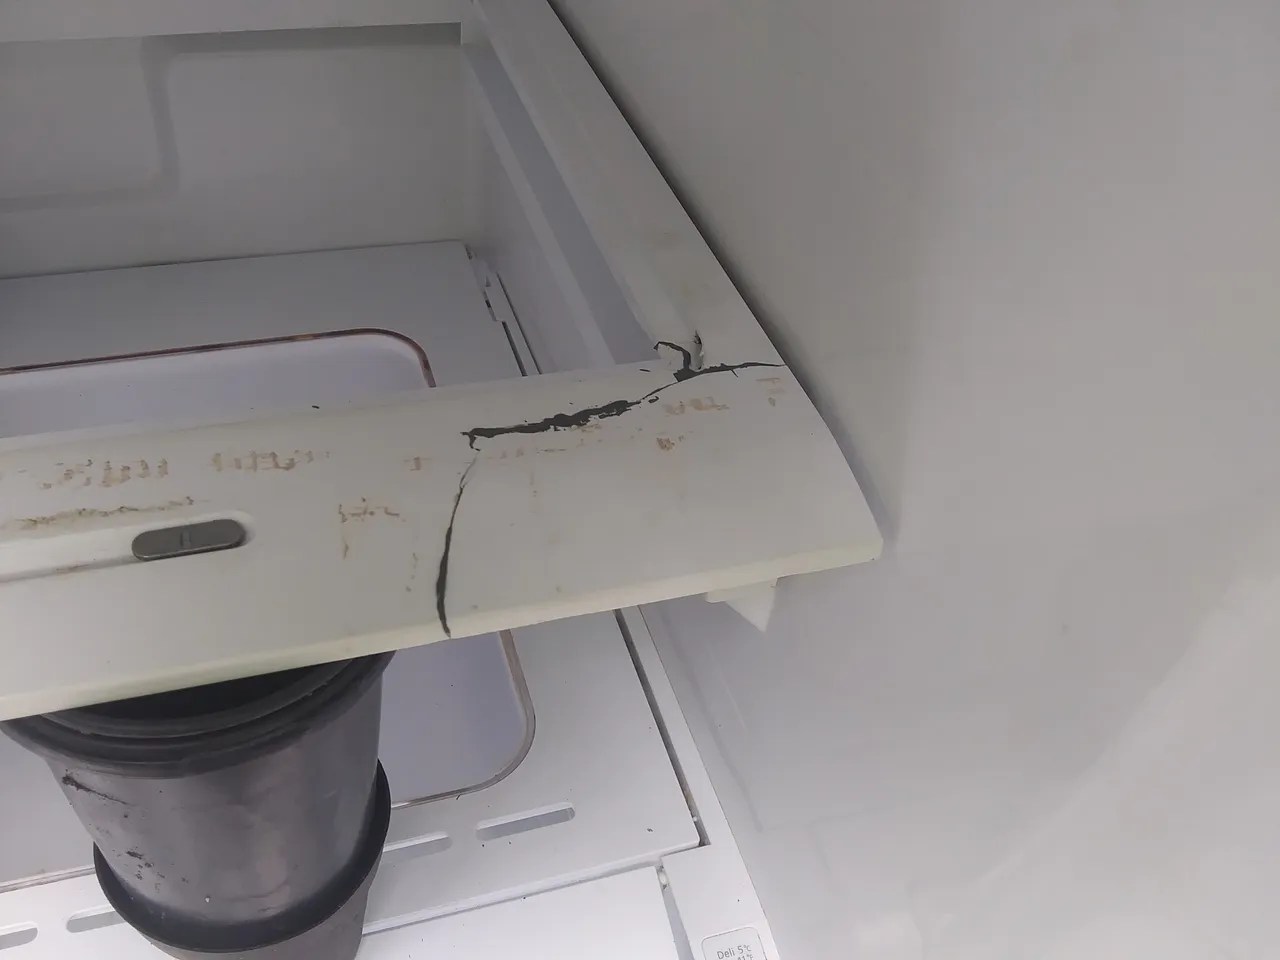
Like so many things, I didn't really think about doing a post about this until I was already well into the project, so you will be spared the worst of the 'before' look. This pic was taken after the whole thing had been thoroughly wiped with bleach water. As you can see, there's some broken bits that had been held together with tape, one of the reasons my aunt wanted to keep the new one.
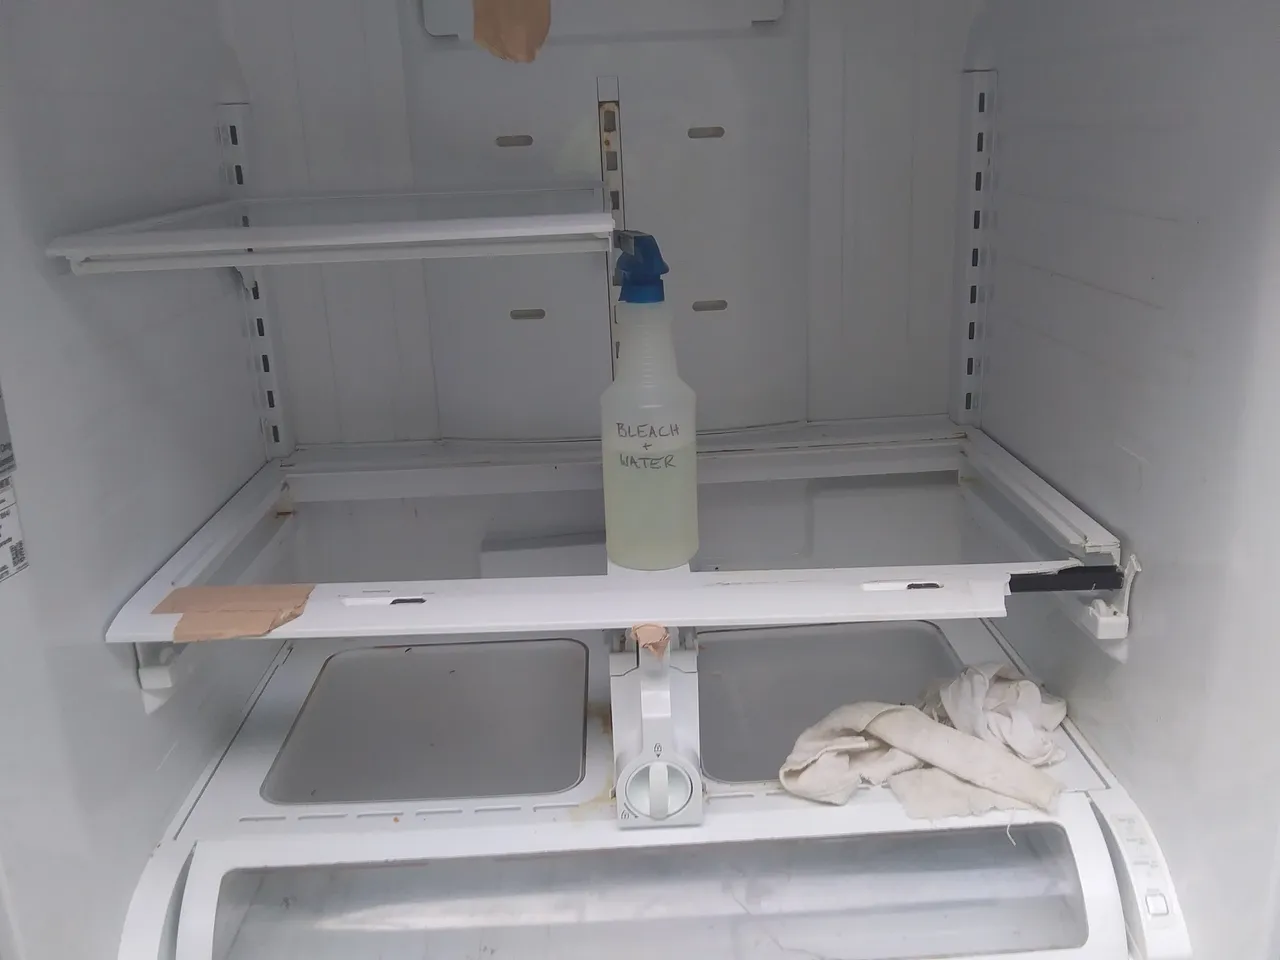
For projects like this, I like to use just a little bleach mixed with water. This spray bottle has about 3 Tablespoons of bleach in it. This mix cleans well, disinfects, and is very inexpensive. As with any bleach mix, use this only in well ventilated areas. There are many things, like ammonia (present in other cleaners, and urine), that bleach will react with to release chlorine gas. Chlorine gas can be deadly, even in small concentrations.
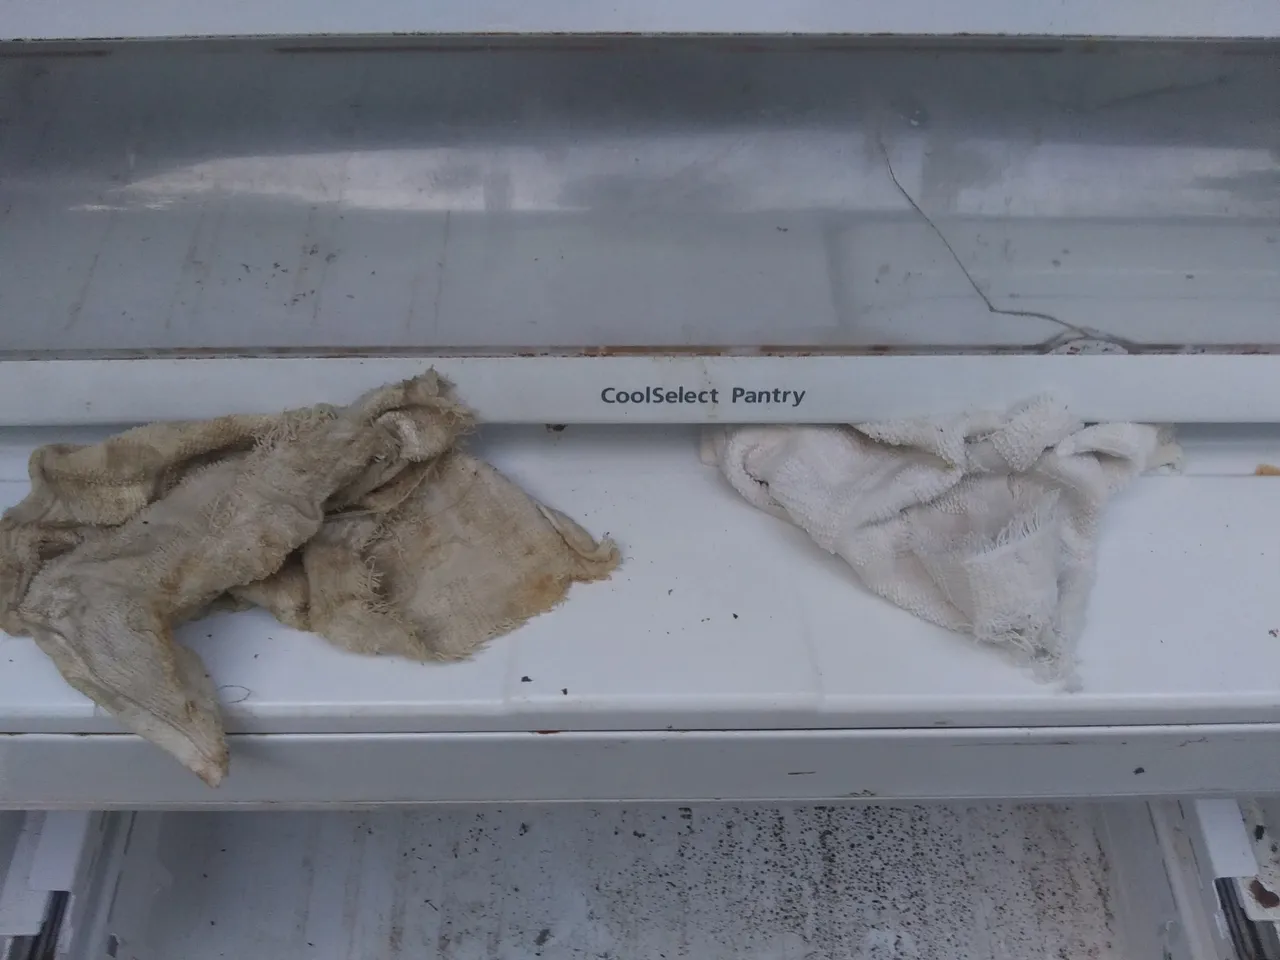
With things this filthy I use cloth rags instead of paper towels to conserve materials. This entire project would have probably taken a half dozen large rolls of paper towels to complete, compared to just three rags I used, which I can wash and use again. Because this is so nasty, I use two rags at once, one for rough scrubbing and one for finish wiping. This makes the rags last quite a bit longer before needing to change them out.
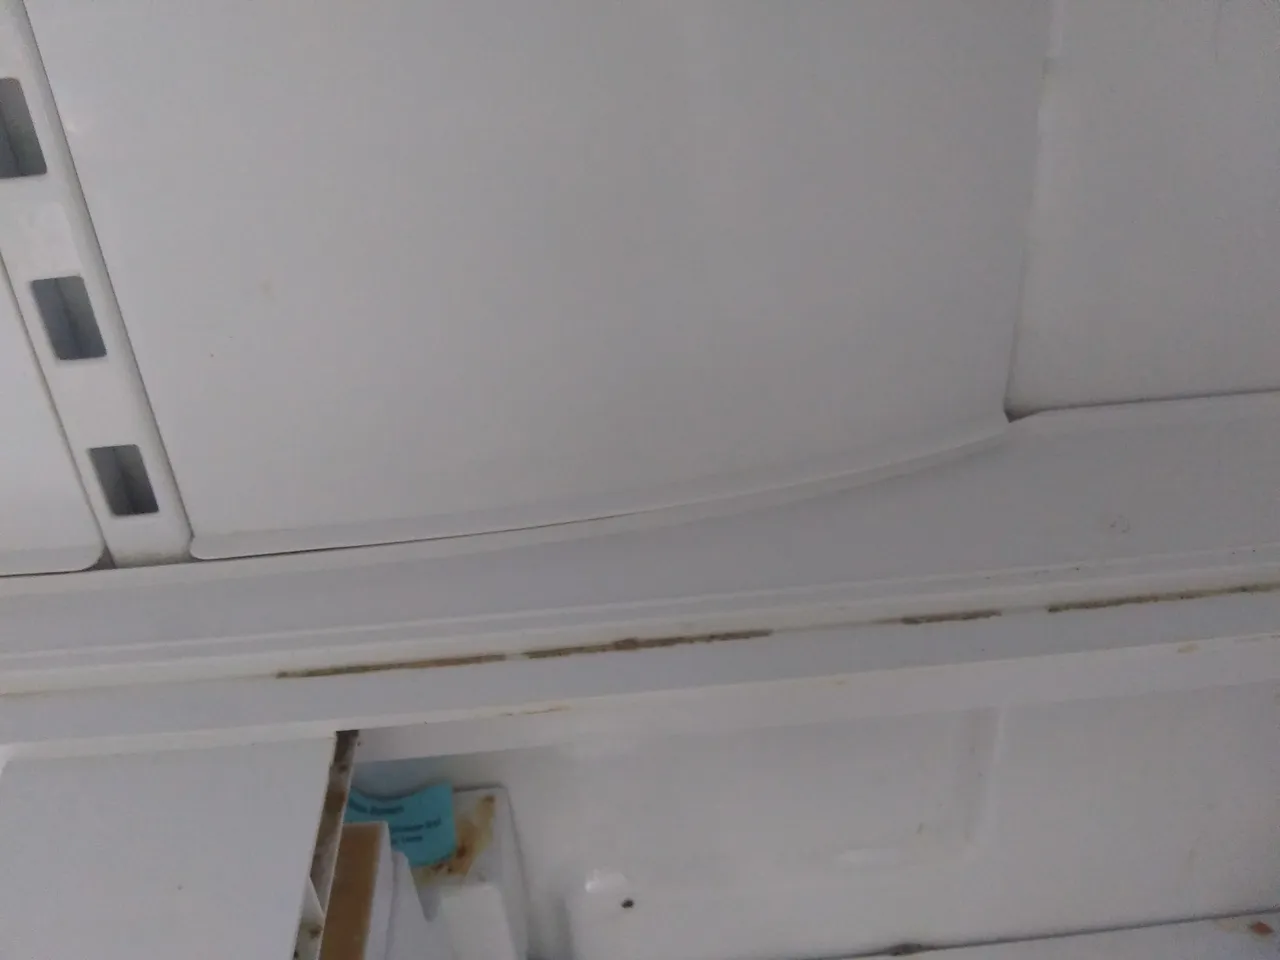
Most people would probably skip the nastiness in the corners like this, but if I'm diving in, I'm diving all the way in. Getting the glass out of this model was a bit more difficult than usual, but it's the only way to get at the icky stuff that runs under the glass.
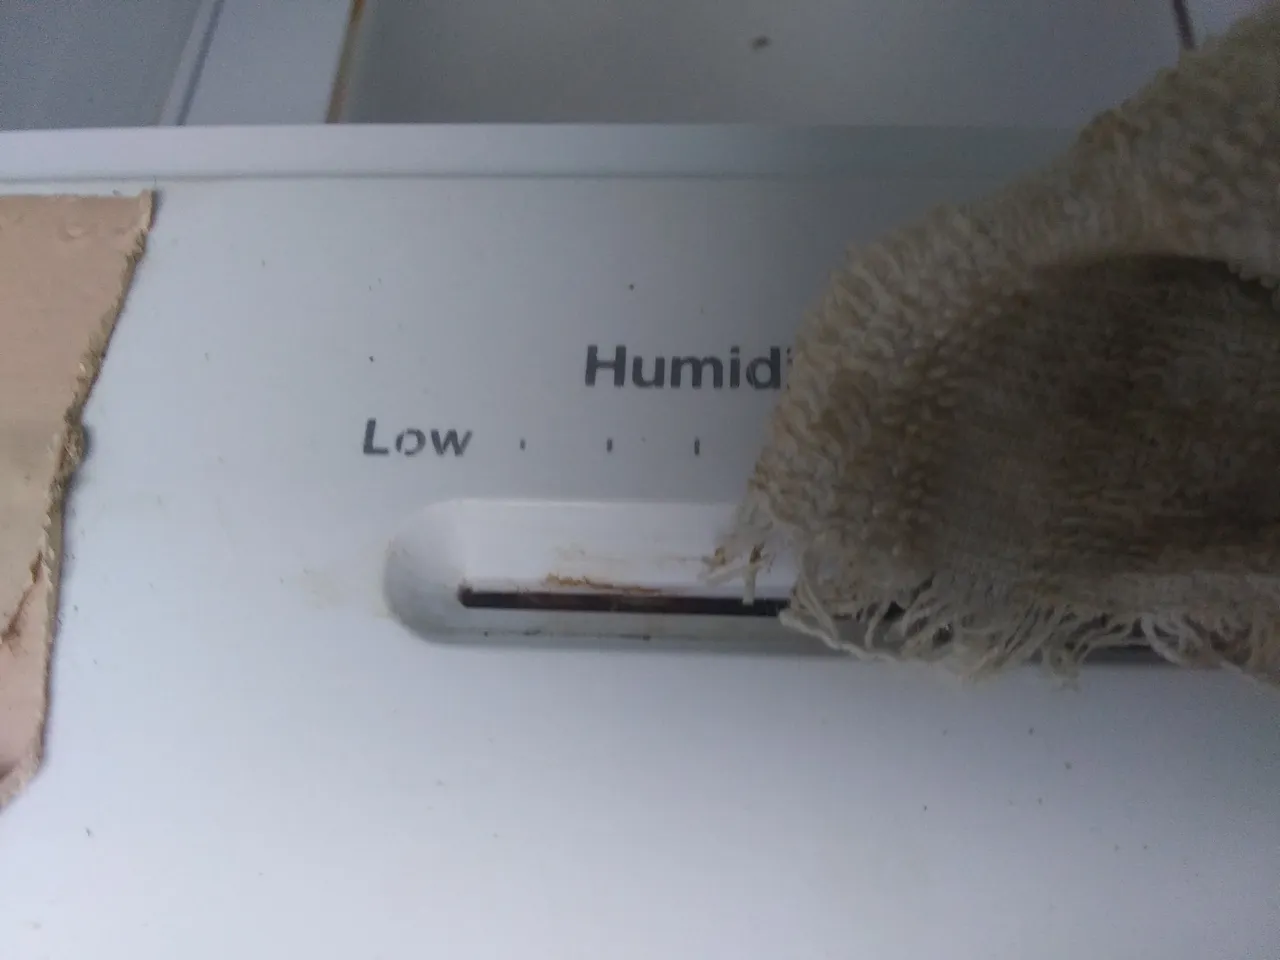
For getting into small spaces, I make 'specialty' tools with whatever I have on hand. This stub of dead plant (I think it was a rosemary) works great for getting the tough sticky bits out of little places like this slider for humidity control.
Once all the nasty stuff is loose, frayed rag edges work best in my experience for finish wiping in hard to reach spaces.
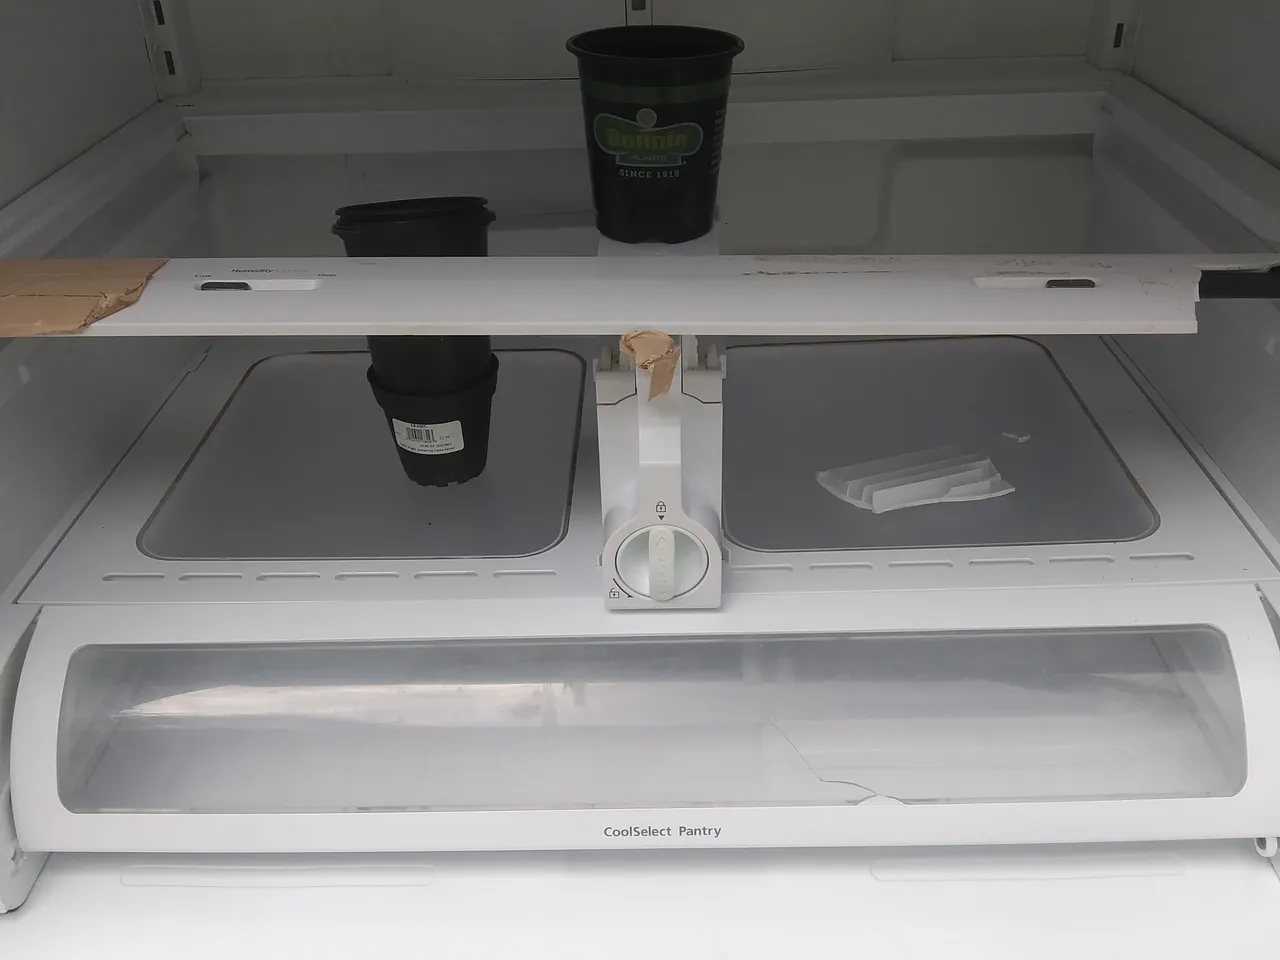
The fridge will work without repairing these shelves, but again, I figure if I'm spending this much time, I might as well get it all done right. These unused seedling pots will help hold things in place for gluing.
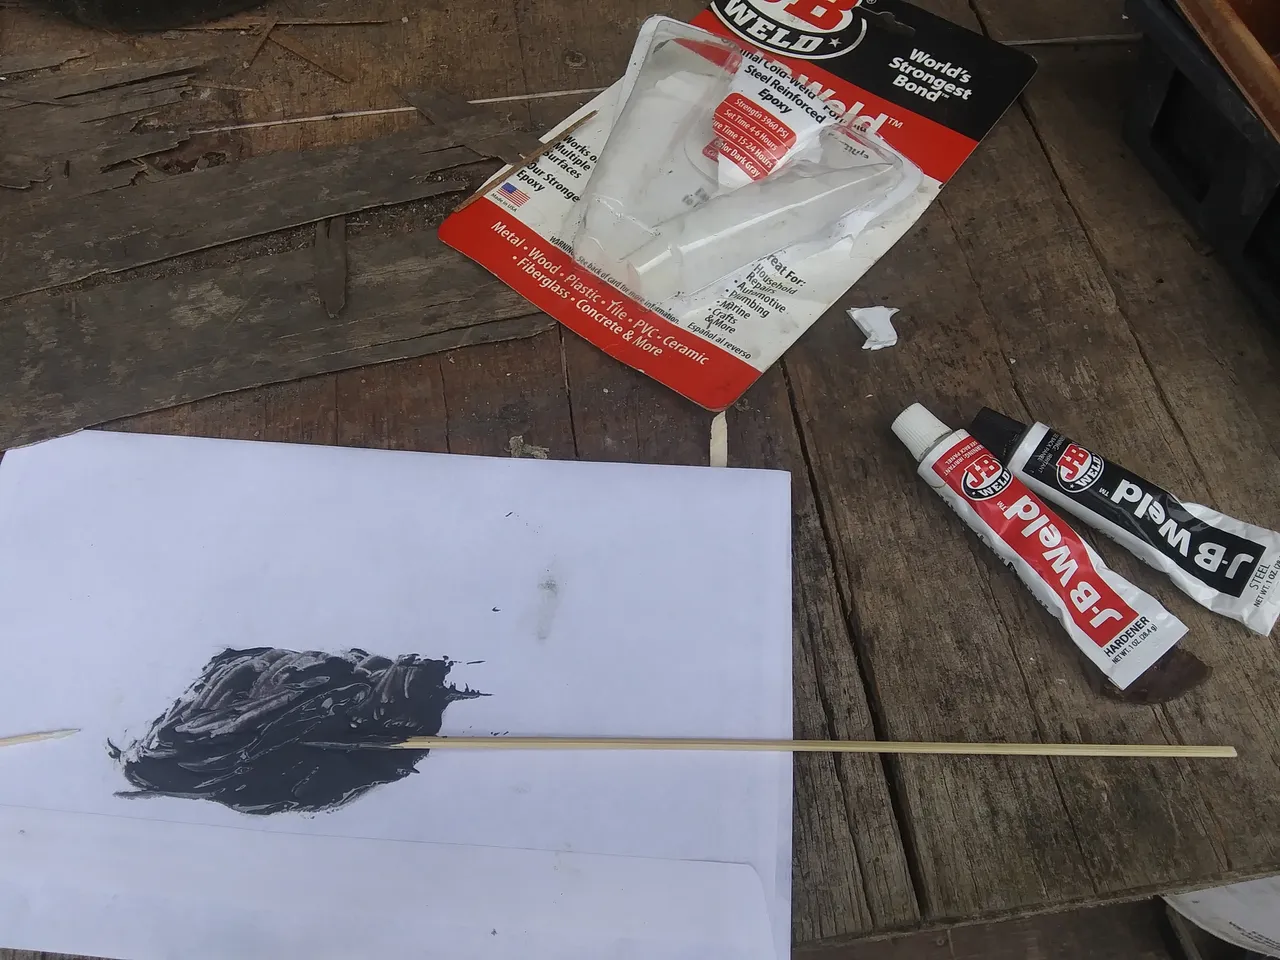
This plastic is only about 1/16" thick, so I want to use a two part epoxy that I know bonds extremely well. My go-to has always been J-B Weld original, but there really isn't that much difference that I've seen between different kinds of epoxy, just avoid quick-set mixes that cure in 15 minutes or less. Quick set epoxies are not nearly as strong.
I repaired the corner on this side, because it was completely broken off. The other side is only cracked, so I chose to just leave the tape on that side. Epoxy comes in many colors, and I probably could have found something that matched this white a little better, but I prefer to use what I have on hand when possible. This could be sanded and painted once set, but I don't think I'll bother... you'll never see it once this thing is crammed full of food.
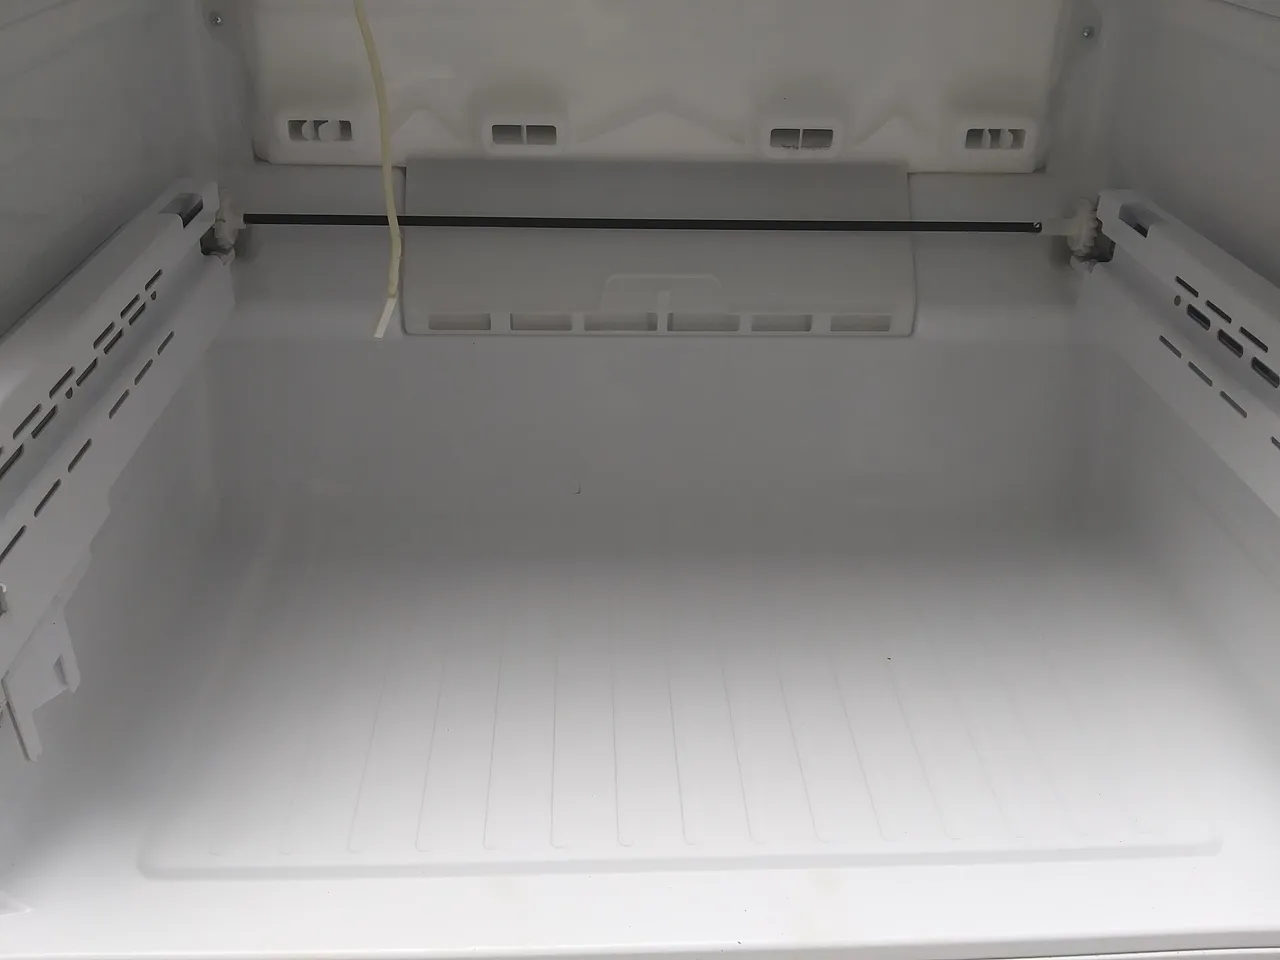
By the time I got to the bottom, everything had been misted with the bleach water enough that it just wiped right out. I would have preferred to test this before moving it indoors, to make sure it still worked after sitting outside for a couple months. Unfortunately, I have to put it together to power it on, which means I would have to take it apart again to move it inside.
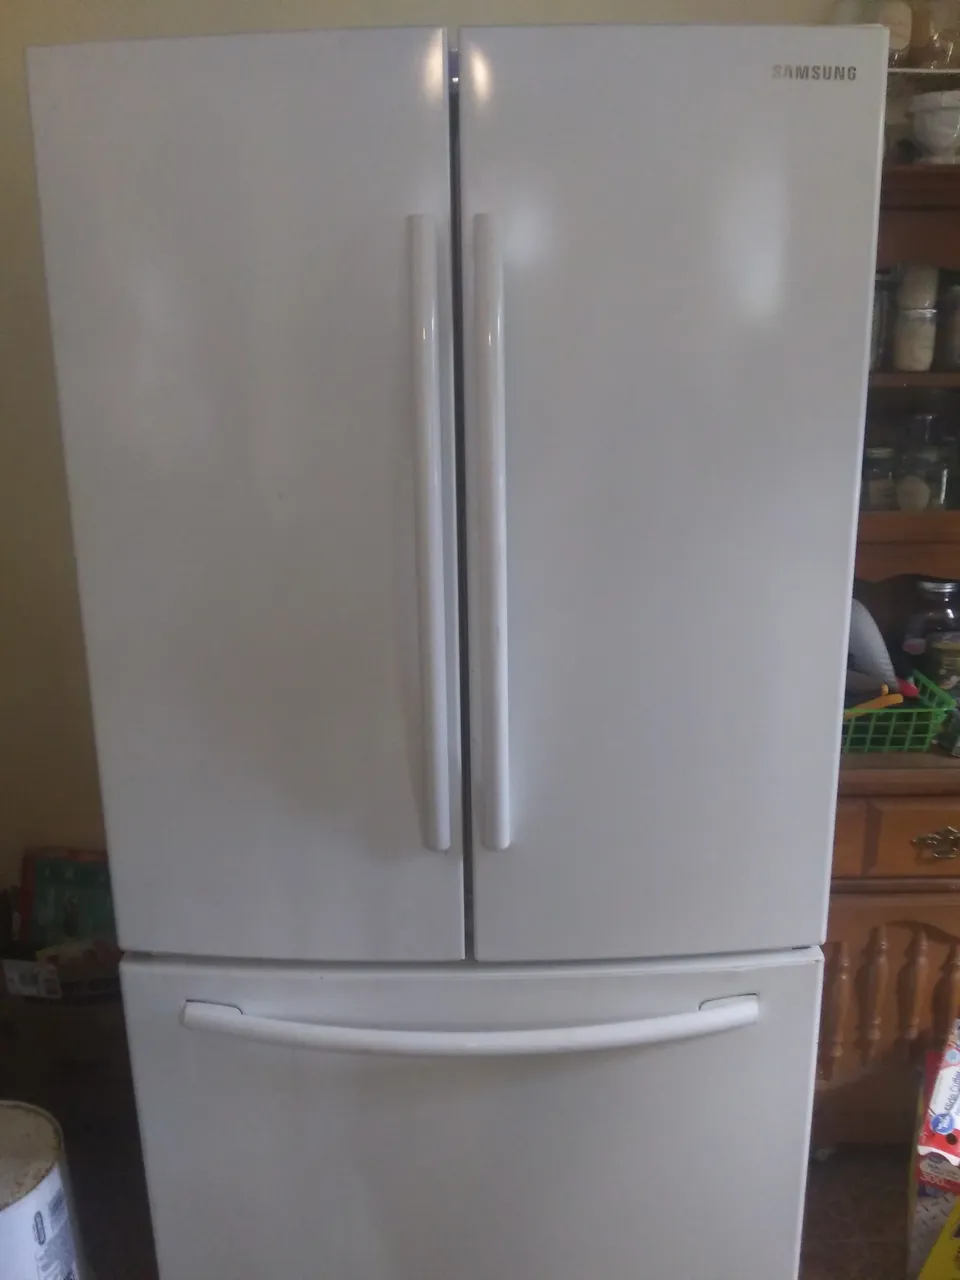
I decided to take the gamble and assemble it in the kitchen. Of course, I have no pics of the assembly or disassembly process, but refrigerator doors are usually pretty straightforward and simple to figure out.
When I first plugged it in, the display was spitting a string of error codes at me. Some quick searching on DuckDuckGo, and I quickly found how to reset the codes, as well as a list of what the codes meant. All of the ones I had were about the fridge losing power, and the doors being opened, so things seemed well enough. The temp sensor on the freezer was obviously a bit wonky, but eventually found the right temp and seems to be accurate enough now.
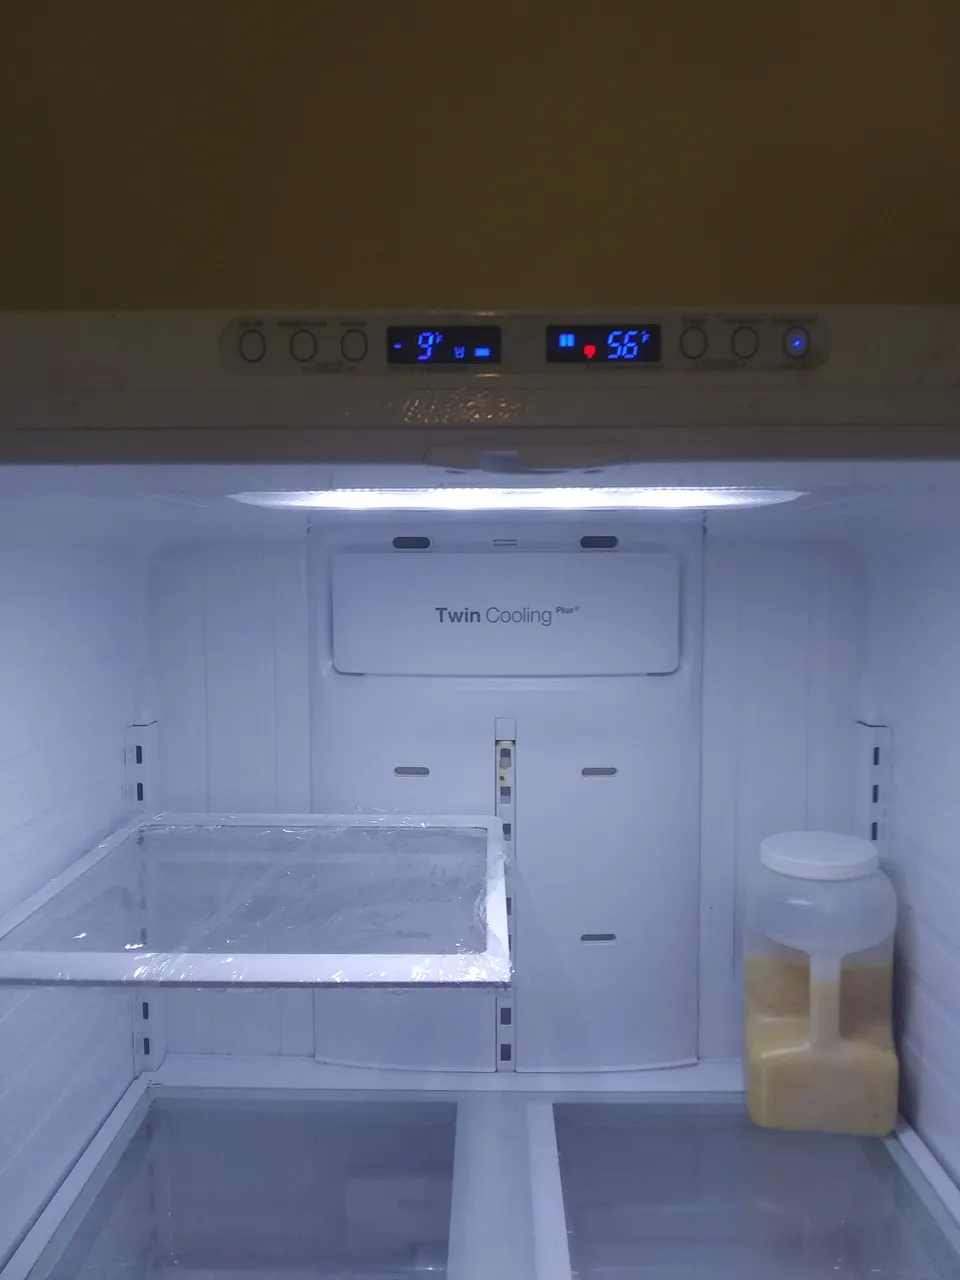
I was a little distressed that it did not blow cold air as soon as I plugged it in, but it was only because this model will only engage the compressor when the doors are shut. Once I closed it up and left it alone a couple minutes, it cooled down quickly.
This was a great score for us, and really helped with being able to get all of our harvest processed. This has twice the space of the little thing it replaced, and that one was still working. The project took about 3 days of total time, spread out over approximately 3 months. With the two refrigerators and a small upright freezer I found for $50 last summer, we have enough space for about 6 months worth of fridge and freezer foods, with a little extra room for keeping leftovers.
The epoxy patch broke about a month after we filled up that shelf, so that bit of repair ended up being a waste of time. Everything is still working wonderfully though. These models still sell for around $1200 new, so I don't mind a little sagging shelf on my free version.
That'll wrap up another post. I hope you learned a little something, or found some inspiration, or at least cracked a couple jokes about my Sanford & Son lifestlye 🤣 I hope you are all well, and I hope you keep coming back for more!