Hello DIYers! Today I am writing about the ordeal process I went through in building my aquarium lid. All three versions of it! LOL
I started off just making one out of craft mesh. Easy peasy, right? I cut out holes where I needed my plants to pop out, and sewed two pieces together with chopsticks in the middle to keep it from flopping down into the water. I thought this was great until I turned on the air stone, and then I could smell the tank in short order. Now granted, it probably smelled because it wasn't finished cycling yet at the time, but even if that resolved itself later it showed me I was aerosolizing aquarium bacteria all over my kitchen (since the tank is on the counter), which I did not want. So I needed a new design!
Lid 2.0 I cobbled together with various things I had around my apartment. This upcycled lid was comprised of an old tupperware whose lid had lost its seal, that same lid, a jewel case for a CD, part of a clamshell packaging, the glass from a photo frame, and a giant tack where the pin had gotten stuck up inside the plastic as the handle on the door. I glued it all together using Elmer's glue and thought it was great! I turned on the bubbler and I couldn't smell it at all.
This lid became very covered with condensation, which showed me further how much water had been spewing all over my kitchen. Fine, I thought, it's all contained inside.
Until the next morning, when I realized it was drooping, and went to add some support to that spot. I then realized it was drooping because all that condensation had re-liquified the glue. Oh. Shit.
Even if I bought proper silicone aquarium glue, I couldn't reuse those parts because they were still all covered in Elmer's and it would leak into the tank, poisoning the water! I needed another new design.
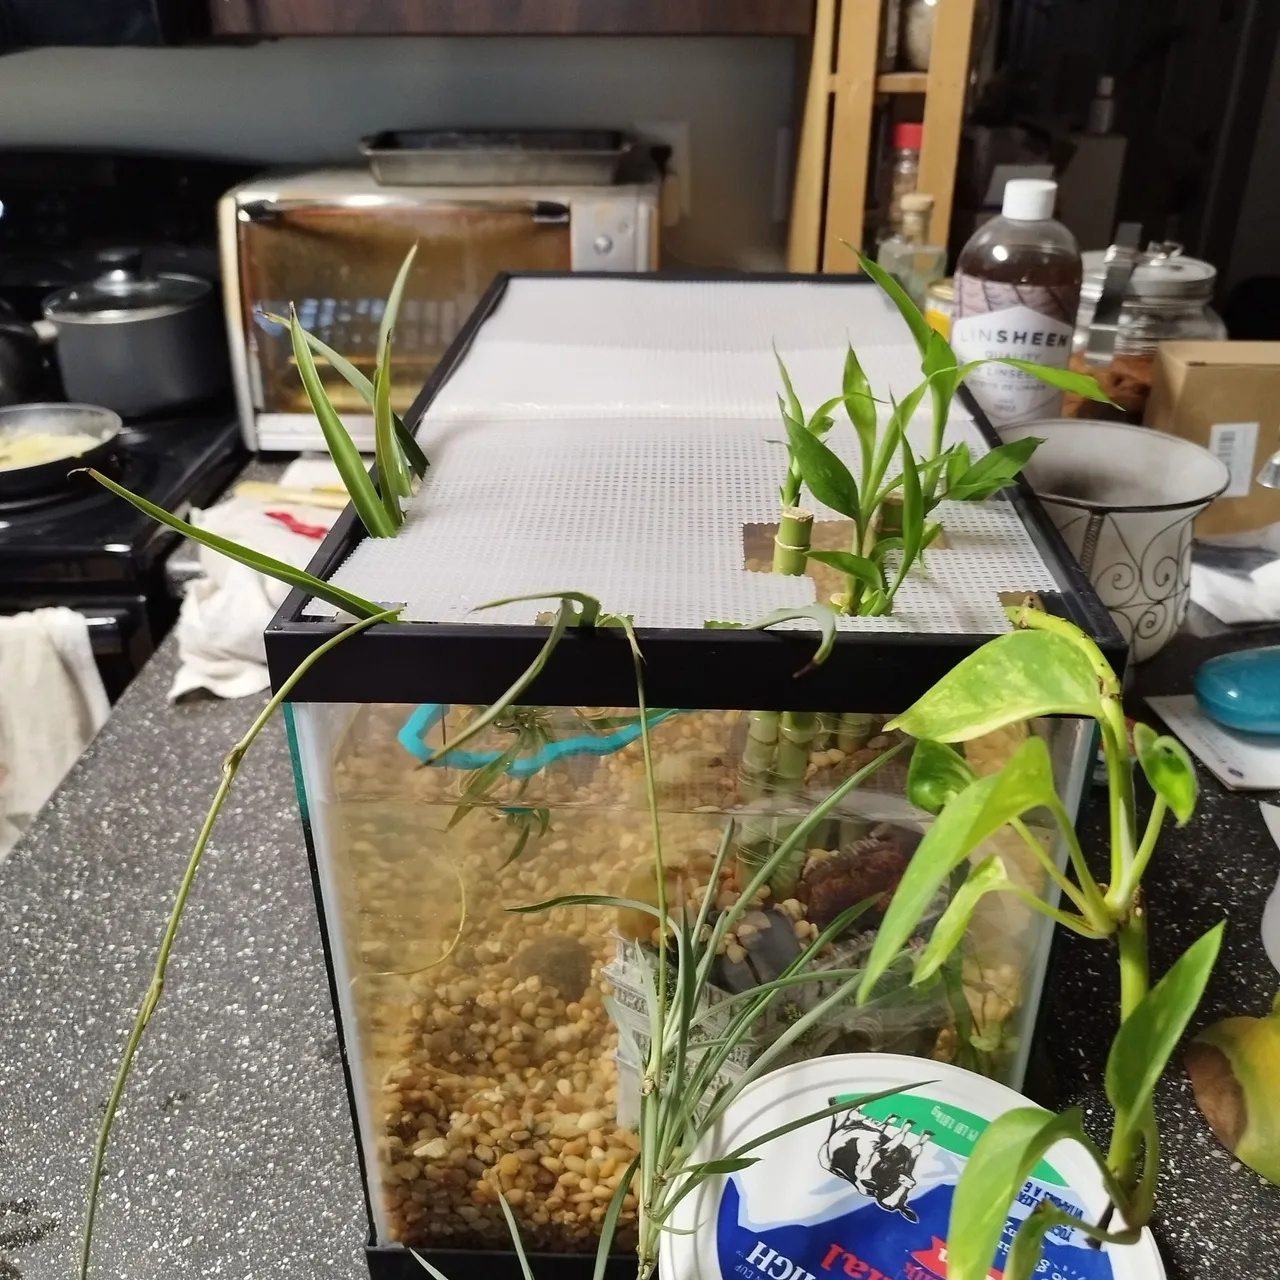
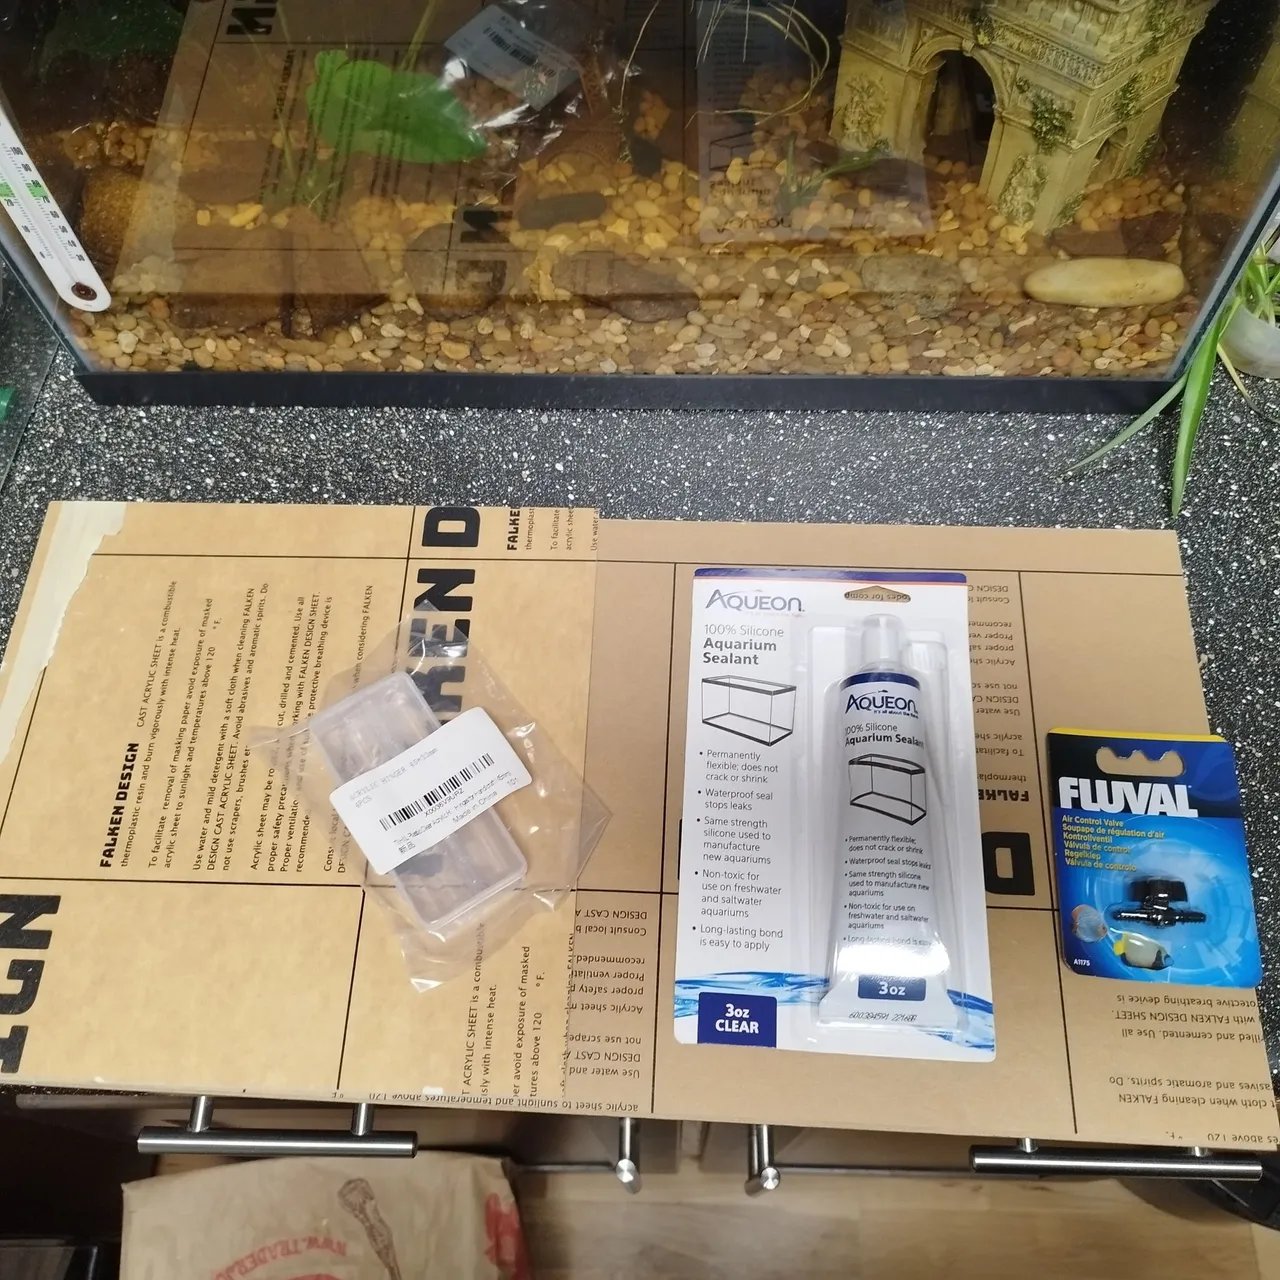
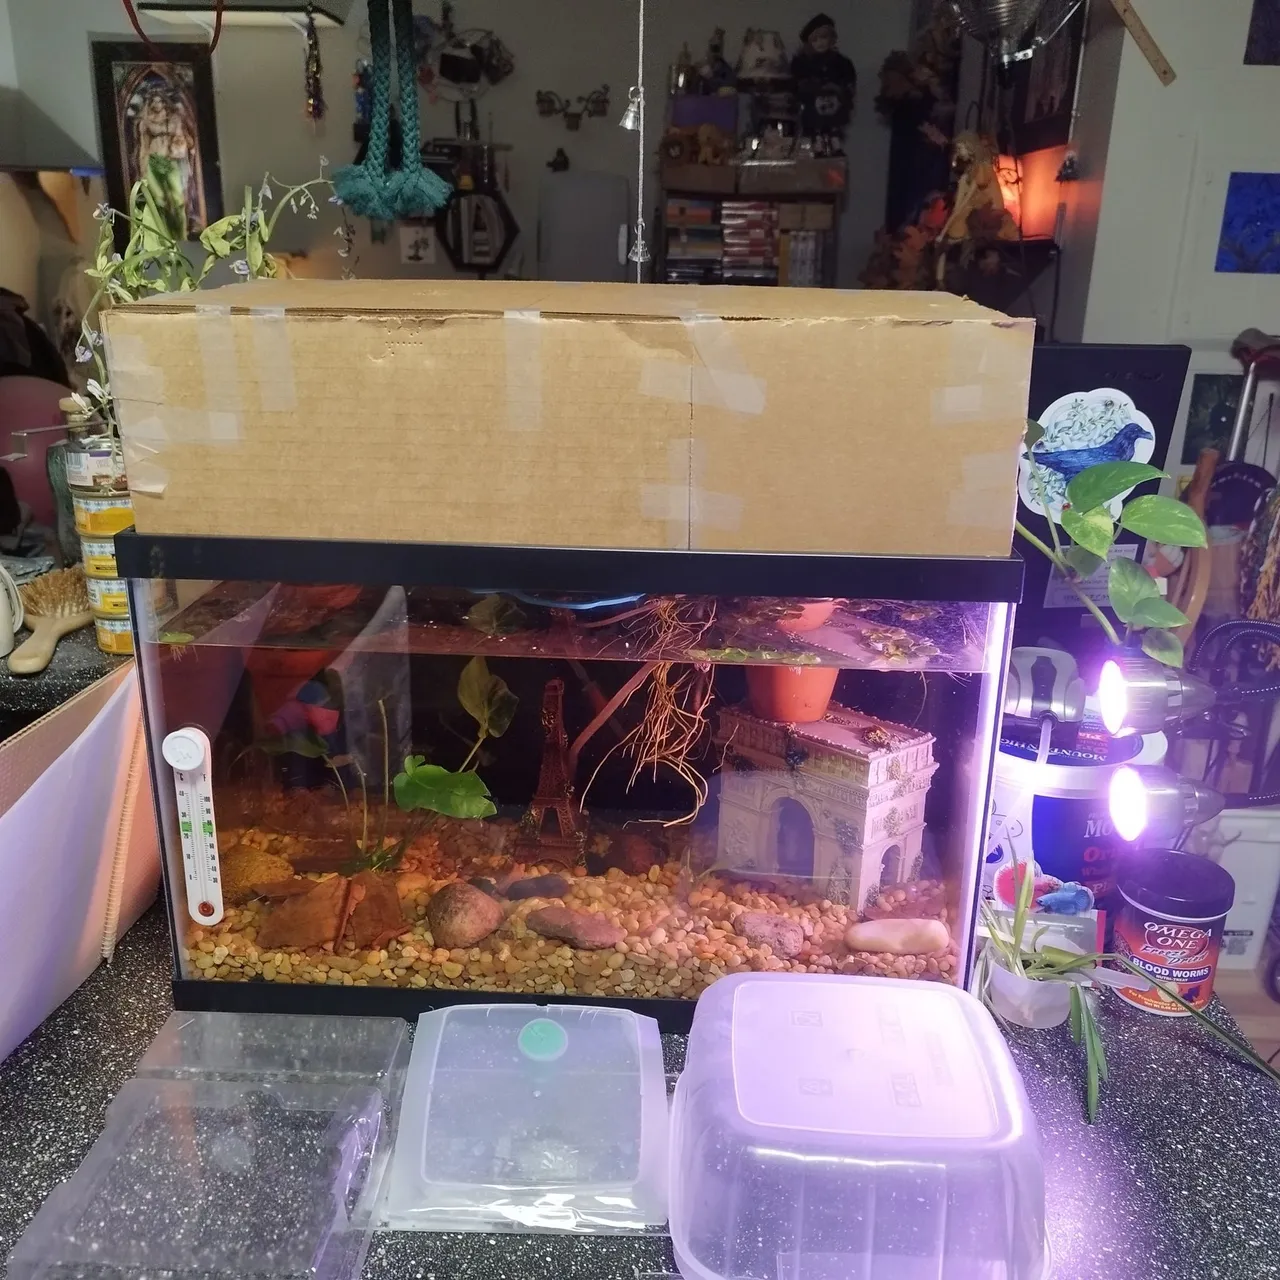
So I went online and ordered some plexiglass, silicone aquarium glue, and plastic hinges. These parts cost me more than the tank did! A pre-made lid was also cheaper, but they didn't have any pre-made clear lids that came up so that there was room for plants to stick out like I wanted; they only had clear flat lids. So I was going to have to learn to cut plexiglass. The tutorials made it look easy, so this shouldn't be too hard, right? While I was waiting for my new supplies to arrive, I built a cardboard model of the lid so that I knew what size to cut the plexiglass. Measure twice, cut once!
The tutorials were a lie. 😂 They made it seem like, "make a few cuts on one side with a utility knife, make a few cuts on the other side, and snap it in half!" Ohhhhh it so did not go down that easily. I was using a utility knife and a dremel and was still struggling. I had to tape my framing square to the plexiglass so that I could cut a straight(ish) line with the utility knife; I apparently do not have as steady a hand as the tutorial people who were doing it freehand.
When I finally got all the pieces cut and two little holes cut out for the air pump tube and the pothos stem, and a bigger one for the door (I ultimately decided to re-use the tupperware door with the tack handle as it wasn't covered in Elmer's and it worked well), I taped it all together to make sure it would work:
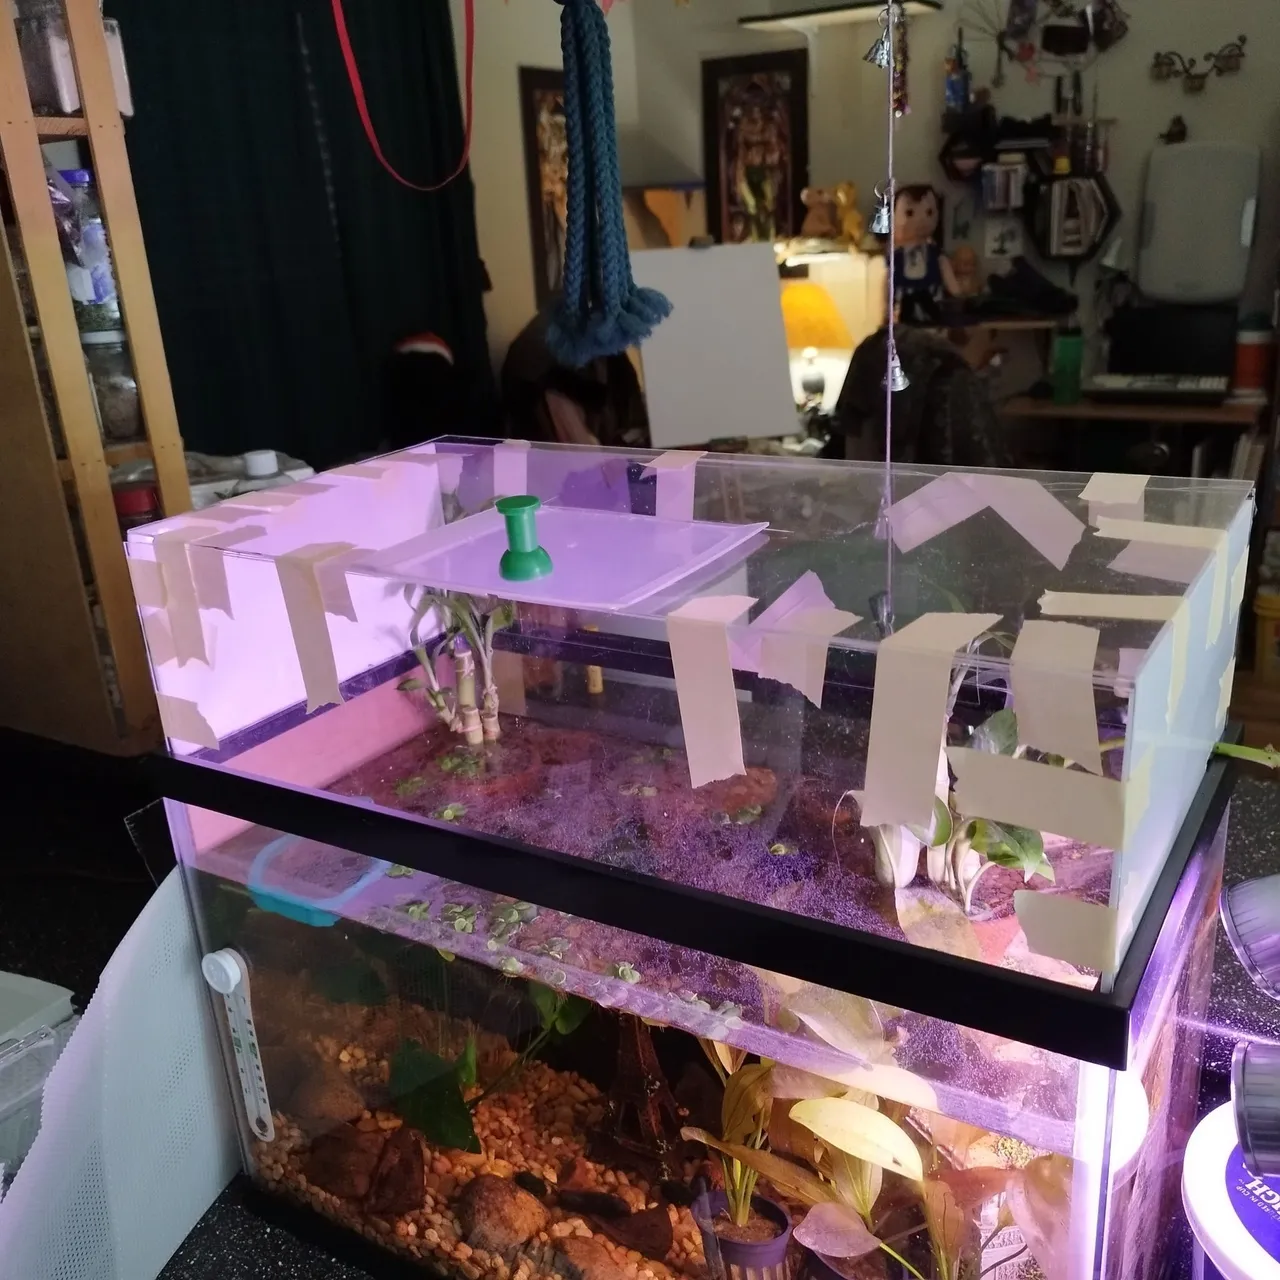
There, almost done, right? How hard could gluing it be?
May I introduce you to Satan's Glue:
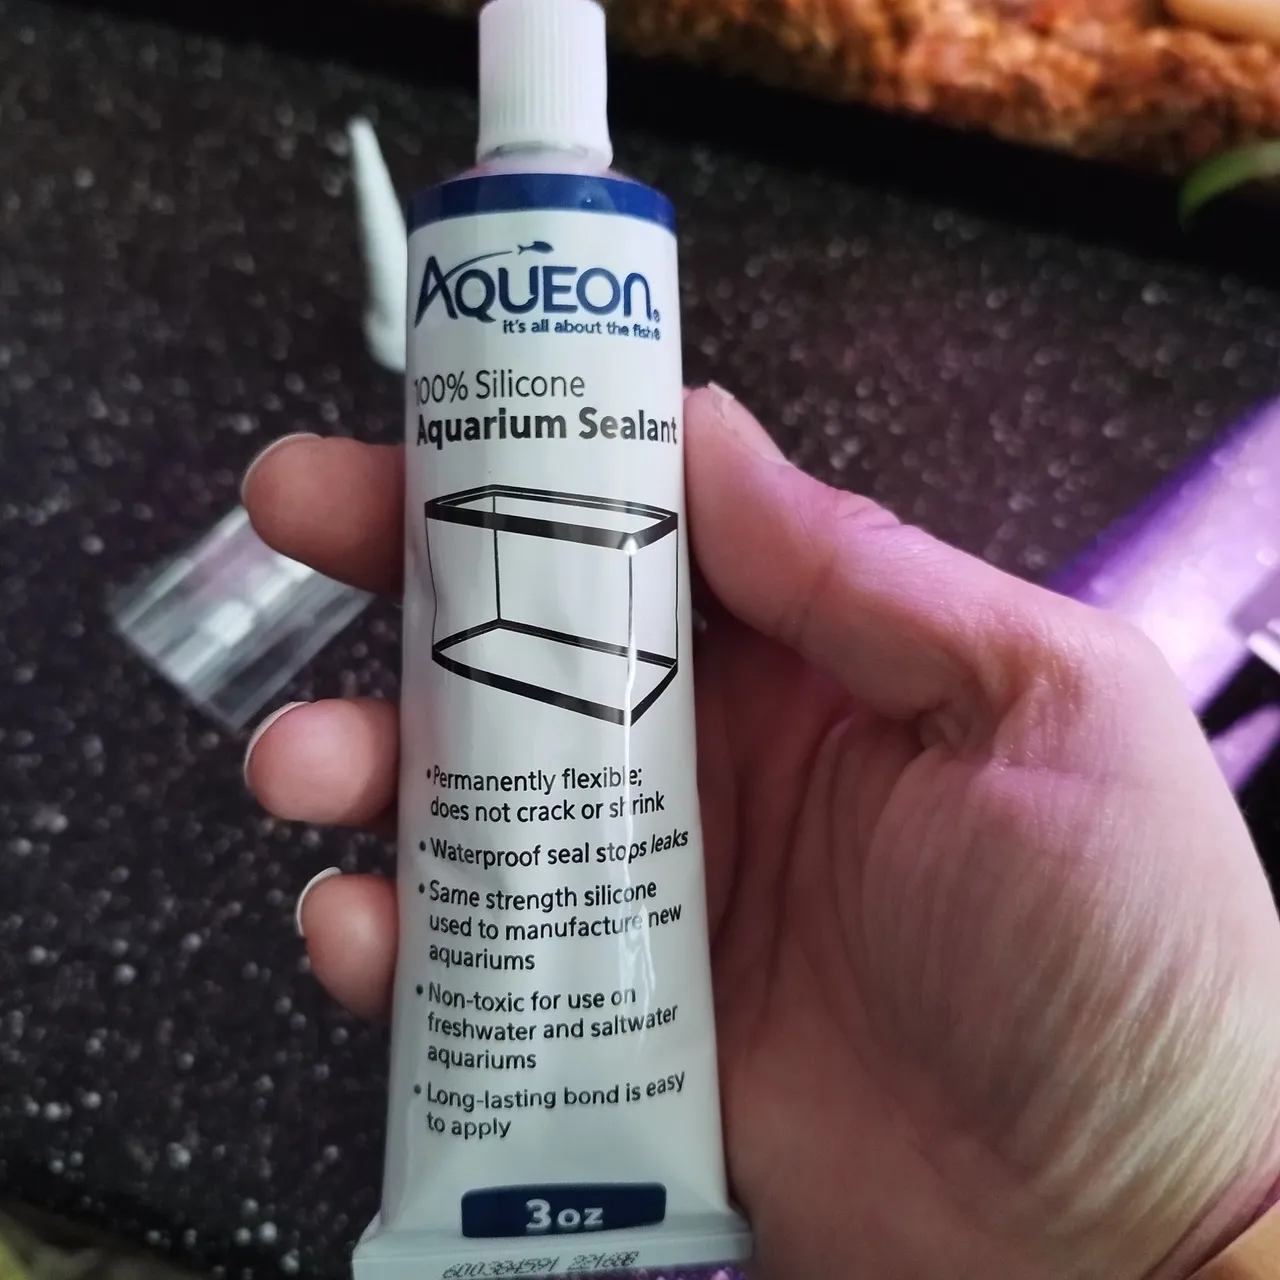
Because I don't own one of those caulk guns which you would need to dispense the large tube of this stuff, and frankly I didn't need that much anyway since it was just a small project, I bought the smaller tube I could squeeze with my hands. A rookie mistake.
It was VERY hard to squeeze out the tip, so I tried squeezing it as hard as I could with both hands. This popped open the bottom and two big globs of glue fell out before I noticed. Oh shit, I thought, and began just scooping it up with my (gloved) hands and smearing it in place. Then it tore two holes in my gloves, and I had to go back inside, wash, and get new gloves. Went back out onto the balcony (working outside for ventilation, don'tcha know) and continued to just squish it out the broken bottom and smearing it with my gloved fingers. It started coming out the top and bottom of the tube. It was everywhere. But worse, I was getting very sick smelling the fumes. I had thought being outside would be sufficient ventilation ...NO. I was coughing outside, but only when I finished and came inside did I realize I was trembling and I couldn't stop doing so for about an hour. I should have worn an N95 mask. Heed my warning, kids, and if you ever use this stuff get you a good mask, even if you are outside!
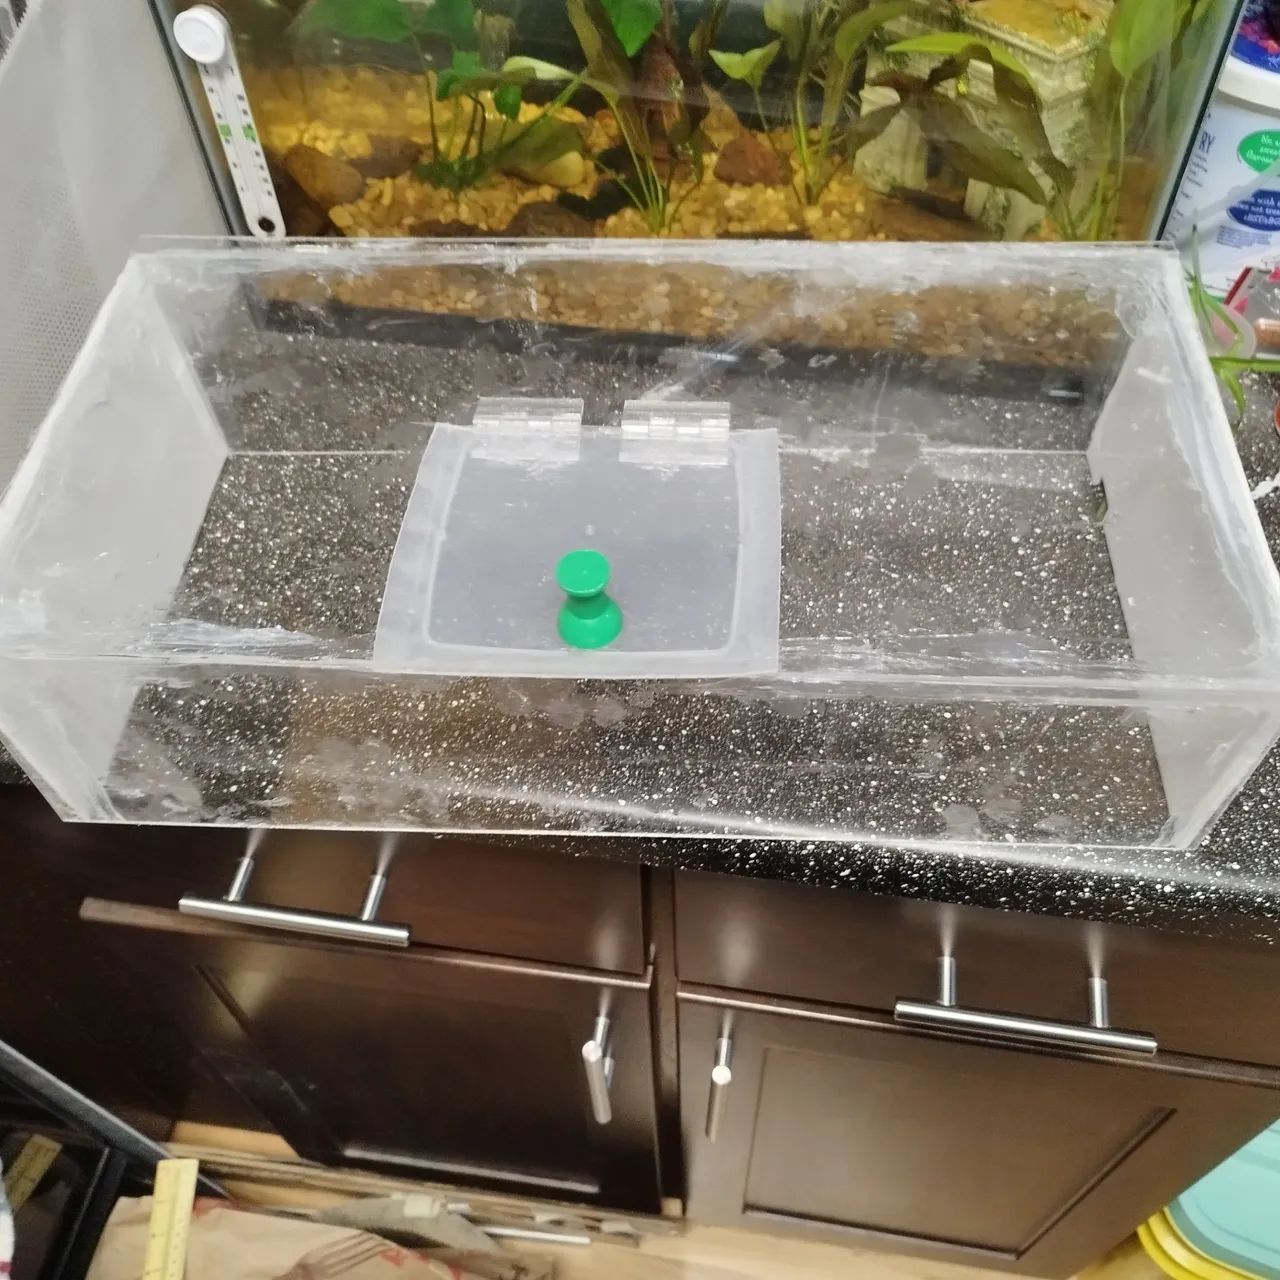
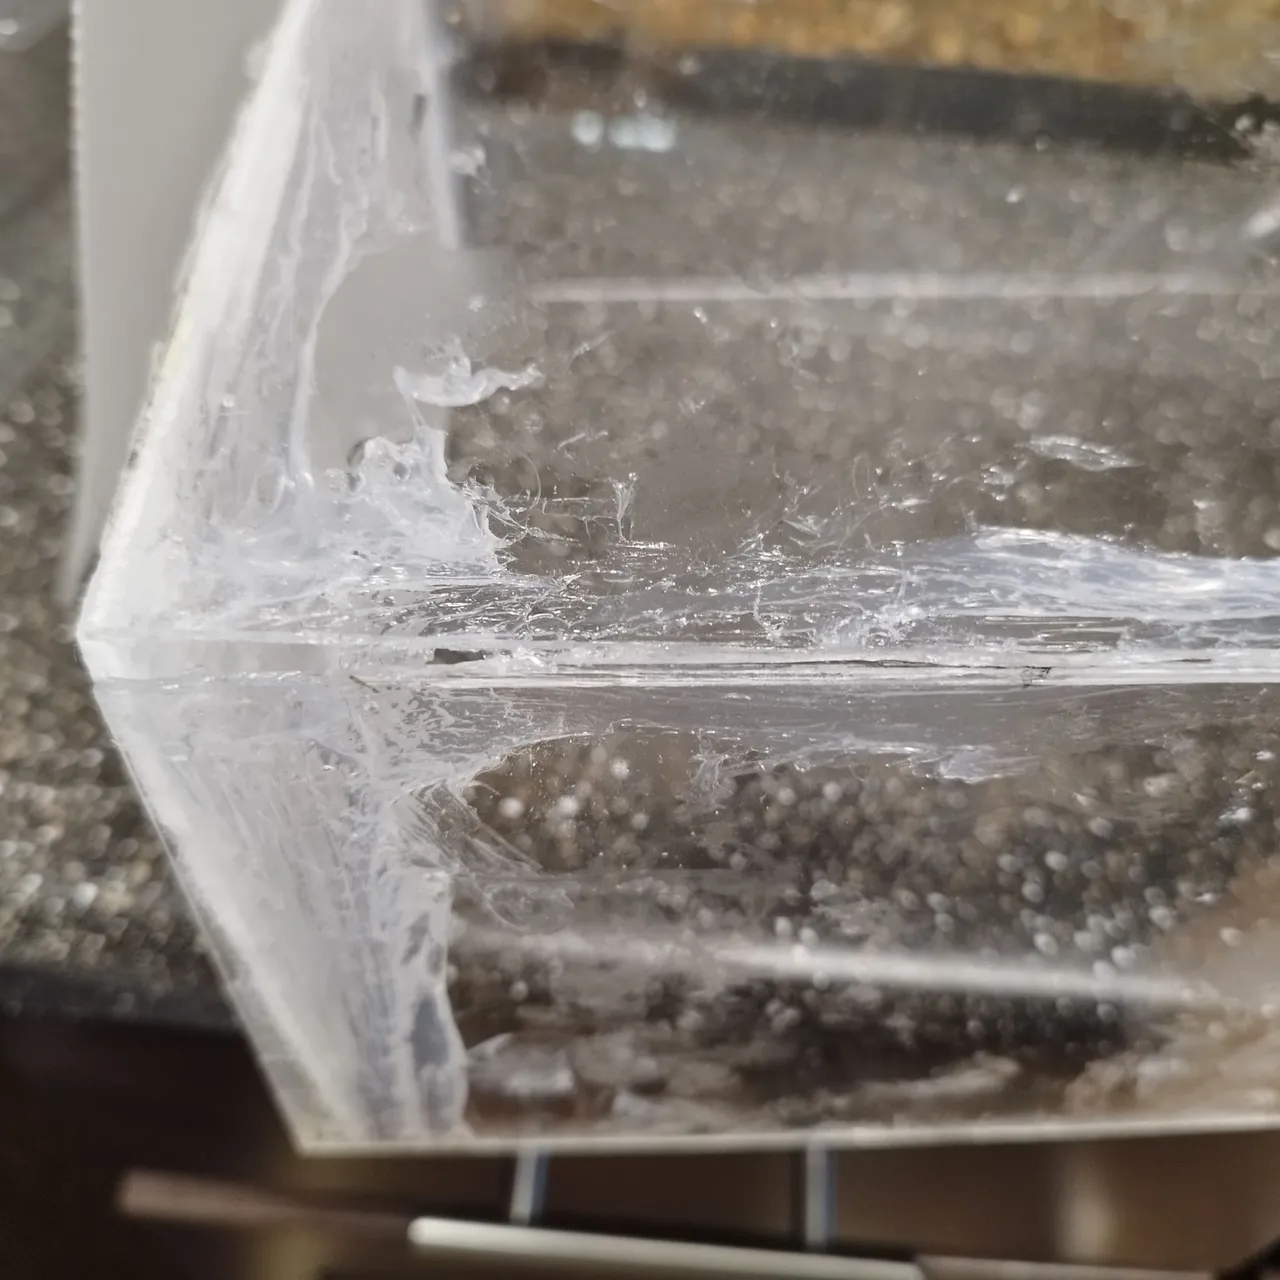
But after all that, it was done. I let it cure outside for two days because I did NOT want that smell inside, thankyouverymuch. You can see how messy my work was smearing it around with my hands, but I didn't care, lol. I briefly considered trying to clean up at least the main parts of the plexiglass where there are fingerprint type smears of glue, but when I looked it up the how-to was to scrub it with a scrubbie sponge (the demo being on glass, not plexiglass), and I figured that would just scratch up the plexiglass, which wouldn't be any better, so I said, forget about it, good enough. ;)
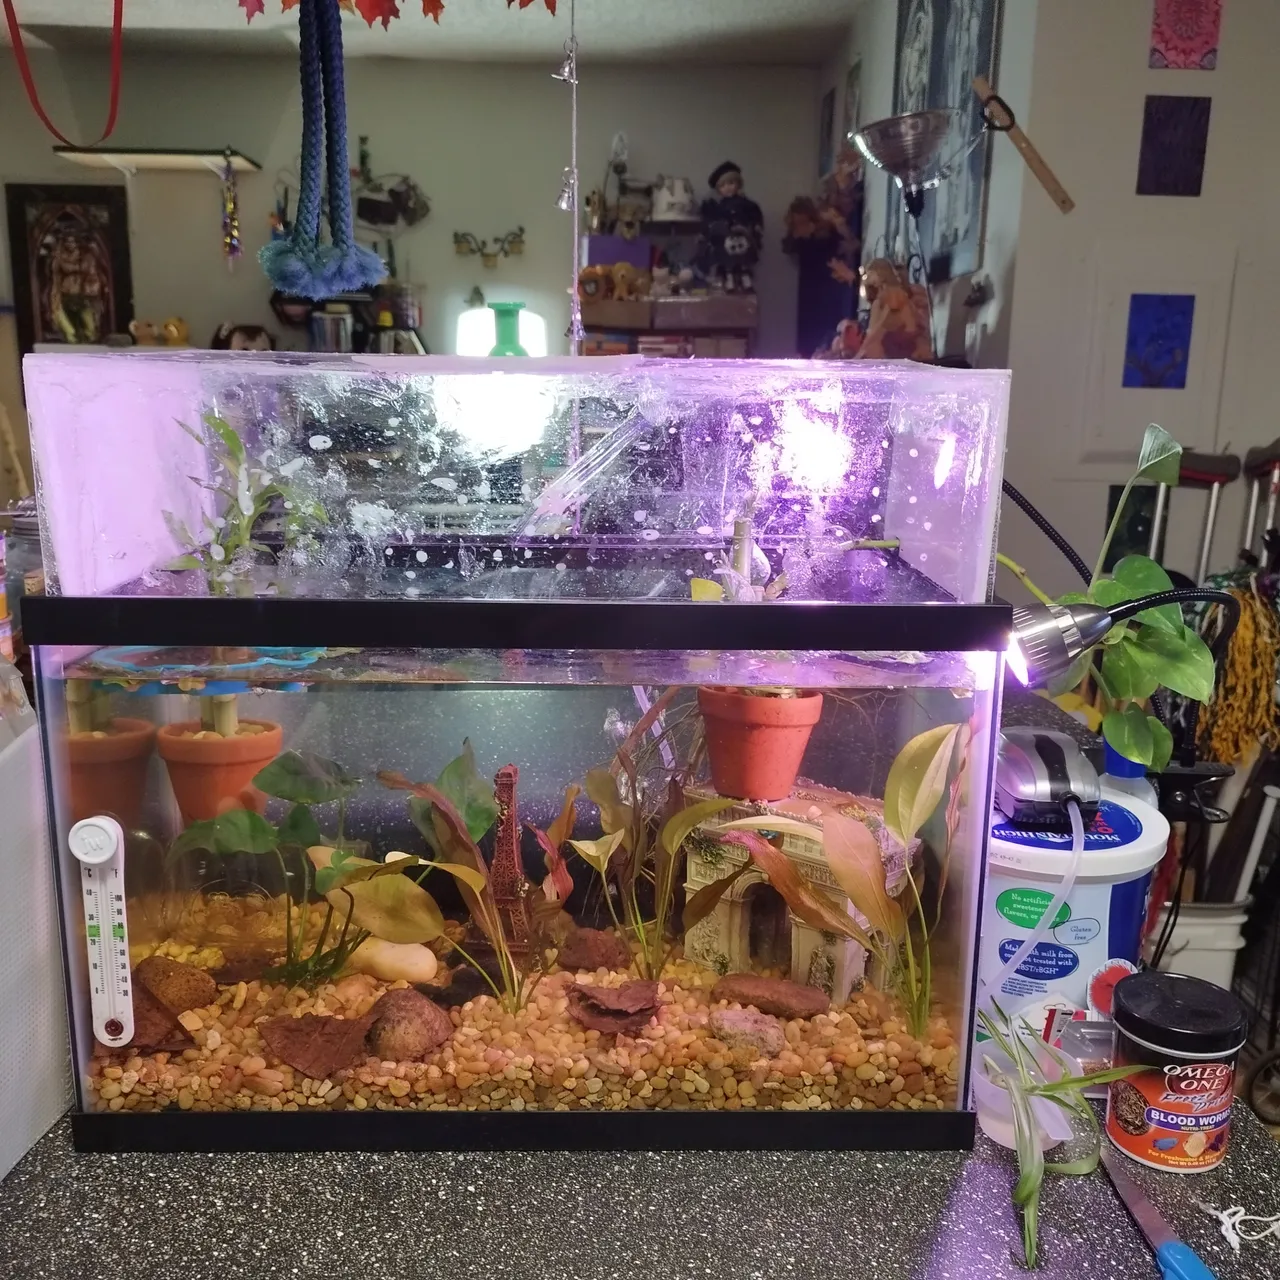
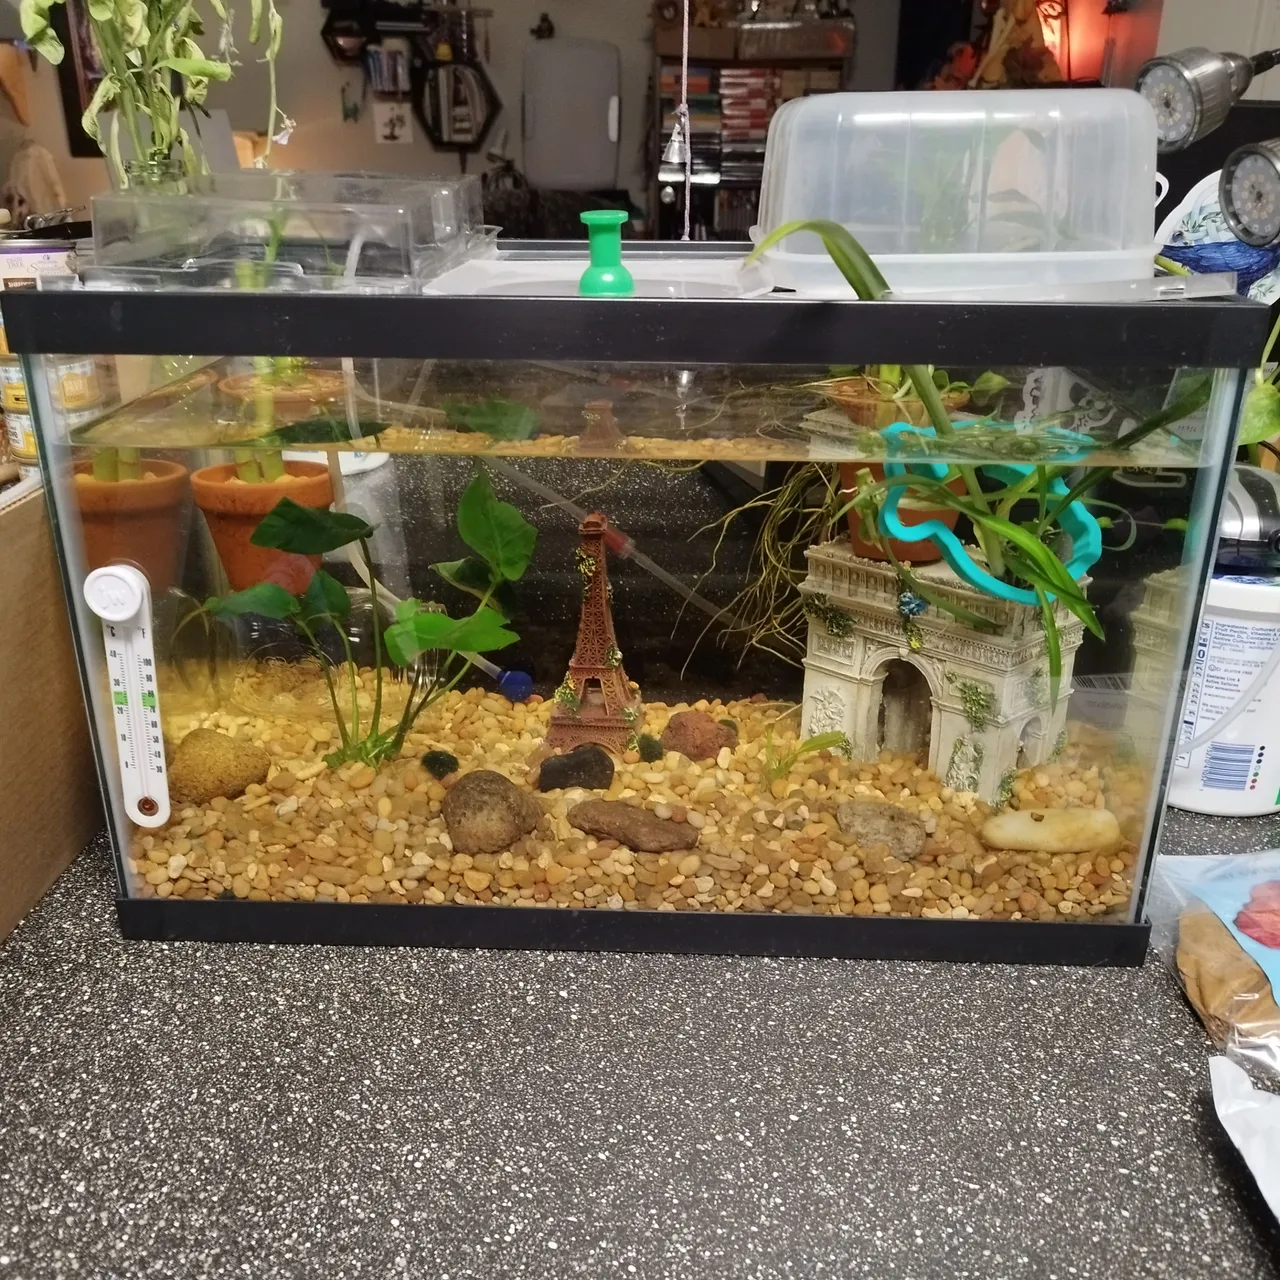
But FINALLY I had a working lid! It accommodates my plants sticking up, has only small enough holes for the pothos stem and air pump tube, and has a working door. The plant lights can come through the back (oh yeah did I mention I bought white plexiglass for the side pieces and didn't even realize? LOL), and it holds in any condensation from the bubbler (which I also bought an air valve for so it wasn't so strong a flow; bettas don't like too strong of a flow anyway).
It's messy, but I DID IT! 😂 And now CuChulainn, Macha, and Sanglainn are home and hopefully enjoying it.
Thank you for joining me on my epic journey of ...gluing some plastic together. ;) Have a great day!