
This idea had been dwelling in my mind for quite a long time. However, there are a lot of things that happened this month, so finishing this project was delayed and delayed until this day. Plus, the preparation of the materials took time and effort because the materials that I used needed some cleaning. Anyway, there's really a right time for all, that's why I was able to finally make it today. So without further ado, I'm gonna share with you the materials and the process of making my DIY seashell wind chime.
Let's start!
Materials Needed:
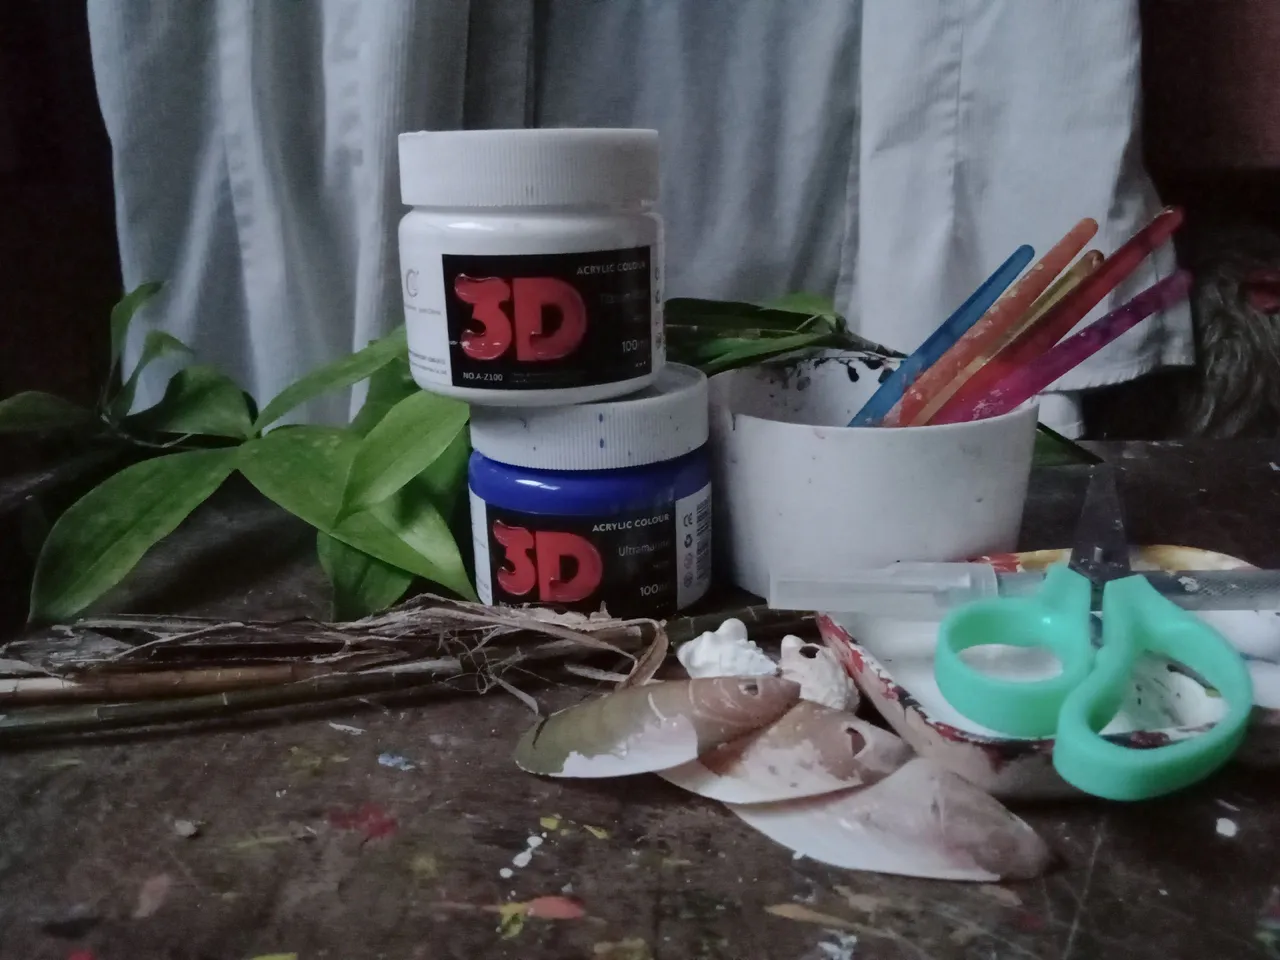
- Seashells
- Dried banana trunk
- Dracaena surculosa stem (can be other plant's stem—as long as it isn't hard to bend)
- Cutter
- Scissors
- Acrylic paint
- Brush
The Process:
1. First, I gathered some banana trunk and I cut it into thin strips.
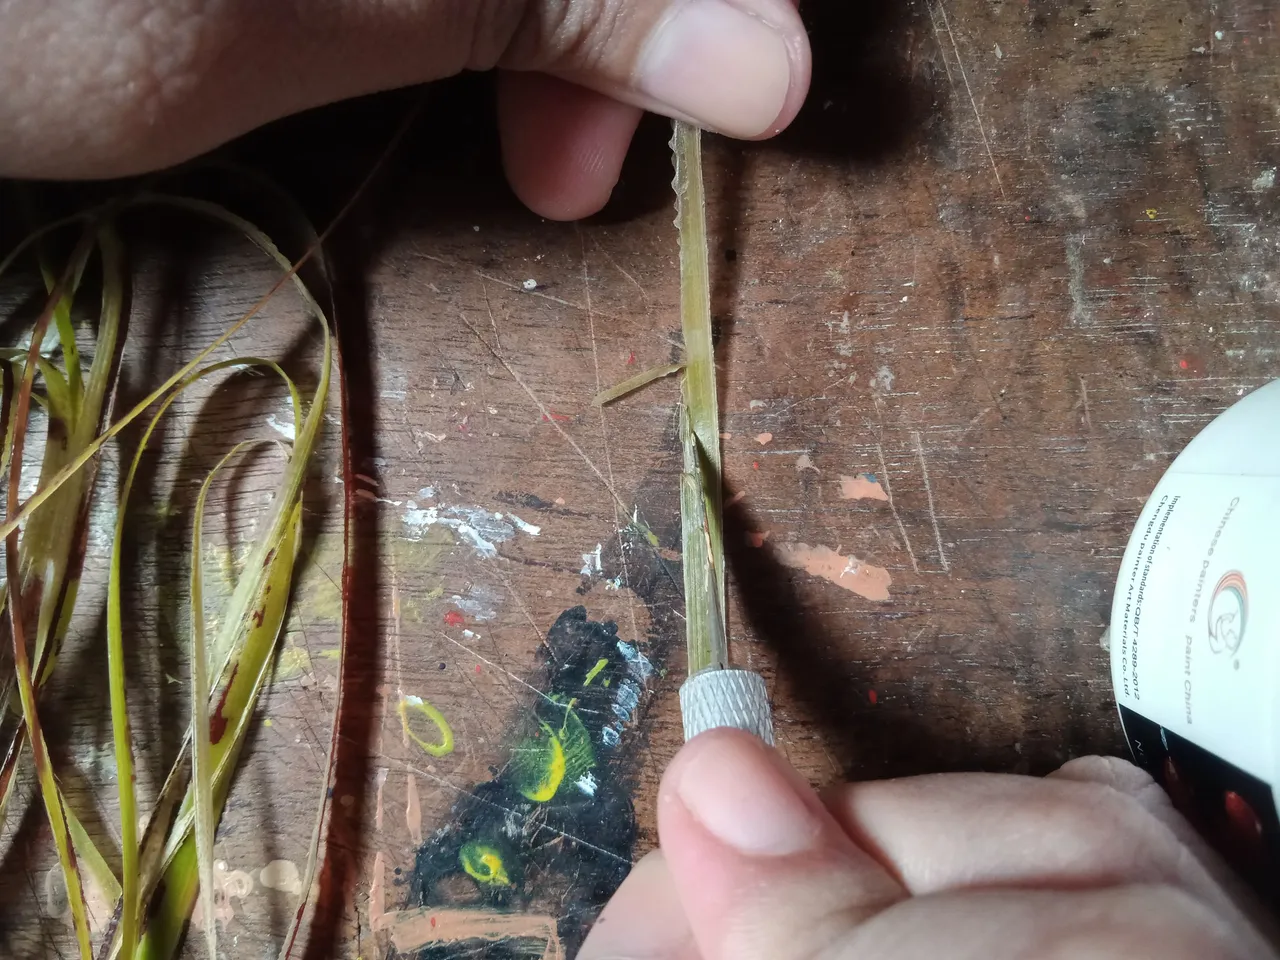
2. When I'm done cutting them, I set them aside and let them dry for days—the very same days I also dried the shells I cleaned.
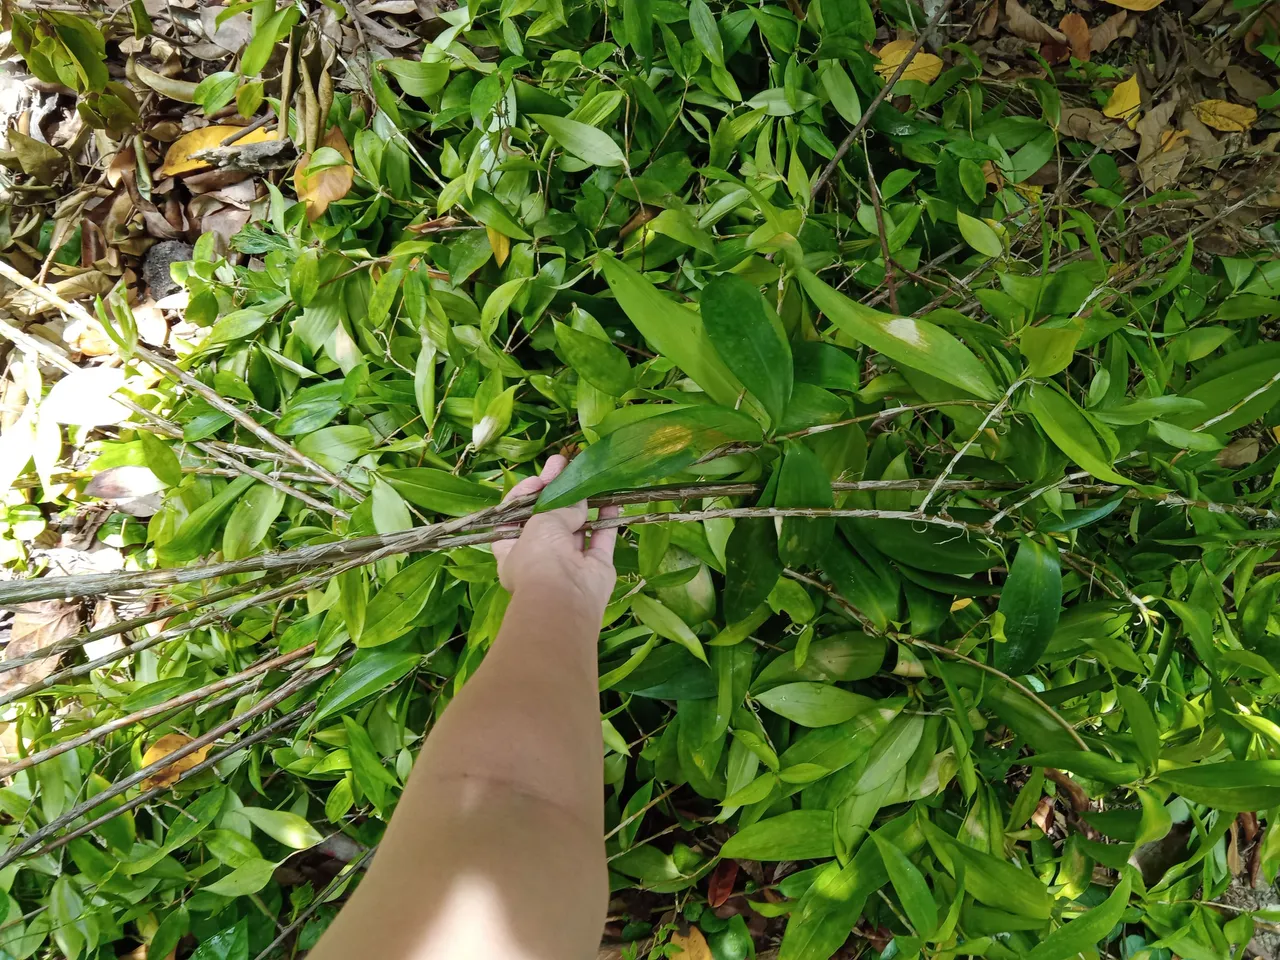
3. On the other hand, I gathered some thin stems from the dracaena surculosa plant that my mother trimmed the other day.
I'm not familiar with its common name (if ever it has one), so I'll just call it like that.
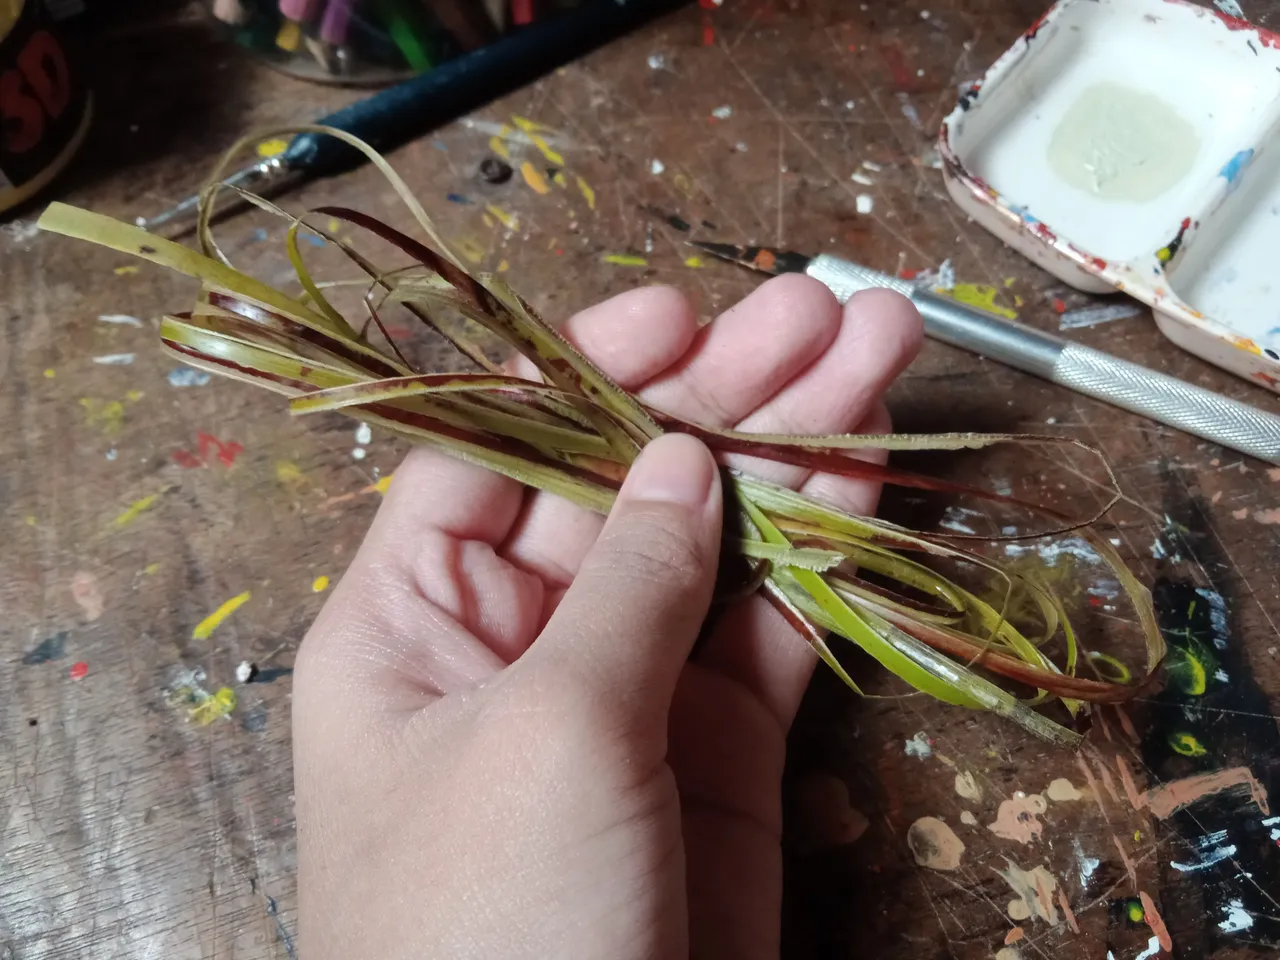
4. Once all of the materials that needed to be dried were ready, I proceeded to make the frame of the wind chime, which will be the stem of dracaena surculosa. I intertwined and tied the two identically long stems with the dried banana trunk strips.
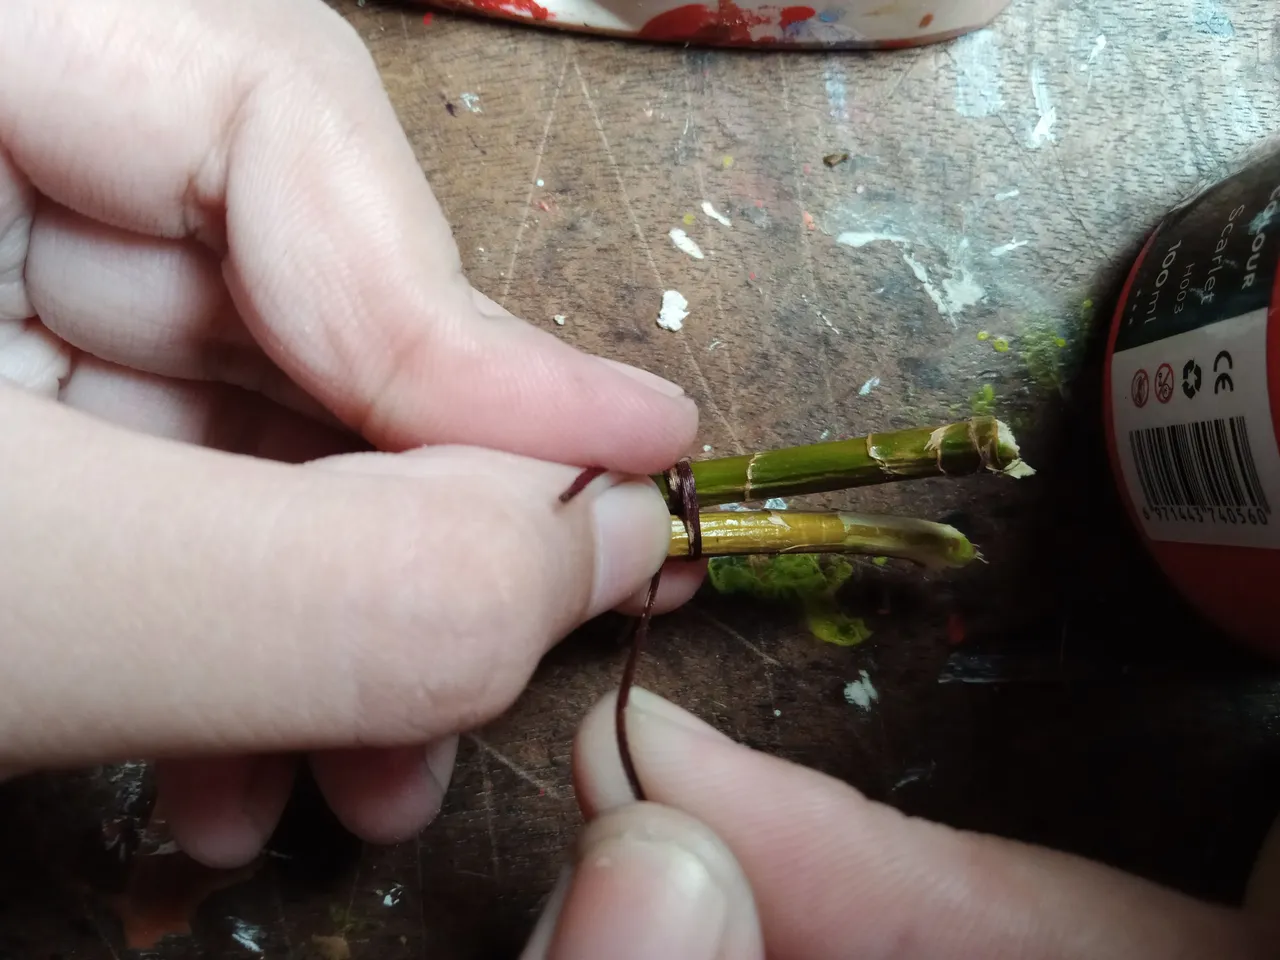
5. After tying it, I also tied the other side. When they're securely tied to each other, I proceed to the next step.

It's up to you what length you want, as long as you can bend and make an arc out of it.
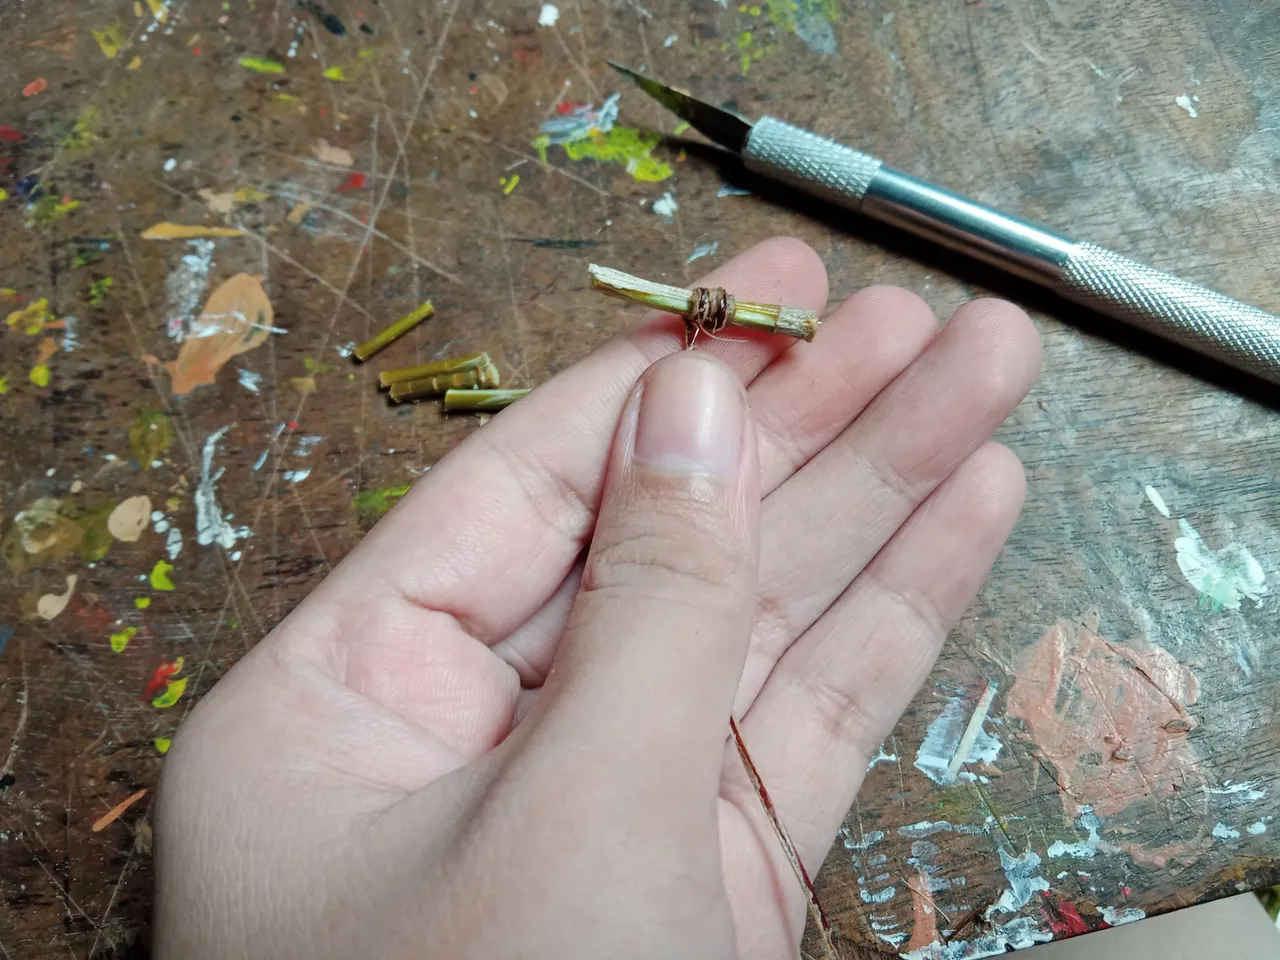
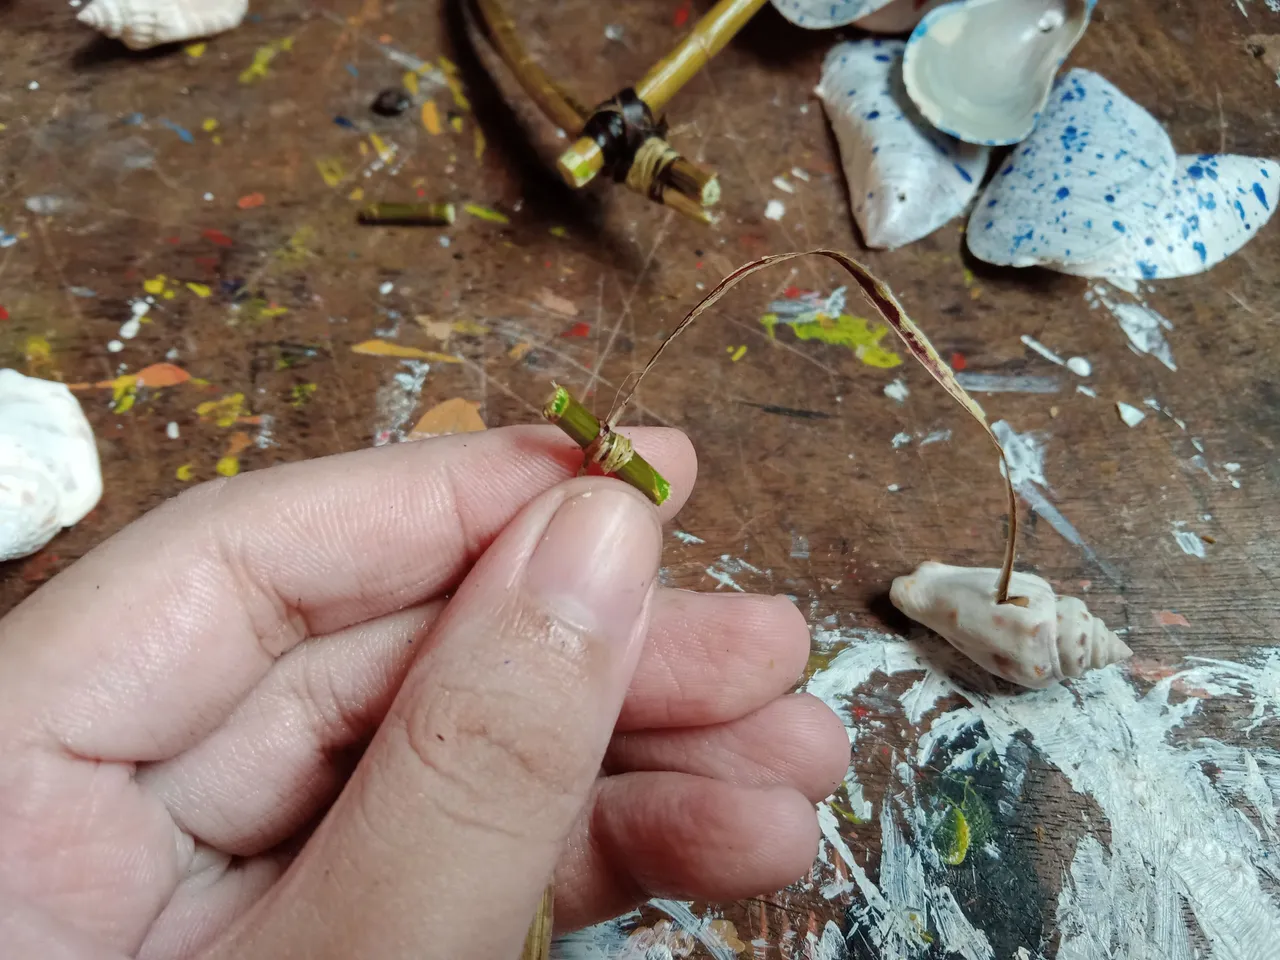
6. Next, I cut half an inch of the same plant's stem.
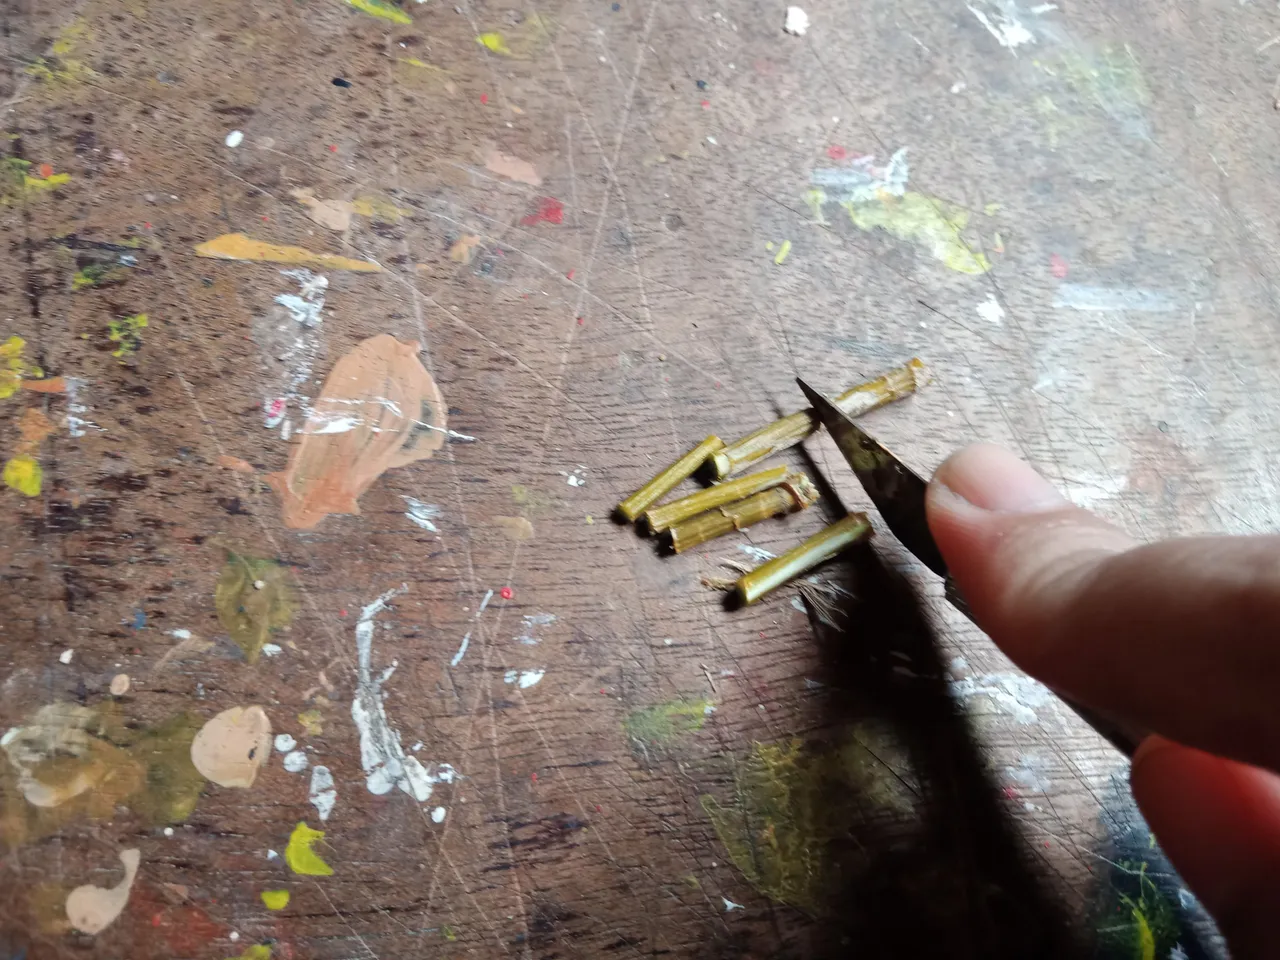
7. Then I tied them with the dried banana trunk strips.
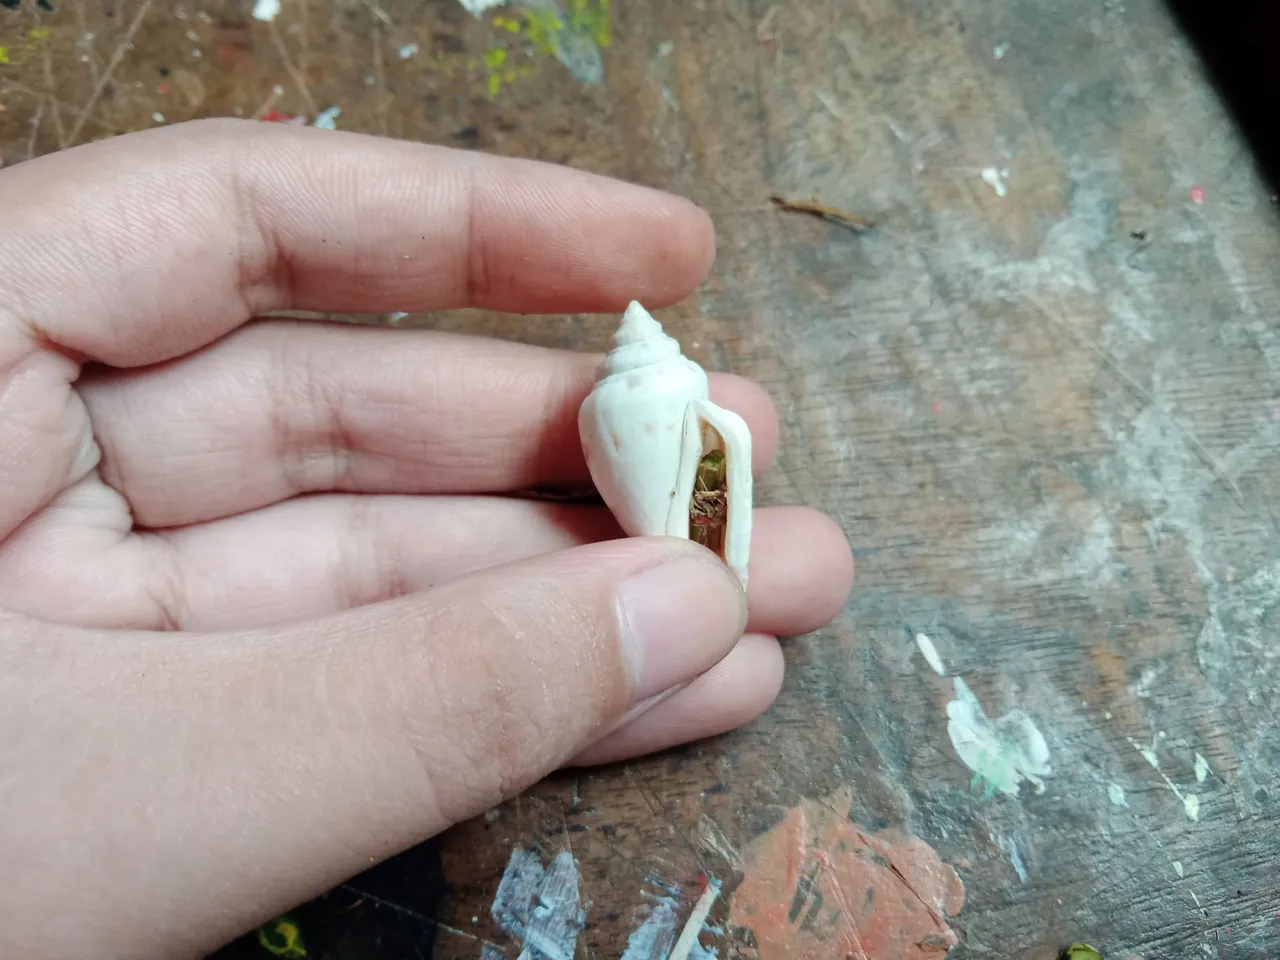
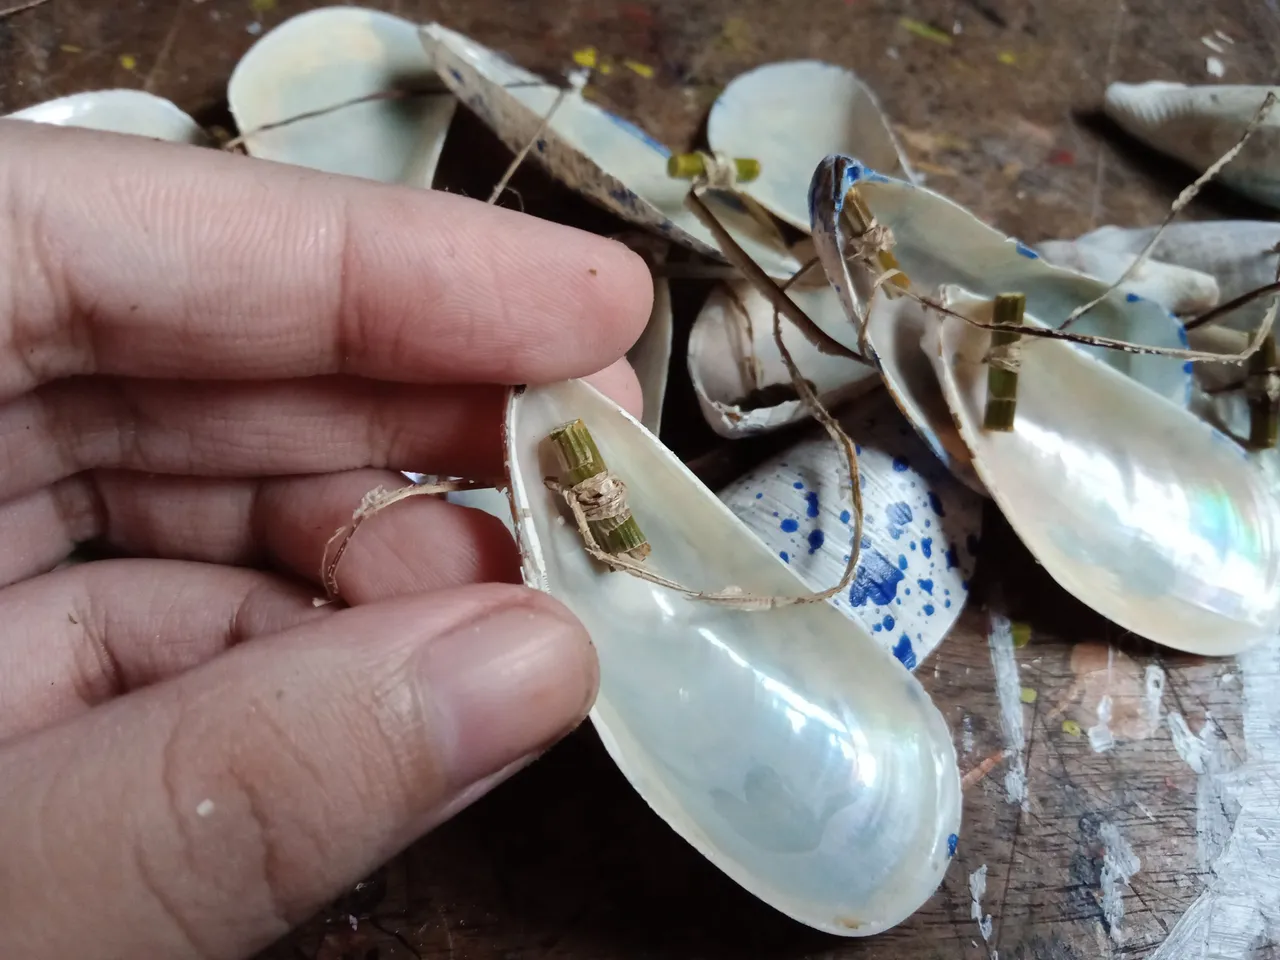
8. I made a hole inside the shells, and there I inserted the banana trunk strip.
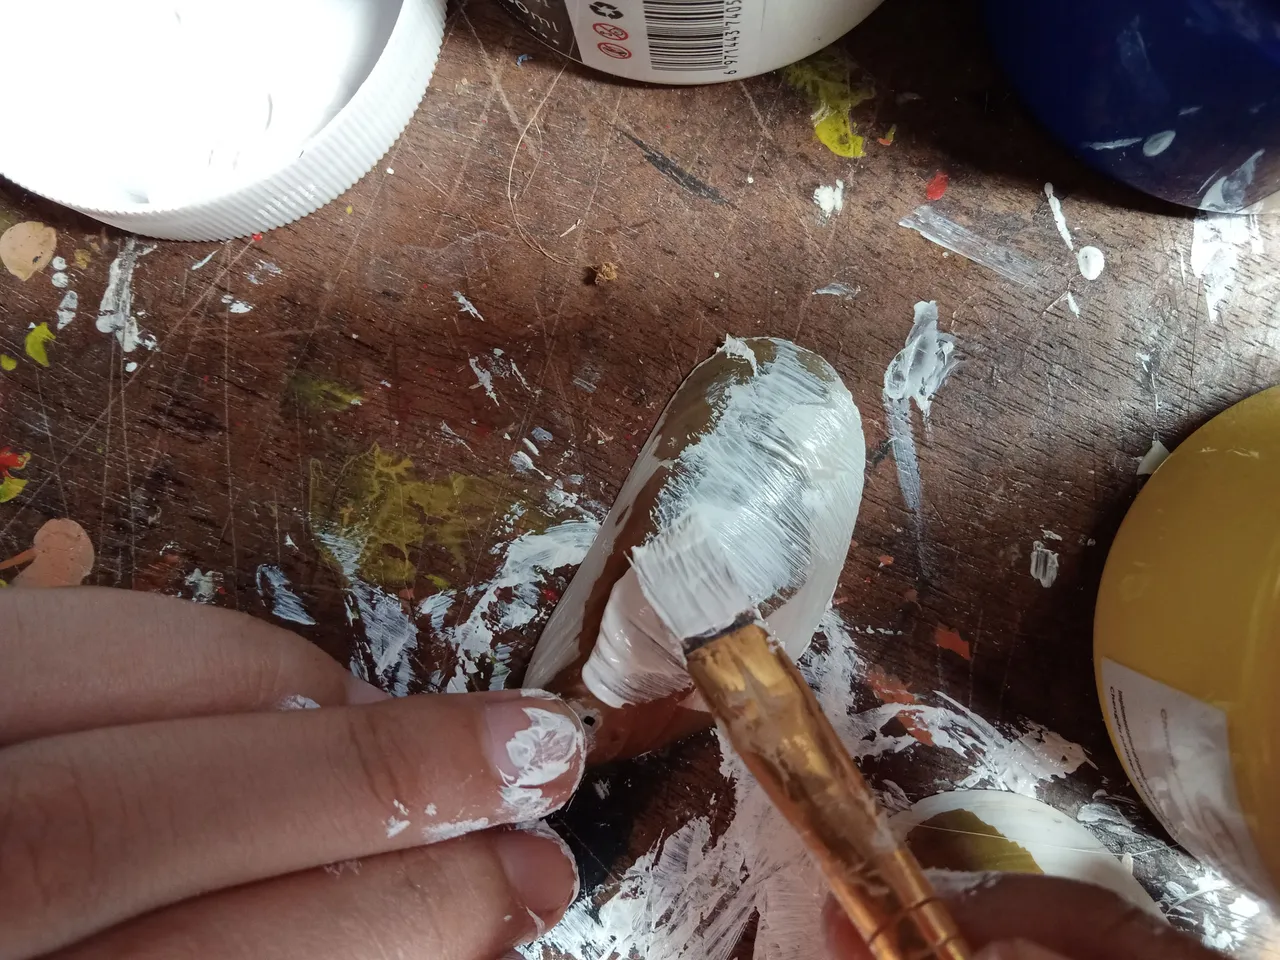
9. Once I'm done inserting those strips inside the shells, I proceed to the other shells that need my attention. Since the mussel shells are dried, I painted them white so that their colors will match.
10. Since white is just too bland for me, I splashed some blue acrylic paint on it.
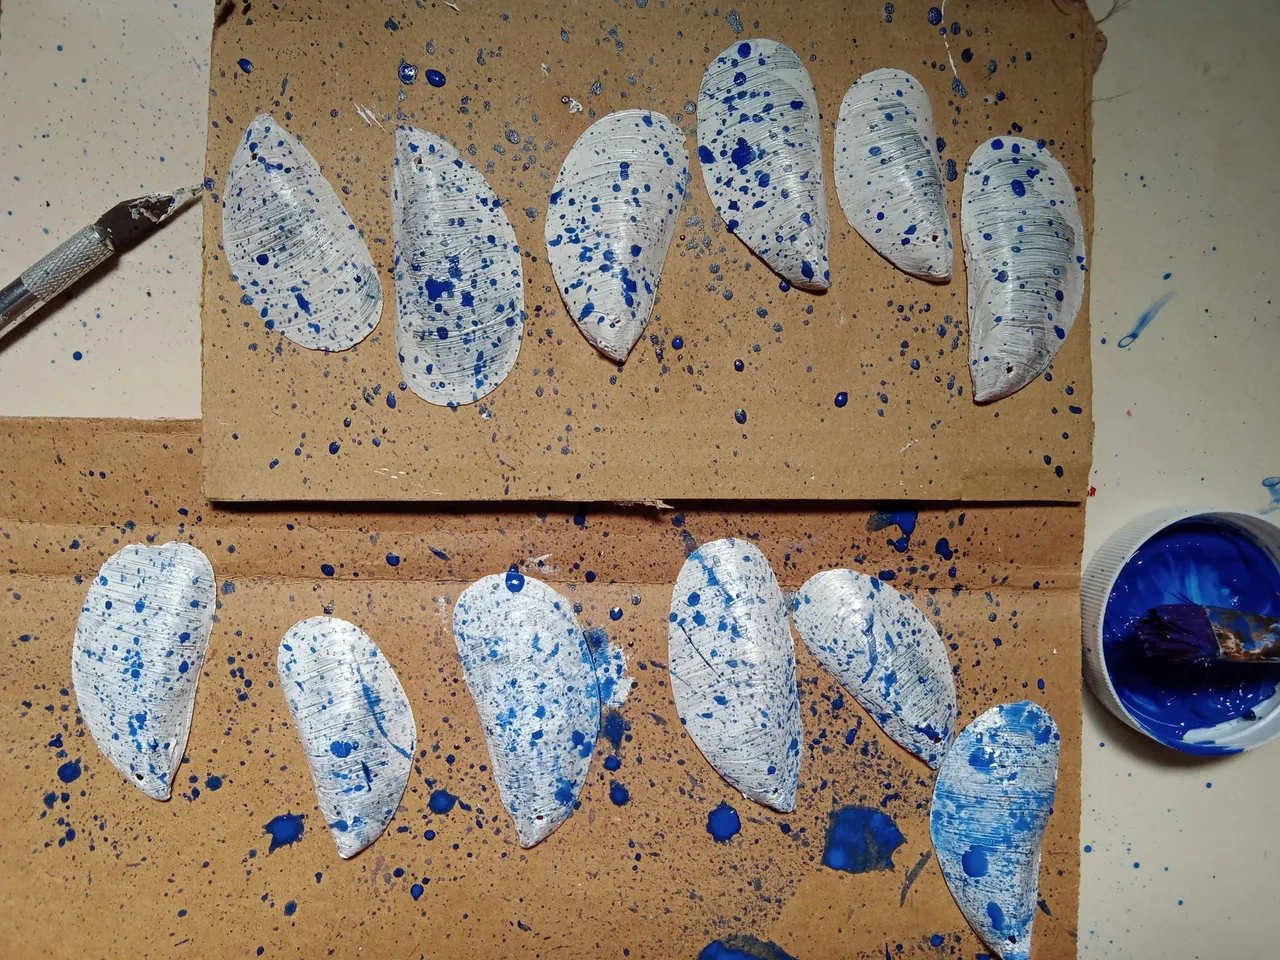
11. Once I'm done messing splashing it with acrylic paint, I leave them on our window to let them dry.

12. While letting them dry, I tied another stick to join both ends of the arc.

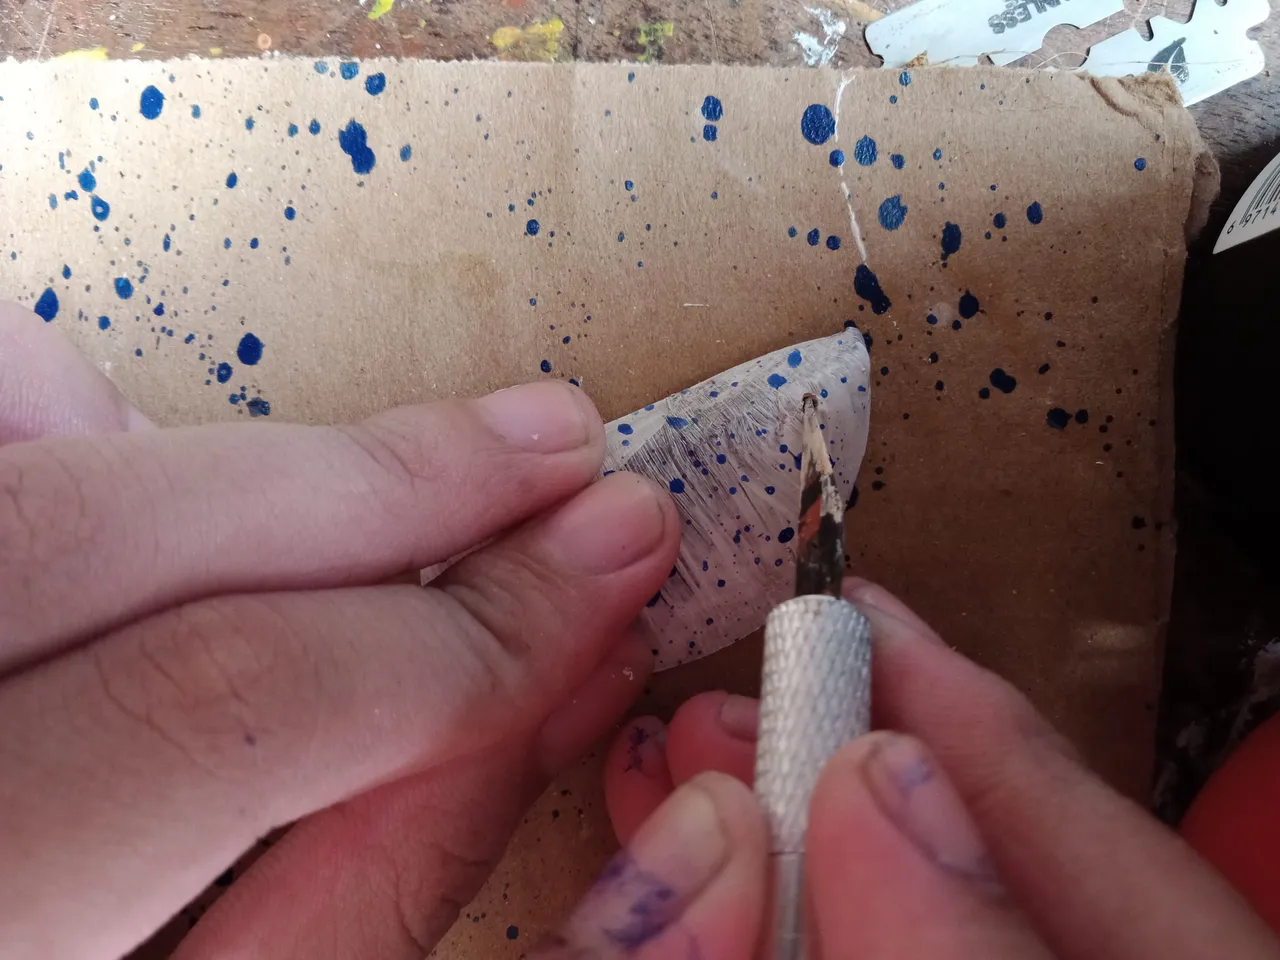
13. After an hour of sun drying it, I collect them and scrape the acrylic paint that blocked the holes on the shells.
14. Then comes with tedious part—I tied the half an inch stem I cut earlier to the strips that I already tied to the shells.
15. I repeat the process again and again until I finish tying all of them.
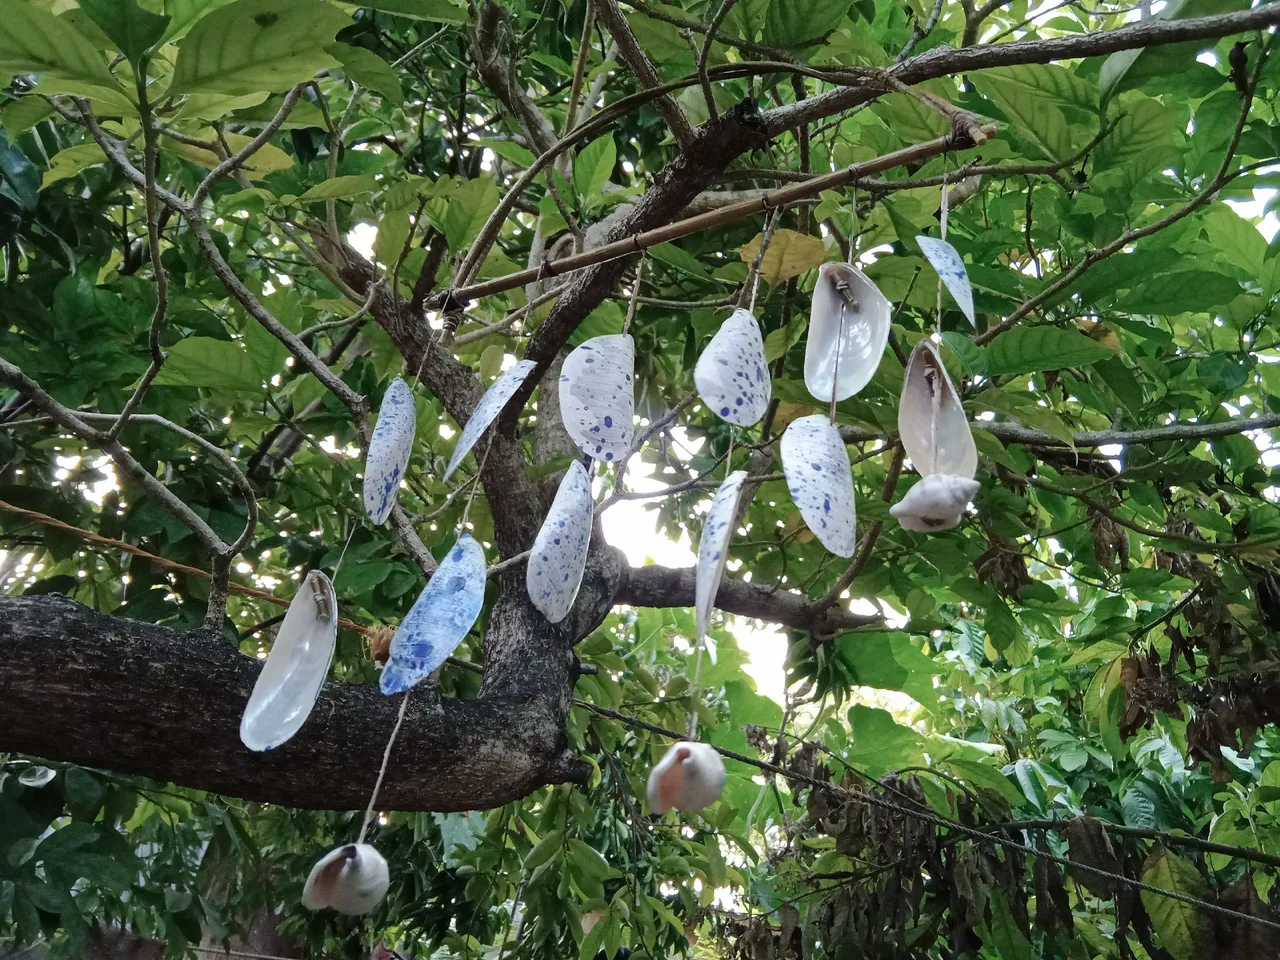
16. Down to my favorite part, I finally tied them on the stick down the arc. There's no particular number of shells, but since mine aren't that many I tied alternately 3 and 2 shells.

17. After tying them all, I cut the excess strips that strayed out of the way.

18. Then I tried hanging it on and adjusted the stem to make it balance.

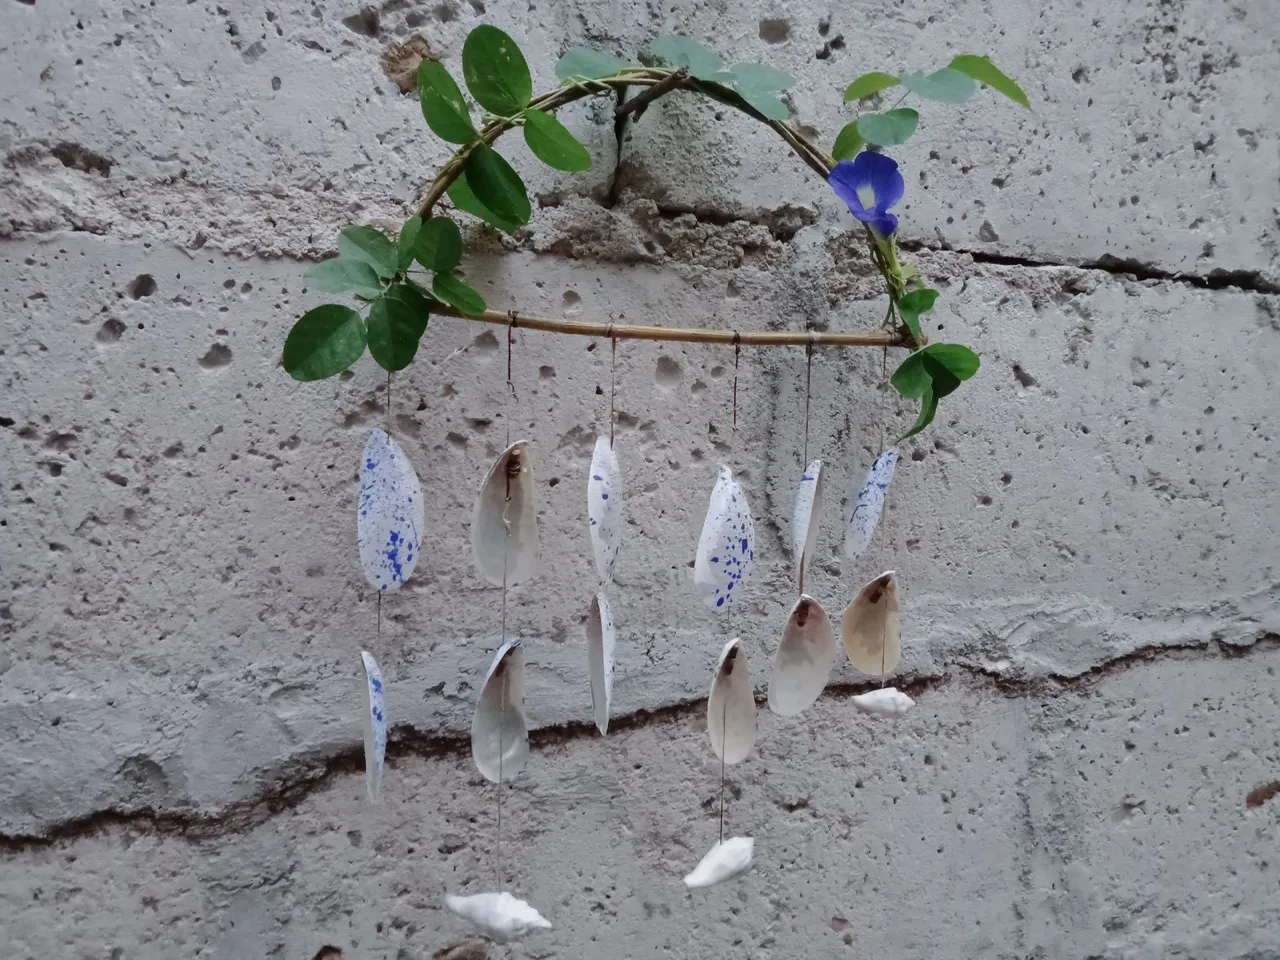
After the adjustments, it's done!
This one is probably the longest project I've made—not because it's hard to make, but because the materials need more than a bit of preparation. The shells that I've used are the ones I buried way back in my elementary days, so naturally a lot of soil accumulated in it. Anyway, I was still able to clean it thoroughly since I let it soak for almost a week, then I brushed it again and again until it gleamed white. Sigh, it's really tedious, but I guess it's better than cleaning new seashells that smell fishy. I'm not fond of that smell, so I'm quite fine dealing with earthly smells.
Like my previous DIY projects, the process didn't go without a hitch. Supposedly, the structure holding the shells is circular, but the stem isn't that flexible enough. I tried tying it really hard, but even the strong banana fibers couldn't hold against those stems from breaking free, so I just settled for relaxed arc. There are really times that it wouldn't go the way you expected, but you can't stop and back down. You really need to find a way to overcome that difficulty and move to the next step until you finish, because for me, an unfinished project is like a non-existent one, and that really bugs me. That's why I do my DIY ideas as soon as I have time, because it somehow bothers me that I have an idea that I haven't tried making.
Of course, not all of them went well, but anyway, I tried. For like my major ventures in life, making projects for me aren't just all about getting the results I expected but also trying, risking and learning along them. Ok, ok—I know I'm getting carried away with my reflection—so I'll end this now before this sharing gets deep. That would be all for now, everyone! I hope you learn something from the DIY project I shared today.
See you next time!
All of the pictures used were taken by yours truly, ridgette, while the first picture was edited in Canva.