
Earlier this afternoon, I woke up from my siesta because there were a lot of mosquitoes which were relentlessly biting me. They are so persistent that I ended up not sleeping again. Since I'm already done with my tasked houseworks, I was free at that time and it wasn't long when an idea popped into my mind. I've been planning to try this DIY idea, but I always end up forgetting it along the way. And so with my free time earlier, I tried that idea which I already mentioned way back on one of my Wednesday walk sharing. Enough with the talk, join me as I share with you the process of making a DIY dried flower stickers.
Let's go!
Materials Needed:
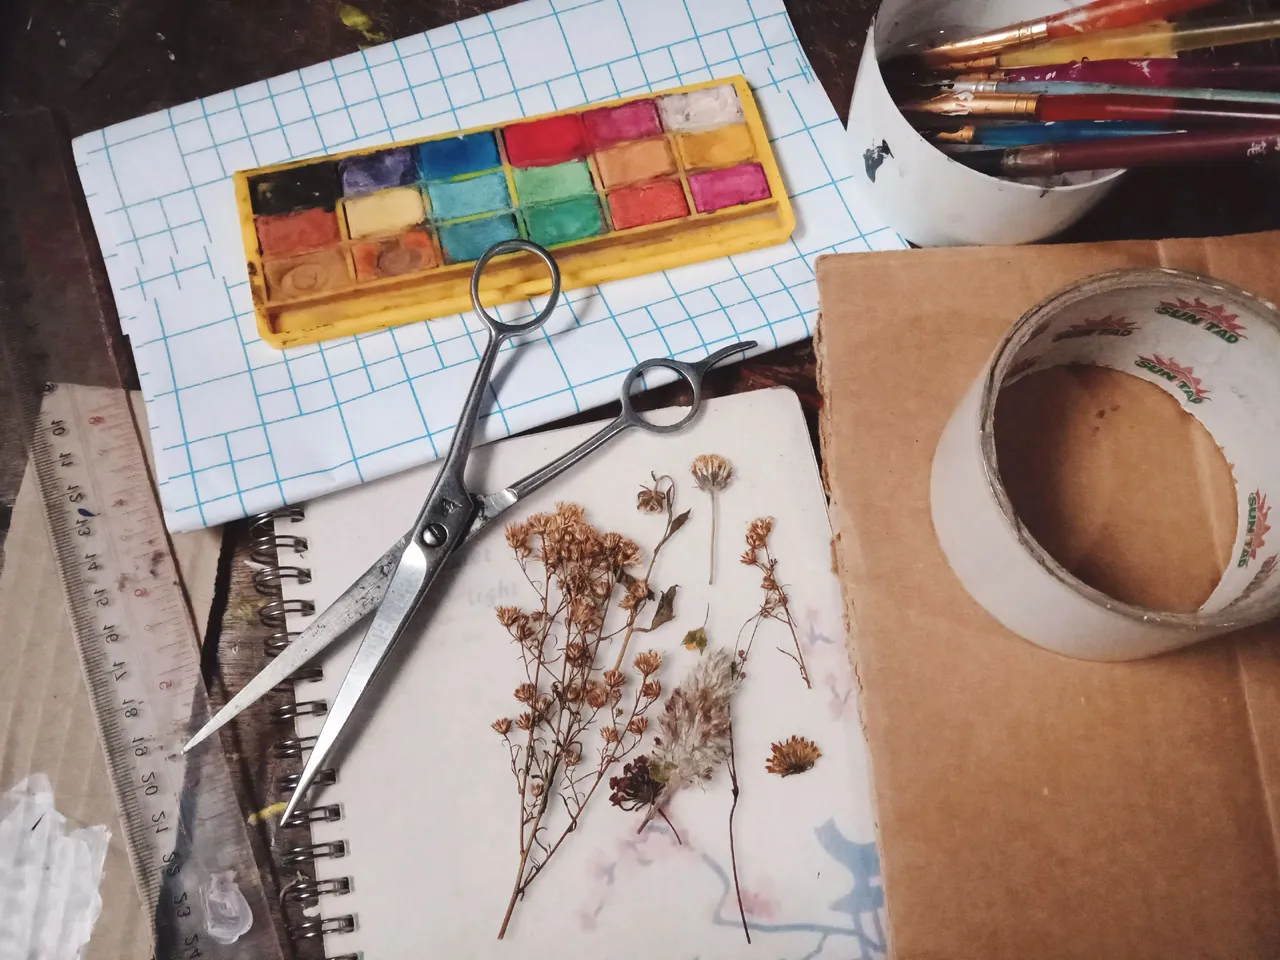
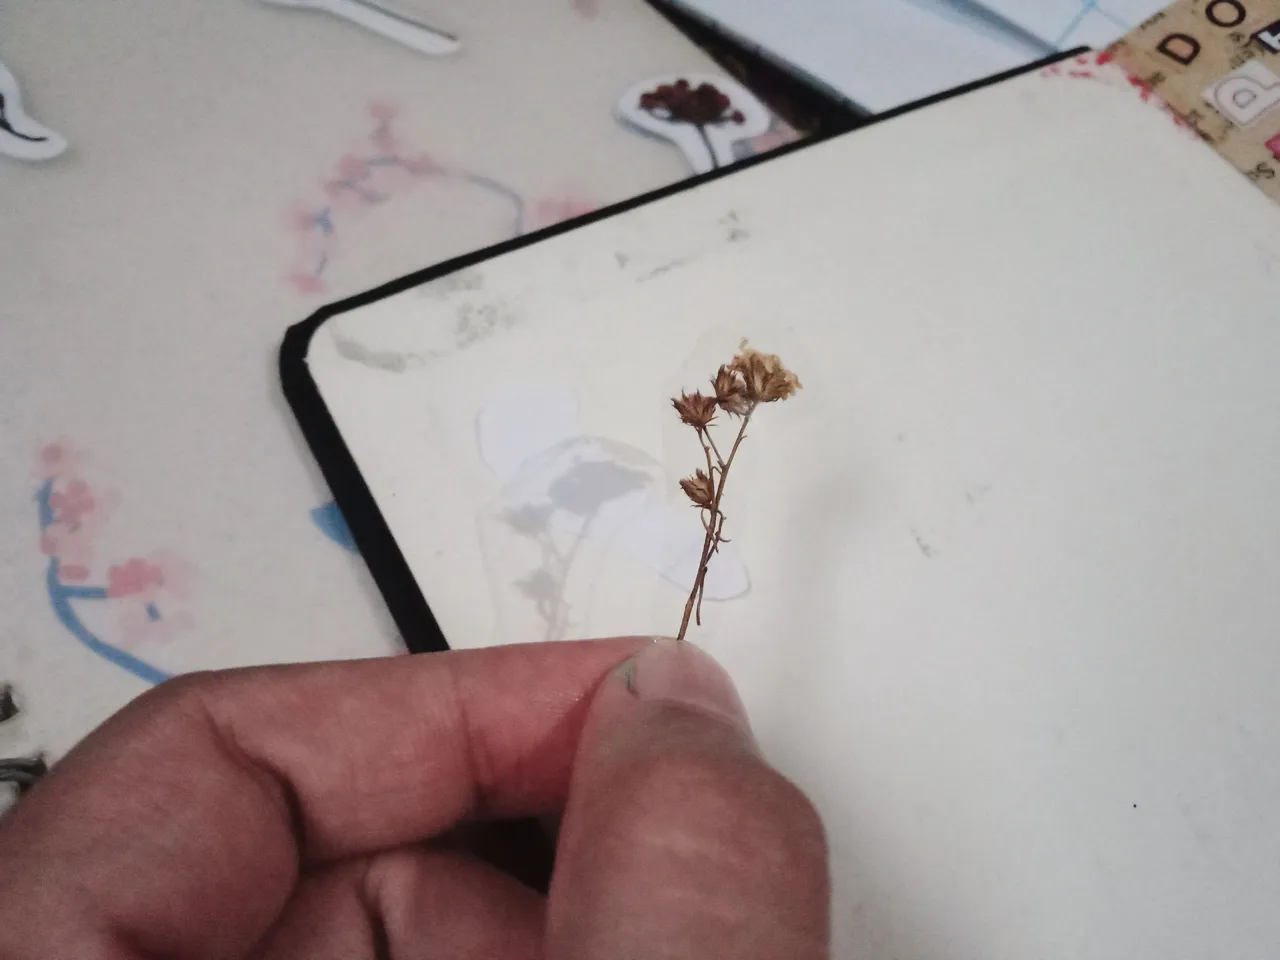
- Dried flowers
- Clear tape (thick)
- Book cover film
- Scissors
- Watercolor
- Brush
The Process:
1. Place the dried flower on the book cover film and prepare the clear tape that is free of dirt or stress lines.
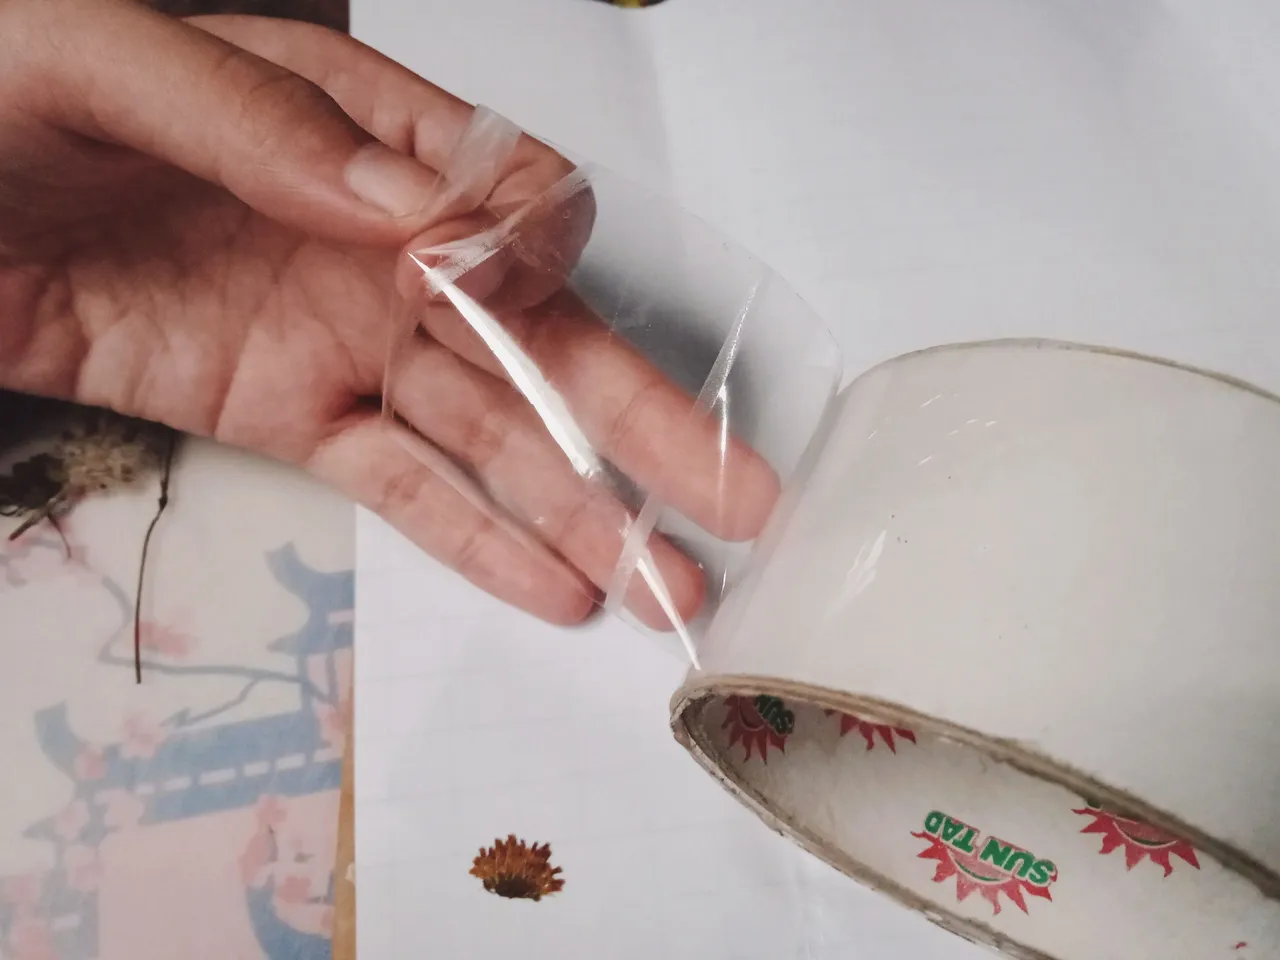
By the way, I just recycled the book cover film because I find it a suitable replacement for parchment paper, but if you don't have both—you can use any paper that's glossy, as long as the tape won't stick to it completely.
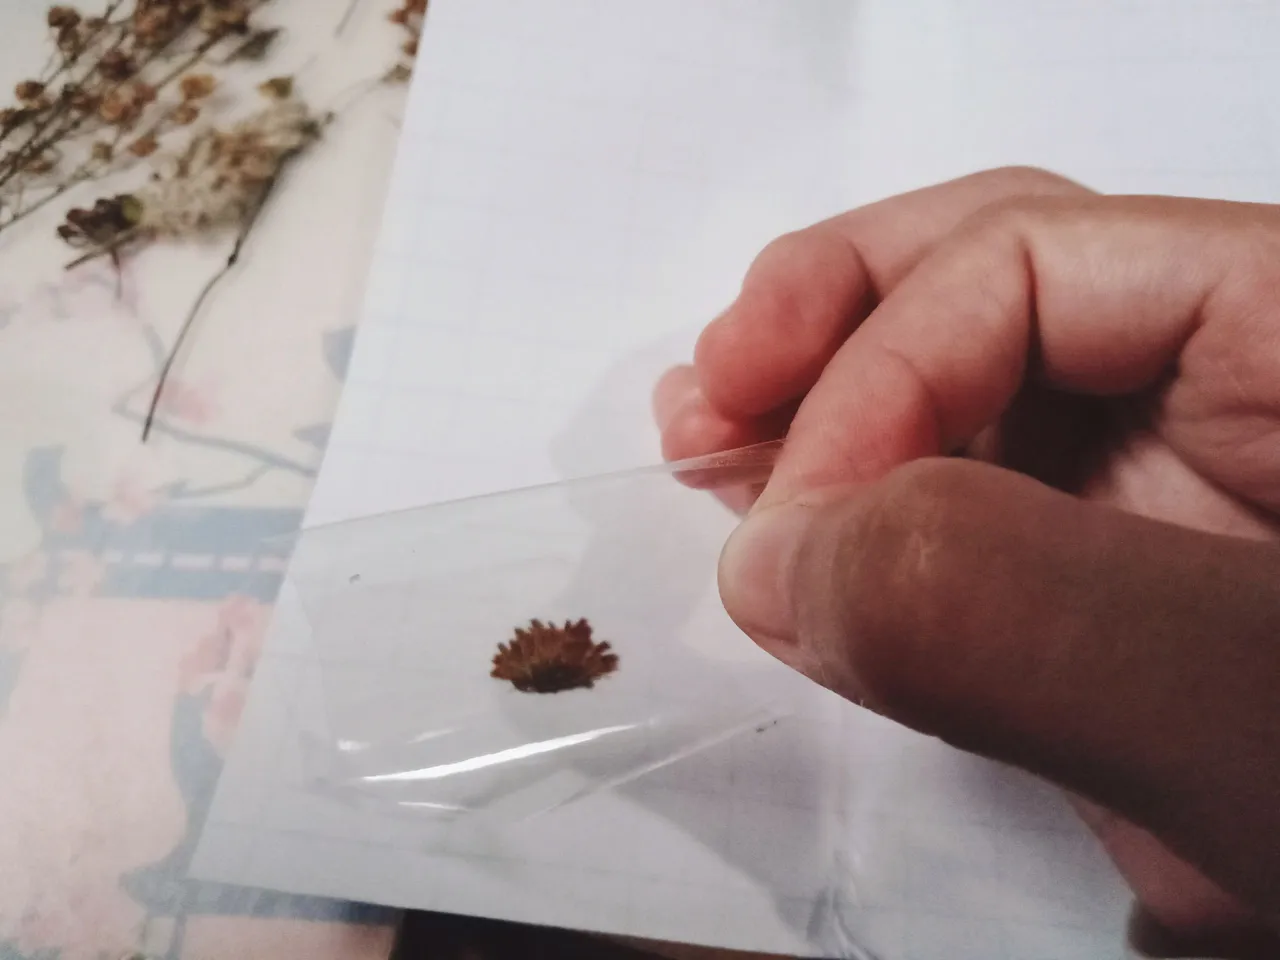
2. After cutting the tape, I stick it to the dried flower and book cover film.
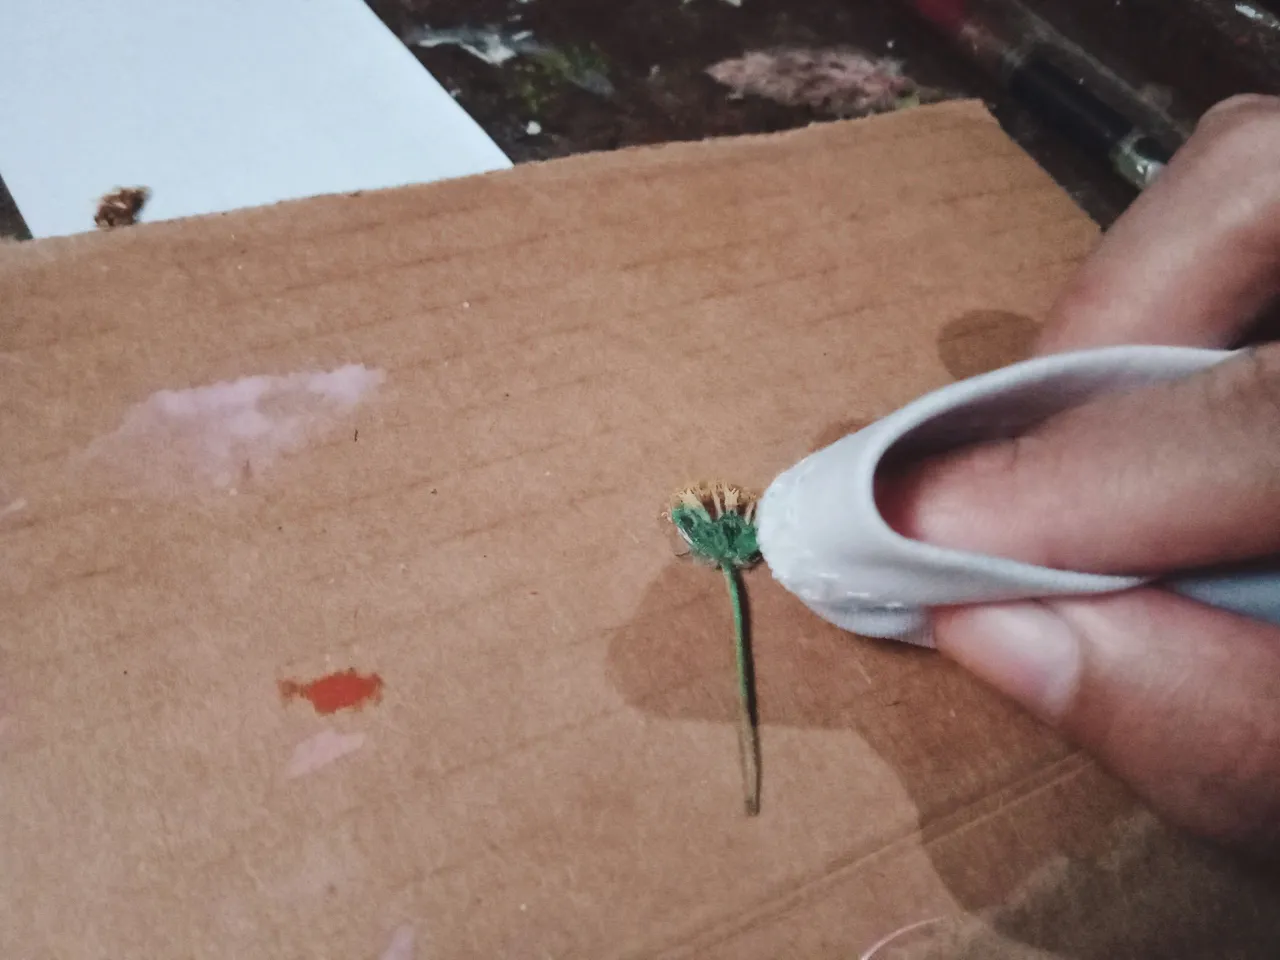
3. The other flowers don't look that good when completely dried, so I decided to give them a subtle color.
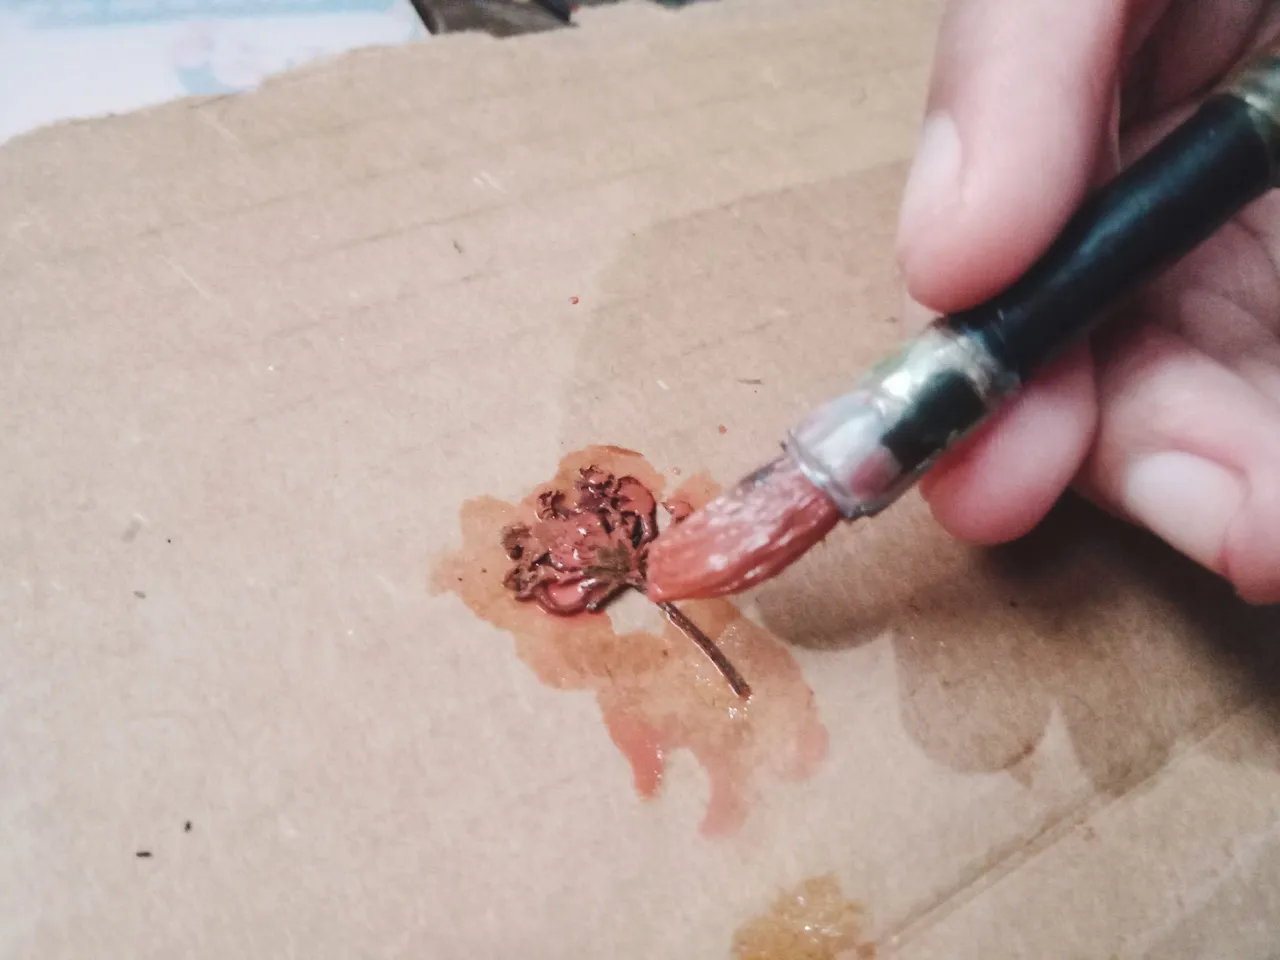
I opted for watercolor since I don't want to overdo its retouch by giving it a glossy finish with the acrylic paint. I already tried painting dried flowers with acrylic paint before, and it didn't end well because it looked unnatural afterwards, so yeah—lesson learned.
4. I know it would take hours to dry it, so to shorten the drying time, after painting it, I pat it dry with a cloth.
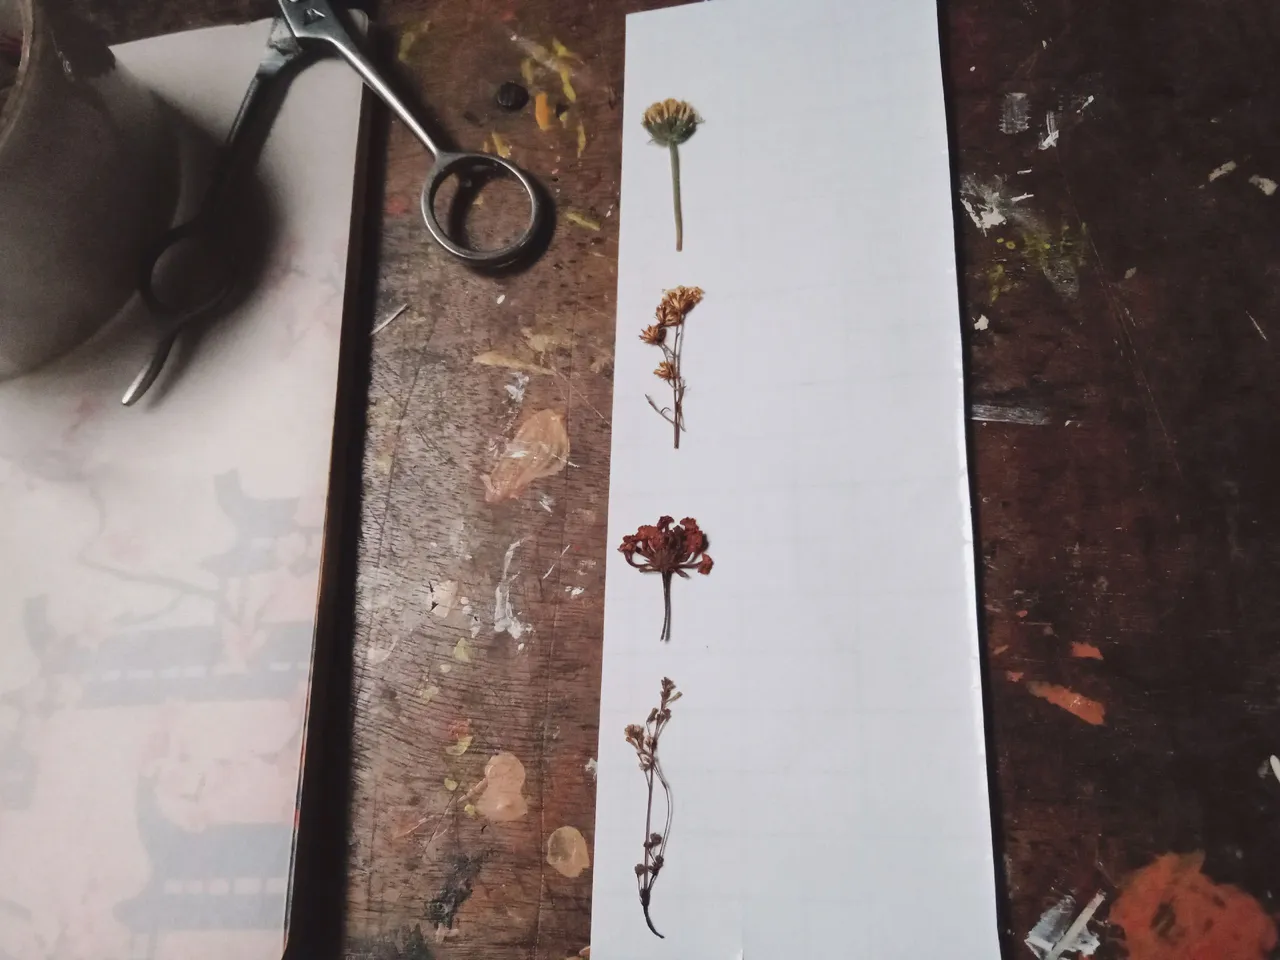
5. Next, I neatly line them up on the book cover film.
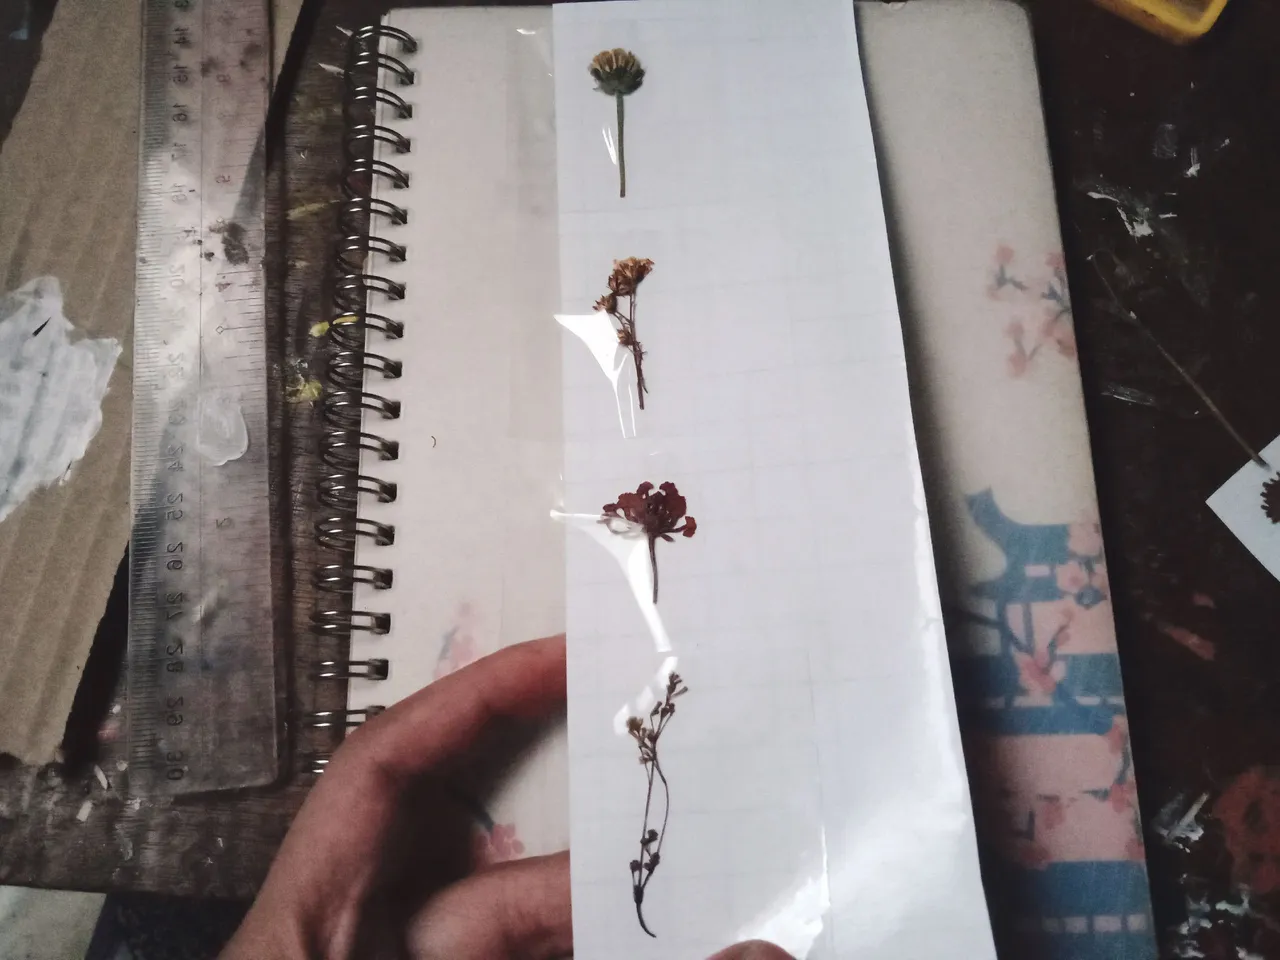
6. Like what I've done with the first dried flower, I tape them all together.
7. Down to my favorite part—the cutting, I cut each of them in a sticker-like pattern.
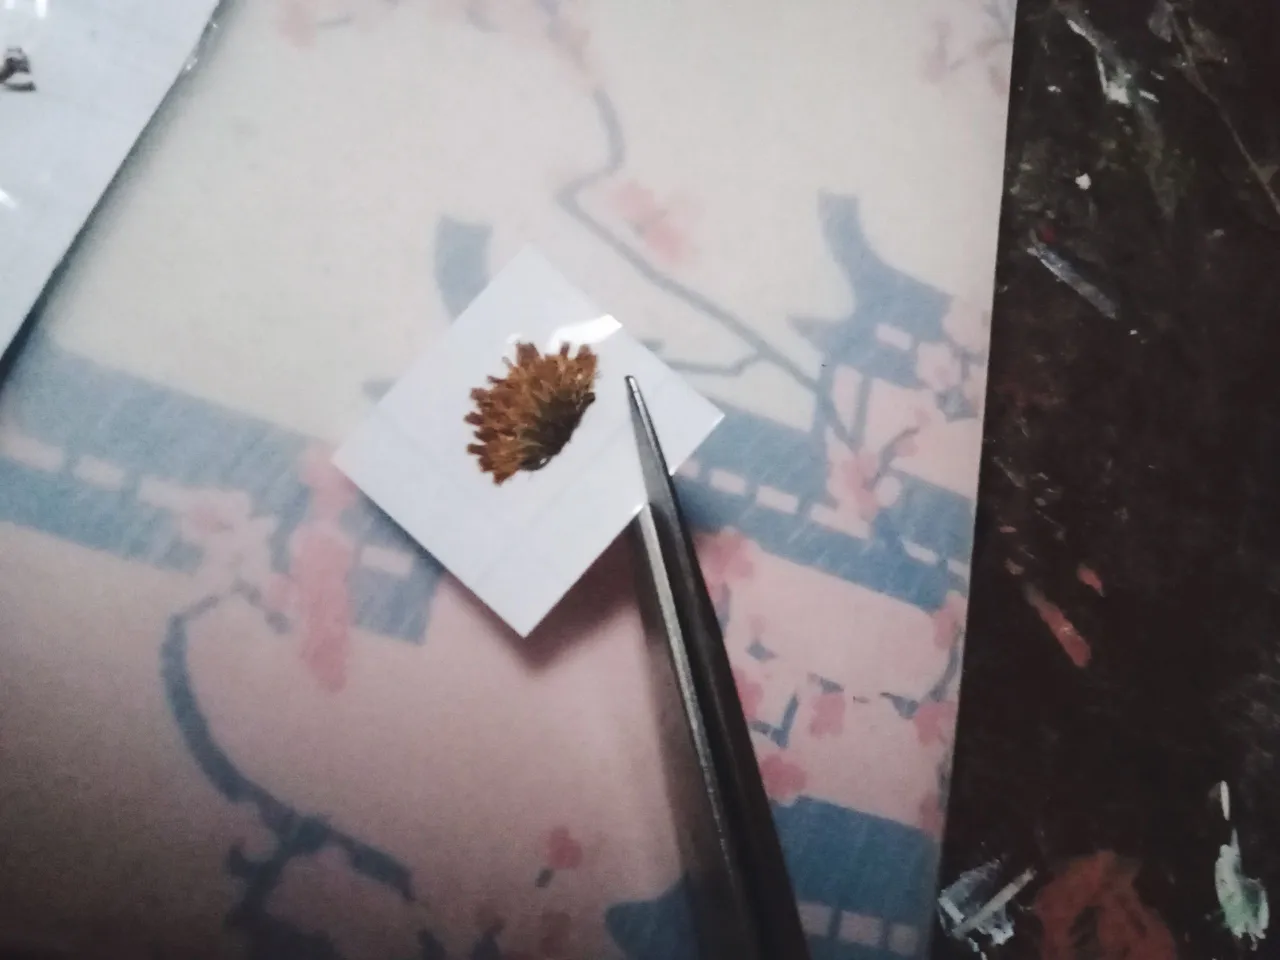
8. After that, they're nice and done!
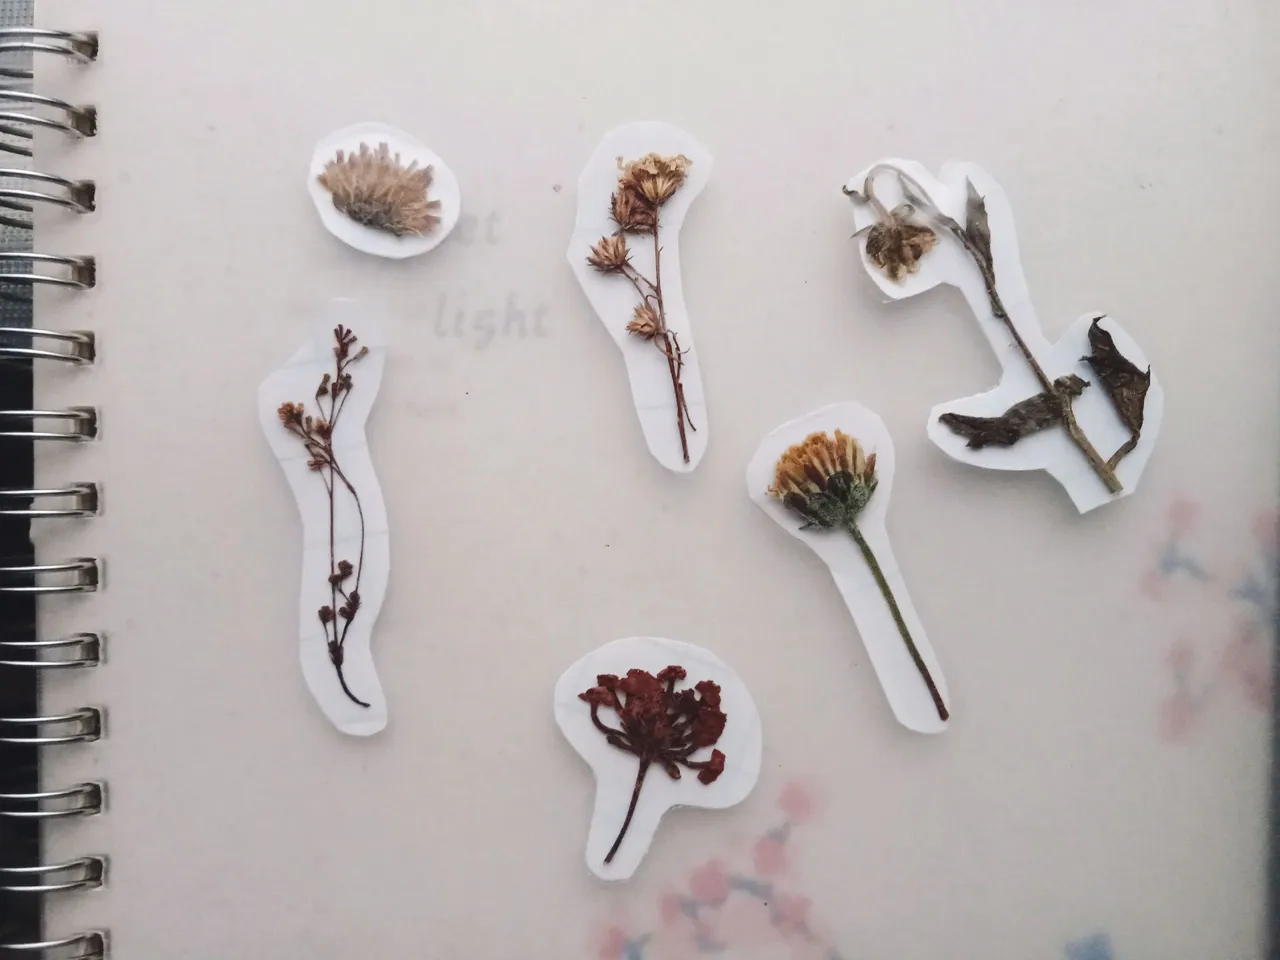
Of course, the process wasn't flawless because some of the stickers—especially those with bulky dried flowers, somehow came off and got detached from the book cover film when I cut them into patterns. I didn't expect that, but it's fine because it's my first time doing it. I think it wouldn't come off if the flowers were thinly dried, but anyway, the product was still nice because I can still stick them. I already tried sticking those that came off to the cover of my sketchbook, and thankfully, it managed to stick.
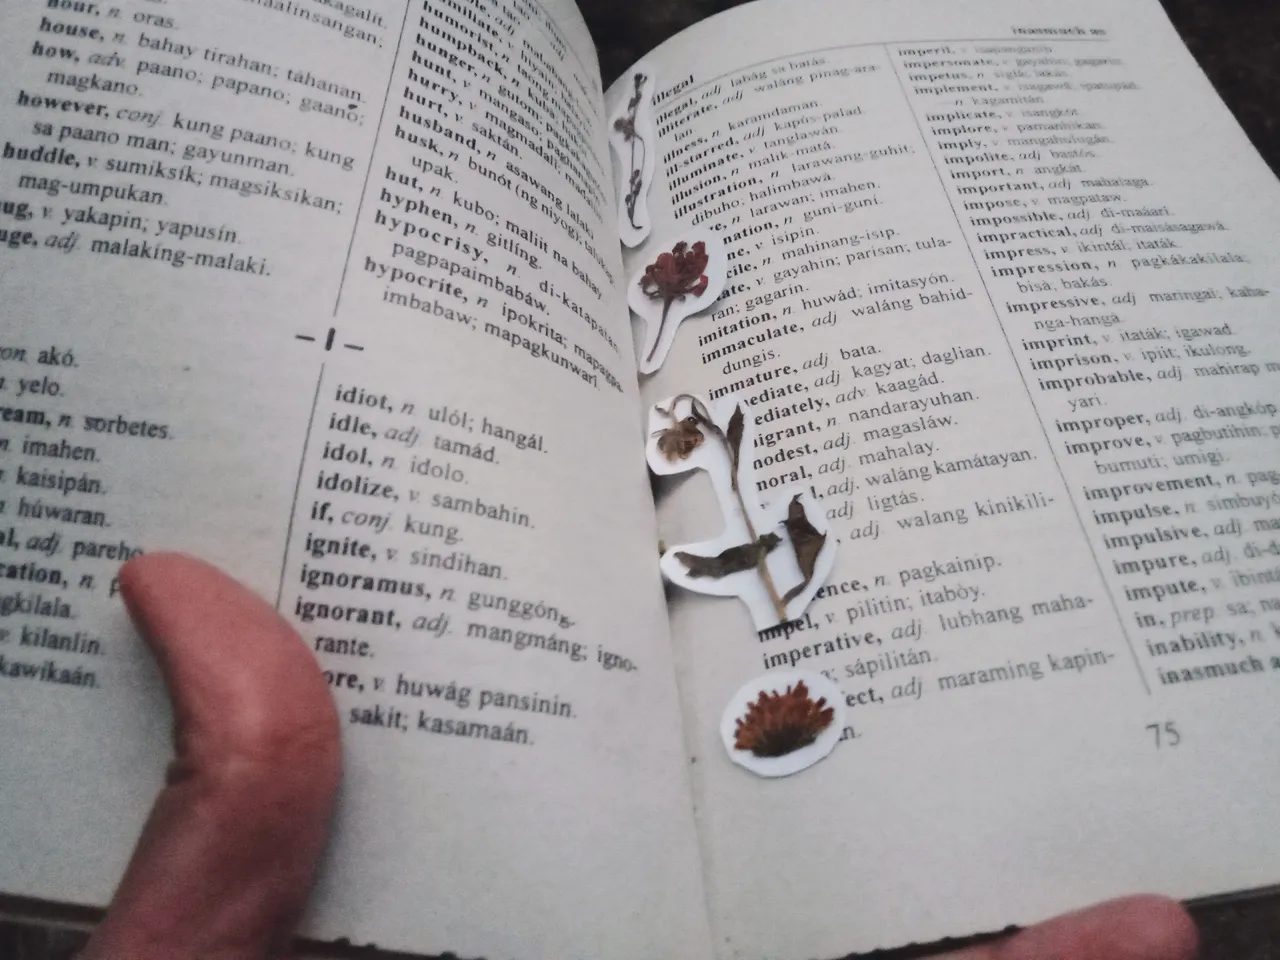
As for the other dried flower stickers, I store them between my small dictionary for future use. Overall, the process of making those took less than 10 minutes, but if I hadn't stopped for documentation many times, I think I could have finished it within just 5 minutes. But if you haven't dried the flowers yet or pressed them between books, waiting for them to be ready and thin would really take time. I let mine press for more than a month, so they're quite dried up by now. So if you're interested in these DIY dried flower stickers, then I urge you to try making one.
That's all for now, everyone! I hope you learn something from the brief process I shared today, and hopefully, I'll see you on my next DIY project!
All of the pictures used were taken by yours truly, ridgette, while the first picture was edited in Canva.