My mother's birthday is fast approaching, and of course, I have already bought something for her. However, I forgot to buy a birthday bag or wrapper for it and unfortunately, I just realized that this morning. I tried to rack my brains for ways to give it to her decently, however I don't want to resort to just using a paper bag or old brochures to wrap it. It's after all her birthday and I want to make that gift somehow special. That's why I decided to make a box that would contain it.
But since I don't have any available box I could use and decorate, I decided to make use of the carton boxes that weren't used from my last instructional materials making and also the birthday wrapper I left a year ago. And with those materials, I was able to make a birthday box that would contain my present to her. So much for that—now, I will share with you the materials and also the process of making the box I drafted into the box I wanted!
Materials Needed:
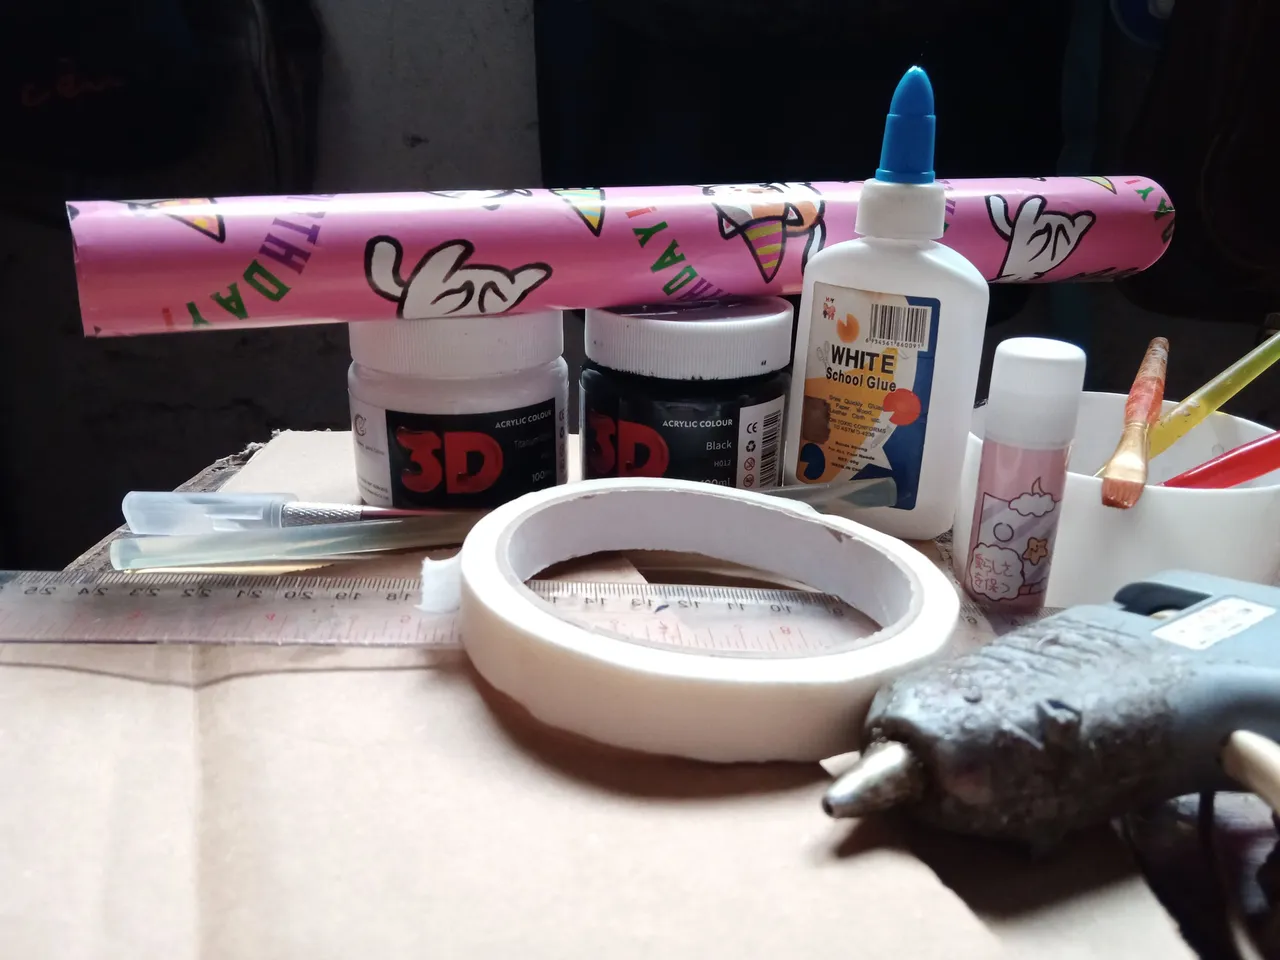
- Carton
- Cutter
- Scissors
- Masking Tape
- Glue/Glue Stick
- Acrylic Paint (white)
- Brush
- Hot Melt Glue Stick
- Glue Gun
- Old Birthday Wrapping Paper
- Ruler
- Pencil
The Process:
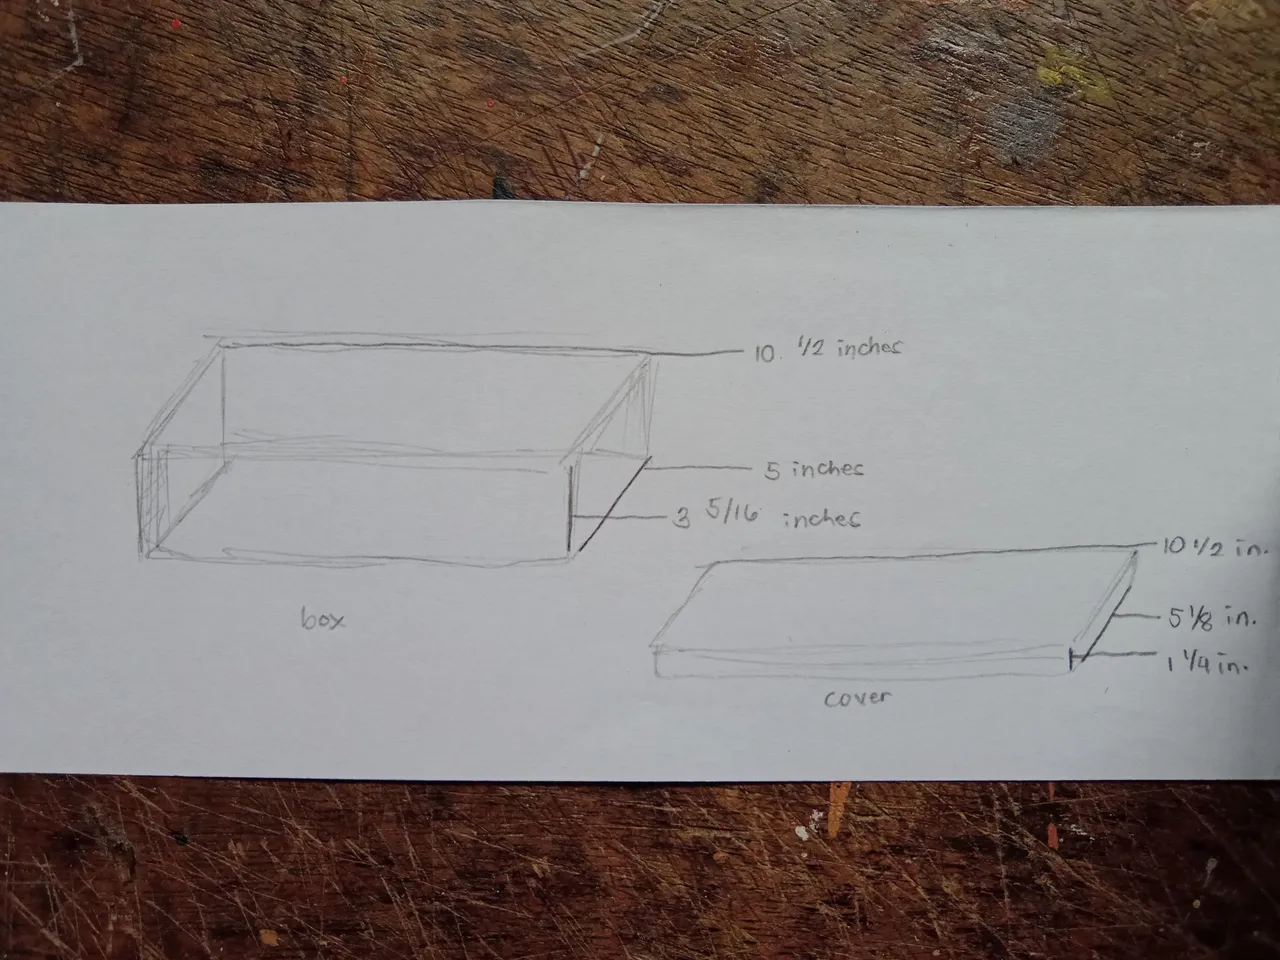
1. First, I made a quick draft of the box I'm going to make. I look for a real shoe box and I used it for reference and also as a guide to decide on the ideal length, width and height of the box I'm gonna make.
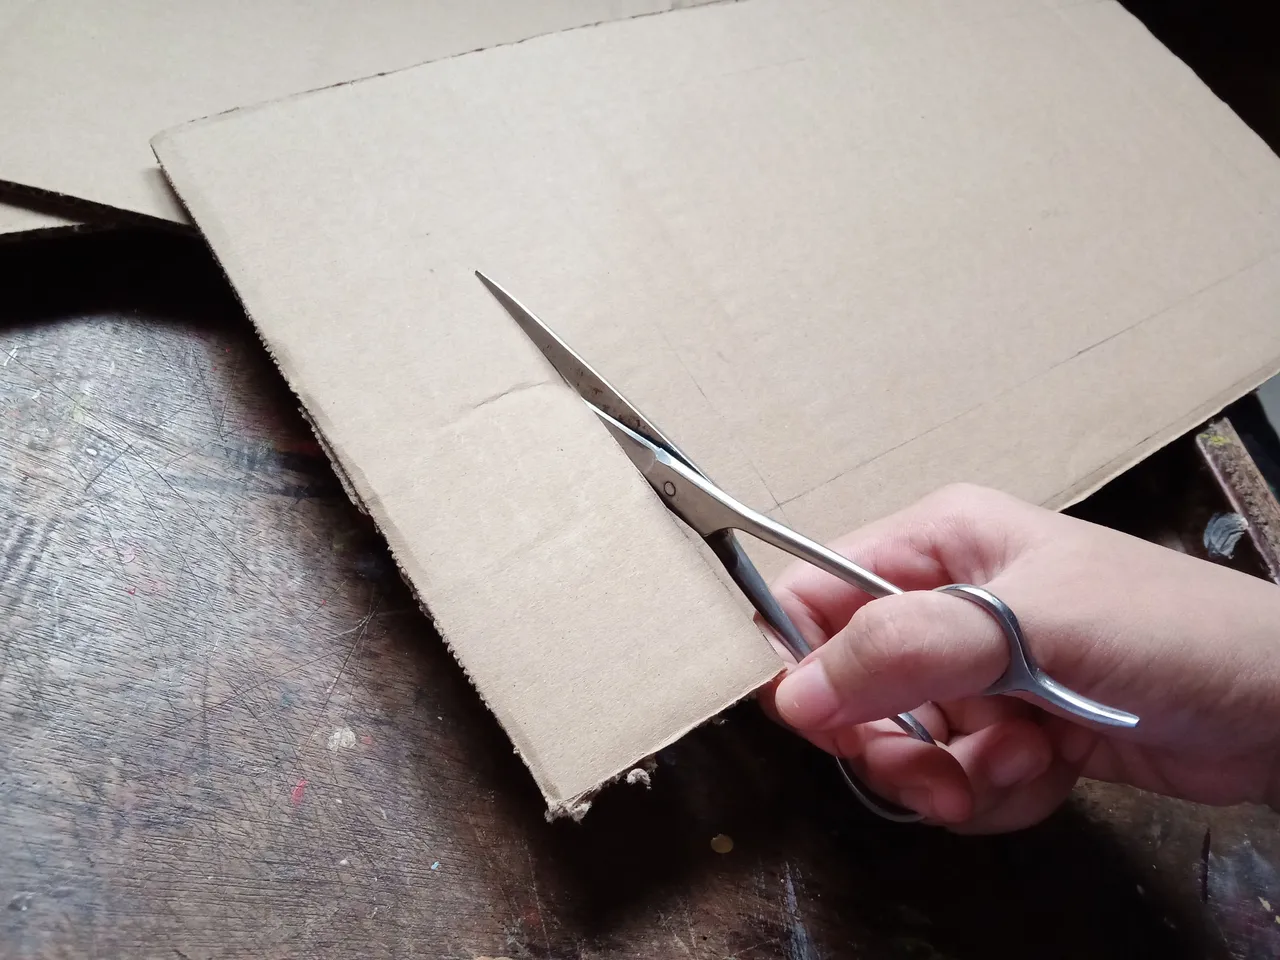
2. Next, I transferred my draft to the carton, where I measured and put pencil lines to mark where I would cut it.

3. After transferring all the measurements, I proceed to cut them.
4. Then, after cutting all of the pieces, I gathered them to see which part I would make first.
5. Since the cover doesn't need much sticking, I started with it.
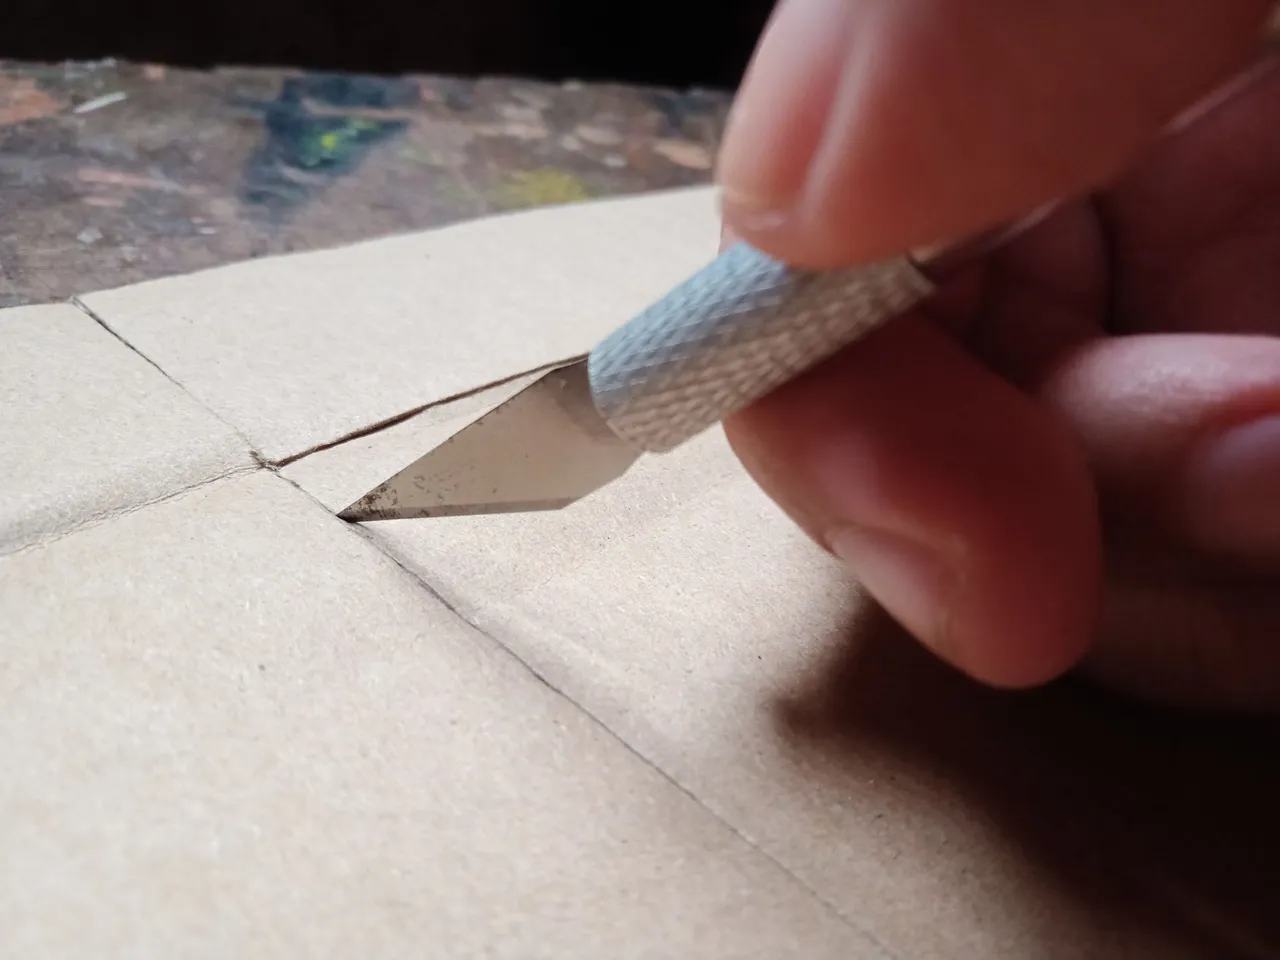
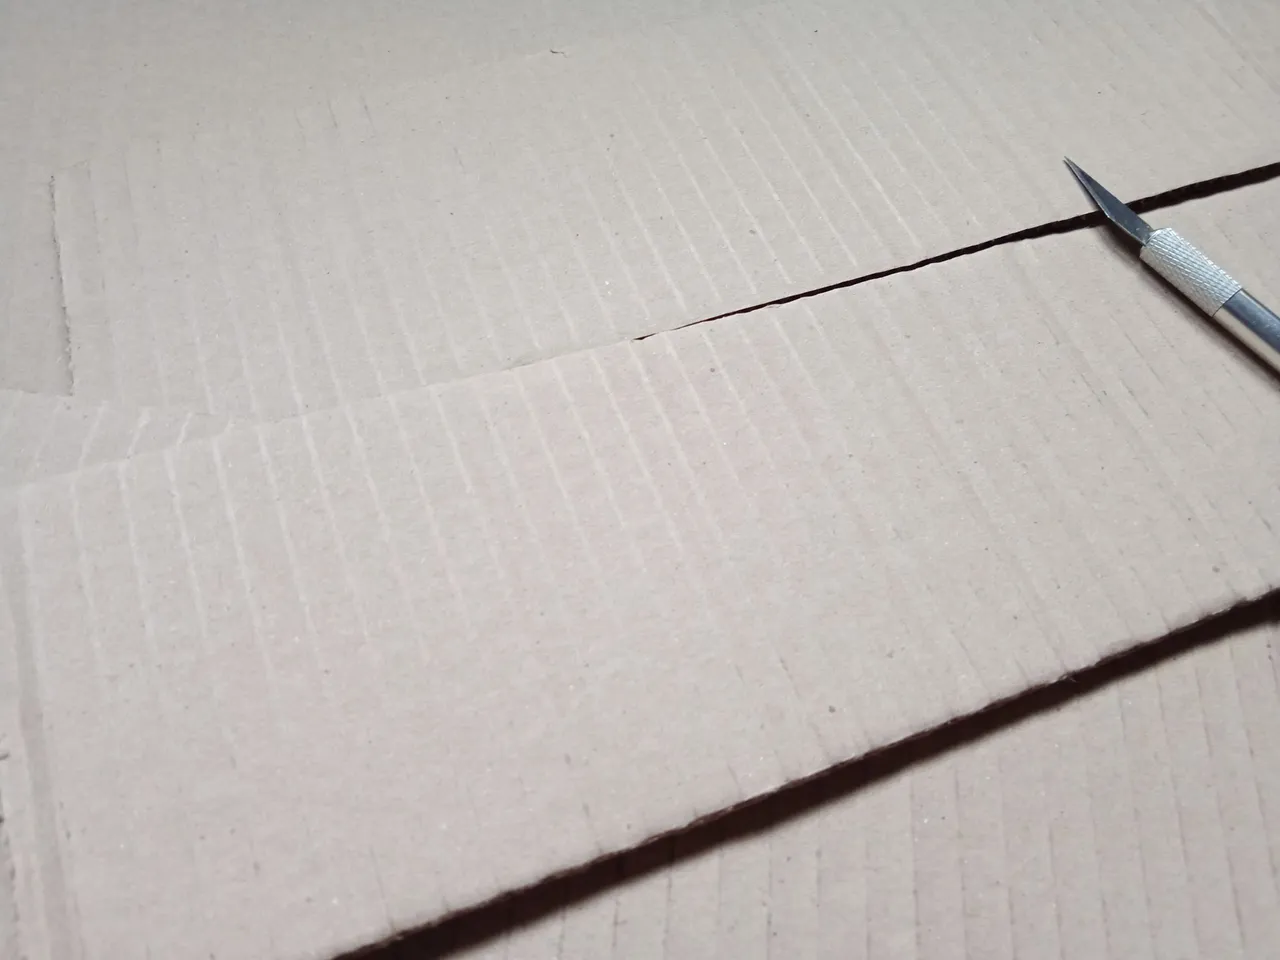
6. With a cutter, I carefully made a shallow cut just to make the carton bend more easily.
7. While I'm waiting for the glue gun to get hot, I proceed to attach them with masking tape temporarily so that it will be much easier to locate the areas that need hot glue and also avoid mistakes.
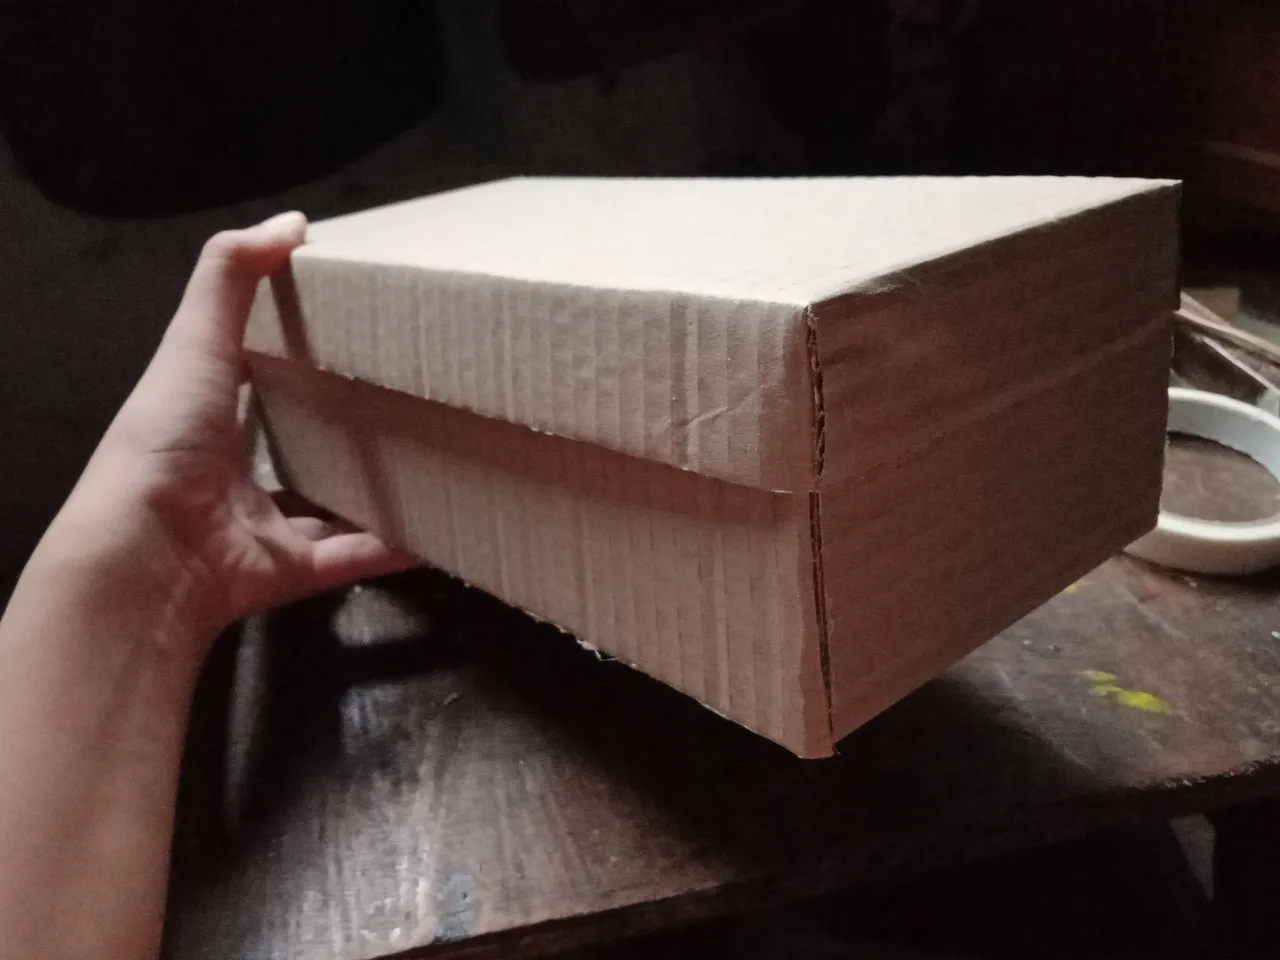
8. When the glue gun is already heated enough, I proceed to attach the edges.
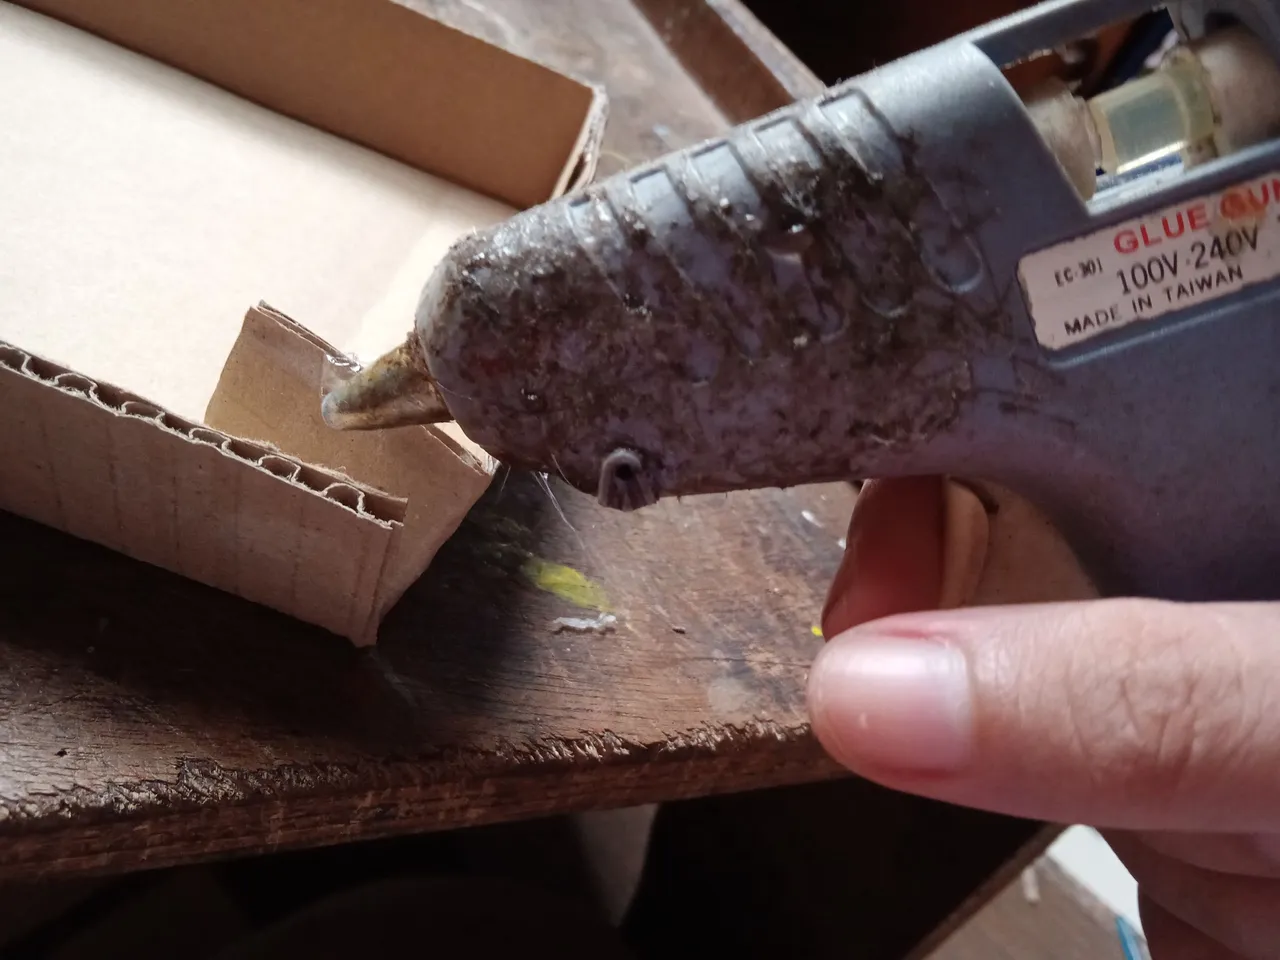
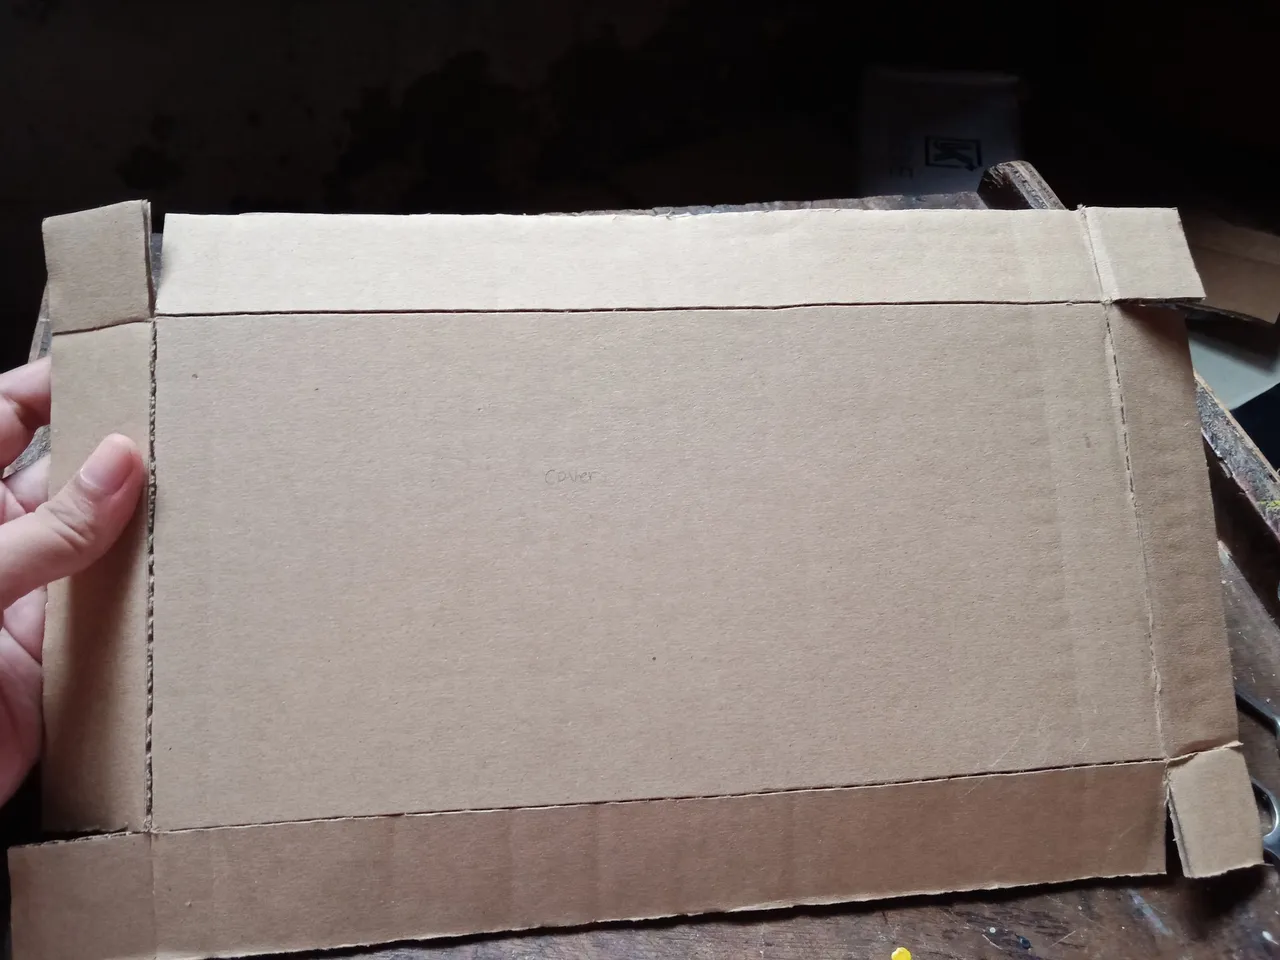
9. After attaching them all, I trimmed some rough parts, and there you have it—the cover is done.
10. With the cover done, I then repeated the process of temporarily attaching the side of the box.
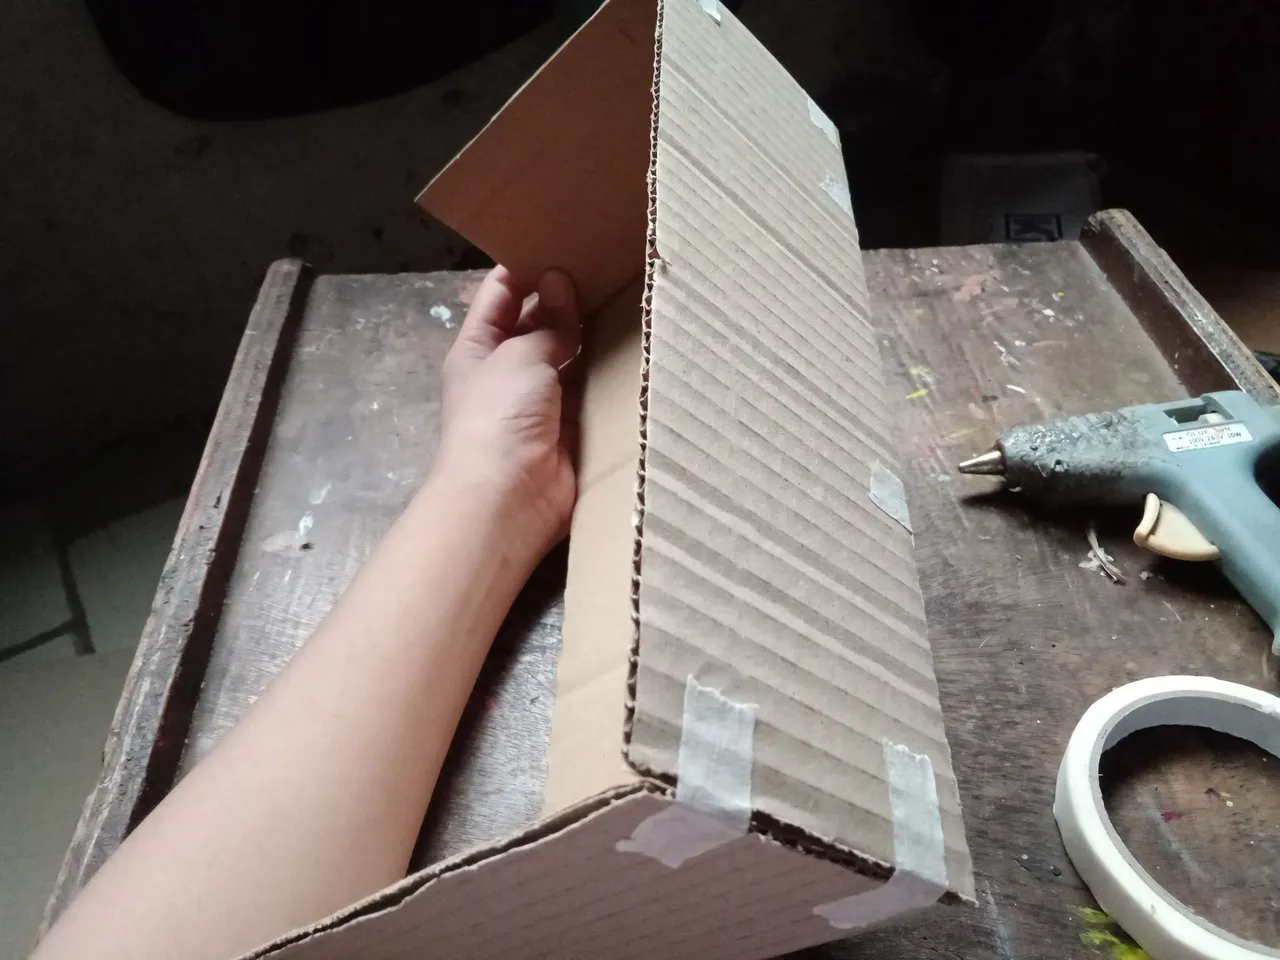
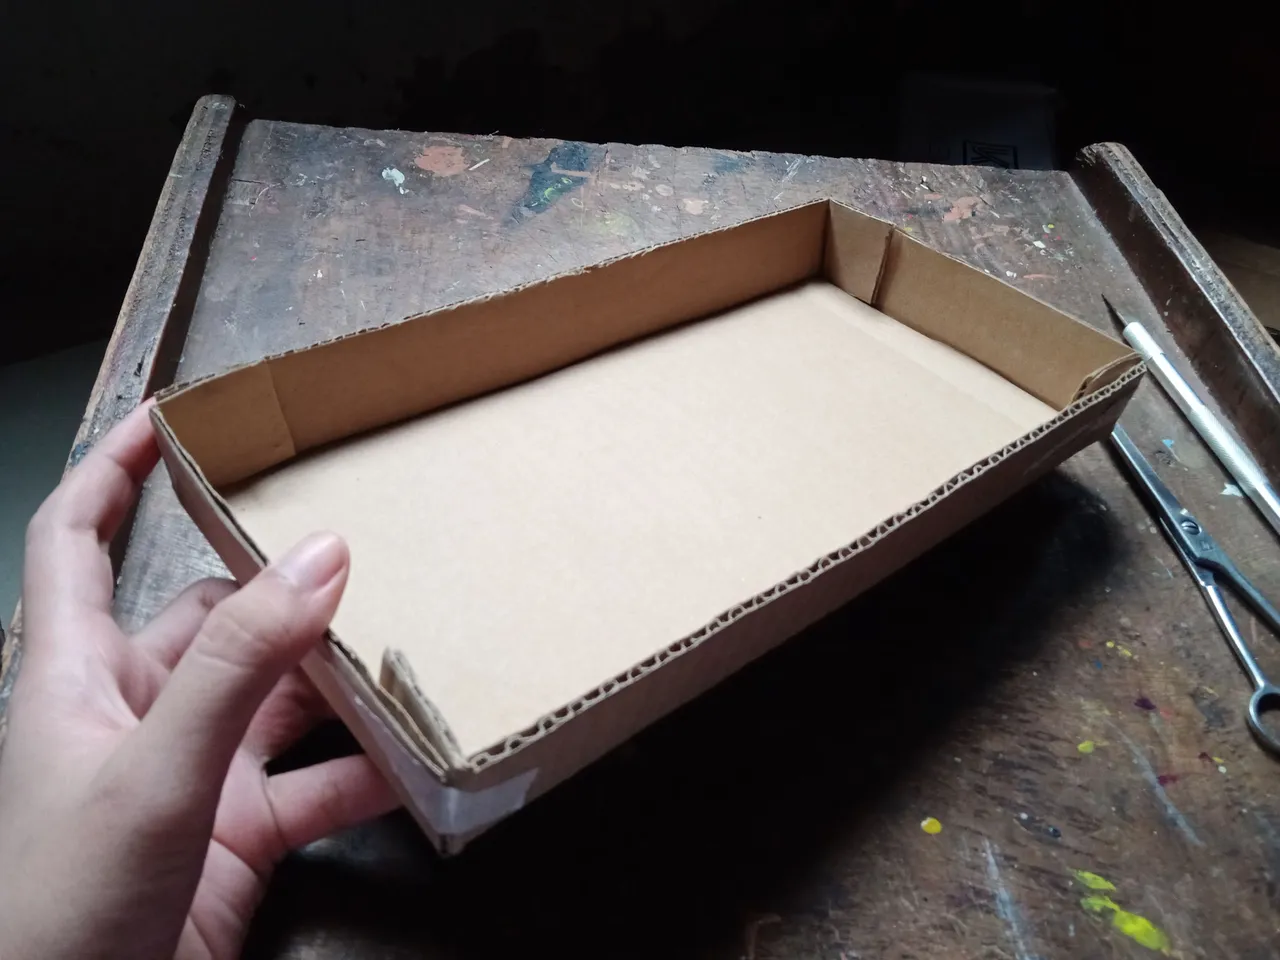
11. After that, I proceed to stick them for good with the hot glue and just like the cover—it's also done.
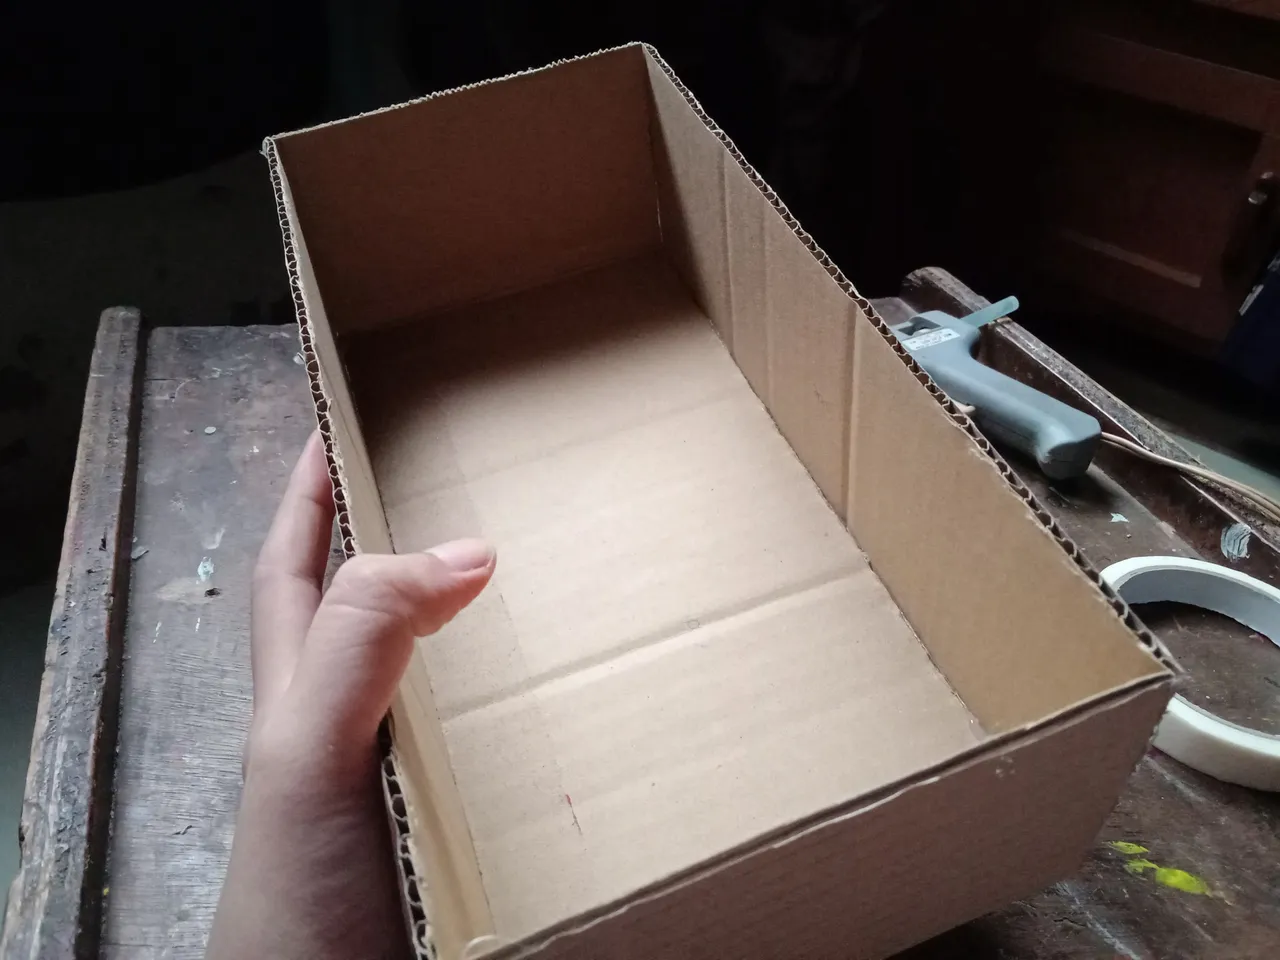
12. But before I proceed to the next part, I try first if the cover will fit the box because if it will not, I'll make necessary adjustments—which thankfully I don't have to do because it just fit well.
13. After the successful fitting, I then proceeded to paint the box. I used white acrylic paint to gradually paint all of its sides, including the bottom part.
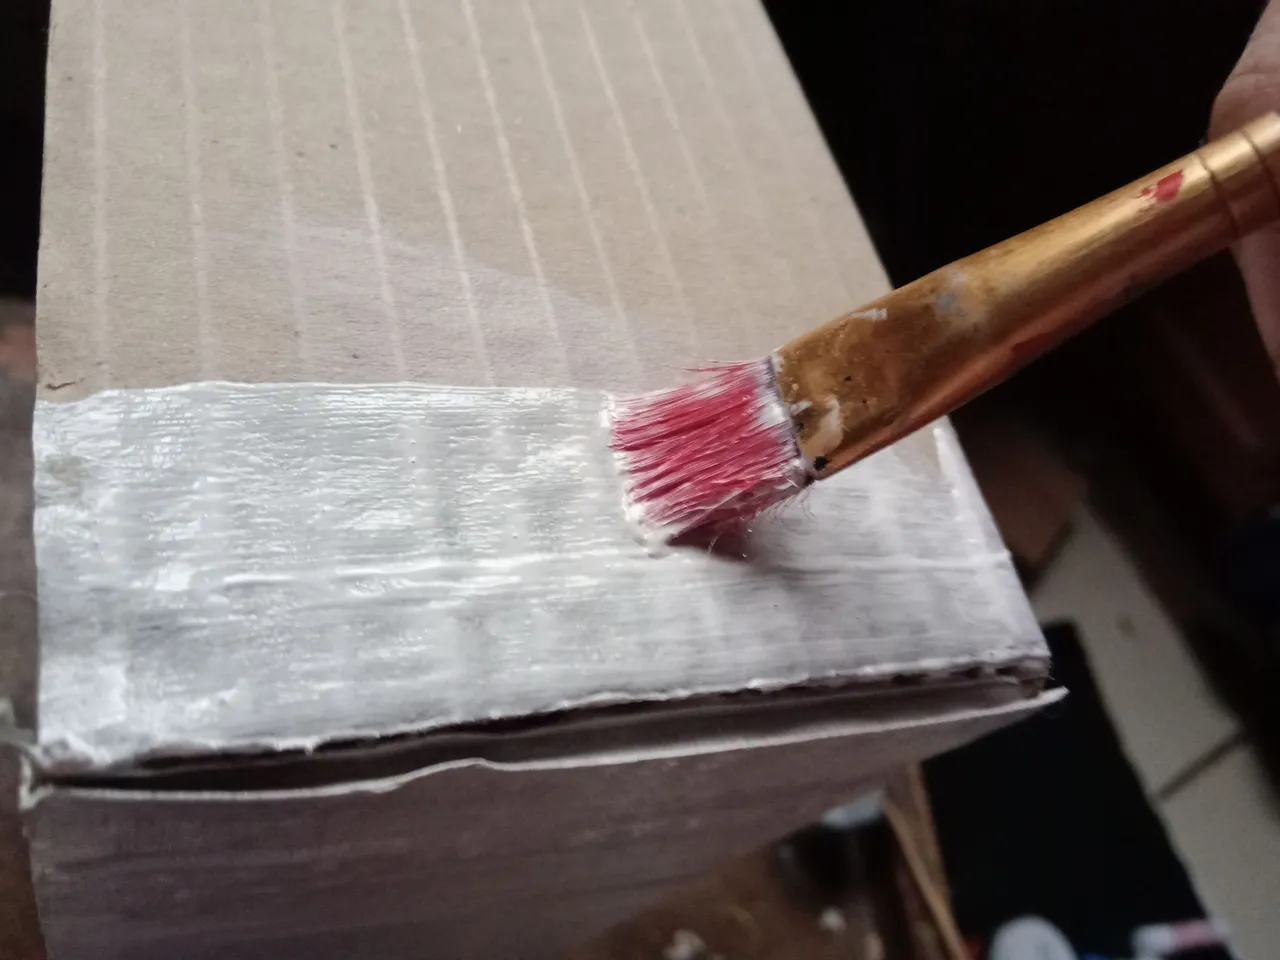
14. When I finished painting all of its parts, I set it aside to dry.

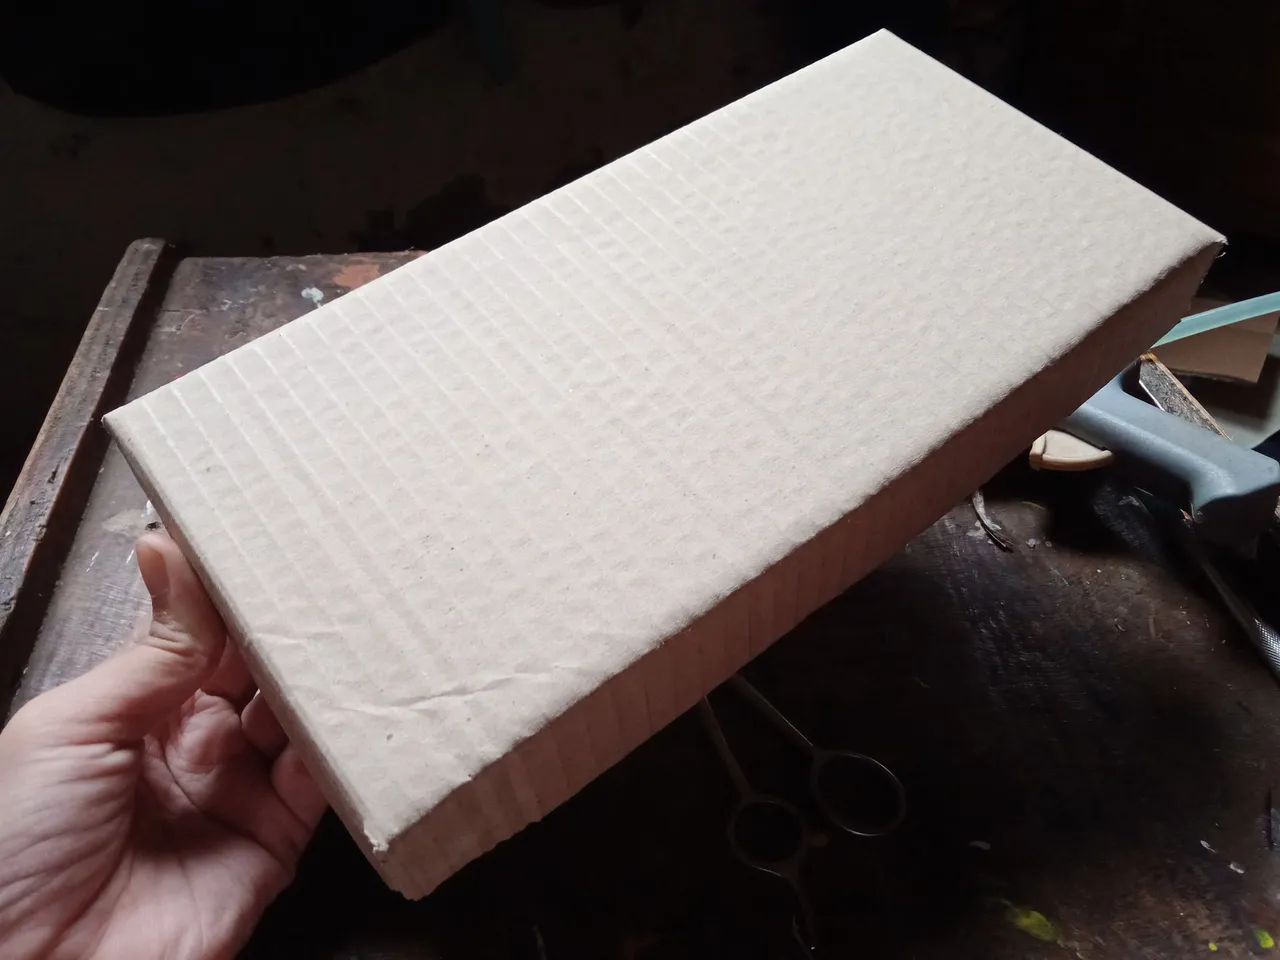
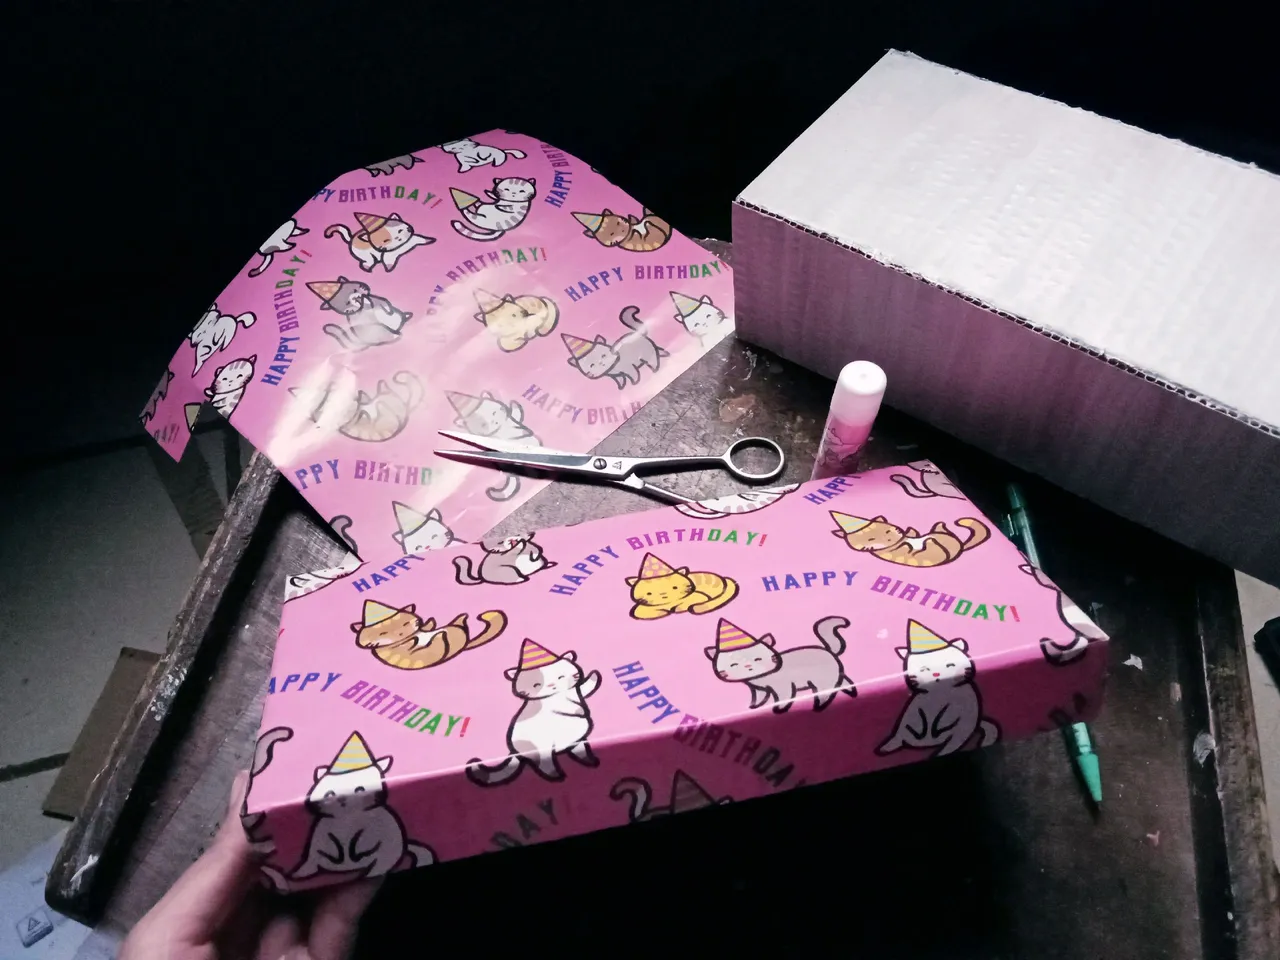
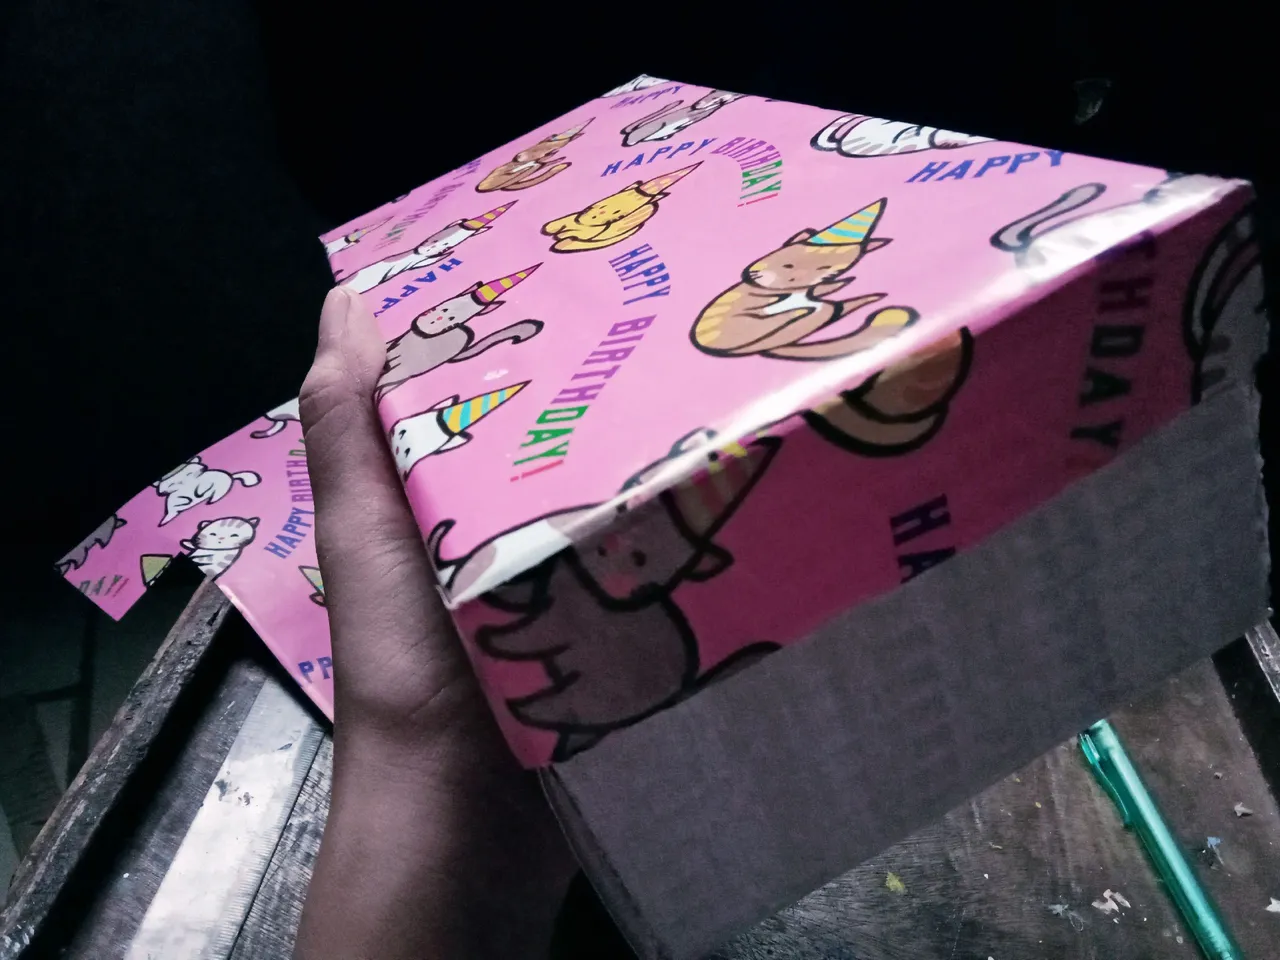
15. Meanwhile, I put glue stick on the surface of the box cover, and after that, I stuck the wrapping paper.

Supposedly, my initial plan was to wrap the whole box with the cute birthday wrapper, but it turns out it won't cover the entirety of it, so I just opted to wrap the smaller part—which is the cover.
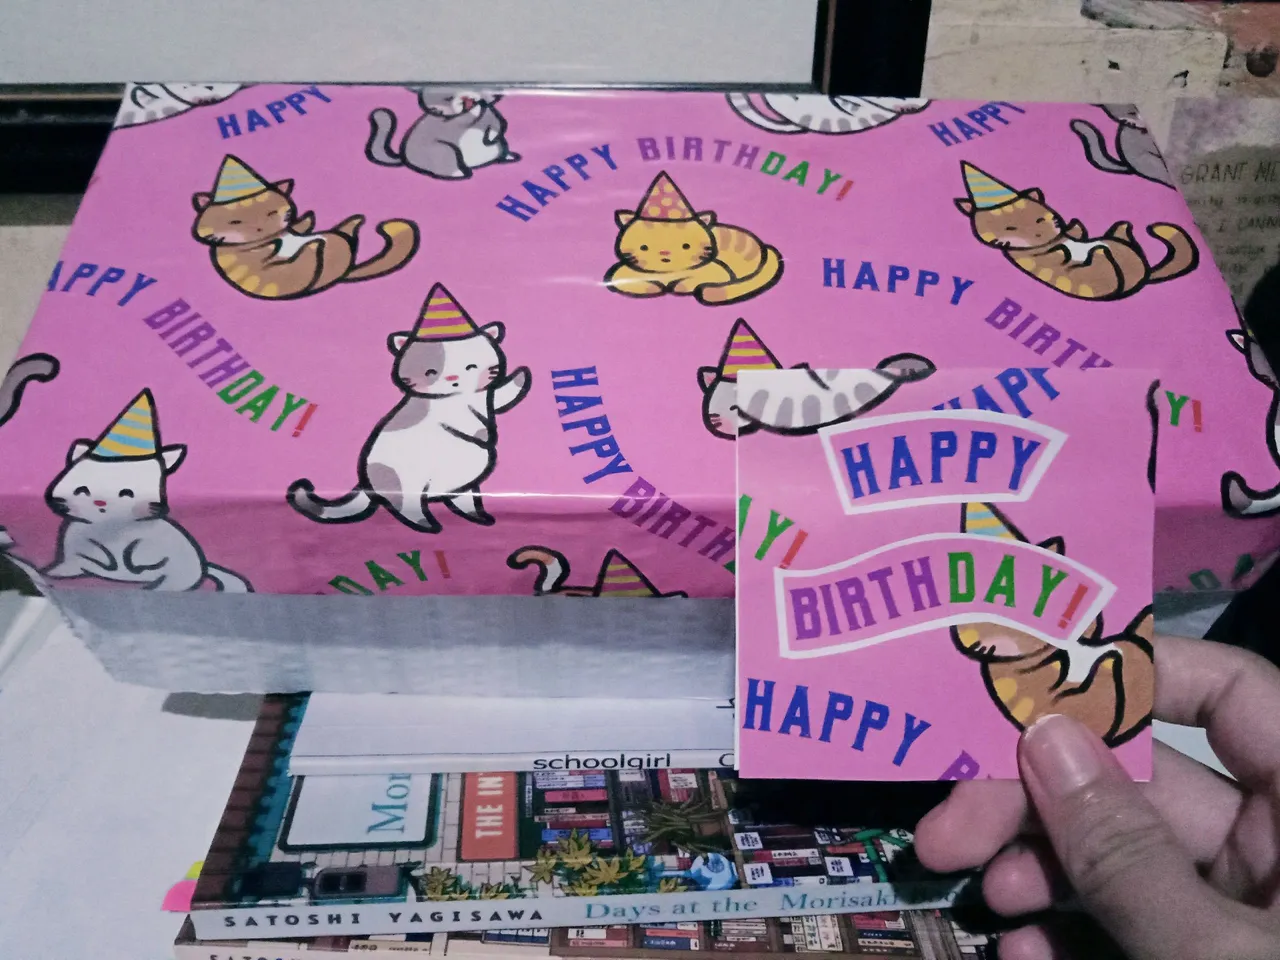
16. After cutting the excess parts, it was almost done, but I decided to make another addition to it, which is the small birthday card.
17. With the excess wrapping paper, I made a 3x3-inch card.
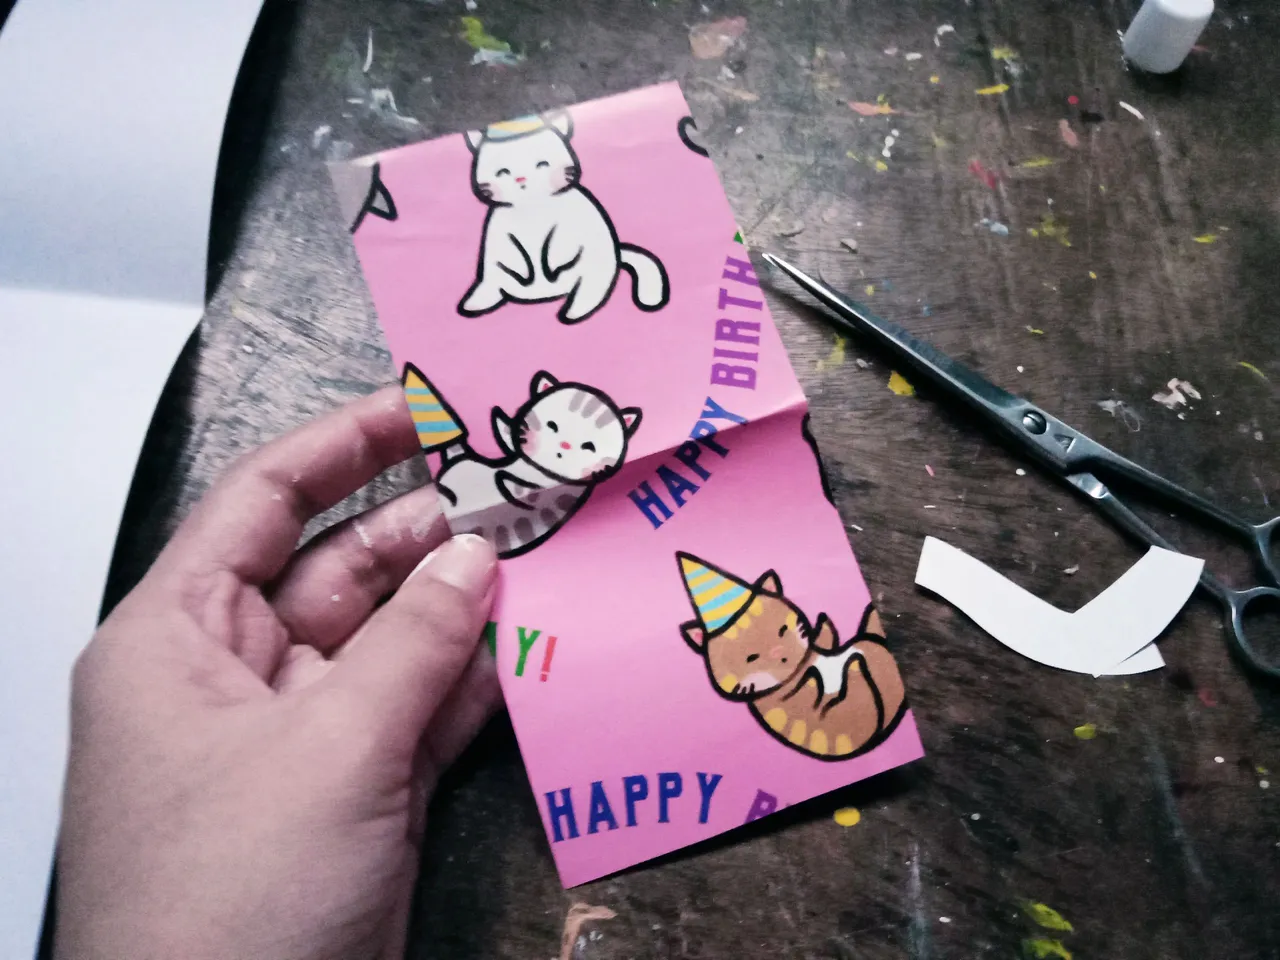
18. It was kinda bland seeing it without any words, so I decorated it with the cutout letters from wrapping paper.

Now it's done! Hopefully she'll like it.
That's it! I didn't expect that it would take a whole afternoon to finish this one, but since it's raining, it eventually made the paint drying process slower. Also, I didn't work on it all the time because I needed to assist my mother with their social security processing, plus whenever she goes into my room, I stop what I'm doing, especially the part where I'm covering the box cover with the birthday wrapper. I don't want my surprise to be spoiled, so I was so keen not to show her anything that might hint that it's for her birthday...But I have a feeling she somehow had a suspicion about it. Yet I'm hopeful that it's just me being paranoid because I do want to surprise her.
Anyway, that's all for now, everyone~ I hope you learn something from the process I shared, and see you on my next DIY project!
All of the pictures used were taken by yours truly, ridgette, while the first picture was edited in Canva.