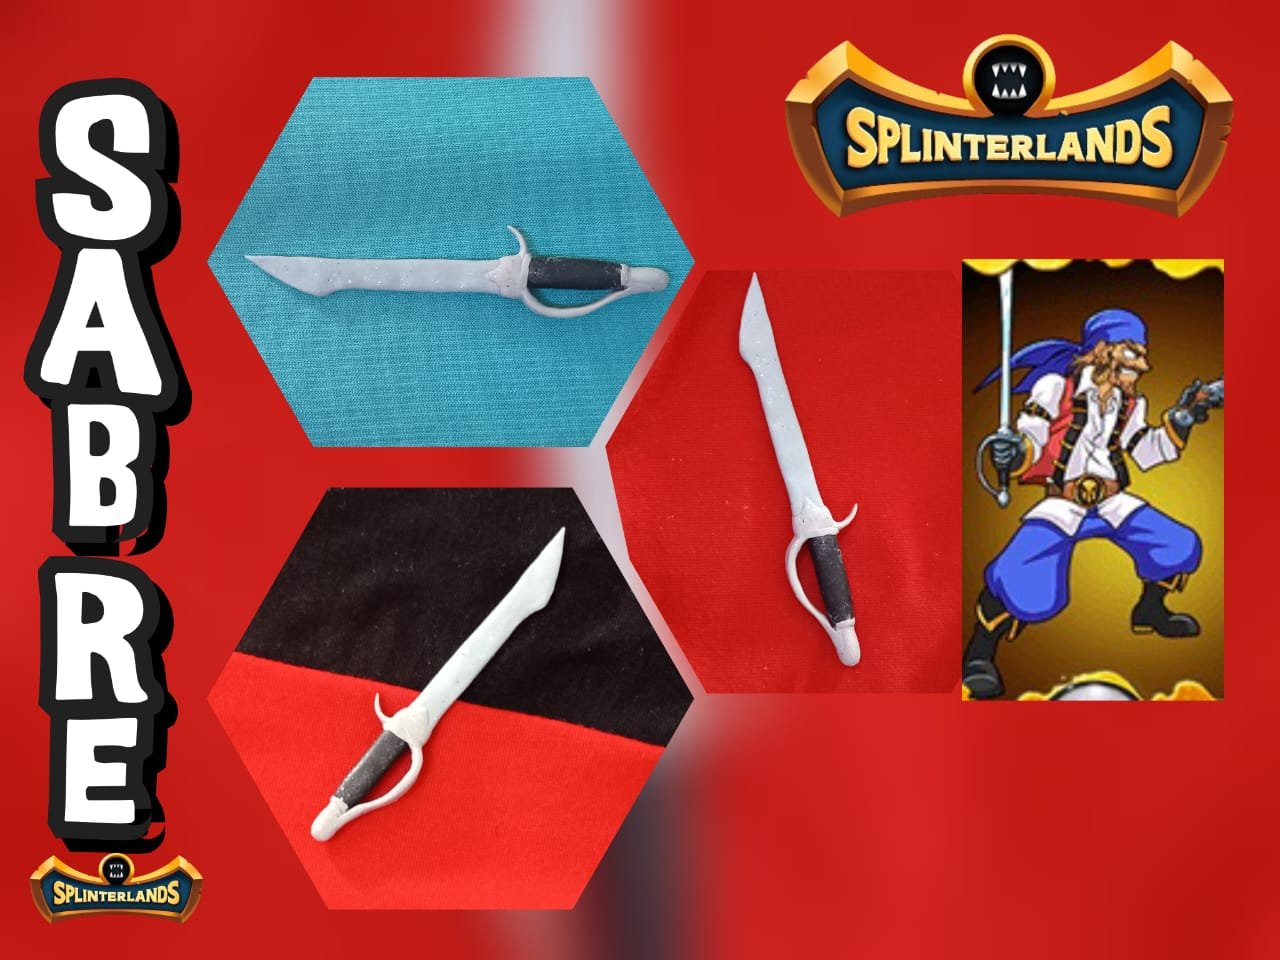
Saludos comunidad de @diyhub, les deseo una excelente semana, en unión de sus seres queridos, me siento feliz de compartir mis proyectos creativos inspirado en los personajes de Splinterlands Pirate Captain, usando uno mis materiales favoritos moldear y esculpir que es la masa flexible, hoy les comparto la elaboración de un sable que lleva este personaje.
La masa flexible es uno de mis materiales favoritos para trabajar y es relajante moldear e ir creando figuras, he usado también foami moldeable y arcilla pero prefiero la masa flexible, aunque con los otros también se trabaja muy bien y obtengo muy buenos resultados, con la arcilla también estoy realizando pequeños proyectos, que espero compartir pronto, es un material que requiere un mayor manejo y preparación, pues al momento de secar si no se cuenta con un horno el proceso es más largo, en mi caso no horno y debo dejar que las vasijas sequen al aire y sol, cuando de escoger los materiales para moldear se trata prefiero la masa flexible por su durabilidad y facilidad de manejar, pero también me gusta trabajar con el foami moldeable y la arcilla, ambos son fáciles usar; con la masa planeo hacer varias esculturas, ya terminó el año escolar y tengo suficiente tiempo para moldear y ampliar mi colección, también adelantar el obsequio de mi amiga que cumple años pronto, creo que un collar con dije dorado hecho en masa flexible será un buen regalo, anteriormente he hecho varios dijes y se conservan en excelentes condiciones hasta la fecha.
Greetings @diyhub community, I wish you an excellent week, together with your loved ones, I am happy to share my creative projects inspired by the characters of Splinterlands Pirate Captain, using one of my favorite materials to mold and sculpt, which is flexible dough, today I share with you the creation of a saber that this character carries.
The flexible dough is one of my favorite materials to work with and it is relaxing to mold and create figures, I have also used moldable foami and clay but I prefer the flexible dough, although with the others it also works very well and I get very good results, with clay I am also making small projects, which I hope to share soon, it is a material that requires more handling and preparation, It is a material that requires more handling and preparation, because at the time of drying if you do not have an oven the process is longer, in my case no oven and I must let the pots dry in the air and sun, when choosing the materials for molding I prefer the flexible dough for its durability and ease of handling, but I also like to work with the moldable foami and clay, both are easy to use; with the dough I plan to make several sculptures, the school year is over and I have enough time to mold and expand my collection, also to advance the gift of my friend who has a birthday soon, I think a necklace with a golden charm made in flexible dough will be a good gift, I have previously made several charms and they are kept in excellent condition to date.


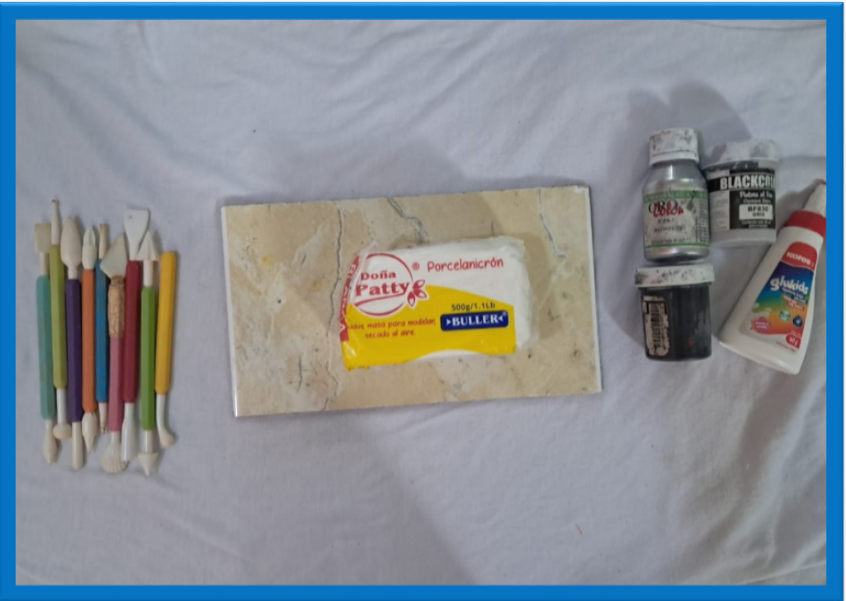
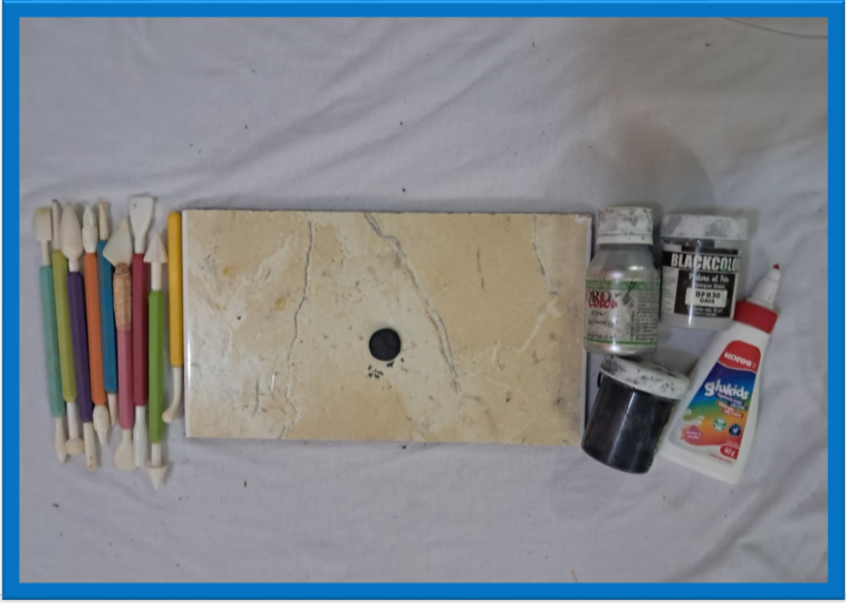
Pintura al frío
Estecas
Crema para moldear
Pegamento
Masa flexible
Cold paint
Cuttings
Modeling cream
Glue
Flexible compound
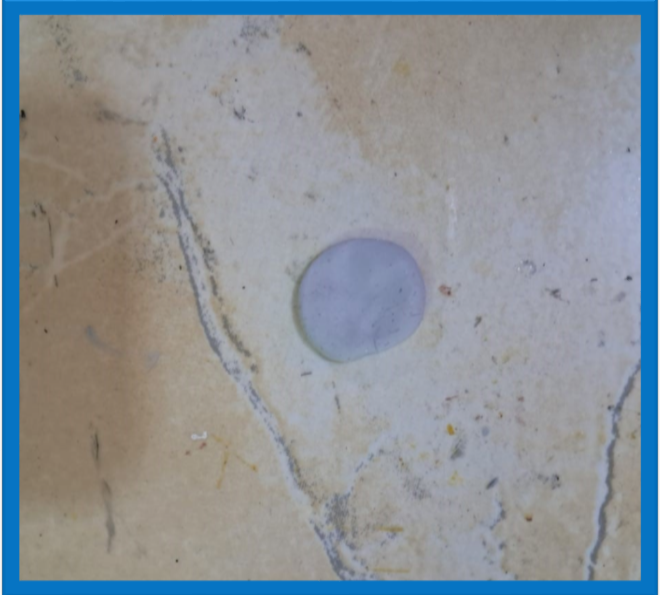
Para moldear el sable, empezamos dividiendo la masa en pequeñas porciones, luego añadimos pintura y mezclamos hasta obtener el color deseado. El sable tiene los colores gris y negro. Después de mezclar las pinturas con la masa, formamos bolas y las aplanamos. Con estos círculos haremos las piezas del sable.
To mold the saber, we start by dividing the dough into small portions, then we add paint and mix until we obtain the desired color. The saber has the colors gray and black. After mixing the paints with the dough, we form balls and flatten them. With these circles we will make the pieces of the saber.
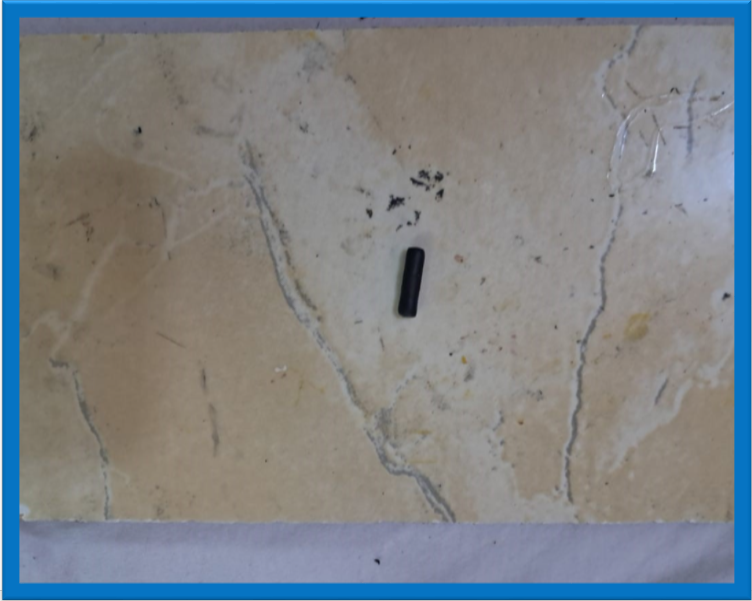
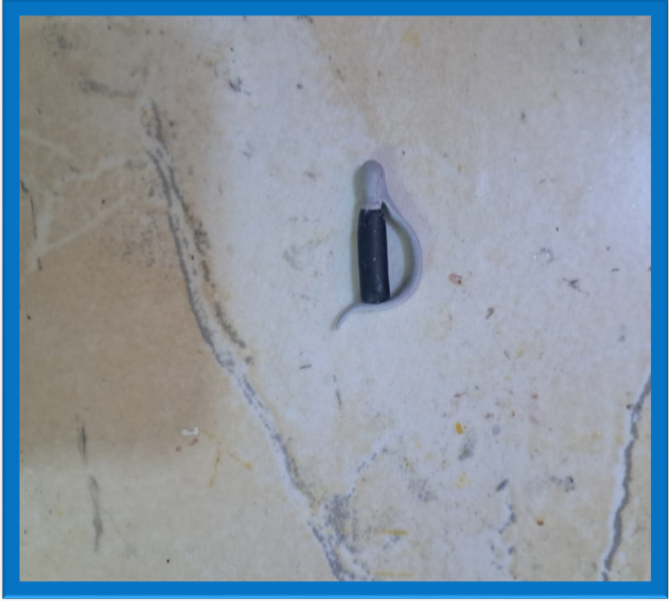
Para hacer la base y soporte de la de la empuñadura del sable, tomamos una porción de masa de color negro y moldeamos hasta formar un cilindro, para moldear usamos una superficie plana y lisa que permita el fácil desplazamiento de la masa.
To make the base and support for the hilt of the saber, we take a portion of black dough and mold it into a cylinder. To mold it we use a flat and smooth surface that allows easy movement of the dough.
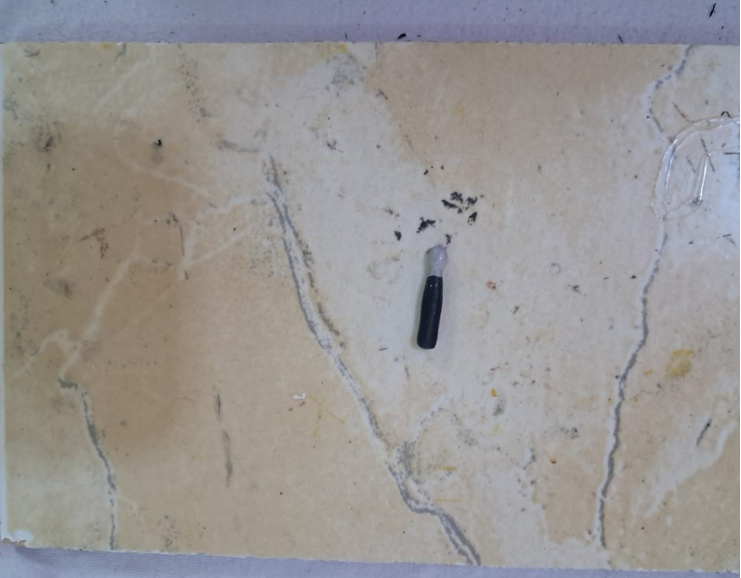
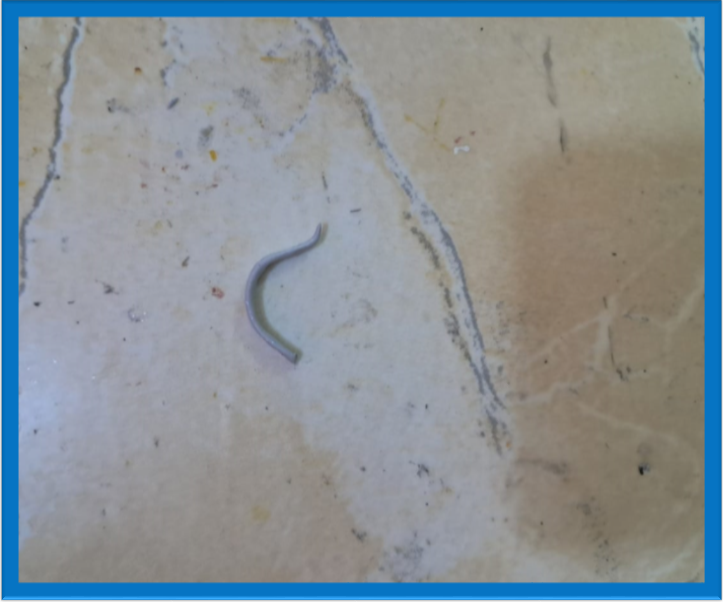
Con la masa gris moldeamos una gota que tenga una terminación puntiaguda y la pegamos en la parte de abajo del cilindro, dejamos secar para que pegue completamente y continuamos moldeando las otras piezas.
Seguimos trabajando con la masa de color gris y moldeamos una tira delgada, lo más delgada posible, con la cual haremos el arco que va unido al cilindro, aplanamos muy bien y vamos dando forma al arco, dejamos en la parte de arriba que quede muy fina, similar auna aguja y un poco plano en la parte de abajo, con pegamento lo unimos al cilindro y dejamos secar por un tiempo aproximado de 20 minutos.
With the gray dough we mold a drop that has a pointed end and glue it to the bottom of the cylinder, let it dry so that it sticks completely and continue molding the other pieces.
We continue working with the gray dough and mold a thin strip, as thin as possible, with which we will make the arc that will be attached to the cylinder, we flatten very well and give shape to the arc, we leave the top part very thin, similar to a needle and a little flat on the bottom, with glue we attach it to the cylinder and let it dry for approximately 20 minutes.
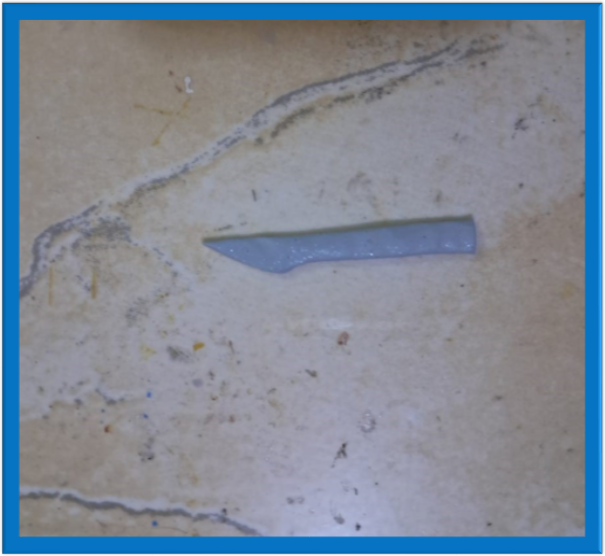
Usando nuevamente masa flexible de color gris vamos a moldear la hoja del sable, para darle más color agregamos pintura plateada, una gota de pintura negra, un poco de gris, mezclamos hasta integrar por completo y aplanamos la masa, con ayuda de las estecas hacemos un corte en la parte de arriba y damos forma a la hoja.
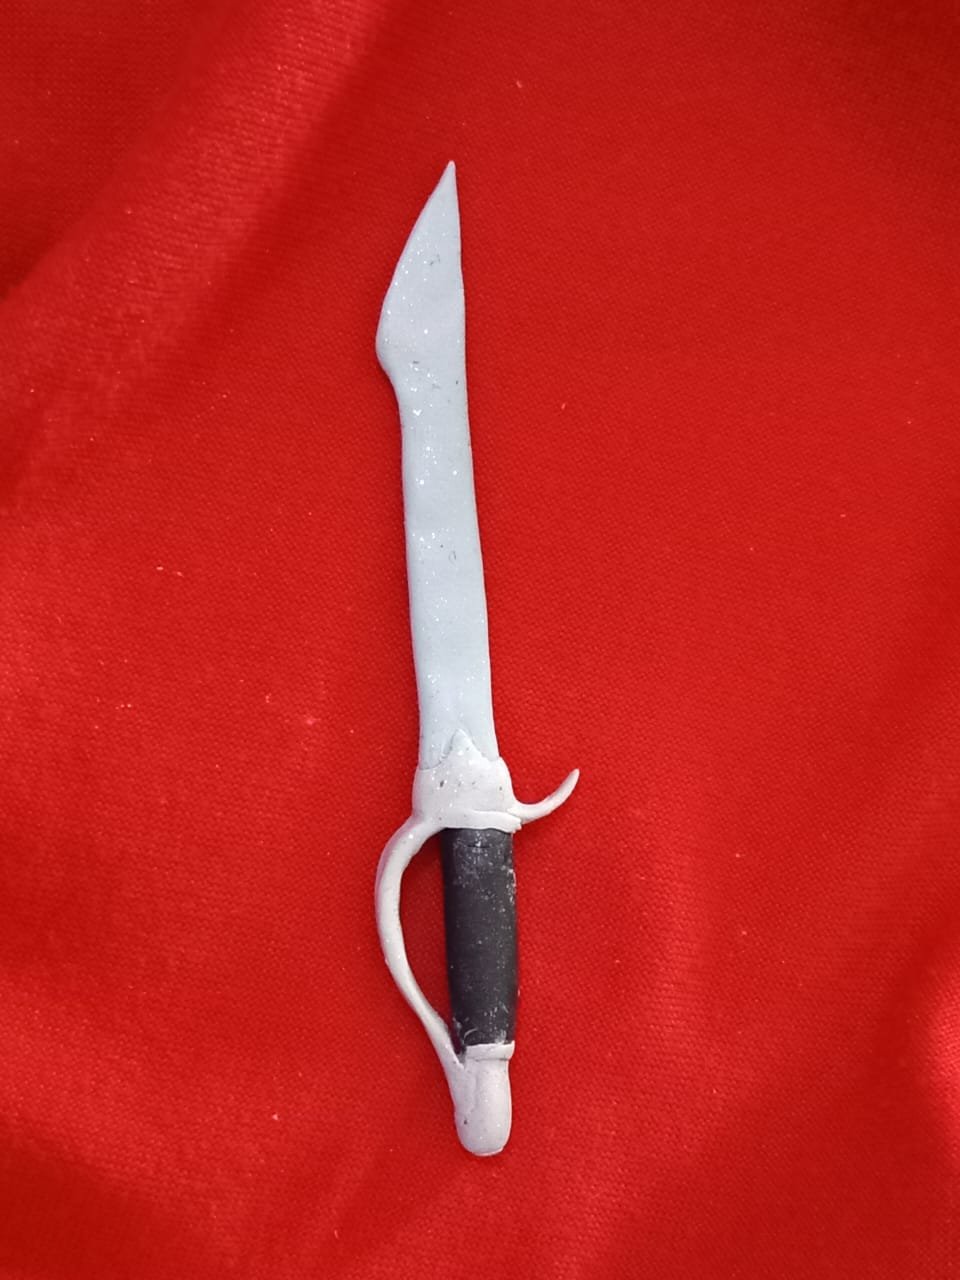
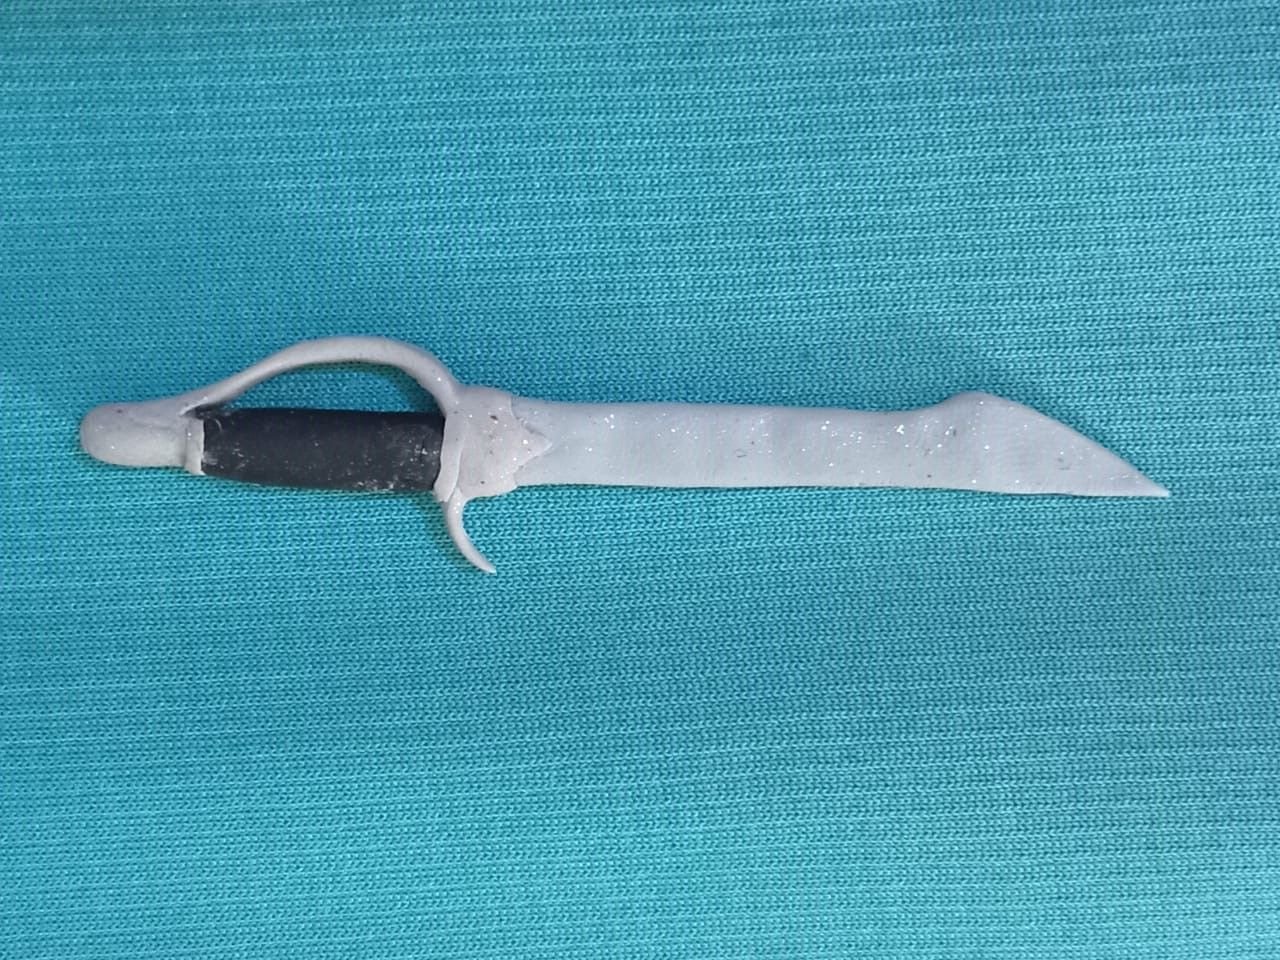
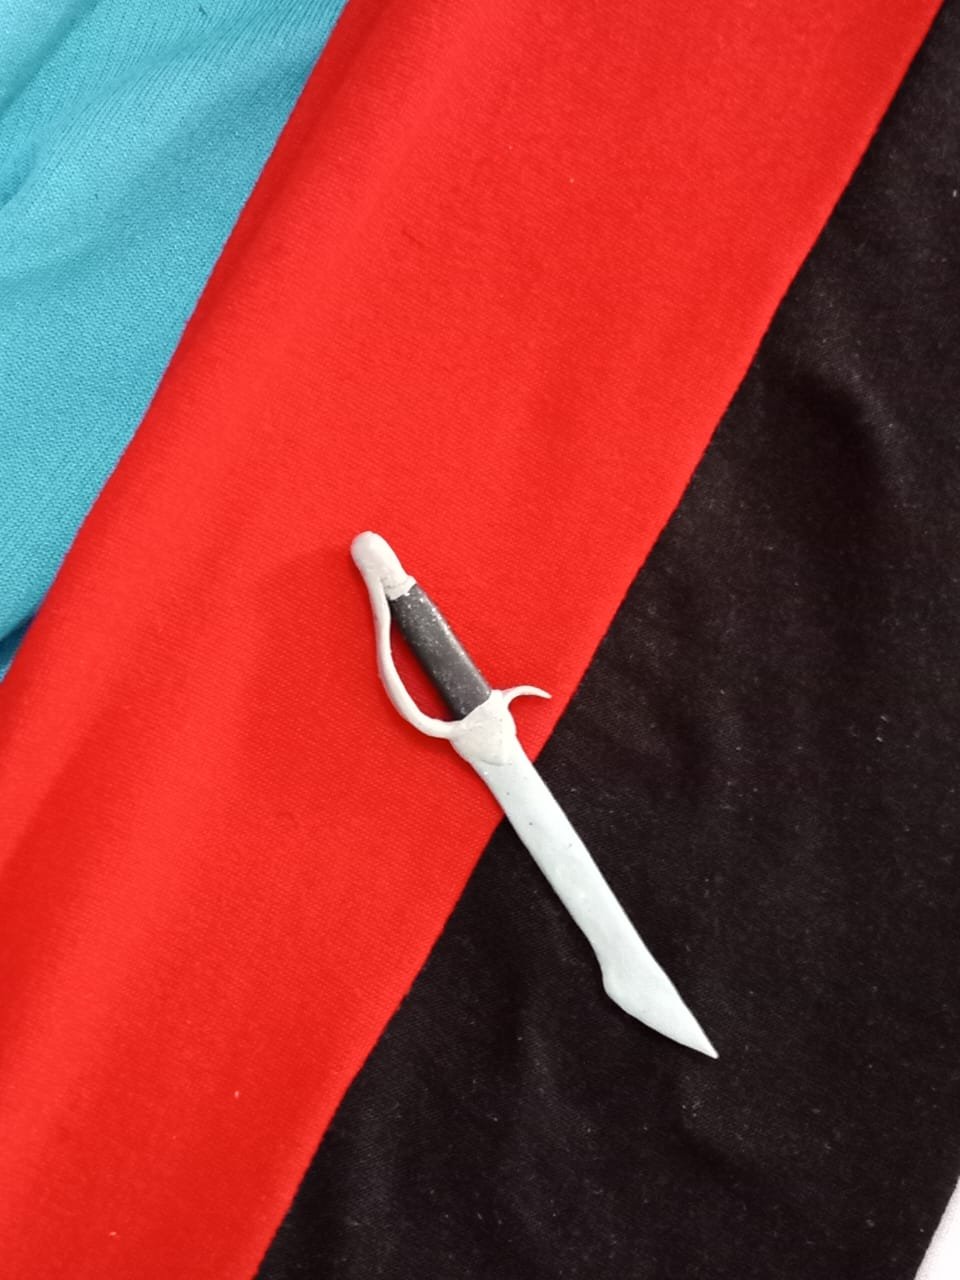
Con pegamento unimos la hoja a la empuñadura y agregamos los detalles decorativos que son líneas horizontales y verticales, dejamos secar nuevamente y al estar completamente seca la pieza, agregamos una capa de pintura plateada a la hoja, esto le dará más brillo y simulará lo reluciente de la hoja de un sable, así hemos terminado de moldear un sable inspirado en los personajes de splinterlands.
Again using flexible gray dough we are going to mold the saber blade, to give it more color we add silver paint, a drop of black paint, a little gray, mix until completely integrated and flatten the dough, with the help of the stecas we make a cut on the top and shape the blade.
With glue we attach the blade to the hilt and add the decorative details that are horizontal and vertical lines, let dry again and when the piece is completely dry, add a coat of silver paint to the blade, this will give more shine and simulate the shiny blade of a saber, so we have finished molding a saber inspired by the characters of splinterlands.
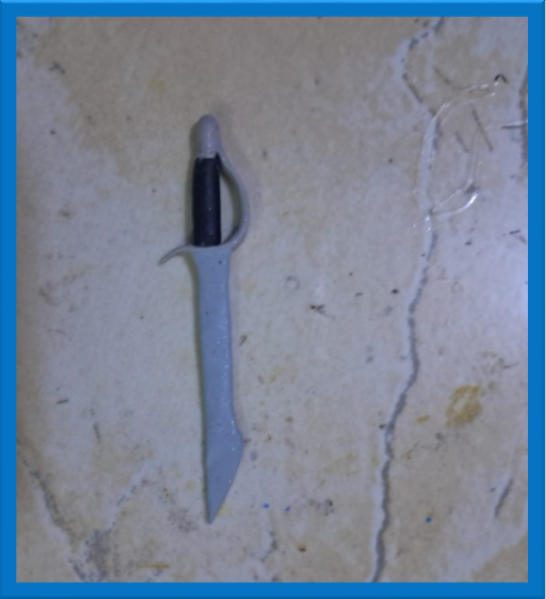
Les muestro el resultado
I show you the result
Gracias por Leer.
Thank you for reading.
Hasta Luego!
See you later!
Translated with https://www.deepl.com/translator
    All images are of my authorship captured with an Alcatel phone.


      Todas las imágenes son de mi autoría capturadas con un teléfono Alcatel.