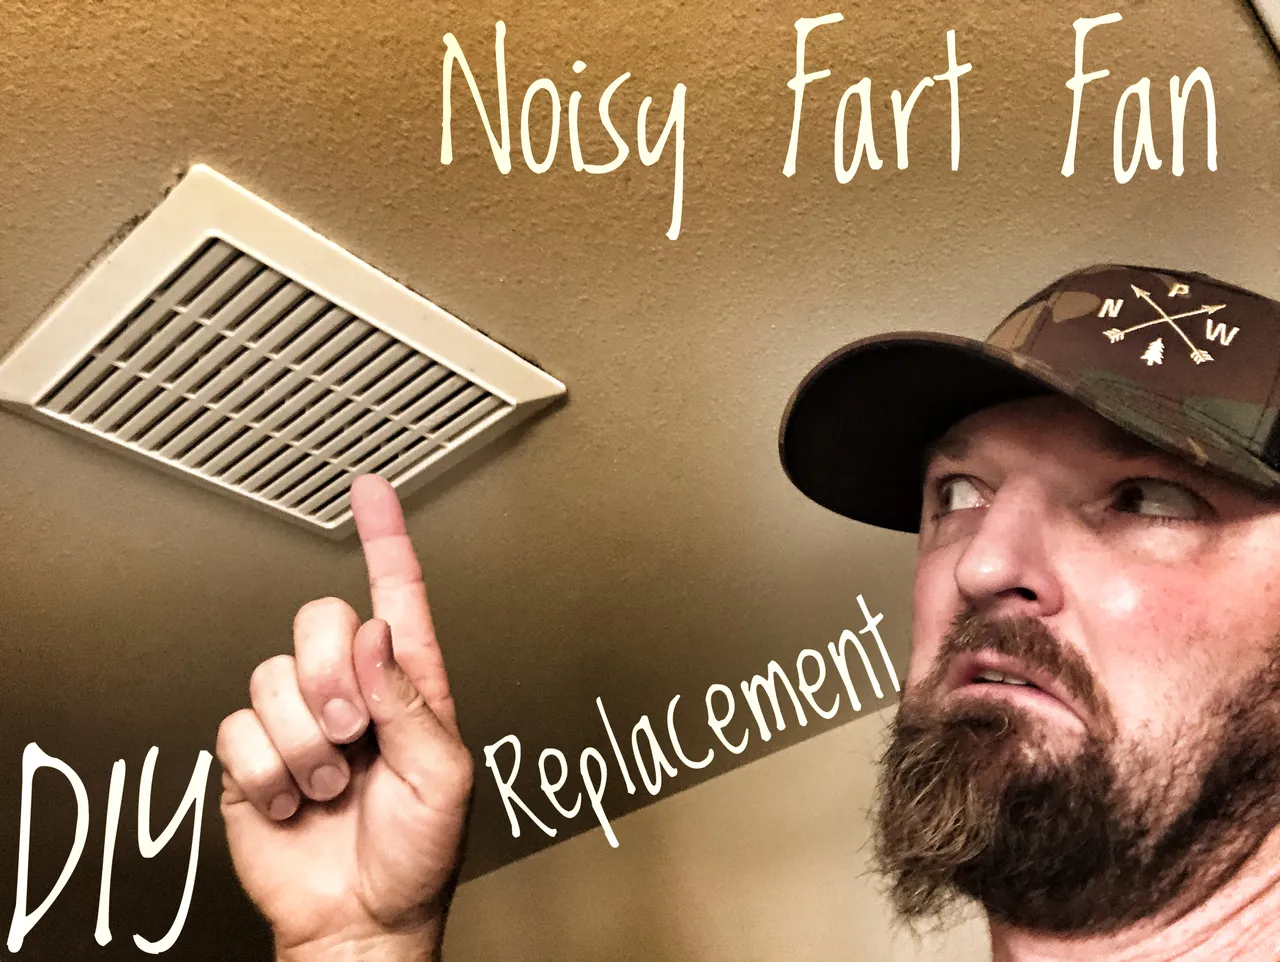
When the fart fan in the kids’ bathroom started to sound like a lawn mower, I figured it had better get changed. The bathroom is small and the fan never seemed to keep the mirror from fogging up real quickly. Now as far as getting the stink out... it probably was less efficient at that. Thank god my kids are still “little”.... So let’s get this broken/noisy fart fan changed out and maybe increase the horse power a little bit...
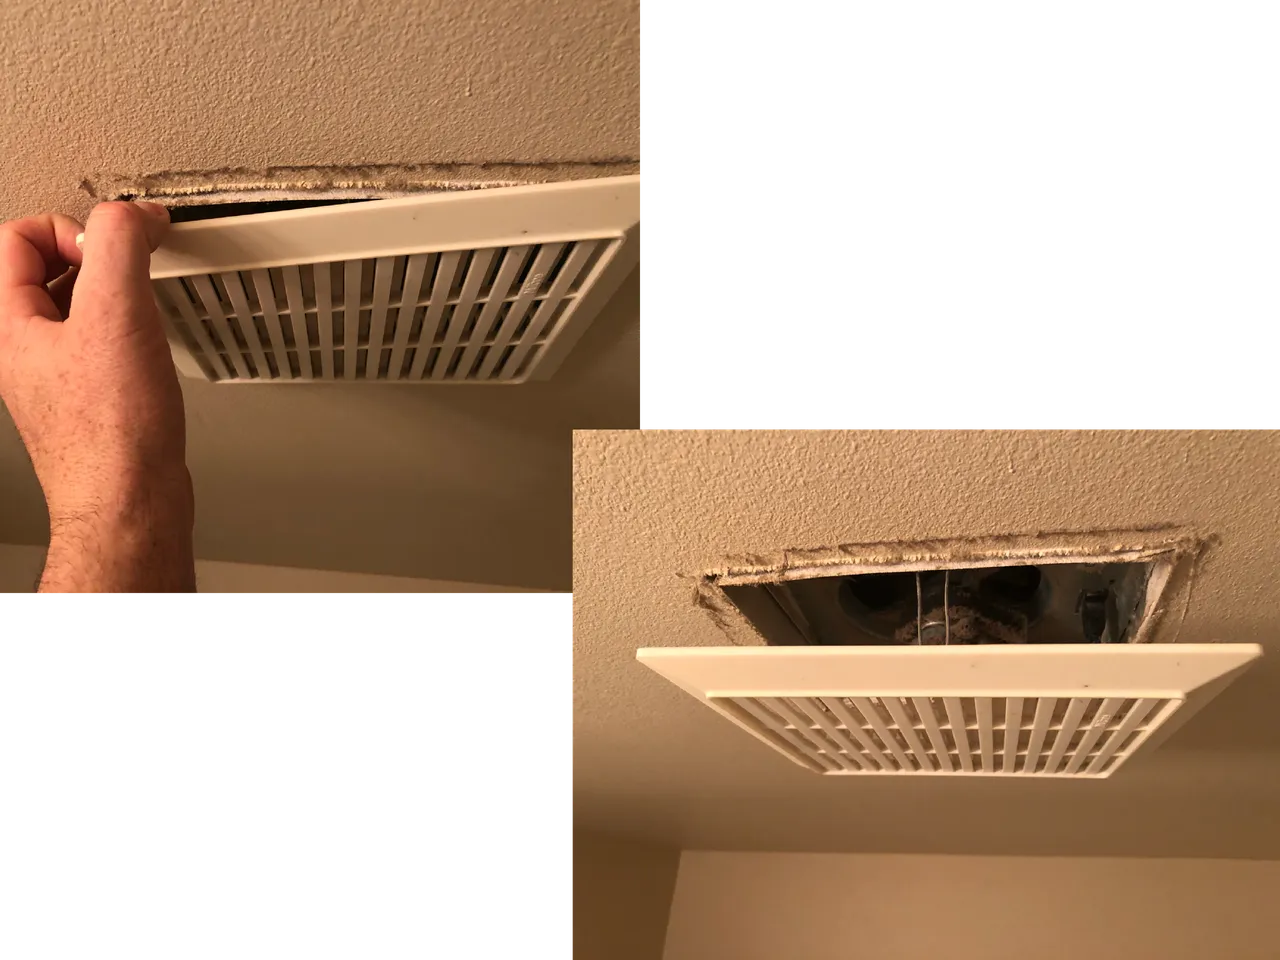
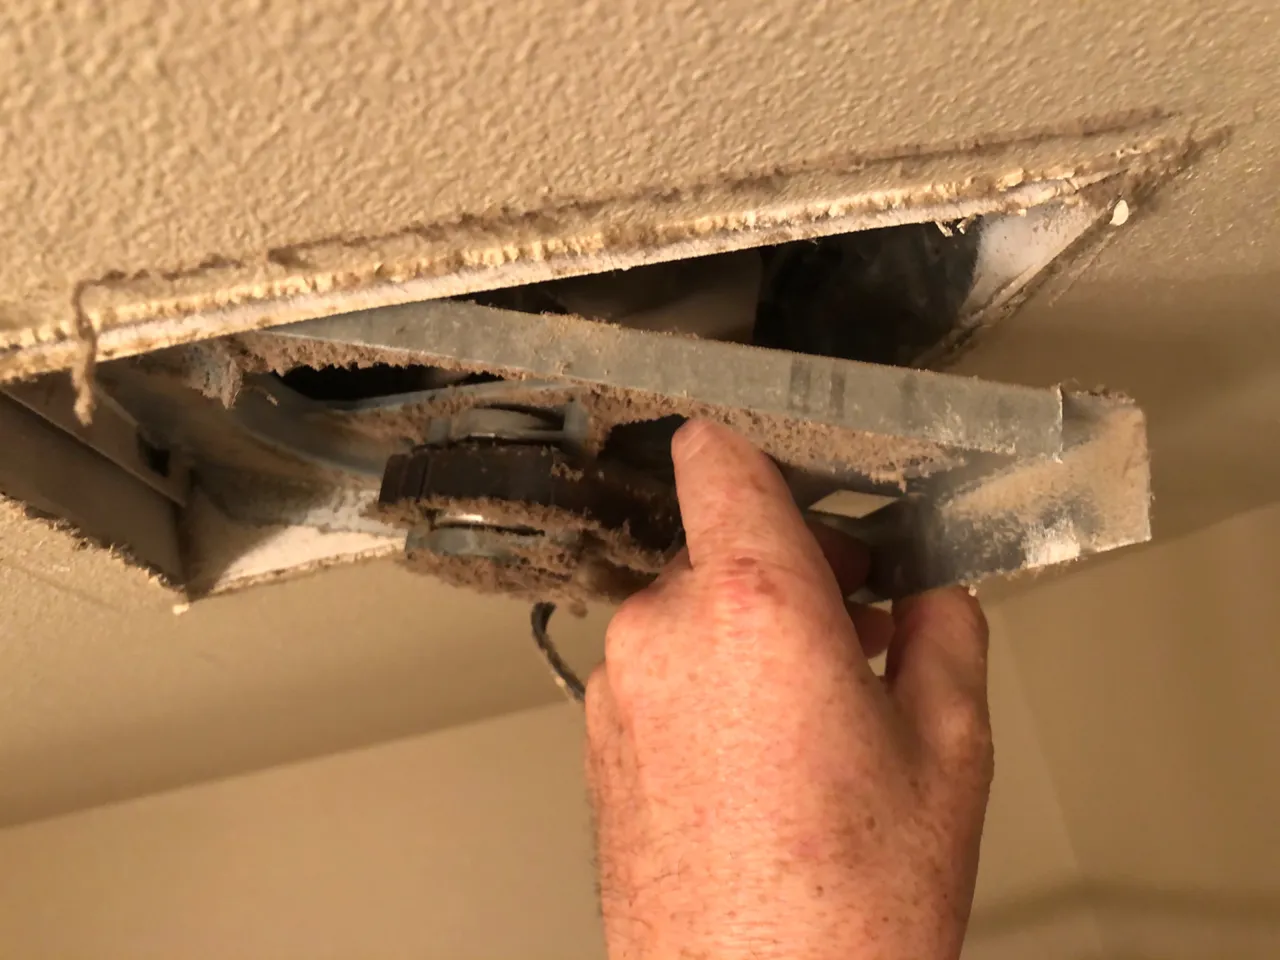
This style of vent fan is really easy to change. So don’t go calling some home repair guy to come and replace it. First the cover over the fan needs to be removed. Some may have screws but this one just pulls down
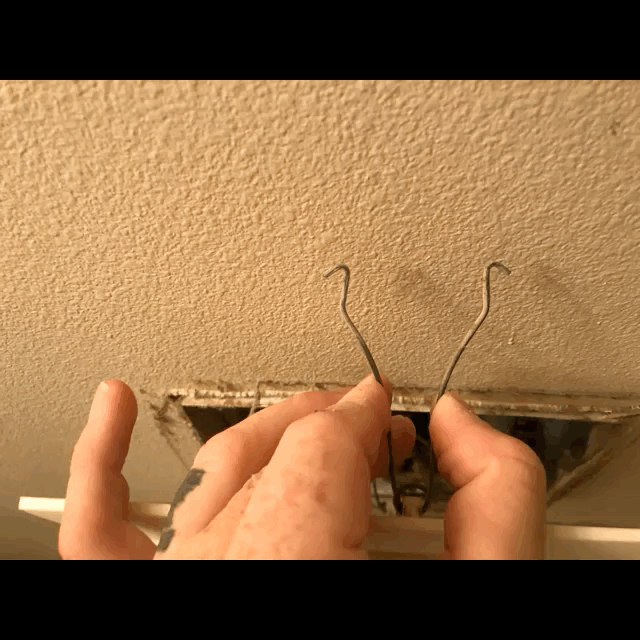
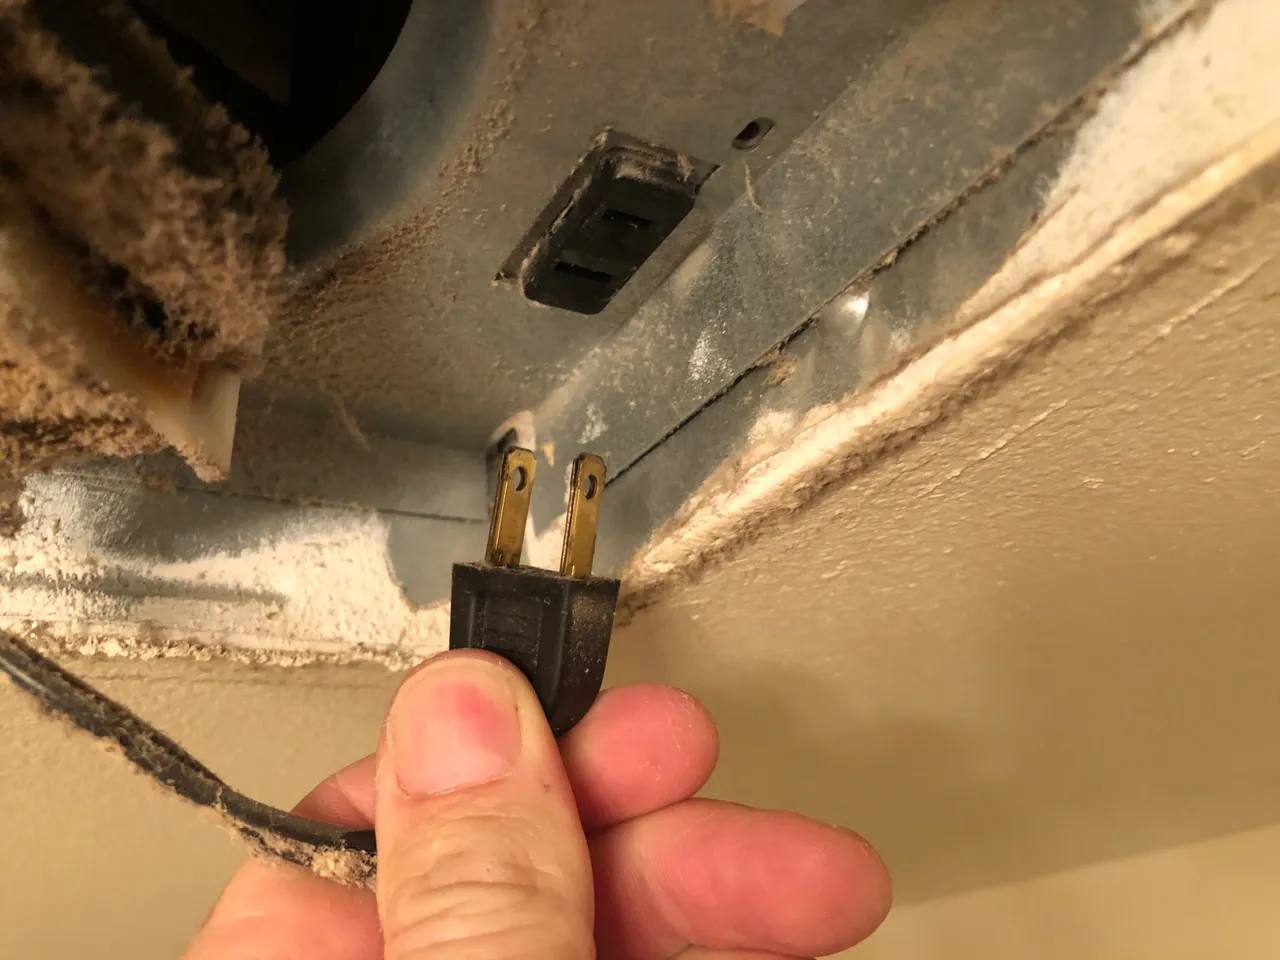
Then all you have to do is squeeze these two metal wires together and wiggle them out of the fan housing.
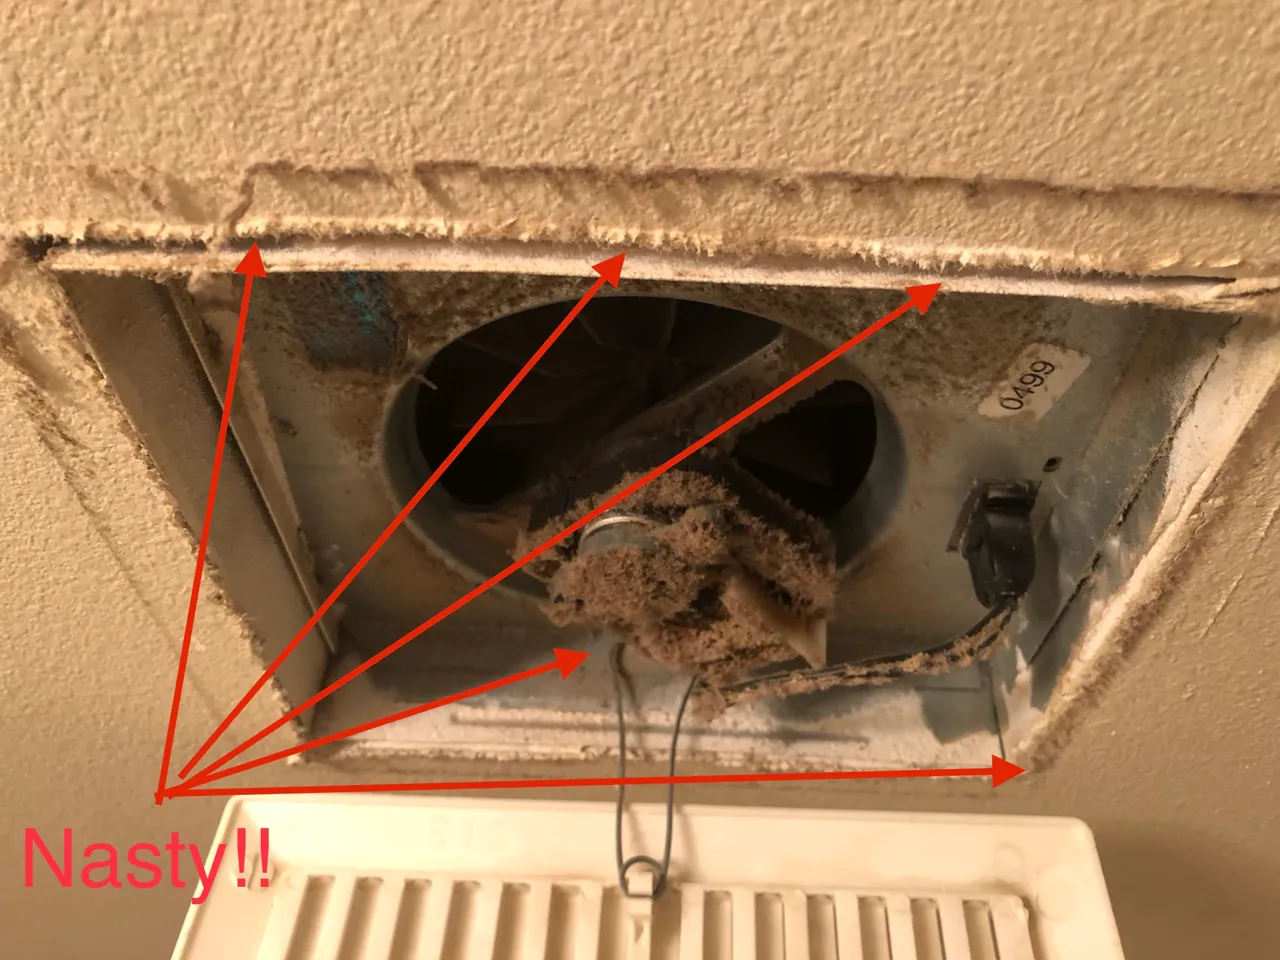
Alright, now that is flat out nasty!! Everyone, including us here at the Splatts house, only cleans the cover of the fan. You know make it look nice from the outside, get them dust bunnies off and make it look clean. Yet, underneath that cover... surprise surprise!!
After taking a few measurements @w-splatts and I headed off to the Home Depot to find a turbo fart fan. I didn’t check to see the CFM of the old fan was but I am gonna get the highest Cubic Feet per Second fan they got in the size I need.

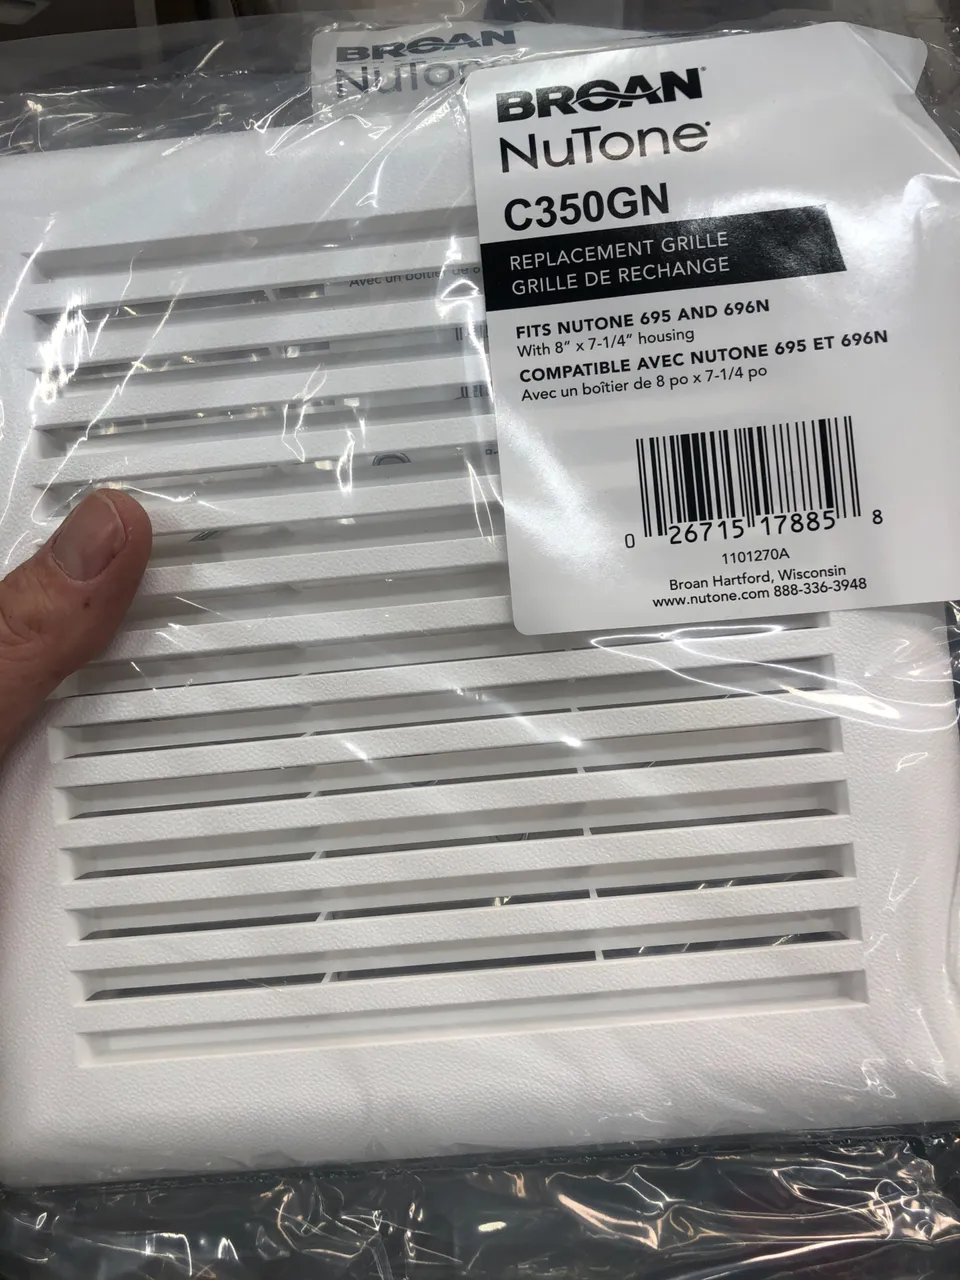
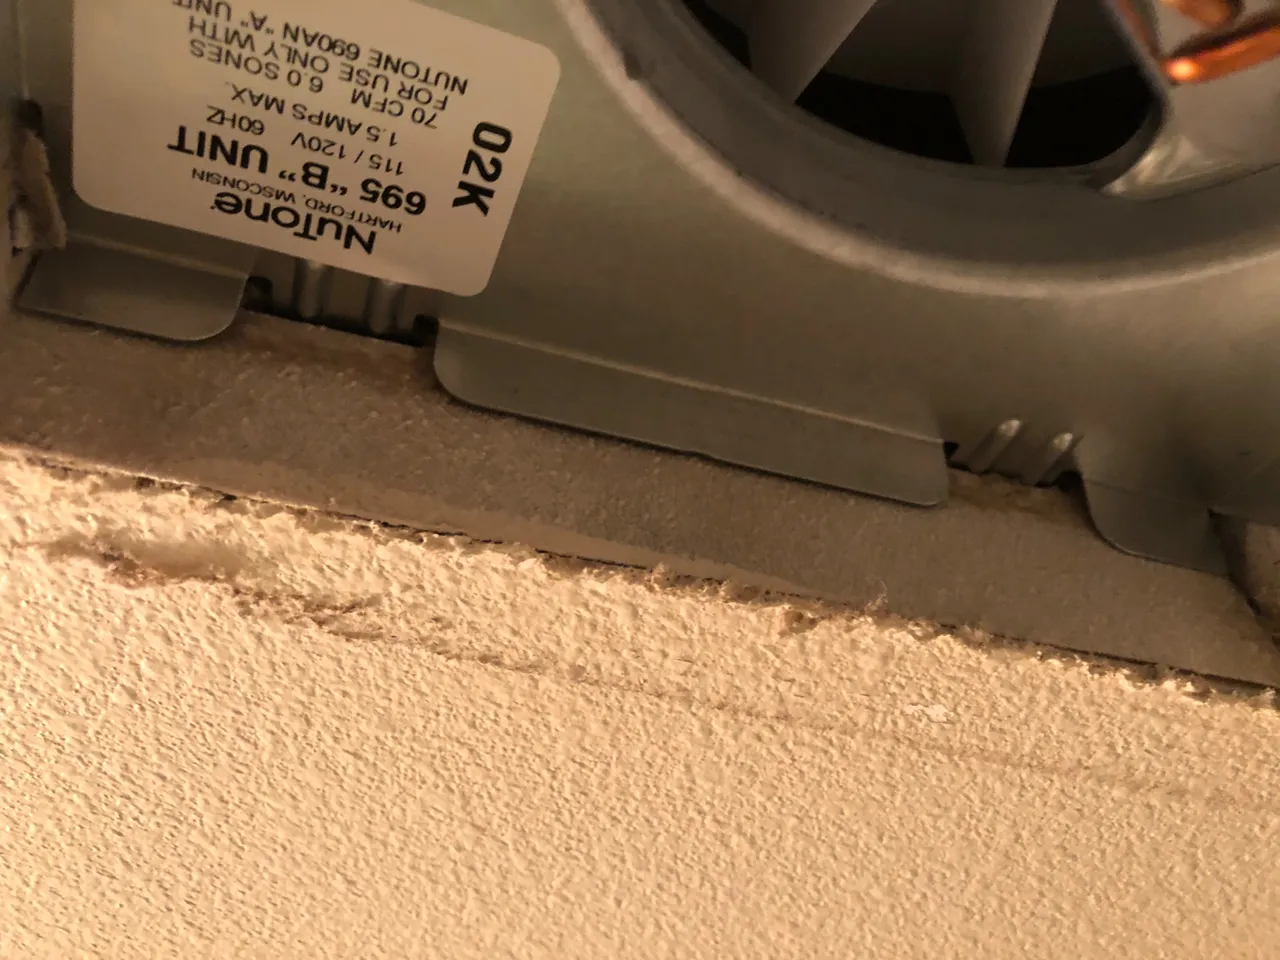
$25 for a 70 CFM fart fan!!! I’ll take it. Plus I might as well grab a new cover while I am here, the old one looked a little dingy.
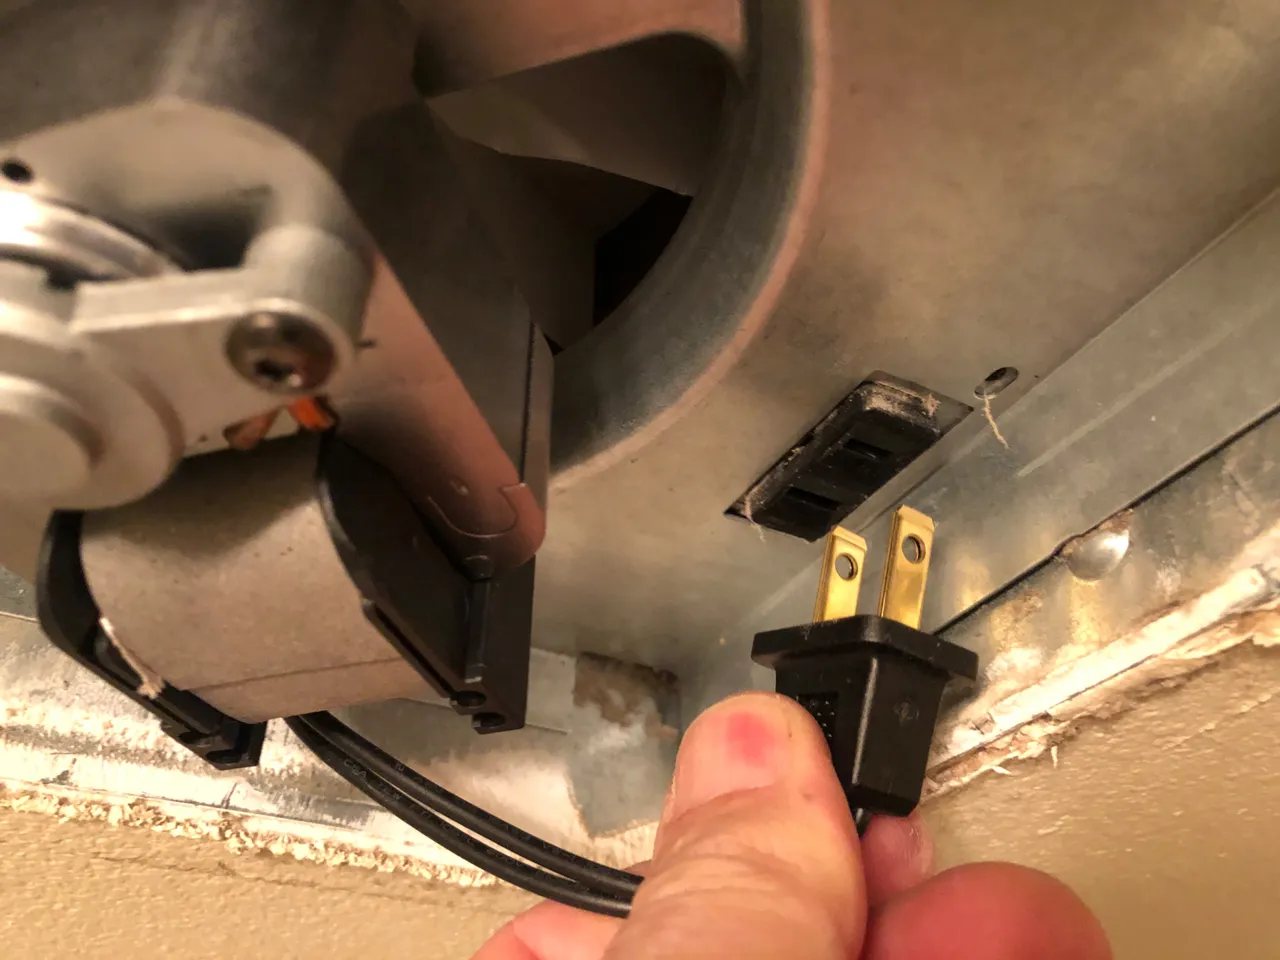
Okay now that I have the new fart fan, it’s time to remove the old one. The fan itself fits inside a housing that is hard wired to the switch on the wall. The fan snaps into the housing and simply plugs in. It seems like someone actually thought about the fact that sometimes things need to be replaced and they designed it for ease of replacement. Wow... what a concept. Totally opposite of what they do when they design cars and trucks...
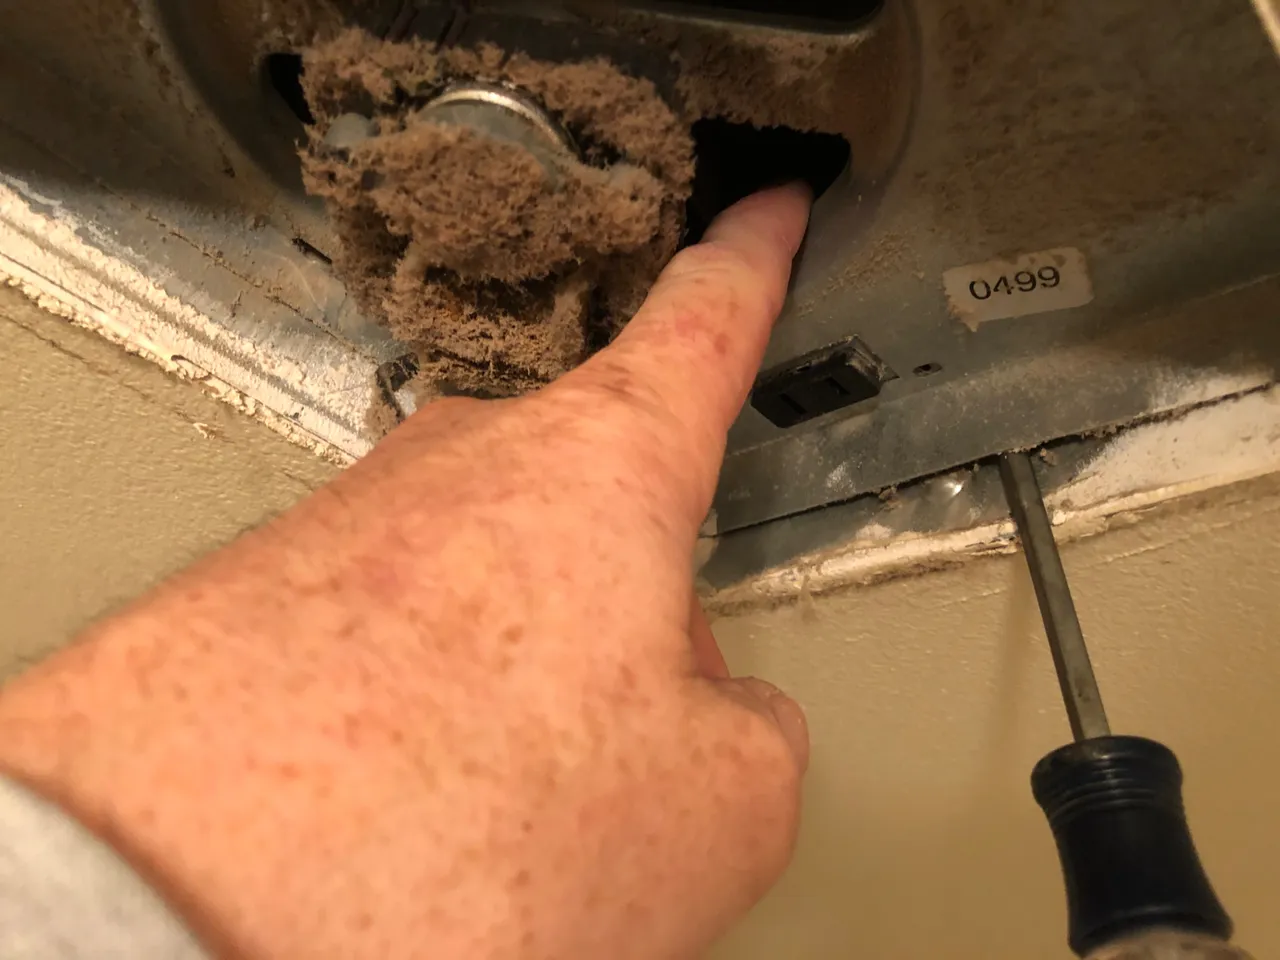
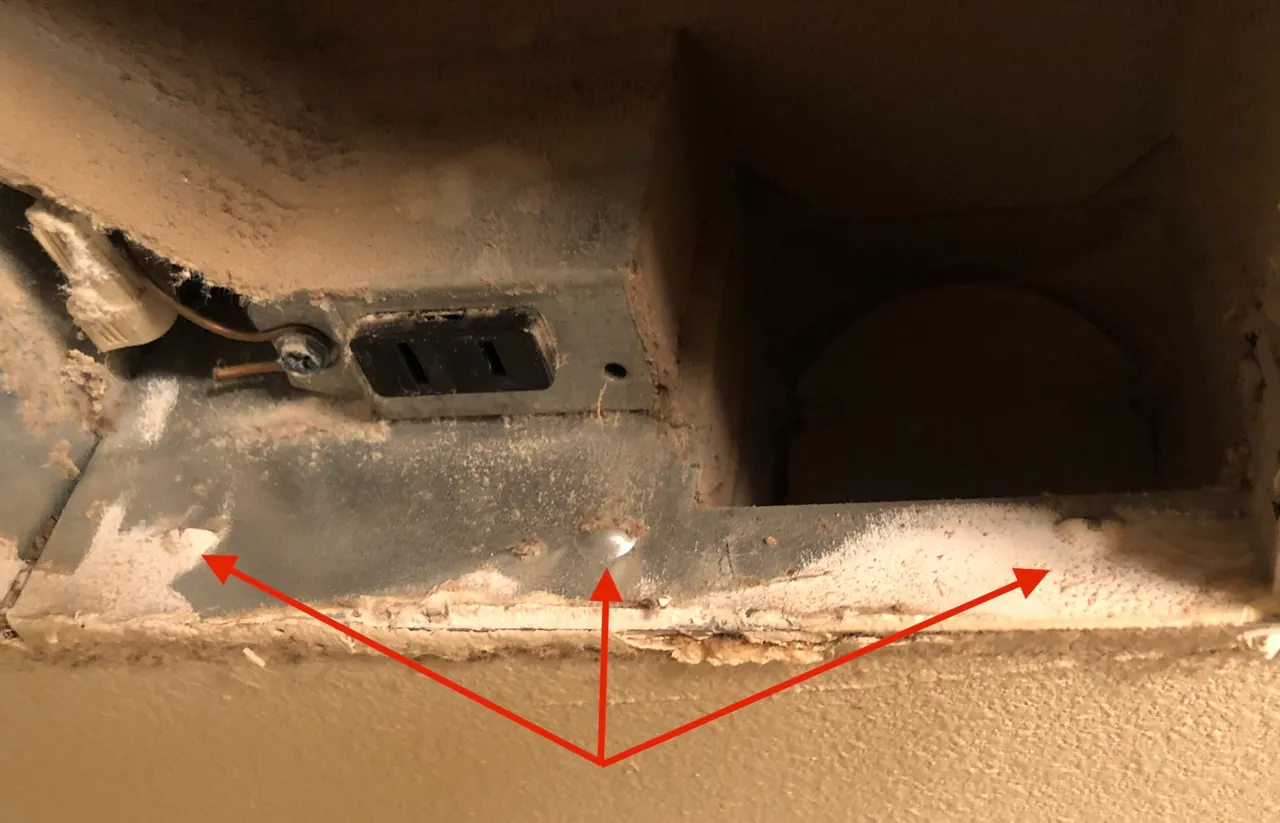
Use a screwdriver and pry the side of the fan out past the little nubs in the housing
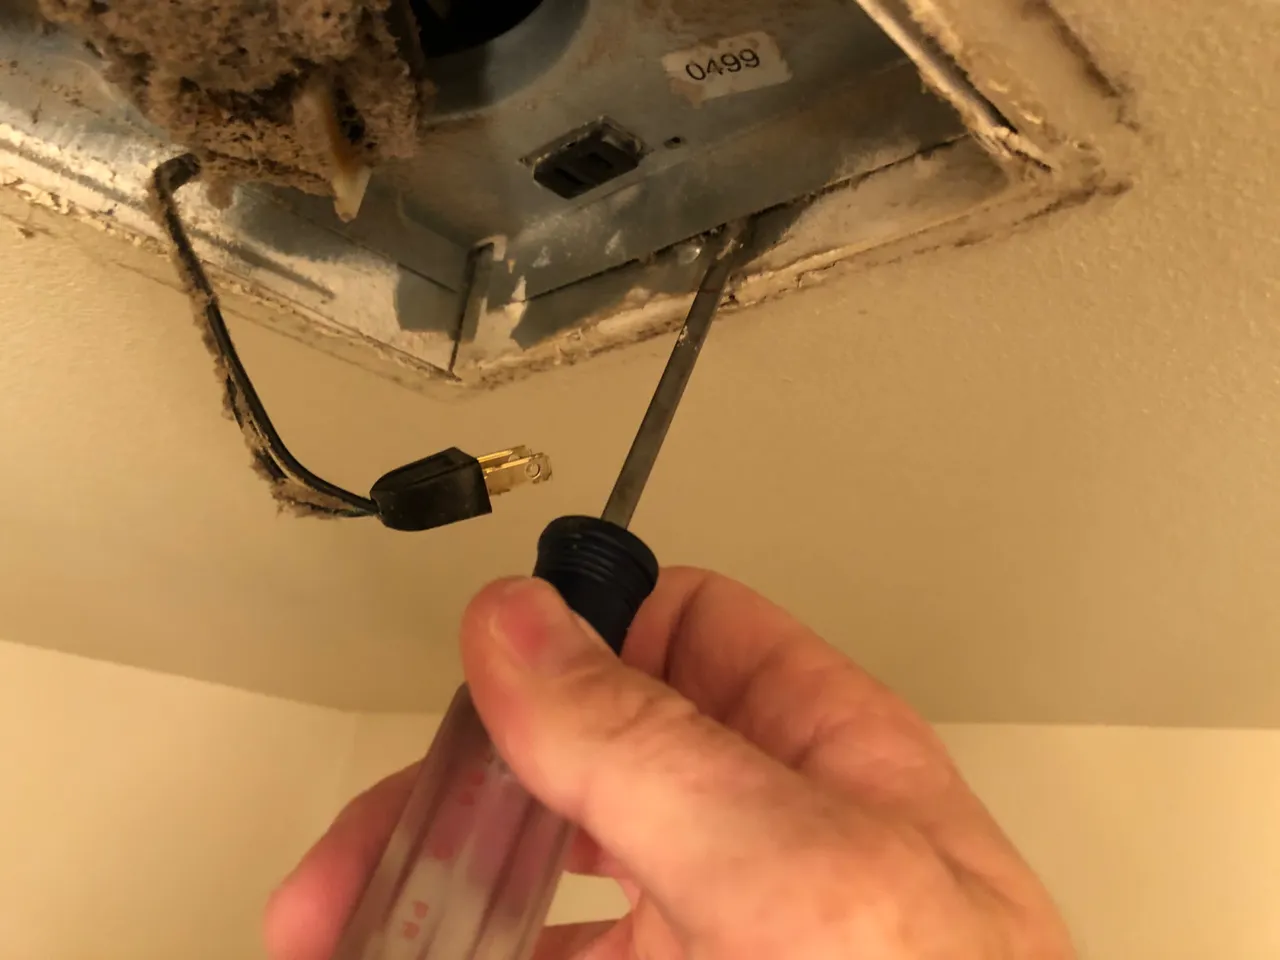
Find a place to pull downward on the fan to get the edge past the nubs on the housing
Then the fan simply hinges down from the tabs on the opposite side
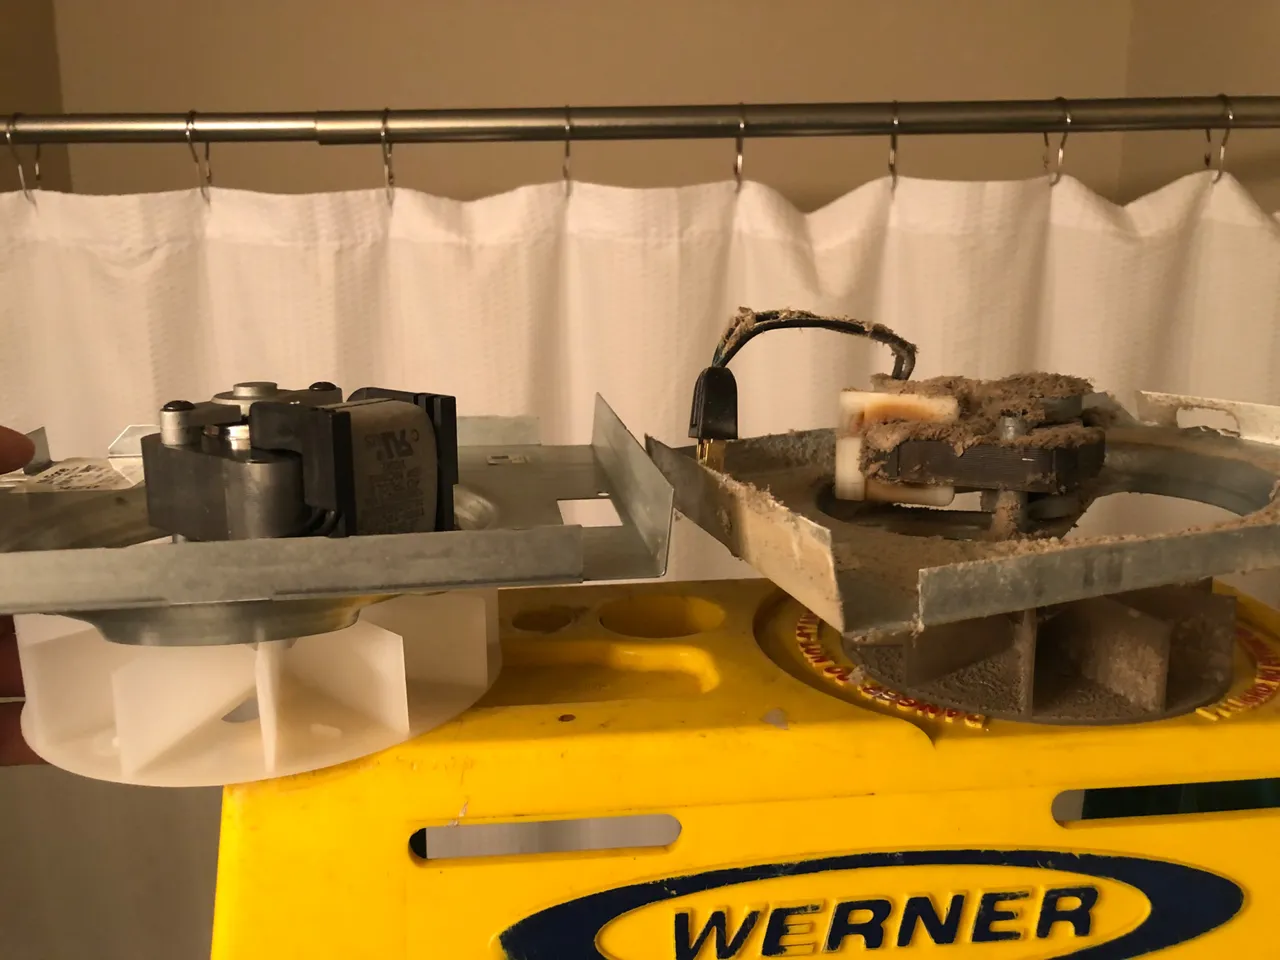
The old dirty fart fan is out and the nice new shiny fart fan is ready to go in.
Now those tabs I mentions earlier, the ones the old fart hinged on when removing... ya those ones. Well here are the tabs on the new fart fan and the slots in the housing that they go into.

Then hinge the fart fan into place, making sure it snaps past the 3 nubs in the housing
After the fart fan is fully seated into position

Plug it in and flip the switch to make sure it is working properly.
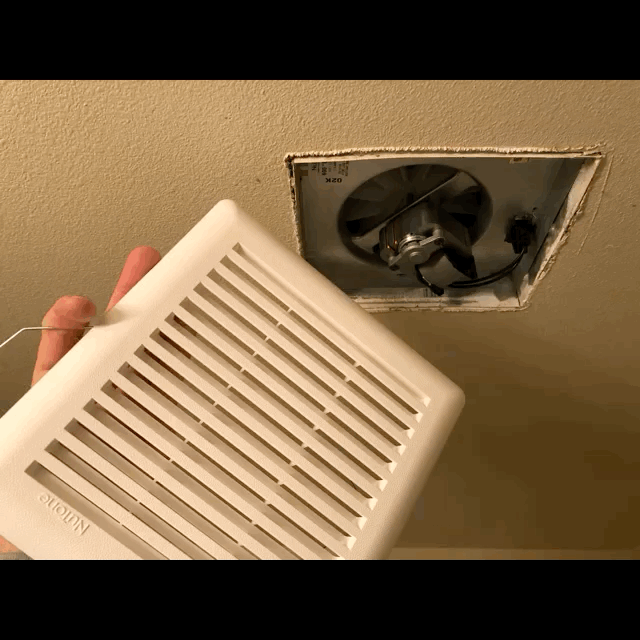
Finally install that nice new cover and this job is done
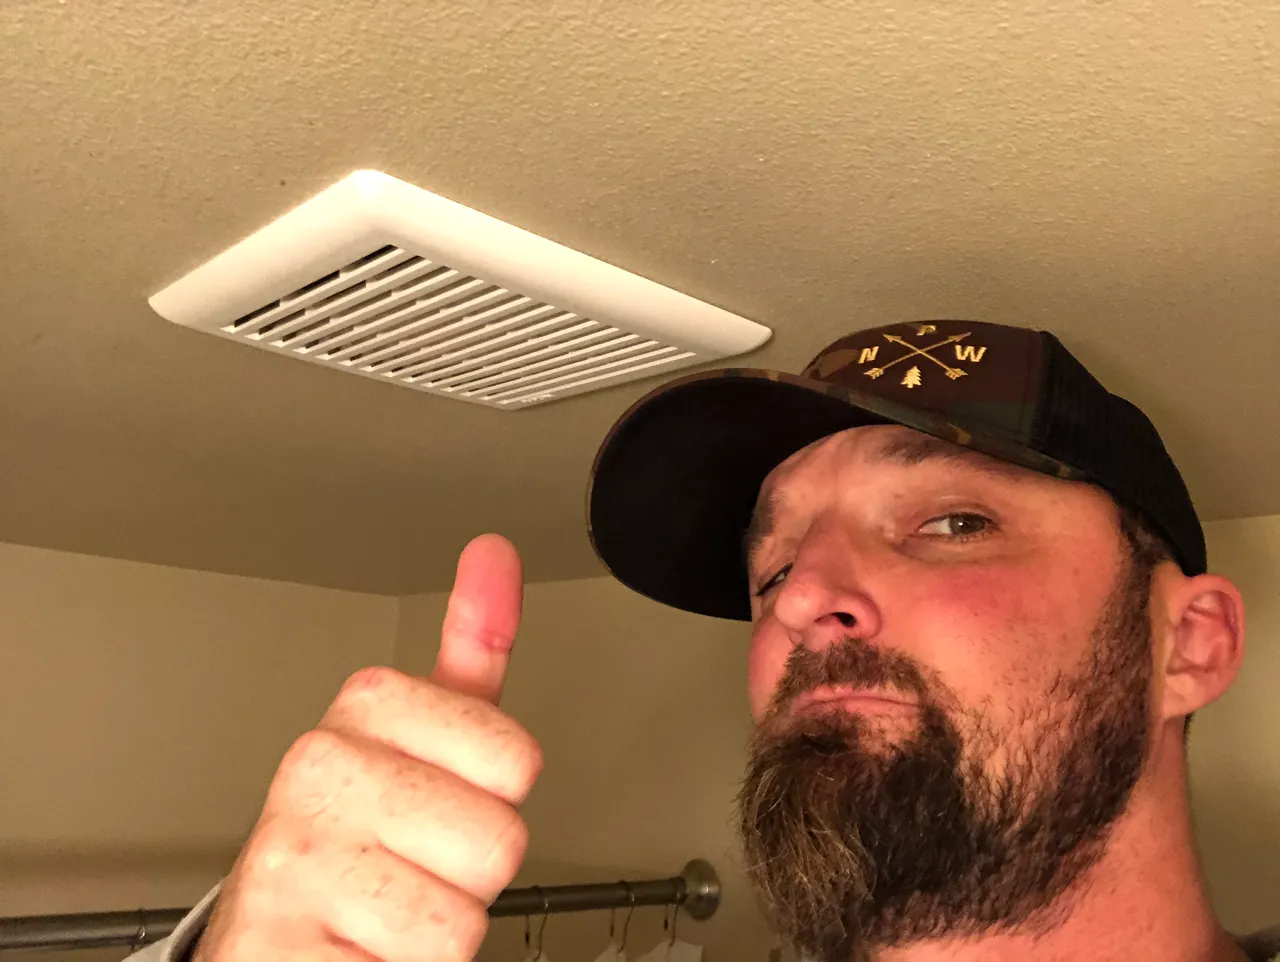
Minus the trip to Home Depot, this fart fan replacement job seriously took around 10 minutes... if that. So 10 minutes and $35 later, we have a high power fart fan that will surely keep the mirror from fogging up and the bathroom stank under control
So there you have it another DIY project done by yours truly. Save yourself some serious money and Do It Yourself.

Your Random
Dose of...