
Hello hello how are you friends of diyhub, it's been a few days since I last came here I'm back active this time to show you how I made a notebook with a technique that I saw in a video where you could see that this notebook doesn't need thread and glue to place the sheets, as many of us know the sheets of the notebooks are all held together with glue, thread or stapled, well this notebook doesn't need those materials to place the sheets, it will have glue only on the cover and a decoration that I'm going to place on it but by itself without decoration it would be ready to use for our notes so don't miss out on this beautiful craft I invite you to join me and together we'll learn how to make a notebook ourselves.
To tell you a little about the notebook, well I just found out that you could make a basically assembled notebook and it seemed like that to me when I saw how it was done there are several techniques to make similar notebooks and that caught my attention since I like this type of crafts because it is personalized, we can choose the materials and the colors, if you are one of those people who likes to do crafts I think you will like this notebook idea.

(Materiales a usar:)(Materials to use:)
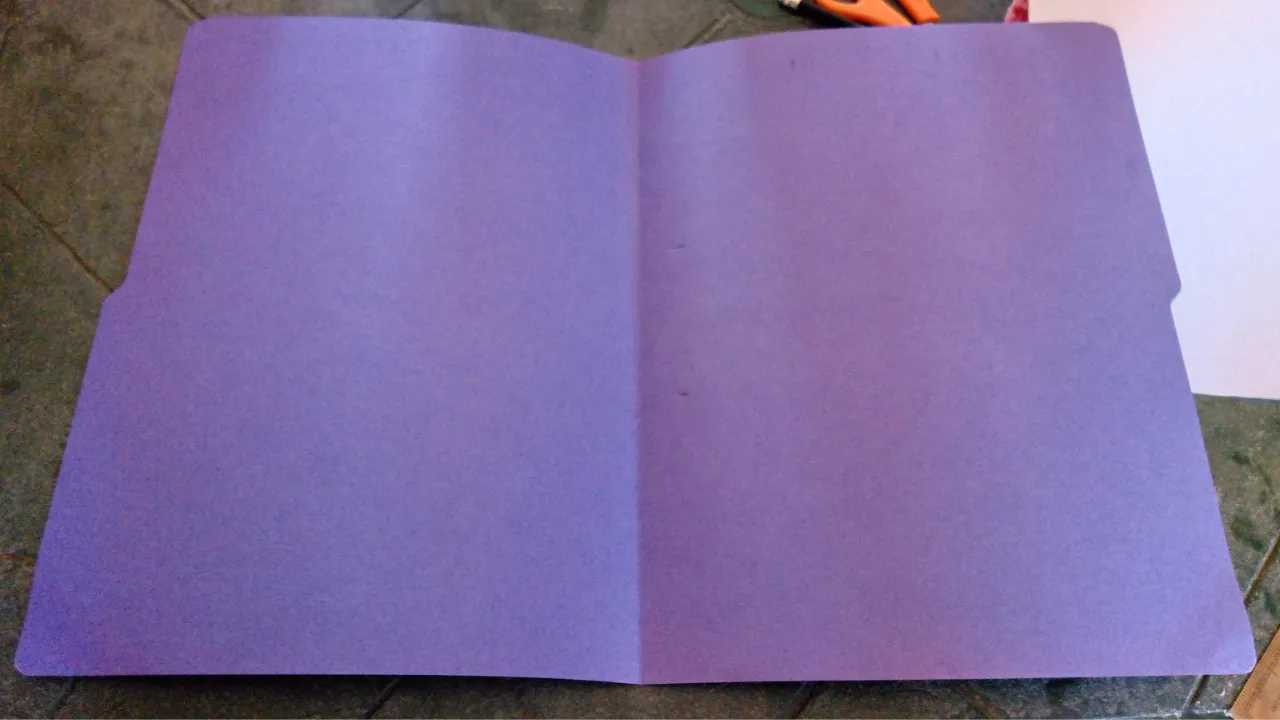
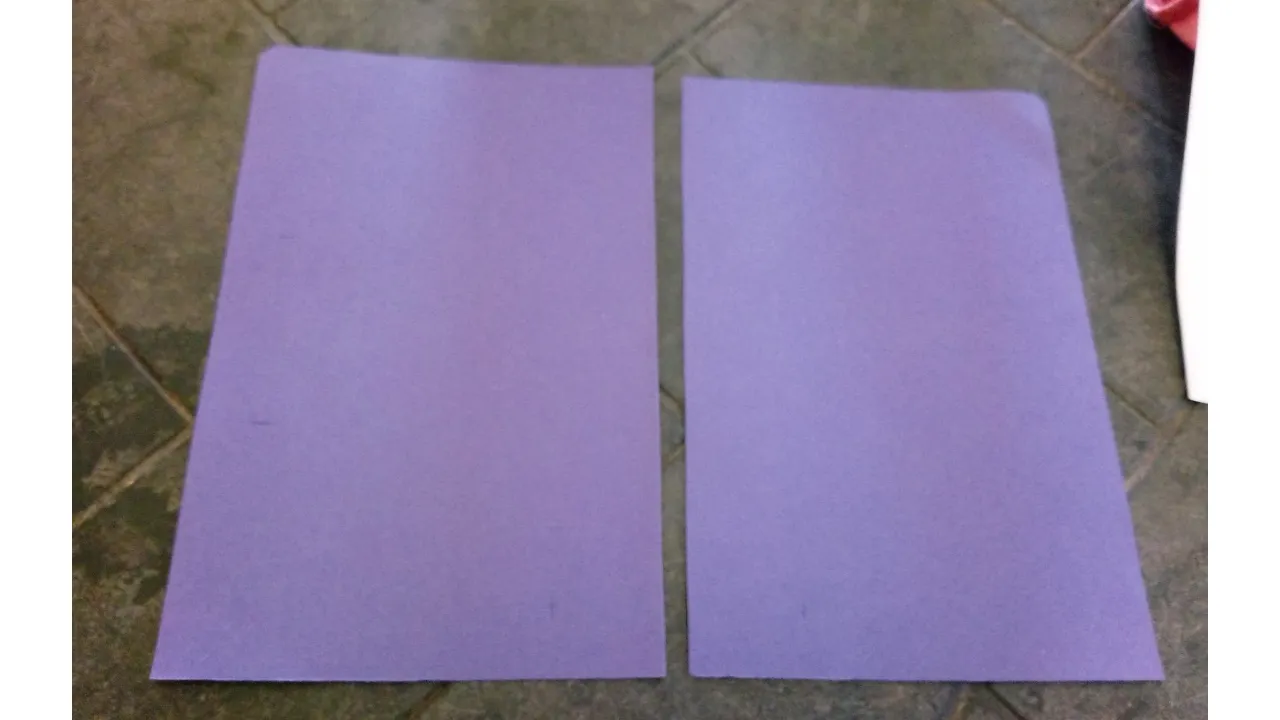
- Una carpeta color morado
- Un papel con dibujos de sanrio
- Tijeras
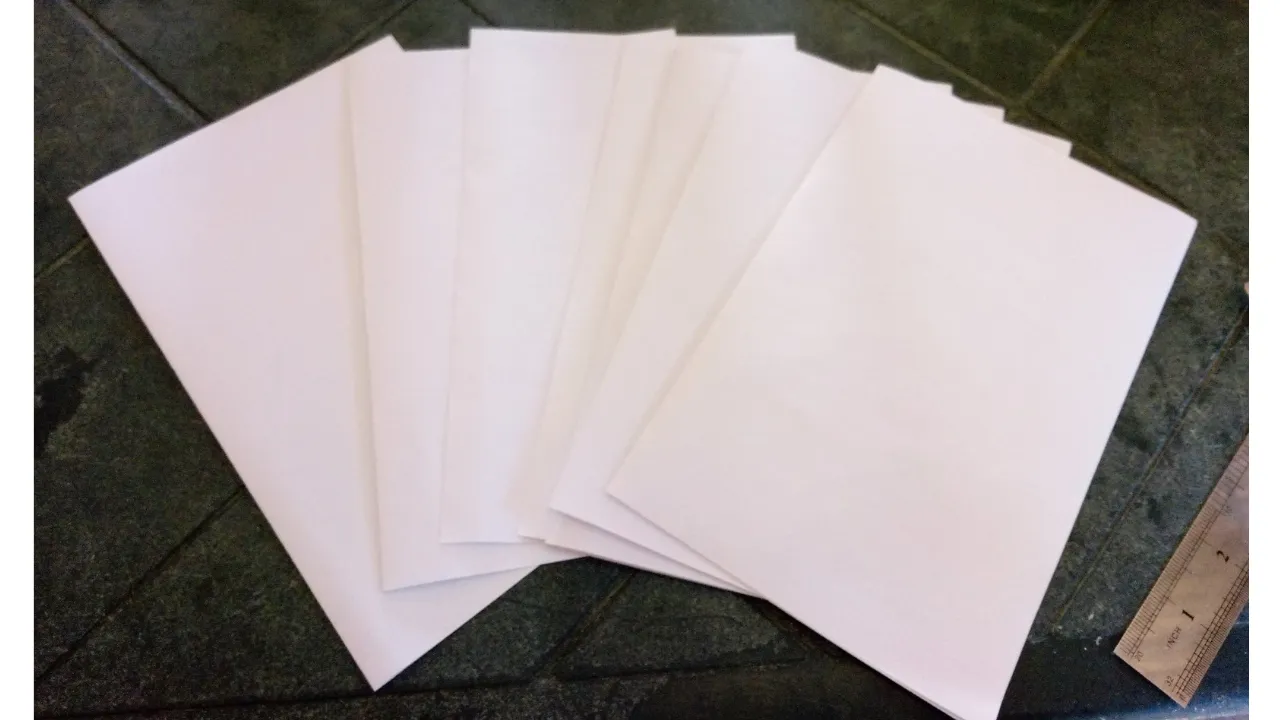
- Papel tipo carta
- Lápiz
- Regla
- Cartulina
- Pega
- A purple folder
- A piece of paper with Sanrio drawings
- Scissors
- Letter-sized paper
- Pencil
- Ruler
- Cardstock
- Glue
(Procedimiento:)(Procedure:)

Paso nro 1
Paso nro 1
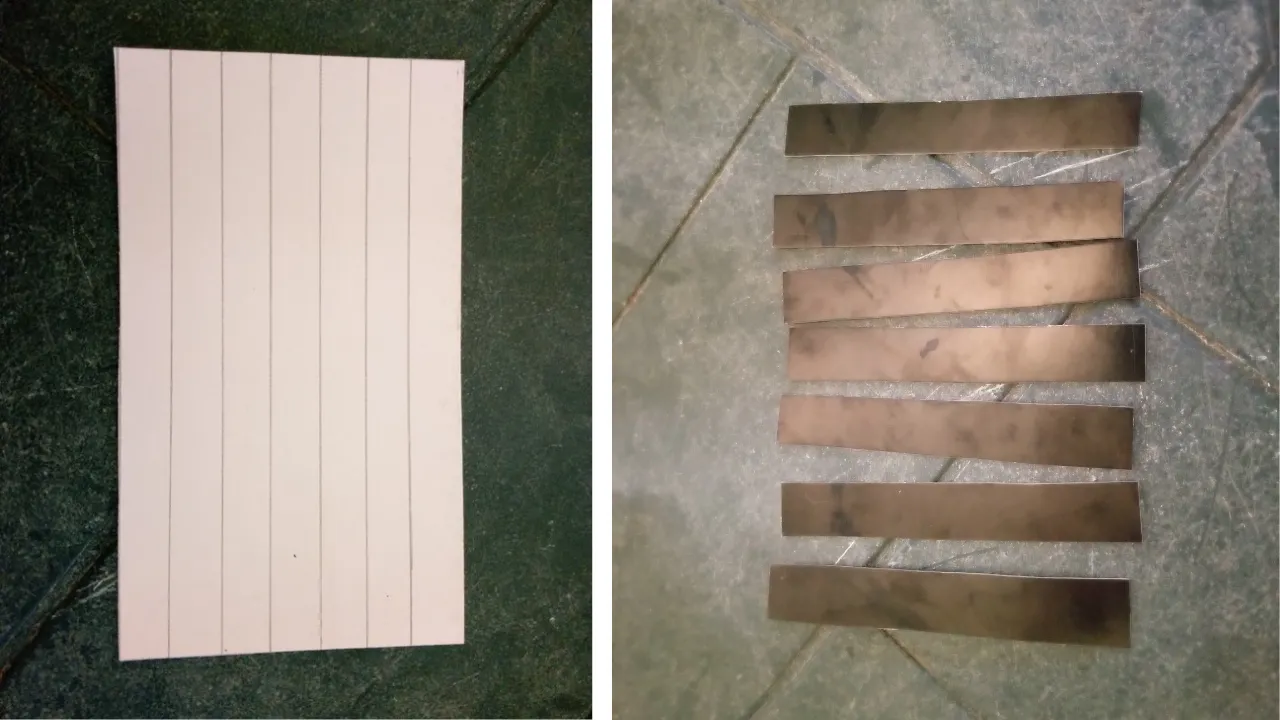
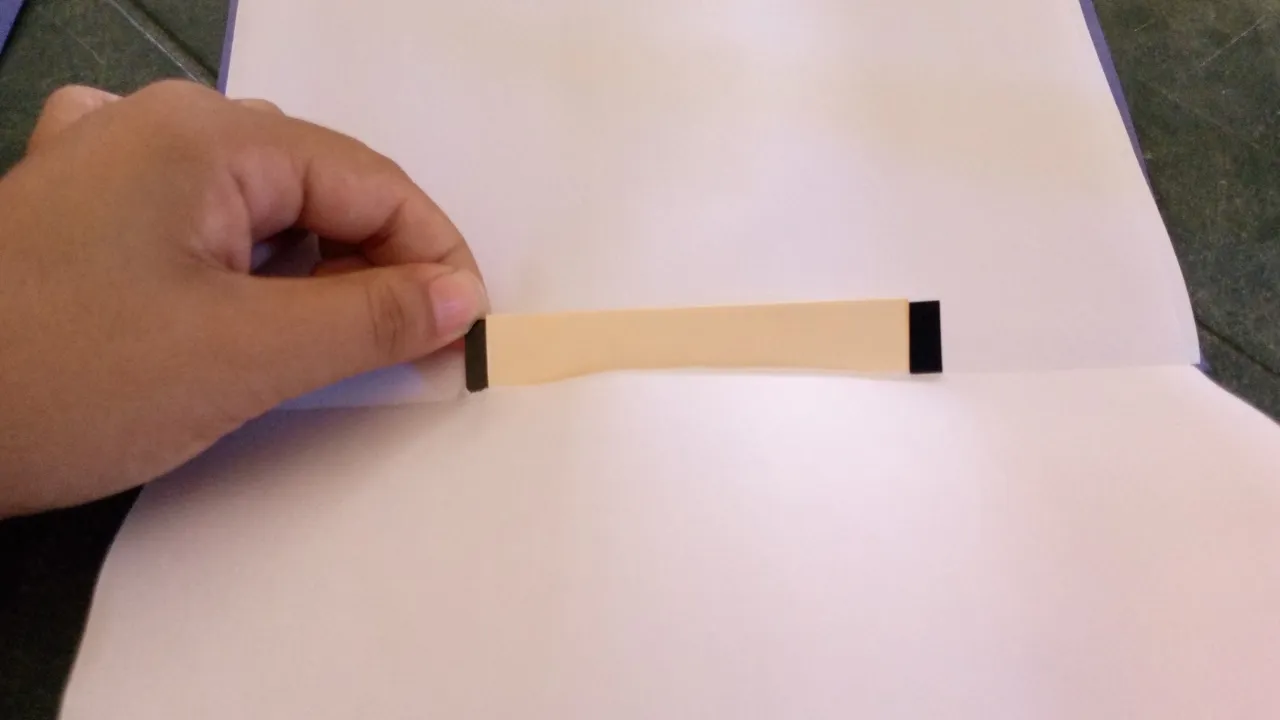
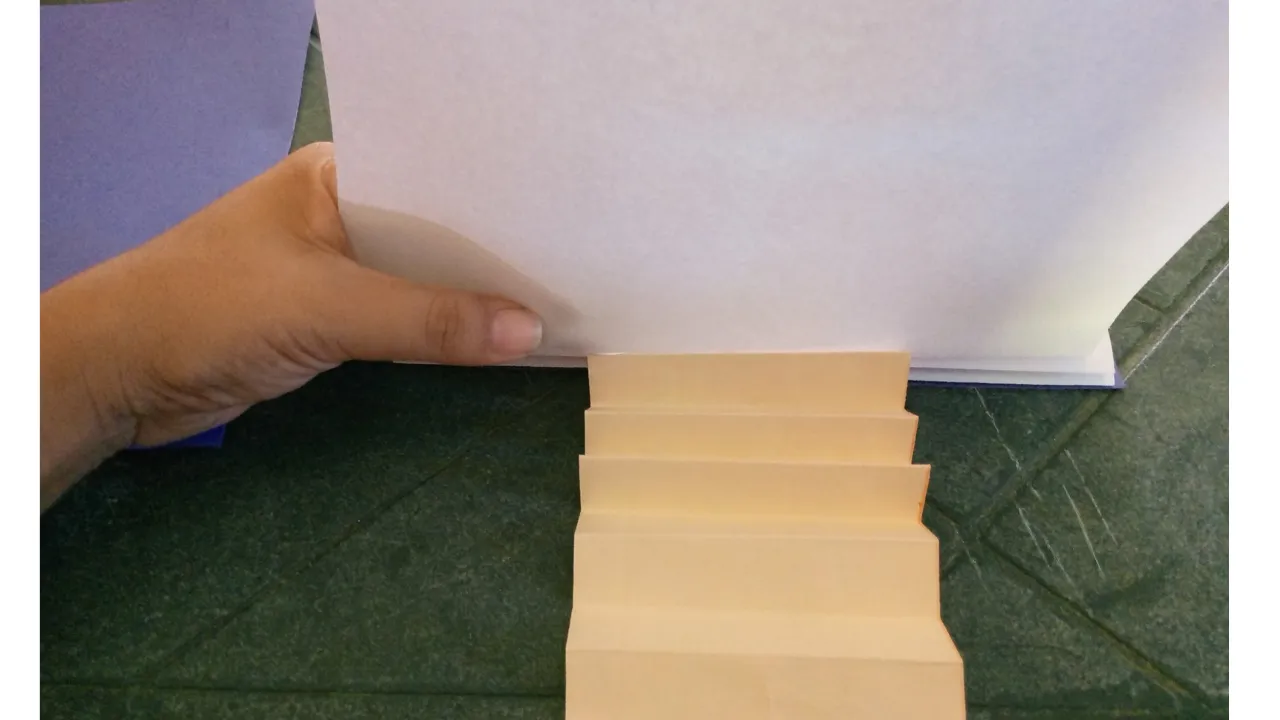
To start I'm going to make a piece of yellow cardboard more or less long since I'm going to make a kind of accordion, the accordion I don't think I'll make it very wide since I want it to have the measurement of 7cm wide and 28cm long, as I made the accordion each line it has is a total of 7 and then with that amount I also know how many sheets I'm going to use, in the part of the sheets I will be folding them in half and I will leave them aside for the next part, I also took the purple folder and cut half and from that half I also cut half so that it is the size of the sheets since this will be the covers of the notebook. Finally I marked on another piece of cardboard that is black I am going to mark several strips that are not so wide, these strips have to be a little longer than the fold of the accordion.

Paso nro 2
Paso nro 2
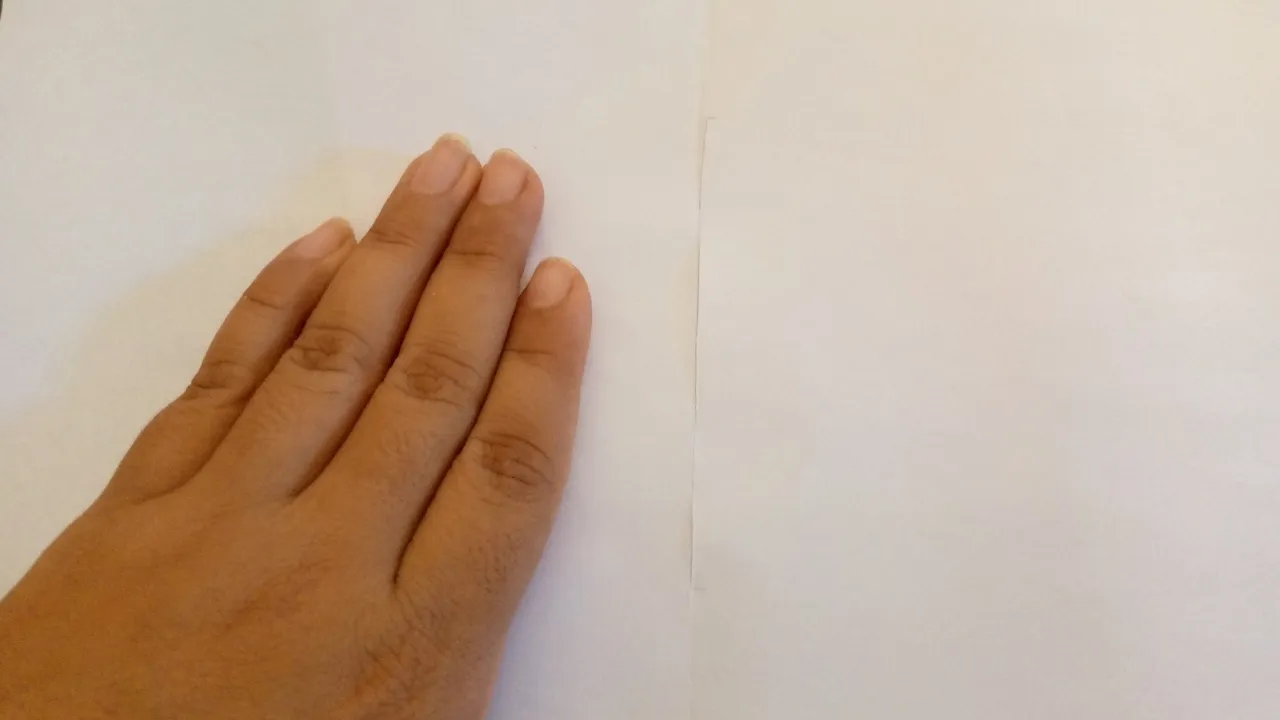
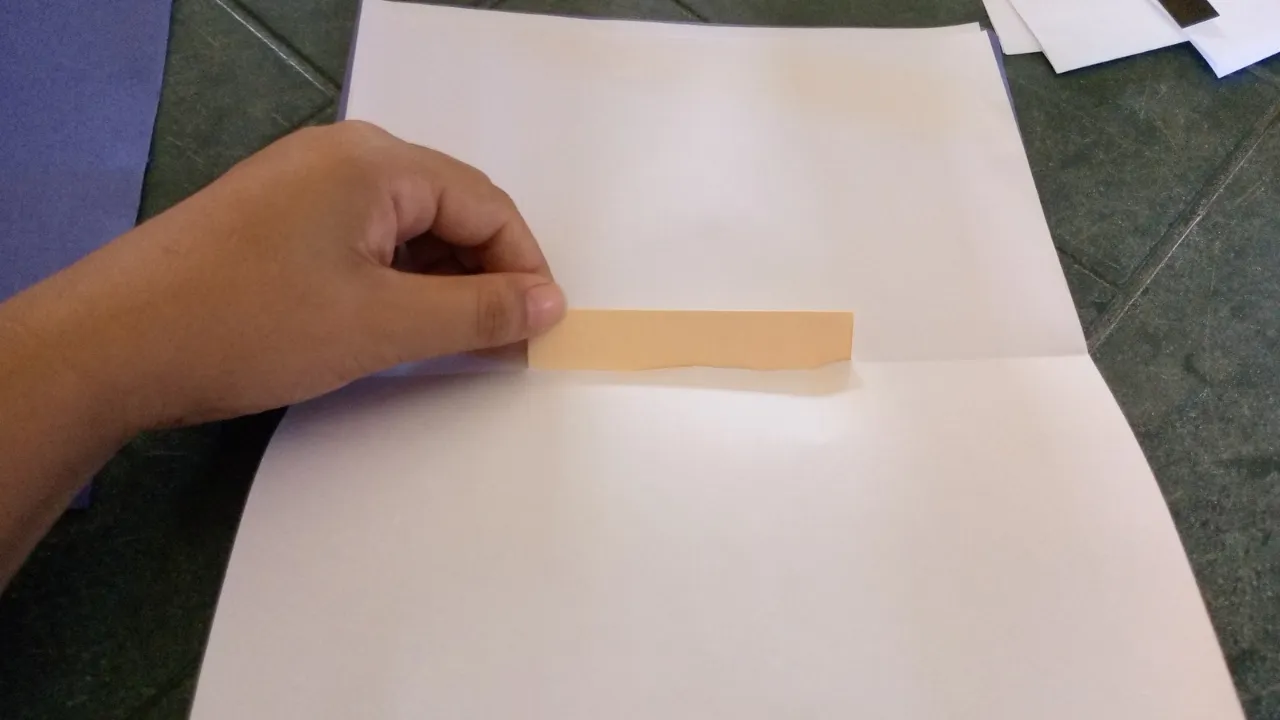
With the sheets that I set aside, I will take them one by one to mark the measurement of the accordion, that is, the width. Once all the sheets are marked, I will cut exactly where I marked them. I did the same thing on all the sheets.

Paso nro 3
Paso nro 3
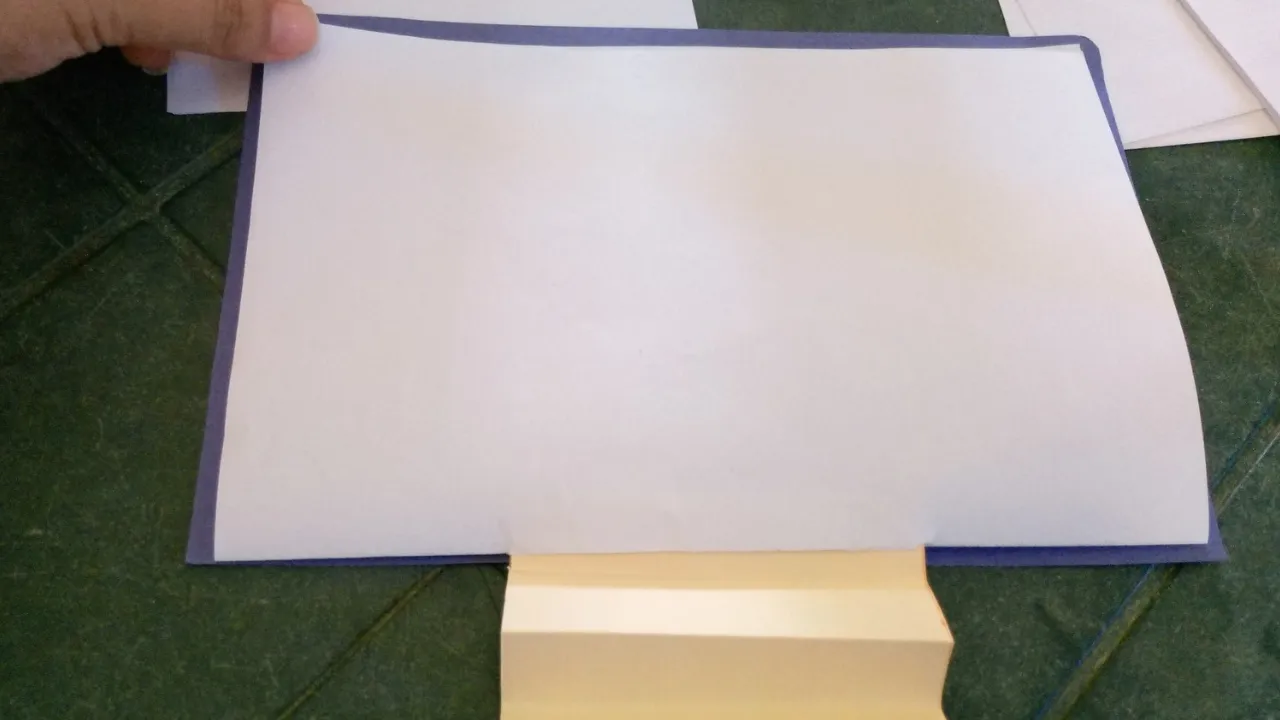
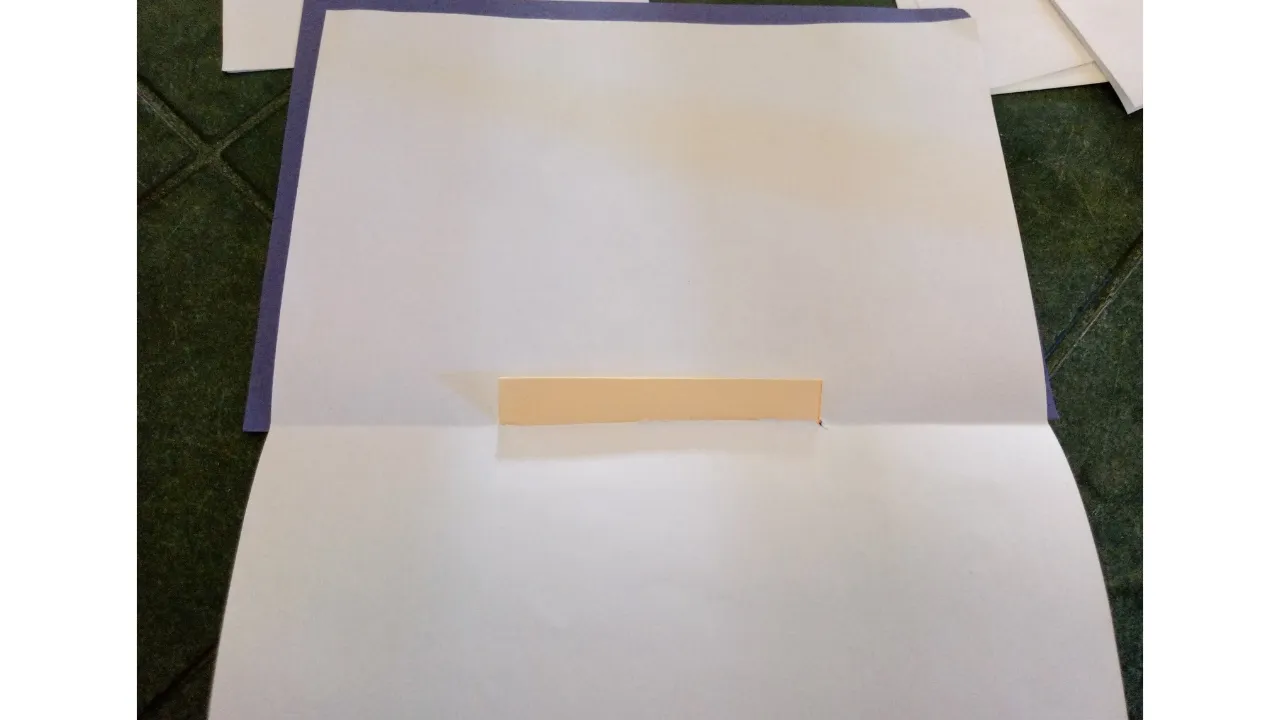
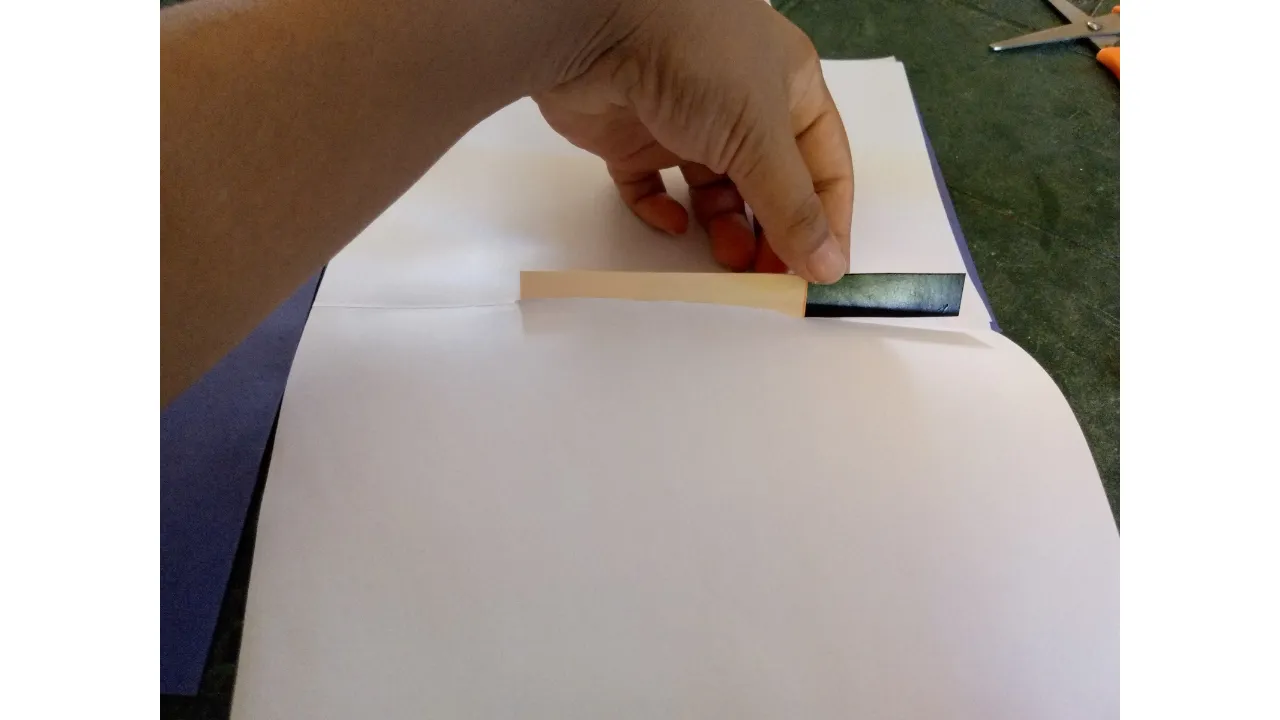
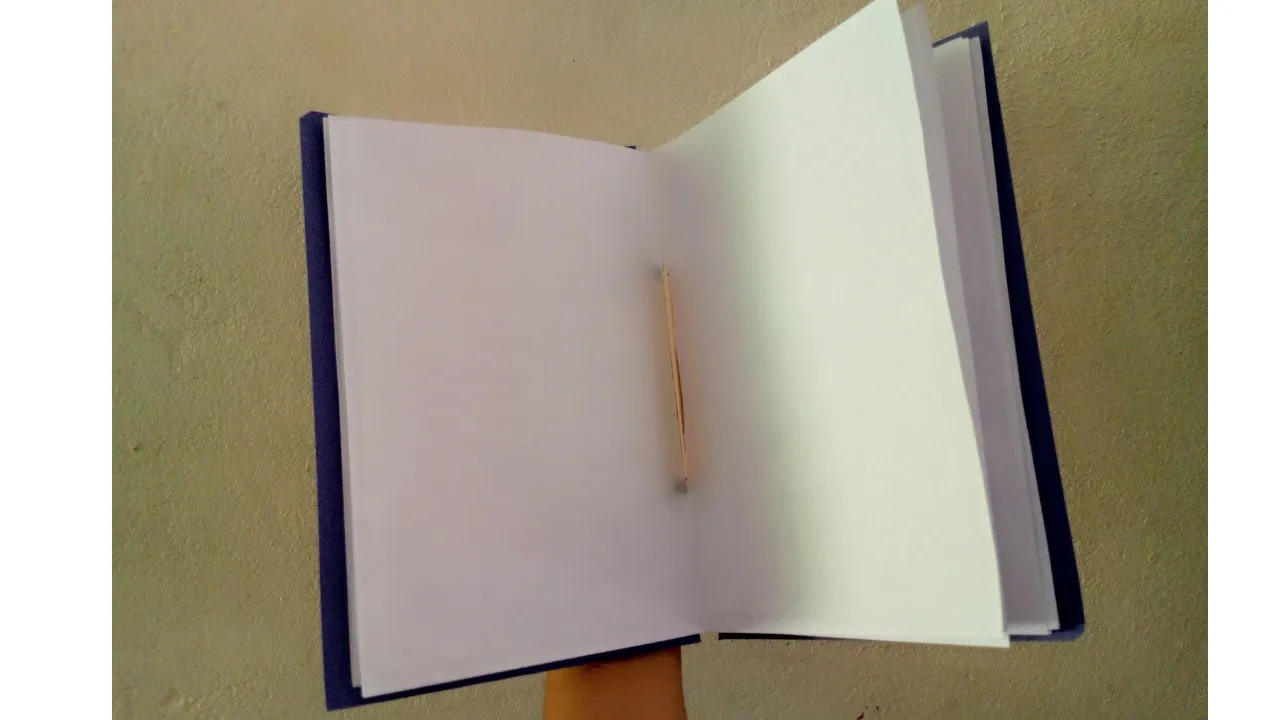
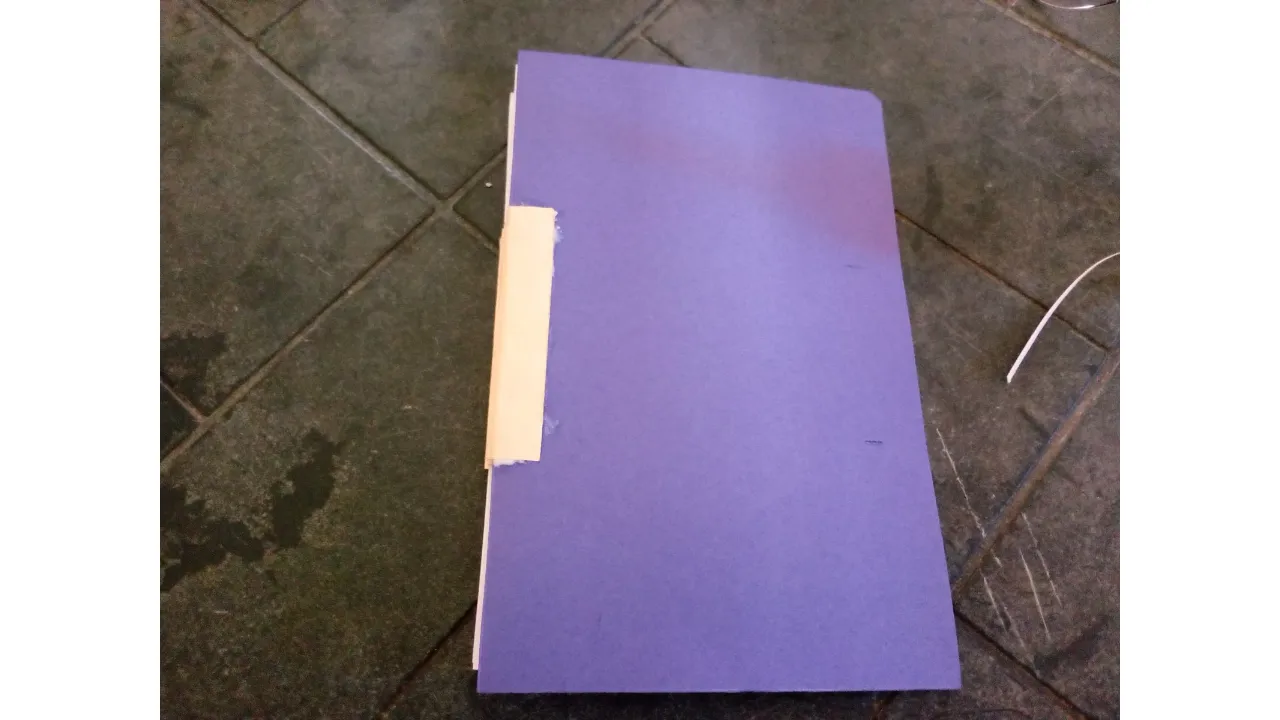
Now it's time to assemble the notebook. First, I'm going to place one of the covers on one end, and then I started placing the pages. I placed each page where the accordion fold is made. To prevent the pages from coming out, I placed the strips I had cut. These strips go just beyond the middle of the accordion. This keeps the page attached to the accordion, so we don't have to glue or sew the pages. Finally, I placed the other cover so the notebook is ready.

Paso nro 4
Paso nro 4
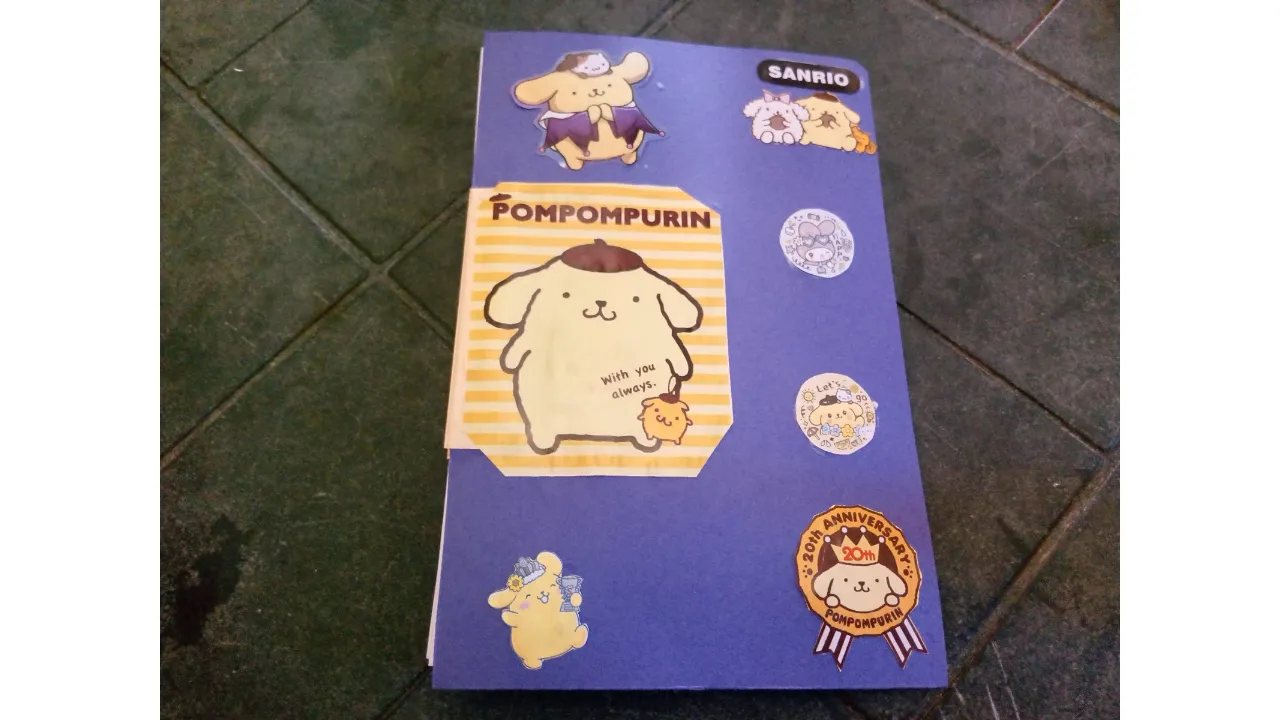
This part is optional, since I really like Sanrio characters. I decided to add some drawings from some really pretty paper I found. I cut out a few because I didn't want the notebook to get too full. And that's how the notebook was finished. I really liked how cute it turned out.
(Resultado final:)(Bottom line:)
I thank you for having accompanied me in this process and result of this notebook. I hope for your comments. I want to know what you thought. The process of this notebook entertained me this afternoon that I was making it. This type of crafts is what I like the most. I think it's a very good idea.

Las fotos de este blog son de mi propiedad|Las imágenes son editadas en canva|Fotografías tomadas en mi celular infinix Smart 7|El contenido está traducido en el traductor de Firefox.