What's up my fellow cannabis lovers and enthusiasts!? Welcome back to another edition of:
Gardening with The Anarchist's: After Hours!
Before we get into the Week 2 Update, there's a couple things I would like to mention! First of all, I would like to thank everyone who tuned-in last week, and showed such an interest in our first grow! Not only have you all made me feel welcome, but you also have encouraged me to bring my very best to this community!
Secondly, I would like to apologize for being a few days late on this post, as I intended to publish this post on Monday, but I assure you I am not one detail short! :)
Finally, in an attempt to be as thorough as possible, I would like to start off each new edition of "After Hours" with highlights from the previous week, and what I have learned during the grow so far! So let's get into it!

Week 1 Highlights!
Germination
We started the germination process at approximately 5 AM on Friday, May the 20th, by placing the seeds in a container of water before I went to work; when I got home 12 hours later, 7 out of the 10 seeds had visibly split, and I had transferred them into a wet paper towel by 8 PM that evening; in total, the seeds had soaked for about 15 hours!
Once in the wet paper towel, they were secured inside a ziplock bag and stored inside a cabinet for the next 36 hours. I did check them once when I got up on Saturday morning, and once before going to bed, just to make sure the paper towel was still moist. Checking them again Sunday morning, I realized they were ready to plant and prepped the 2 milk jugs that would be serving as home-made plant pots.
Planting
Around 10 AM on Sunday, May the 22nd, I planted 4 seed starts into one jug, and the last 3 seeds into the other jug. They were then placed on top of a dresser under an ordinary table lamp. They barely started to pop on the 23rd, and had fully popped by the evening of the 24th. Unfortunately, I left them under that lamp for an extra day, finally placing them outside on Thursday morning, May the 26th around 5 AM, to start receiving a natural light cycle.
First Transplant
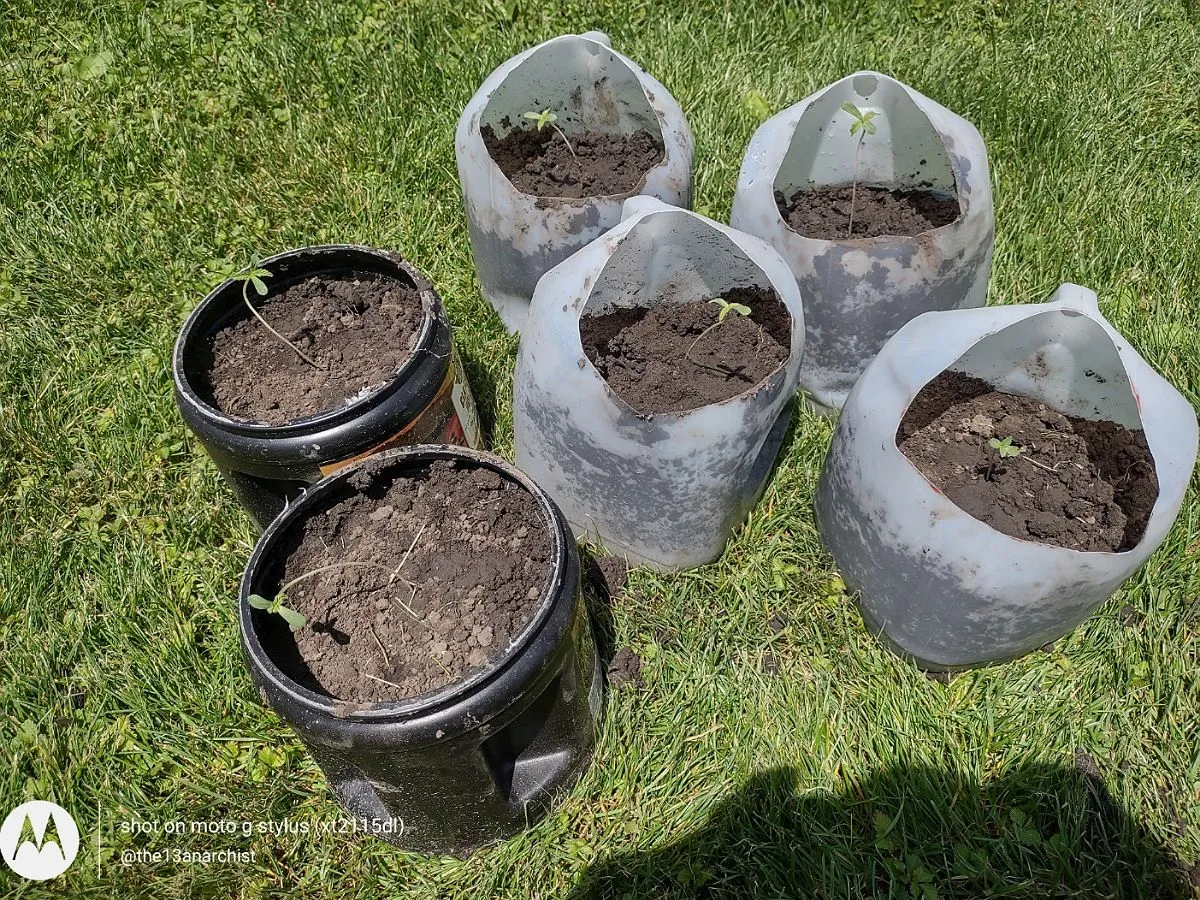
At the end of the first edition of "After Hours", we left off on Saturday, May the 28th, when I officially transplanted the seedlings from their original milk jug planters, but sadly, one of the original 7 sprouts didn't survive. 2 seedlings were transplanted into coffee canister planter pots, 2 seedlings were transplanted into their own milk jug planter, leaving the last 2 seedling in their original planters; which were all filled with soil from our backyard family garden!
Early Learning Experiences
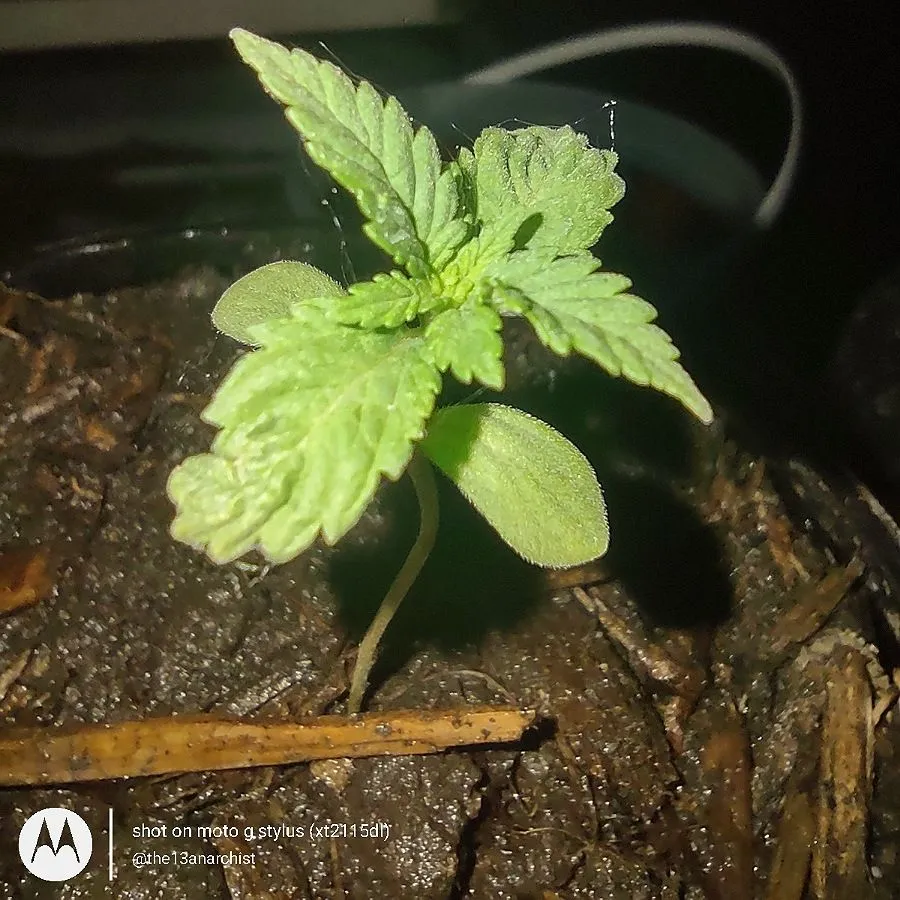
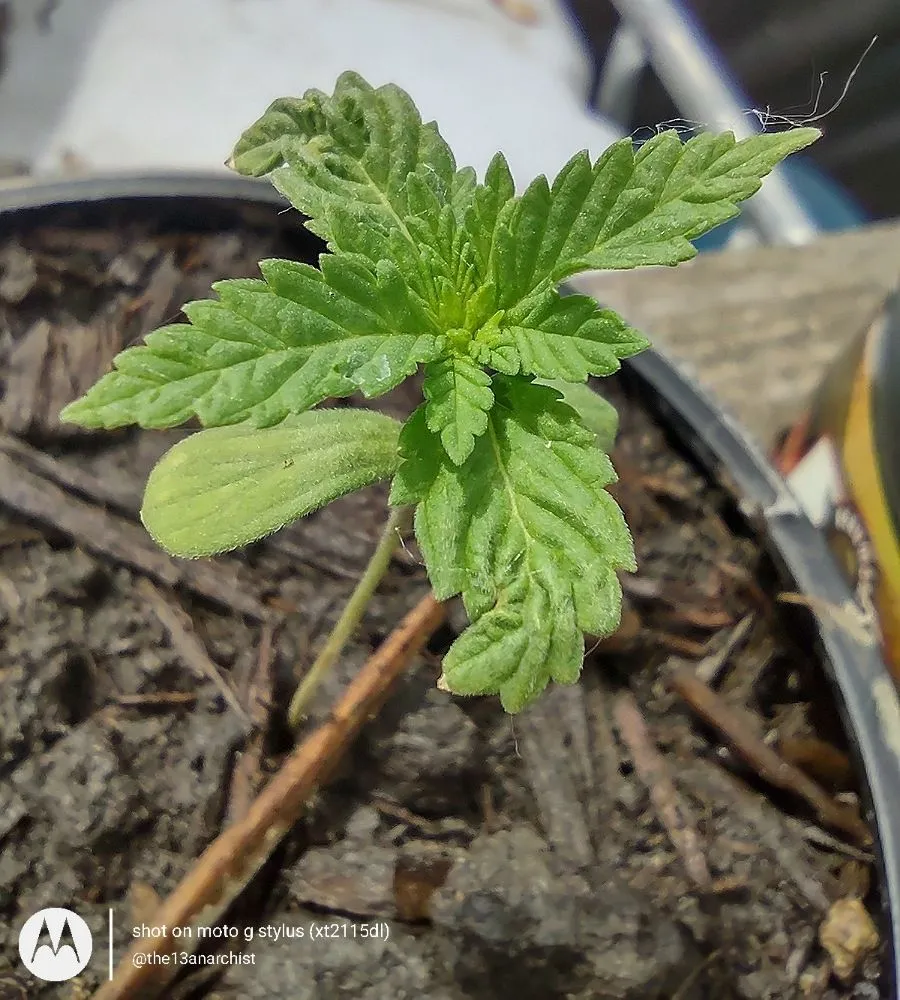
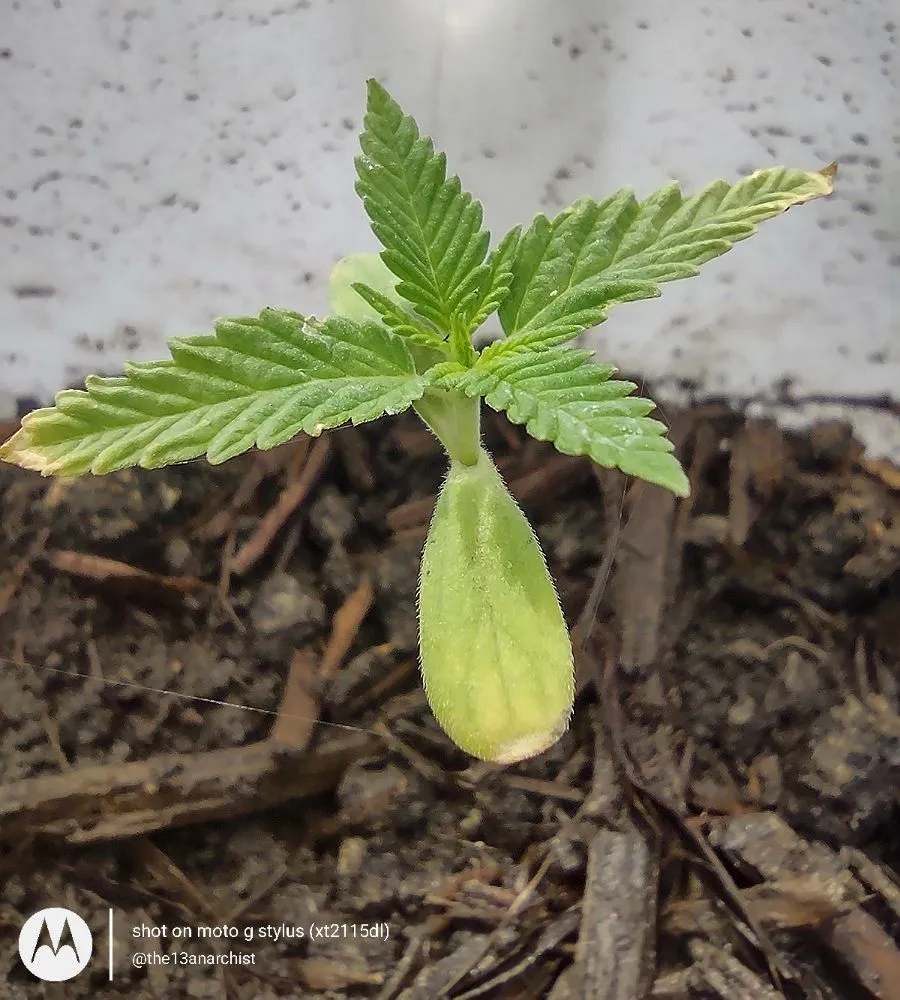
So, in my honest opinion, I think I should have moved the seedlings outside once they had fully popped on the evening of the 24th, like I originally intended; instead I kept them inside for an extra day, which I believe was due to rain. This had caused the seedlings to grow pretty long legs and left them rather flimsy. I will definitely keep note of this, and be more mindful during my next grow!
Other than leaving them underneath the table lamp for too long, I personally believe I should have transplanted them sooner as well. Not only could this have potentially saved the lost seedling, but I do think it could have potentially been better for the remaining seedlings in the long run.
However, being my first grow, every moment is going to be a learning experience, and I know that even the most experienced grower has a few failed attempts every now and again! What matters the most, is what I learn along the way, and how I can apply that knowledge to my future grows!
Whew, now wasn't that quite the recap? I do apologize, but I just want to be as thorough as possible because growing is a science after all, isn't it? :)
Well let's move on (finally, am I right?) to the real reason why you came to visit us here at "The Anarchist's Alcove":
The Week 2 Update!
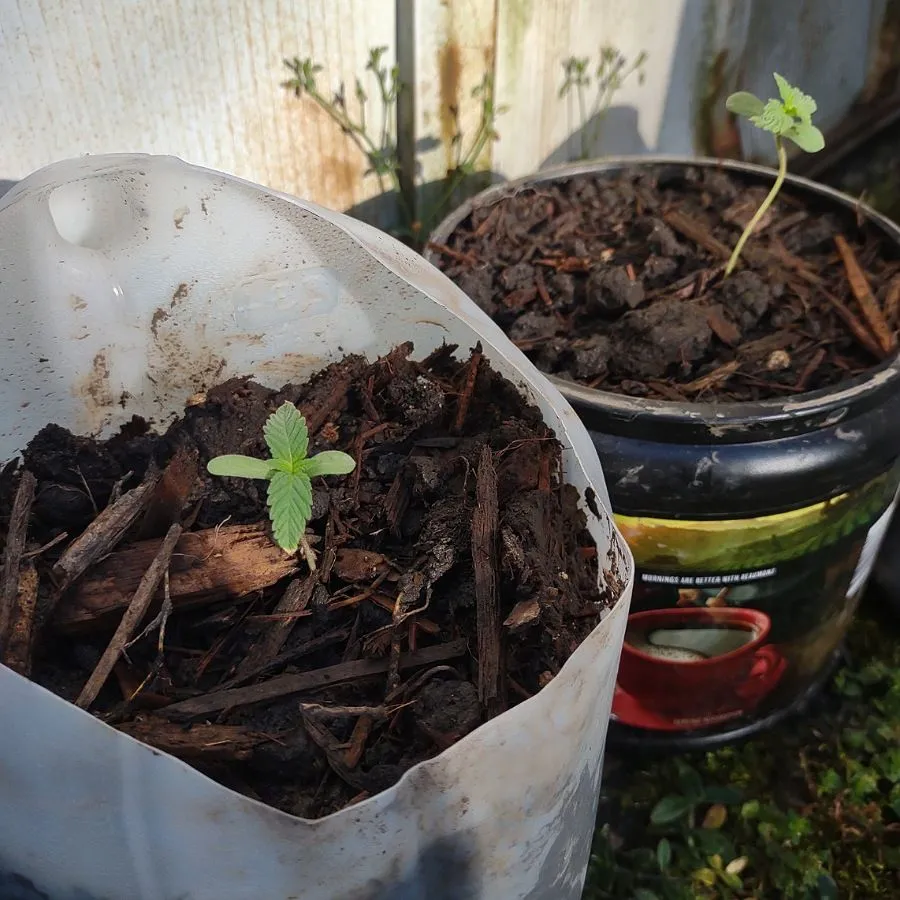
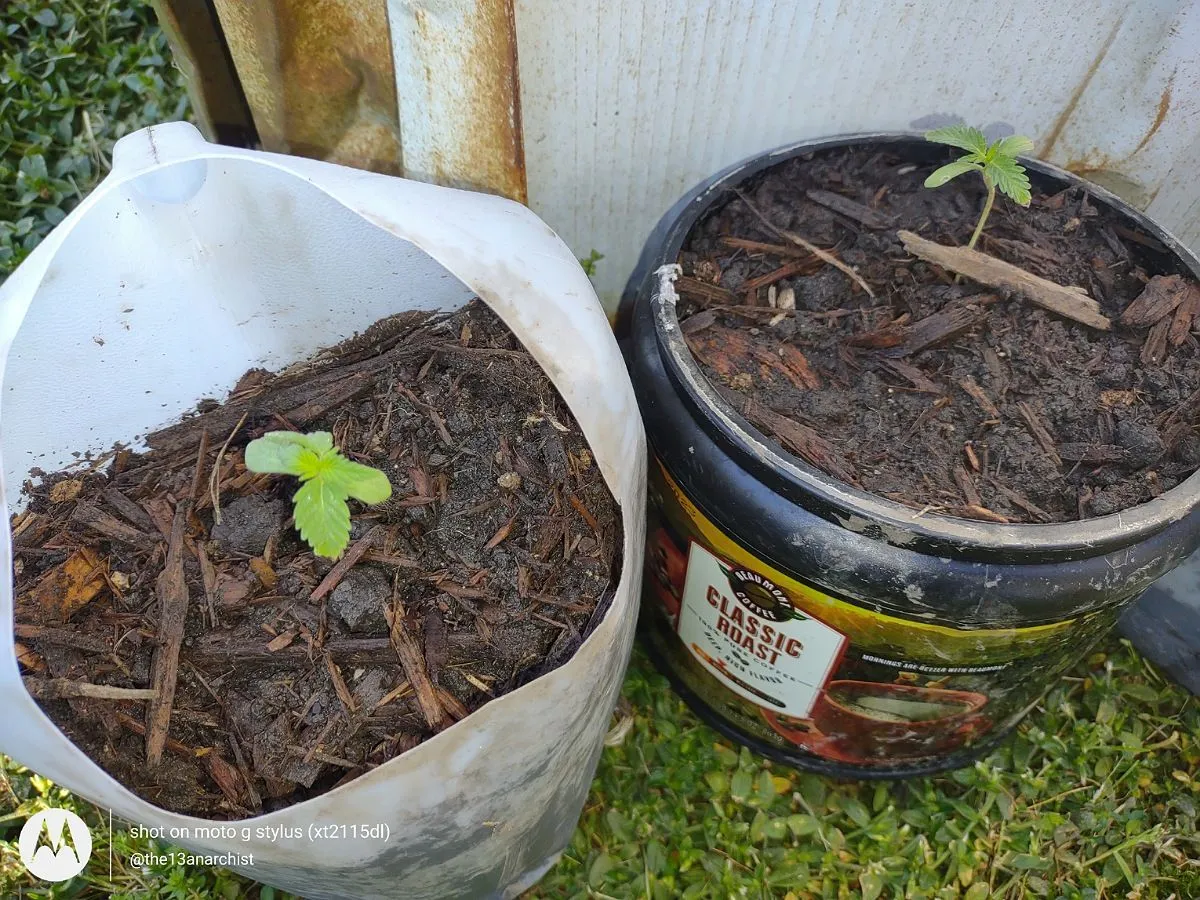
Picking up right where we left off on the 28th; after the transplant, I left the seedlings outside, and I kept them elevated on the pool deck and the water tank we have outside (which I plan on utilizing for an irrigation system at some point, but those details will be saved for another time). These two spots get the most unobstructed sunlight throughout the day, and I thought that they would both serve as perfect placements for these new seedlings in their home-made containers!
I should mention that this only elevates them about 3 and half to 4 feet off of the ground, and the main reasoning behind it is just to keep our puppy and son from getting too close! Our backyard is fenced in with a privacy fence, so there's really no need to worry about nosey neighbors, but most of the people in our small town stick to themselves, which is very nice! Once they get a little older, I plan on either transplanting them to the garden, or into bigger pots for easier transportation around the yard if needed.
I'm not really sure which method I want to go with yet, but I am keeping in mind that there are others who grow around the area as well, so keeping them outside and immobile (such as in the garden) will make it a little harder to make sure the females don't get pollinated by a rogue male somewhere out there.
Hey, @thecuriousfool! After our brief talk in the comments, I really hope you enjoy this section of the update :)
Attempting to Cure the Seedlings' Long Legs
I'm not going to lie to you, the long legs on my seedlings were troubling me to say the least, and as I watched the soil settle in the planters, leaving those legs looking ganglier than ever, I quickly started formulating a plan.
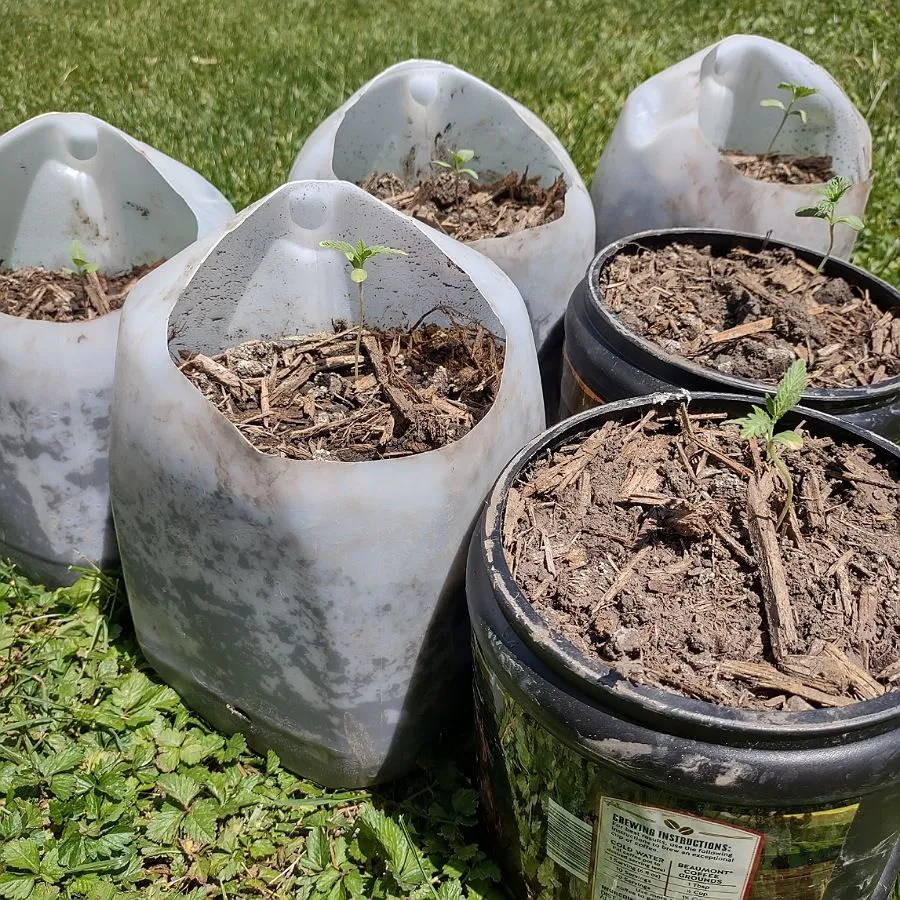
As this is a budget grow, I had to utilize anything and everything I had available on hand to fix this issue. Thankfully, we inherited our home from Murty's parents, so we are in no short supply of random odds and ends! I found a half full bag of cypress mulch and figured this would be a safe bet for some rigidity around the base of the seedlings, as well as some much needed water retention during these hot summer days we've been experiencing here recently!
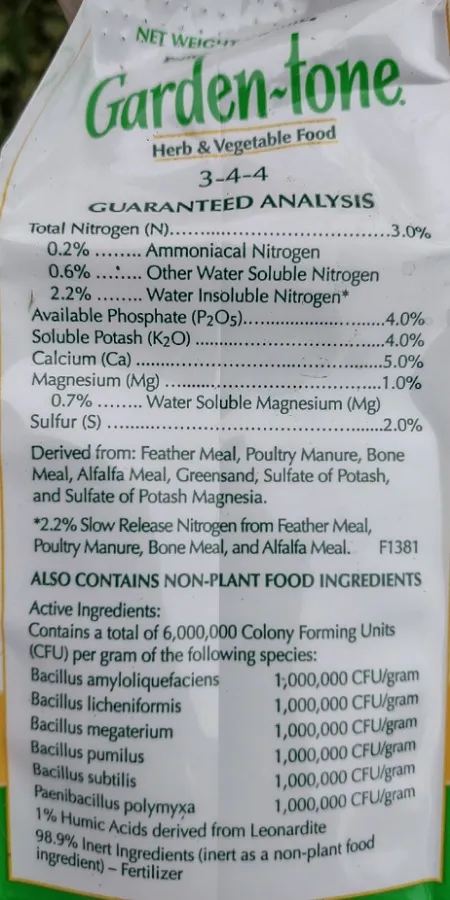
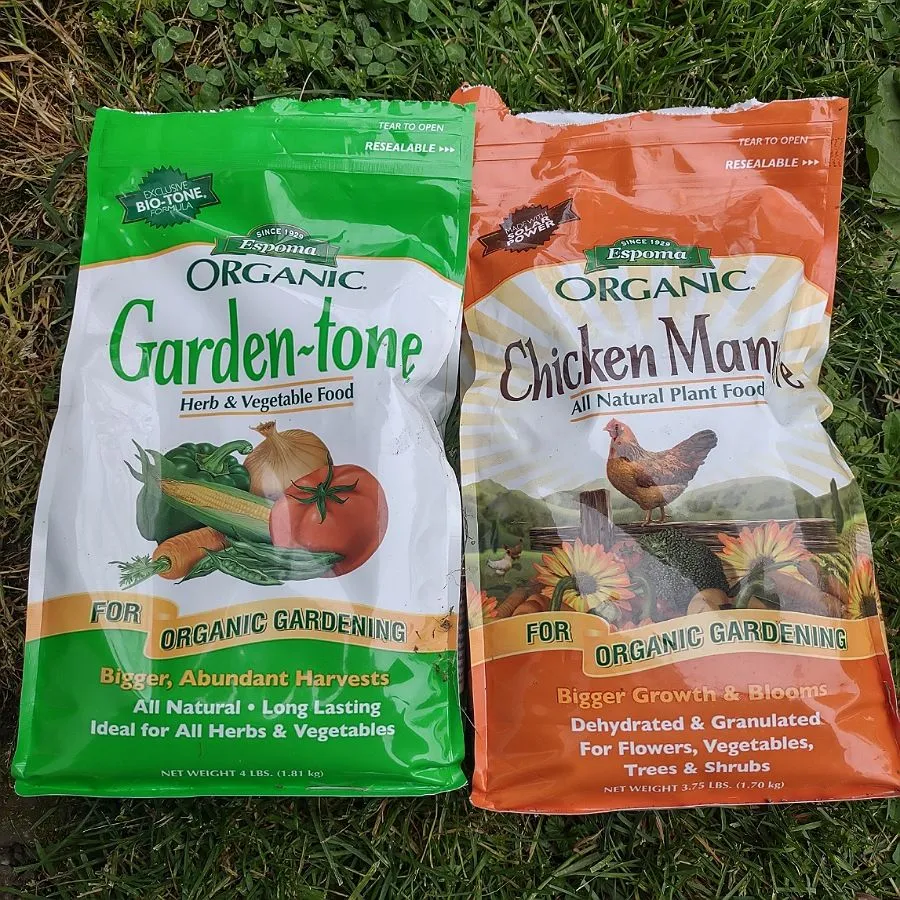
With fierce determination to help support our growing beauties, I got to work on Monday, May the 30th, mixing a few handfuls of the cypress mulch together with more soil from the garden, and added a little bit of fertilizer. I only added 1 finger pinch worth of organic chicken manure, and 2 finger pinches worth of organic herb and vegetable fertilizer to be exact, shown below!
 |  |  |
|---|
All in all, I had about one half of a 5 gallon bucket full of this substrate mixture, and being as careful as I possibly could, I topped the planters off. I tried to keep the substrate as level with the opening as I could get it, and gave them all a thorough watering before putting them back on top of the water tank.
My hope with this method is that since the seedlings are still young, and the stalks haven't fully developed yet, they will be able to root out farther up the stem now that more of it is covered. Also, if this method does work, I do believe it may lead to a stronger root system, since the stem would effectively produce a thicker root structure than the original. But, only time shall tell if this method proves effective in combating those long legs!
Daily Overview for Week 2!
After adding the substrate, I continued leaving them outside for the majority of the week; checking on them multiple times throughout the day (both before and after work); watering them according to need, making sure the dirt stayed moist.
This has proved to be somewhat difficult to monitor throughout the day, as I am at work, and Murty is a stay at home mother. This is our "After Hours" Gardening Project after all, and I certainly don't expect her to be more attentive to the plants than our son!
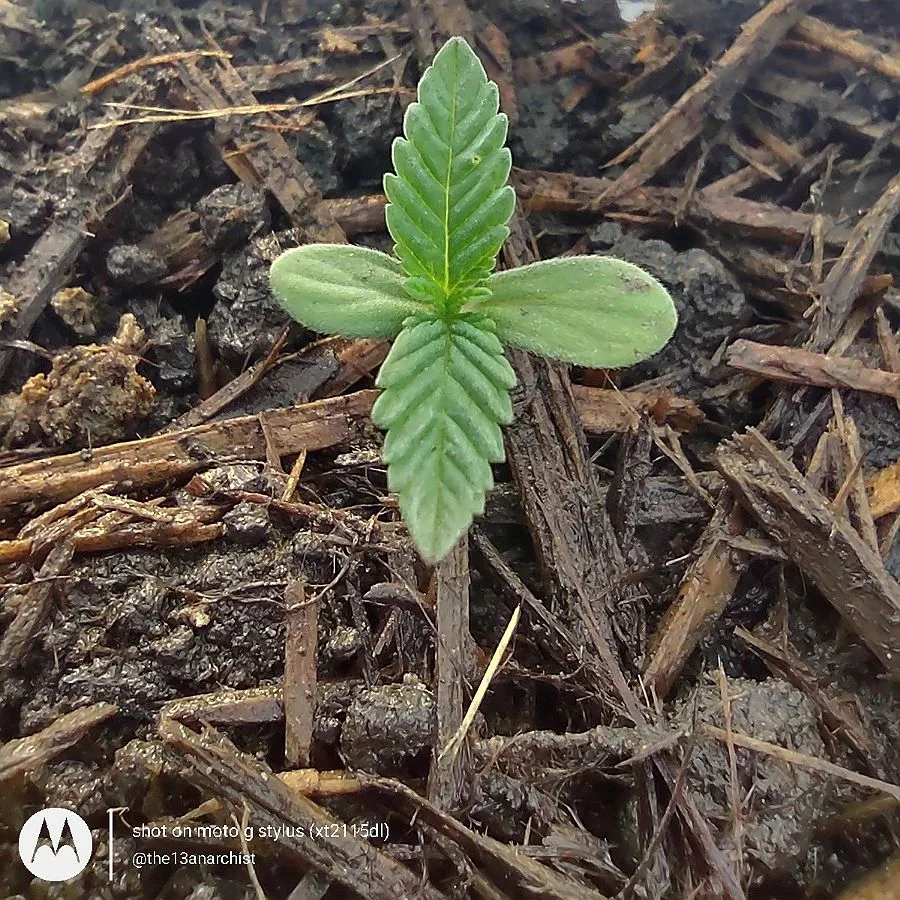
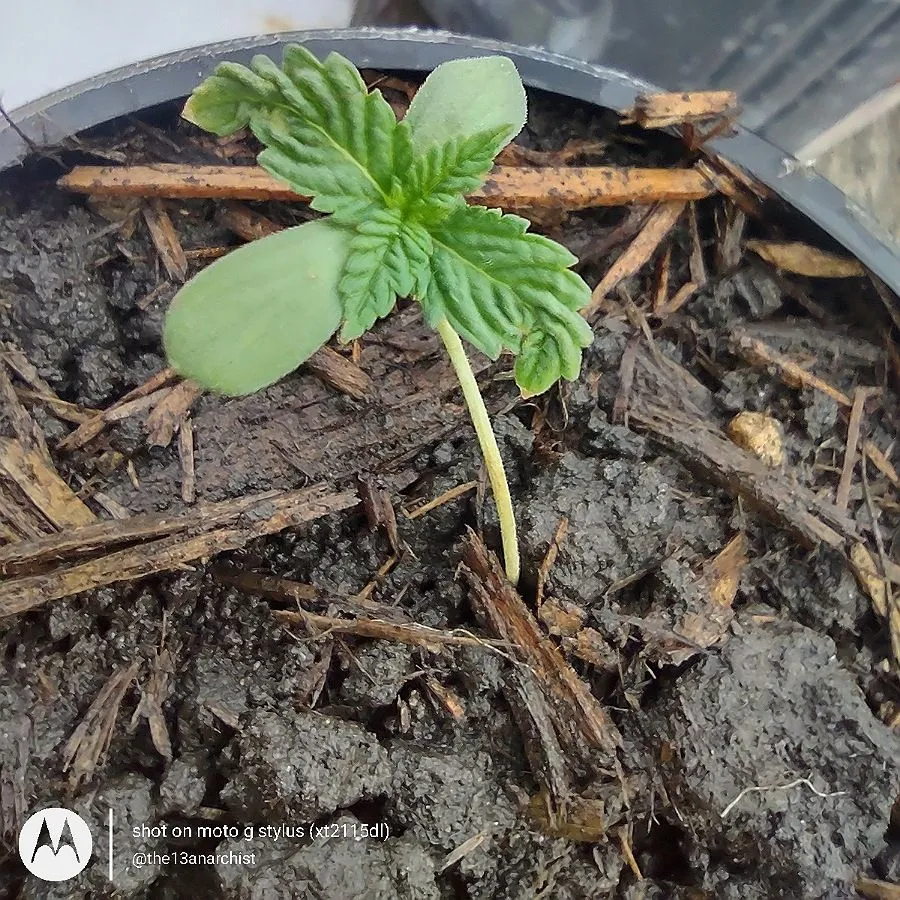
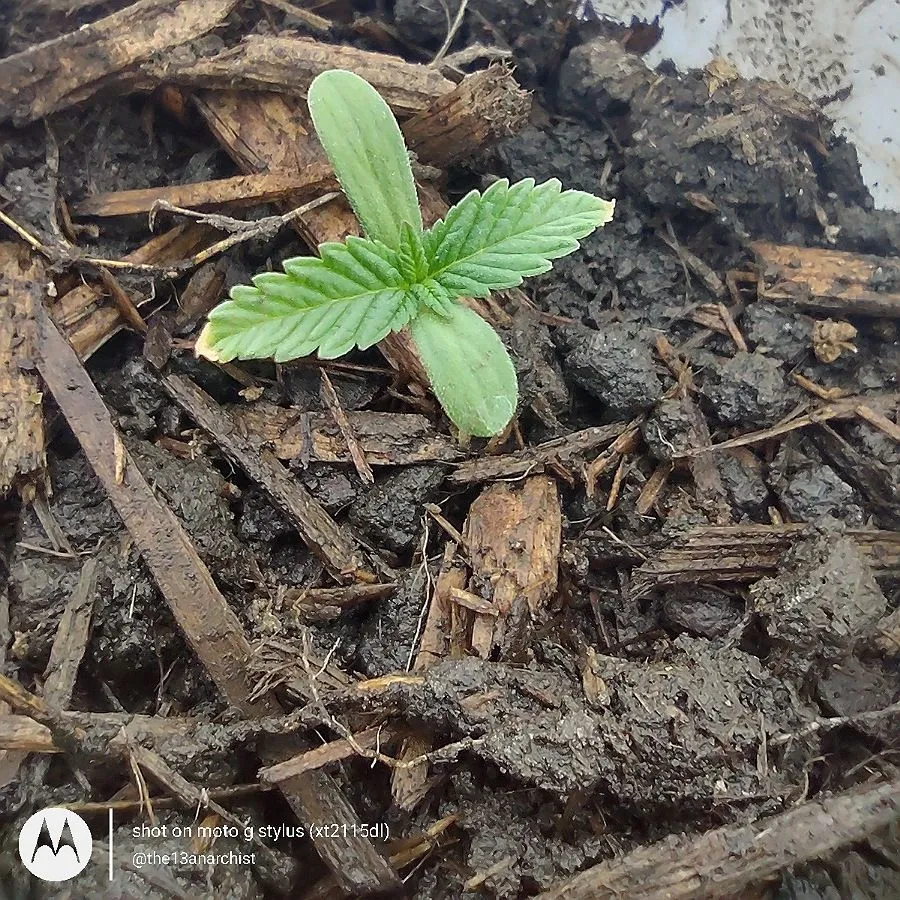
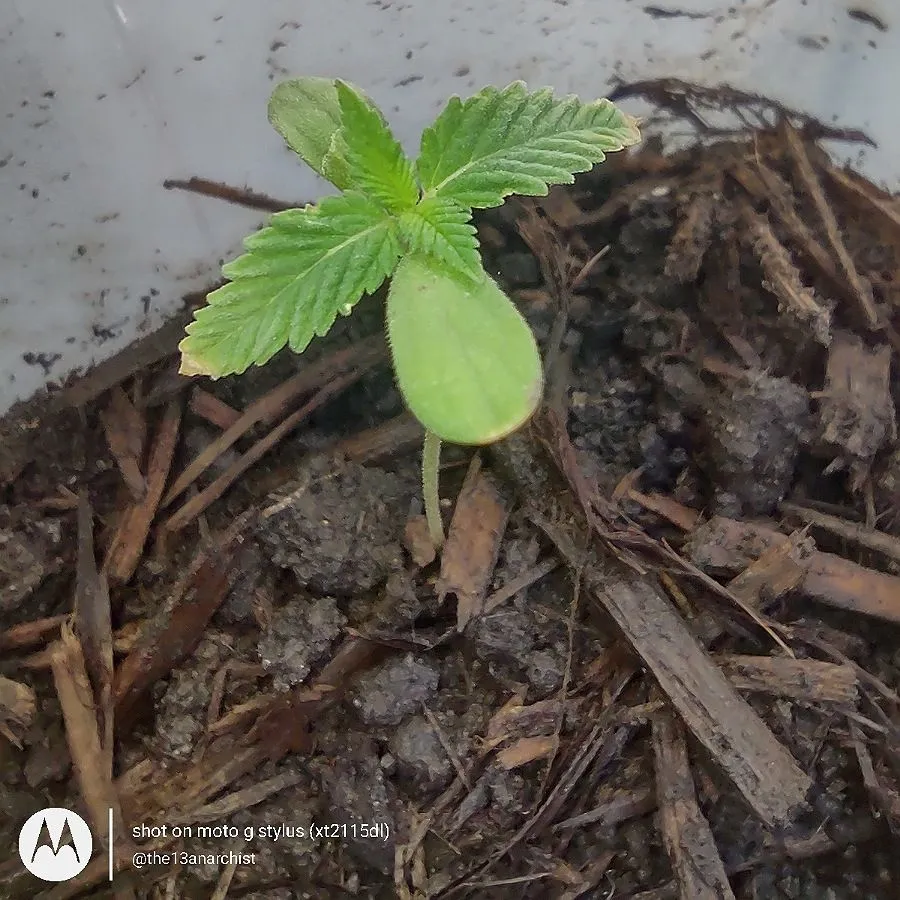
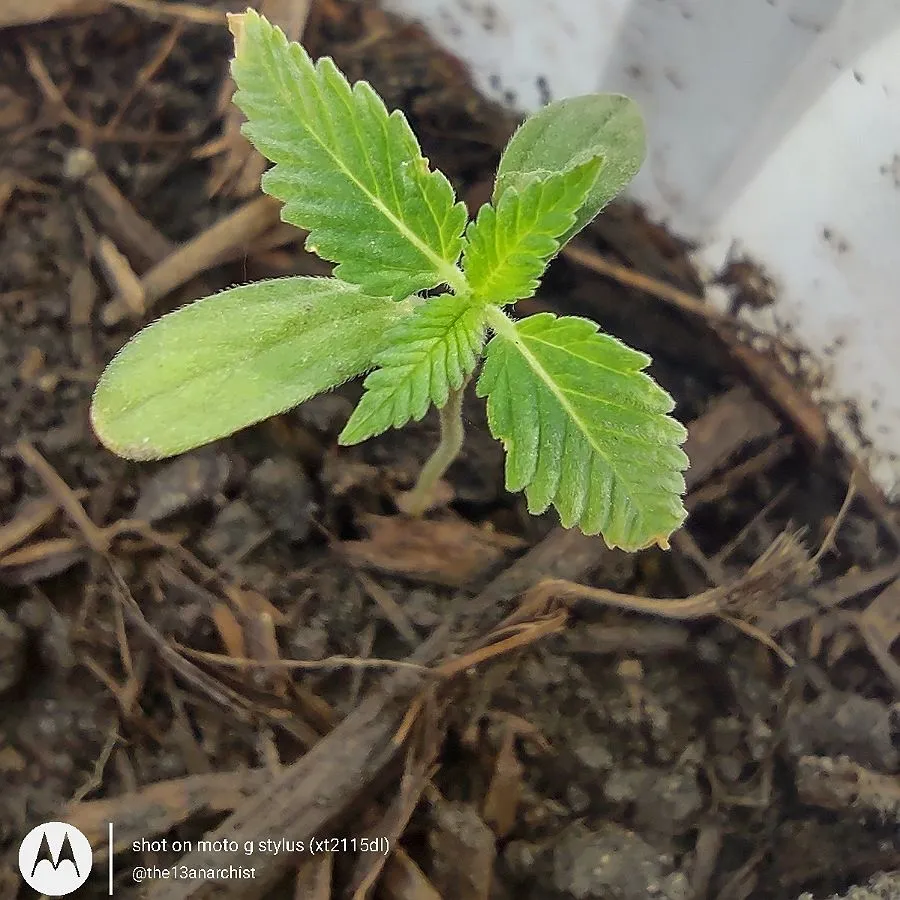
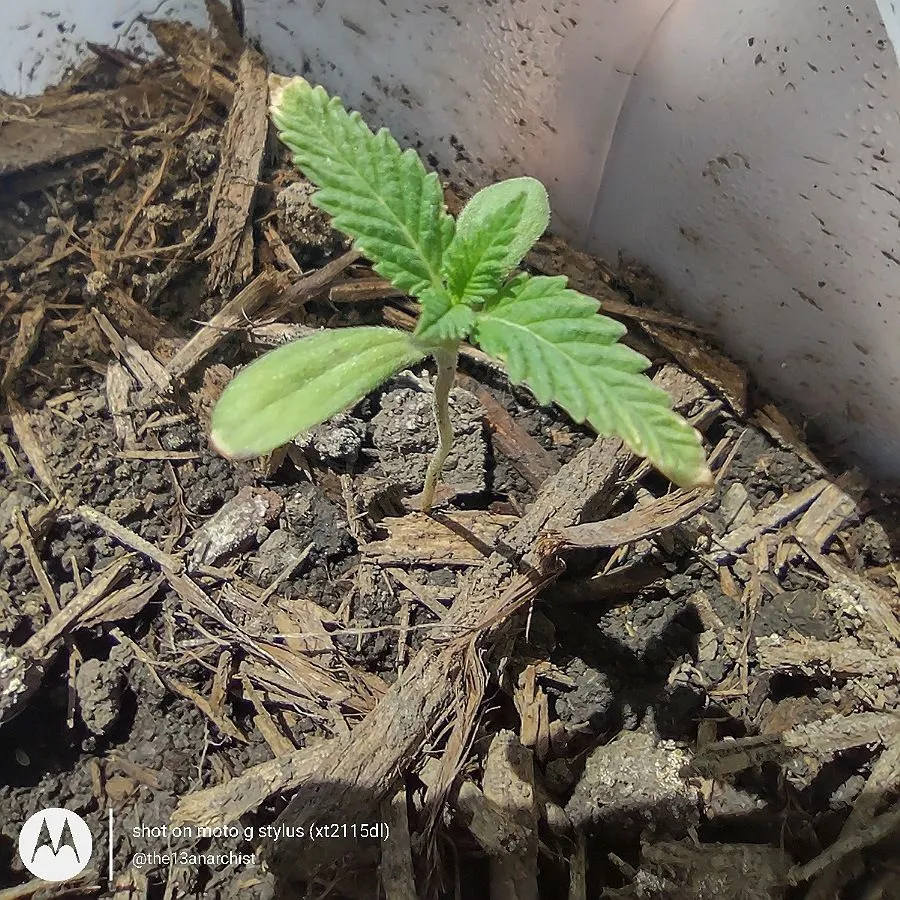
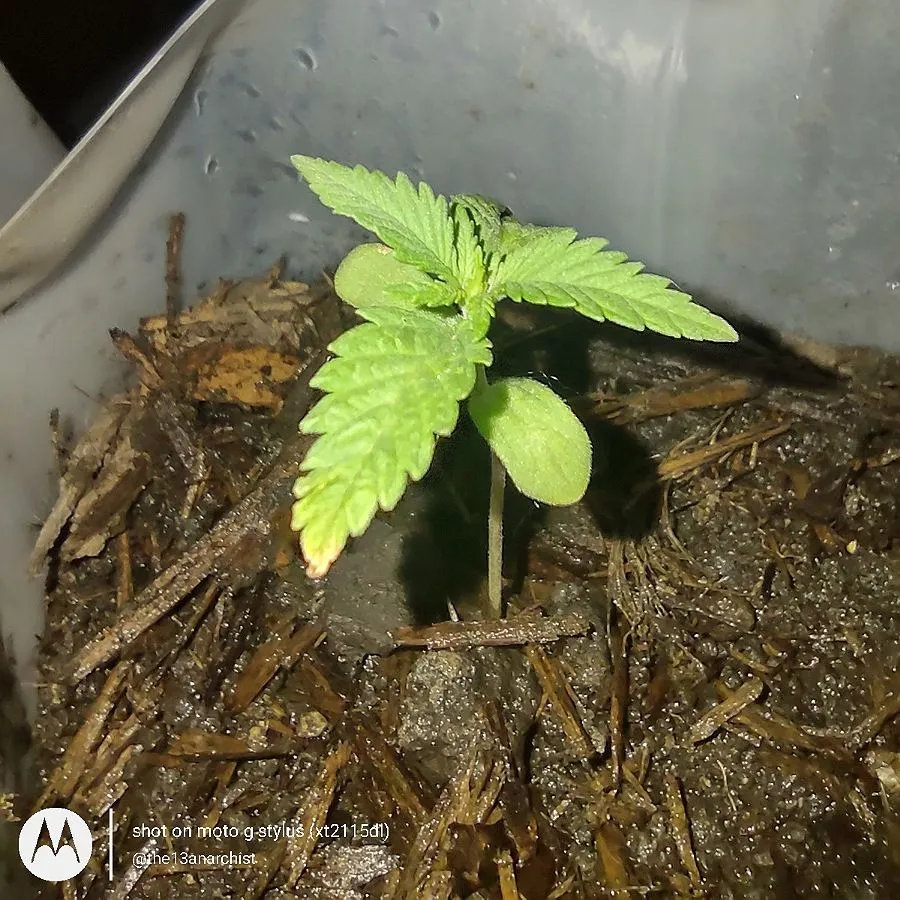
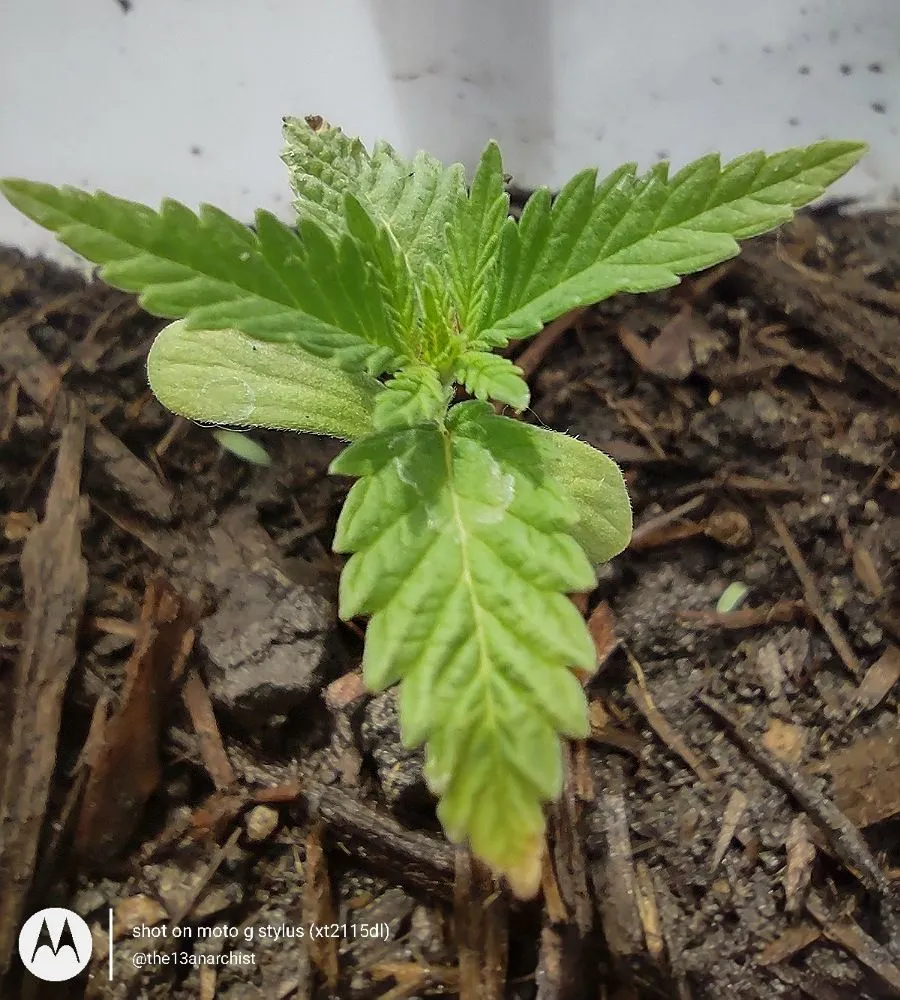
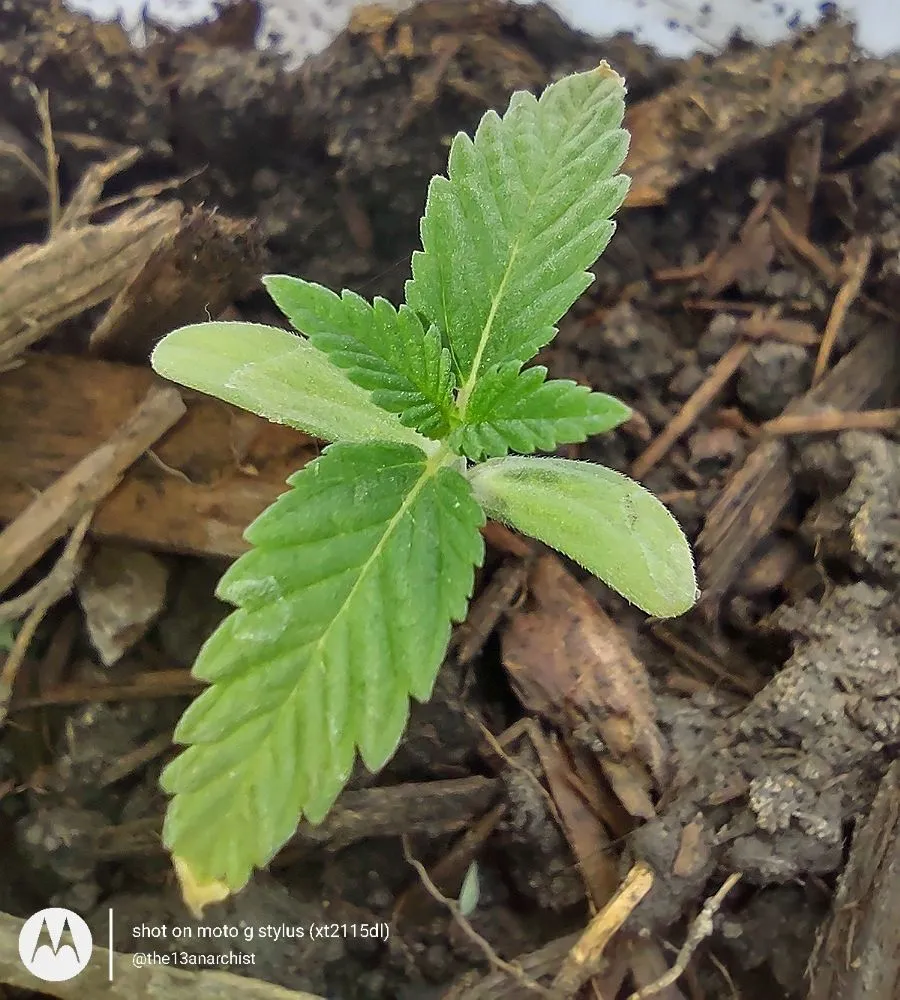
On Tuesday, May the 31st, Murty had watered them during the day, but had forgotten to rotate the planters and make sure the seedlings were facing the sun. When I arrived home that day, I notice some slight burning on the very tips of the leaves, which you can slightly see throughout most of my pictures.
 |  | |
|---|---|---|
 |  |
I'm not entirely sure if the burning is due to the fertilizers I added to the substrate, or because the planters were not rotated that day, allowing the sunlight to filter through the plastic milk jug possibly causing hotspots on the plants, but I have continued to monitor them very closely since! We also had to move them inside the shed for the night, because we were under a severe thunderstorm watch for the evening, and I didn't want the seedlings to drown!
On Wednesday, June the 1st, we left them inside the shed until I got home due to the intermittent storms that were rolling through. I did take them out as soon as I got home, and thanks to a break in the storm, the seedlings were able to soak up some much needed sunlight! Once again, I had to put them in the shed for safe keeping, afraid that the storms during the night might potentially flood them.
 |  |  |
|---|---|---|
 |  |  |
After spending another afternoon in that shed, I checked the planters as soon as I got home on Thursday, June 2nd, and to my surprise, the soil was still pretty moist. With the rain finally out of the forecast, I immediately moved them onto the pool deck allowing them to soak up as much of the fading sunlight as possible!
I think I need to figure out a better system for drainage and ventilation, but other than poking more holes in the bottom and sides of the planters, and cutting more off of the top of the jugs, I don't think there is a whole lot else I can do on that front for now, so I'm just continuing to monitor as of now, and see how they go, making sure to keep you all updated along the way! :)
 |  | |
|---|---|---|
 |  |
For the first time in 2 days, I was able to leave them outside sitting on the pool deck; rotating the opening of the planters to the east before I left for work on Friday, June the 3rd, hoping that the first full day of sun would liven them up a little and promote some new growth! I got off of work early, and gave them all a thorough inspection to see how they were holding up!
I'm happy to note that the slight burning on the tips of the leaves hadn't gotten any worse, so I'm not positive, but I think the burning had to have been caused by the positioning of the planters on Tuesday, and hopefully nothing to do with the fertilizer I added to the substrate. It did start getting pretty hot, and started drying out the soil, so I made sure to have a bucket of water ready to go for later!
 |  | |
|---|---|---|
 |  |
On Saturday, June the 4th, we spent most of the day outside (for reasons I'll explain in a different blog next week!), so I was able to keep a close eye on the moisture and the burn spots. Thankfully, they didn't seem to be getting any worse on any of the seedlings! Not wanting to burn up the plants more than what they had been, I watered them in the evening once the sun had started to set. I have personally come to assume that the burn spots were caused by not rotating the planters on that fateful Tuesday morning.
 |  | |
|---|---|---|
 |  |
 |  | |
|---|---|---|
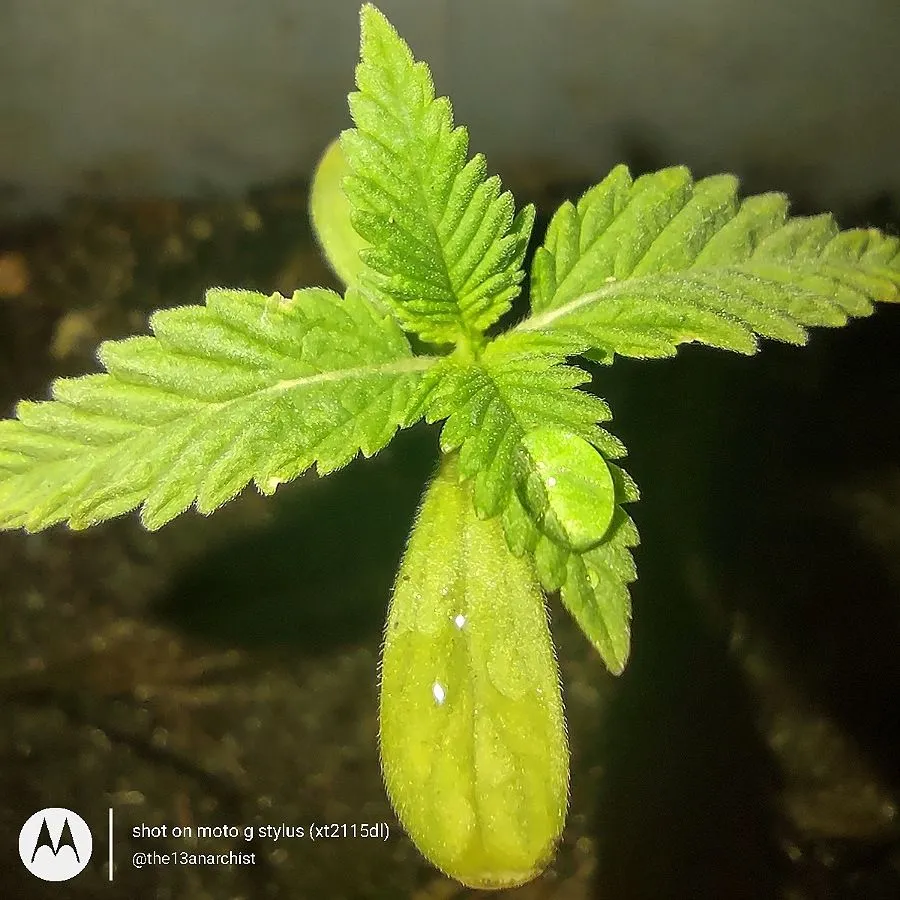 | 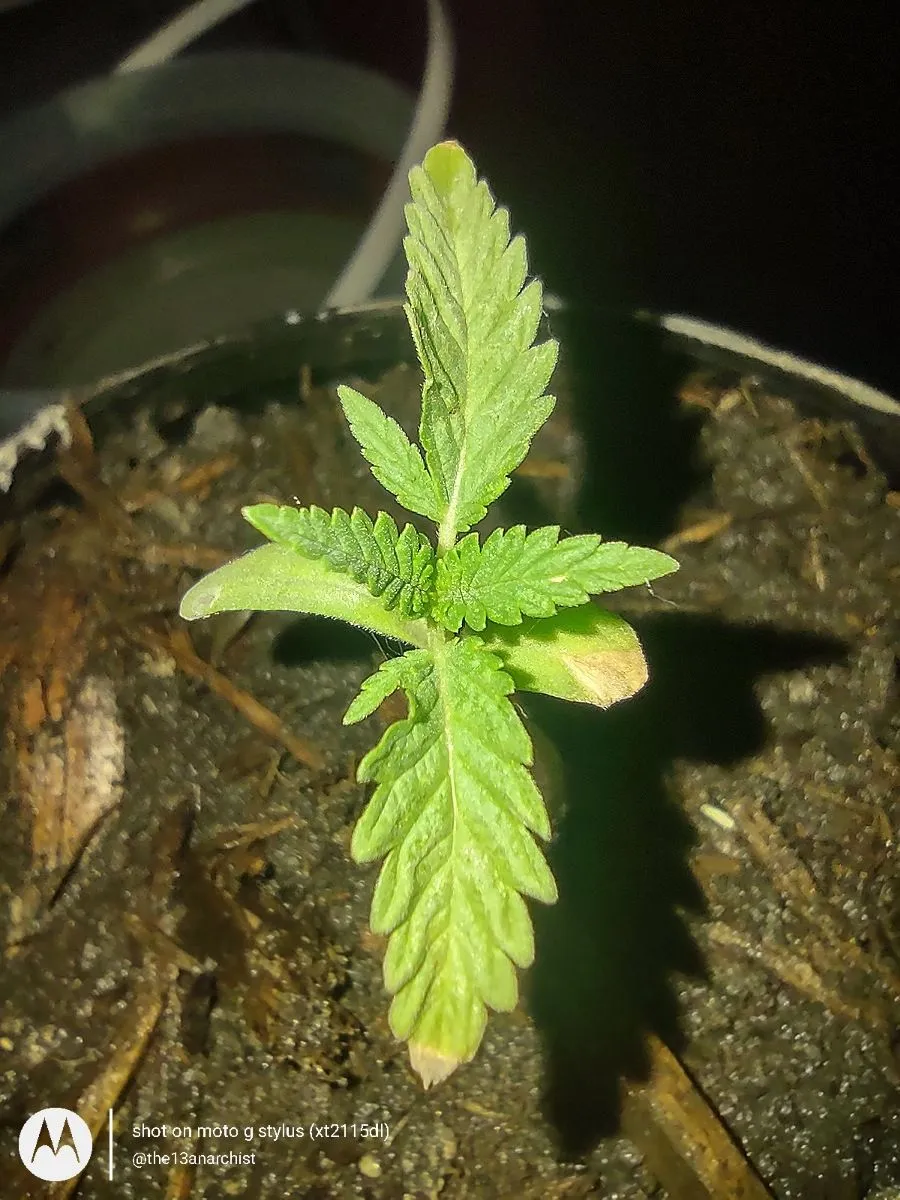 |
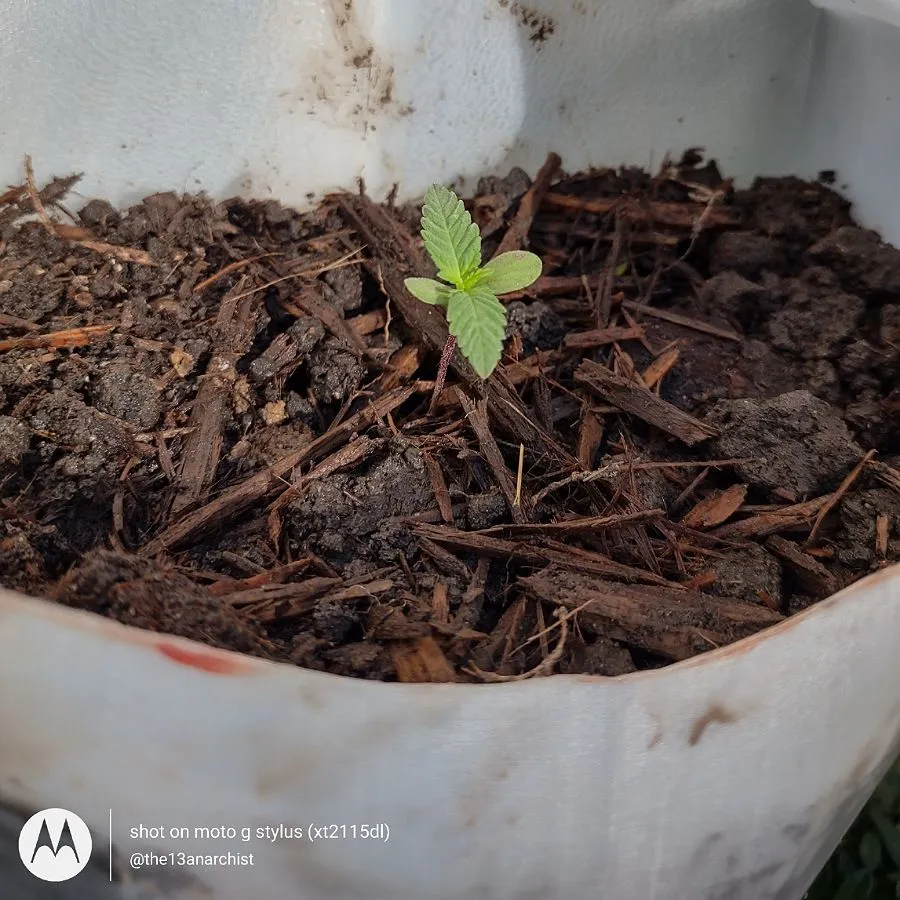
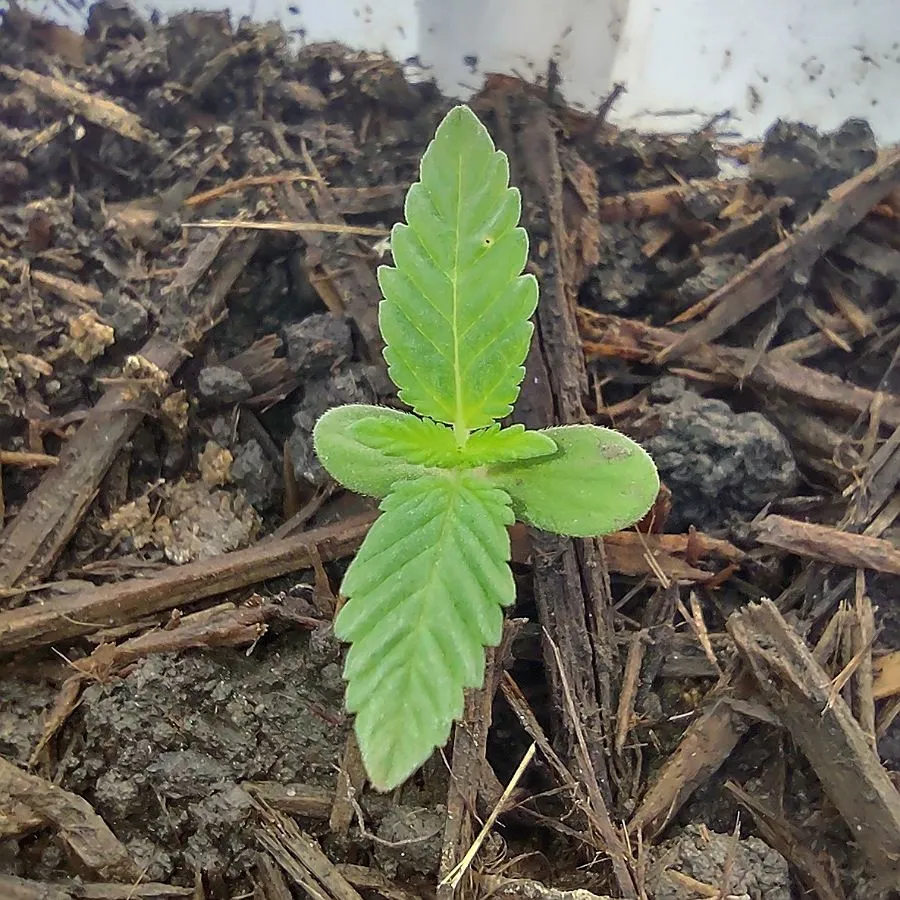
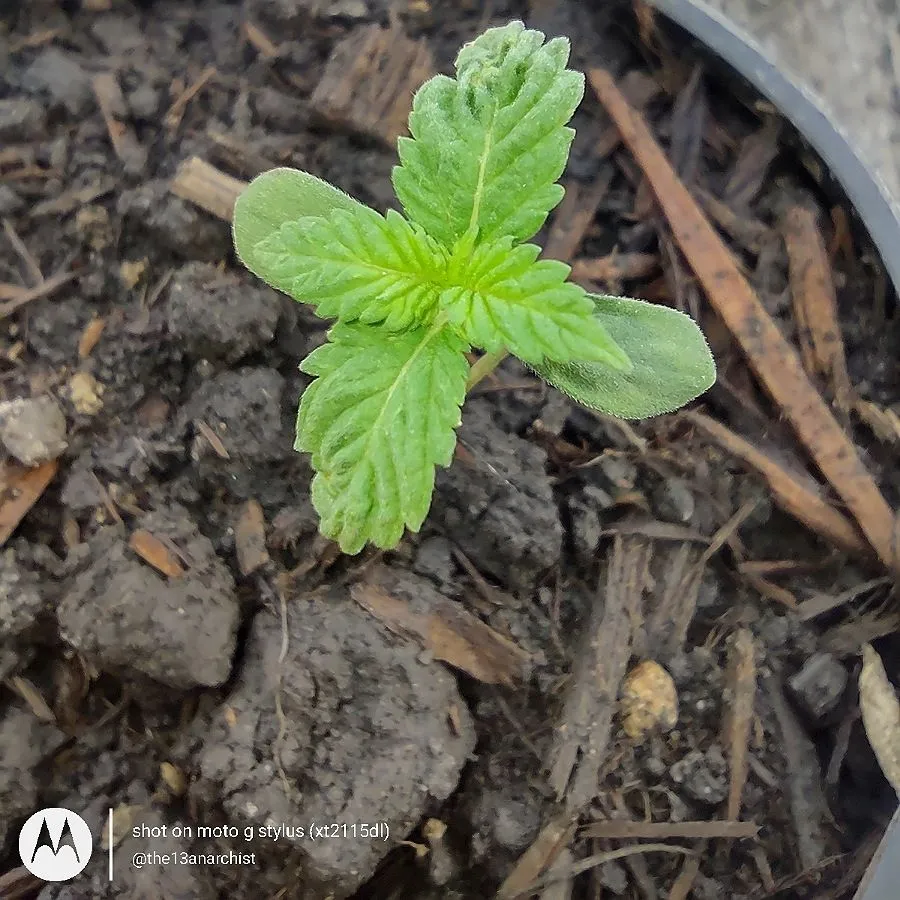
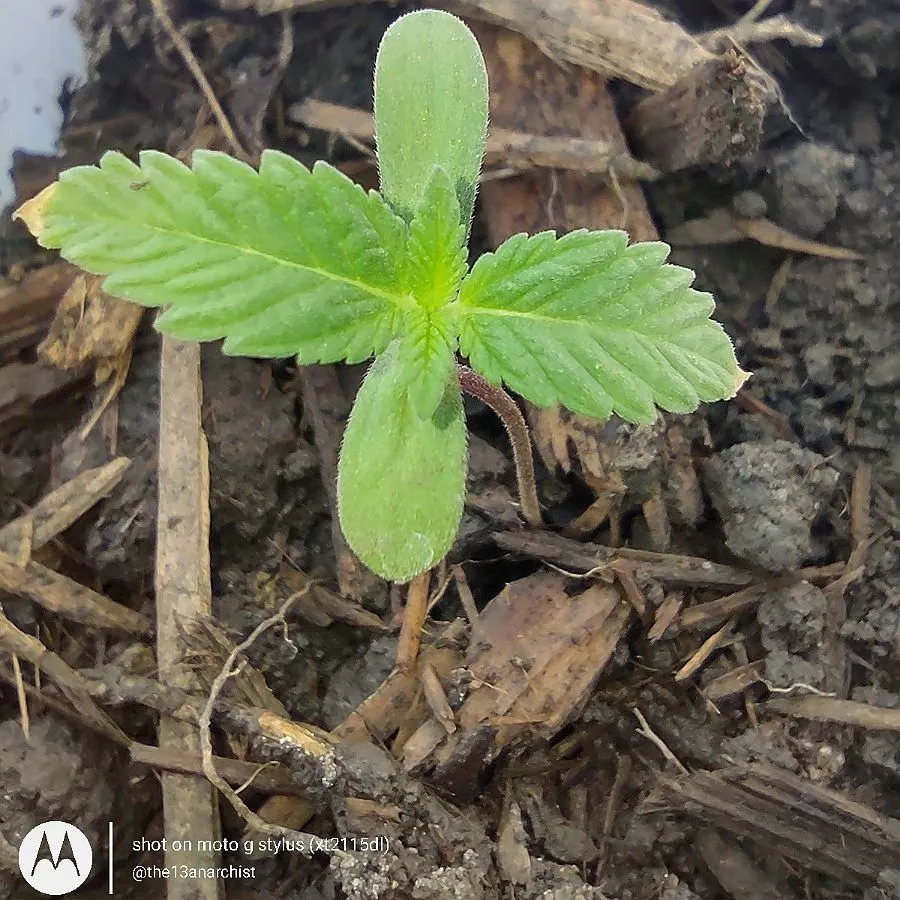
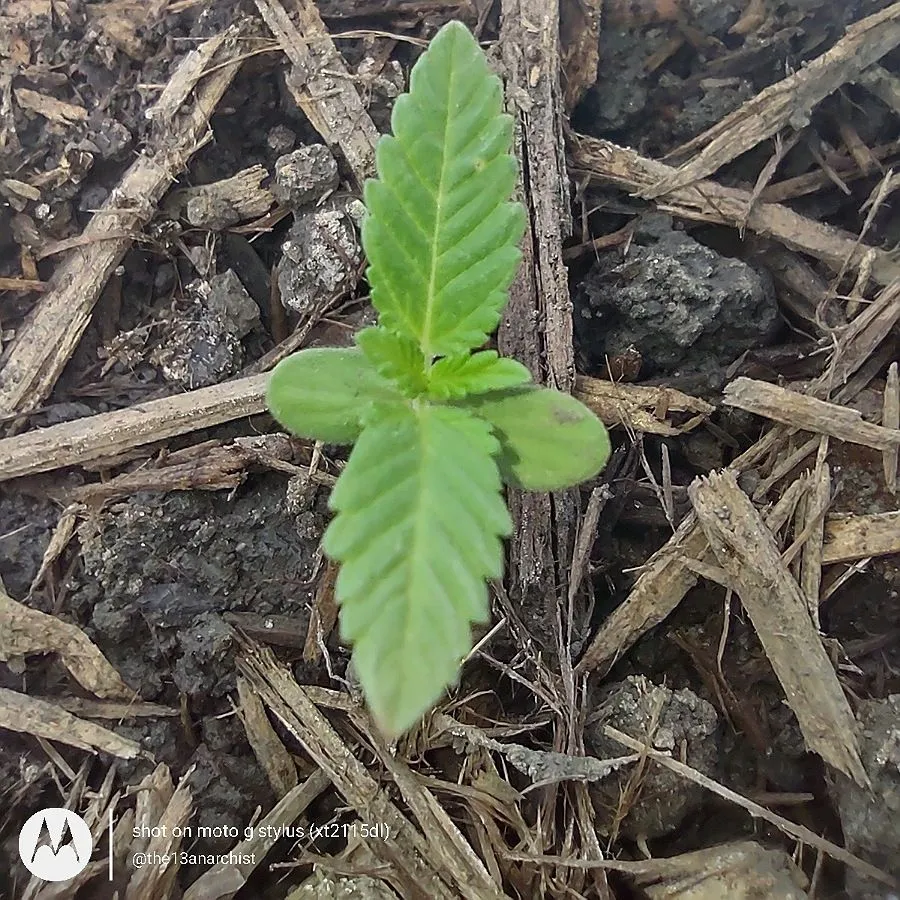
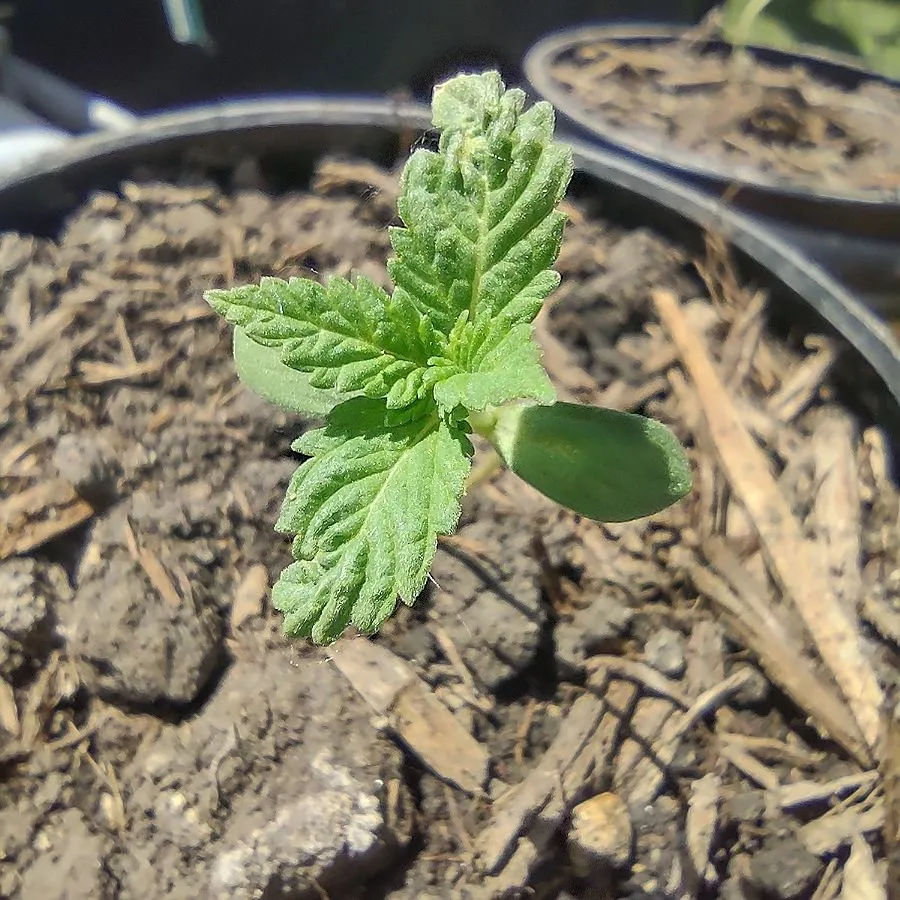
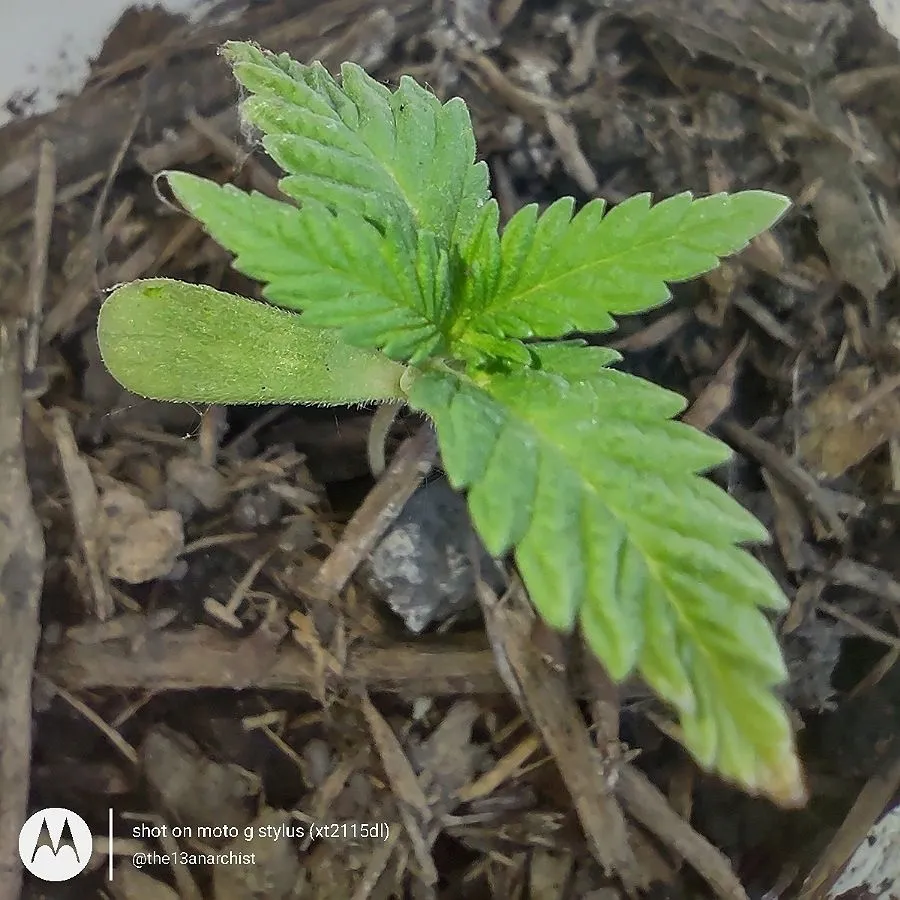
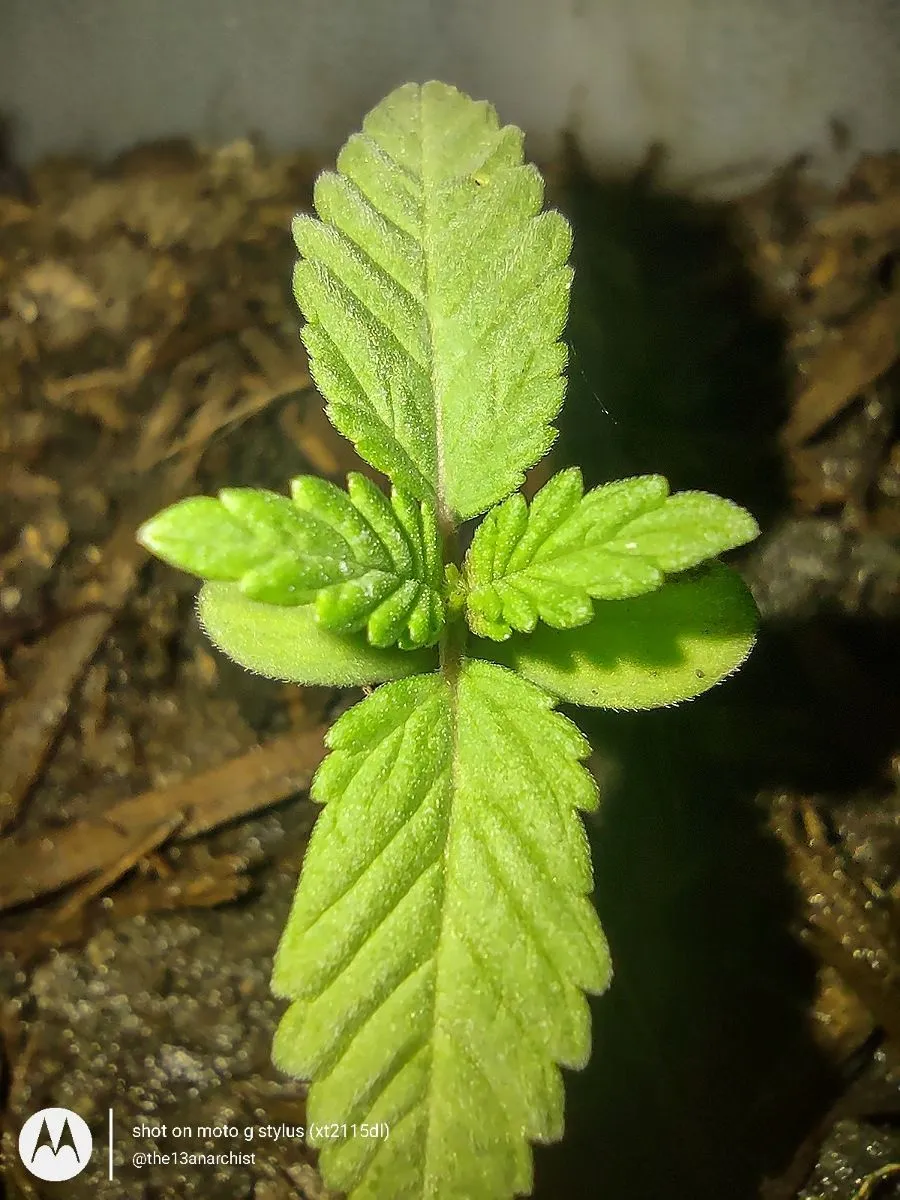
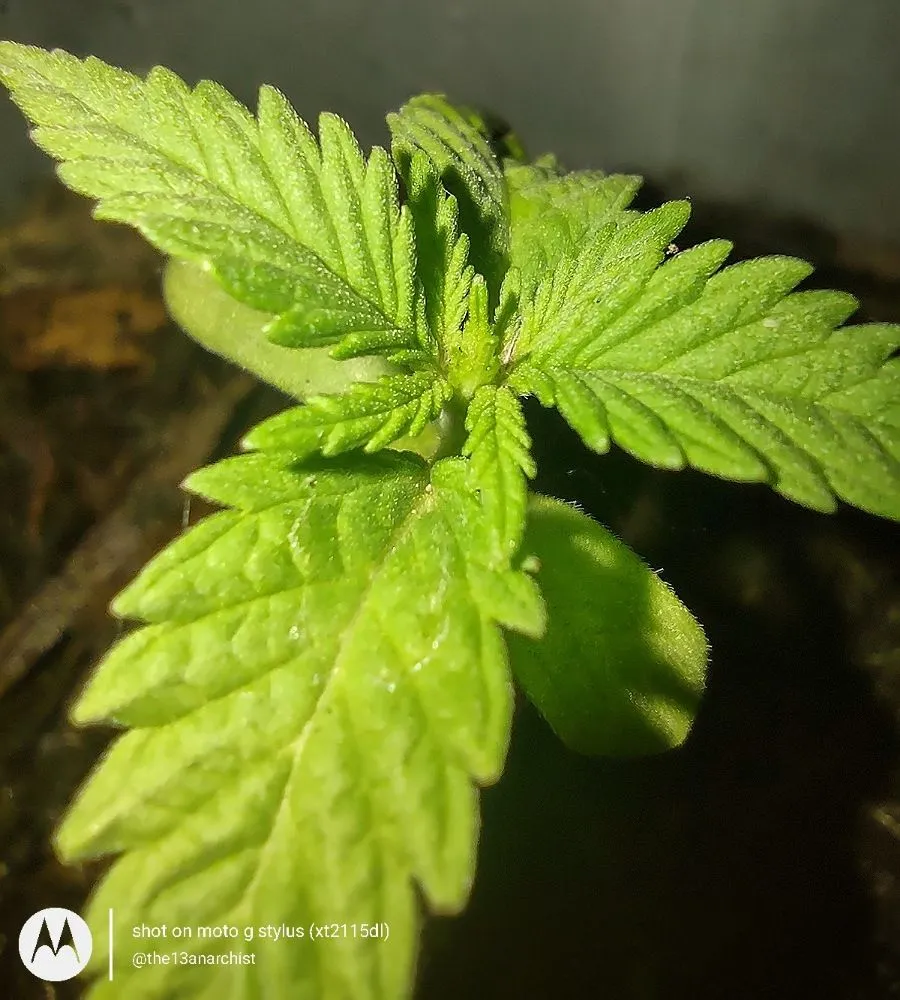
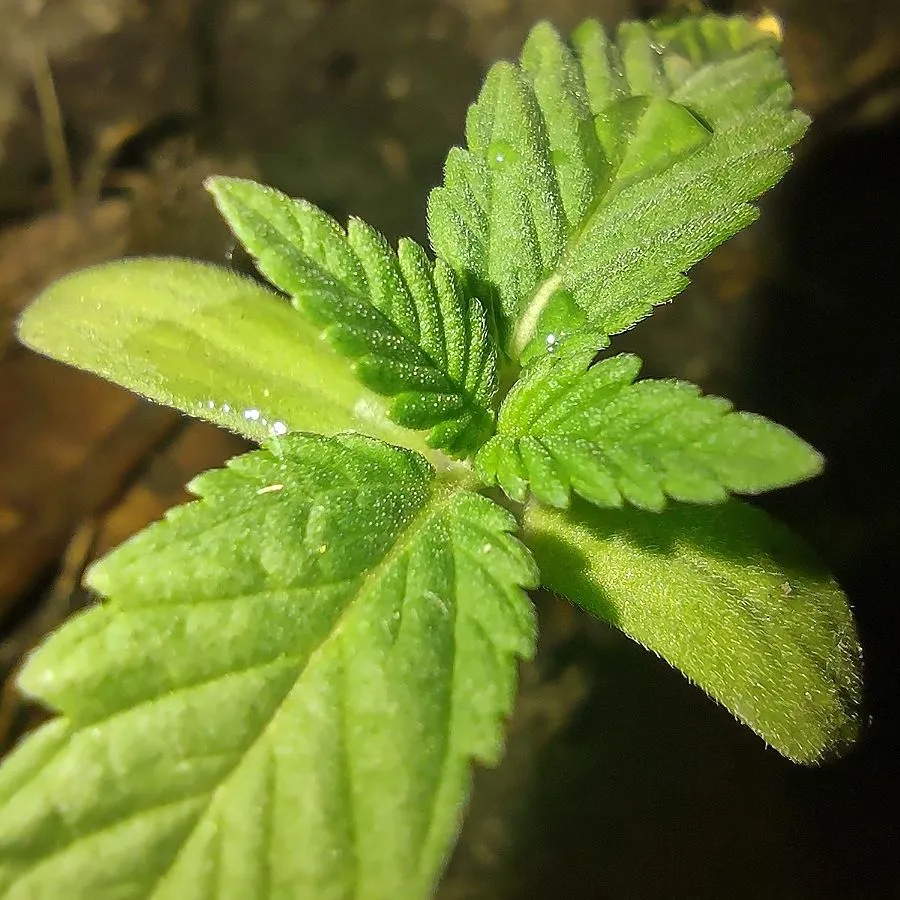
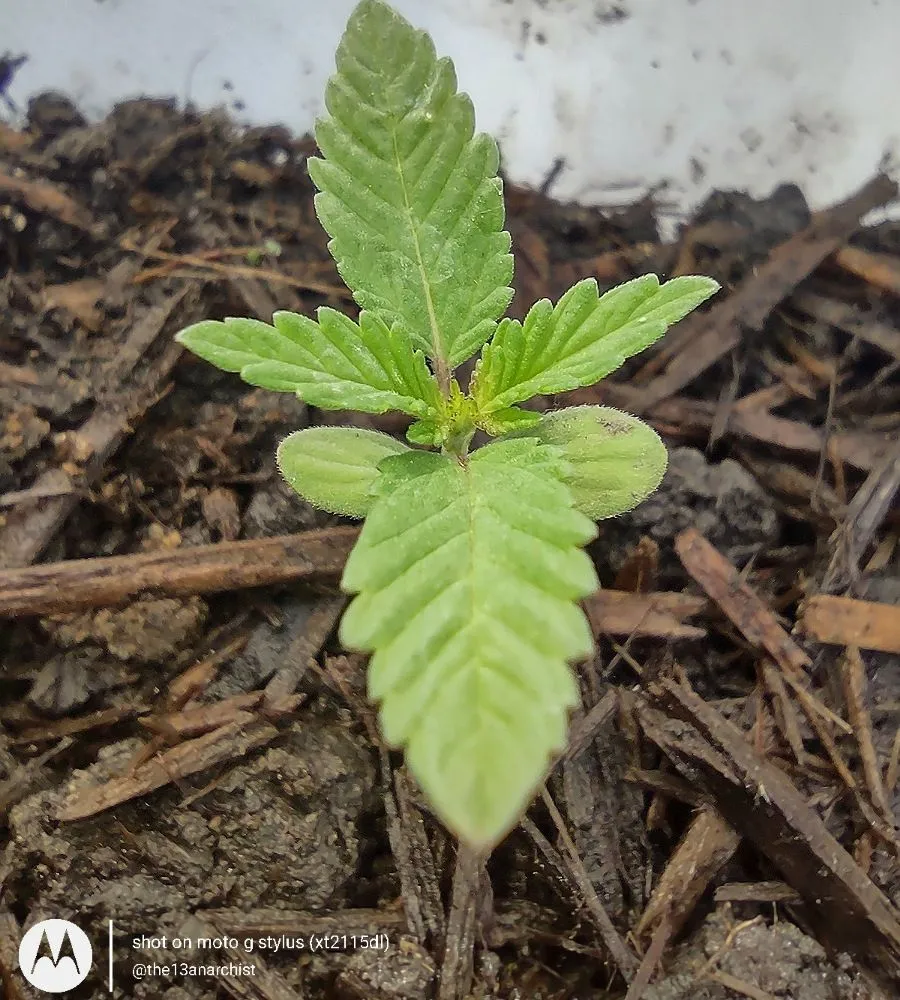
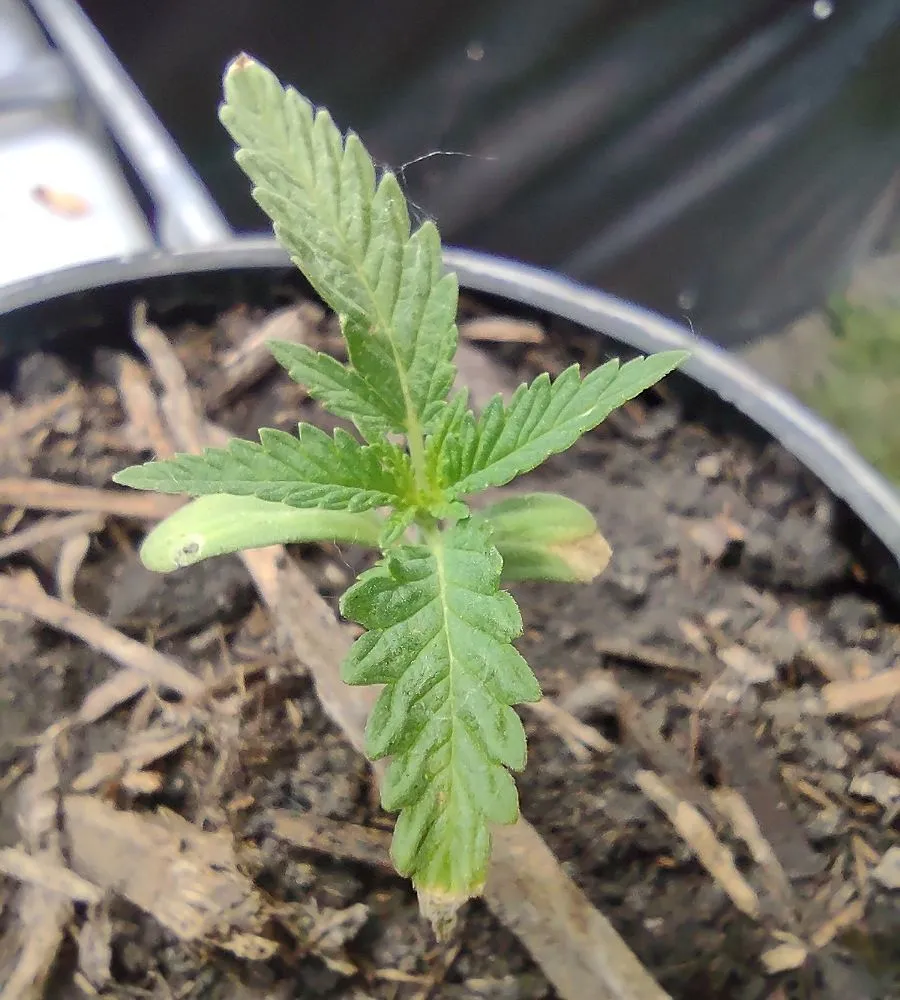
Sunday, June the 5th, was officially 2 weeks after the original planting, and where we will finish up this Update! The seedlings have been doing very well, considering that they are growing inside of milk jugs! Some of the newer sets of leaves have started to show signs of their first fingers, which is truly exciting!
Throughout the week, I did notice a few small spider webs in the planters, so I've been cleaning them up when I can, being extremely careful not to damage the seedlings in any way! Other than that, I think they are doing well for the time being, and I hope that they continue to thrive!
 |  |  |
|---|---|---|
 |  |  |
Before we finish up, I do have a few questions for some of the more experienced growers out there! While I realize every strain has its own specific nutrient and light requirements, these questions are intended to be more generalized, for use on multiple strains.
- When would you suggest to transplant the seedlings into a more permanent container?
- What substrate mixtures, if any, do you use to help with drainage?
- Am I wrong in assuming the burn spots are not from the fertilizers I used?
- What types of fertilizers do you normally use, and when would you normally add them?
- Are there any tips or suggestions you may have regarding our specific set-up?
Well, I think that wraps up this update! Thank you all so much for joining us for this week's Edition of "After Hours", and we hope to see you again next week for the newest update!
Stay Trippy, My Little Hippies! And until next time, we hope you have a wonderful rest of your week!

- All pictures used in this post were taken with my trusty Moto G Stylus; using the built in Macro Mode for the close-ups!
- Signature designed and custom made by @doze!