Today is #MarketFriday, a project initiated by @dswigle, and this post is my contribution to this project for this week.
To learn more about this project and participate, visit this post by @dswigle.
Last week I shared the first part of our visit to the Port Natal Museum, being able to go on board the J.R. MORE at last.
As mentioned last week, I paid an entrance fee of R20.00 for me and my wife and at the exchange rate at the time of writing last week's post, that came to $1.15 for the two of us.
Last week I shared photos about going on board on the After Deck. We then had a look at the emergency steering area, after which we went down into the engine room and the boiler room.
We then went to the cabin area.
But today, I'll take you to the Fore Deck and the Bridge.
The Fore Deck.
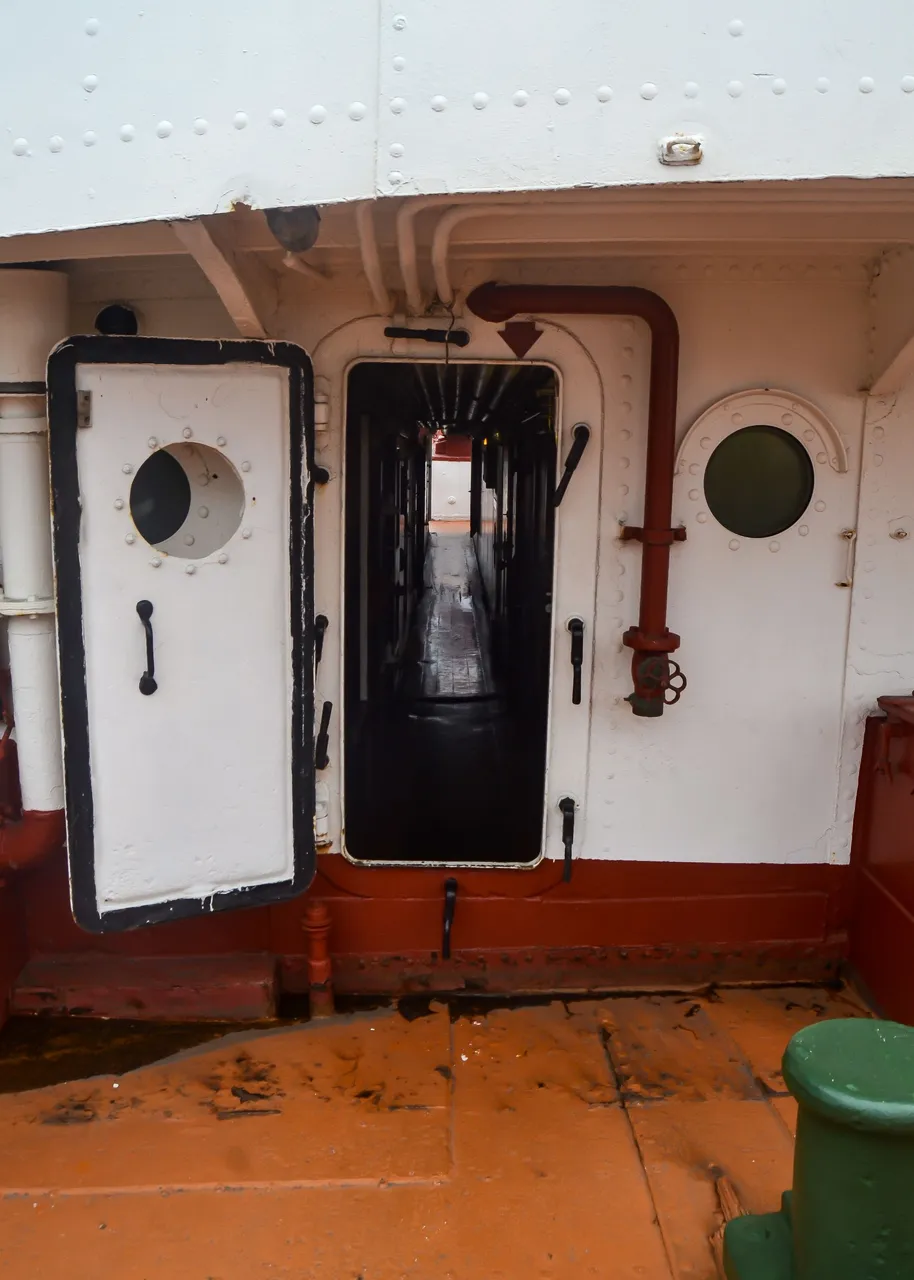
Stepping out of the alleyway, coming from the Cabin Area, this is the view of the Fore Deck. The open door you see on the right of the photo (in the white "tower"), is the entrance that leads to the crew accommodation from the Fore Deck.
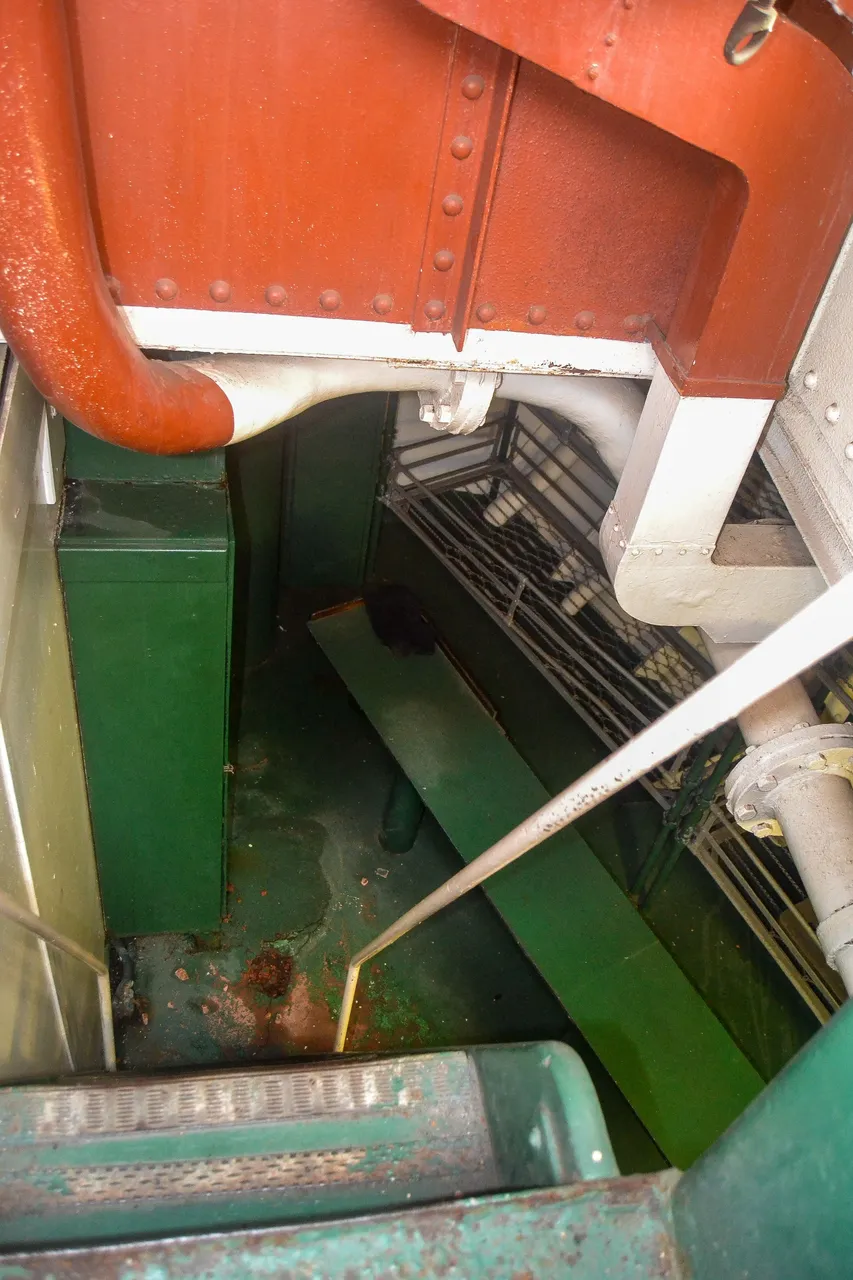
Walking up to the door, looking down into the crew accommodation area.
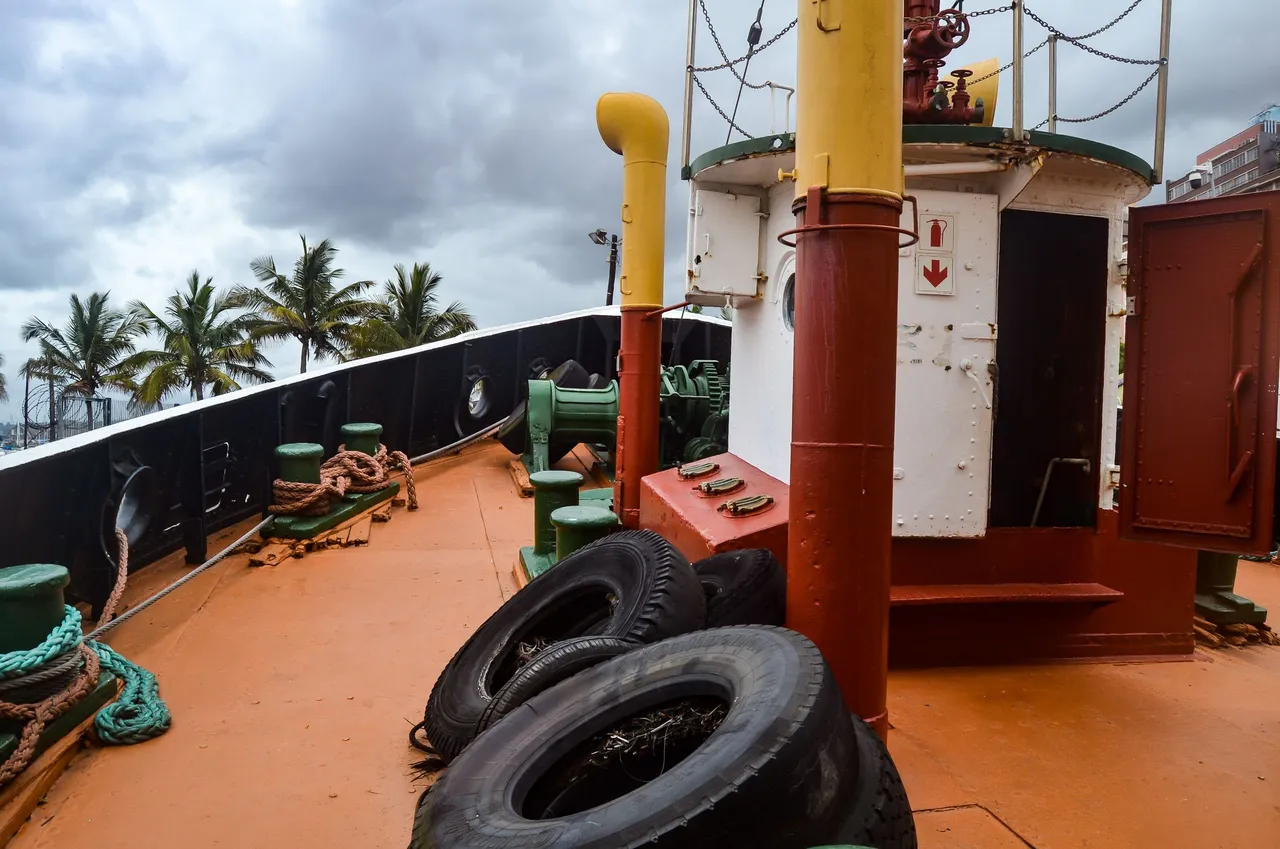
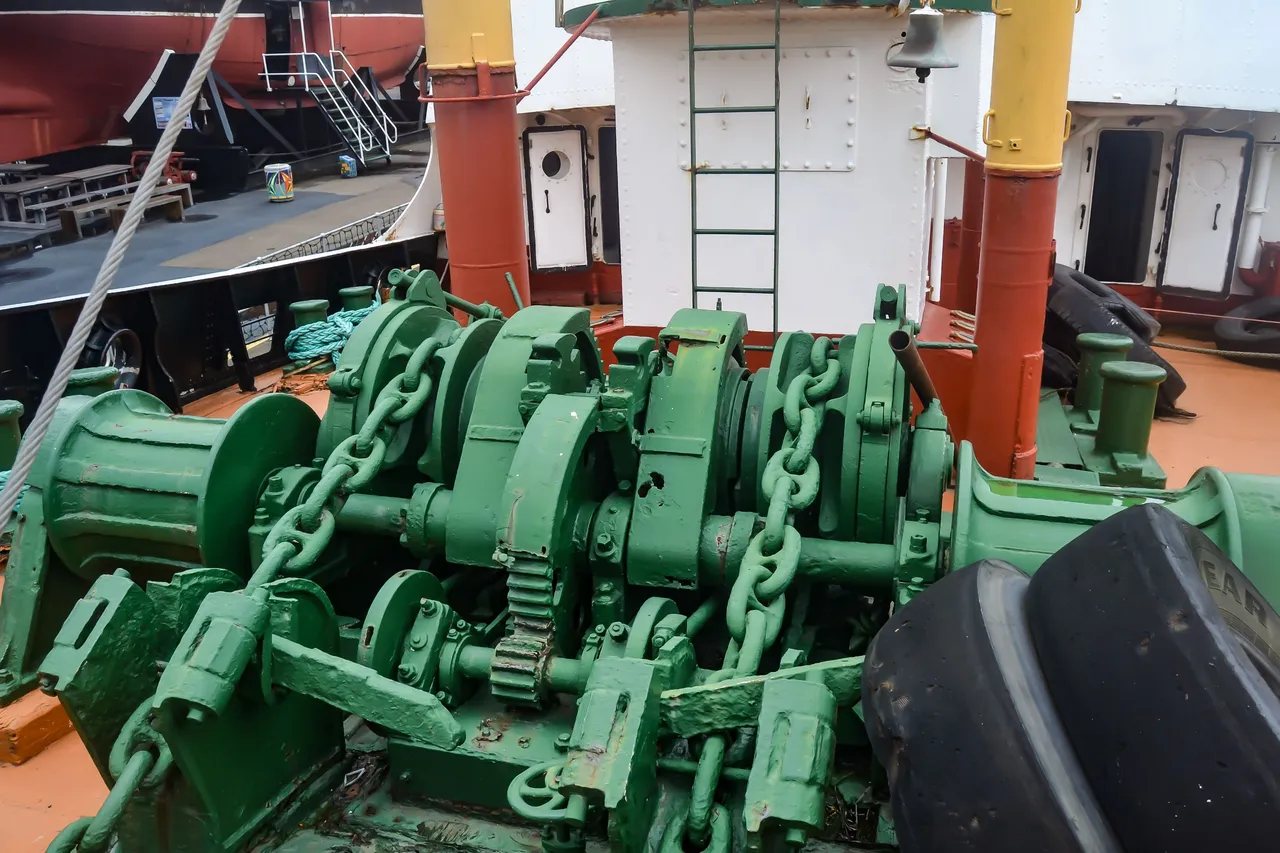
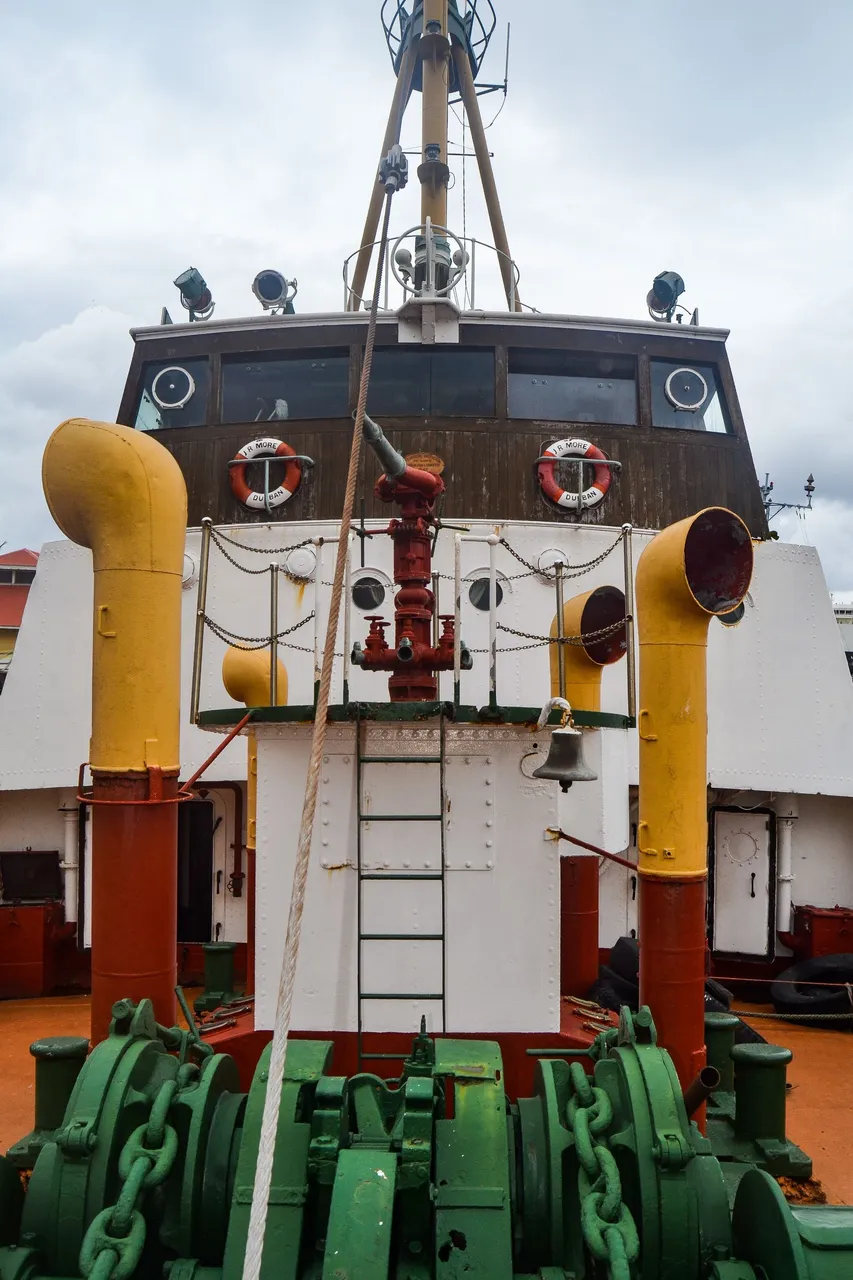
Going more toward to the front, looking at some of the equipment that was being used on the J.R. MORE.
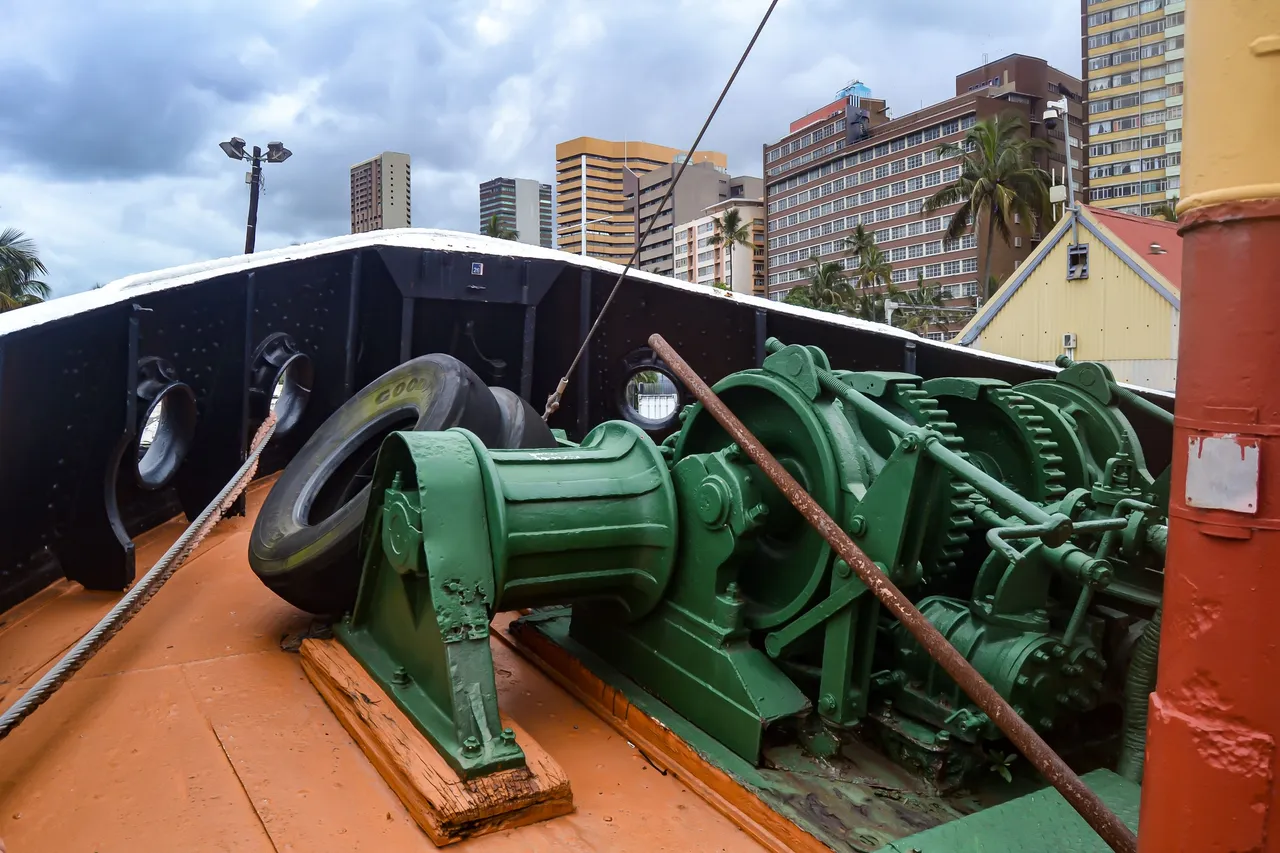
Going to the front of the boat, having a closer look at this massive equipment.
The ladder you can see in the background of the photo above (against the white "tower") leads to the "fire monitor platform", which is above the entrance (on the roof) to the crew accommodation.
In the next photo, we are looking up toward the "fire monitor platform", with the Bridge towering over us behind it.
In the next photo, I walked around the "fire monitor platform", which as you also know by now, is housing the entrance to the crew accommodation from the Fore Deck, from where I took this photo, looking through the alleyway, all the way through to the After Deck.
The Bridge.
First I had to go back into the Cabin Area on the Main Deck to get to the stairs leading to the Boat Deck above us.
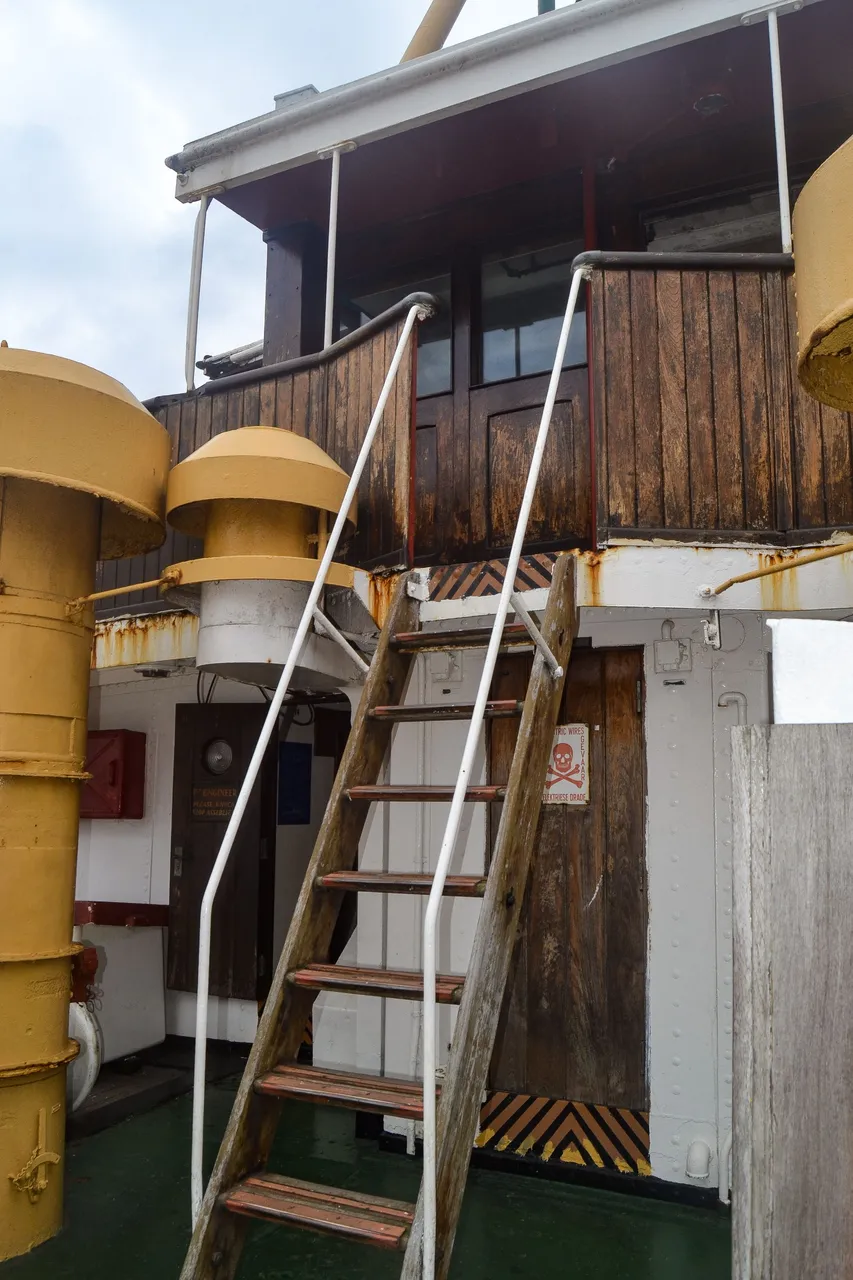
Once on the boat deck, I was excited to head straight for the Bridge.
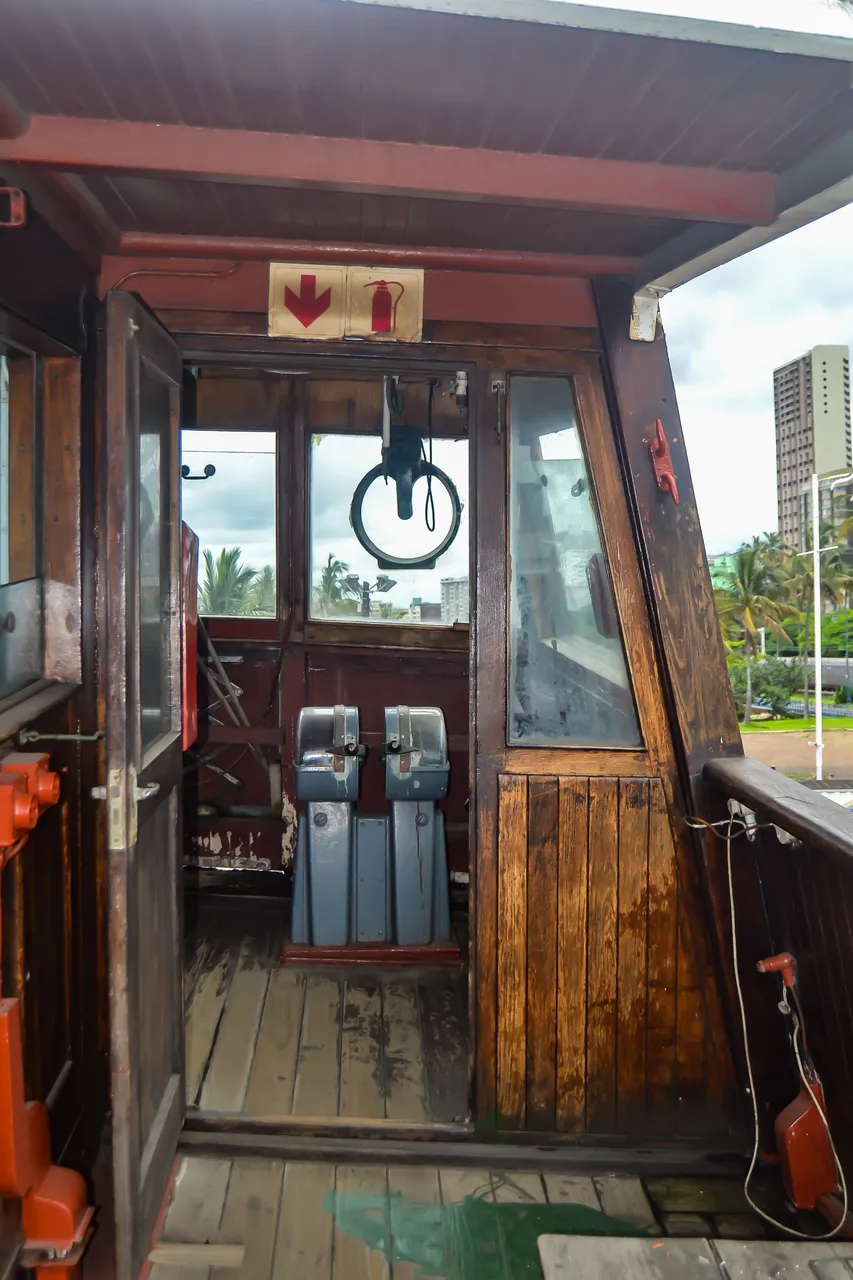
In the next photo, you can see the stairs leading to the Bridge.
Okay...let's get this out of the way... I once again fell into that trap which I believe is a typical "man-thing"... Read the instructions when all else fails...lol. Yes, I also try to assemble things before reading the instructions (silly me).
And I did a similar thing in my excitement to get to the Bridge and I totally missed the door that was standing wide open just behind these stairs as you can see in the photo above.
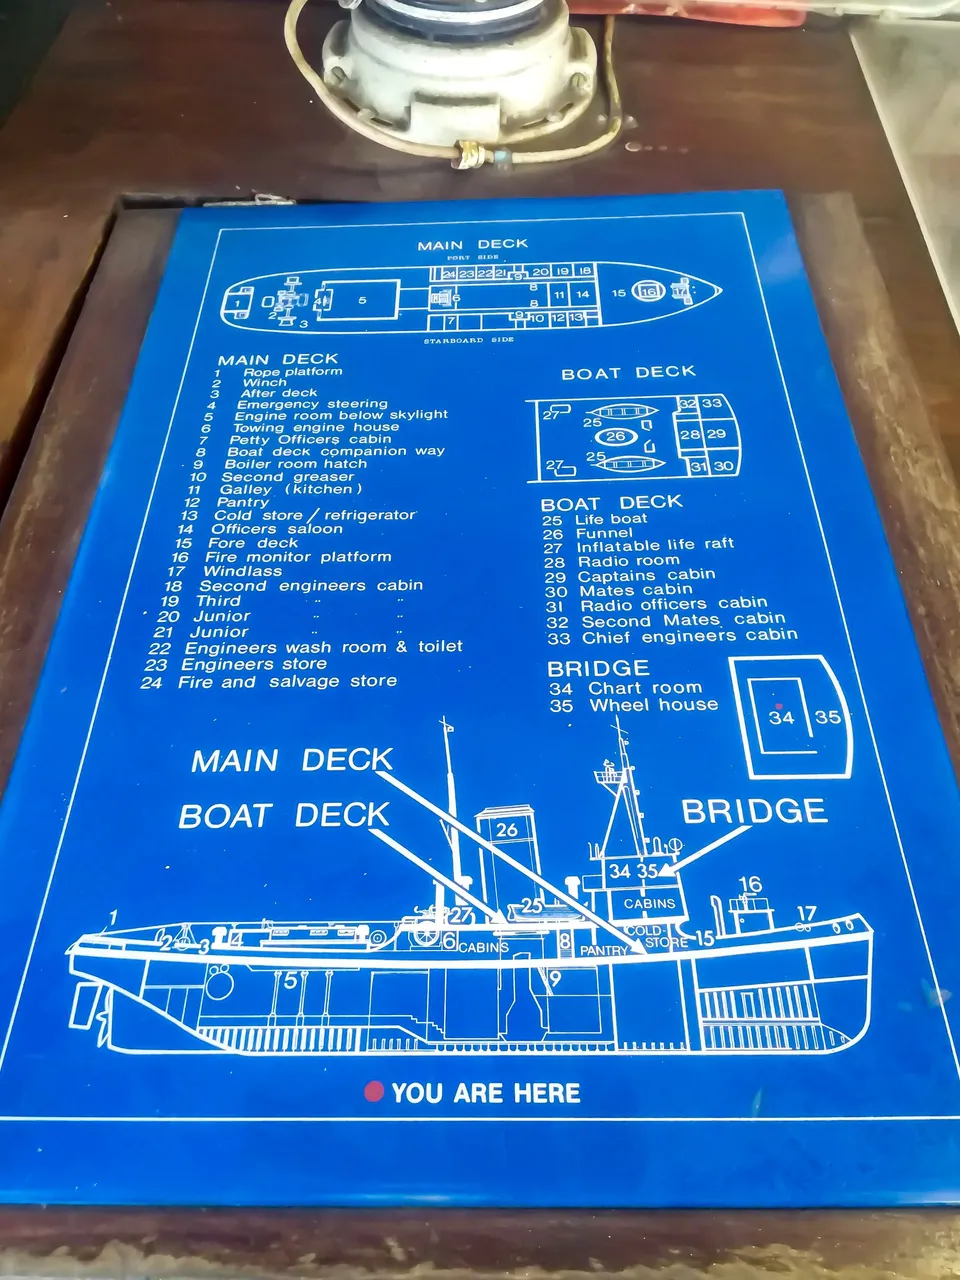
Yes, it was only when I got home that I studied the diagram (which you can see in the next photo) in detail and when I saw the door in the photo as well.
The diagram is in the Chart room on the Bridge. It was only after we got back home and when I went through my photos, reliving the whole experience, and going over the diagram in detail, that I realized I have missed a whole section of the boat...the cabins on the Boat Deck. This is where the cabins can be found of the Captain, the Mates Cabin, Second Mates Cabin, the Radio Officer's Cabin, and the Chief Engineer's Cabin.
Here is a photo of the diagram, as found in the Chart room.
Anyhow, I went up to the Bridge.
Approaching the door where you enter the Wheel house.
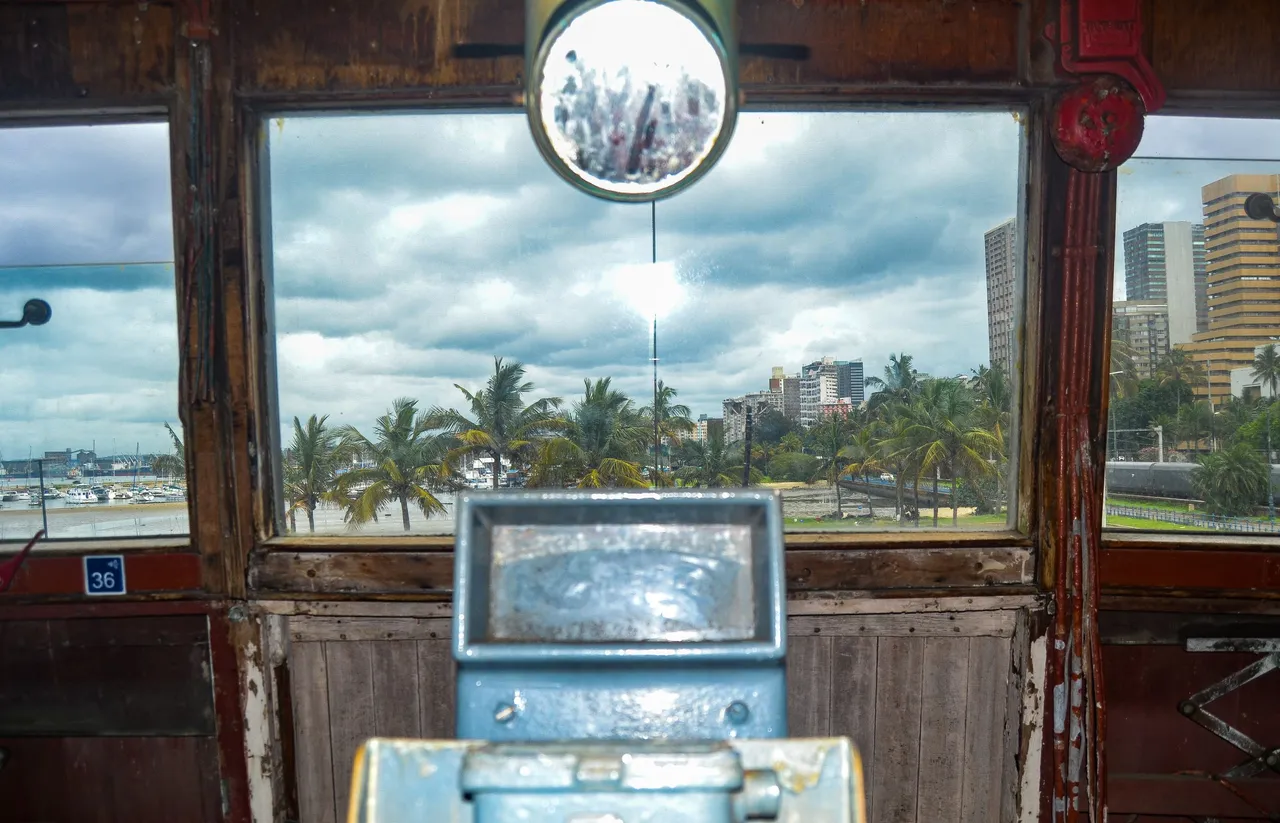
Inside the Wheel House.
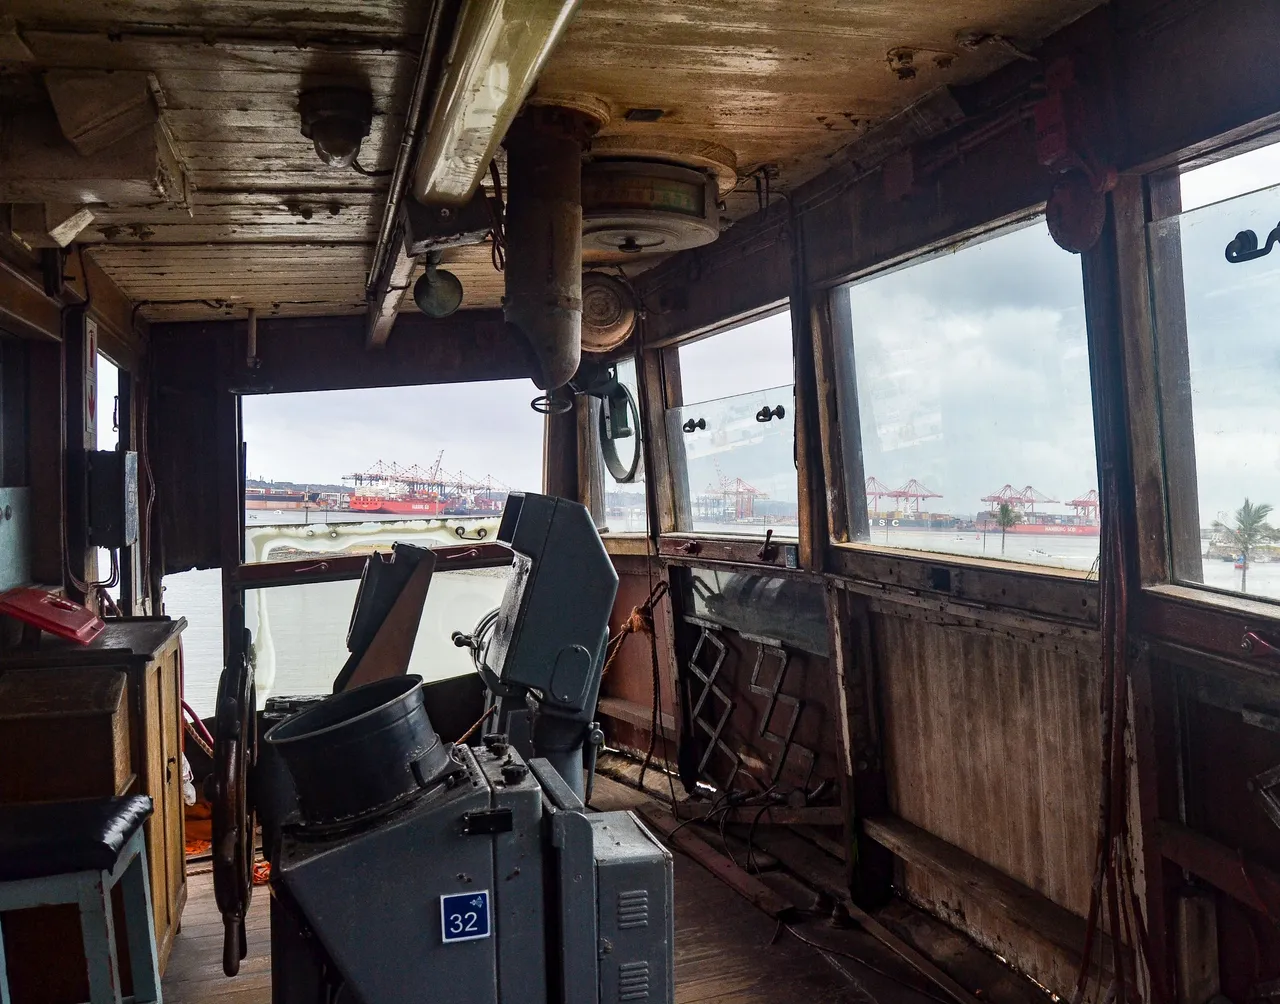
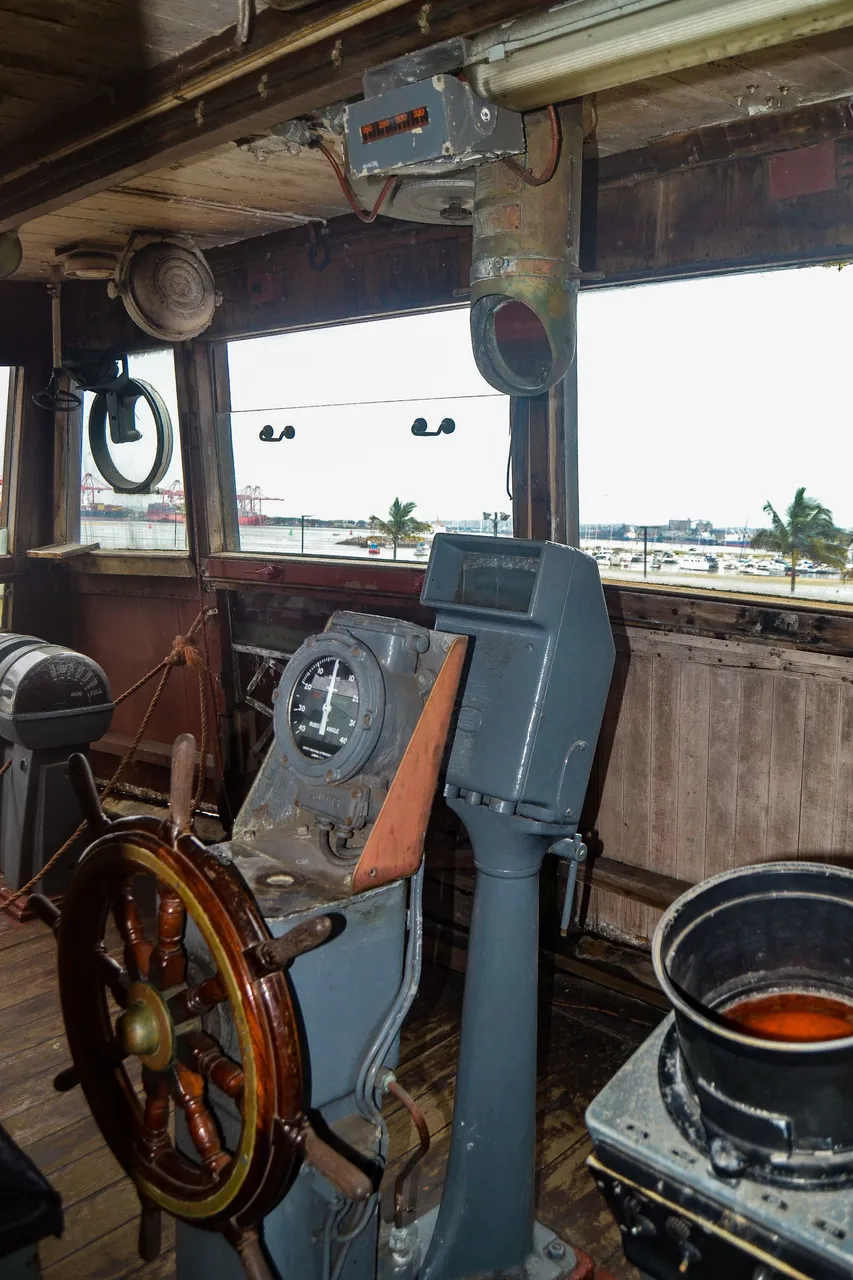
The view from the Captain's seat...
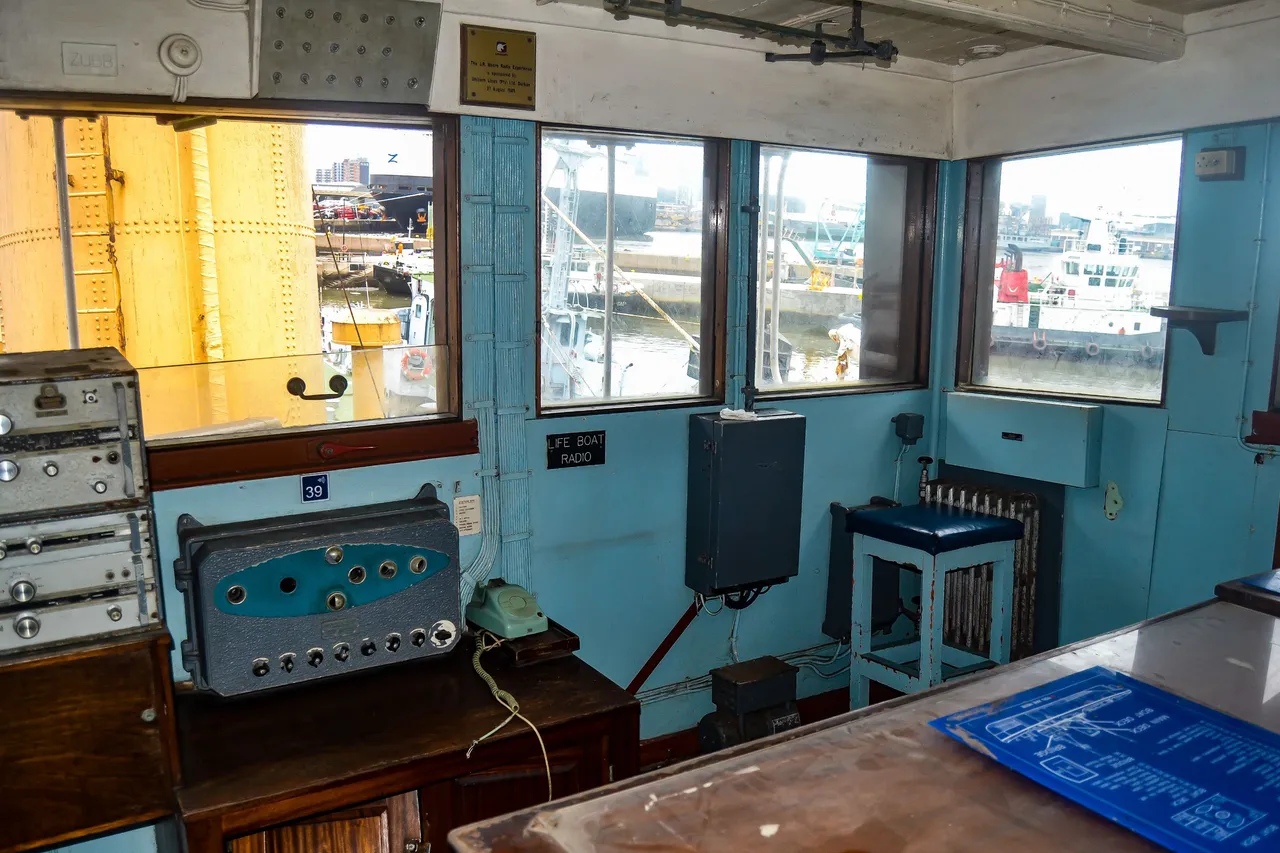
The Chart Room is located behind the Wheel House.
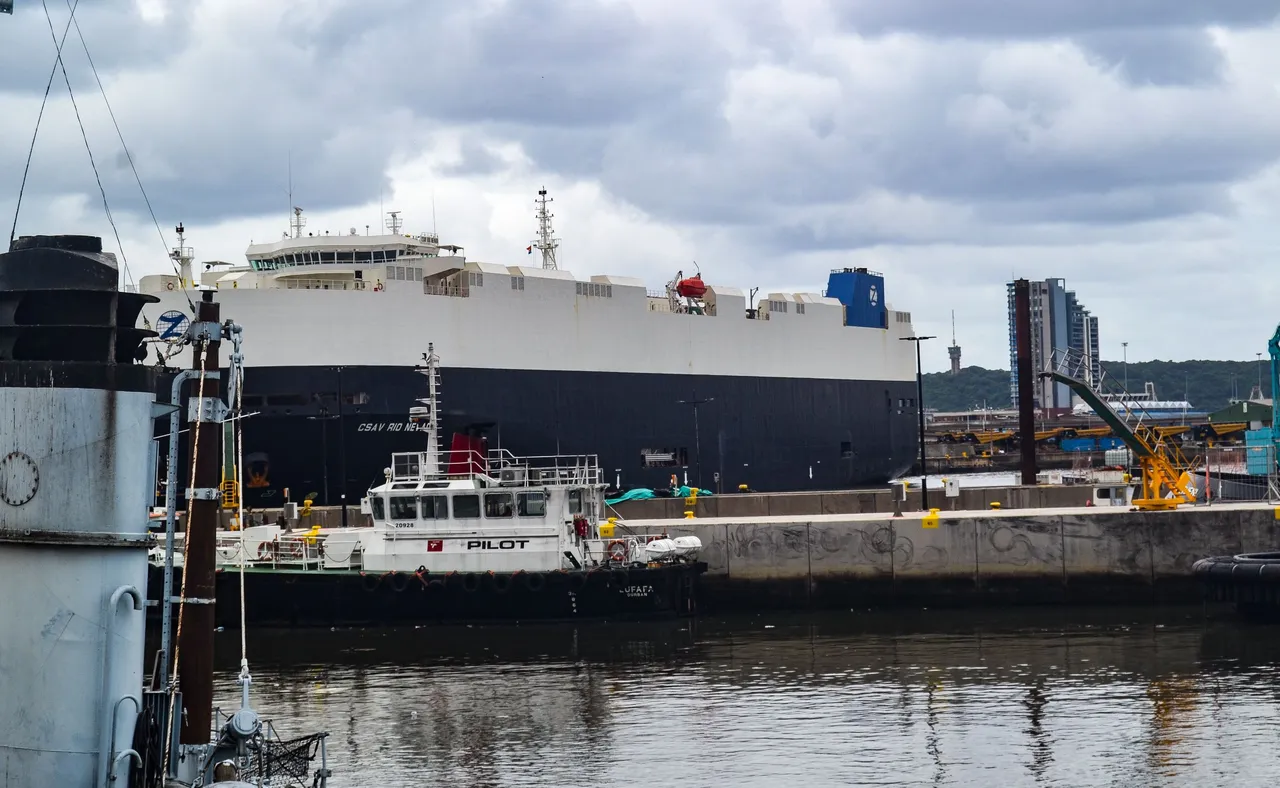
Some Views of the Harbor.
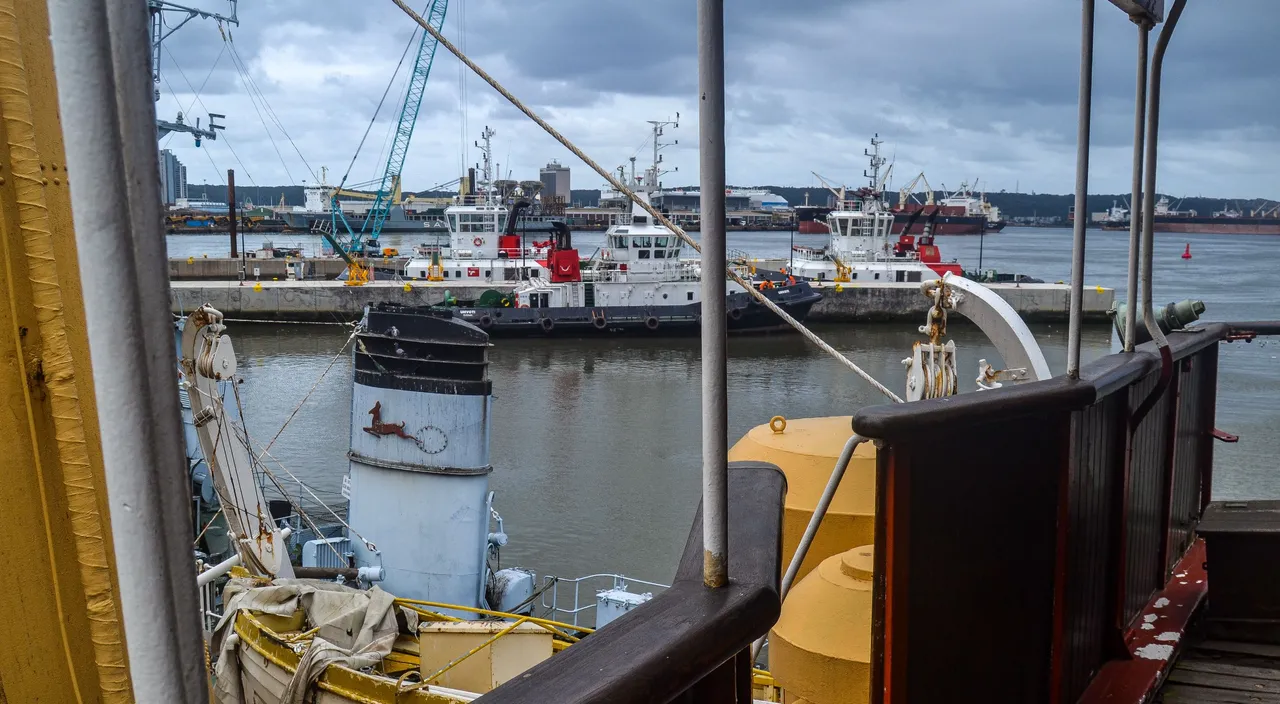
Next up are some shots I took, leaving the Wheel house, standing on the "balcony"/deck behind the Bridge.
There was some movement going on with the tugboats making some maneuvers closeby.
In the photo above, it is also visible, but the SAS DURBAN is more visible in the immediate foreground in the next photo. The SAS DURBAN was part of the plan for today's visit to the museum, but we'll get to that shortly.
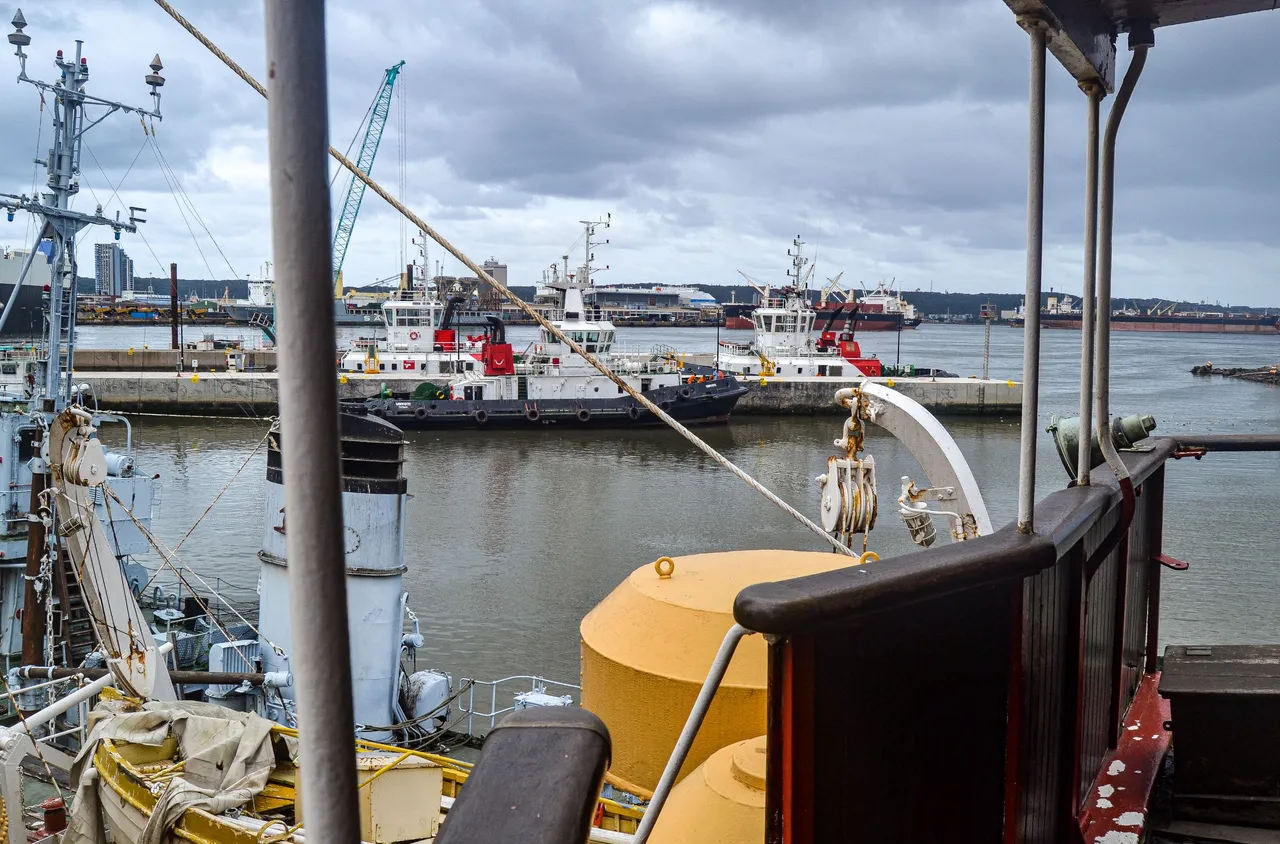
Looking out over the harbor, still standing at the same spot, just getting a clear view...
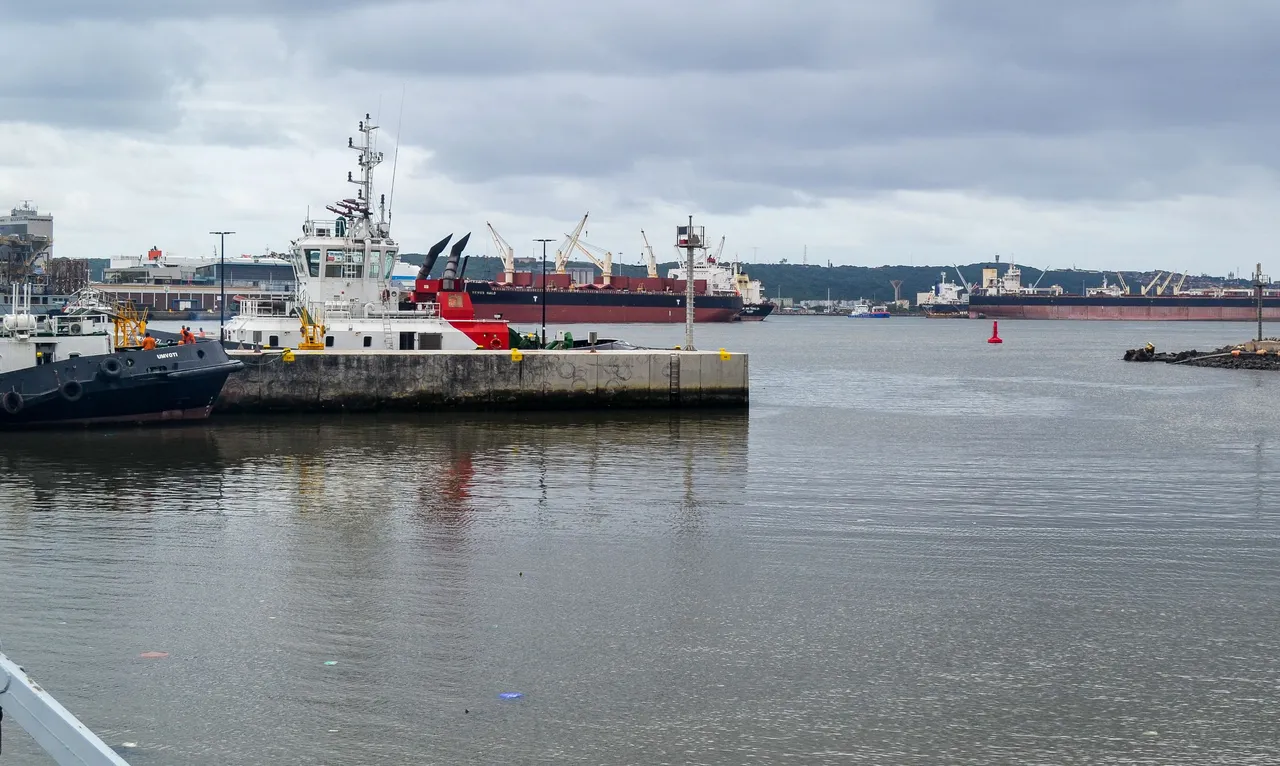
Looking more to the the left, I got a nice shot of a RORO ship being anchored in the harbor. These ships are vehicle carriers and the cargo is driven on and off the ship. It is not loaded in containers. The inside of this ship looks like a massive multi-story parking garage.
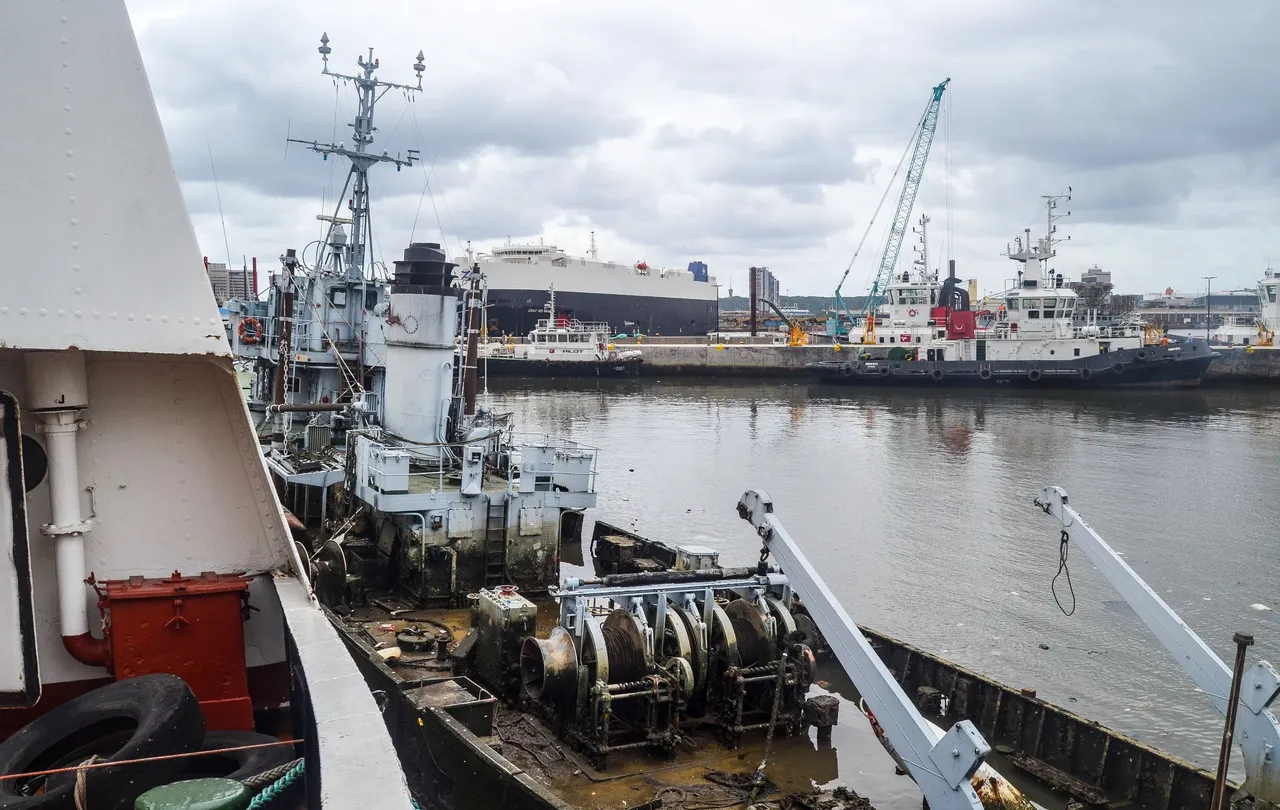
The SAS DURBAN.
The SAS DURBAN, a 60-year old mine sweeper belonging to the South African Navy and a floating exhibition alongside the J.R. MORE was the other attraction which I was excited about getting on board during my visit to the museum.
But it was not meant to be for me to go on board the SAS DURBAN.
On arrival, I made some enquiries about the SAS DURBAN and I was informed that t is "busy sinking". After my own research afterwards, I found that the SAS DURBAN is not "busy sinking"...
It has partially sank in shallow water during the night of June 29, 2020. I have found various article about the incident and as noted in this article, luckily there was no injuries or fatalities. There also was no oil spilage or any kind of pollution "as the vessel was dry and clean without any oil onboard" according to the same article - LOOK: Historic minesweeper partially sinks at Durban Maritime Museum.
The article mentioned above includes a photo that was taken a day after the incident.
Ships Nostalgia also shows photos of the SAS DURBAN which they have taken in January of 2022. But if you scroll down a little in their article, you can see a beautiful image of this minesweeper while it was still doing its job with pride.
Even more sad to me, is the fact that it seems everything is now just being left as it is.
I noted that I have taken a similar shot now as what Ship Nostalgia has taken in January. But if you look at the image taken by them in January and you look at my photo, you can see how it is deteriorating.
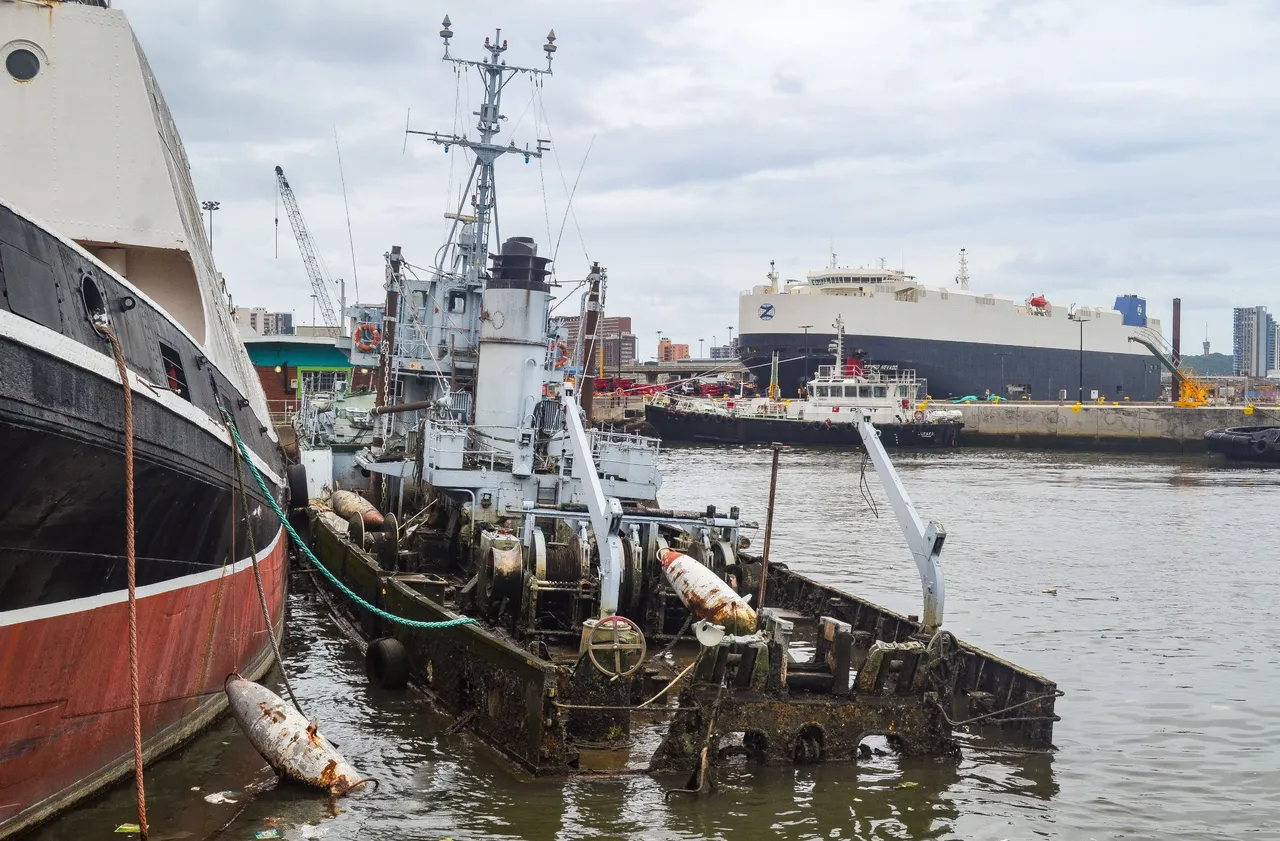
I also took another photo while standing on the Fore Deck of the J.R. MORE, looking down at the SAS DURBAN.
And on that note, we left the museum and returned back home.
So, that's it for today folks!
Thank you reading my post! I do appreciate it!