
As a recent blogger/writer on the HIVE blockchain I assumed the formatting and editing would be the same as Publish0x, which is another crypto centered blogging site that I have been posting on for over 5 years at this point.
So when I started to write on Hive.Blog for about a day then moved over to PeakD I was in for a learning curve. I went down a rabbit hole trying to figure out the best way to write on PeakD but also write on Publish0x without having to much difference in how I write on either.
I have tried to only put out quality content. Even if that content is not something YOU may like to read, I take pride in the look of my articles and the use of images and links and the overall flow of them. And because of that I have amassed some tips and tricks and media that I use over and over again that I want to share with you all.
Without further ado let's get into my Markdown Tutorial!
What is Markdown?
Think of Markdown as a fork of the HTML language. Without getting too nerdy with you all computers use various "languages" for various things. SQL, CSS, HTML, C++ are all 'languages' that computers can read and understand. HTML stands for Hypertext Markup Language. HTML is the standard go-to language for all web content.
Markdown is a subset trimmed down version of HTML. What that means is that a site using Markdown will be readable by any HTML website but it doesn't go the other way. You can't use ALL the HTML code in the PeakD Markdown Editor unfortunately.

"Markdown" was created in 2004 by a guy named John Gruber. It was designed to be able to format text and images using plain text syntax. What that means is that John tried to dumb down HTML so that you and I can write cool content on the internet without having to memorize a bunch of HTML syntax. Now ironically I am going to show you all the Markdown syntax for you to memorize... Oh sweet sweet irony.
What can you do with it?
I would be an idiot if I didn't mention the elephant in the room. PeakD does a great job at giving you the tools to write great articles from the Tool Menu. Most of what you will need is already there for you. So let's cover what is up there first before we dive into the more complex topics.
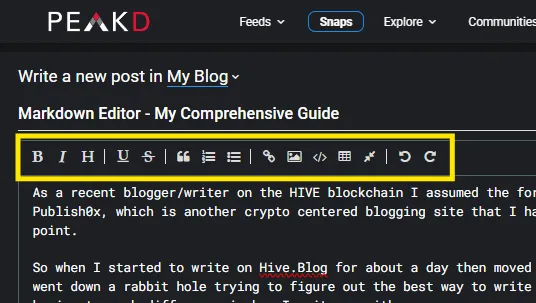
Here is what each one does:

But that doesn't cover everything and sometimes it's just easier to do things yourself so lets give into editing text and images the manual way.
If you already use those icons in the Tool Menu and don't need a refresher on how to manually do them with syntax you can skip down to ... Aligning Text
In this next section I will state what the Markdown language is doing and then in a code block will write what the actual code is.
Bold
**Bold**
Italicize
*Italicize*
Heading
# Heading
Underline
<u>Underline</u>
Strikethrough
~~Strikethrough~~
Quotes
> Quotes
- Numbered List
- Numbered List 2
1. Numbered List
2. Numbered List 2
- Bulleted List 1
- Bulleted List 2
- Bulleted List 3
- Bulleted List 1
- Bulleted List 2
- Bulleted List 3
[HYPERLINK](peakd.com)


You can copy and paste images from Windows directly into the PeakD Editor. PeakD will host that image and auto update the syntax to be a URL for that image.
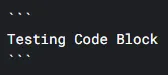
Code
What you saw right above is using the Code option. It allows you to input computer languages without the actual intended effects of the language working.
All you need to do to start a Code section is to use the ` symbol. On my Windows keyboard it is to the left of the "1" key in the top left corner. And then you just need to put 3 of them together and hit enter a few times then type in 3 more of them. Like this
Table
To add a table use the following template
|Column 1|Column 2|Column 3|
|--|--|--|
|Column1 Row1|Column2 Row1|Column3 Row1|
|Column1 Row2|Column2 Row2|Column3 Row2|
| Column 1 | Column 2 | Column 3 |
|---|---|---|
| Column1 Row1 | Column2 Row1 | Column3 Row1 |
| Column1 Row2 | Column2 Row2 | Column3 Row2 |
Spoiler
! [Hidden Spoiler Text] This is the spoiler content.
Optionally with more lines
Optionally with even more lines
>! [Hidden Spoiler Text] This is the spoiler content.
> Optionally with more lines
> Optionally with even more lines
Undo/Redo...
I am not going to explain what those do...

How to use it and PeakD to your advantage!
PageBreaks
A page break is a line that runs across the entire text window to show a break up of paragraphs or sections. If used properly it can be very beneficial to your readers. There are 4 'normal' type os page breaks.
<hr>
---
***
___
But those are boring. I highly recommend you come up with your own fancy ones. Here is one I made just for this article. It is just a image I created that is 840 Pixels wide and 18 pixels tall. A normal Page Break is roughly 540 pixels wide by oh 20-50 pixels tall. But I like to live dangerously.
Over the course of my short PeakD time so far I have made a few Page Breaks and also borrowed some I saw from official channels.

You just need something to break up sections.
Aligning Text
Here is the code needed.
Align Text to the left: <div class="pull-left"> Left Text </div>
Align Text to the center: <center> Center Text</center>
Align Test to the Right: <div class="pull-right"> Right Text </div>
Justify the paragraph of text: <div class="text-justify">Text that is Justified</div>
What does it look like?
Here is what it looks like side by side:
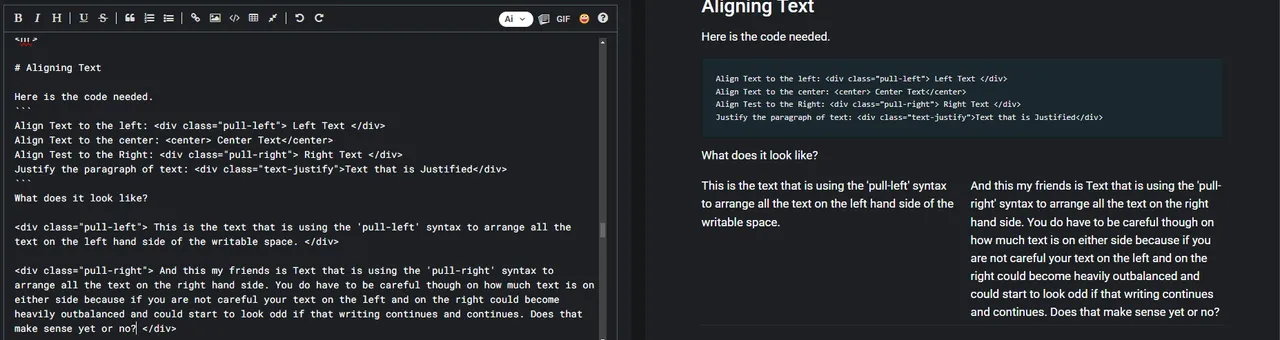
It can be very useful if you are translating a bit of text and want it side by side.

A normal Hyperlink code is
[Text to be shown](URL_Address_To_Link_To)
But if you are sneaky you can use this as a Table of Contents as well.
[PageBreaks](#PageBreaks)
[Undo/Redo](#Undo/Redo)

It can get tricky but from what I understand the Title/Heading needs to be 1 continual word without spaces and in the (#PageBreaks) section you need to not have the space between the "#" and the Title.

You can use the image syntax and add with the Hyperlink syntax to create a Image that when clicked takes you to a website.
[](URL_To_Direct_To)
[](https://crownrend.com)
Now for example lets take a look at this picture.

It is just the Hive logo. But if we change the code just a little...
This is what it was:

and now we are going to take that and enclose it in [] brackets and at the end add parenthesis with the URL in it.
[](https://hive.io/eco/)
And if you click on the image below this text it will take you to https://hive.io/eco/

<iframe width="560" src=
frameborder="0" allow="autoplay; encrypted-media" allowfullscreen></iframe>
I have no idea who this guys is and honestly I didn't even watch the video. I just needed a YouTube video to show you that it works.


Have you noticed that little icon up top? It is your gamechanger.
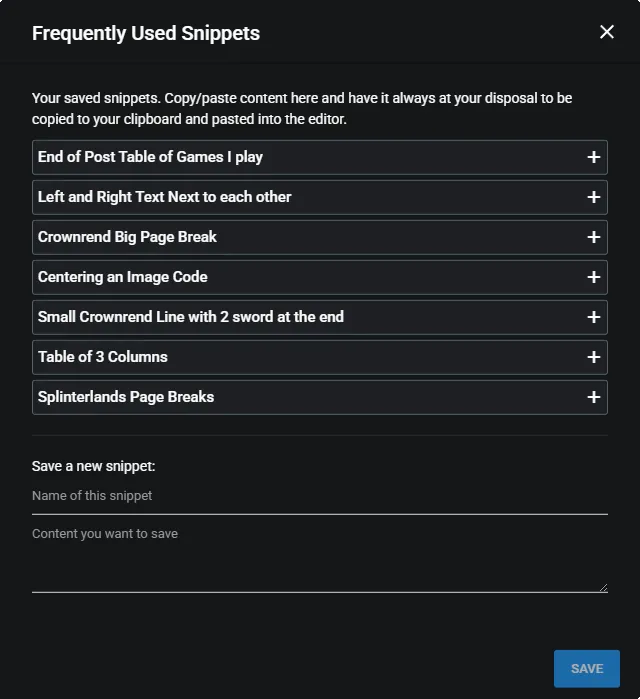
What it does, is it allows you to save bits of code to be used later. You can see the ones I have saved are ones I use quite often.
Let's take a look at one. It's what I use for when I write my Crownrend posts.
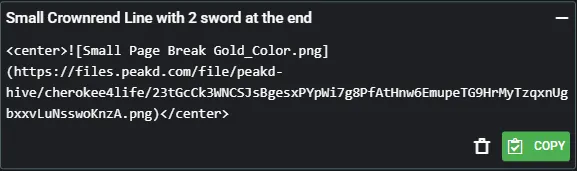
The code in question is easily copied and pasted
<center>
That code gives you this:

Which is just yet another Page Break that I created for my articles. Feel free to use it if you want. I mean its right there and you can click on it and then right-click and select "Save Image As.." and save it without my permission but at least you can sleep tonight with a clear conscious as it's okay if you borrow it.

If you want to invest into your articles you will need a good Image Editing software. I personally use GIMP because:
A) It does everything I need it to
B) It's free
C) It's Open Source
You can download GIMP here: https://www.gimp.org/downloads/
Why do you need a image editing software? Because so many people take screenshots and just copy and paste it into the article. But then you end up with crap like this:
That nasty white border around that image is ugly. I hate it. So I take the screenshot and open it in GIMP and then I remove all that white border to get an image like this:
You tell me which one looks better 😉
Just remember a few things:
- Alpha Channels are your best friend.
- PNG files are 100% better than jpg files.
- Layers are important
- If you haven't already start NOW with having a dedicated folder and subfolder structure for all your images and links and graphics. I personally have a folder for each web3 game I play, and inside each Game Folder is other folders for Thumbnails, Logos, In-Game screenshots, etc. Organization is your friend!

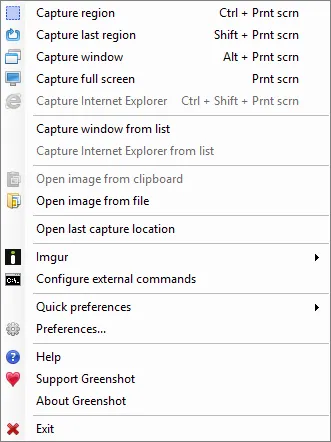
Now I will also ask. What software do you use to take screenshots? If you are not using Greenshot then you are missing out.
It is FAR better than normal baked in Windows Screenshotting. Every setting is changeable and it's THE best screenshotting software out there. I have been using it for over a decade and this point and I will never replace it.

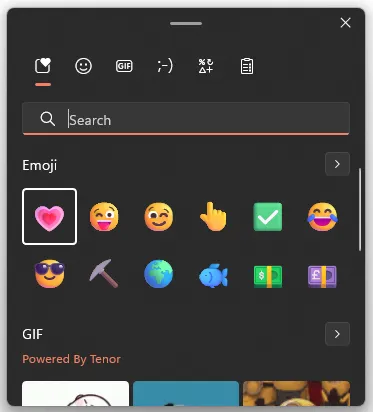
Who doesn't LOVE emoji's? Me actually but here we are. 😂
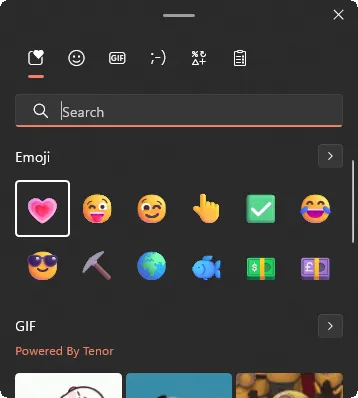
I have noticed on more than 1 occasion that simply writing : ) together does not always translate to 🙂. So when you need an emoji the best thing you can do (on a Windows 11 computer) is to press the Windows Key and the 'Period' Key at the same time. This will bring up a Emoji/Gif picker thingy-ba-bob.
You can search for whatever emoji you want, or your recently used ones will show up for you.
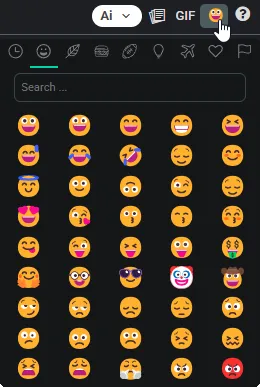
And yes if you are on PeakD you can use the built in Emoji picker too.

Now there may be a time where an emoji won't cut it. And you need some icon, but where do you get icons to use?
The single best place to find high quality open source icons is https://lucide.dev/icons/
You can search for a specific item or just browse by category.
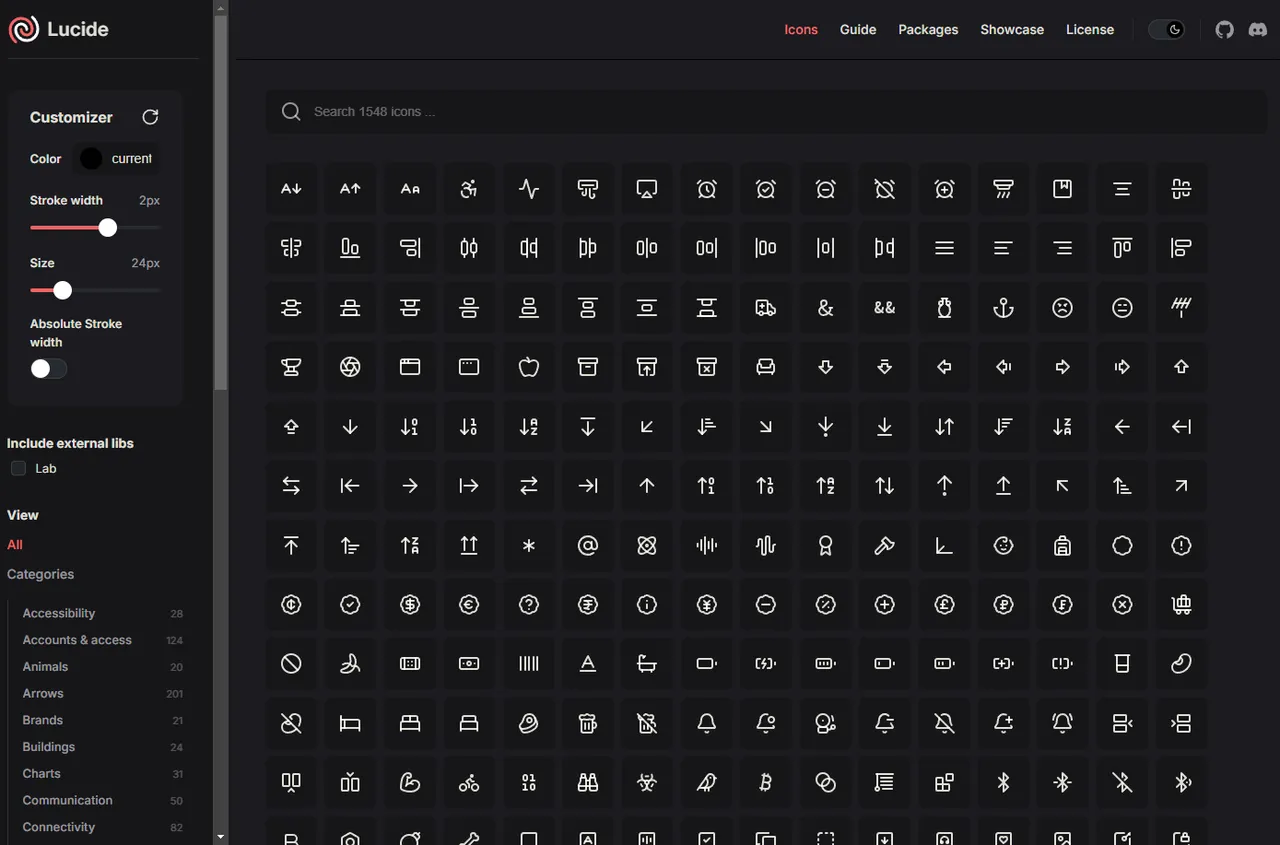
Once you find the icon you want, you can change it's color and size on the left and then download that icon as a svg file.
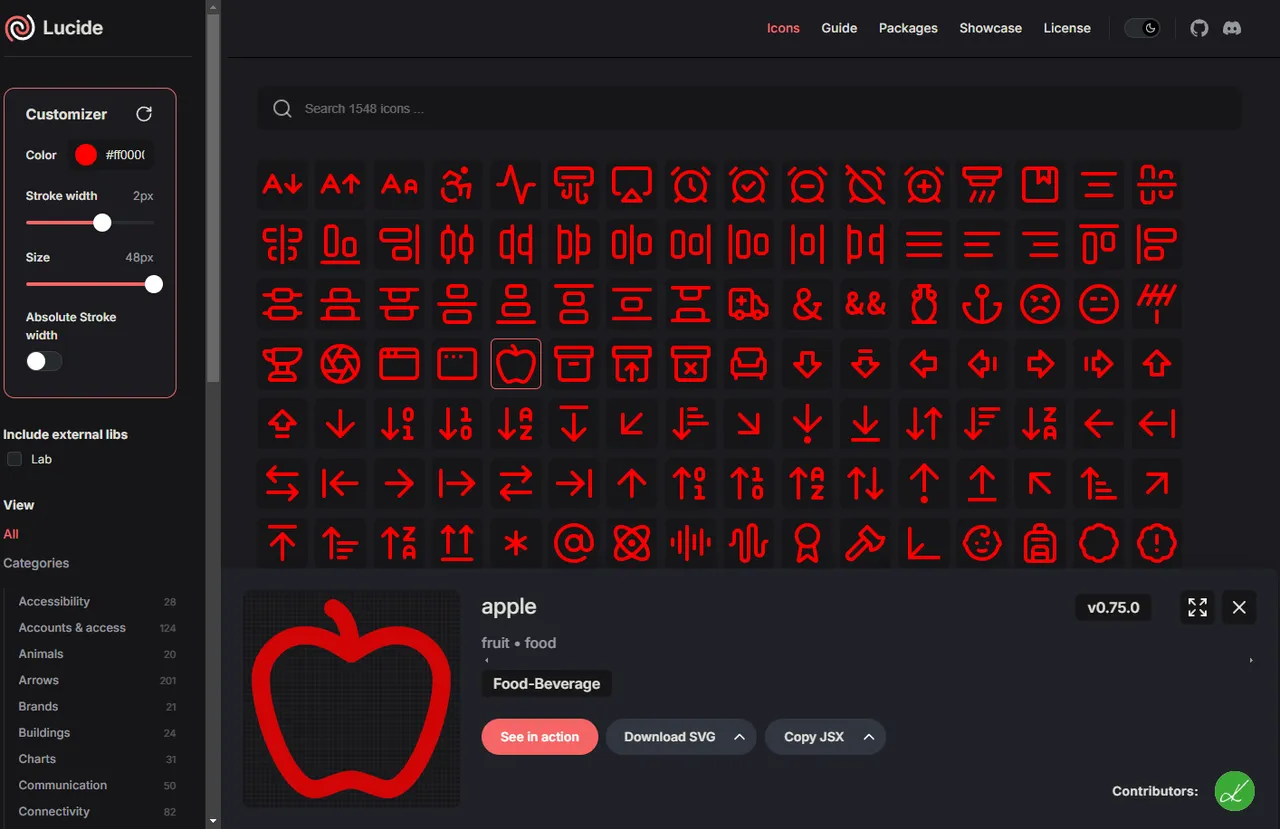
I was not kidding when I said it is THE best place to find icons for free.
That wraps up my Markdown Editor Guide. I know the beginning was a little boring and repetitive but I hope the 2nd half makes up for the boring 1st half!